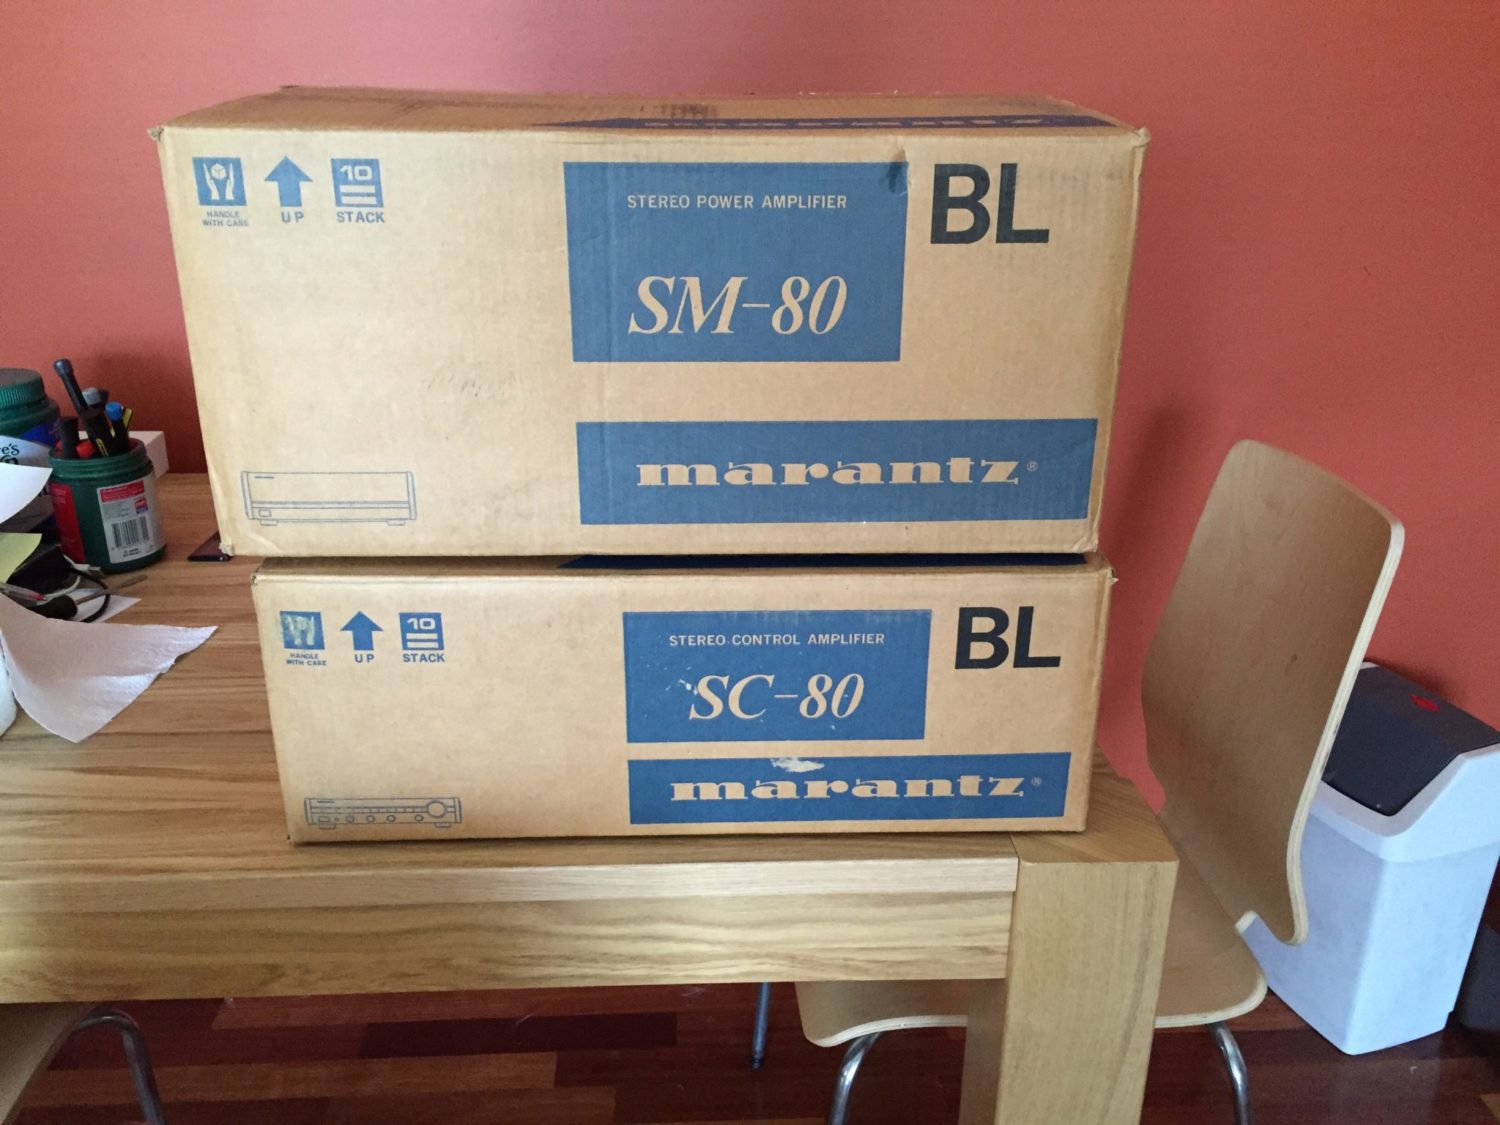
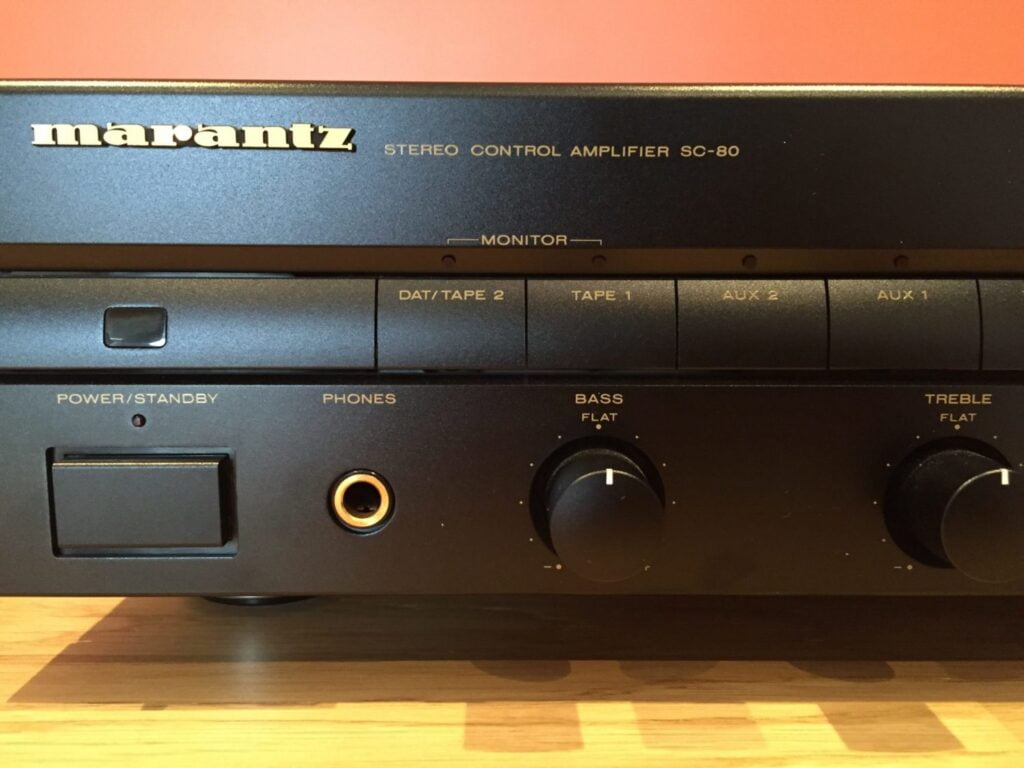
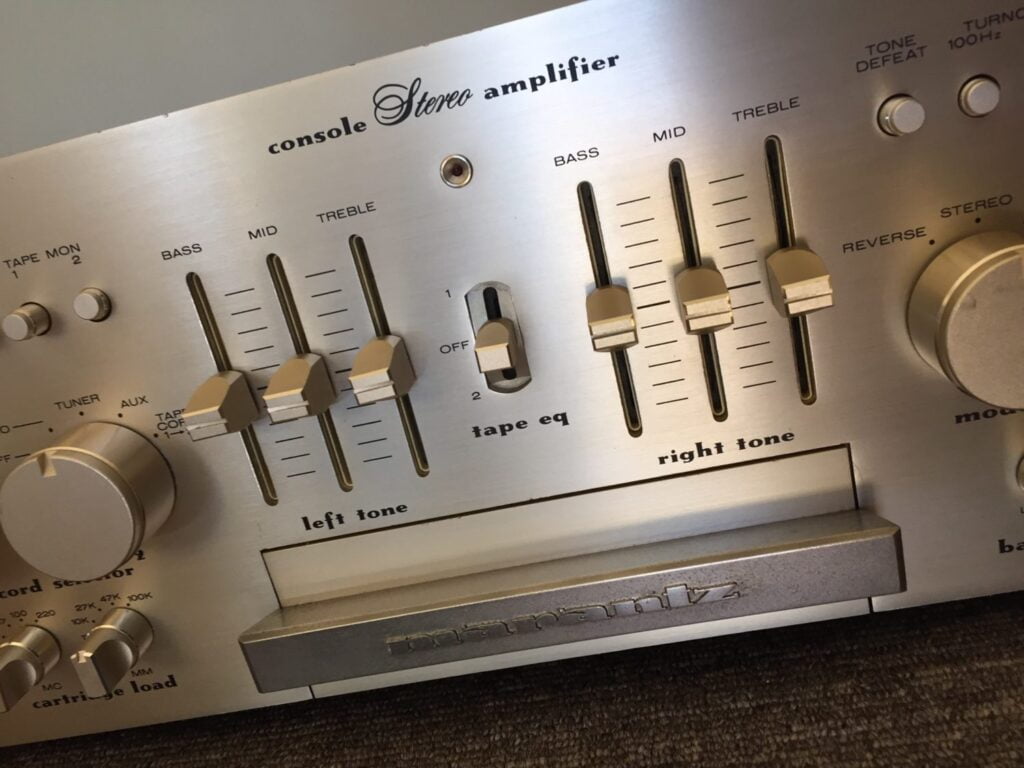
I’ve recently restored an immaculate Marantz SC-80/SM-80 pre/power combo. In this article, I look at the SC-80 preamplifier.
The Marantz SC-80, and its partner, the matching Marantz SM-80, are quality mid-range separates hailing from around 1990. They are unremarkable in terms of circuit layout and construction, but well made and thoughtfully laid out, making service relatively straightforward.
Unfortunately, both pieces suffered from poor PCB materials quality, having very thin, probably 1oz traces at most, that are very keen to come away from the board. If you are planning on working on either of these components, set your iron to 280 – 290 degrees centigrade.
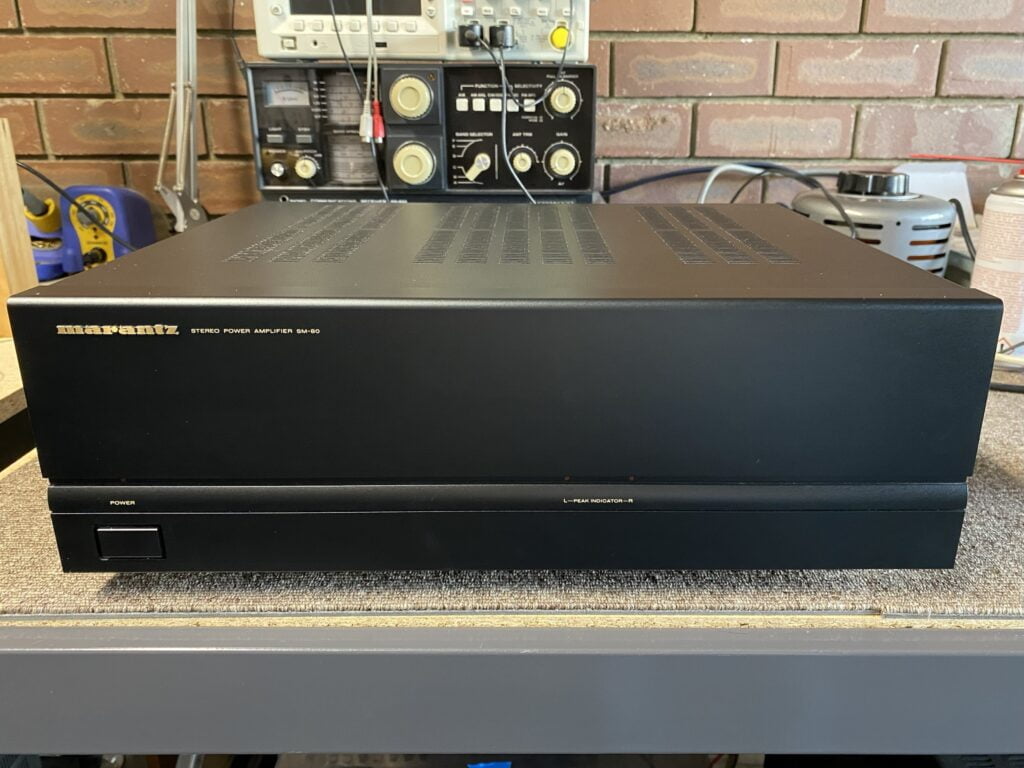
Check out my restoration of this customer’s Marantz SM-80.
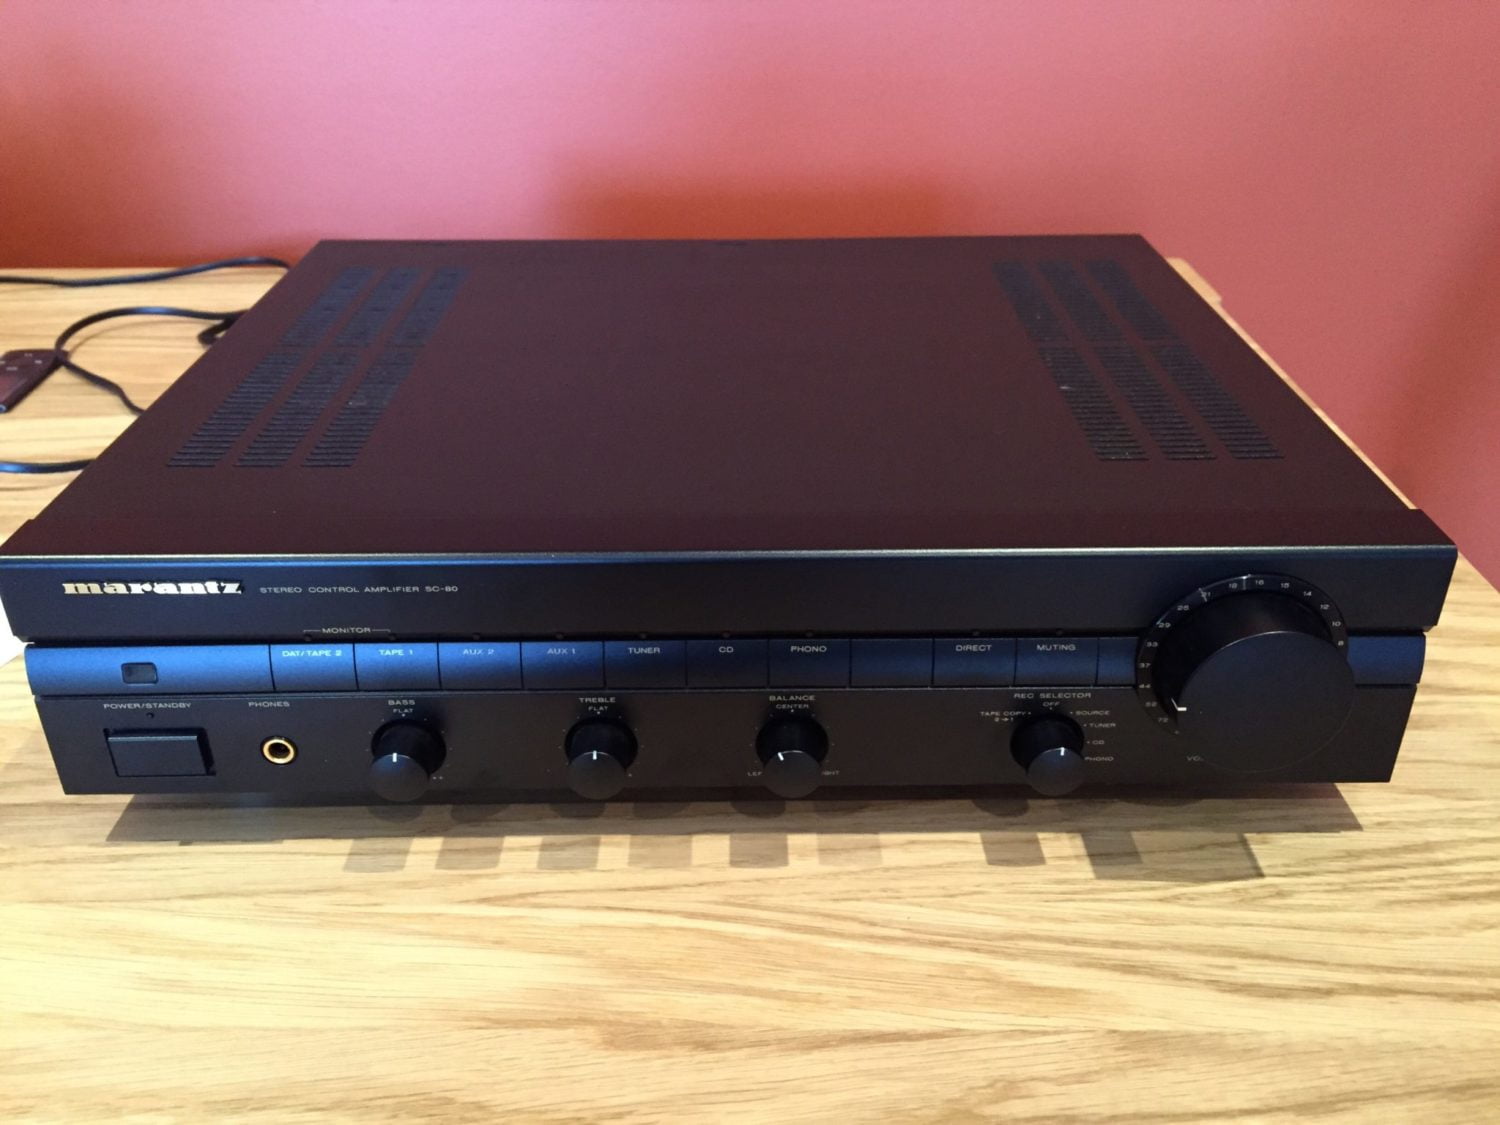
The SC-80 features a fully discrete phono preamplifier, with JFET input stage and good parts quality throughout. This unit was pristine physically, but internally she had been repaired before. A previous repairer had obviously battled with the fragile traces because there were several board-level repairs to traces that had previously lifted and I reworked all of those to improve them.
There were signs of an over-current fault in the phono preamp that looked to have been repaired. The board was also heavily contaminated top and bottom with flux residue, necessitating complete removal and what I now refer to as my ‘über’ cleaning process, involving foaming cleaner, water and flux removal top and bottom. Finally, there was a dead capacitor that needed a replacement.


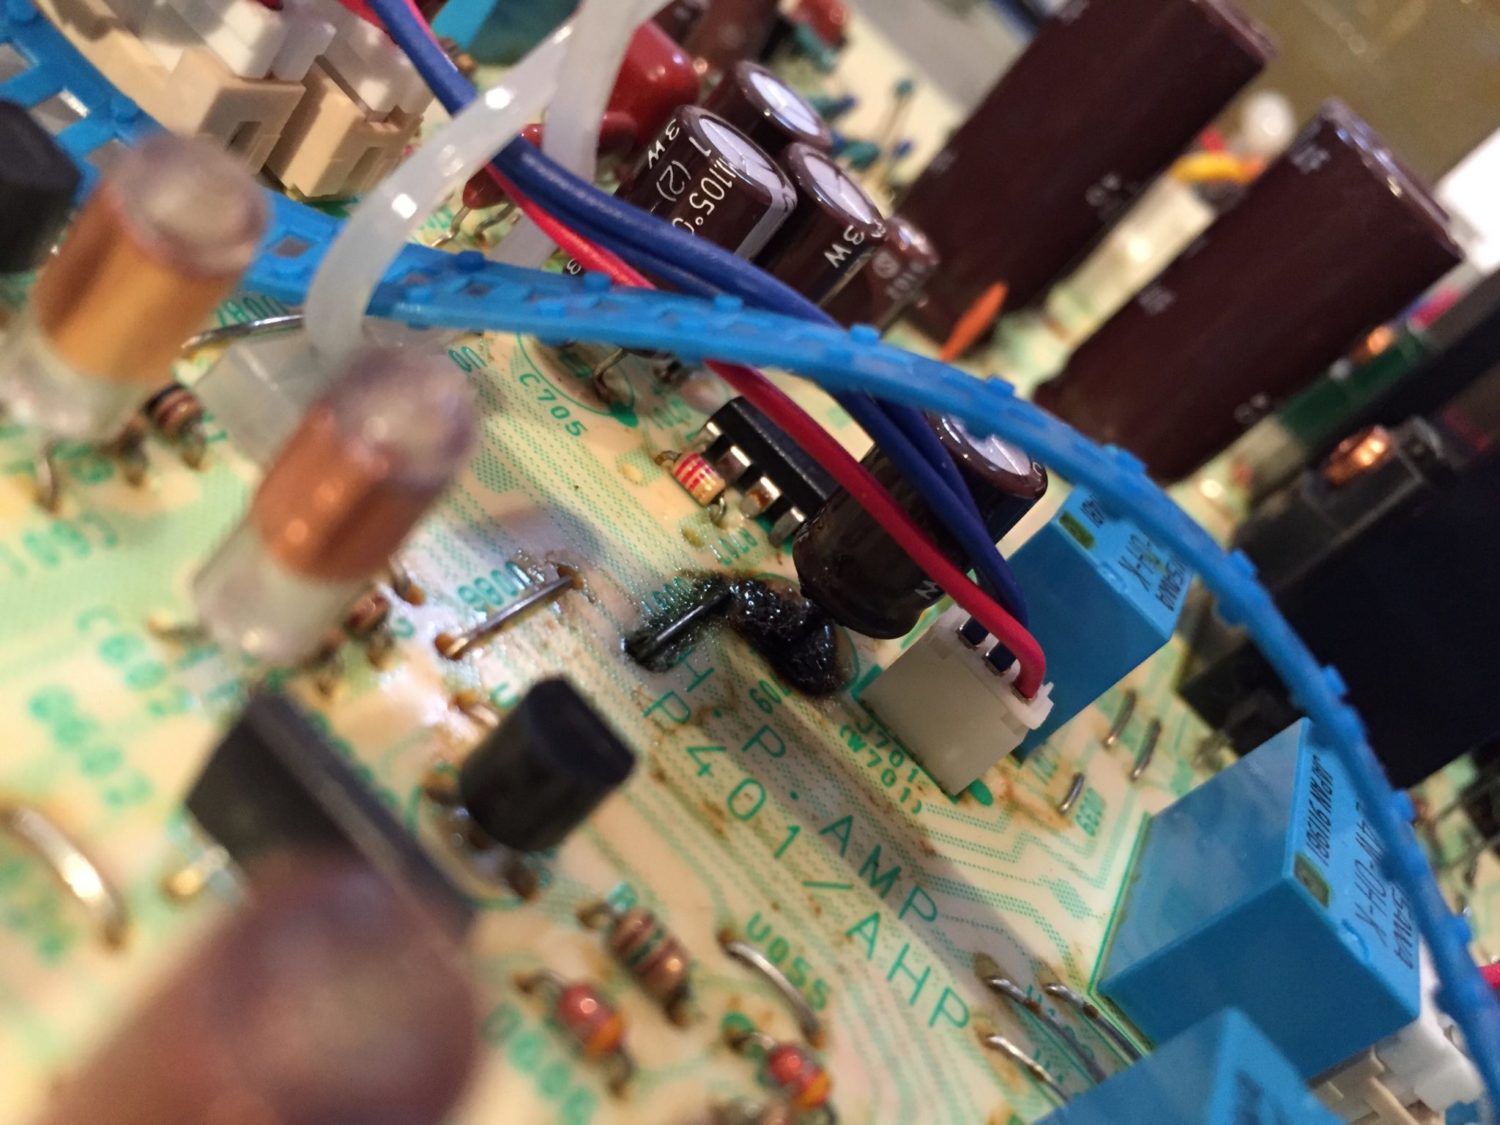


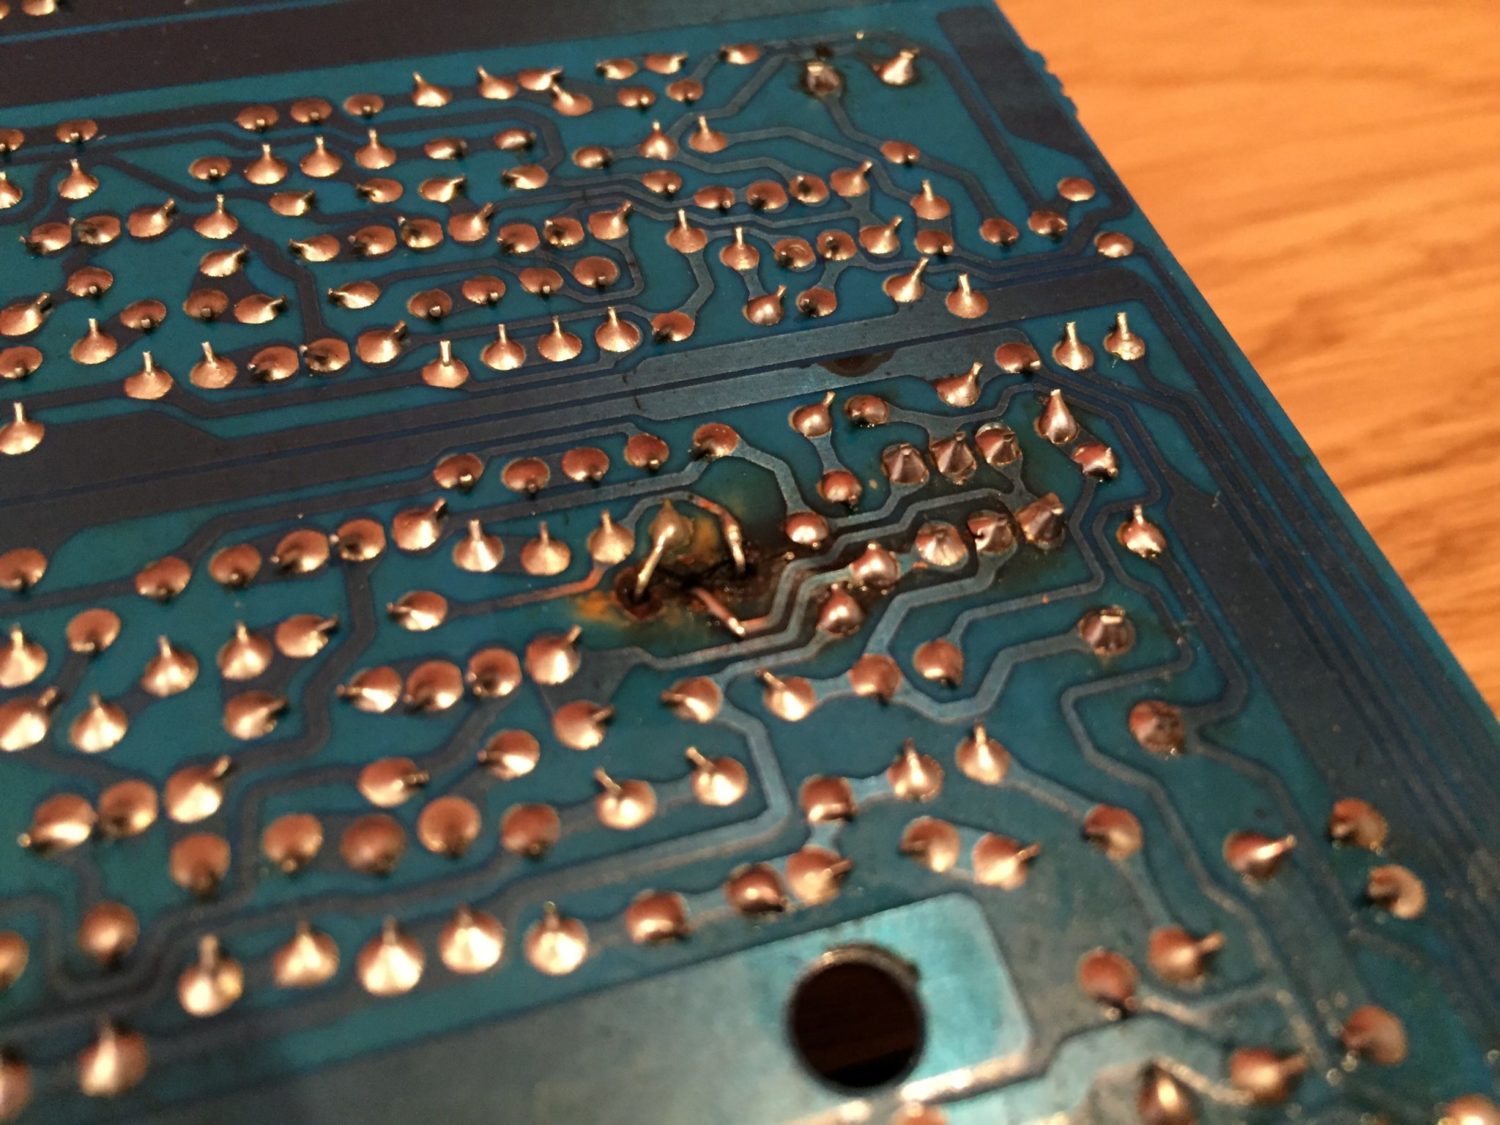


Once clean, I set about reworking the board in various ways. There were lots of dry joints that required rework and the trace repairs all needed attention. There was a charred area of board in the phono preamp underneath a transistor and resistor that had overheated at some point and charred the board.
The transistor looked to have been replaced and was working well, but the resistor had gone high and I replaced it. I removed as much of the conductive carbon from around this area as possible as this is a high-impedance part of the circuit and burnt board containing conductive carbon acts as a voltage divider along with other high-value resistors in the area and must be removed where possible.
I located a capacitor that had spewed its guts out onto the board, so this was replaced and I then set about checking out other capacitors, especially those that had been replaced previously with the correct values listed in the service manual.
Unfortunately, two large decoupling caps in the phono preamp had been replaced with incorrect values and caps that were half of the required 1,000uF. This may have accounted for the low-level hum my customer had complained of and I replaced the 470uF parts with audio grade Panasonic AM series caps of the correct value.


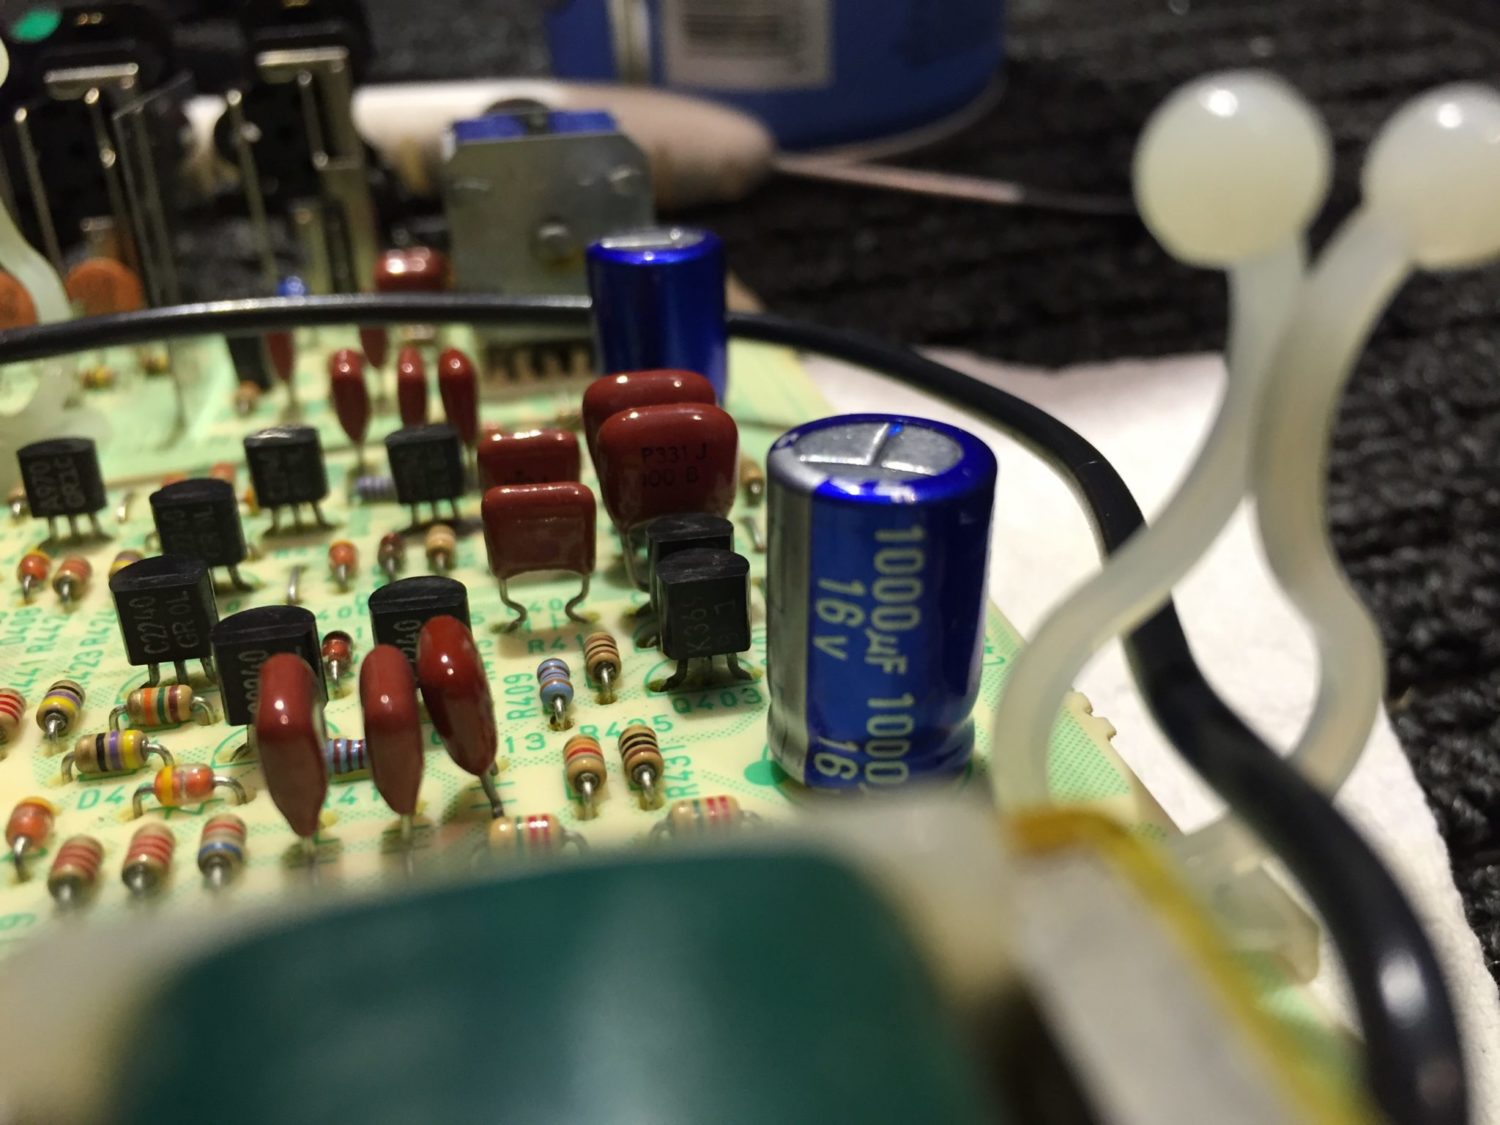


After all the board rework and testing and replacement of only a few parts, I sealed this board with the excellent RS Circuit Board Lacquer. This gives boards that look a little beaten a lovely satin finish that is aesthetically very pleasing and that seals boards nicely against dirt and moisture. Importantly the lacquer also seals boards in areas where they have been burned or damaged.

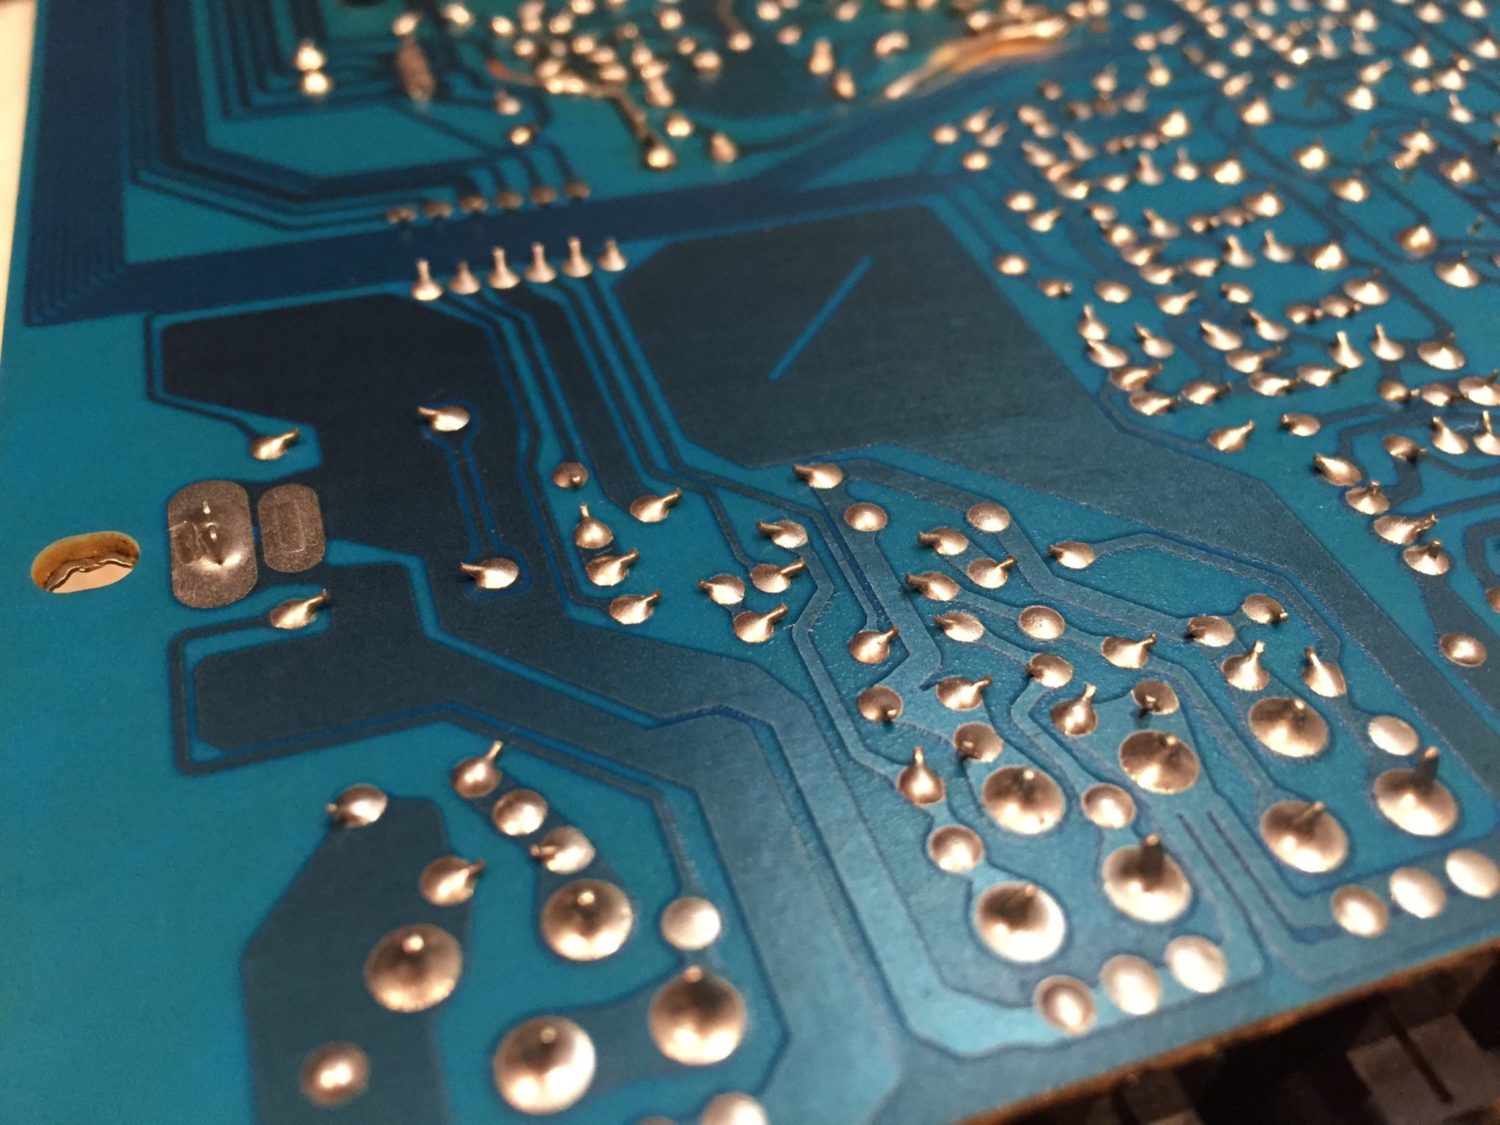
A quick test showed me that the hum my customer complained about was gone, and the SC-80 worked quietly and smoothly across the inputs and controls. The phono preamplifier section was nice and quiet and despite not replacing the majority of capacitors in the SC-80, she should now work well for a few more years.
Customers and readers sometimes ask why I don’t just replace all capacitors as a matter of course and there are several good reasons for this. Firstly, many older capacitors in better consumer gear are actually quite good. The Nichicon 105-degree-rated caps used in this Marantz gear are a good example. I dislike replacing good parts for no reason, as all it does is increase the risk of damage to boards with fragile traces such as these and serves no other purpose if the caps remaining are in fact all working well.
Sometimes a complete replacement of capacitors is worthwhile and this is always judged on a case-by-case basis. Much depends on the operating environment of the component, how much it has been turned on in its lifetime, how hot the component gets internally, how old it is and so on. In this particular case, the remaining capacitors tested good and I don’t believe they needed to be replaced at this time. There is a cost analysis that also must be made with quite a few to replace, the cost of work can quickly escalate.
This repair was very successful and the SC-80 is now operating correctly. Both pieces are ready to provide their owner with years of more good service. Be sure to check out my Marantz SM-80 restoration and repair also!

Thank you for your article. I also have this matching pair. I am looking for a Marantz sc-80 switch board and possibly the long plastic switch mechanism that has broken. Mine also looked like a cat had pissed on it with similar problems. Thank you, Matt.
Hi Matt, thank you and good luck with your search. Clean those boards is all I can say!
Hello,
‘über’ cleaning process, involving foaming cleaner, water and flux removal top and bottom
Seems a nice solution to cleaning.
What brand are you using?
Foam?
Flux remover?
Hi Fredrik, I use mostly laboratory grade chemicals, from Ambersil. These are obtainable from RS, Mouser, Farnell etc. Be very careful if going down the H2O pathway, to thoroughly dry afterwards! Regards, Mike.
I am repairing 2 of these units at the moment. One in black, and one in champagne. As I do it as a hobby, and both units have sit in a box several years, that I am replacing absolutely all caps. Hope I manage to replace it all without damage. Also replacing some transistors with same spec ones that can carry a cooling sink.
Great work Ivan, you are helping to keep equipment like this alive.