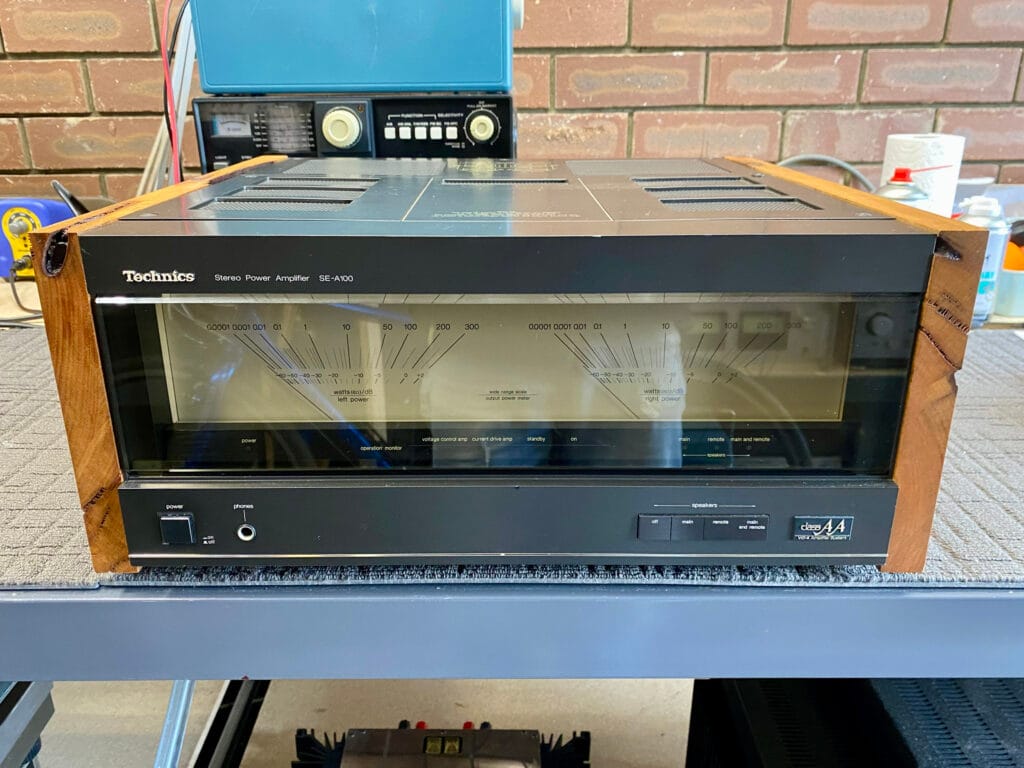
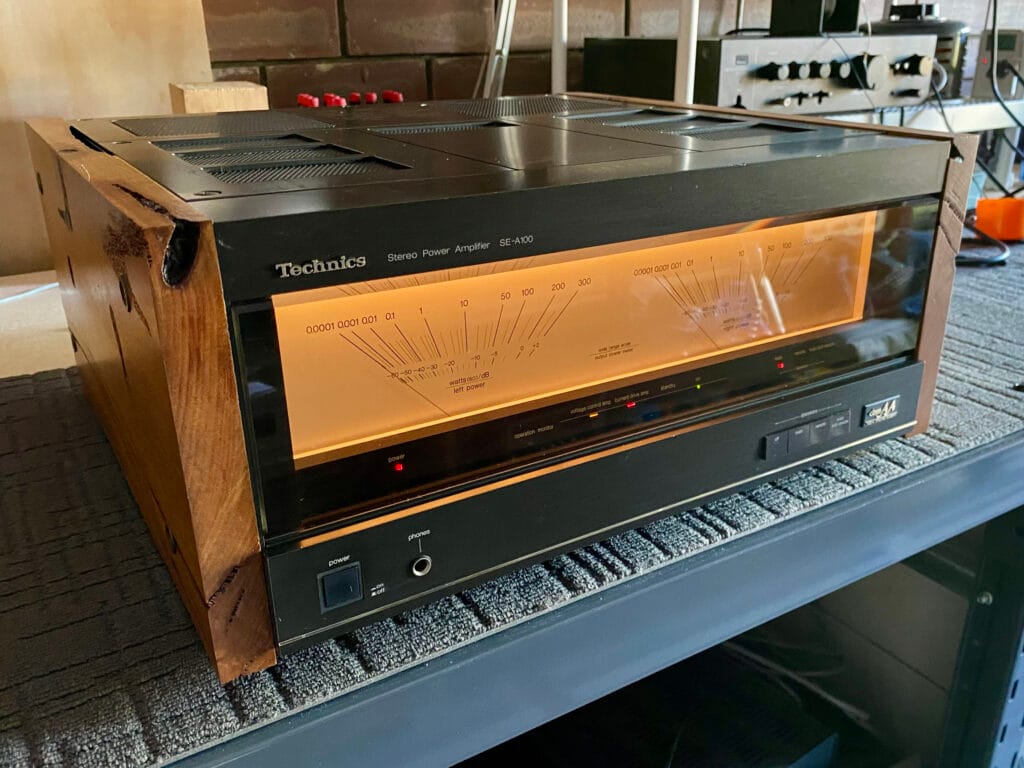
Join me as I repair and completely resurrect an incredible, broken Technics SE-A100 power amplifier that had been to just about EVERY Perth repairer before me. This is quite a story, so grab a drink…
Actually, I need a drink after the two days’ work this article has taken to put together! That’s right, folks, I’m following up on my 2021 teaser about repairing this absolute beast and my promise to write what I knew would be a hefty Technics SE-A100 resurrection article. Hey, it’s only taken me five years, but we are finally doing this epic story!
Why so long? The biggest and most complex jobs are the hardest to write up, sometimes taking days to put together, as this one has, with 100 images and video clips to sort through. Just editing and uploading the video took a few hours, and given how busy I am doing the work you see in these articles, you’ll understand why some of the best stories are the ones I find hardest to bring to you.
If you’d like to watch a video companion to this article, also a rather involved one, check it out:
Background
Keep in mind that I’m writing this almost five years on, but I recall the basics of the story pretty well. This beautiful but broken Technics SE-A100 had belonged to an owner before Paul, the current one, and had failed with a fault, throwing it into protection. The problem was that, instead of having that fault repaired, the amplifier made its way through various eastern suburbs and other repairers, including the infamous Mr RadioWaves, all the way to my friend Jason @ The Speaker Doctor, and was still broken!
I can’t recall why either owner didn’t contact me initially, but they may not have known about my business, or that I specialise in this type of work. Either way, the previous owner/s unfortunately contacted all the wrong people until he spoke to Jason.
A string of failed repair attempts with complex pieces like this is not uncommon. The amazing Gryphon DM100 I worked on a few years ago was killed in the same way. In both cases, this came to haunt me as the last person to look at these beauties. I’d much rather be the first. Each of the many repairers who’d touched this Technics SE-A100 before me gave up on it and handballed it back to the owner, after causing further damage and installing additional faults.
I’m sure Jason could have repaired this SE-A100 if he had wanted to, but he dislikes dealing with equipment that has been messed with as much as I do, especially complex pieces like this one, where you need all the help you can get rather than hindrances. Repairers, whether DIY or supposed professionals, very often add problems rather than solve them, and that was absolutely the case here.
So, whilst Jason refused to touch the SE-A100, Jason also knew that I love a challenge and helpfully suggested that the owner’s last useful option might be to take the amplifier to Liquid Audio. I’m grateful for that referral and for whatever faith Jason has/had in my ability to help with this one.
My ‘problem’ in cases like this is that I find it hard to say no to:
- Beautiful/interesting/serious equipment
- A challenge, like fixing equipment that others couldn’t
- Helping people who particularly need my help
This Technics SE-A100 certainly ticked all those boxes, and so, for better or worse, I agreed to take it on. This is something I came to regret for a while, but I eventually fixed the bloody thing when nobody else could. I don’t mind saying that I’m proud of that! Oh, and it’s STILL working, five years on. Read on to find out more!
Technics SE-A100 Features
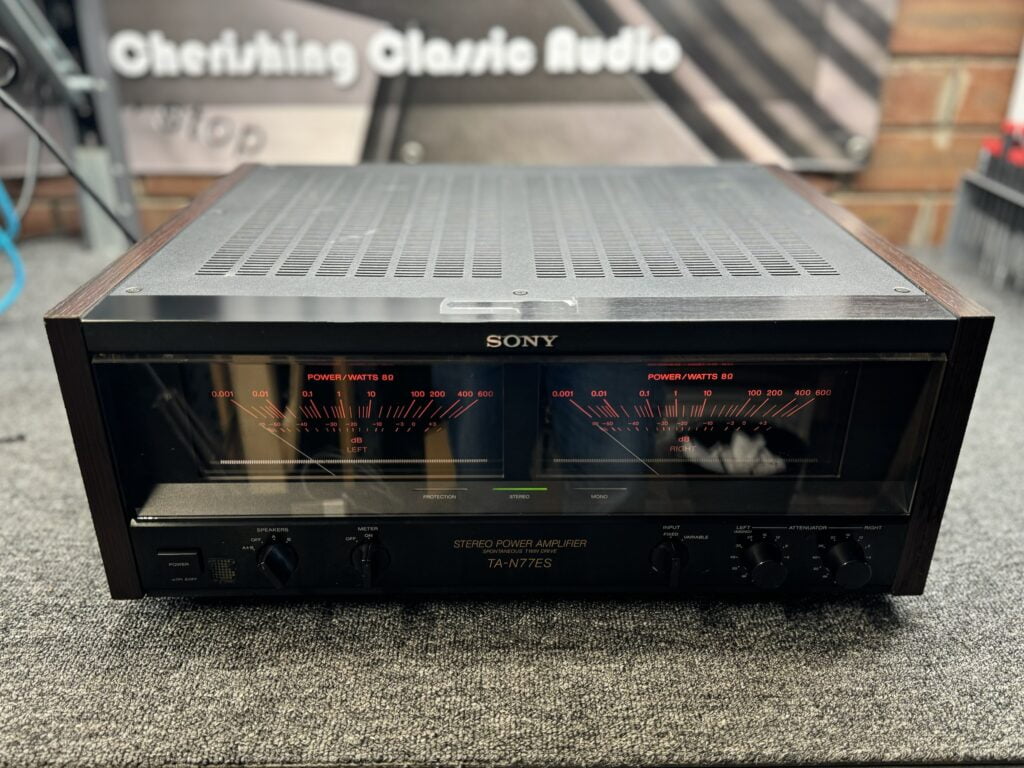
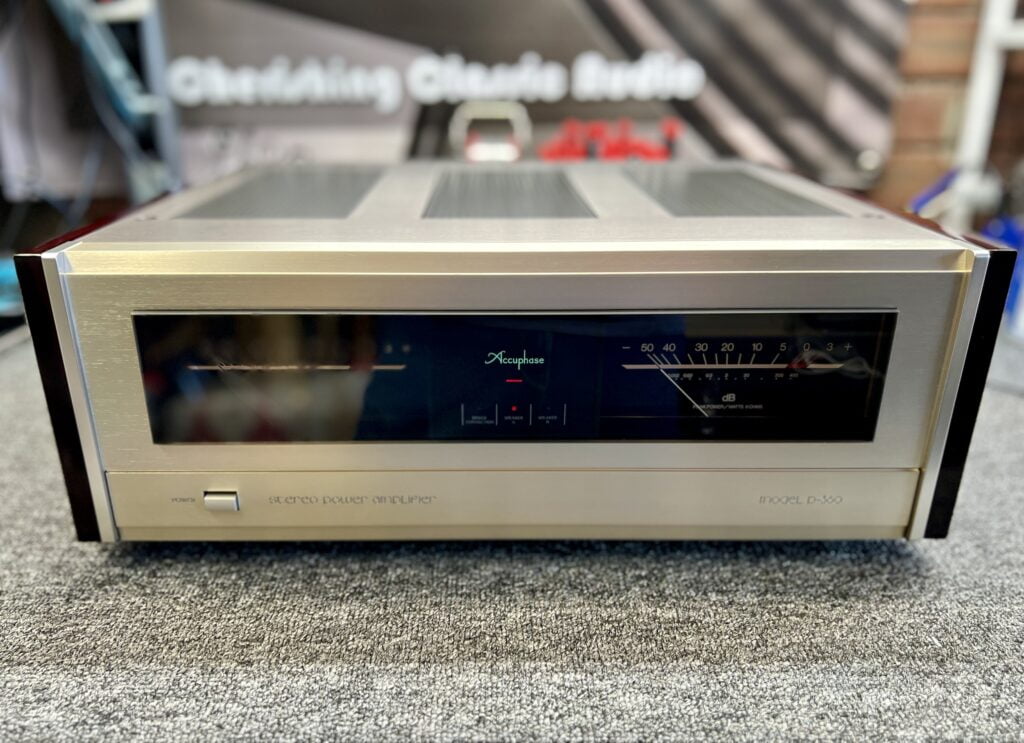
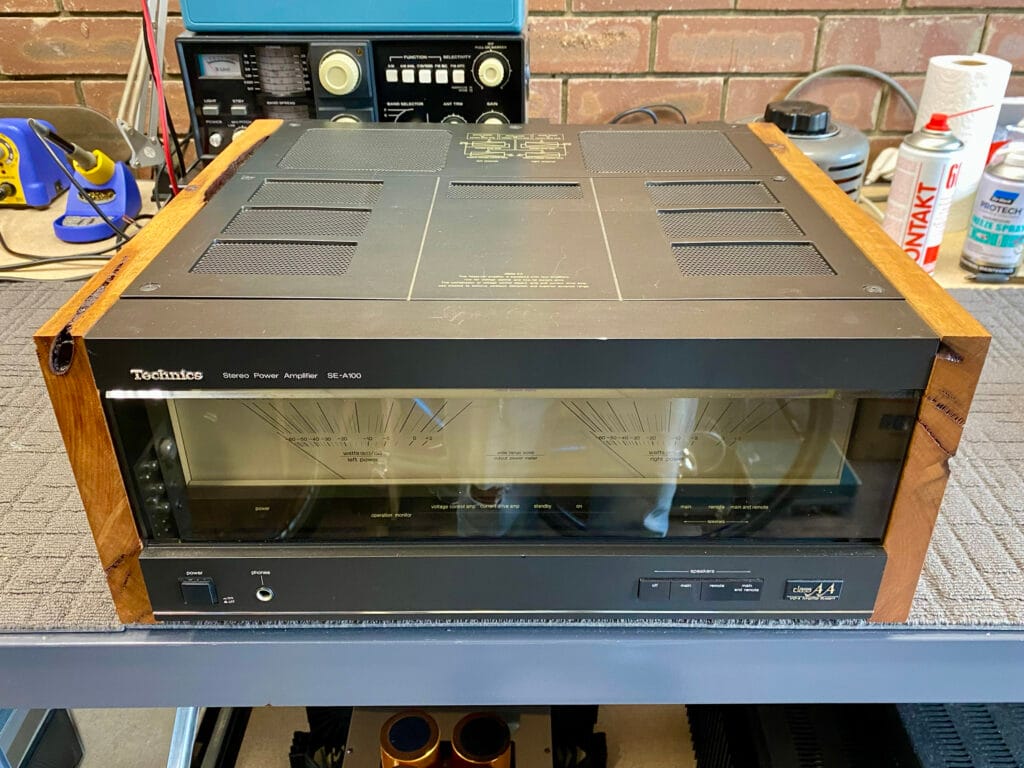
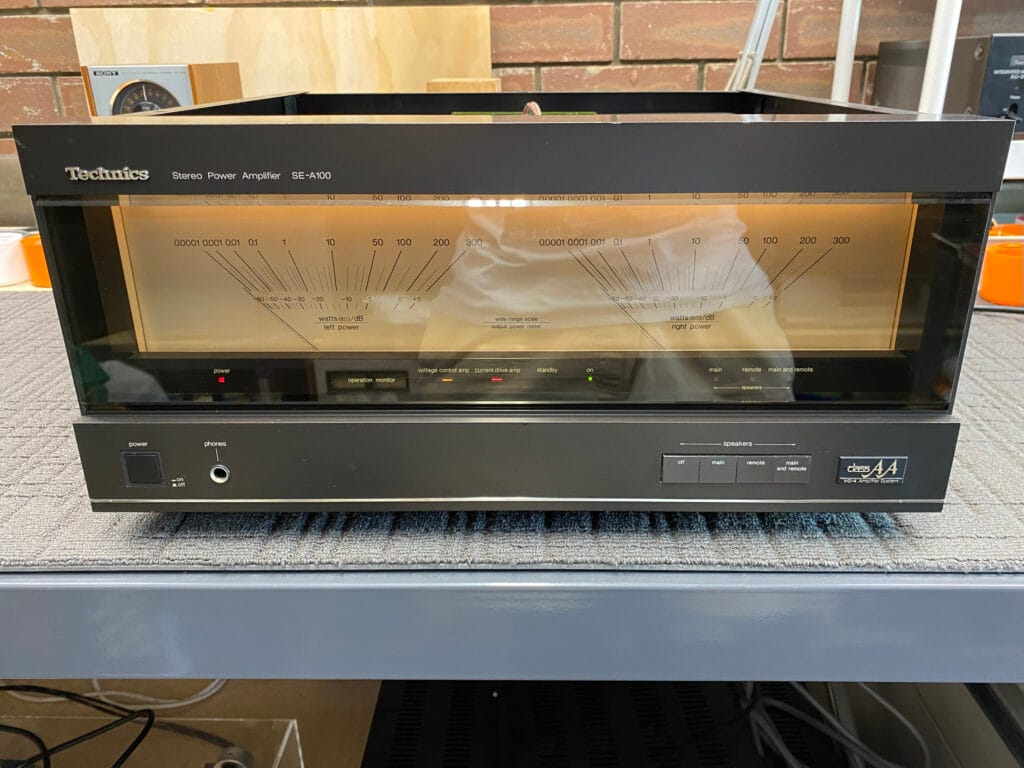
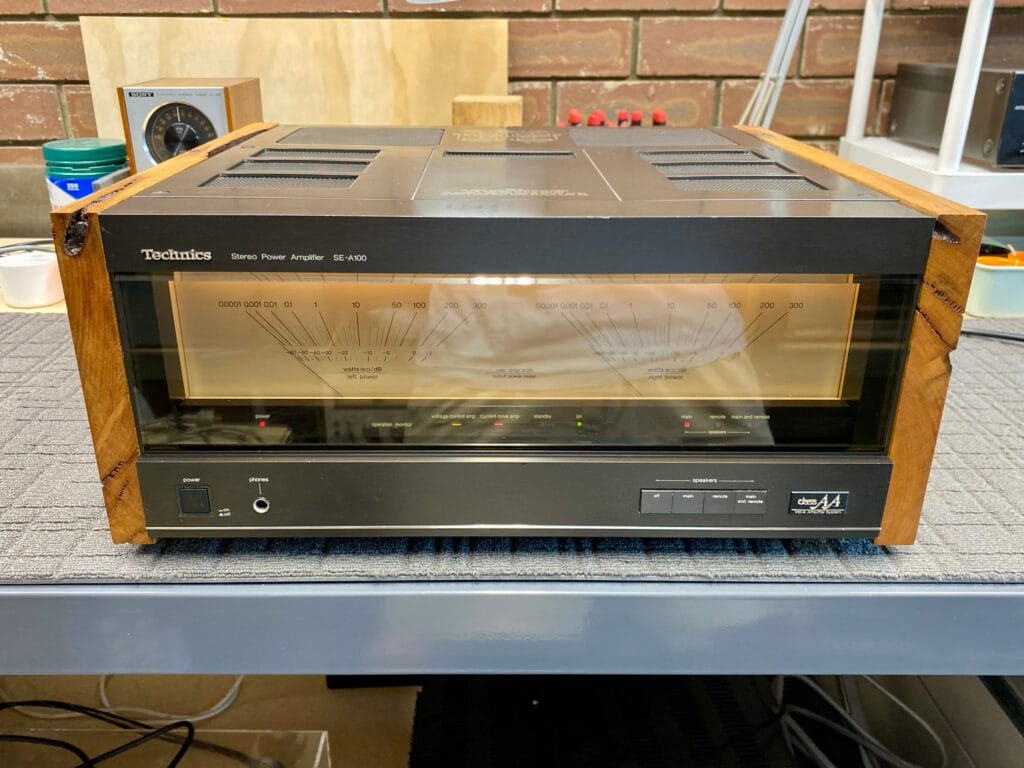
The Technics SE-A100 is, in my opinion, one of the most beautiful power amplifiers of all time. Others I like as much or more, featuring moving coil meters, include the insane Technics AE-A1 and SE-A3, the Onkyo M-504, which was my first serious power amplifier, the lovely Sony TA-N77ES, and the Accuphase P-360, another beauty I’ve owned.
This is a dual mono power amplifier with a class A driver amplifier and solid construction quality. There are some hokey elements that Technics always seem to include, like the wobbly card edge connectors and flimsy boards, but overall, these are good designs, if perhaps a little fragile. Certainly no Accuphase, but good.
There is a handy speaker selection switching from the front panel and even a handy headphone socket, for late-night listening perhaps. Best of all, though, are those massive moving coil ‘VU’ meters, and their unmistakable ‘Technics’ styling. This puts these and other related amplifiers into a unique category in terms of beauty.
I’ve summarised some additional details from the Technics literature, for your enjoyment:
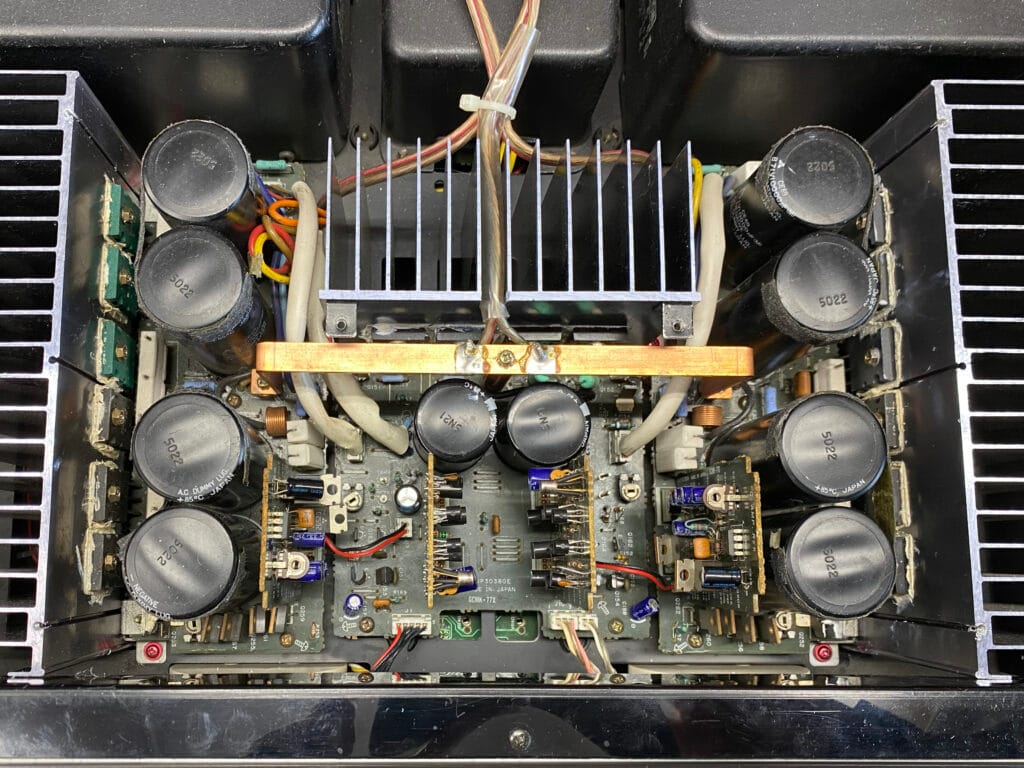
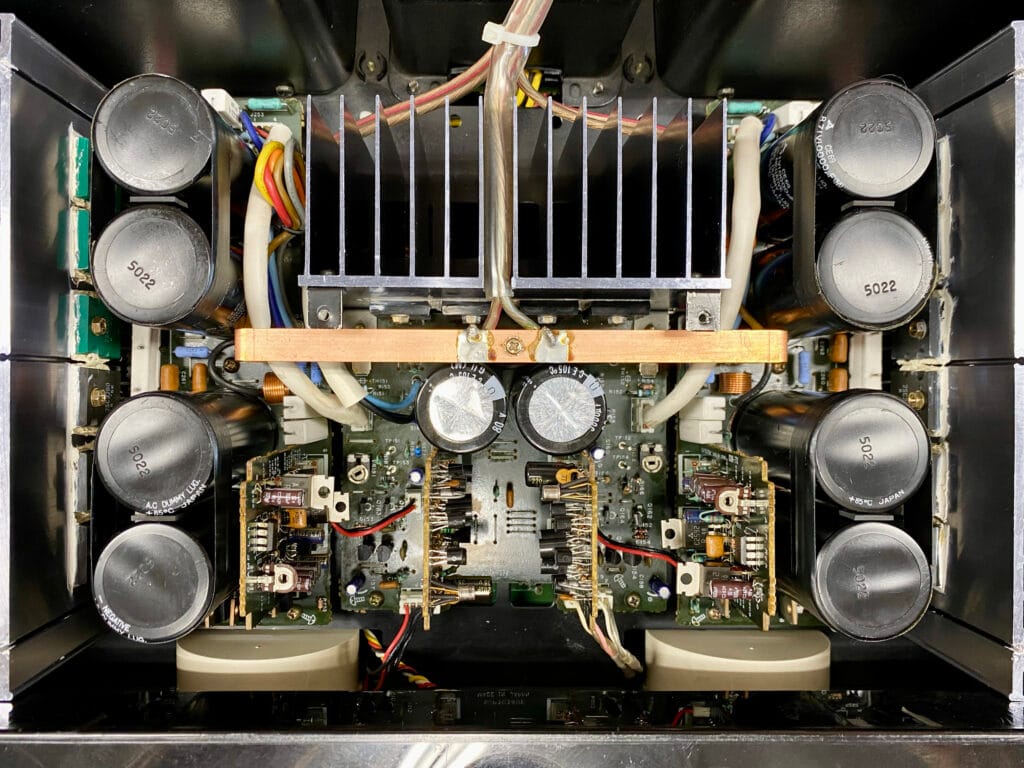
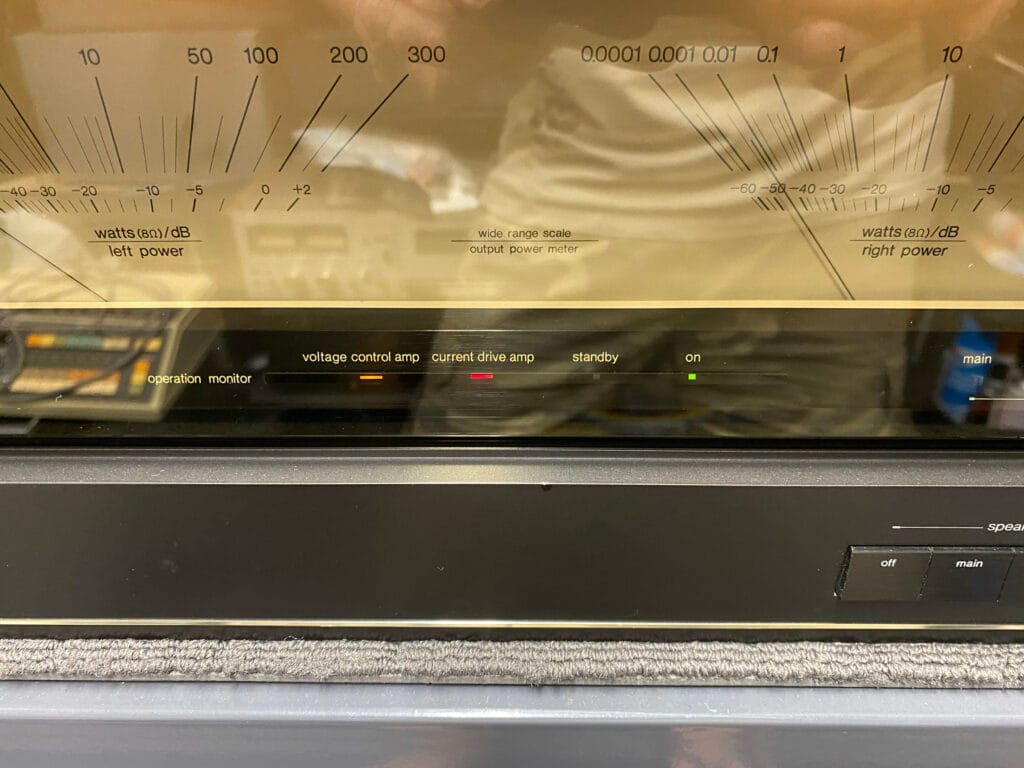
Technics’ Class AA circuit design places the voltage and current drive amplifiers into separate blocks and boards. This frees the voltage control amplifier from the current supply, reducing distortion. The SE-A100 has two voltage control amplifiers and two current drive amplifiers for the left and right, for a total of four.
The voltage control amplifier employs a Darlington configuration with a differential amplifier FET input stage, and is a complete class A, ultra-low distortion amplifier. The current drive amplifier consists of a FET differential amplifier input, a high-speed amplitude amplifier stage equipped with a Darlington output stage using 3-parallel output transistors.
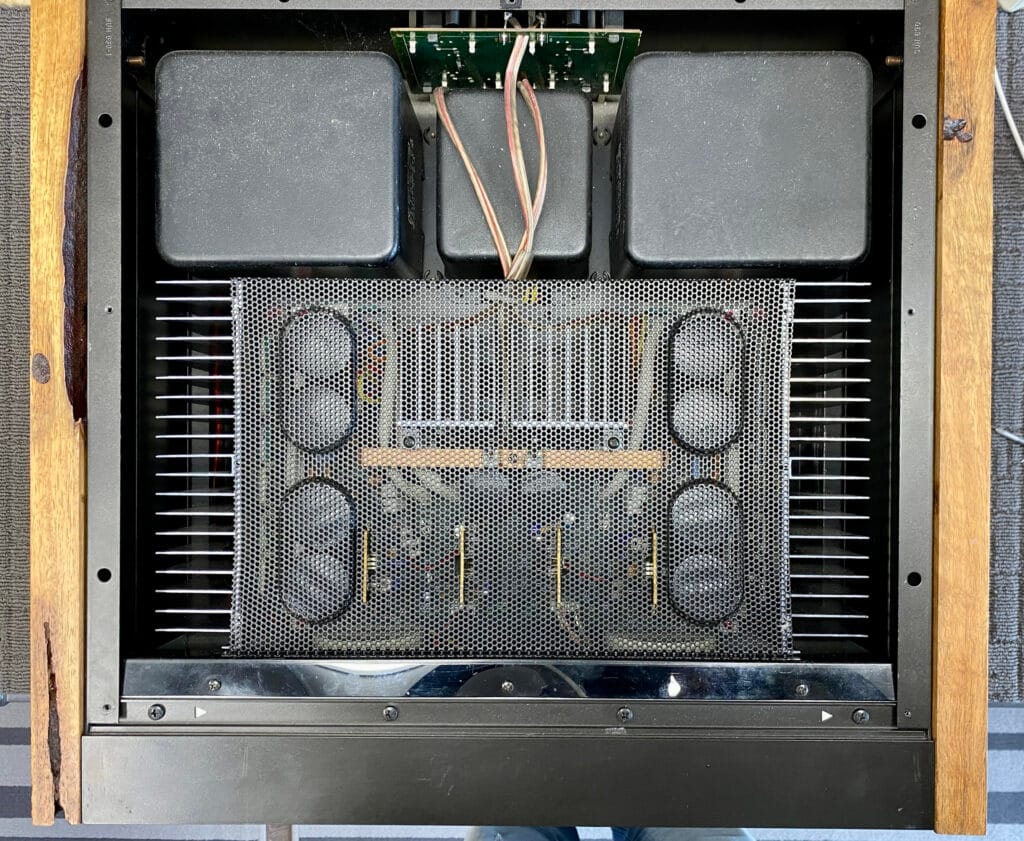
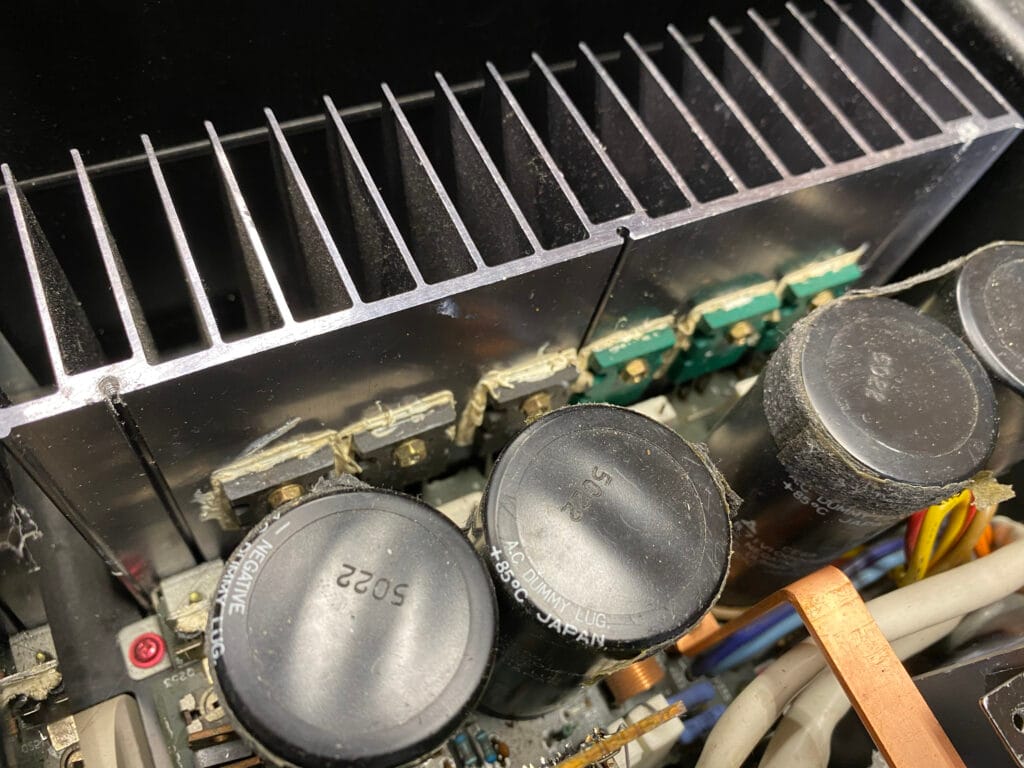
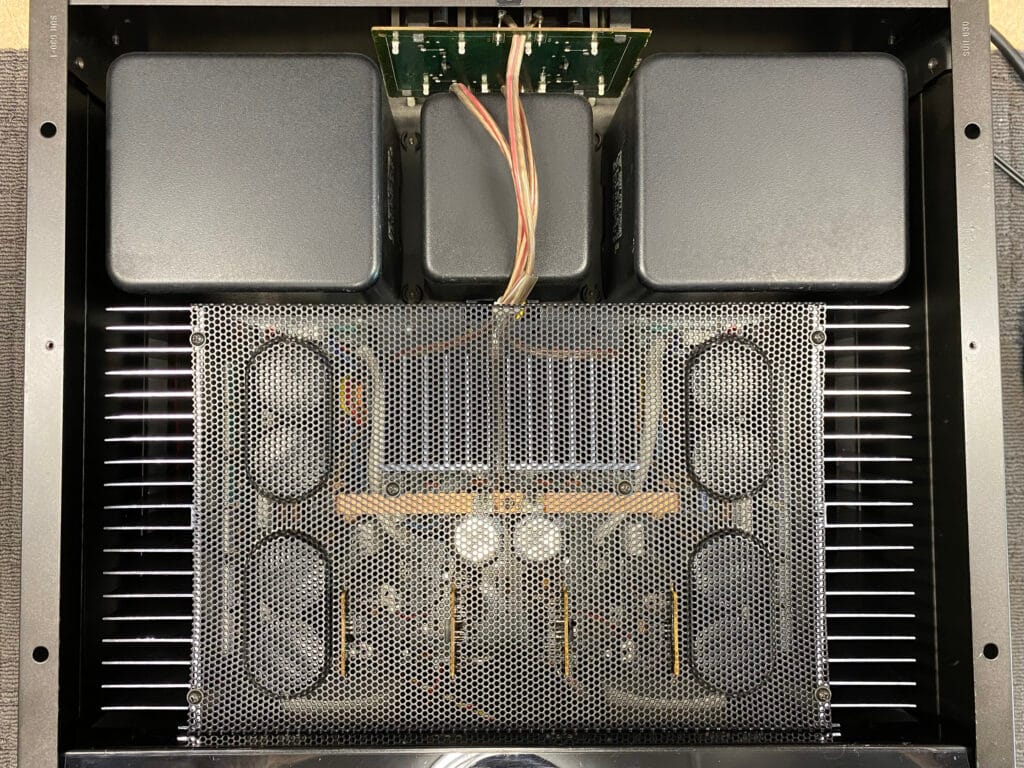
The power supply section has a 3-transformer configuration, equipped with a power transformer for the left and right current drive amplifiers and a transformer for the left and right voltage drive amplifiers. Fully symmetrical construction is employed to eliminate interference between the left and right channels. In addition, the power supply capacitor is equipped with 91,200 μF of total capacitance.
The power transformer uses oxygen-free copper wire and is sealed with special resin in a total of three layers of magnetic shielding case to reduce adverse effects such as mechanical vibration and magnetic flux leakage. The top plate is 3 mm thick and magnetic radiation and mechanical vibration are suppressed by a 2 mm thick high-rigidity chassis and 2 mm thick insulator rubber under the transformer.
Technics SE-A100 Specifications
Courtesy of Audio Database and HiFi Wiki, adapted by Liquid Mike
| Type | Stereo power amplifier |
| Rated Output (20 Hz ~ 20 kHz): | 240W + 240W (4 Ω, 0.002%) 200W + 200W (6 Ω, 0.001%) 170W + 170W (8 Ω, 0.0007%) |
| Dynamic Power (IHF): | 600W + 600W (2 Ω) / 600W + 600W 400W + 400W (4 Ω) / 400W + 400W 275W + 275W (6 Ω) / 275W + 275W 225W + 225W (8 Ω) / 225W + 225W |
| Distortion factor (-3dB): | 1kHz: (0.0002%) or Less 20 Hz to 20 kHz: 0.0009% or Less |
| Frequency characteristic: | 0.8 Hz ~ 150 kHz + 0 -3dB 20 Hz ~ 20 kHz + 0 -0.1 dB |
| Output bandwidth: | 5 Hz to 100 kHz (-3 dB, 0.01%, 8 Ω) |
| Signal-to-noise ratio: | 120dB (IHF’66) 93dB (EIAJ) |
| Residual noise: | 300 μV or less (Lin.) 50 μV or less (IHF-A) |
| Input Sensitivity / Impedance: | 1.2V/47k Ω |
| Damping factor: | 120 (8 Ω) |
| Meter indication range: | 0.0001W ~ 300W (8 Ω) -60dB to + 2 dB |
| Meter indication accuracy: | ± 3 dB (-40dB or more) ± 5 dB (less than -40dB) |
| Meter attack time: | 100 μs |
| Recovery time: | 300ms |
| Power consumption: | 400W |
| Power: | 100 VAC, 50/60Hz |
| External dimensions: | Width 476 mm x Height 209 mm x Depth 475 mm |
| Weight: | 33.7kg |
| Years produced: | 1985 – 1991 |
| Original RRP: | 300,000 Yen, 4,600 DM, ~ $2,800 USD, ~ $3,600 AUD |
Problems
The biggest issue with this beautiful Technics SE-A100 was the poor previous work the amplifier had seen at the hands of the various ‘repairers’ who’d worked on her. I won’t pull punches here, because this needs to be said: most of the ruined equipment I see has suffered the greatest damage in the hands of those who’ve tried to repair it.
I’ve lost track of how many cases like this SE-A100 I’ve come across over the years, but they provide a simple lesson that must be learned. It largely isn’t, and so I won’t stop trying to educate people about this: Very few of the folks who might want to look at an amplifier like this should ever take the lid off one, and most folks who say they can fix something like this cannot.
This, of course, shouldn’t be the case, and pointing it out upsets some people, but nevertheless, it’s a simple and irrefutable statement of fact. There is no better example than this Technics SE-A100, an amplifier that thankfully still works today, five years on. But it was nearly lost forever.
Here is my diagnosis, from my original 2021 invoice/report, tidied for clarity:
- Amplifier has various issues caused by poor previous work and parts failure.
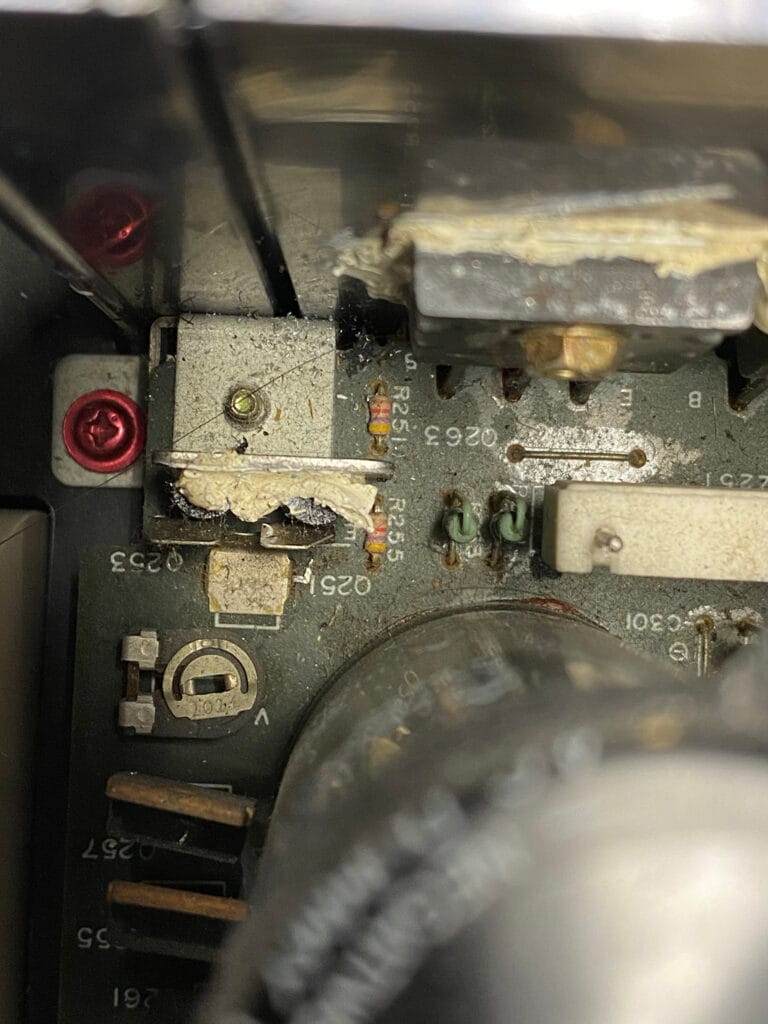
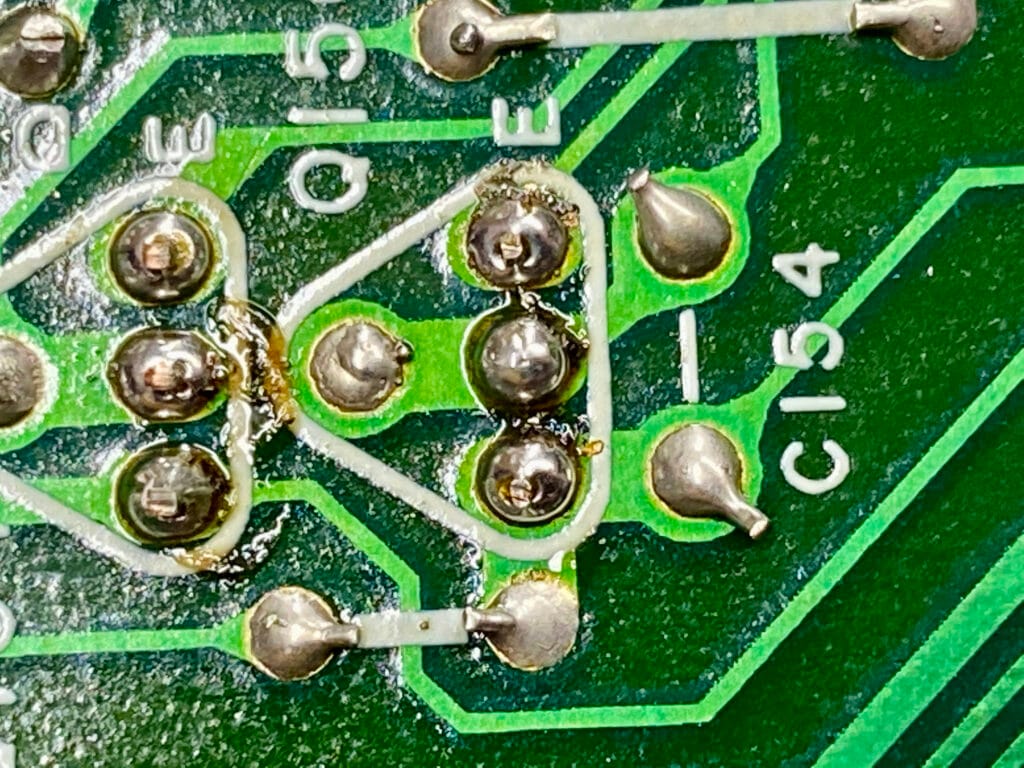
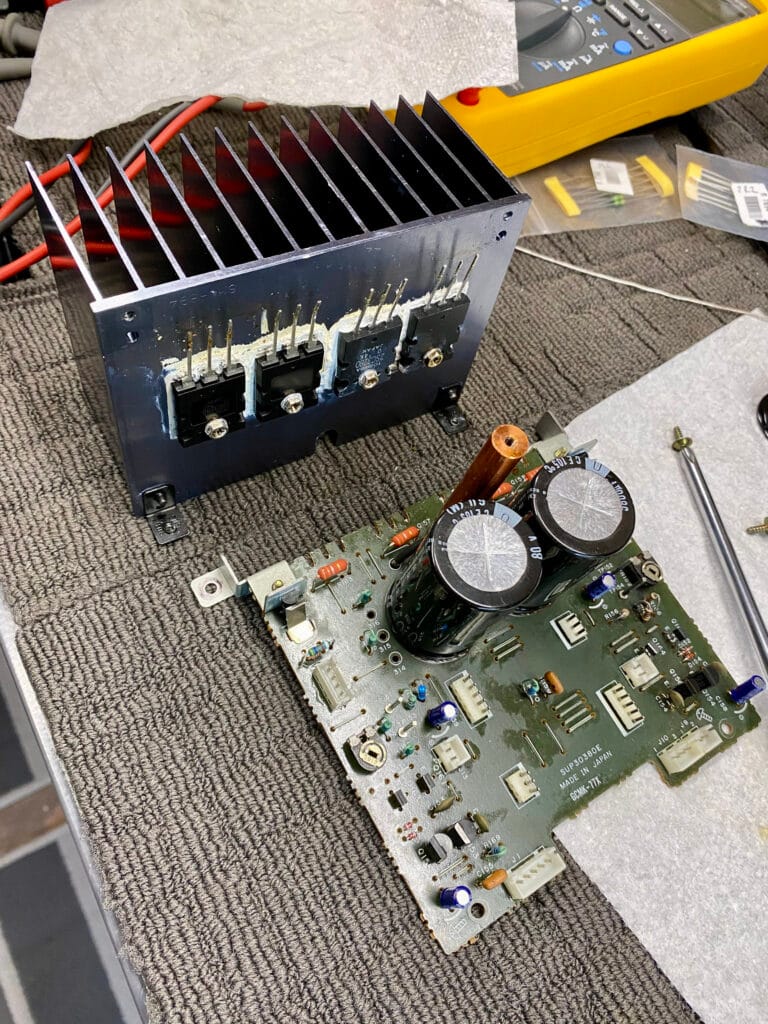
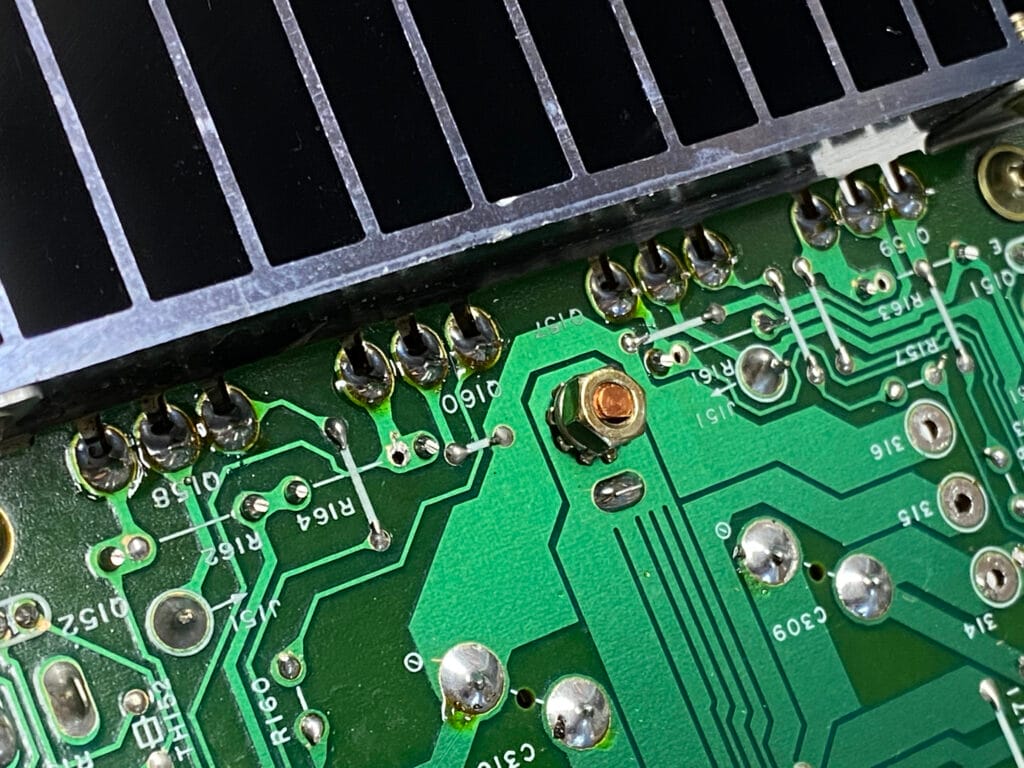
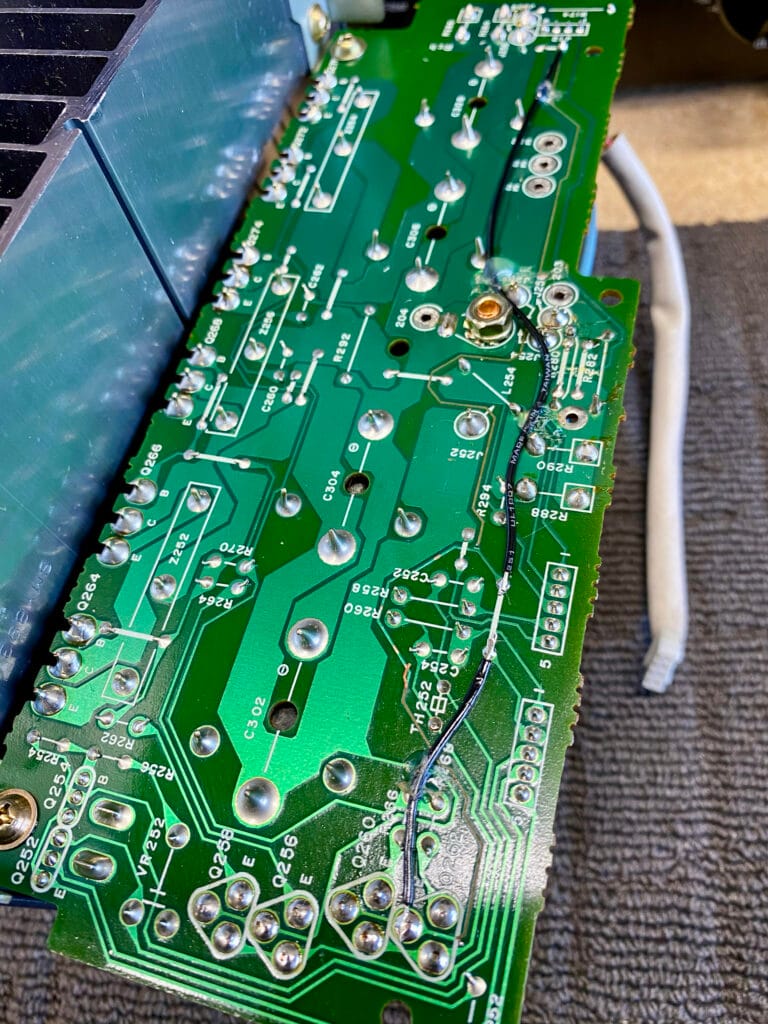
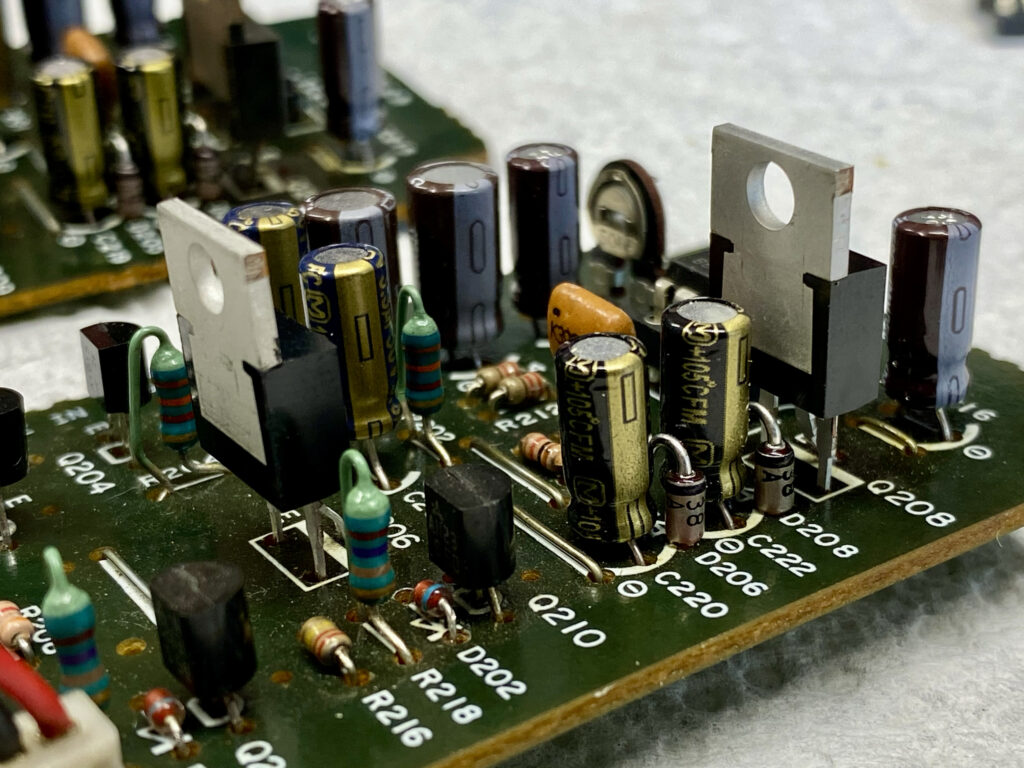
- Unit stays in protection due to various failed parts and a vaporised trace in the driver and current stages of the R/H channel.
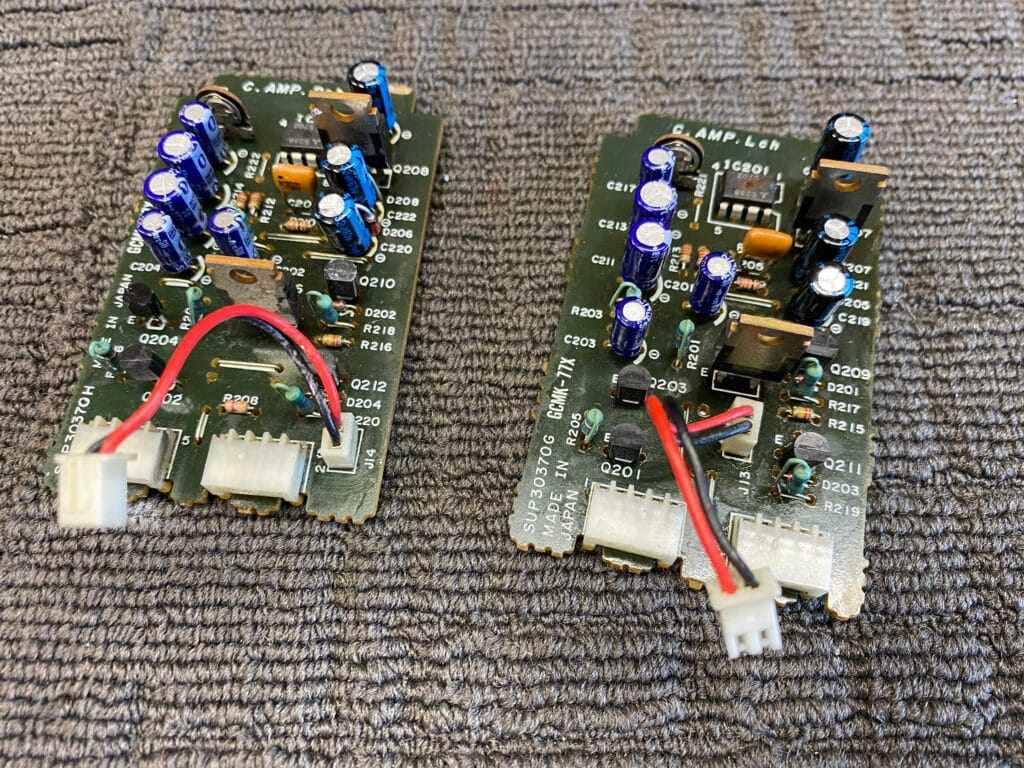
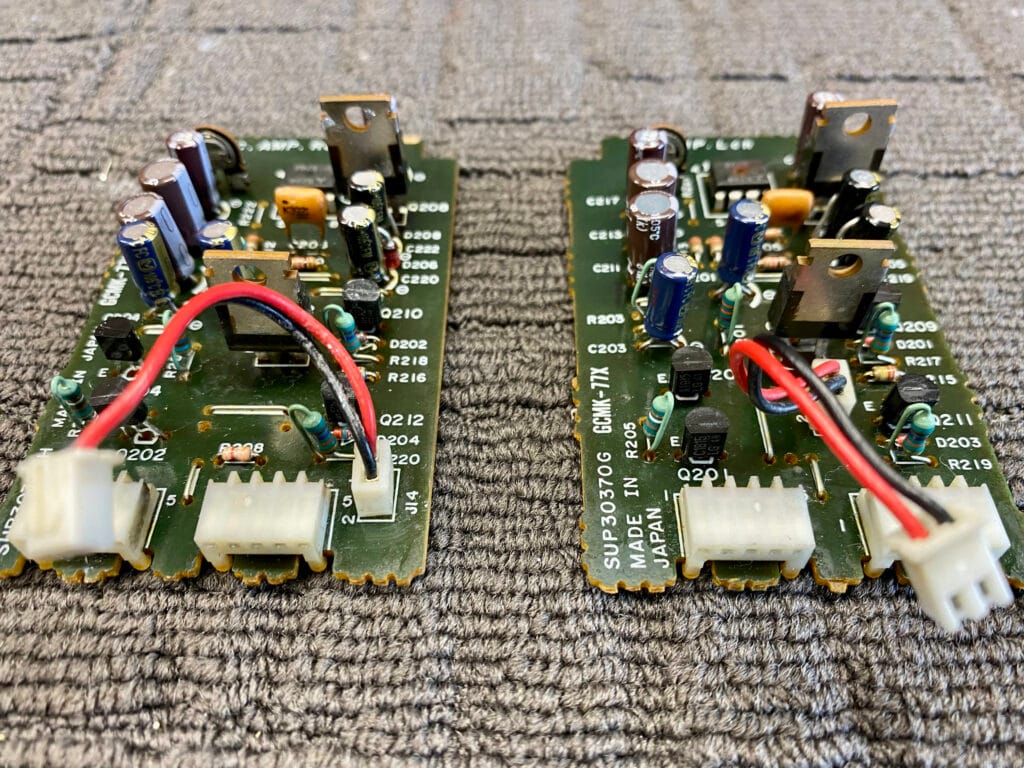
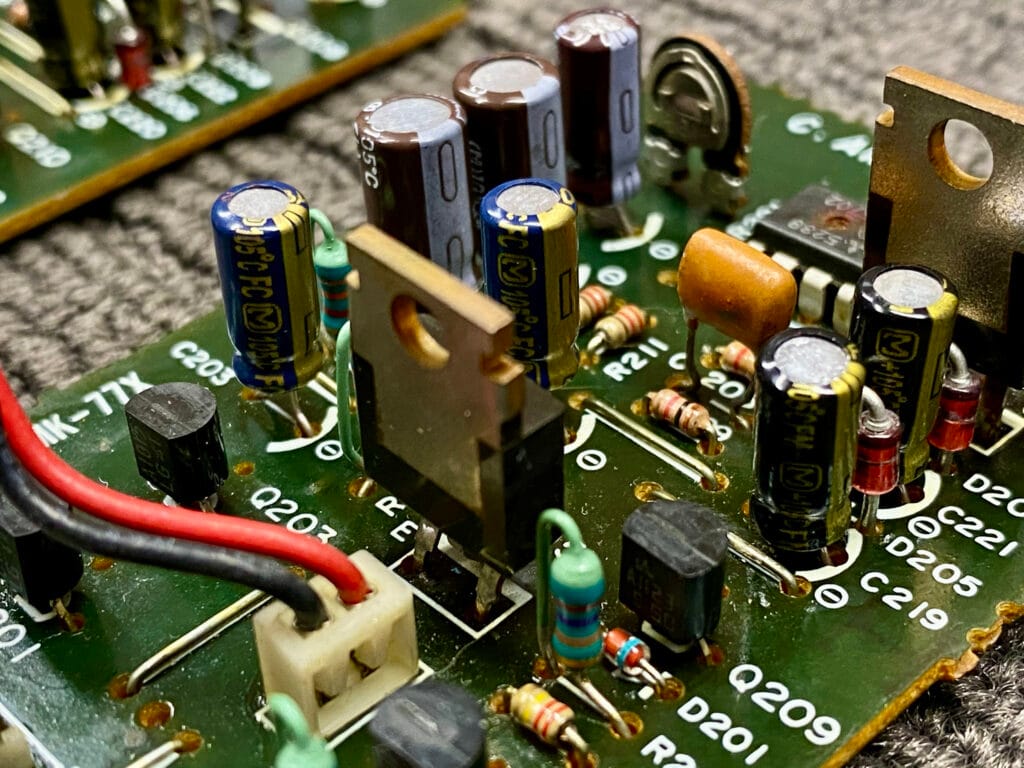
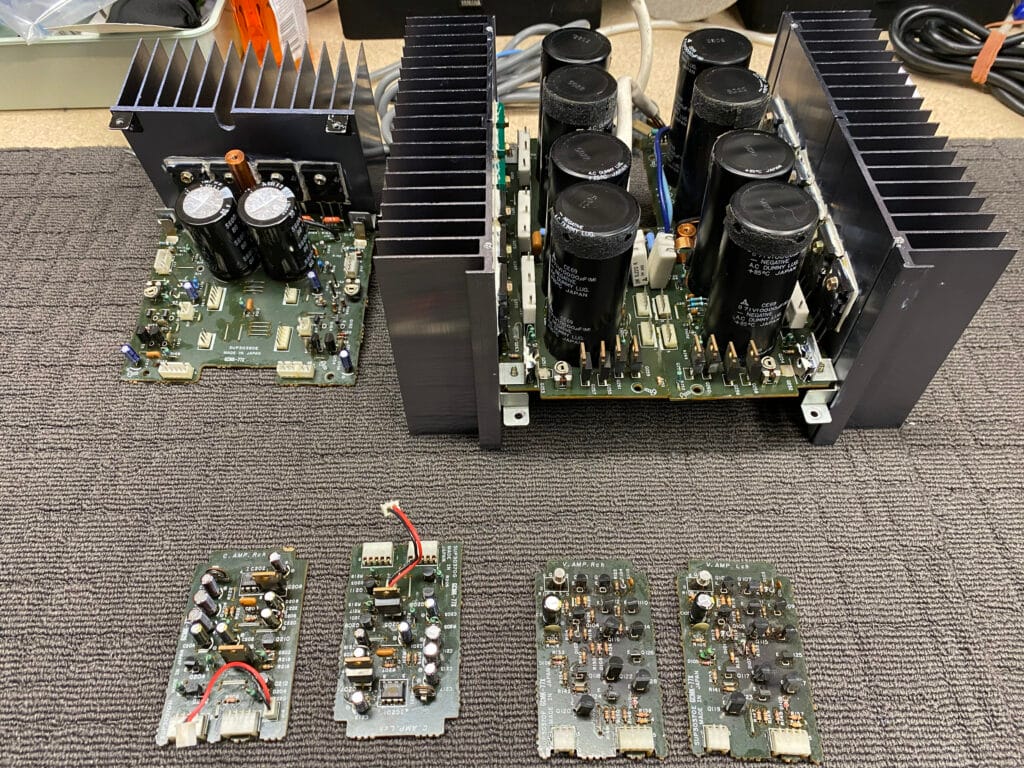
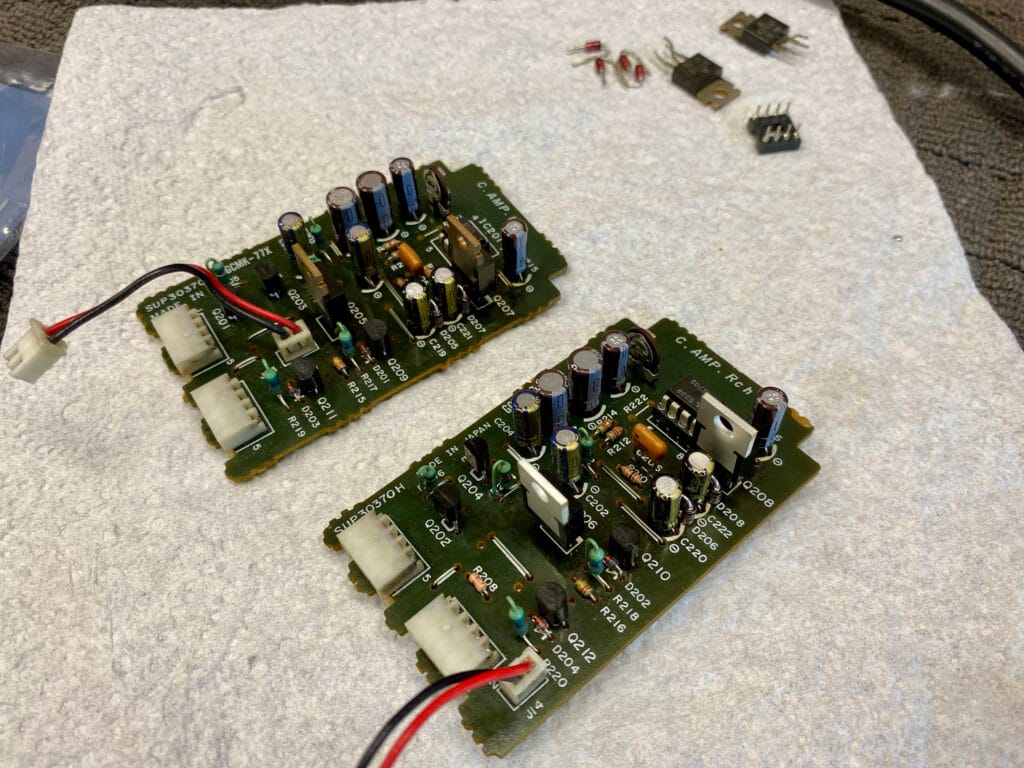
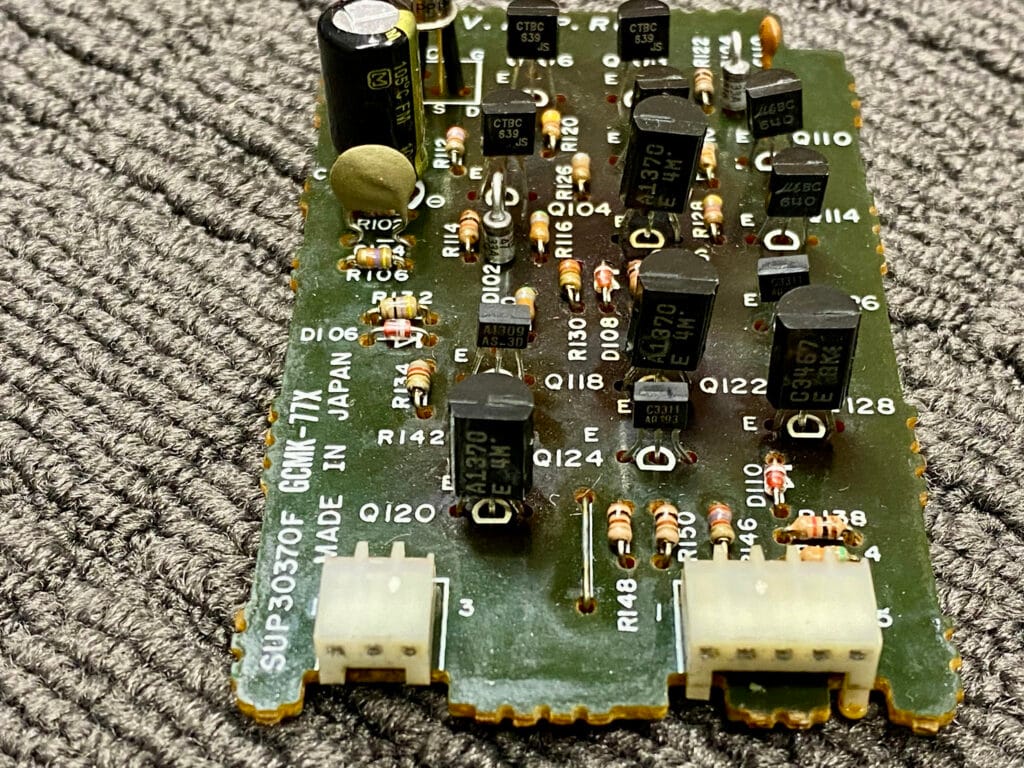
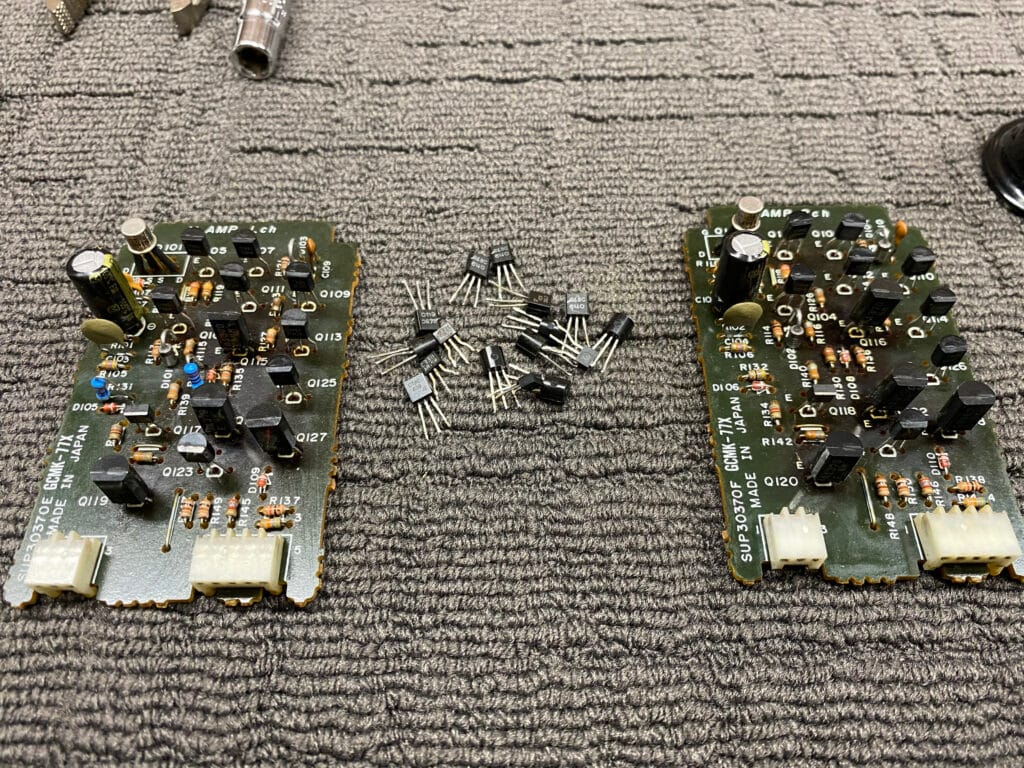
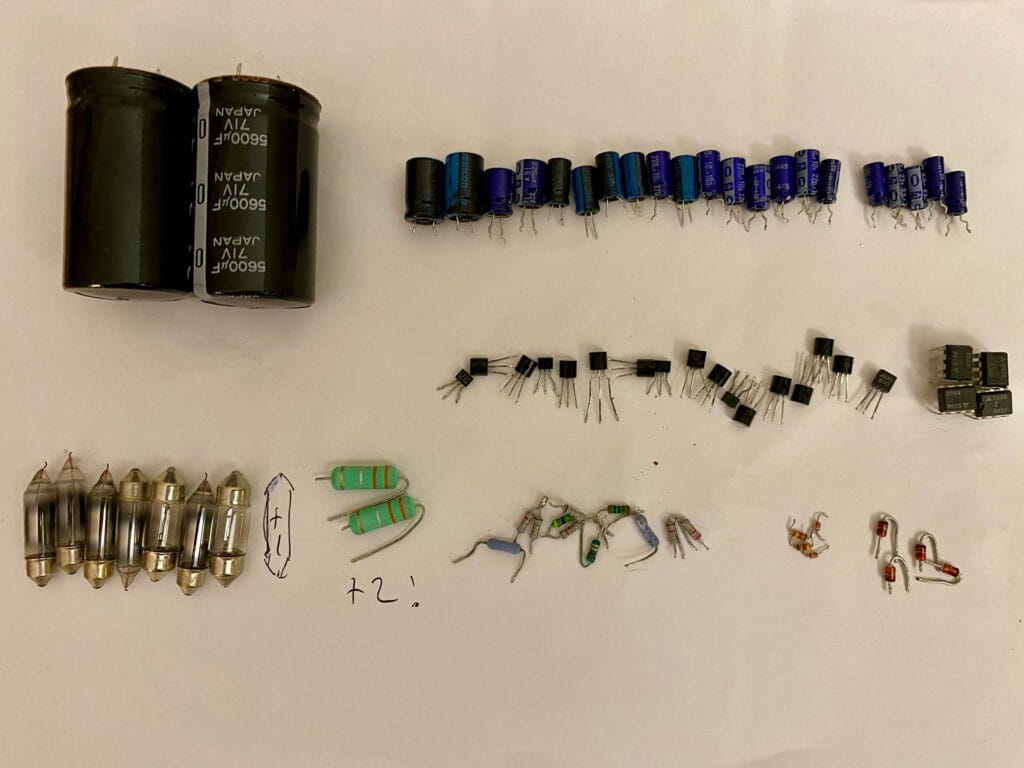
- Voltage driver boards have been incorrectly rebuilt using inappropriate transistors and many previously replaced parts must be replaced again.
- Card-to-board connectors need attention.
- Faults are nested and interact with one another; the design makes diagnosis and troubleshooting difficult.
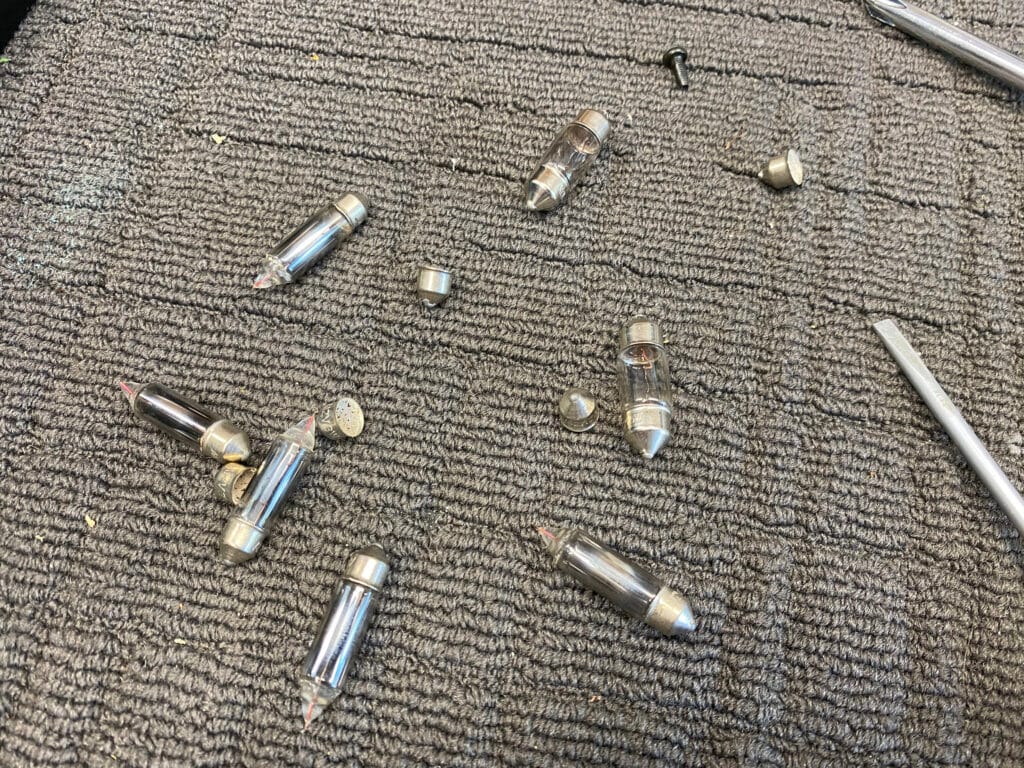
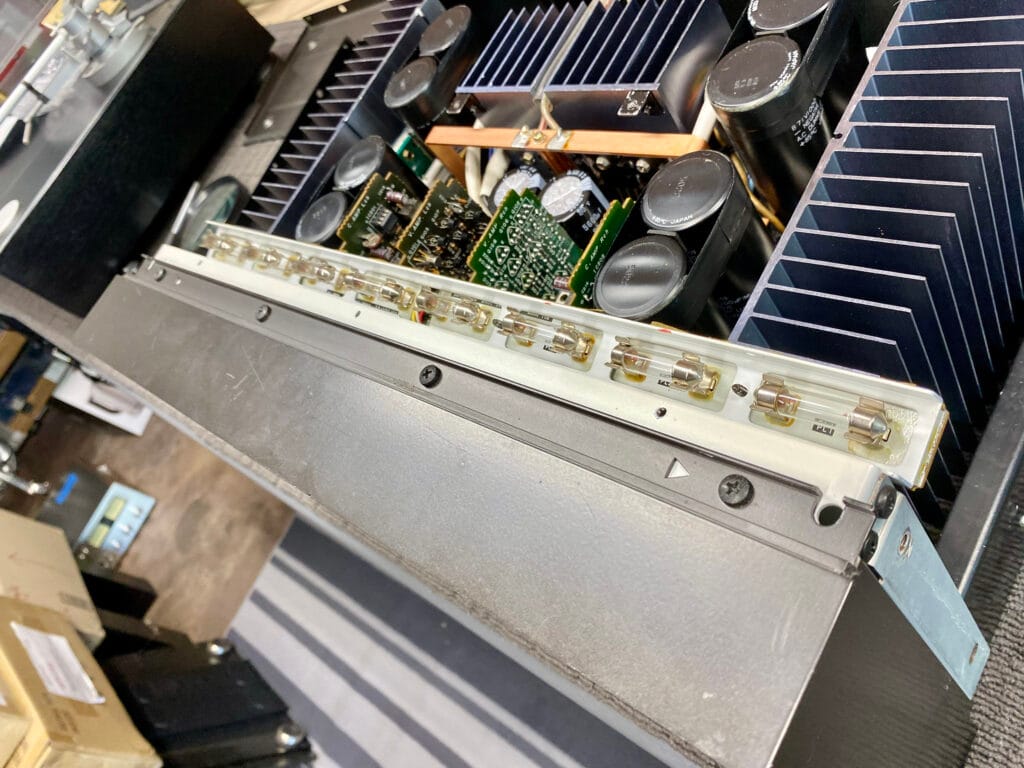
- Several lamps are blown.
I explained to the owner that there were several complicating factors, or shall we say ‘difficulty enhancements’:
- Multiple repair attempts had caused damage and added unknown faults
- Many incorrect semiconductors had been fitted, causing a range of weird issues
- No factory hard copy manual or service aids, like extenders or jigs, were available
- No factory replacement boards were available
- Most original transistors were no longer available
In the old days, one could just order some populated boards from Technics and be done in a couple of hours. These days, repairing complex amplifiers requires painstaking attention to detail, component-level repair techniques, without the service aids one would have had back then to help.
In summary, then, I needed to undo all the bodgery and repair the faults introduced by previous technicians, and then find and fix any remaining and likely original faults.
Lets go!
Repair
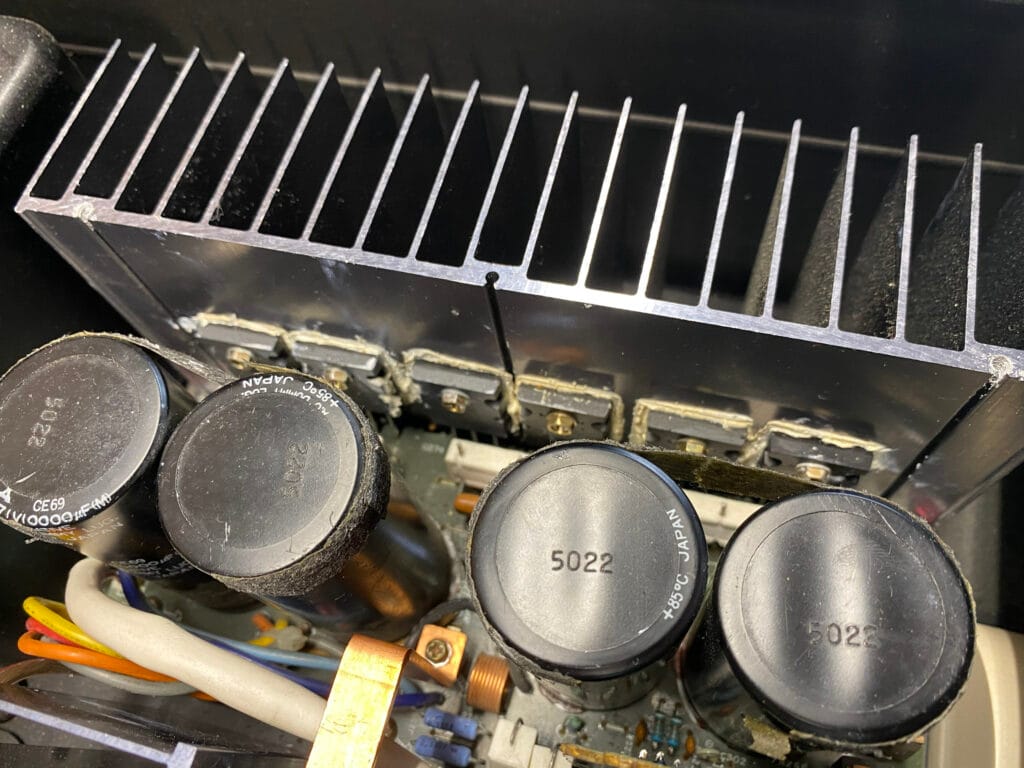
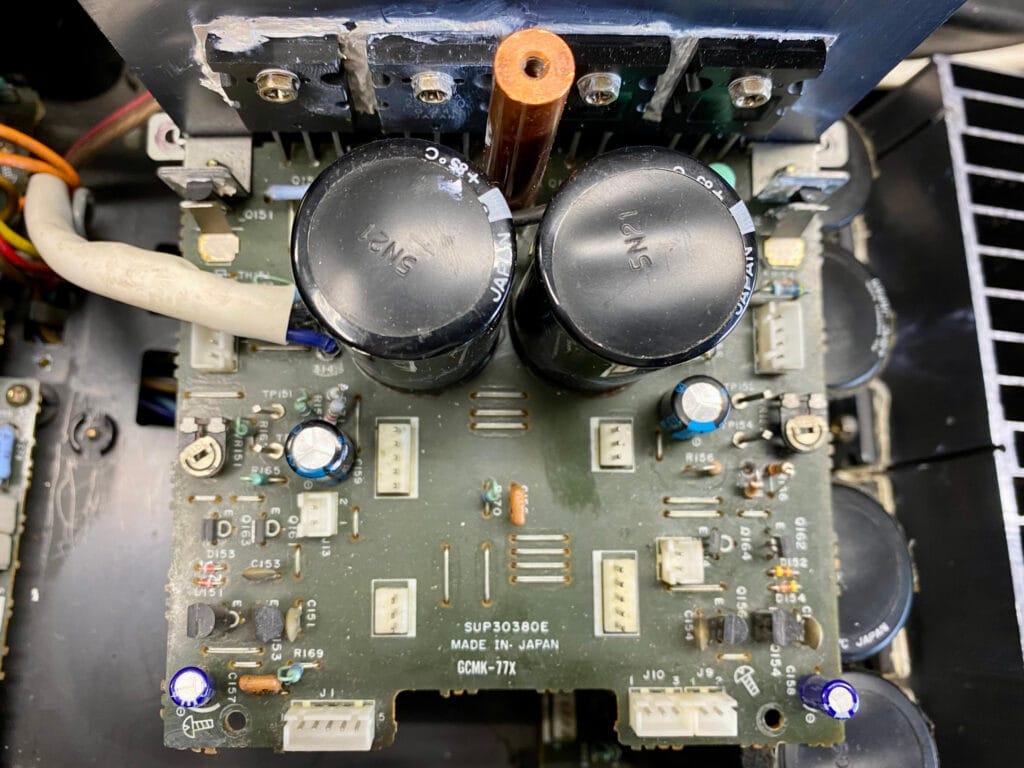
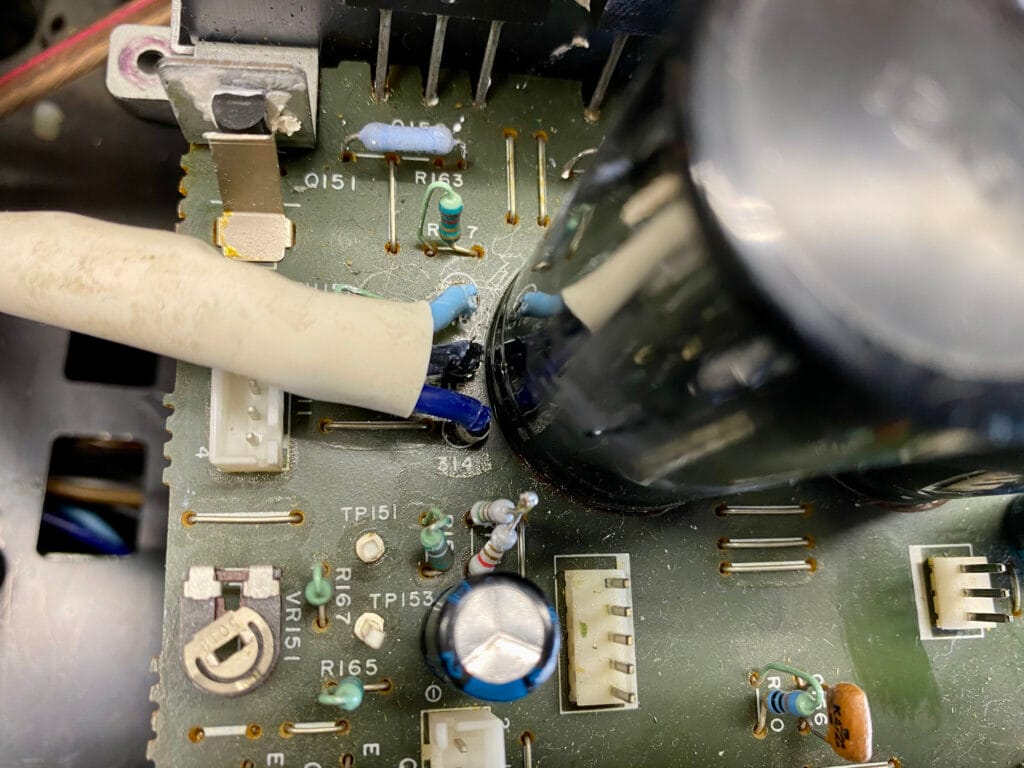
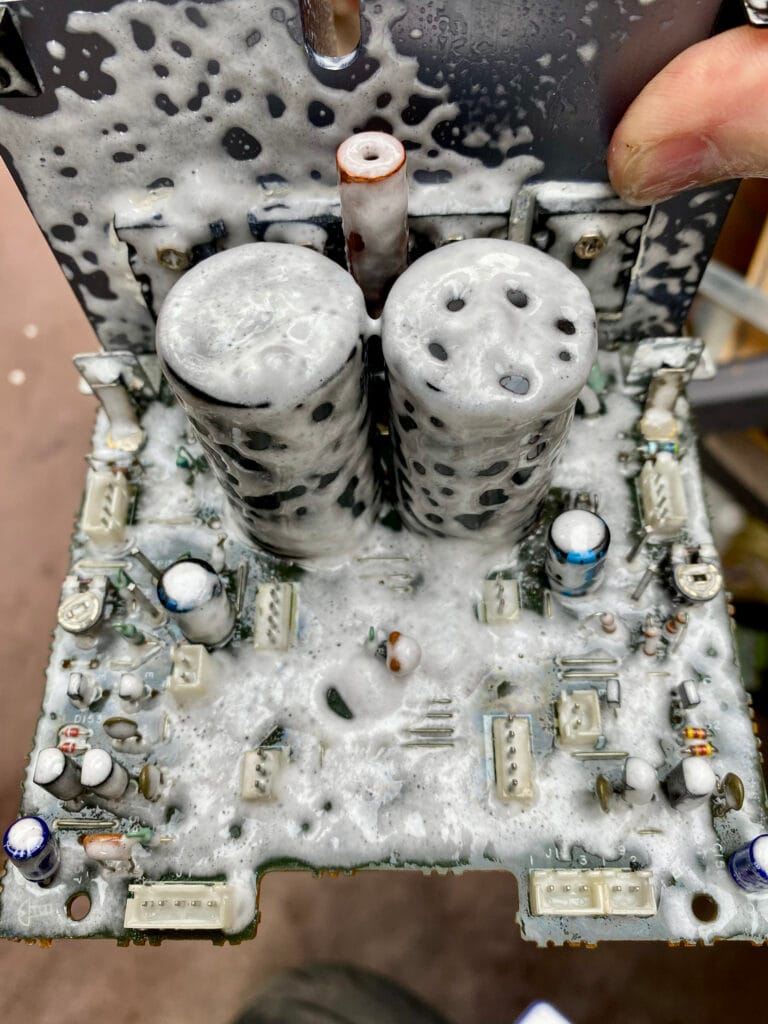
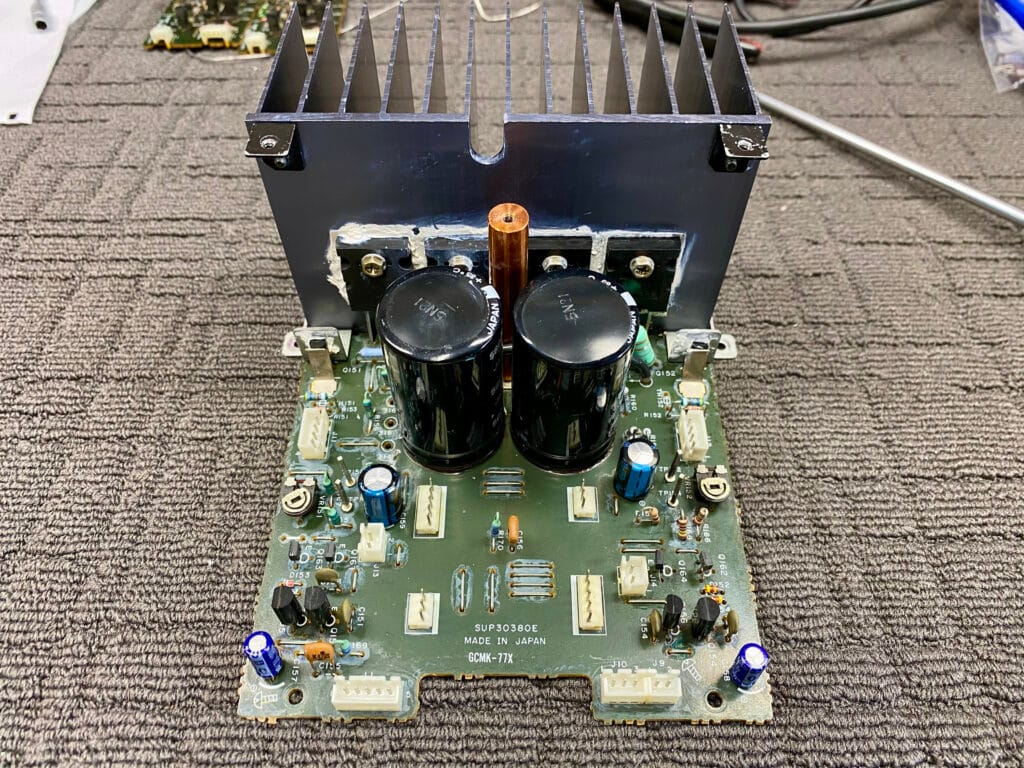
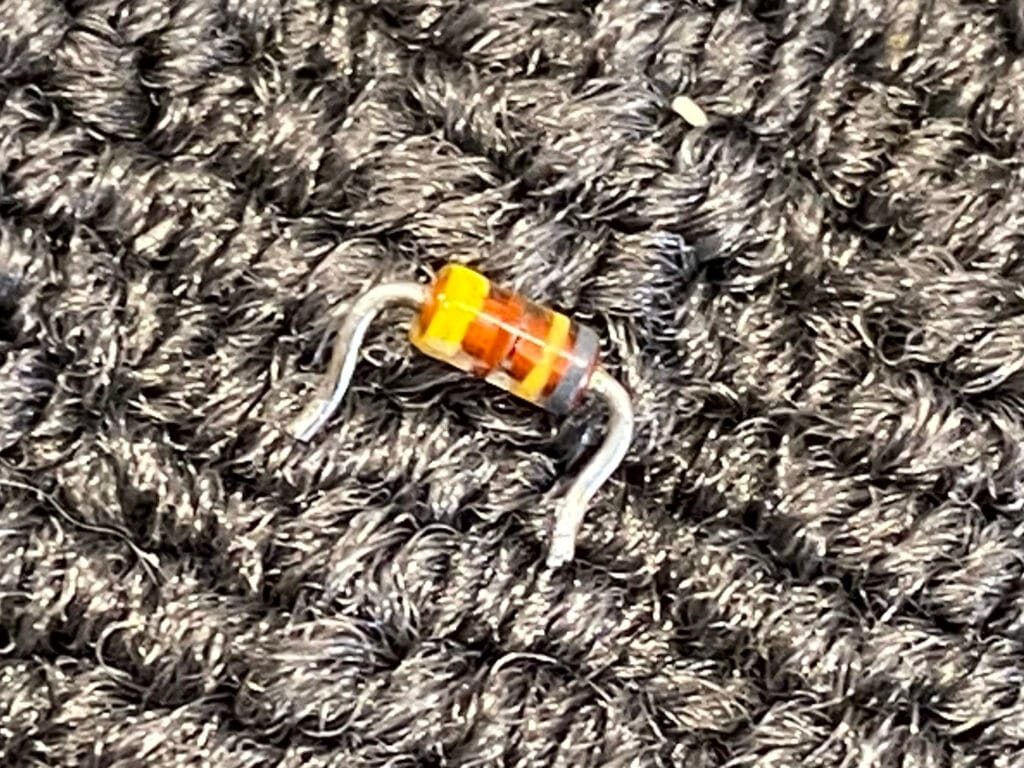
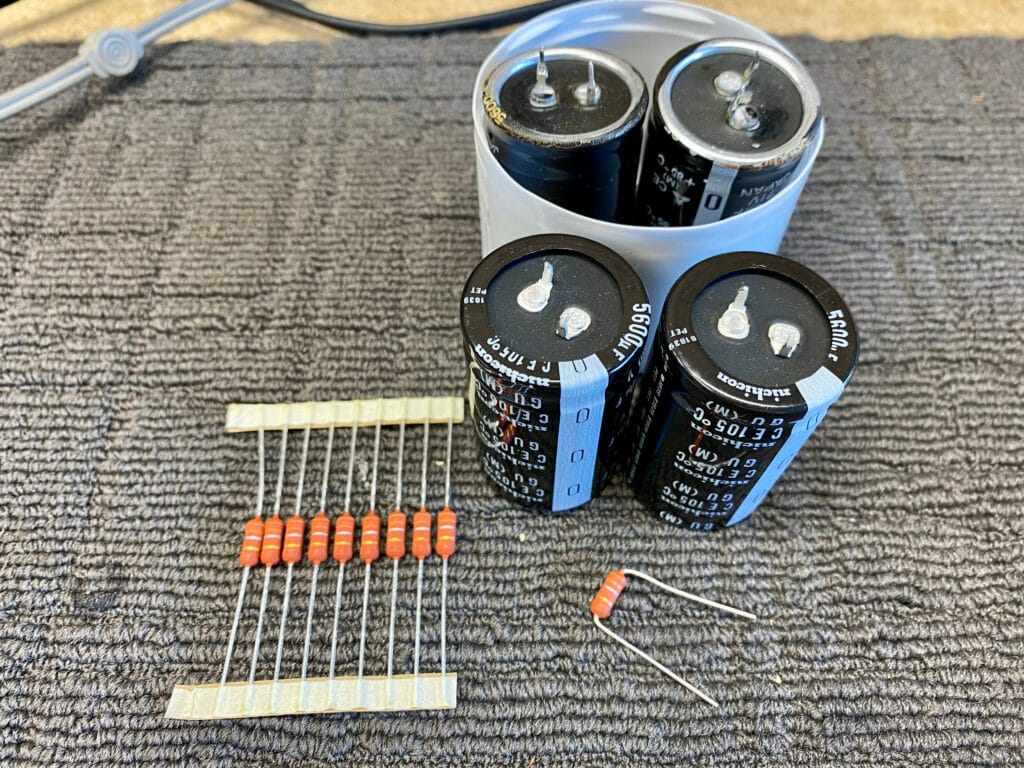
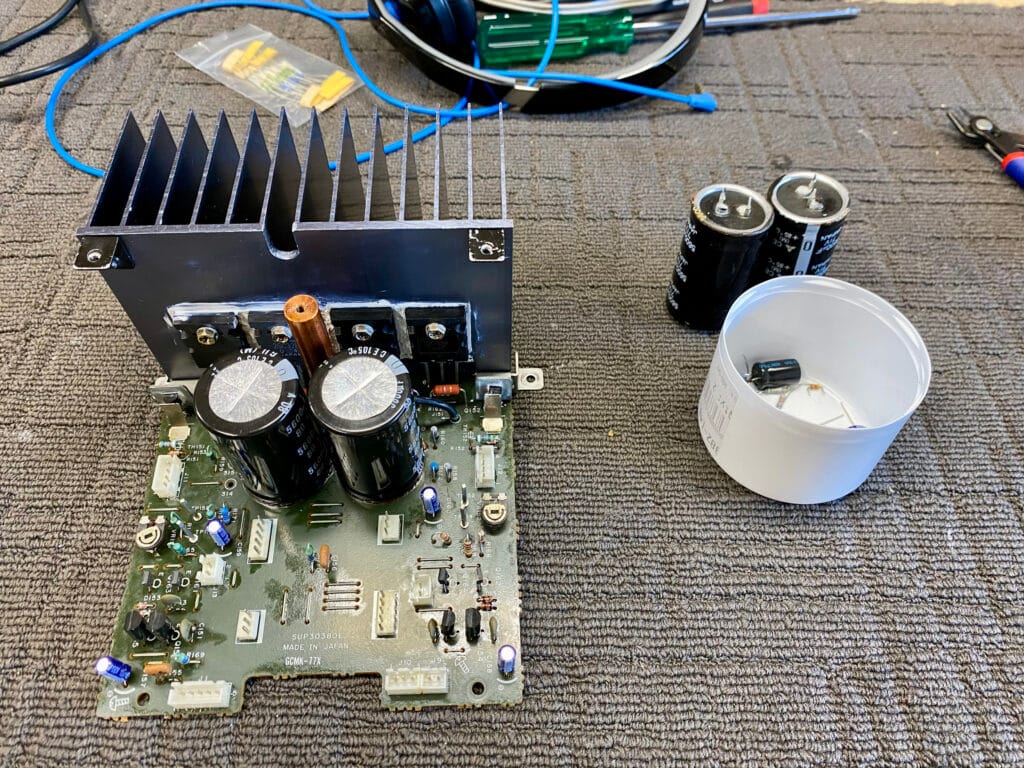
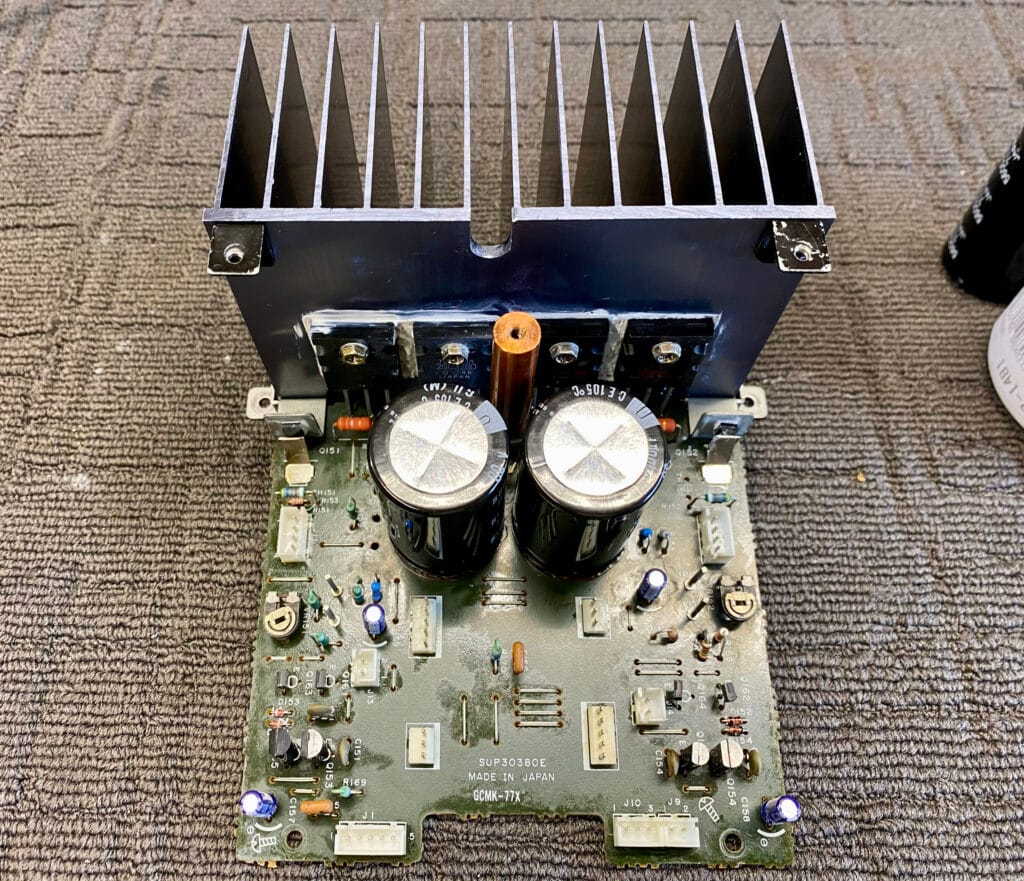
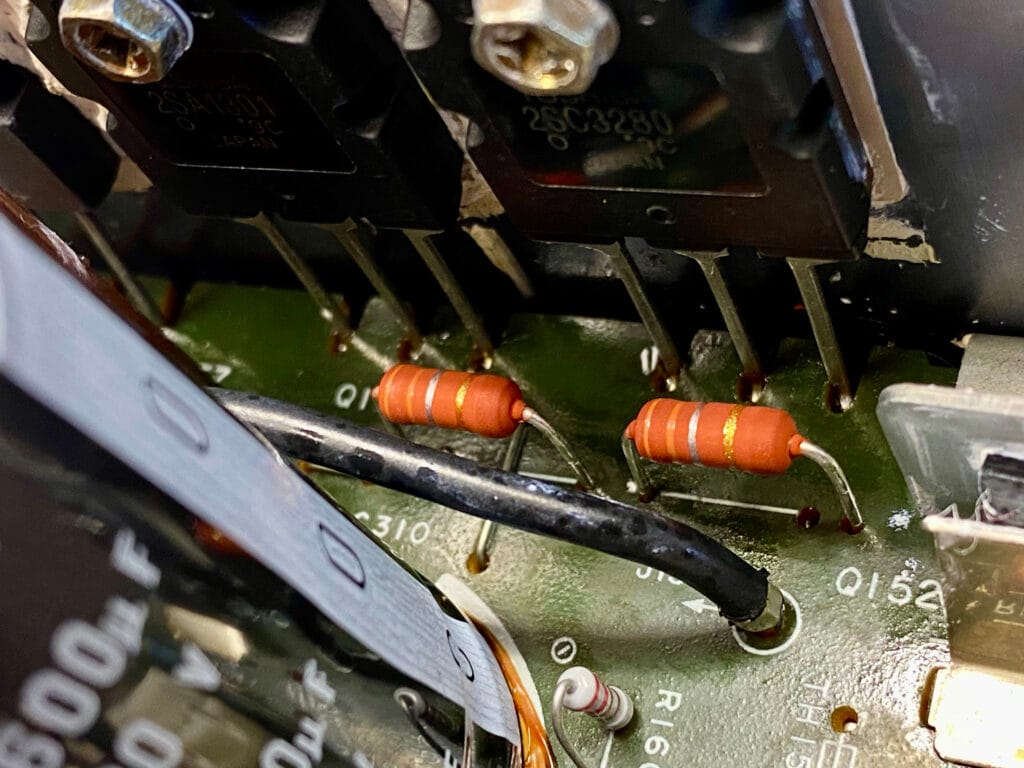
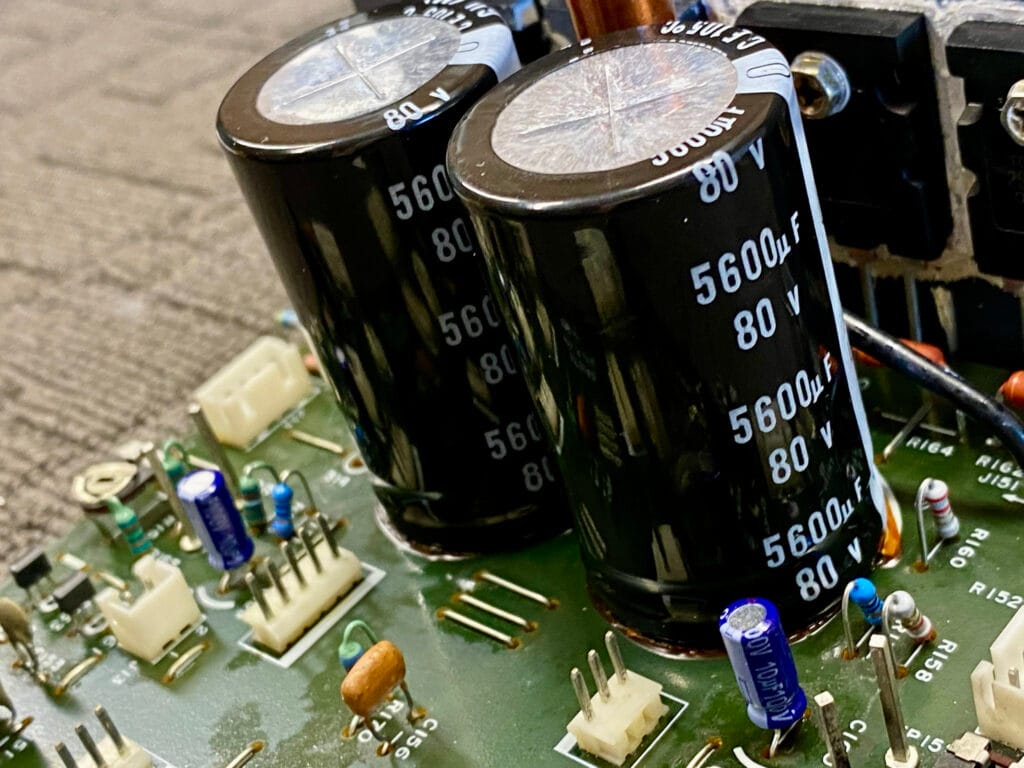
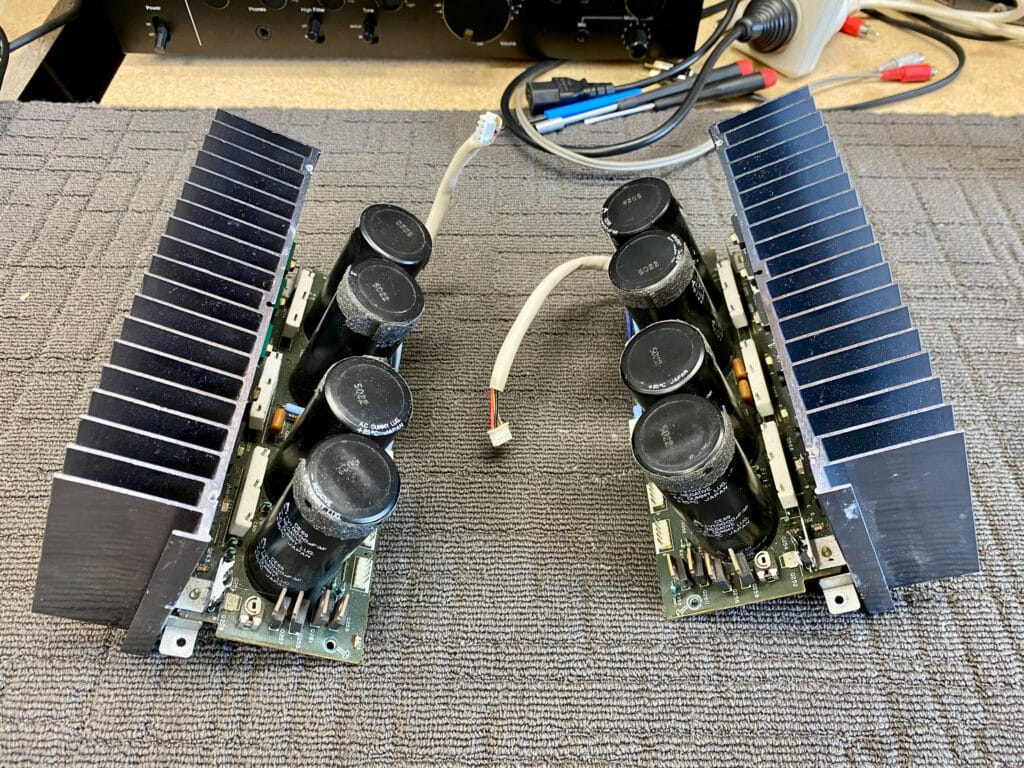
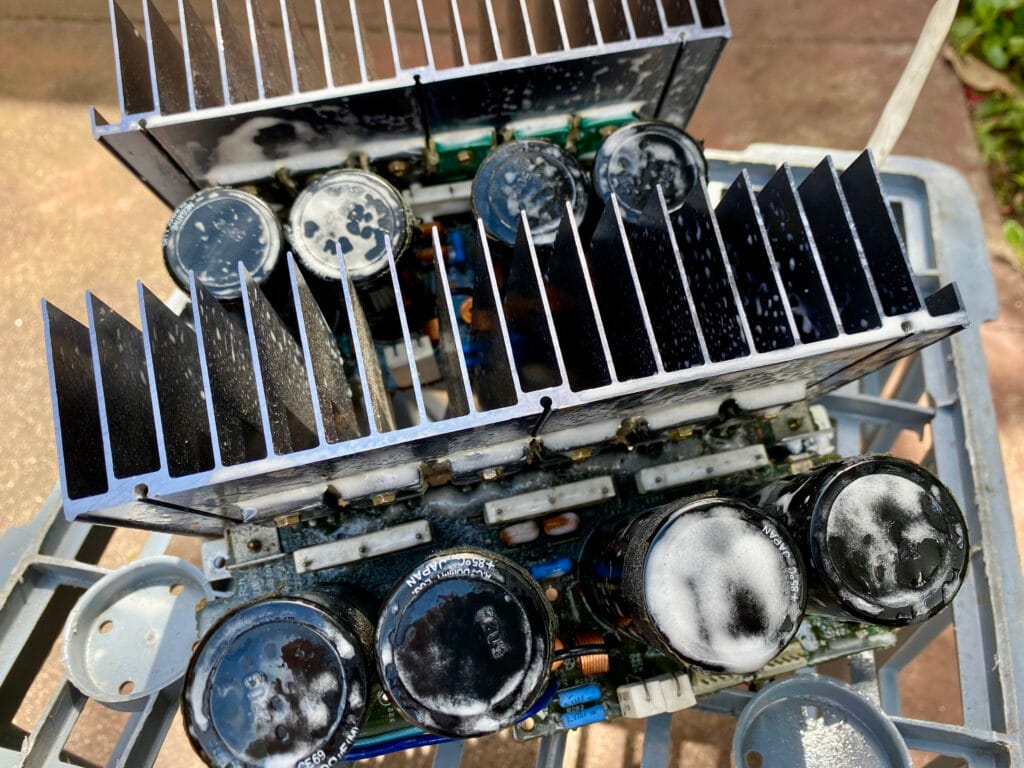
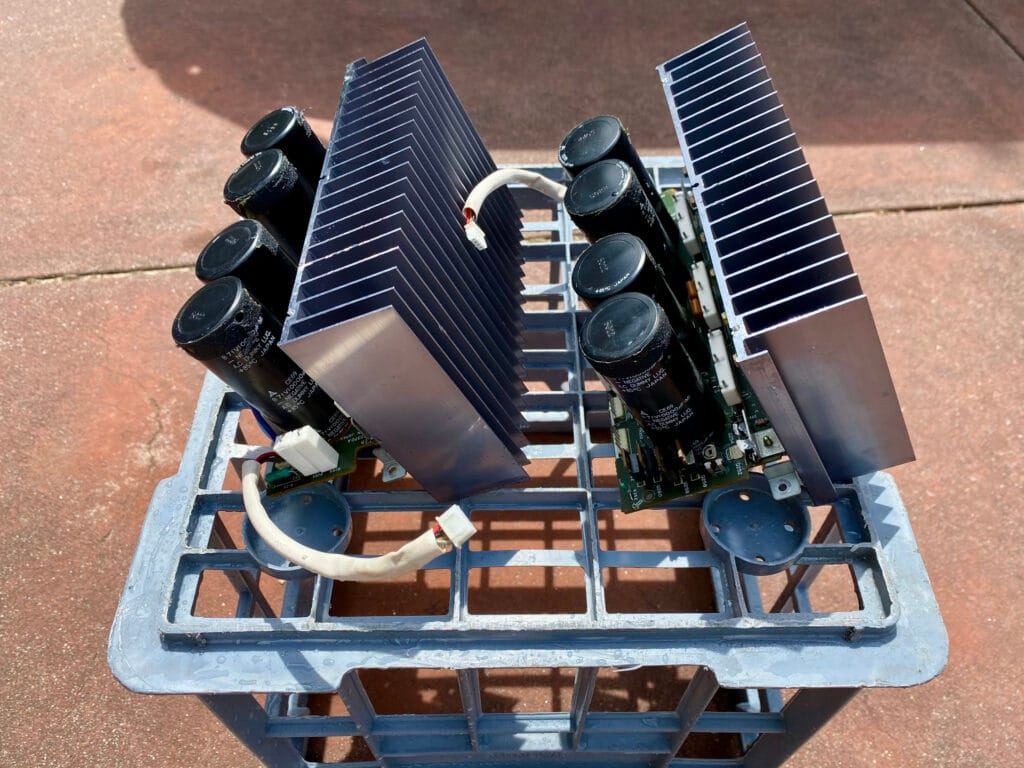
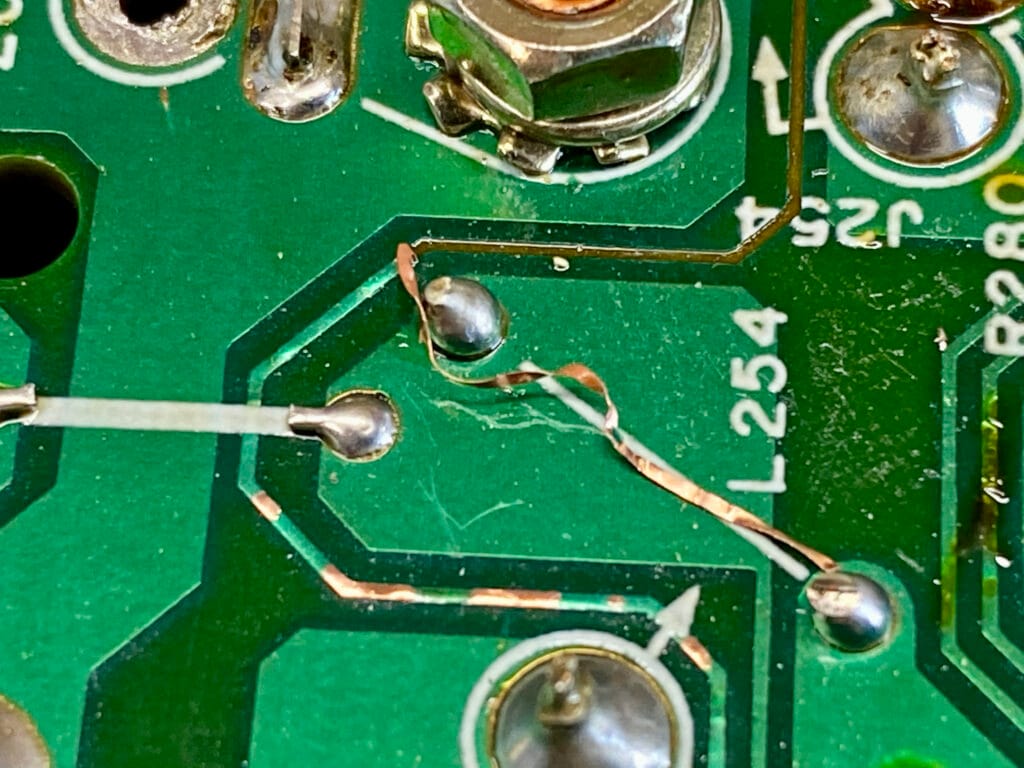
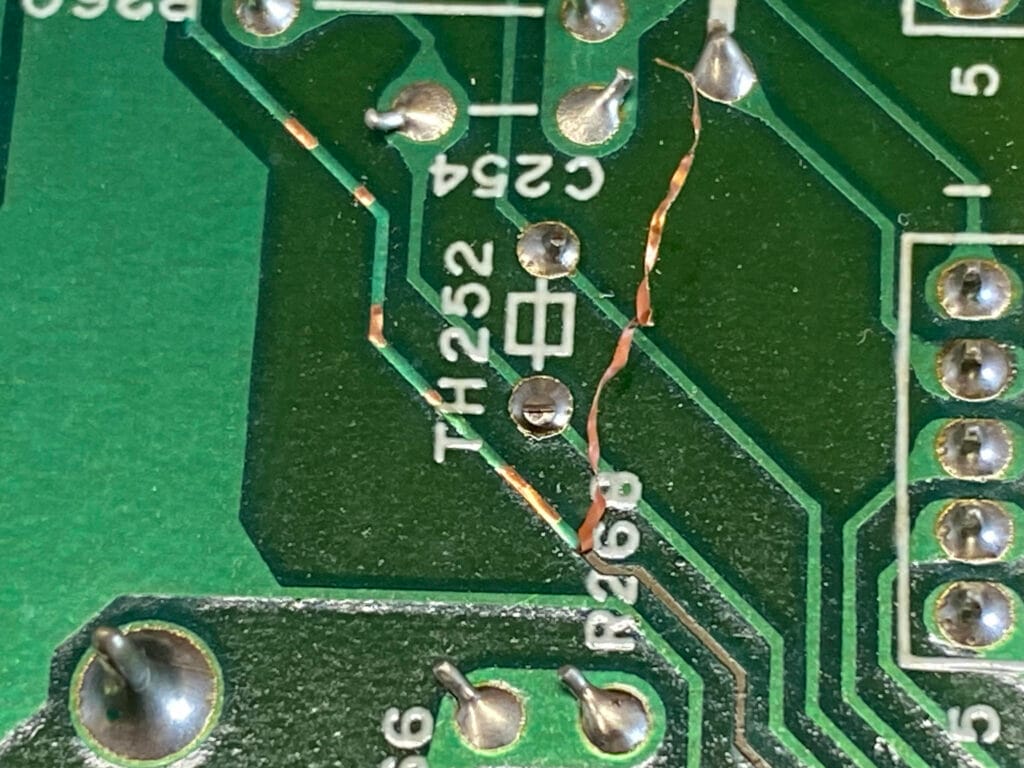
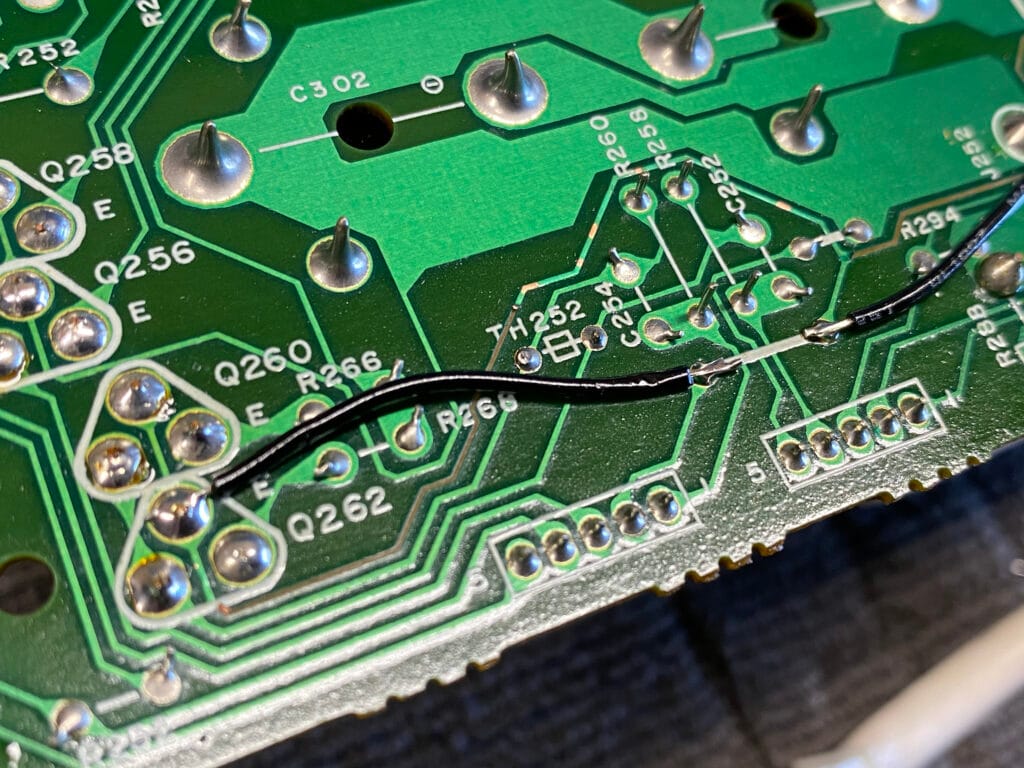
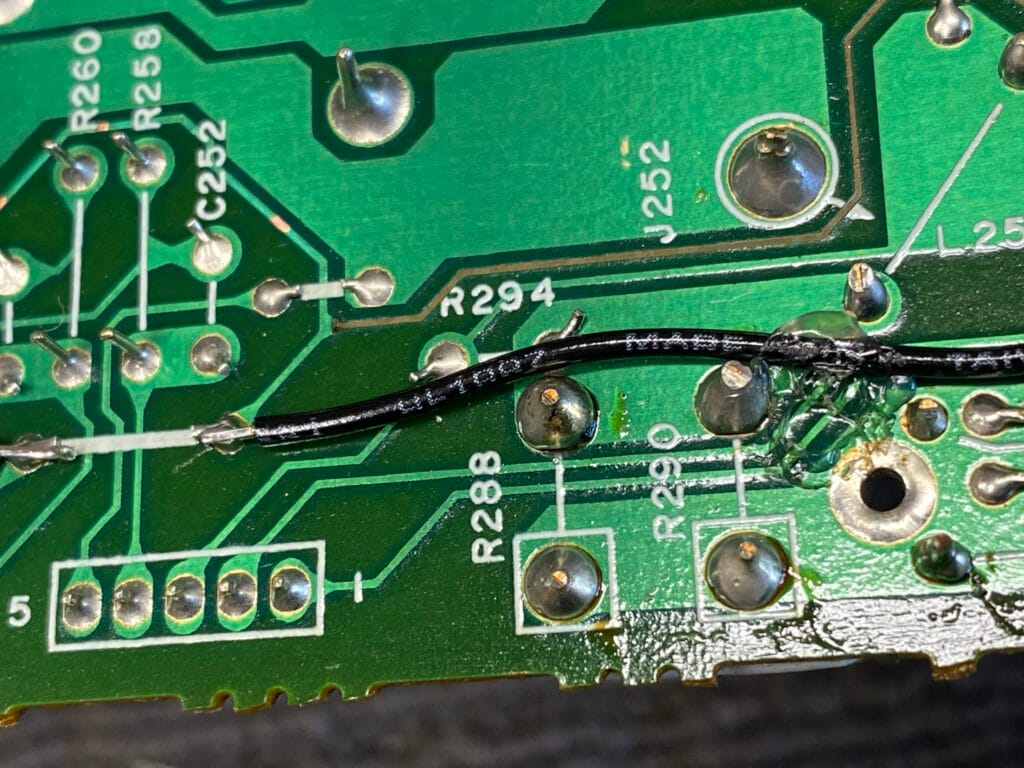
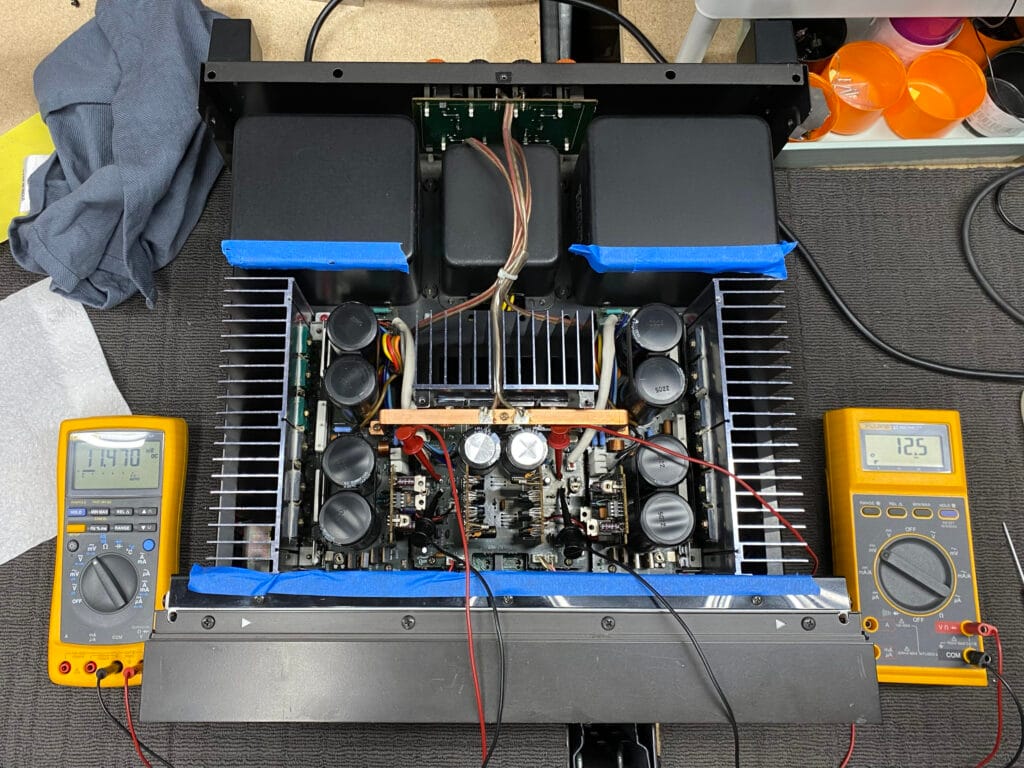
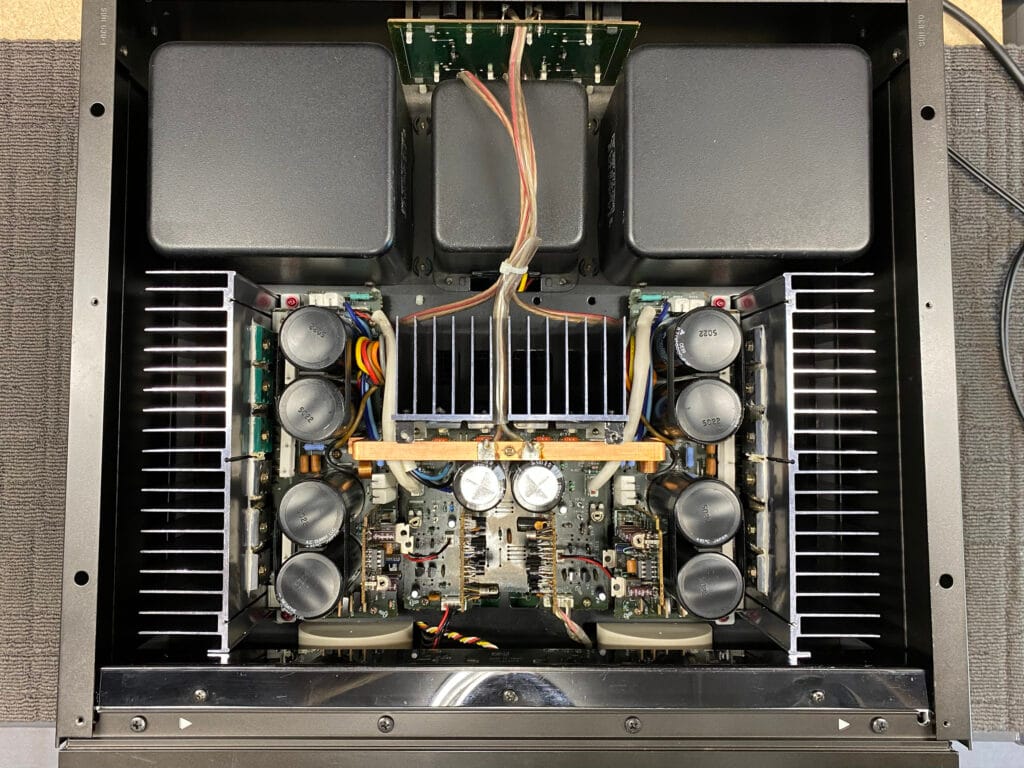
As usual, my approach is to disassemble and then carefully inspect, clean and repair things linearly, one board at a time. Also, as usual, I’ll annotate each image, as this is the easiest way for me to explain and remember what I’m doing.
A quick note on repair costs for jobs like this, something I’m often asked about. Not long after repairing this old girl, I was approached by a gentleman arriving in a Bentley, who wanted me to repair his Technics SE-A3. There was one problem – he wanted to know how much the repair would be up front. I told him I could not estimate that, but there would likely be several days’ worth of labour involved.
For the record, there is absolutely no way to know how much a complex, multi-faceted repair like this will cost until you are doing the work. I could not know what I would find inside this SE-A100, and there is no way to predict what each unique case will involve.
I’ve written more about this concept in FAQs about amplifier repair costs and the need for inspection. Up-front quotes for complex repair work like the job I’m writing about today are impossible, due to the large number of unknowns in each case. Estimates with price ranges are the norm.
Results
Wow, well, what can I say that I haven’t already and that you haven’t already understood from this lengthy article?! I will say this: Paul, the very patient owner, was absolutely ecstatic about the result. I don’t know who was happier: me or him, but when I explained the complexity of the work involved, the various faults that I repaired in the process of resurrecting this classic Technics SE-A100, and how much hair I’d pulled out doing it, he understood.
Here is a message I received from Paul, the owner, the day after writing this article and nearly five years after completing the repair:
Still running Mike, still love it with my JBL-4344s. Thanks again for all the efforts getting her back to life!
I just finished reading the article, and you’re 100% correct. The right person must perform the repairs, so glad Cath and I were referred to you! …
Thanks again Mike, for your dedication on this repair.
Paul S
I thank Paul very much for the update because it is confirmation of my approach and the type of work I try to do here: technically sound repairs that remain reliable for their owners, years after they are complete. Naturally, I can’t fix everything, like worn-out hardware, poor design, and build quality issues. But what I can and do fix, I do in such a way that it is unlikely to fail again.
An additional note about my happiness with the repair: I was ecstatic, because these are complex technical puzzles that others couldn’t solve. I was also incredibly relieved to finally fix this thing. This was, in some ways, what we call a ‘hospital handpass‘ in Australia, due to the complexity of the design and layout, serviceability issues and because the poor quality of the previous repair work had created an unknown number of new faults.
In other words, this was a risky job to take on, and this type of work is highly stressful, not wanting to let an owner or piece of equipment down that’d been let down multiple times already. The stakes are high, so there is an inevitable sense of elation when you fix equipment like this.
One should never gloat, and I hope it’s clear that I’m not doing that. I actually often keep wins like this to myself, for various reasons. I do think it is vitally important, though, to delineate the differences between repairers, how we work, and what this means for jobs like this one and their owners.
We (repairers, technicians) are absolutely not all the same. We have different backgrounds, education, approaches, philosophies, and skillsets, and we do very different work, with different results. I hope that becomes clear from articles like this one and various others I’ve written. Yes, others could have fixed this, I’m sure. But nobody else did, and quite a few tried.
I can’t help in all of these cases, nor do I want to. Others can and do take on work like this, so check in your local area for technicians you can trust. I’m proud I was able to fix this one, though. I’m thankful that Jason and my customer trusted me with this fabulous SE-A100, and I firmly believe we should embrace the wins!
As you might be able to tell, even from the YouTube video, the amp sounded wonderful after the repairs and some much-needed overhaul work. That was just on my pair of Yamaha NS-10s; I’m sure she sounded incredible in a full system, driving big speakers as she was designed to.
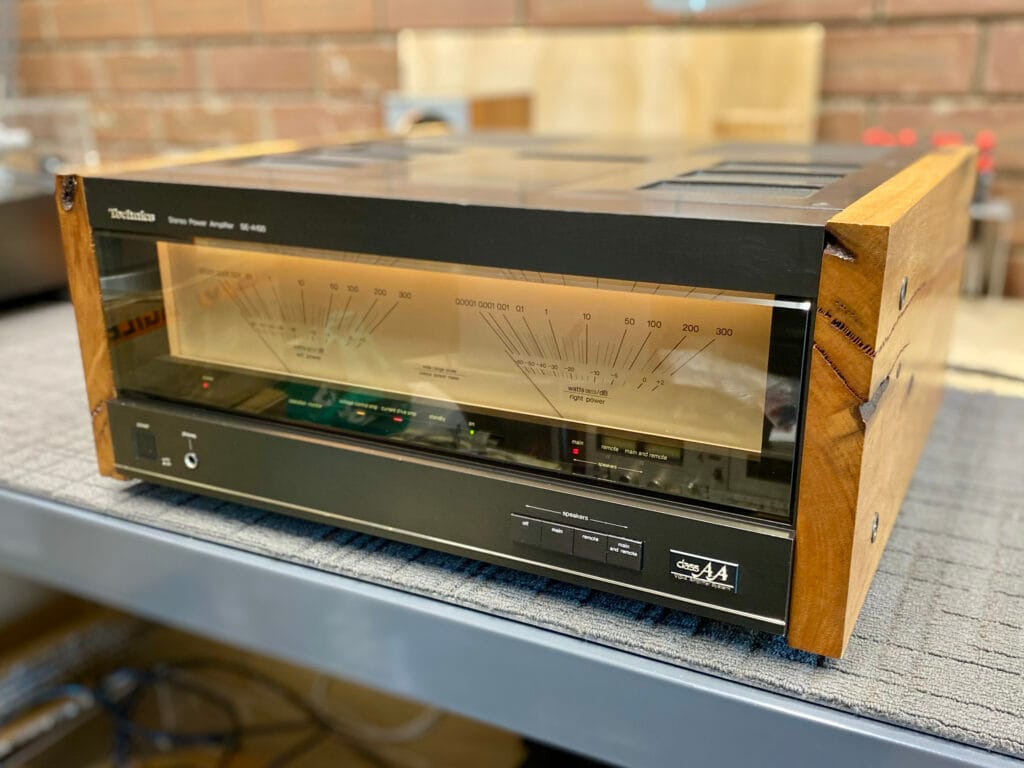
In terms of further work, a little more could still be done, but we replaced so much of the guts of this one that I’d not suggest doing much more here. Most of all in cases like this, I think that once they are repaired properly, they need not be over-finessed. This old girl has been through enough. Now she needs to play music, and I hope that’s what she’s been doing these last five years!
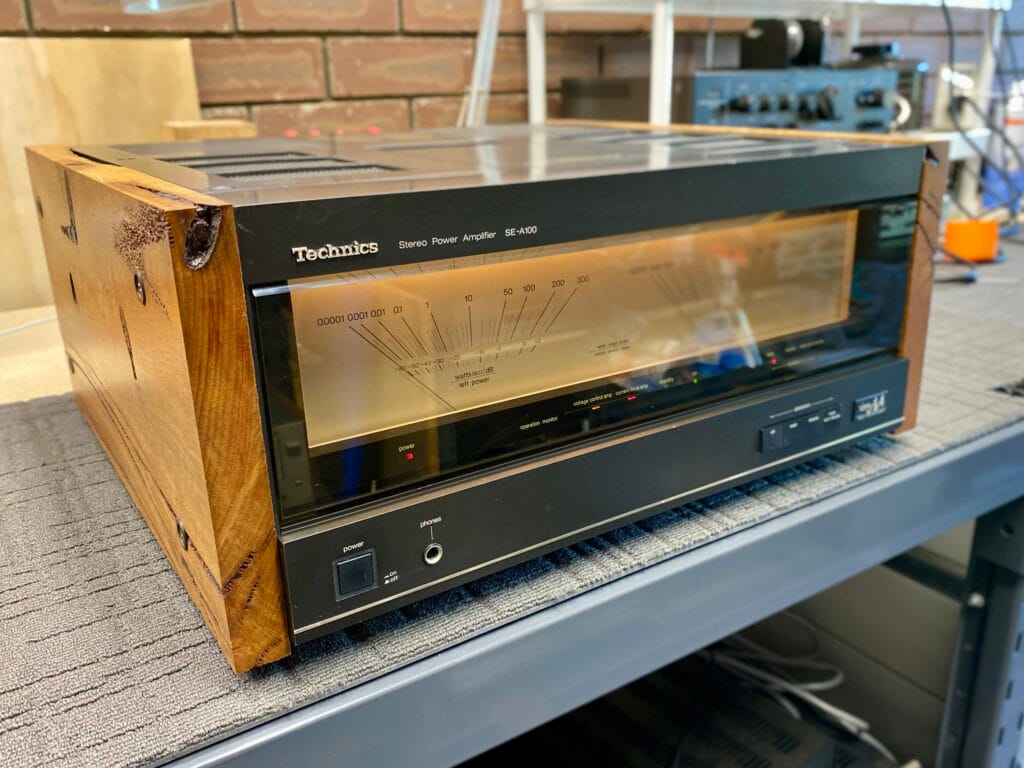
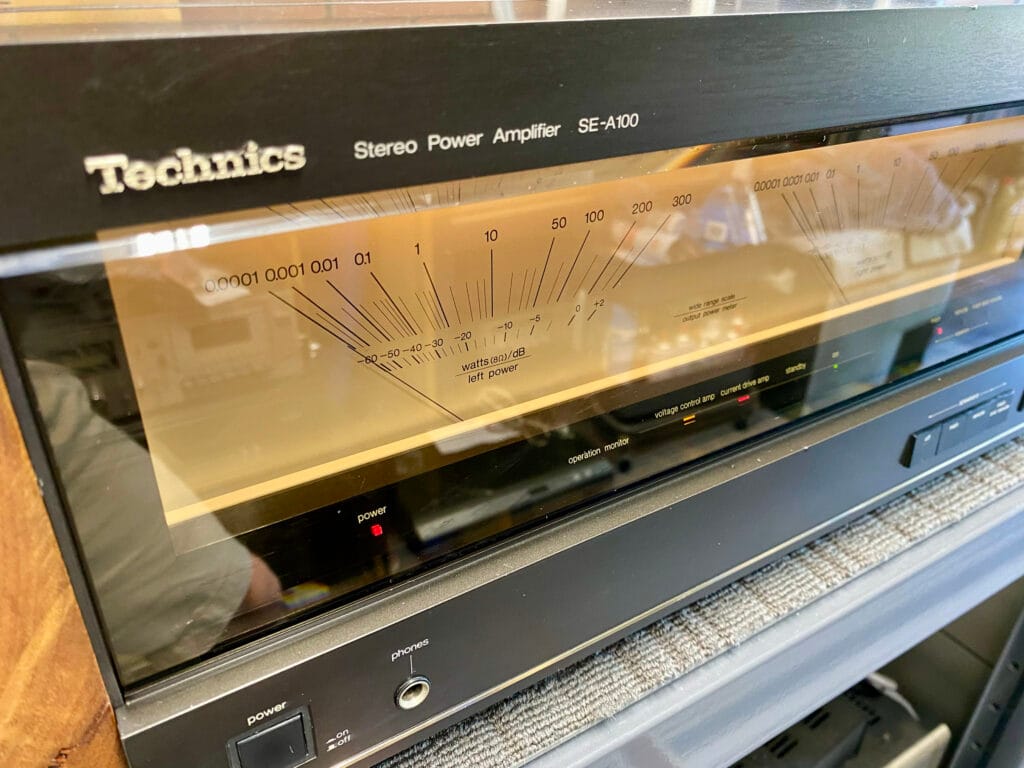
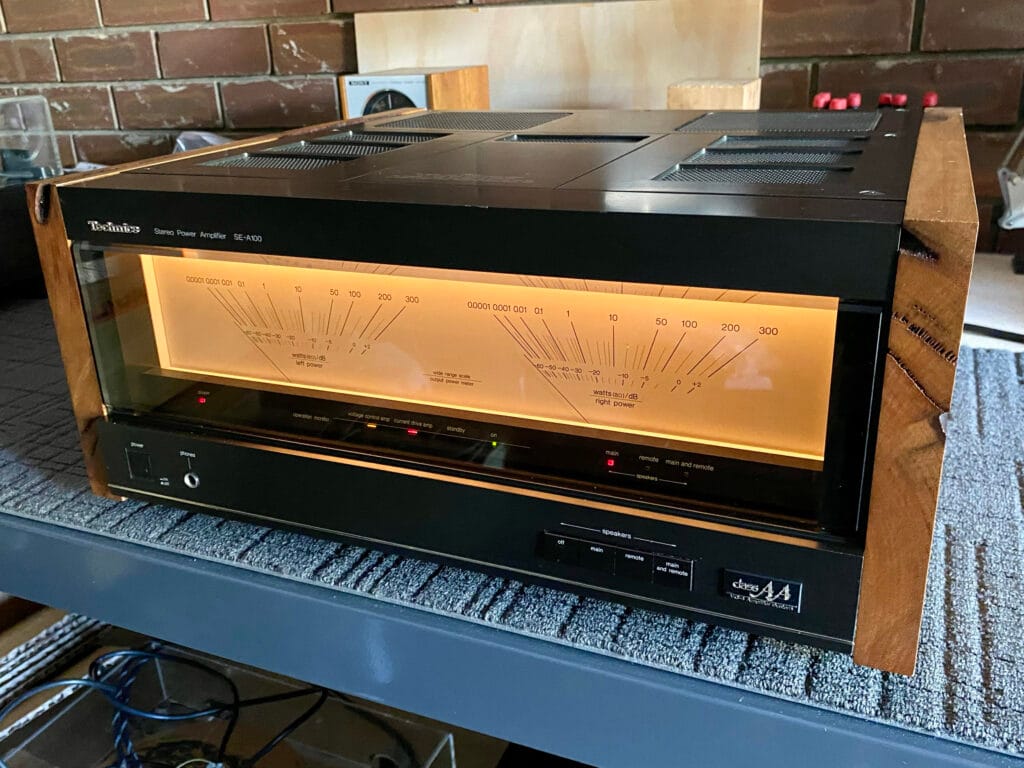
Anyway, if you’ve made it this far, well done, because this one was an epic. Writing this up and being as tired as I am reminds me why I don’t do big articles like this that often. But I hope you, maybe the owner, and some other SE-A100 owners, have seen and enjoyed it.
Thanks!
As always, thanks for visiting. I hope you enjoyed this article and found it informative. If you’d like me to look at your Technics SE-A-100, SE-A1, SE-A3, or any other lovely Japanese power amplifier for you, don’t hesitate to contact us, because this sort of work is right in our wheelhouse. The only problem is that there is only so much of it that I can do, because it’s exhausting and highly technical work.
Sidenote: As you know, very little original, quality content like this exists, which is partly why I go to the effort of creating it. I was recently asked: “Who pays you to write these articles?” My surprised reply was “Nobody!”, though that would be nice, especially after an epic write-up and video like this one.
This site is 100% independent, ad-free, and everything is created by me, in my time, and at my expense. People can support us in various ways, including commenting, liking, sharing, subscribing, and donating using the button in the footer. Recent donors are listed in the sidebar/footer. Tell your audio friends because it helps me, which helps you!
Discover more from LiQUiD AUDiO
Subscribe to get the latest posts sent to your email.


Nice repair and restoration work there Mike. Sadly you are correct in saying there are some less than knowledgeable “repairers” out there working on gear that’s well above their paygrade, so it therefore comes as no surprise to me this lovely old girl has “done the rounds” so to say. Whilst this one was pretty grubby and had a few lifted traces left on the PCBs I still think the Krell power amp you featured some time back takes the cake for being one of the worst butchered jobs at the hands of previous cowboys I’d seen you bring back to life. Love your work. 🙂
Thank you, much appreciated, and I’m glad you enjoyed the article! Sadly, cases like this are now more the norm than the exception. It seems a lot of the art and skill of electronics repair has been lost, replaced by a “It can’t be that hard, I’ll fix this using forums, bro!” type of brain-rot. The Krell KSA-150 might be the one you are referring to; that was a bad one. Also, the Krell KRC HR. Both of those are in the Hall of Shame!
What a roller coaster of emotions.
A pleasure to watch again. Thank God it came right. I agree with you about the meters and side panels too.
Thanks for the journey with you.
Thanks, Steve, glad you enjoyed that one! This was a triumph of determination and perseverance. I can’t always put this level of time and effort in, but I do my best.
Just curious whether comparing the schematic diagram with the boards at the outset might have brought a quicker resolution, given the number of prior attempts by others?
Hi Steve, I think by “comparing the boards with the schematic diagram”, you perhaps mean in relation to the last fault associated with incorrect transistors that had been fitted? I used (and always use) schematics from the start in cases like this. The problem here was the various other faults, caused by damage and failed parts, that the schematic couldn’t help with. So, even if I’d replaced the incorrect transistors before anything else, running the amplifier after replacing them would have caused it to fail, possibly spectacularly, until I’d found and fixed all the other issues. It’s this detail-focused technical approach that helps me solve cases like this. As for whoever installed those incorrect TO-92 devices, they should not be going anywhere near this sort of equipment!