I use various standard and proprietary cleaning techniques, depending on the equipment, condition, faults, etc.
Keep in mind that I already help my competitors via this website, and I have no desire to give away all of my technical advantage, but there’s some useful information here, I guarantee more than provided by other techs!
Exterior
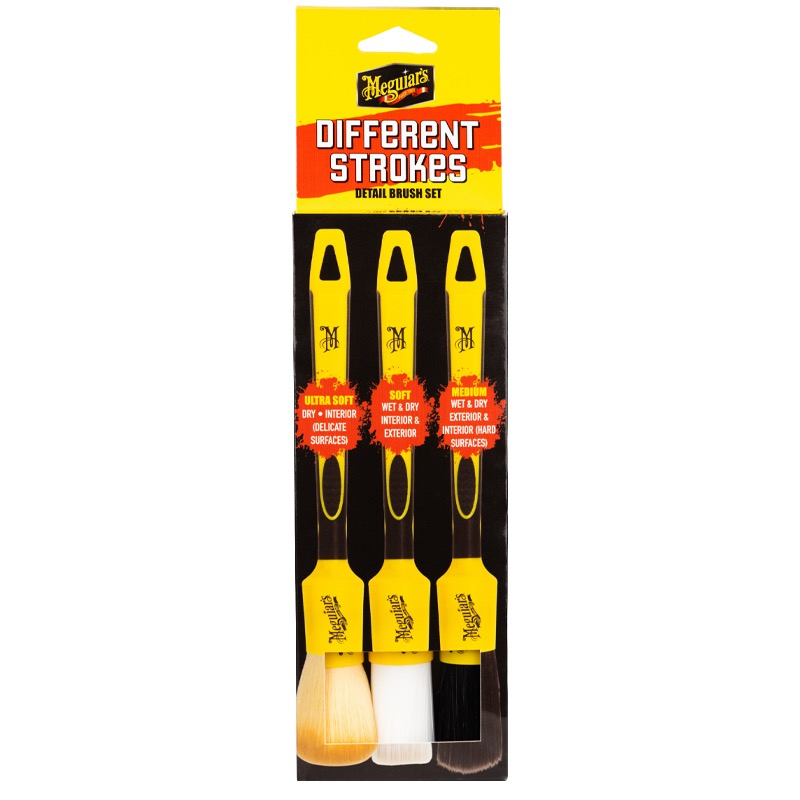
For most metallic, plastic and composite exteriors, I recommend starting by carefully dusting the surfaces to be cleaned with an ultrasoft detailing brush, or similar. Then, using a microfibre cloth, a mild detergent/water solution can be gently applied to surfaces that need cleaning.
Be careful with older gear, as logos and other markings are sometimes printed with ink that becomes fragile with time. Solvents other than water, and occasionally even just water, can remove fragile ink and decals typically applied to glass, so test a small inconspicuous area first.
Wooden exteriors can be cleaned with a soft cloth, wood soap, and then finished with furniture-grade oil or wax. I use fine furniture oil and quality beeswax for most wooden finishes. These work very well to bring out the grain and lustre of the wood, whilst also minimising imperfections and nourishing it.

Knobs can be removed and soaked in a mild detergent/water solution and then finished with a toothbrush and fresh water. Be sure to use the correct-sized flat-blade screwdriver or hex key to loosen any grub screws, where present. I’ve lost track of how often I’ve found these damaged when they should never be.
Plastic lenses can be dusted and cleaned with mild detergent/water and microfibre cloth. A little high-grade plastic or automotive polish with microfibre cloth can be used where lenses and bezels are dull and/or scratched. Again, avoid polishing printed surfaces as these may be degraded by this process. Be careful not to polish matt or satin finishes or they will end up glossy.
Be very careful with turntables, too, as turntables and cleaning cloths don’t mix well. Soft-bristled detailing brushes work well in sensitive areas, but as always, each case is different, and care must be exercised when cleaning anything, especially tonearms, cartridges, etc.

Interior
Interior cleaning requires more care and should not progress beyond light dusting for most. There are electronic and mechanical parts to consider, and one must be very careful not to damage anything through the cleaning process. It is always better to err on the side of caution and not clean something than risk damaging it.
High-velocity air works well as an initial duster, combined with a very soft-bristled paint brush, but must be used judiciously. Care must be taken with raised components in order not to damage them.
Isopropyl alcohol and cotton buds or Q-tips work well to spot clean dirty components and boards. An old toothbrush is also a useful tool for cleaning boards, again with a little isopropyl alcohol.
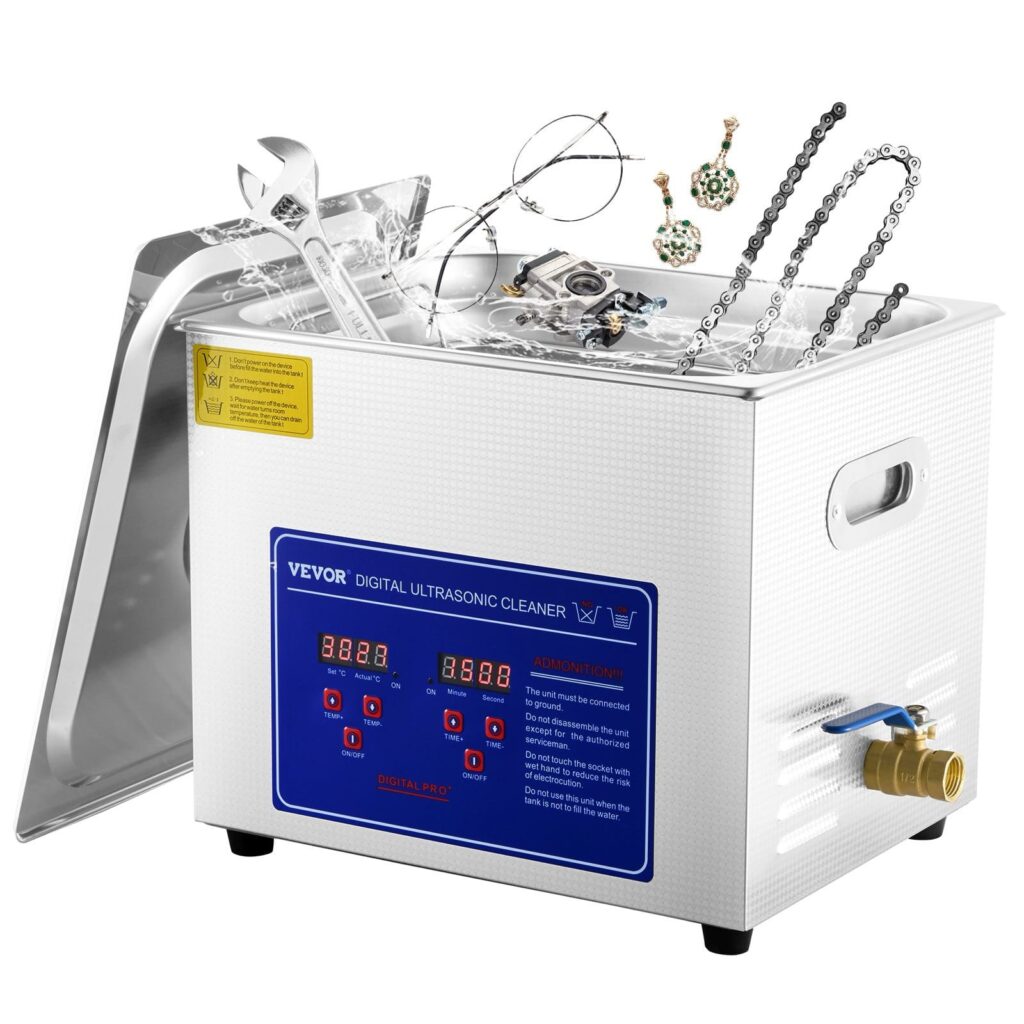
Beyond this, I recommend deeper cleaning methods including ultrasonic and mild solvent cleaning, and deep chassis washing, both of which should only be carried out by someone familiar with these methods. Water-based solvent cleaning should be avoided unless the techniques are well-understood.
Avoid WD-40 and similar penetrants as they don’t clean electronics and leave oily residues that attract dust and dirt. This is especially problematic around high-impedance circuits like preamps, RF sections in tuners, phono stages, switches and relays. If in doubt, again, don’t touch it.

Technical Deep Cleaning
Beyond the methods I’ve outlined above, equipment often needs what I call technical deep cleaning. Technical deep cleaning is a specialised, poorly understood, and frequently overlooked aspect of maintenance.
I’ve developed deep cleaning regimens/techniques specifically to suit circuit boards, high-impedance circuits, switches and potentiometers, chassis parts, fascias and more. Some I’ve adapted from laboratory test and measurement and optical equipment cleaning procedures. Others I’ve created from scratch to suit the equipment I work on. These regimens are proprietary and are unique to Liquid Audio in the way they are designed and applied.
Technical deep cleaning typically involves specialist cleaning agents such as foams and liquids, tools, cleaning media, high-pressure air, ultrasonic cleaning, a drying oven, specific disassembly and removal of sensitive parts, etc in combination with specific techniques applicable to the case/equipment in question. These techniques are very effective, but must be done exactly as designed, or problems will arise.
I’m often asked for details of my technical cleaning regimens, step-by-step instructions, shopping lists, etc., but I don’t offer this or other proprietary technical information.
Discover more from LiQUiD AUDiO
Subscribe to get the latest posts sent to your email.

