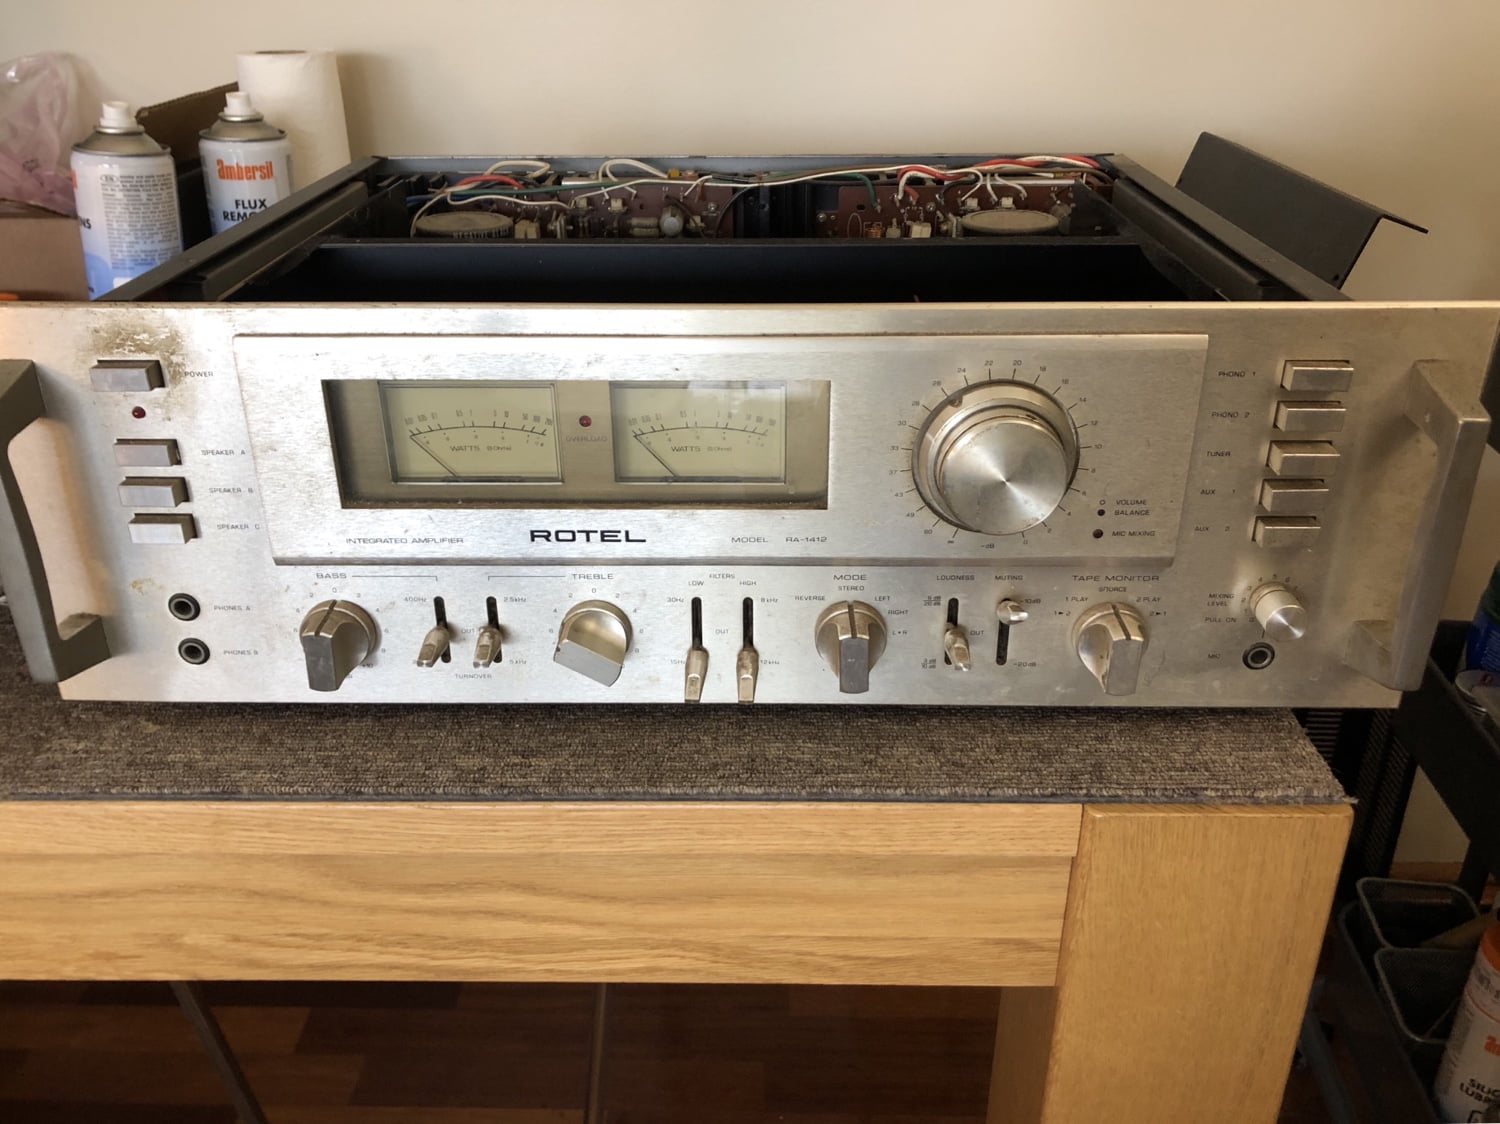
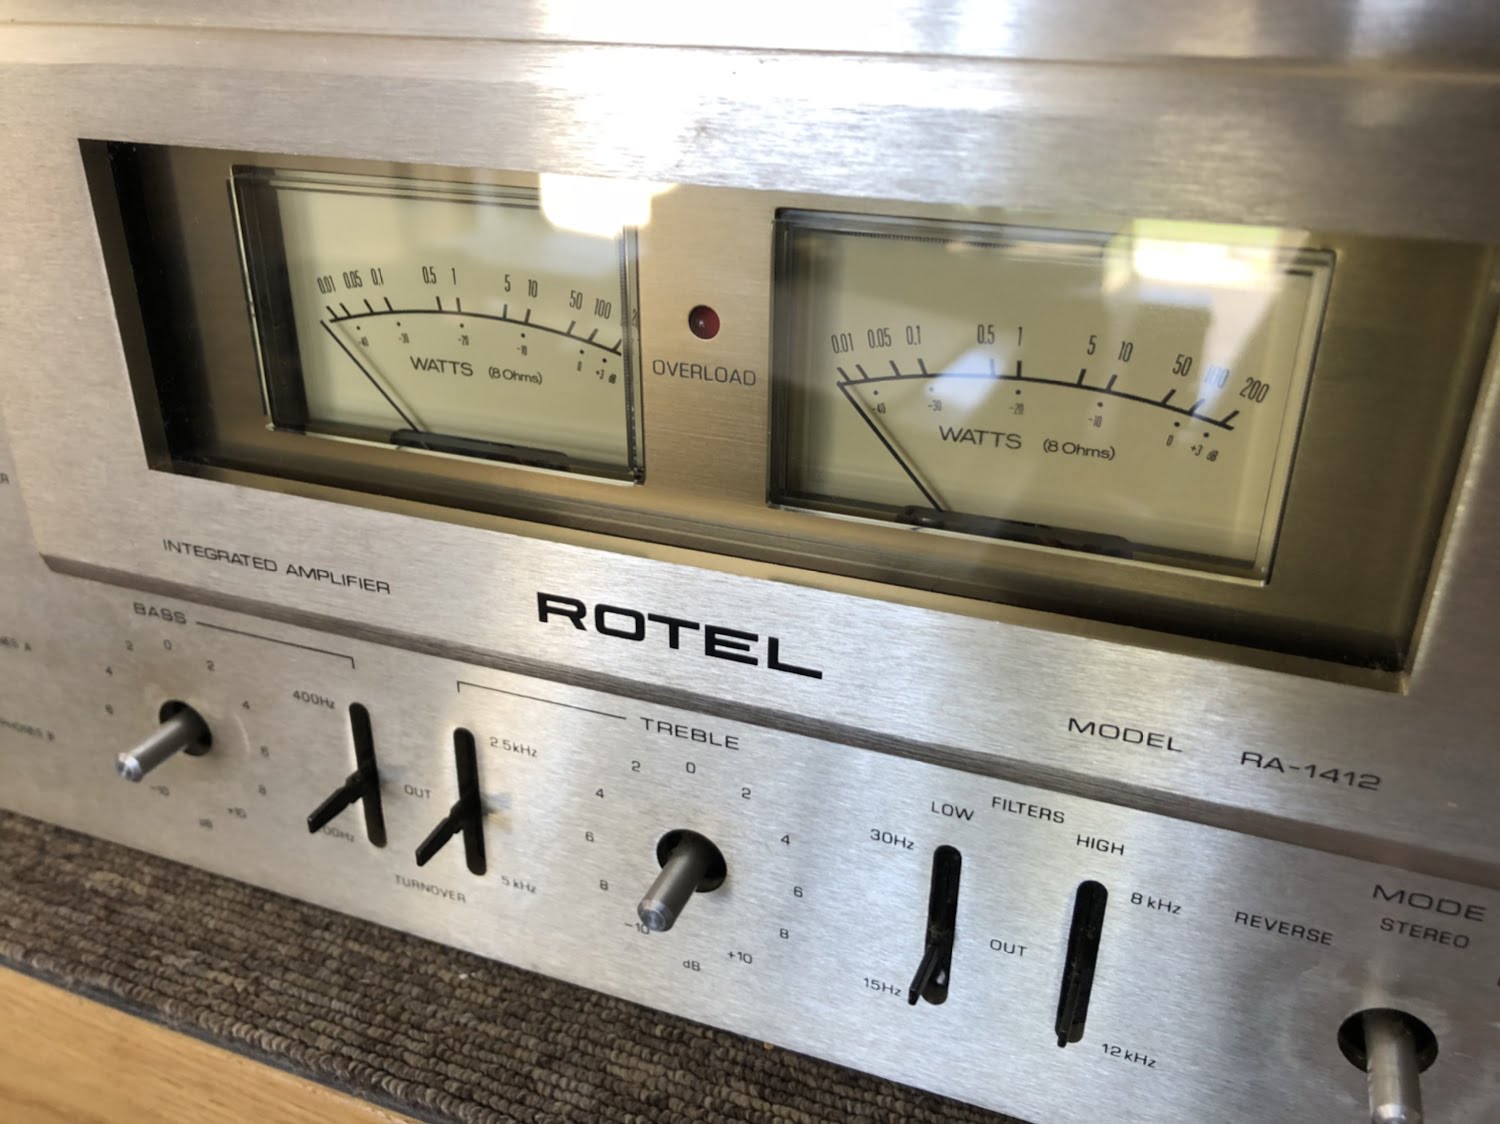
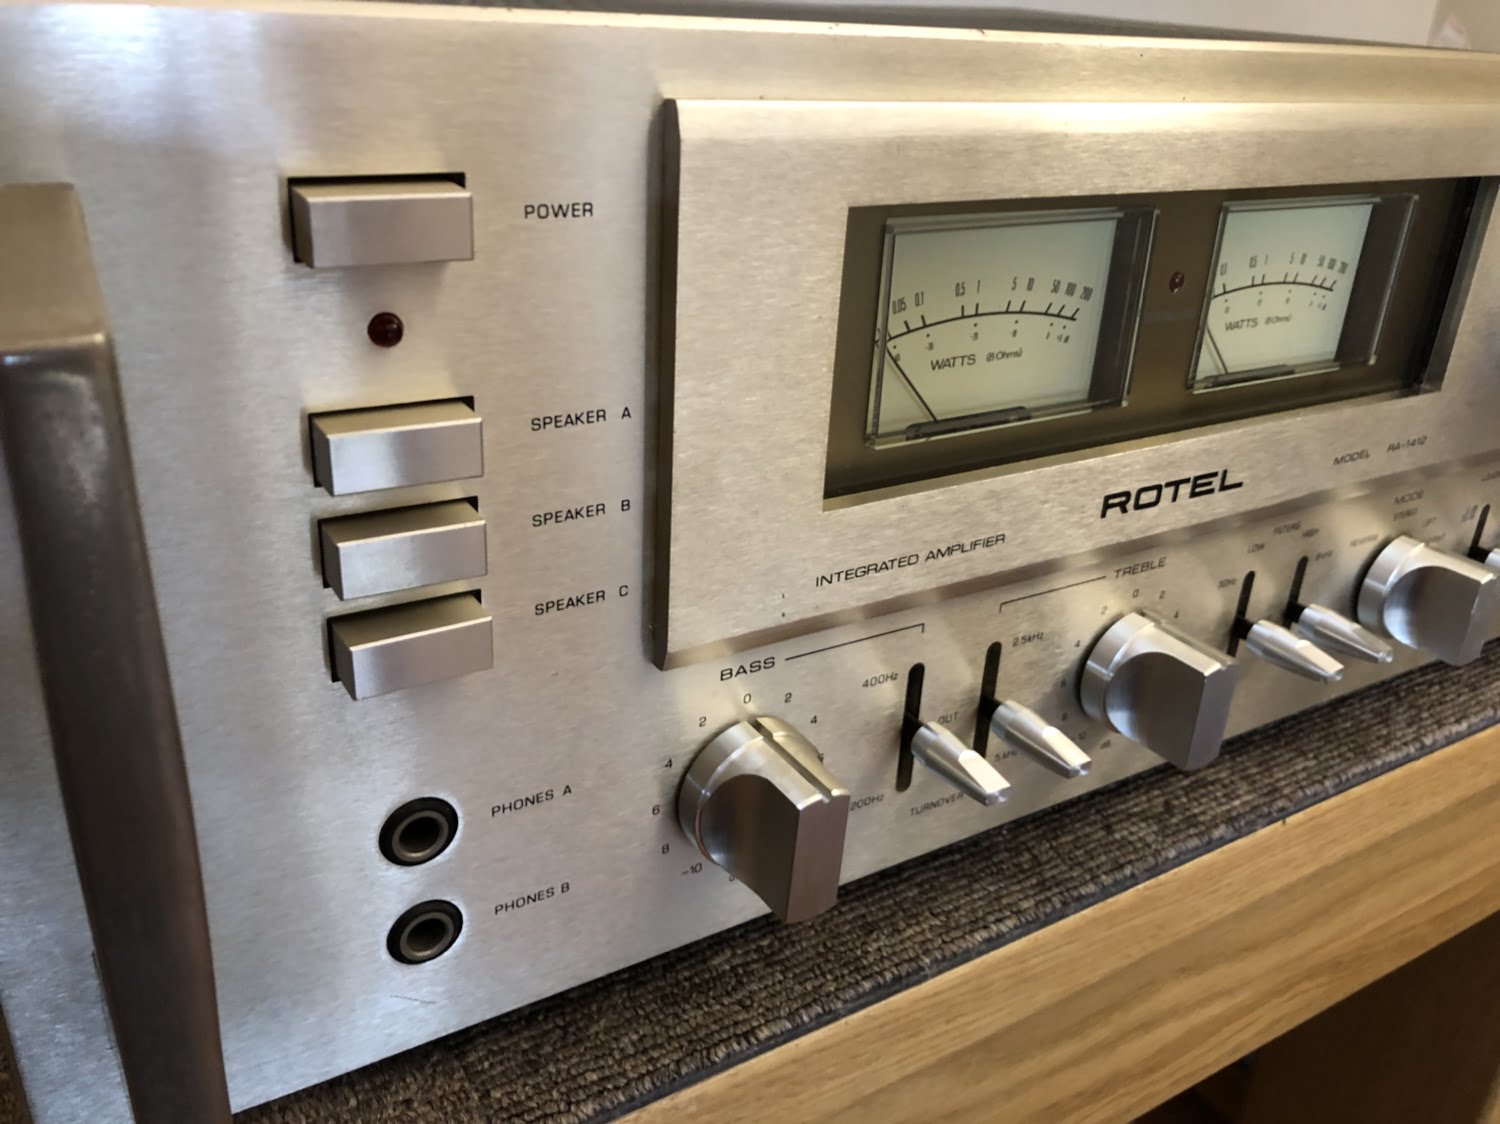
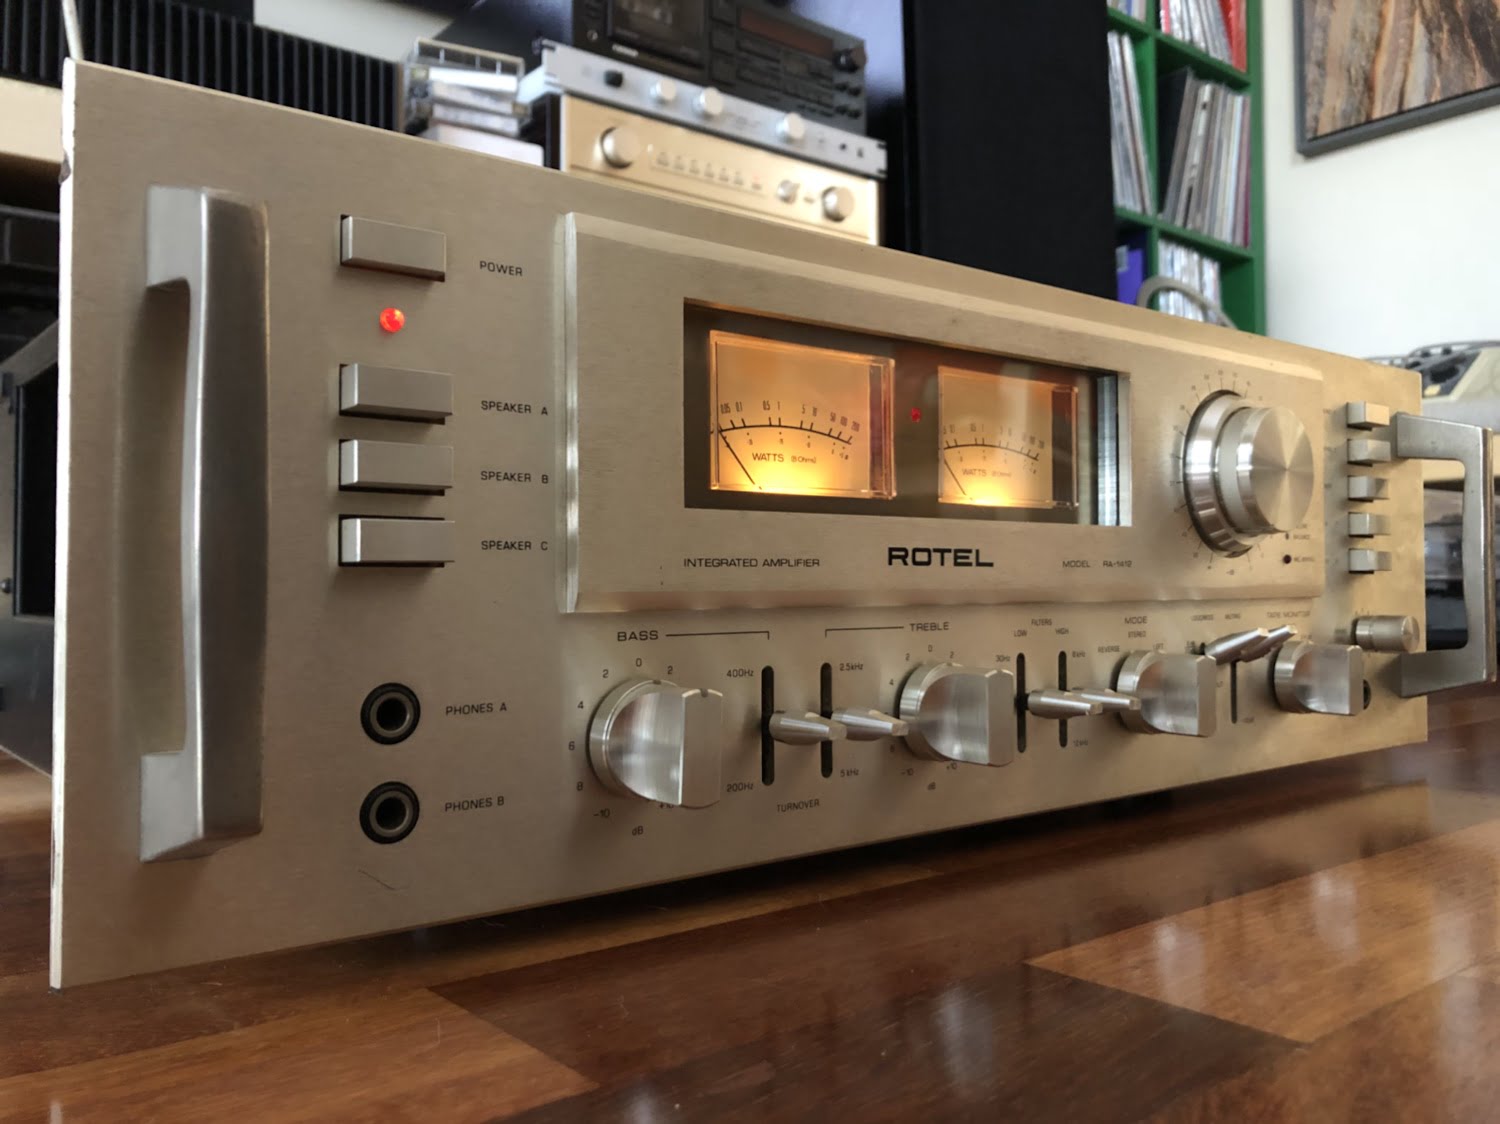
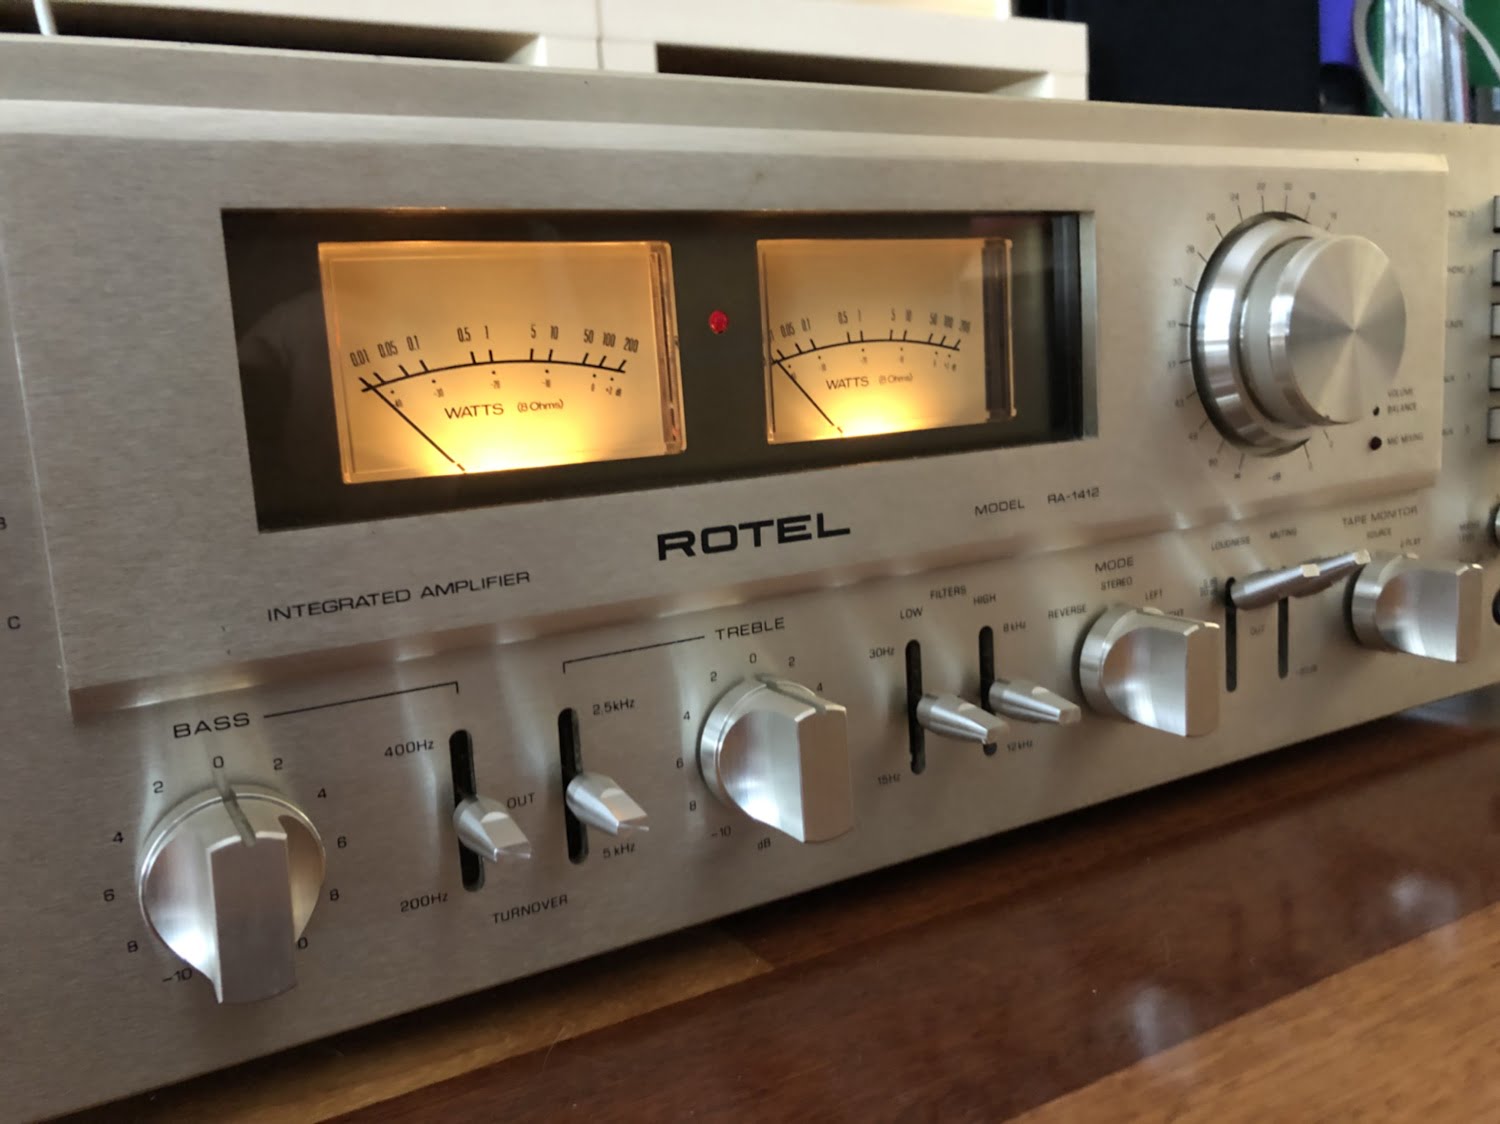
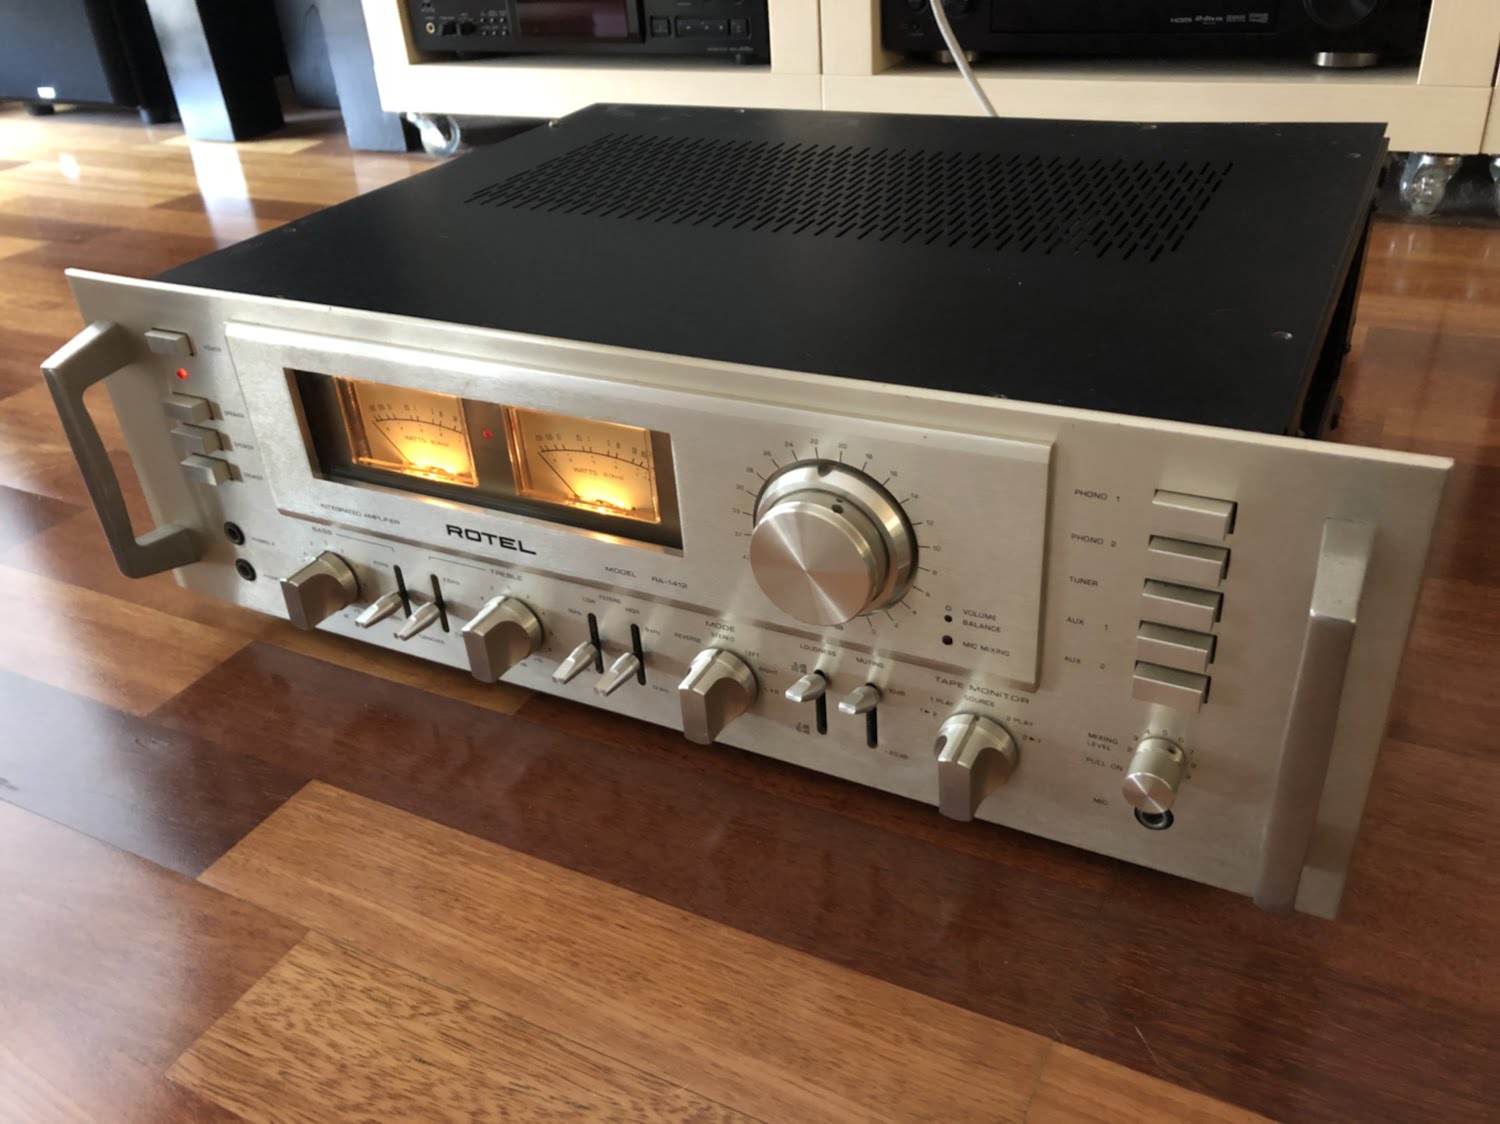
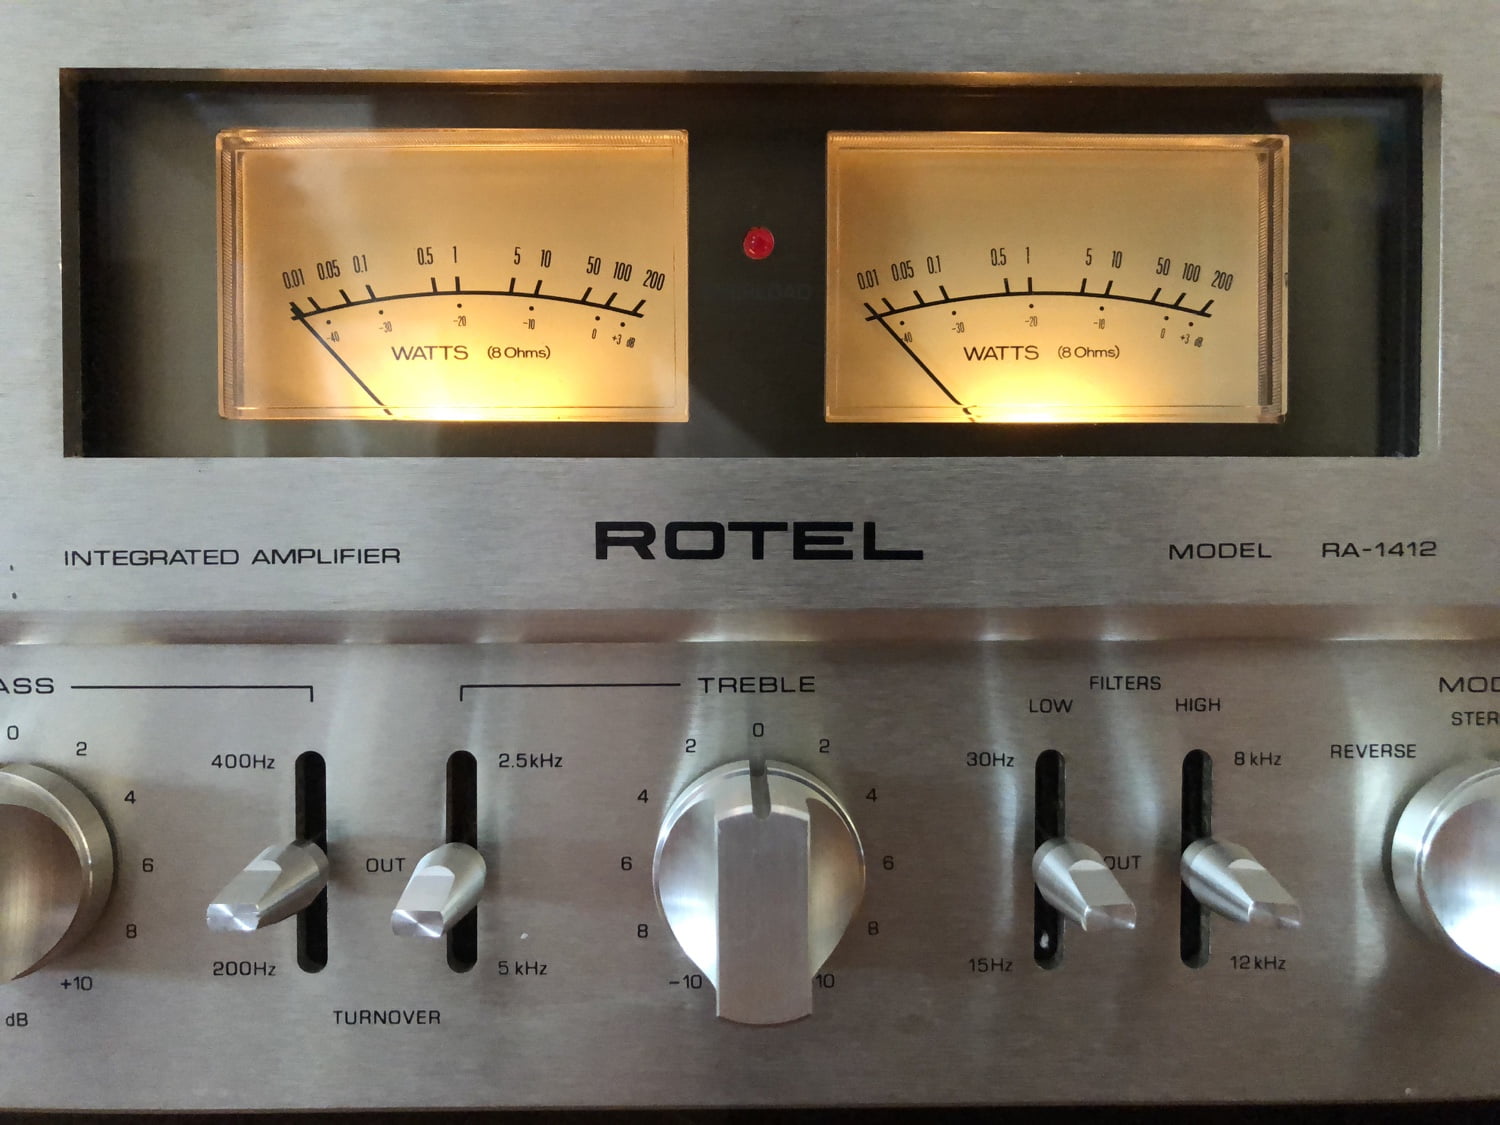
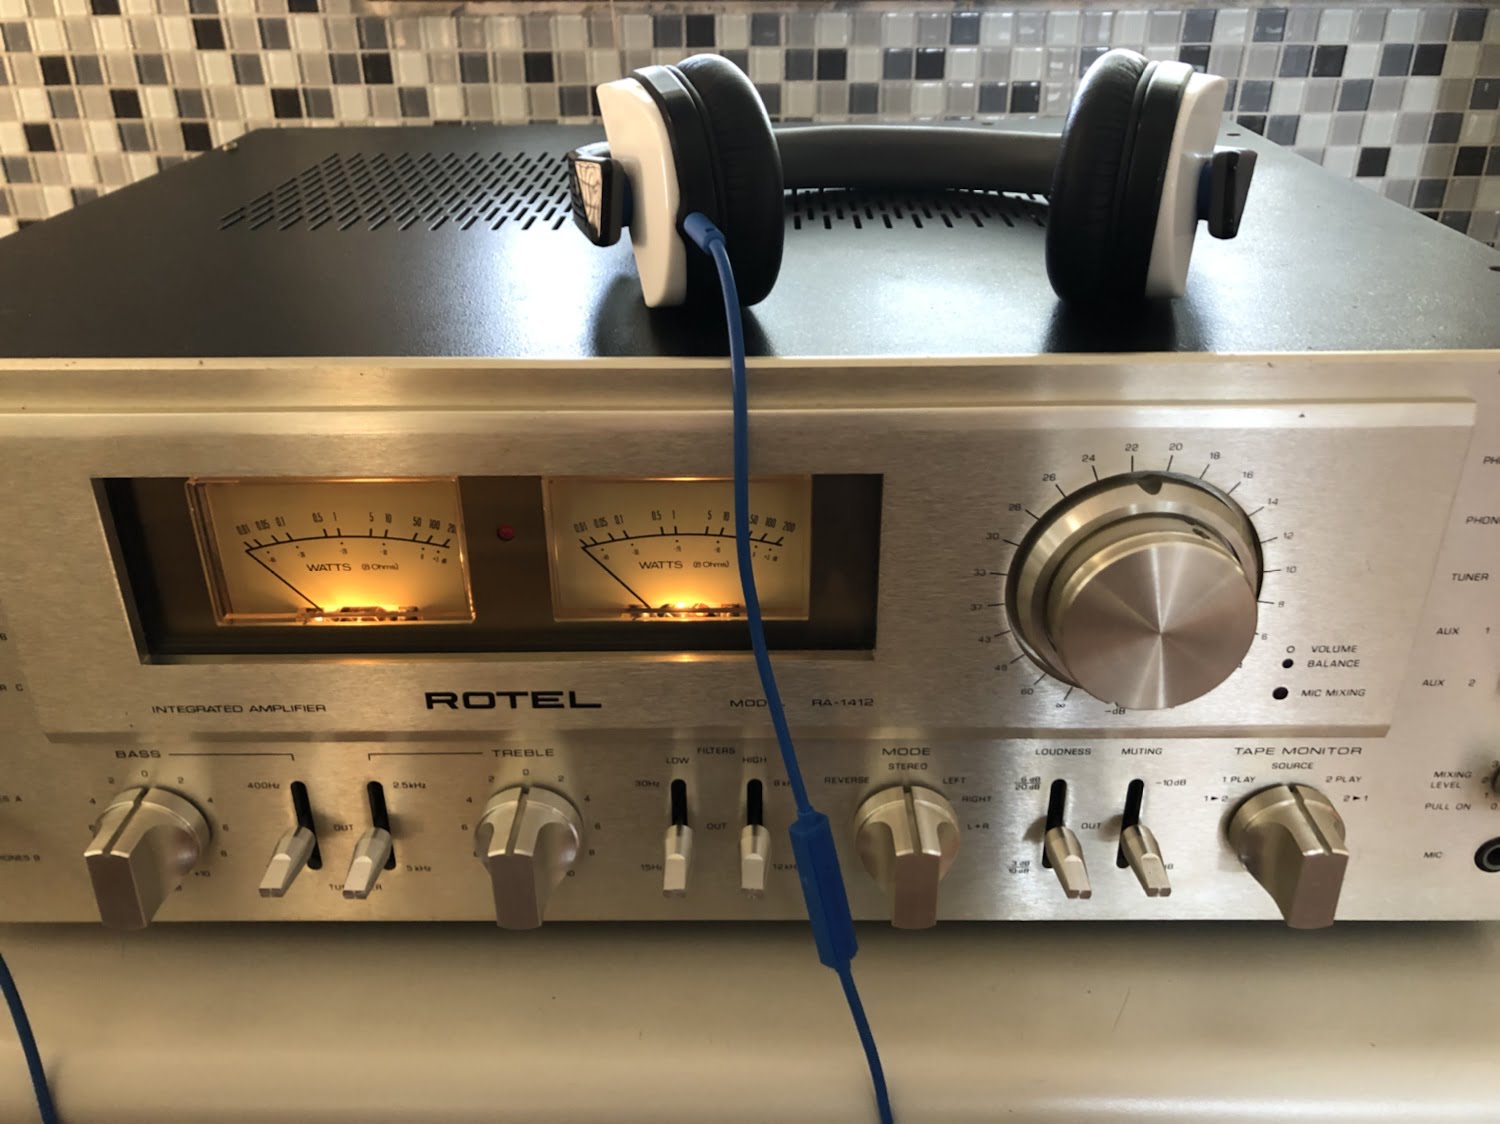
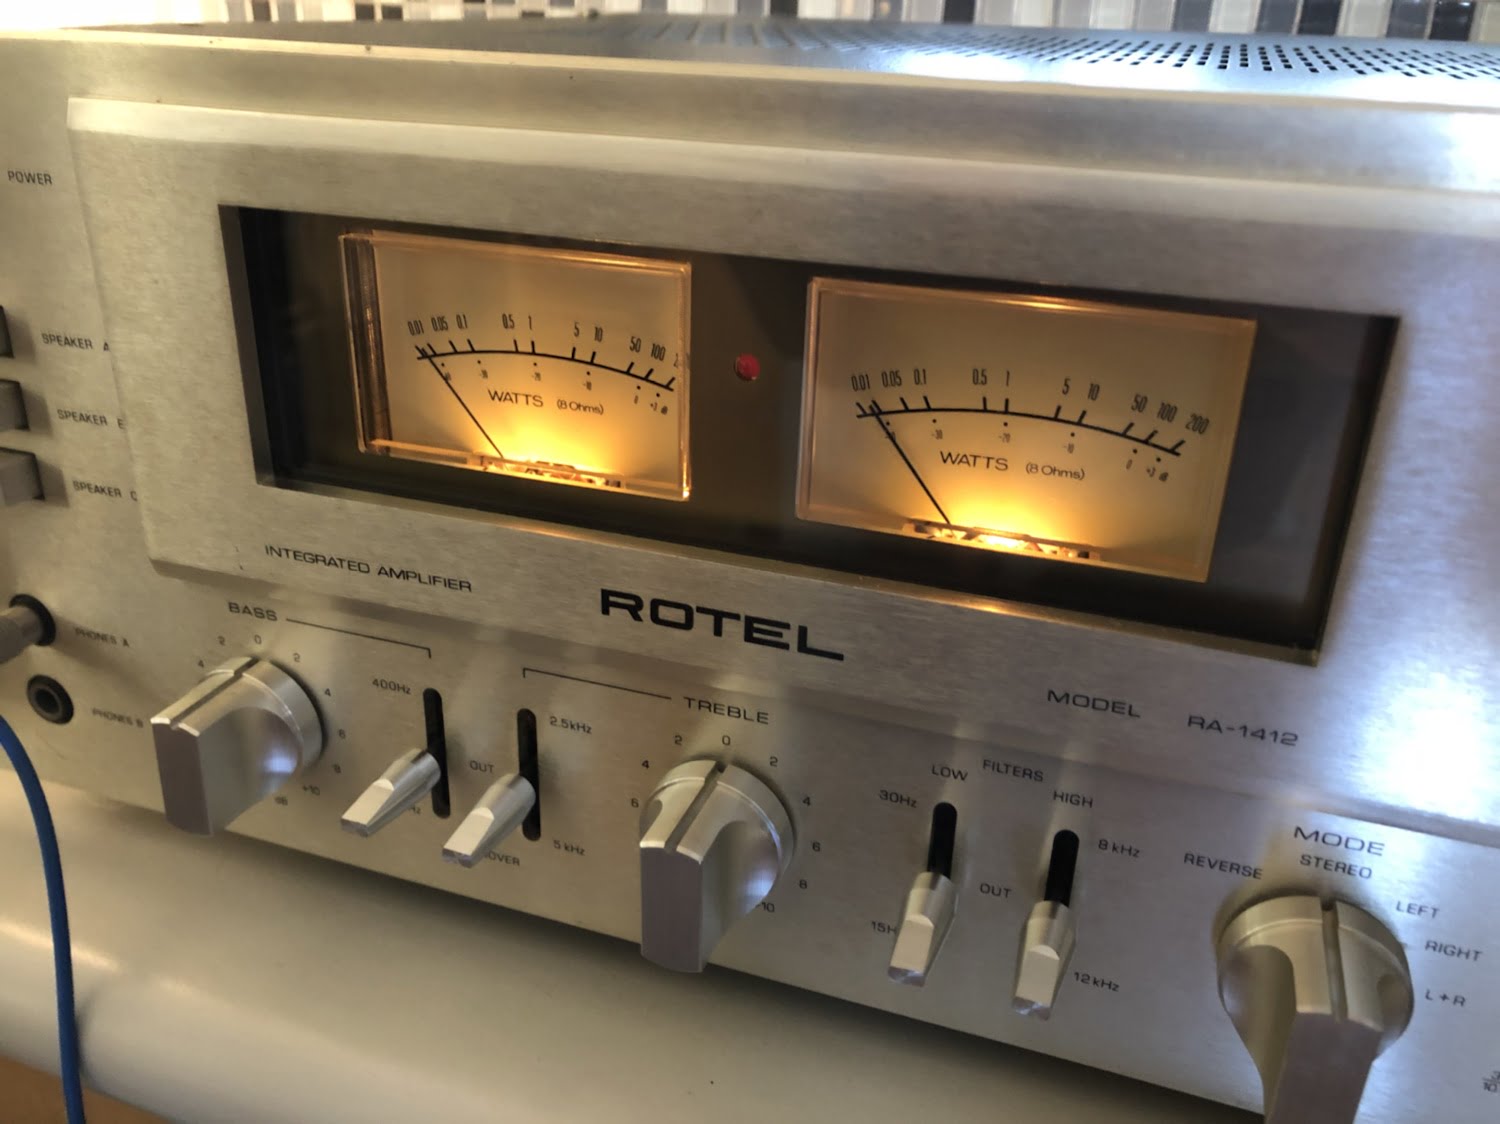
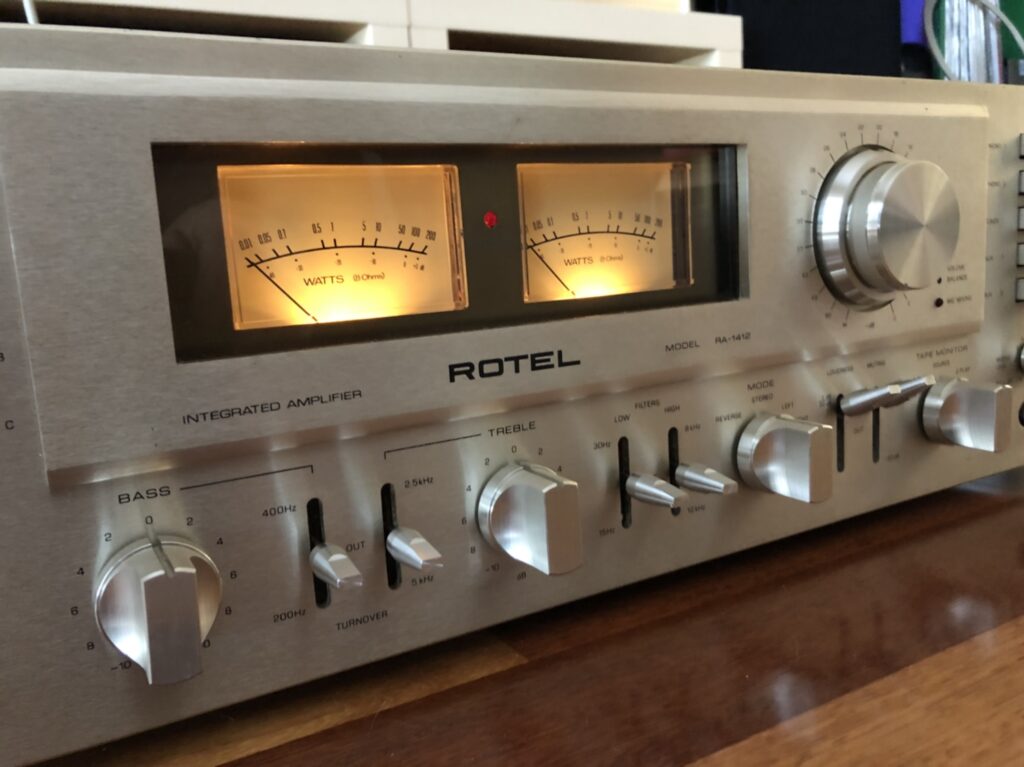
I’ve just repaired and serviced this gorgeous Rotel RA-1412 integrated amplifier and she’s now available for purchase.
This incredible Rotel RA-1412 integrated amplifier is now available to buy, from my friend Pierre @ Revolution Turntable. Pierre runs Revolution Turntable, one of the last proper hi-fi stores in Western Australia. It’s well worth a visit if you haven’t checked them out, get in touch with Pierre if you are interested in this beast.
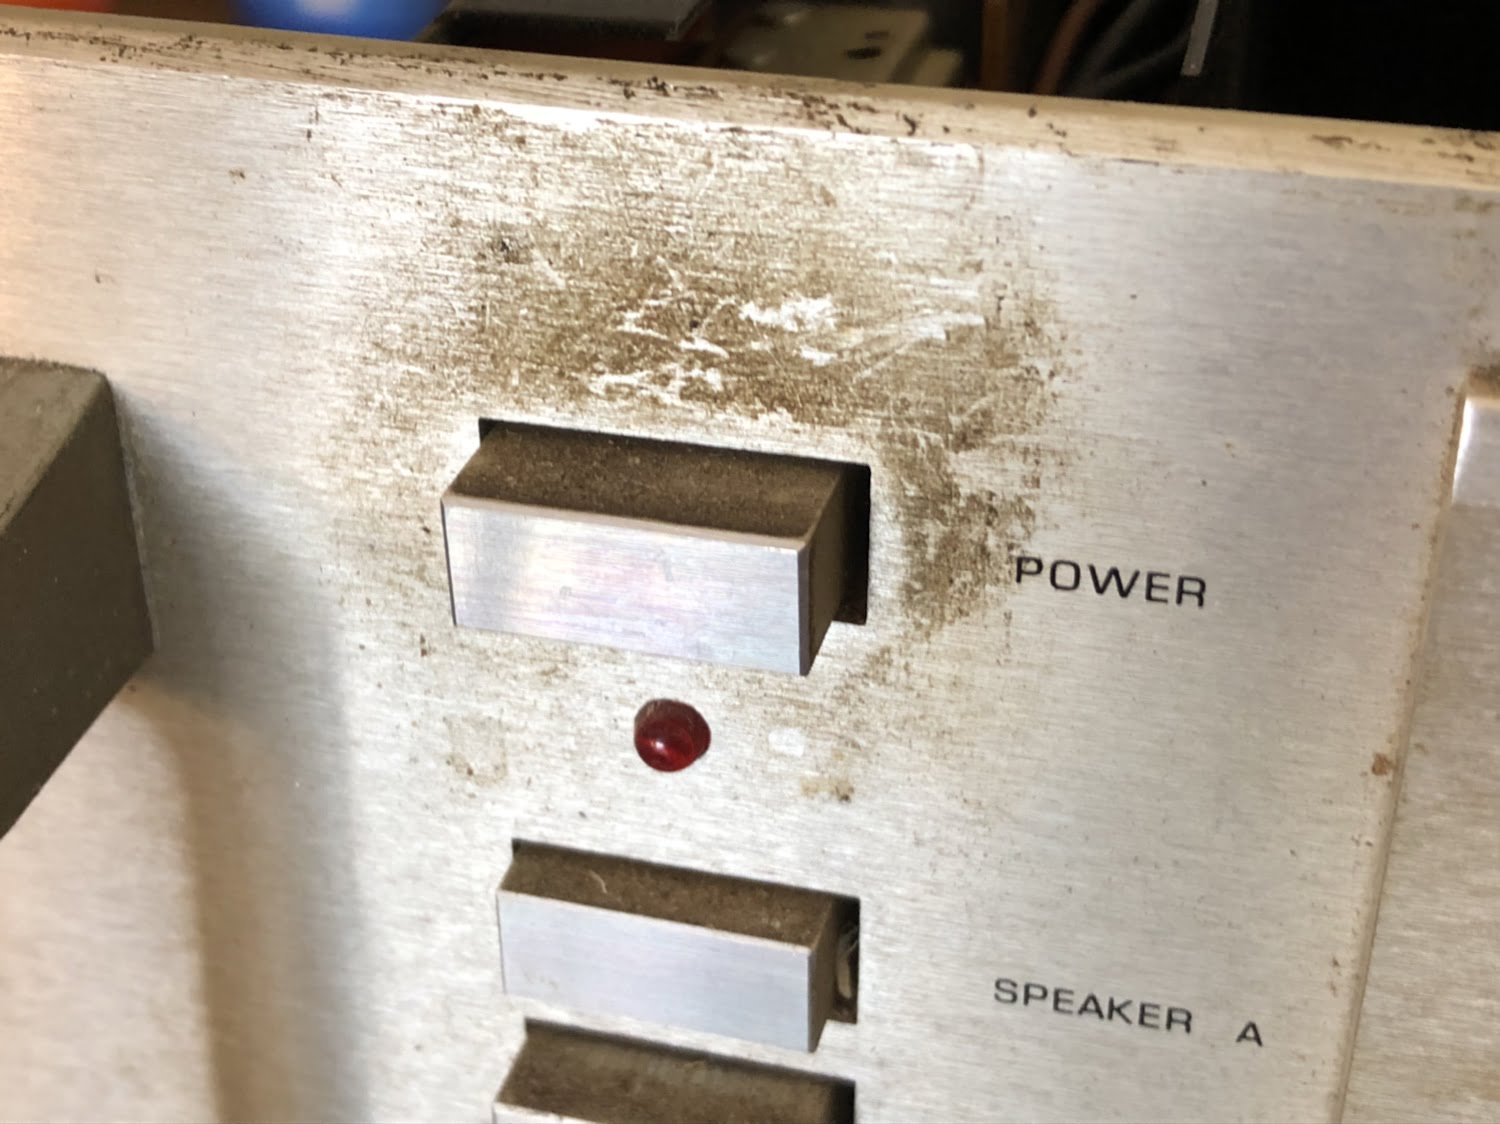
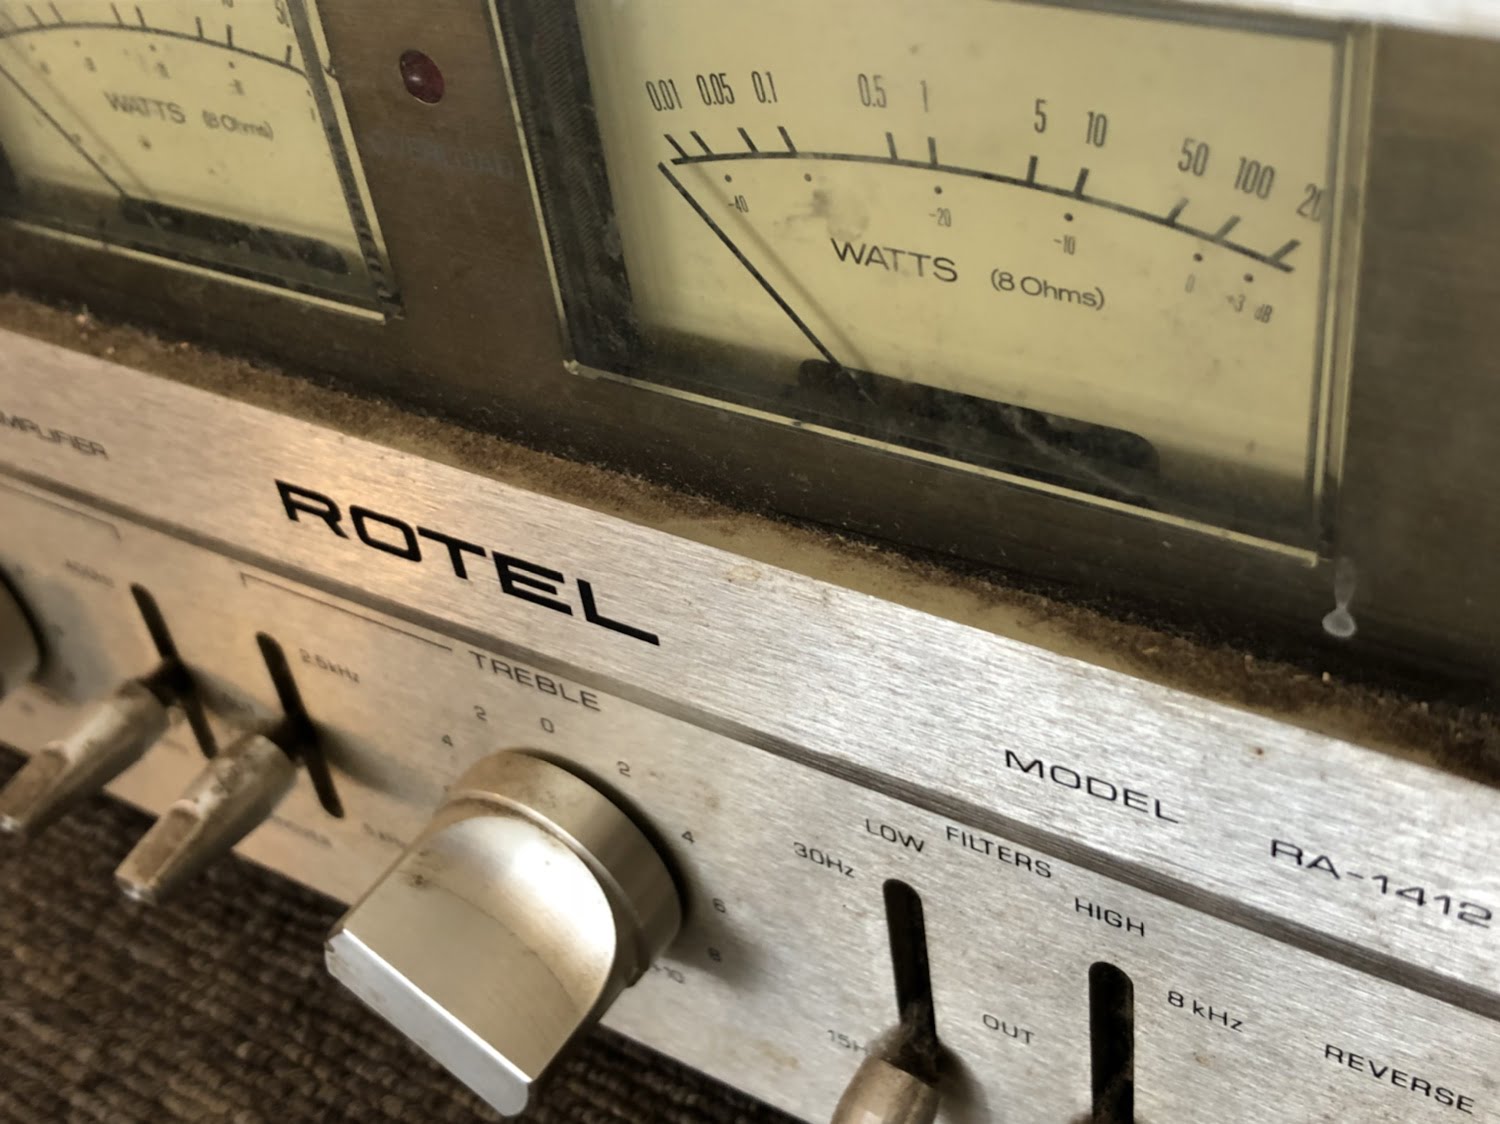
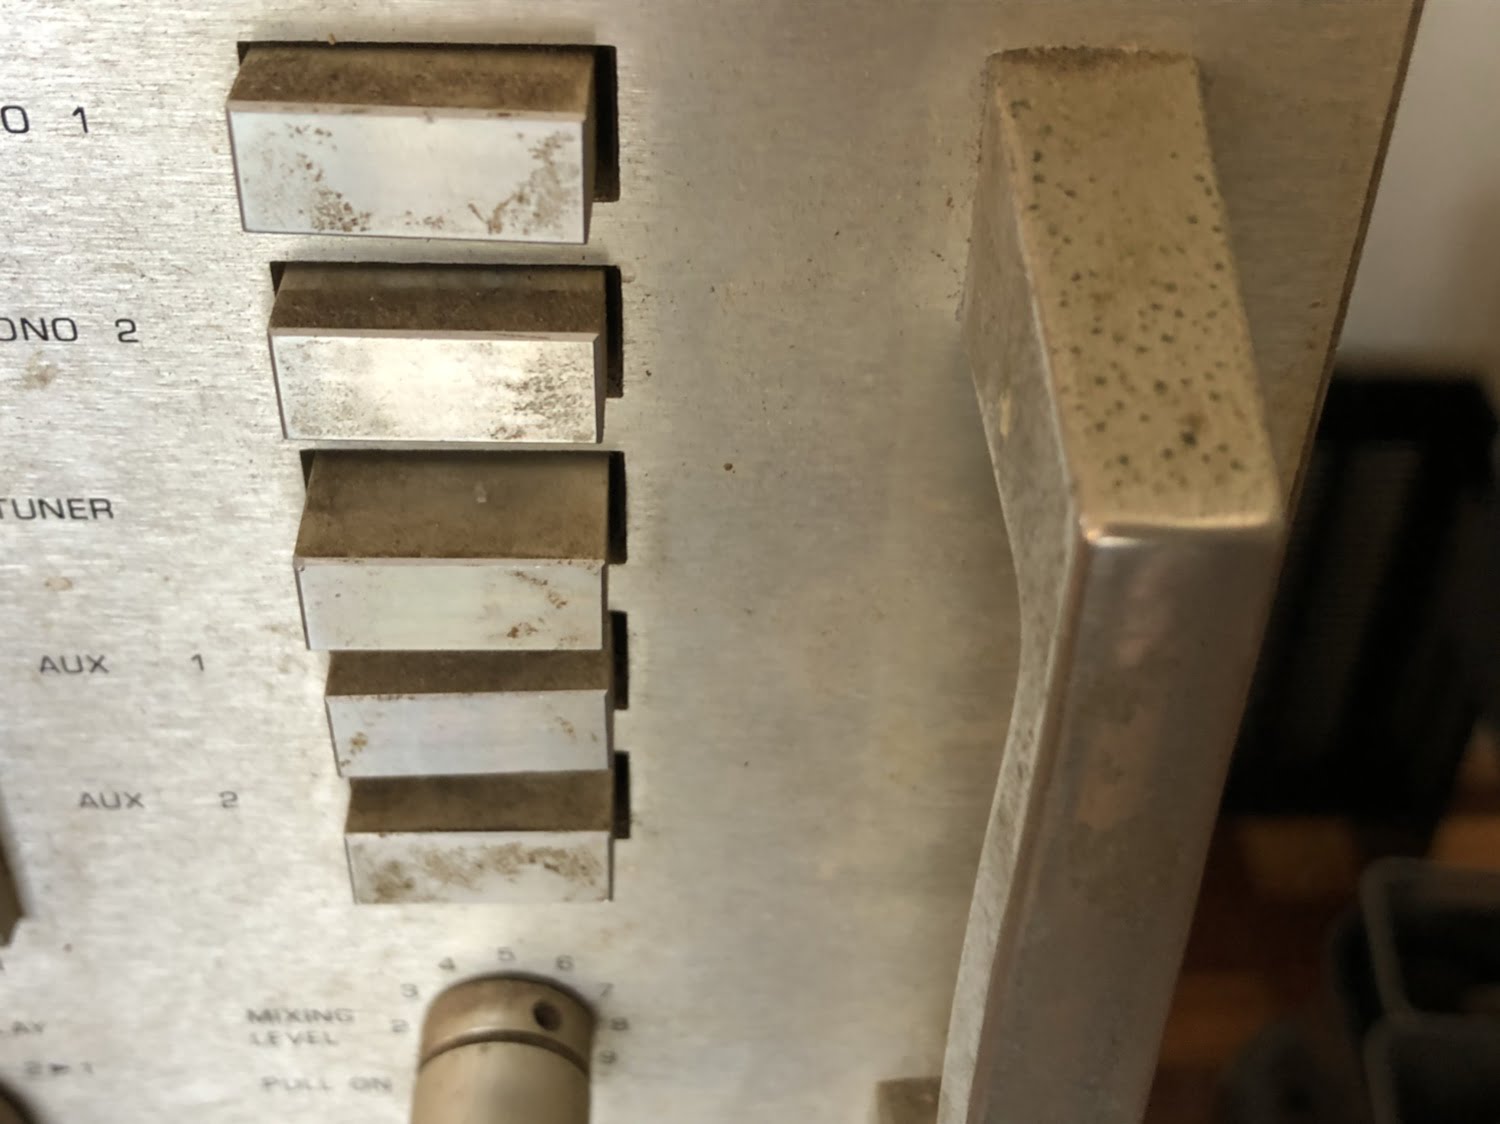
In preparing this 22kg monster amplifier for sale, I had to get through a layer of dust and grime, the likes of which I’ve rarely seen. It was mostly superficial, but the differences visible in the before and after shots really are night and day.
Rotel RA-1412 Specifications
Courtesy of HiFi Engine
Power output: 110 watts per channel into 8Ω (stereo)
Frequency response: 3Hz to 50kHz
Total harmonic distortion: 0.08%
Damping factor: 80
Input sensitivity: 2.5mV (mic), 150mV (MC), 2mV (MM)
Signal-to-noise ratio: 75dB (mic), 75dB (MM), 95dB (line)
Output: 350mV (line), 120mV (DIN)
Speaker load impedance: 4Ω to 16Ω
Semiconductors: 62 x transistors, 1 x IC, 28 x diodes
Dimensions: 540 x 180 x 430mm
Weight: 22kg
Read even more about the RA-1412 at The Vintage Knob!
Clean & Service
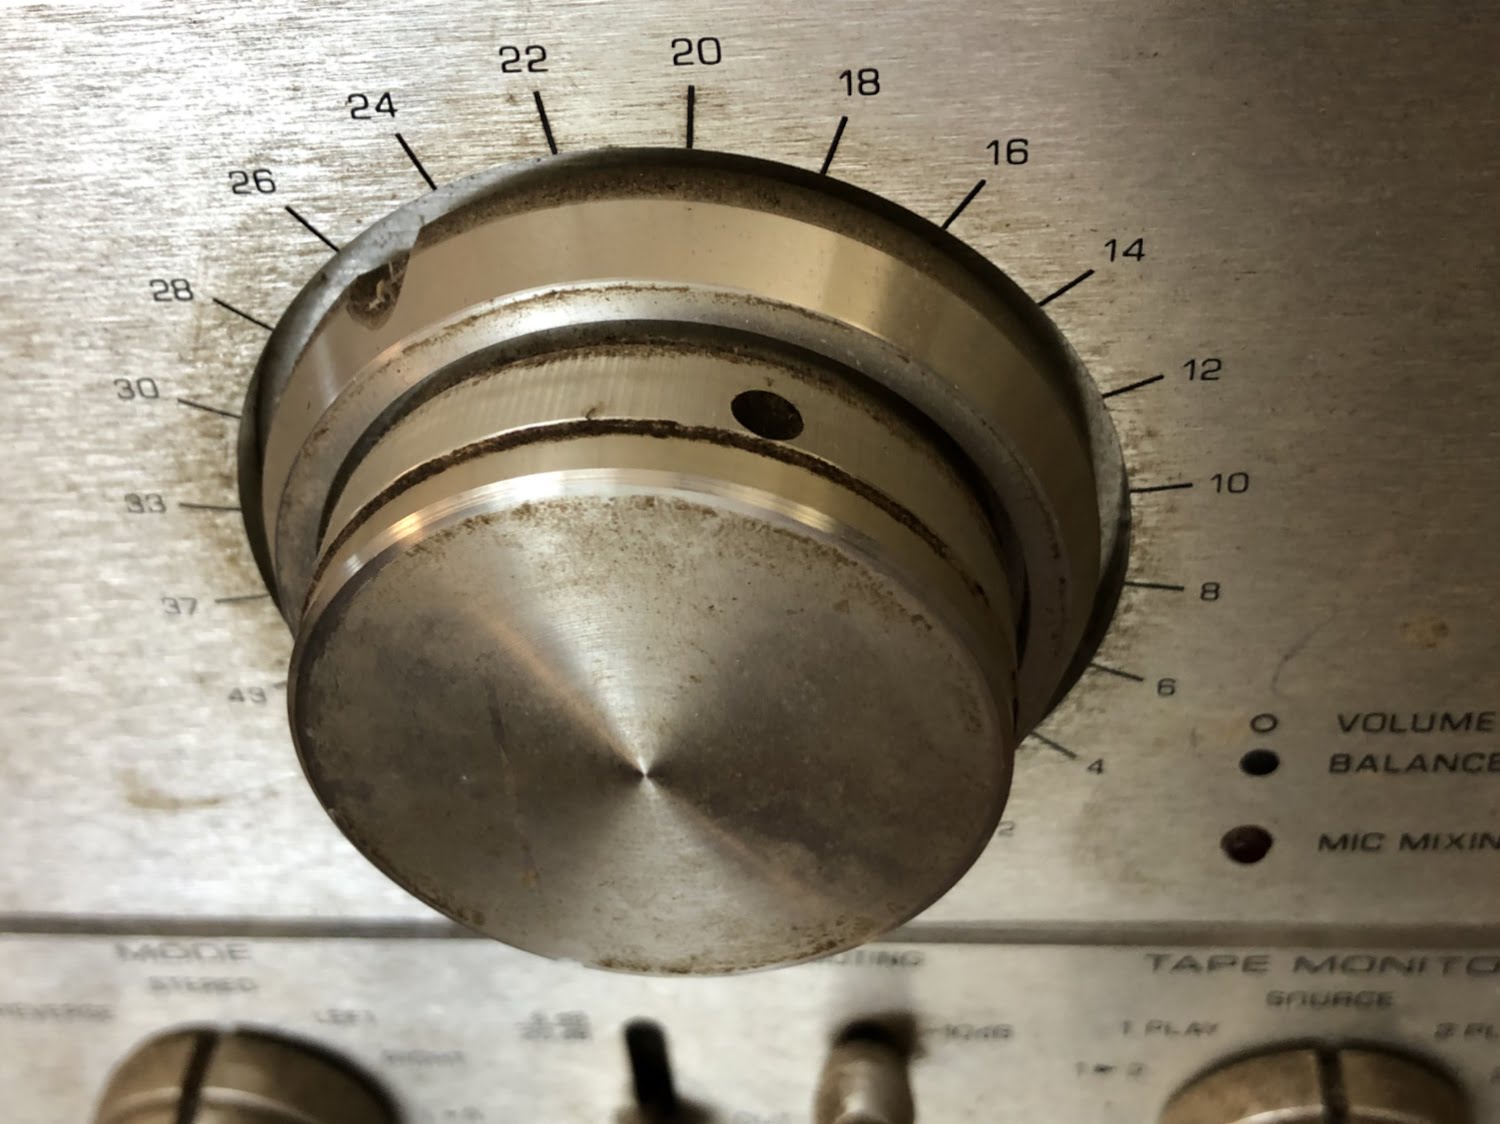
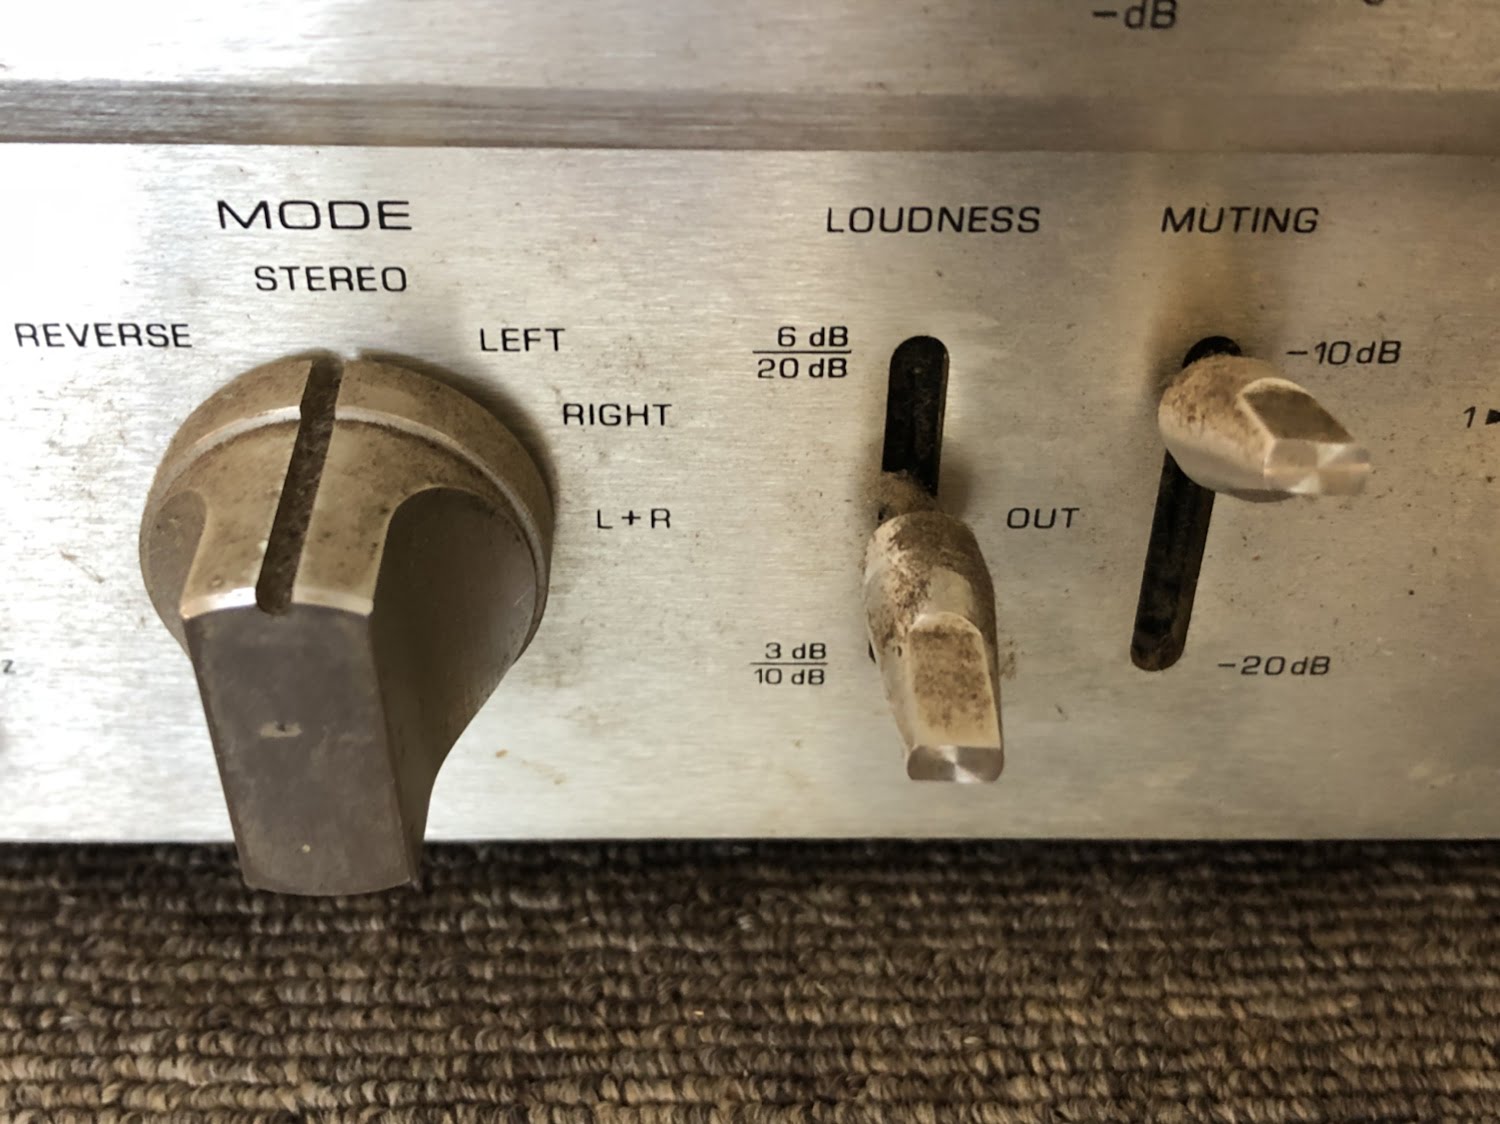
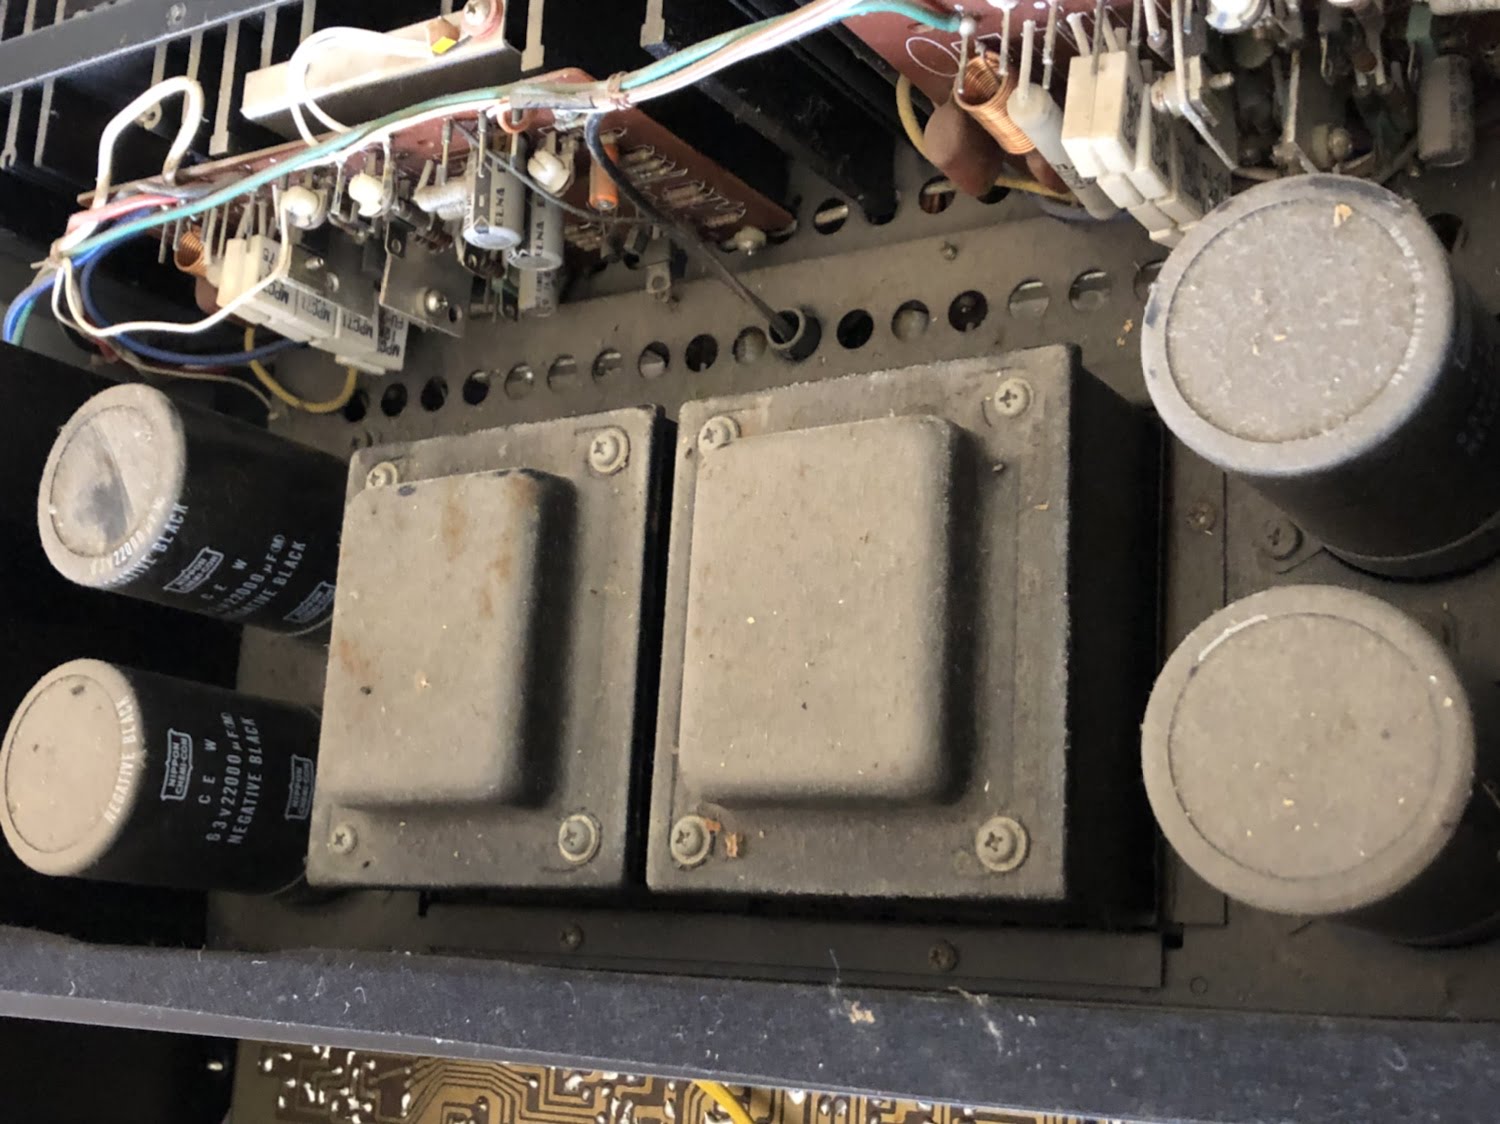
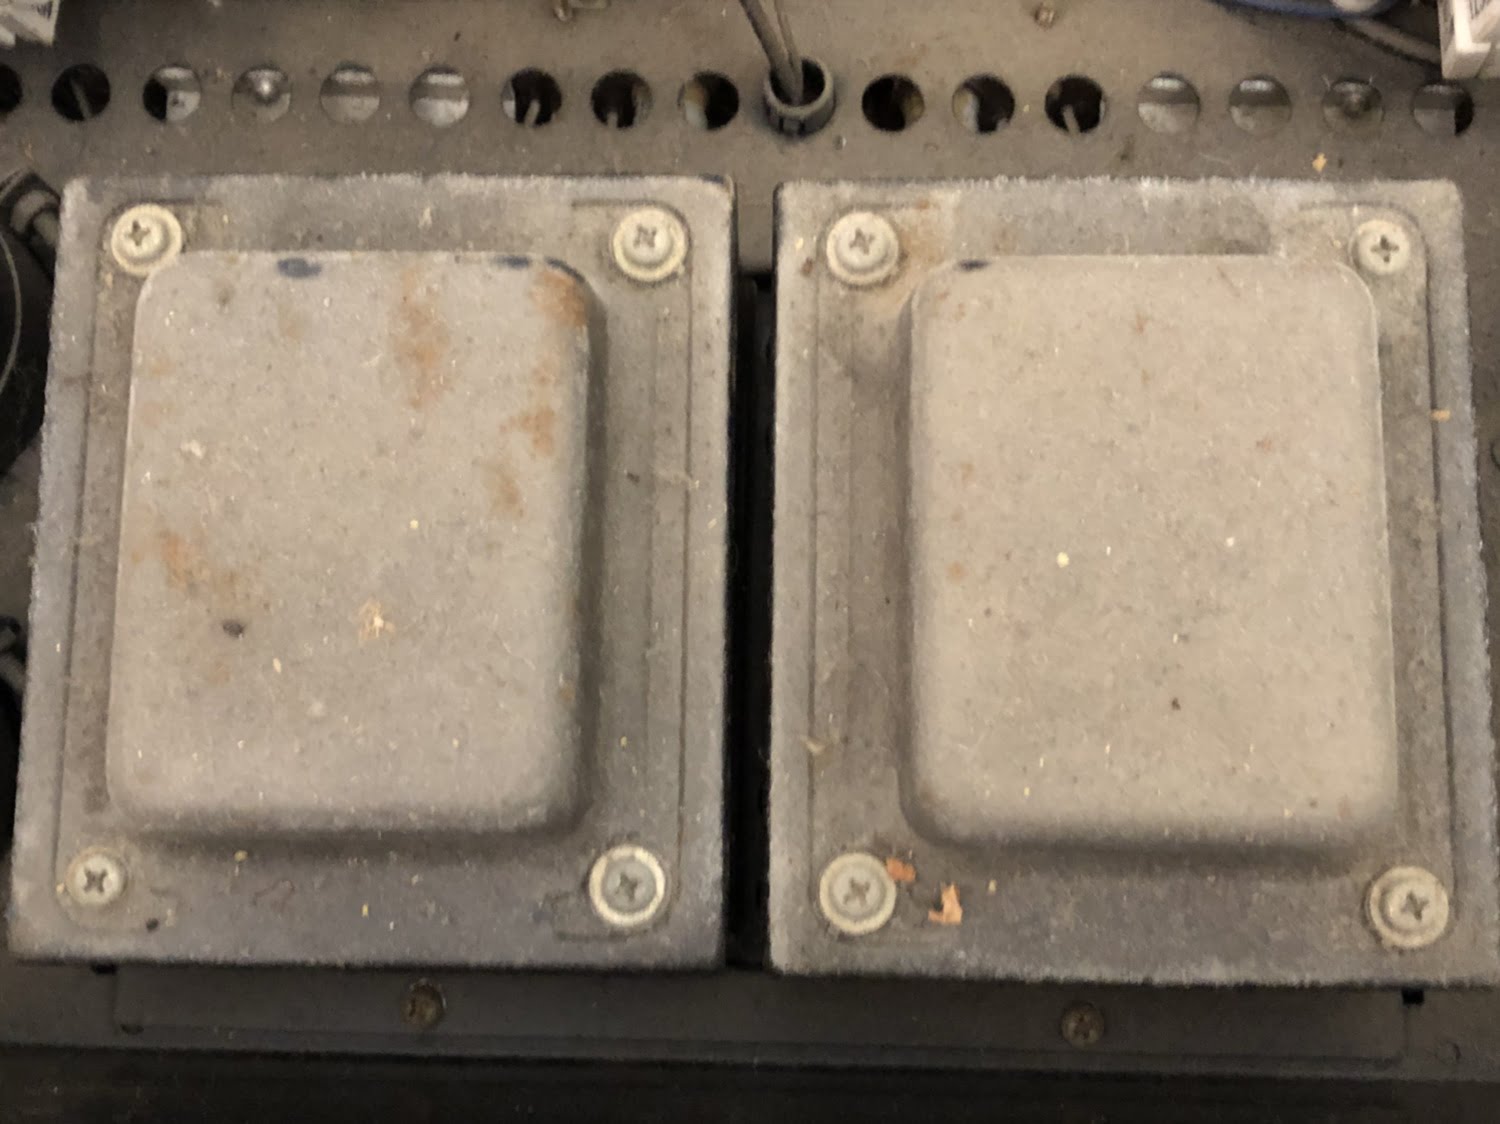
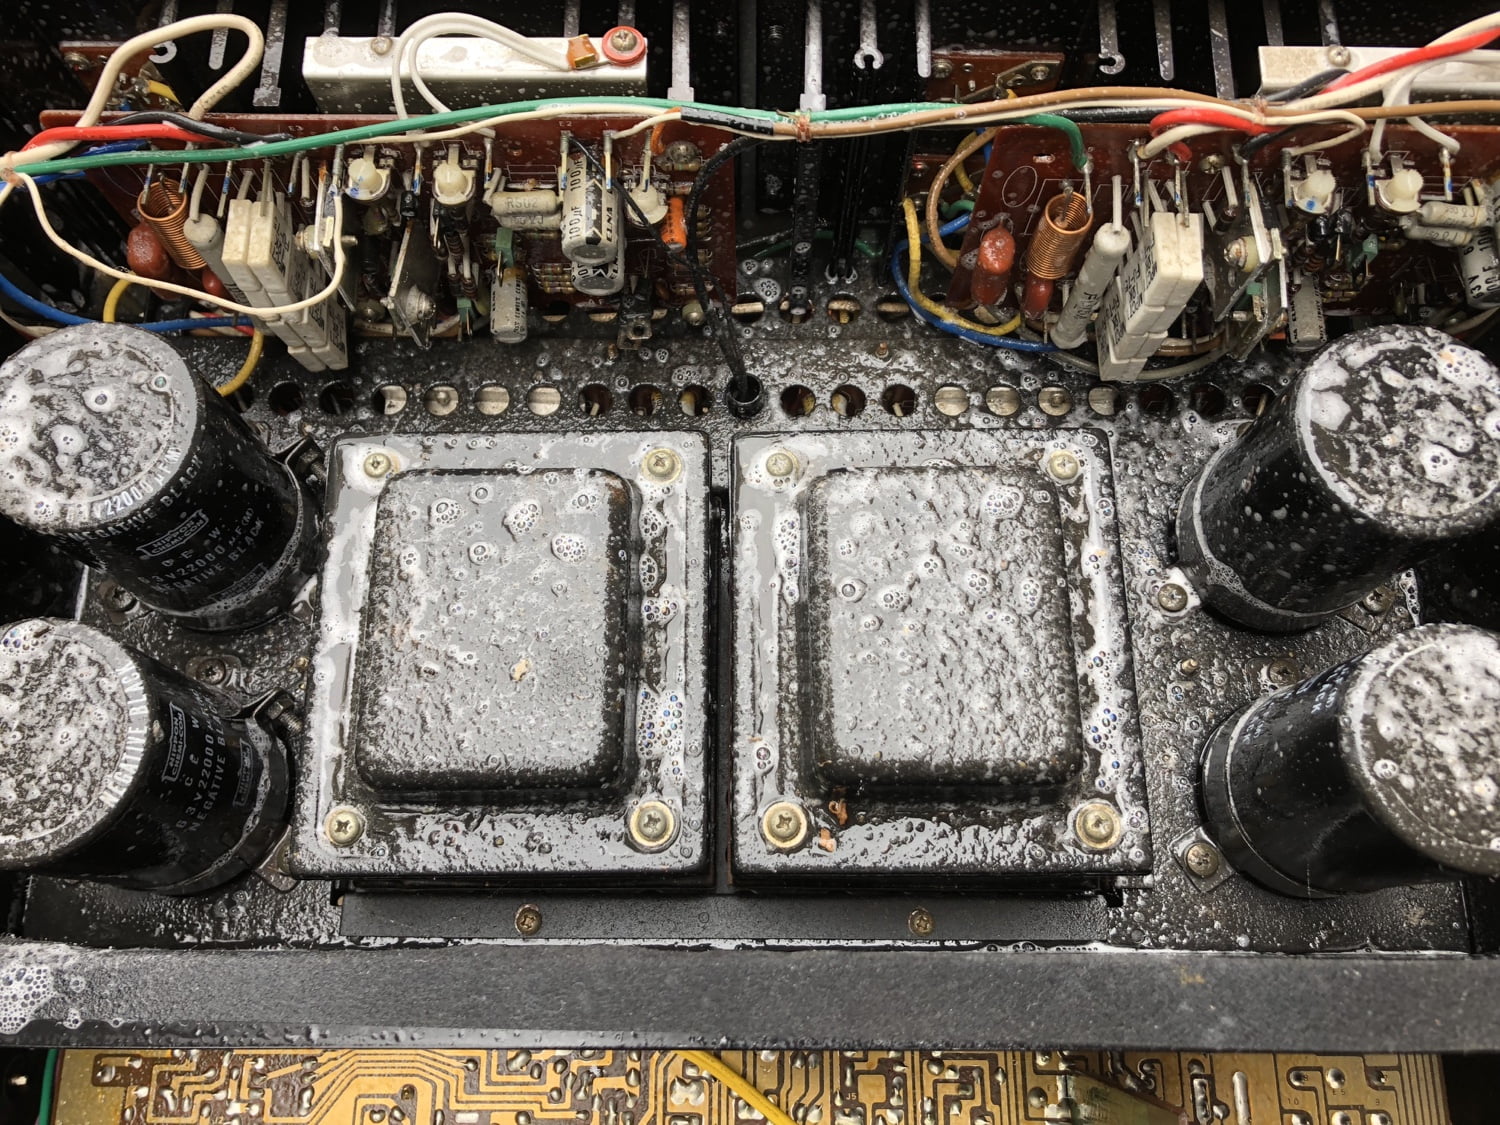
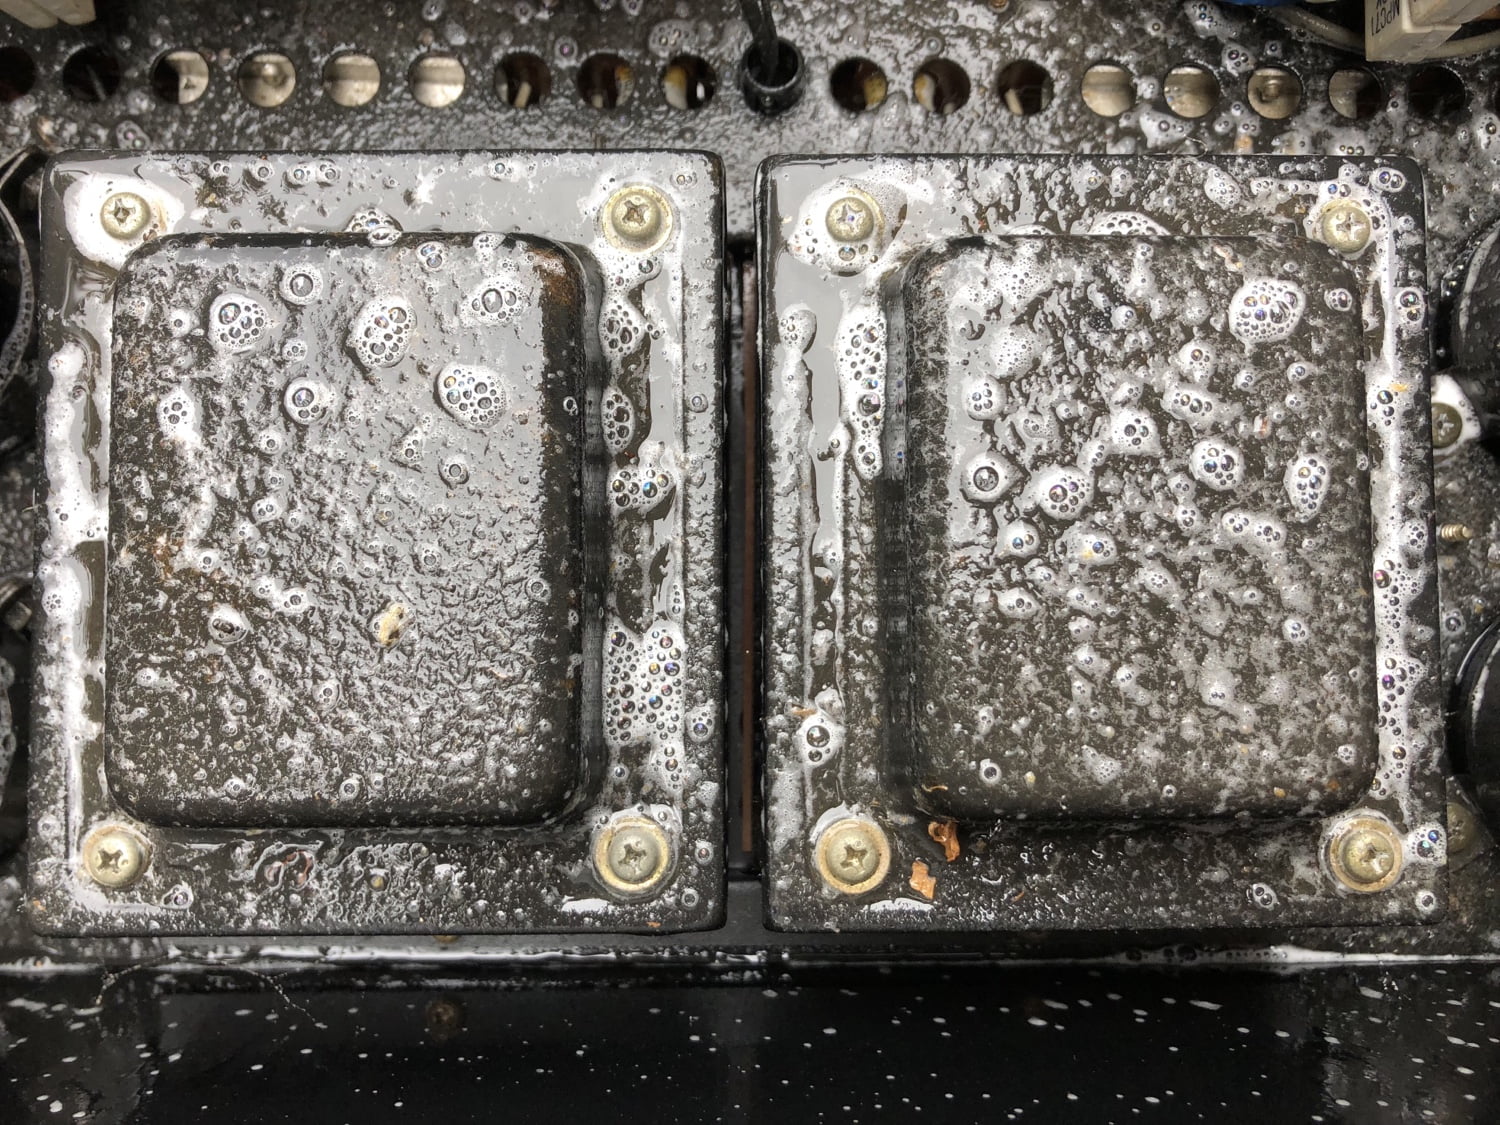
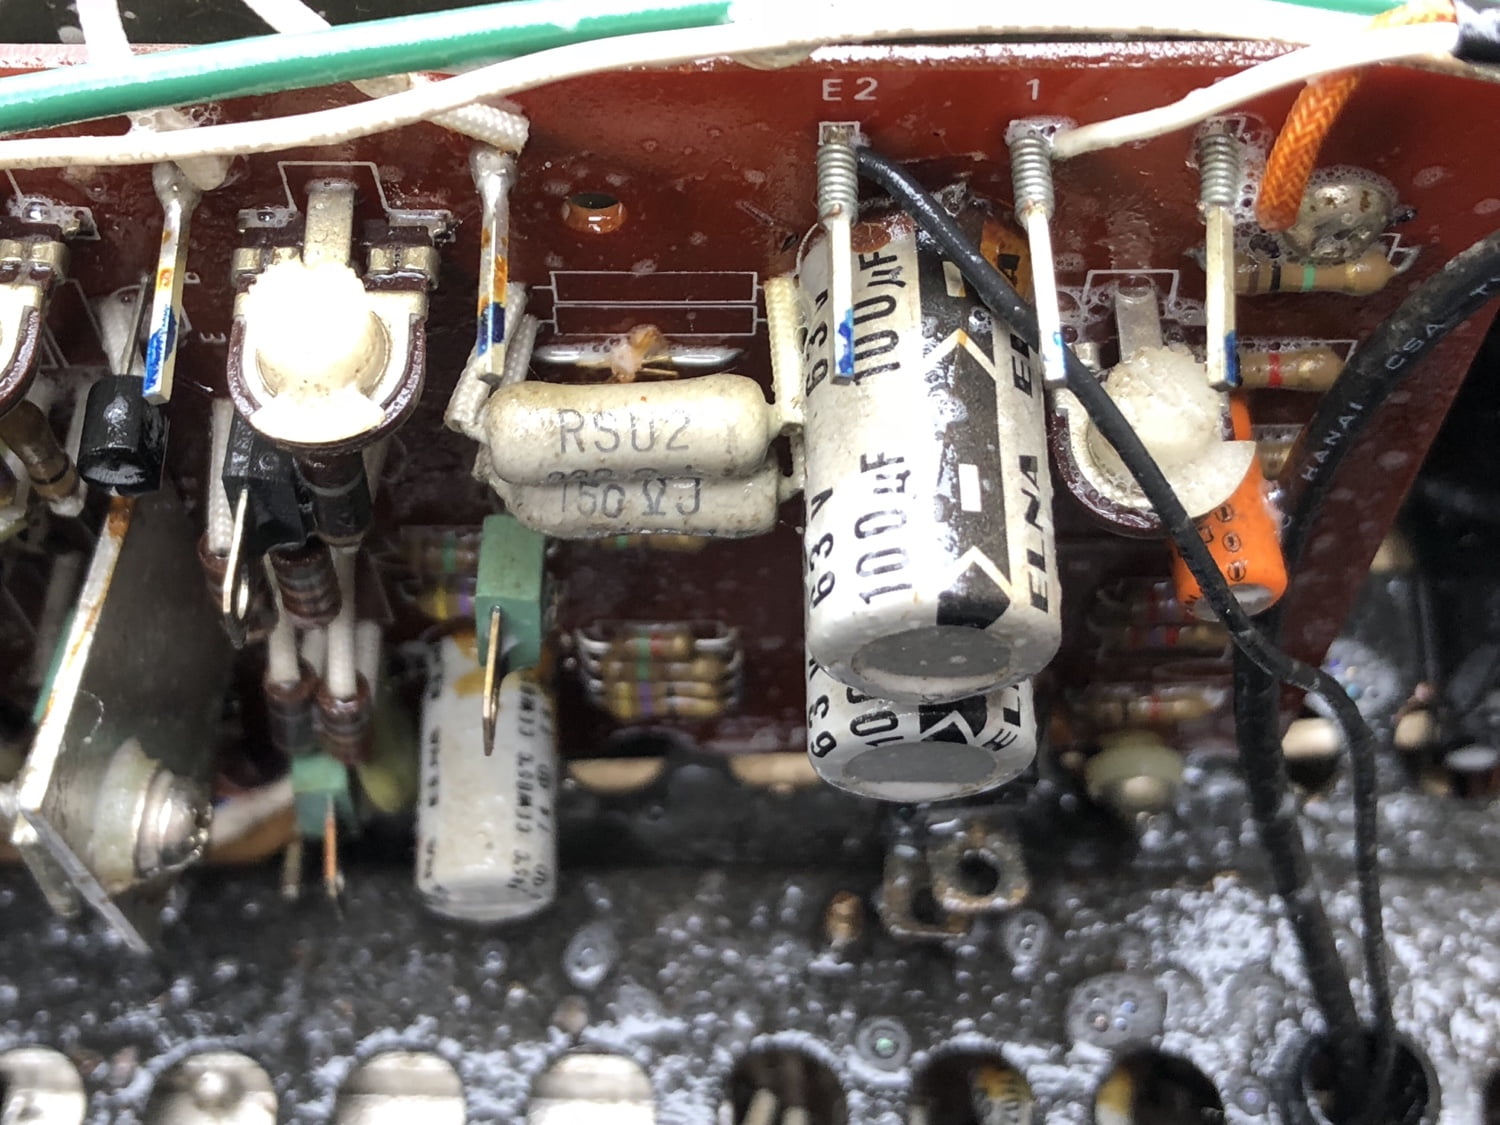
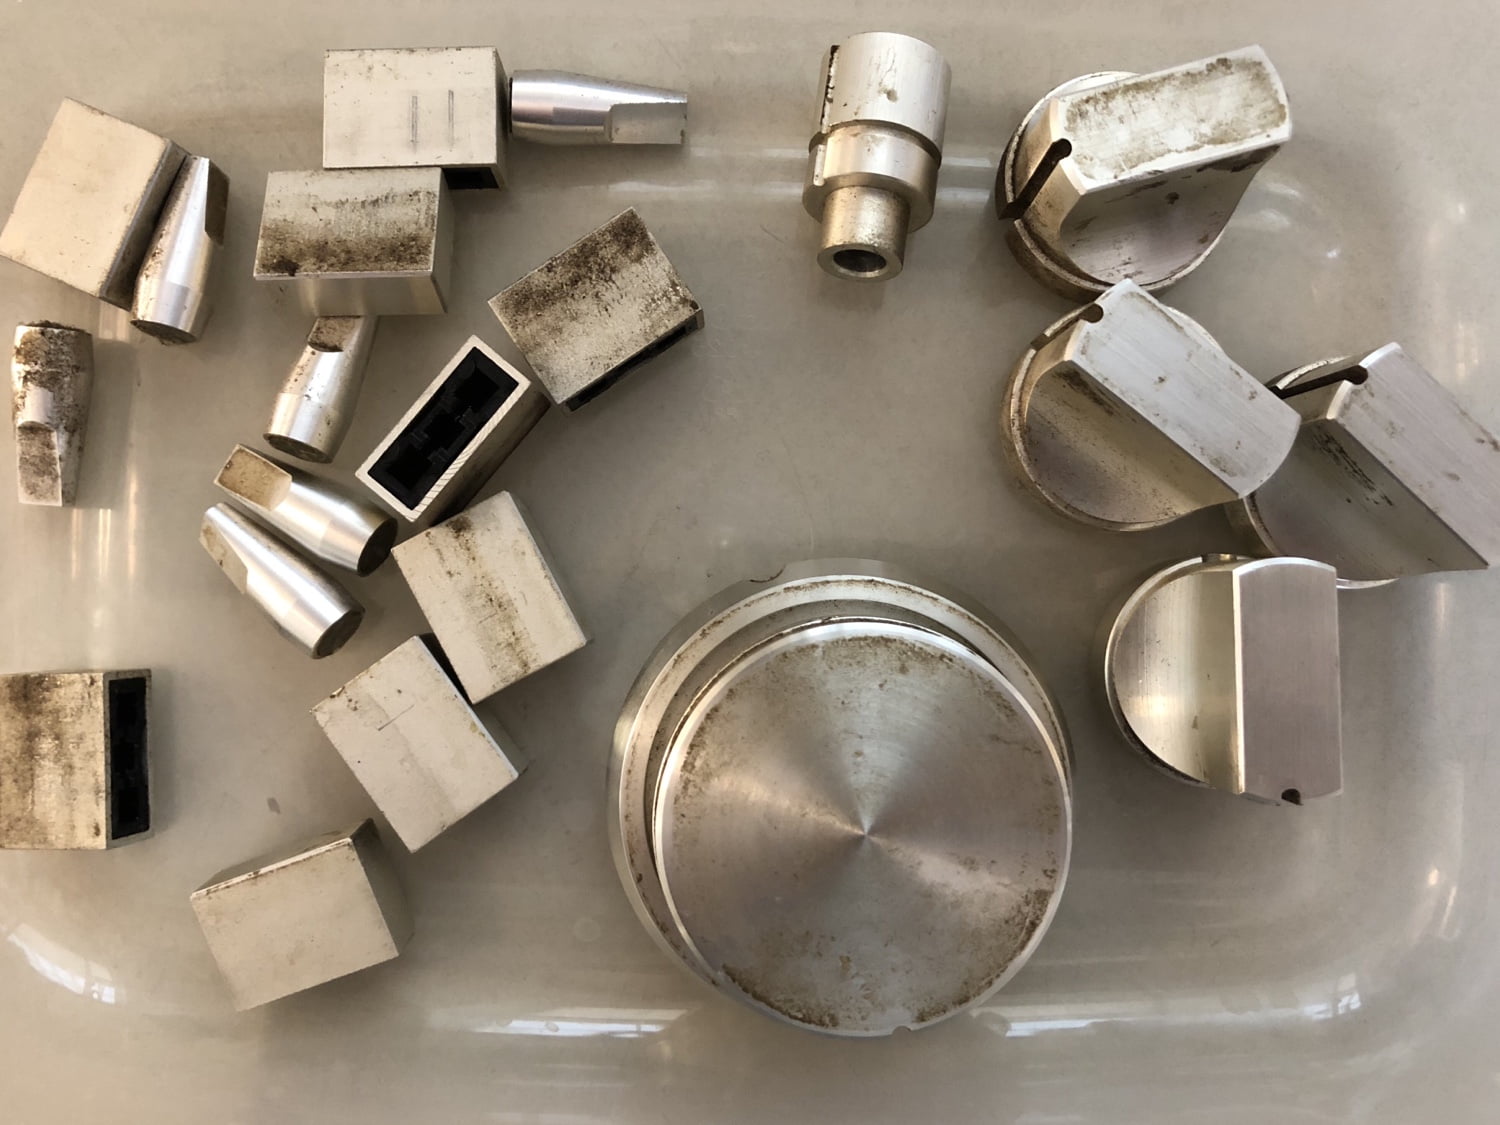
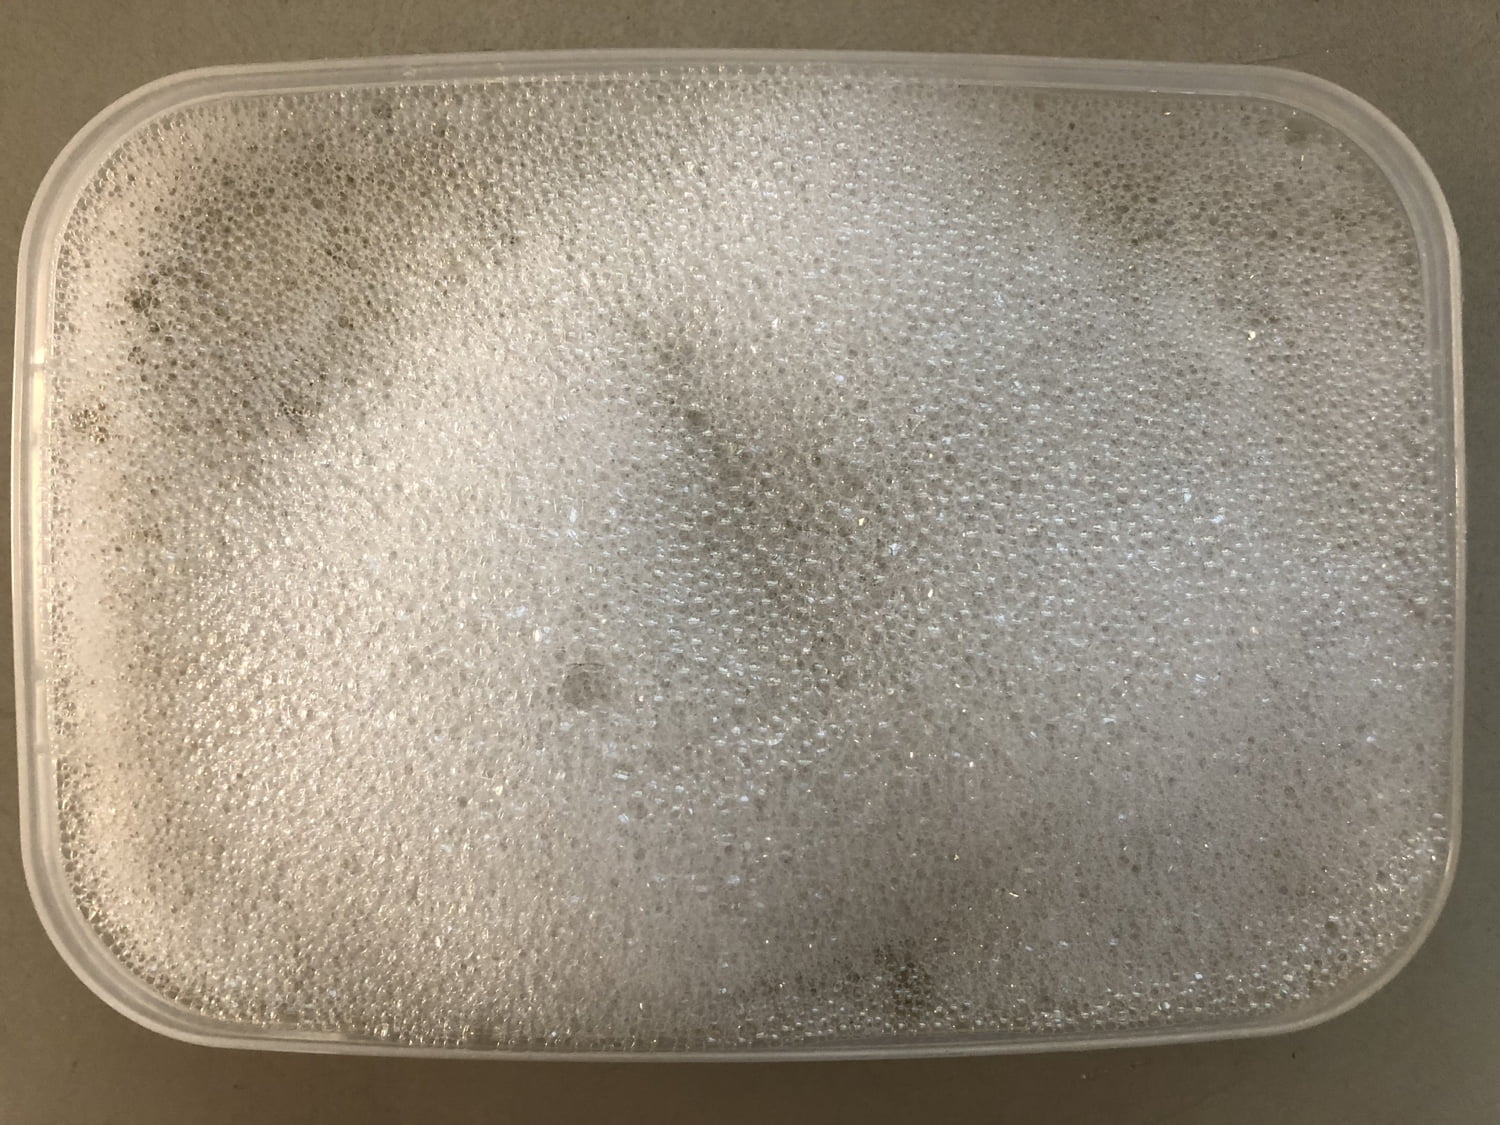
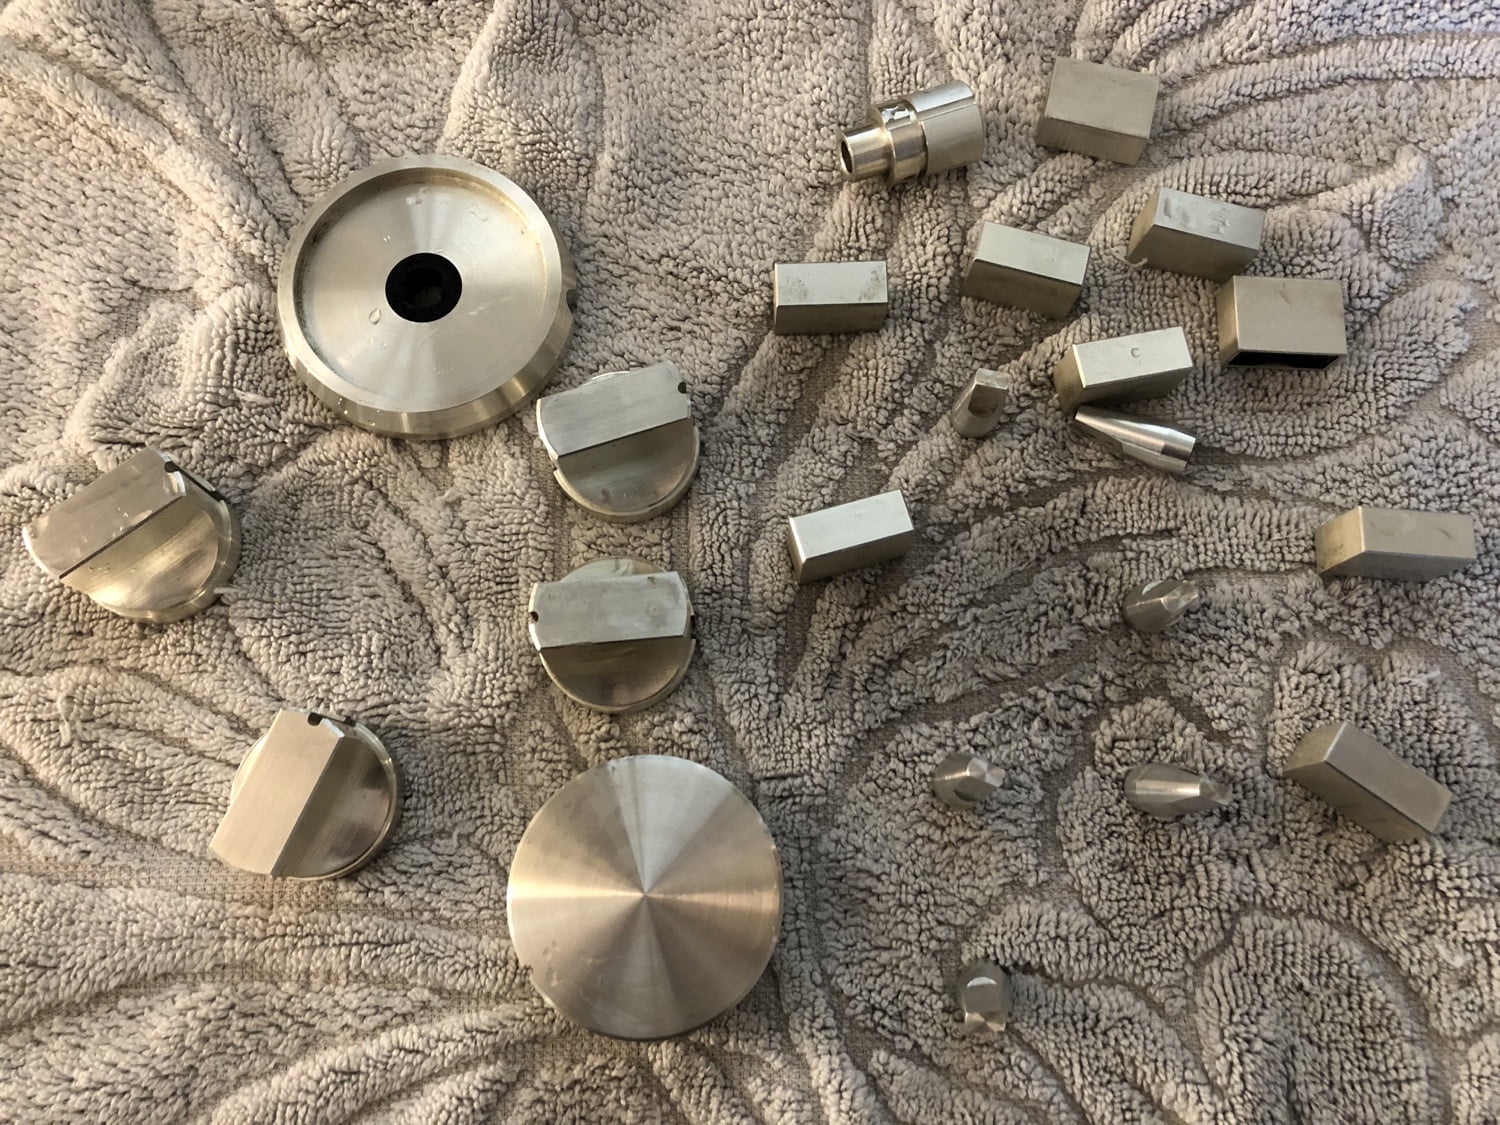
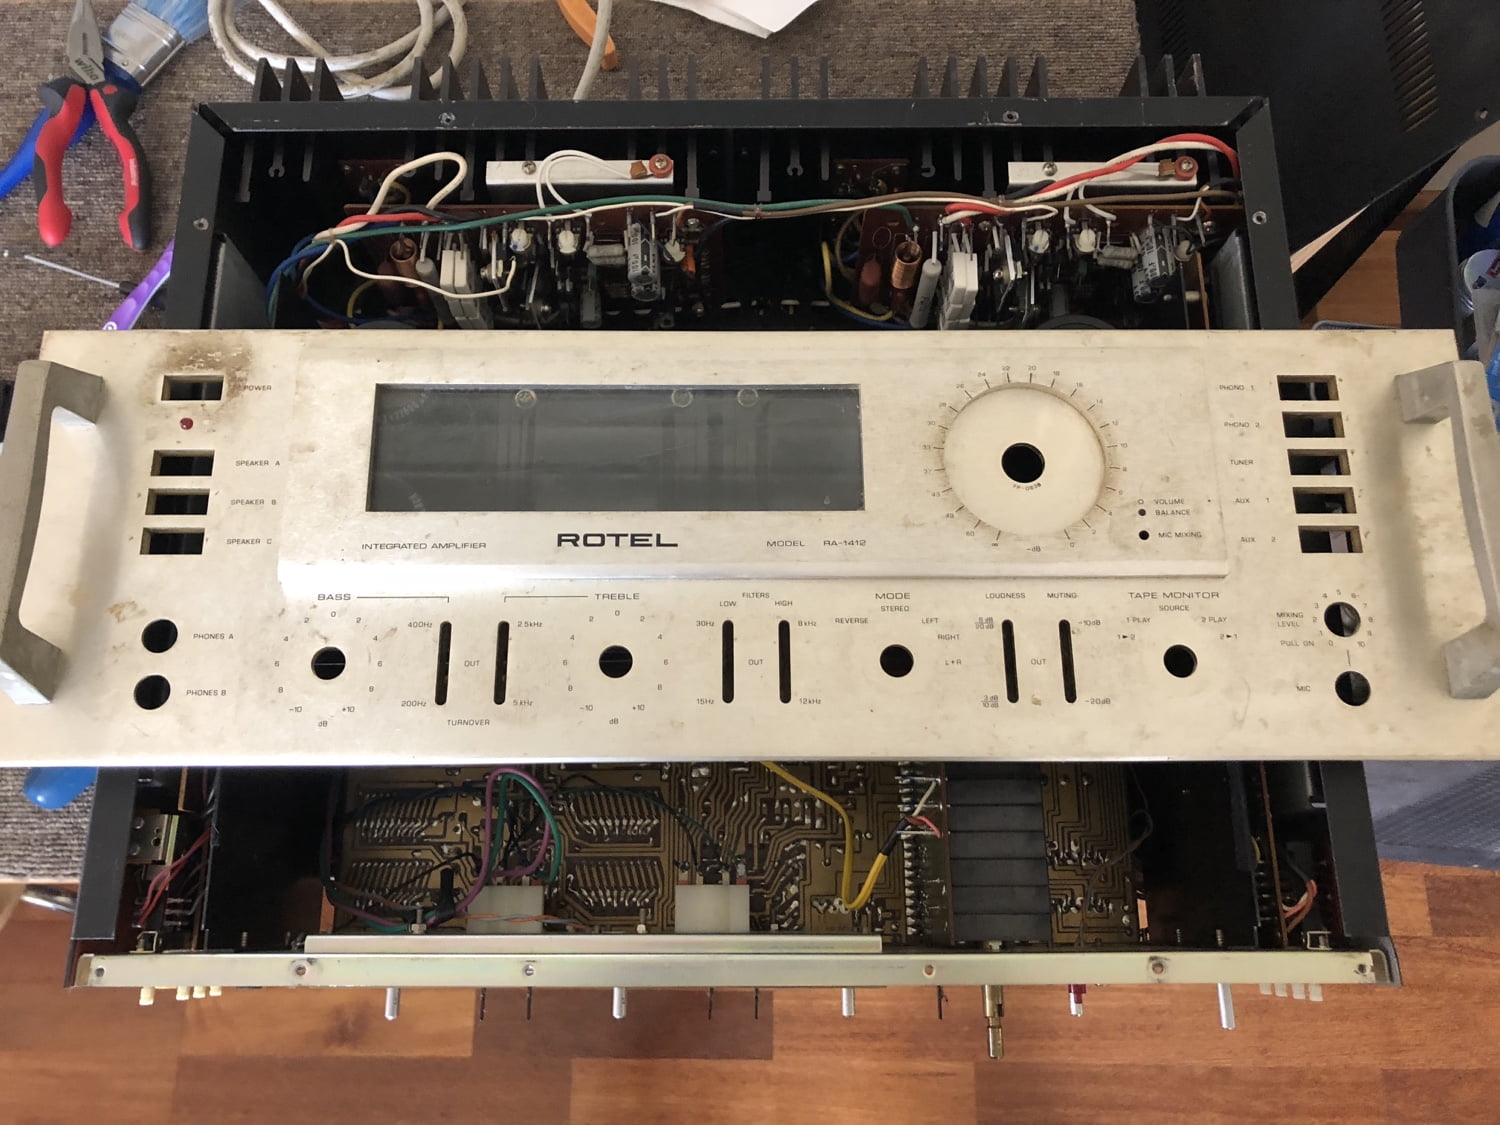
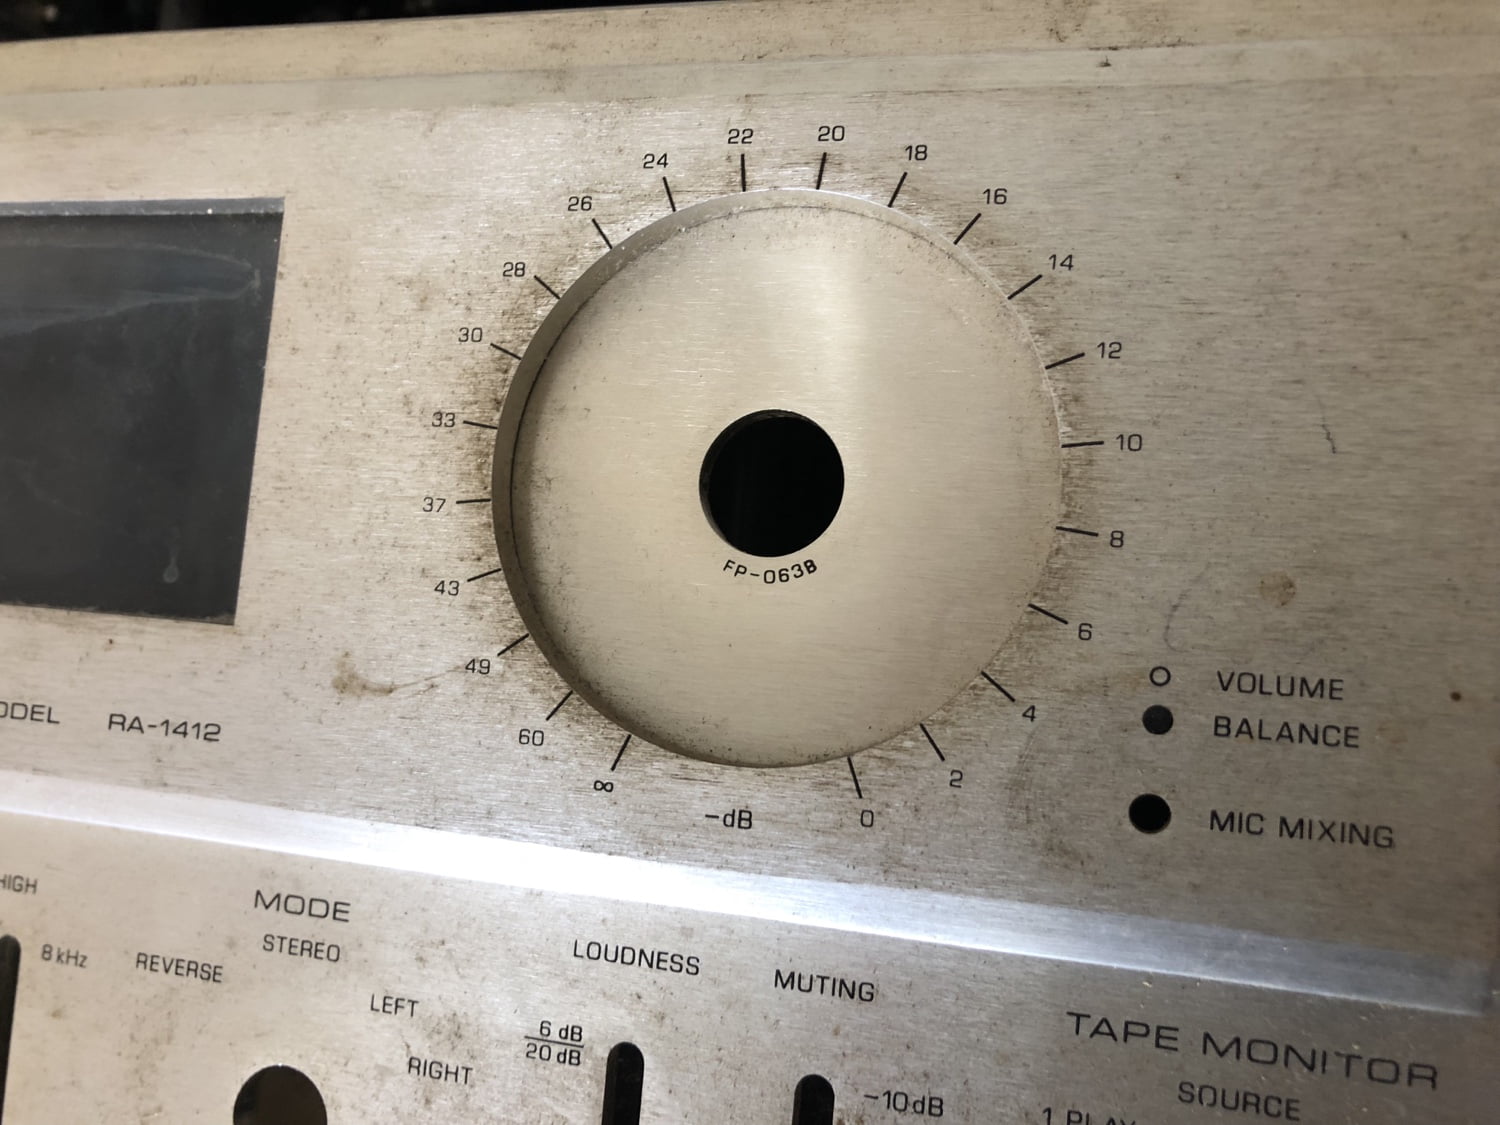
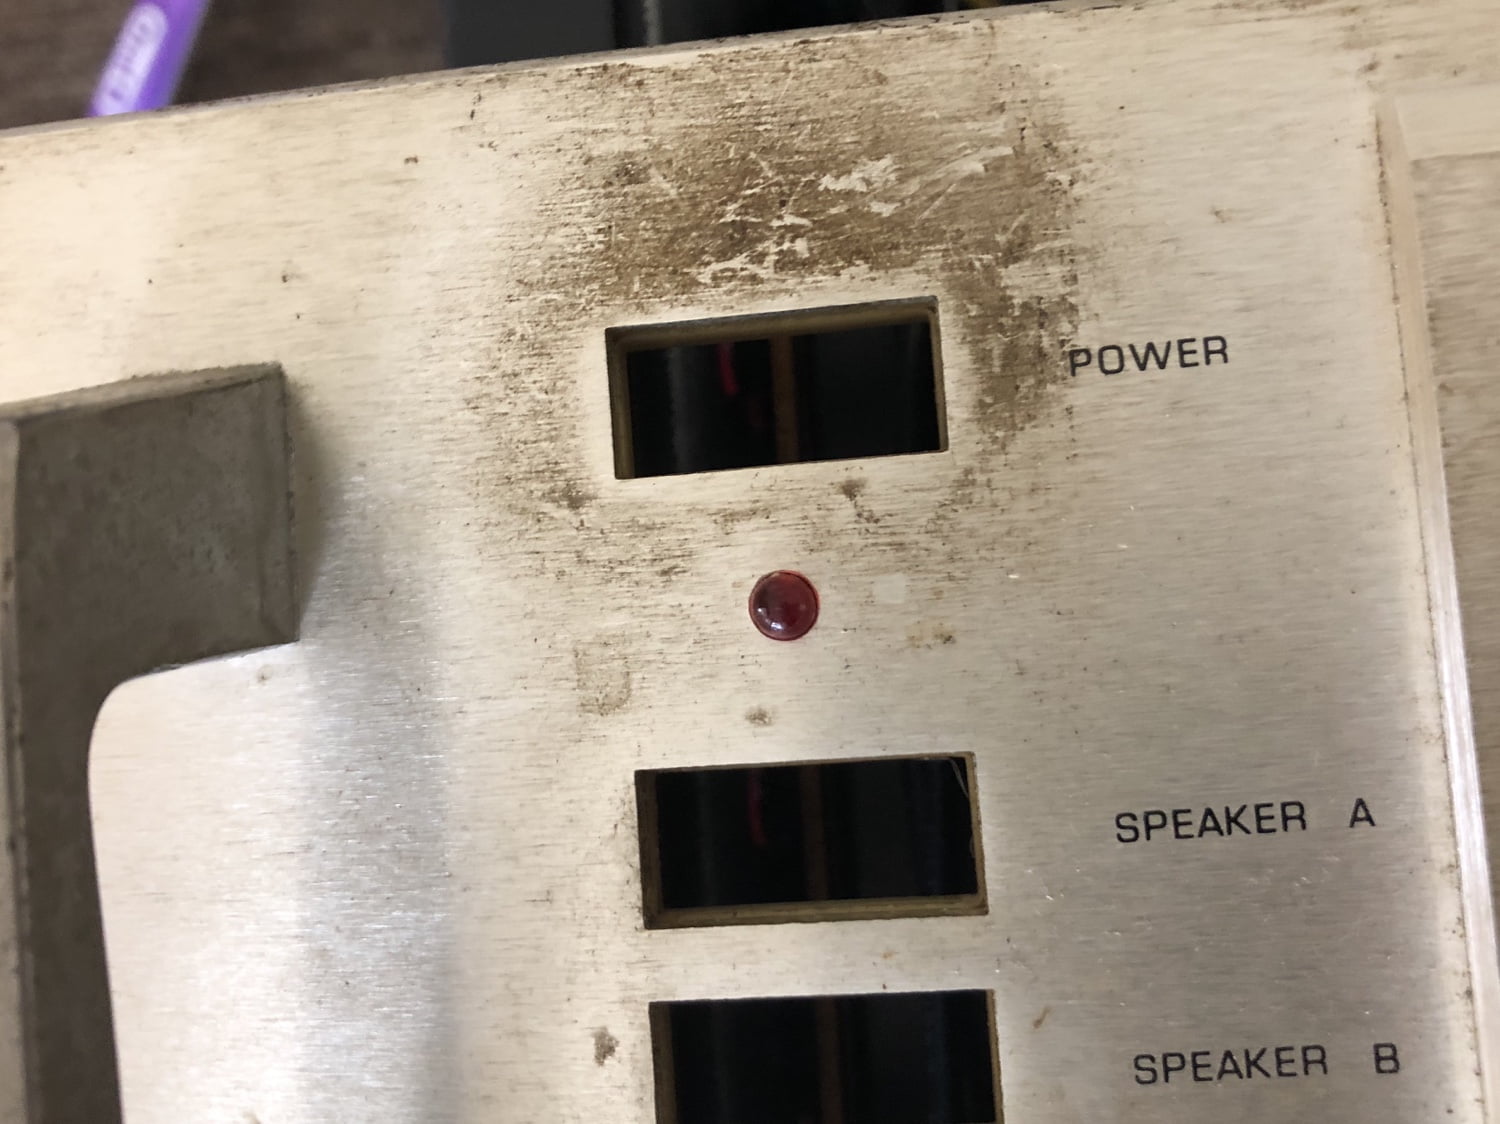
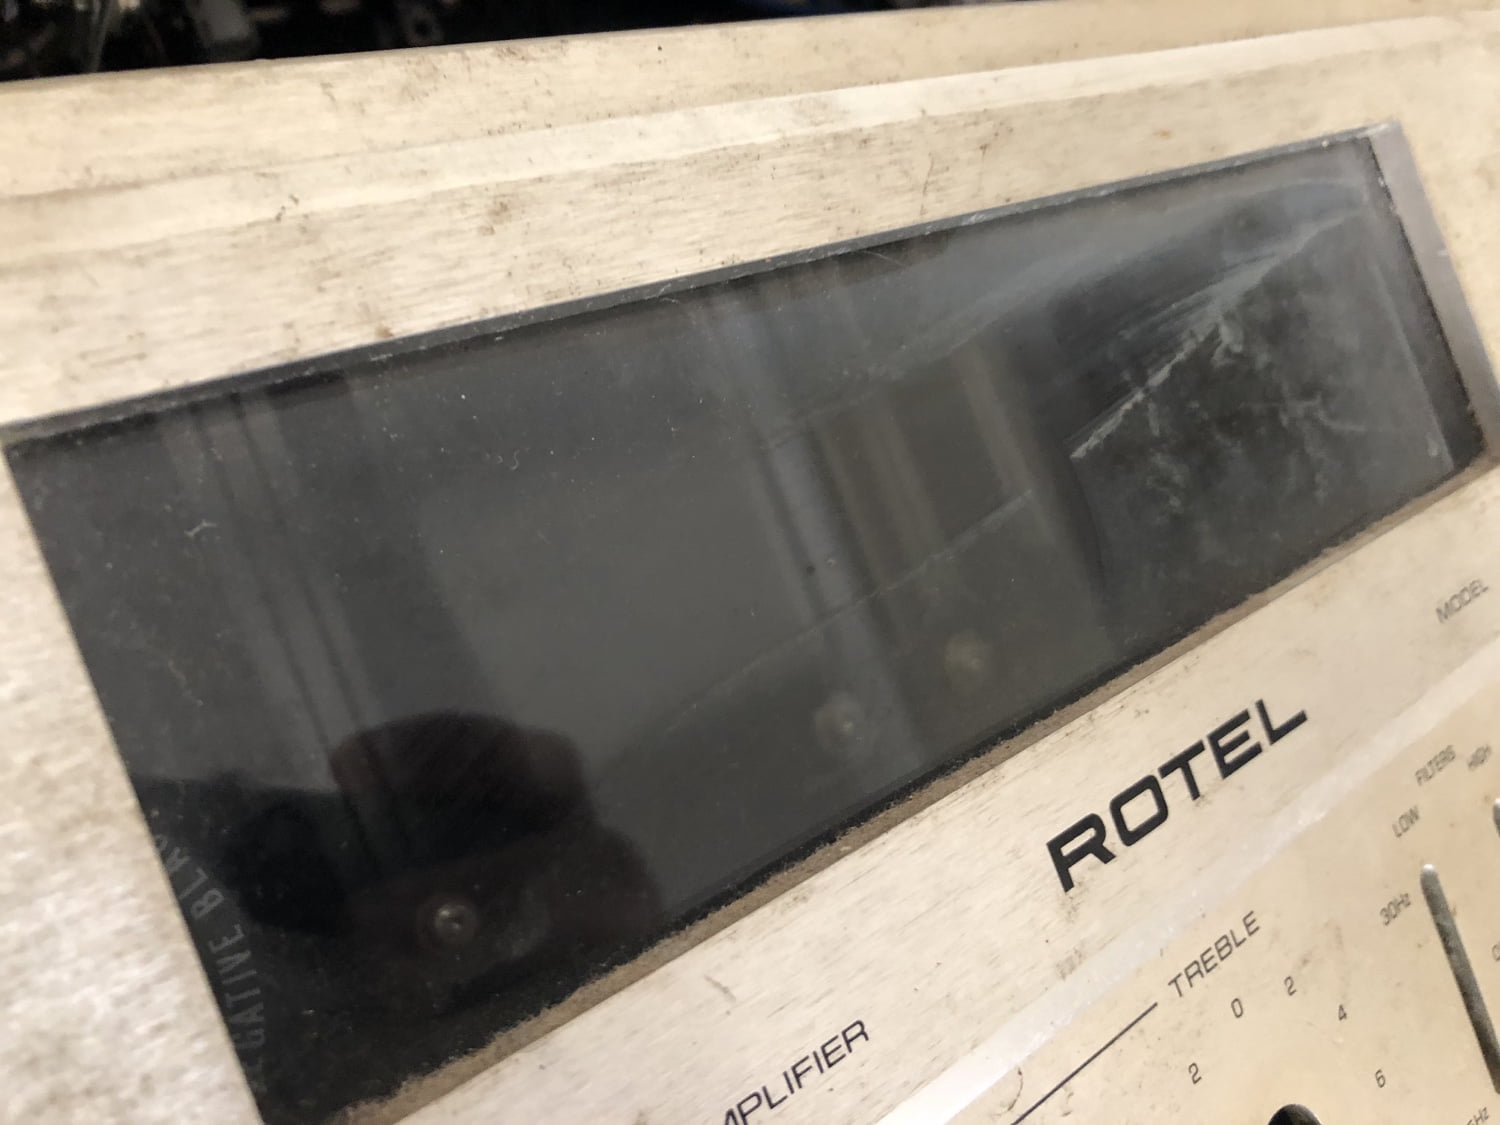
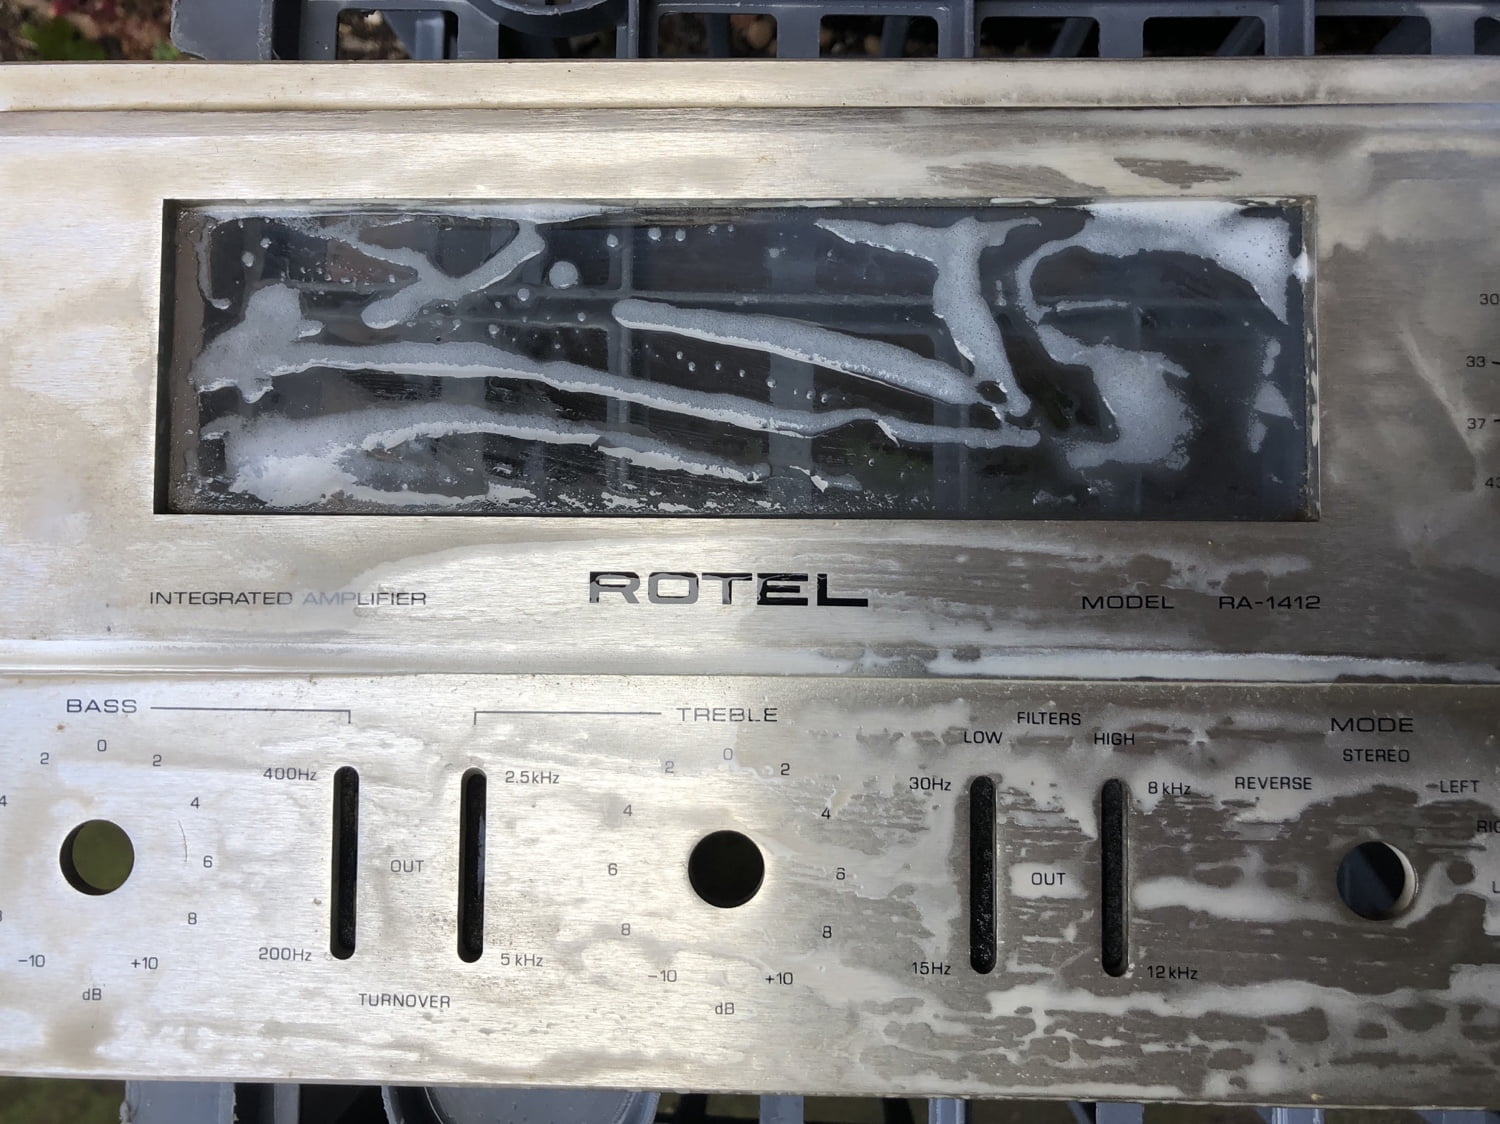
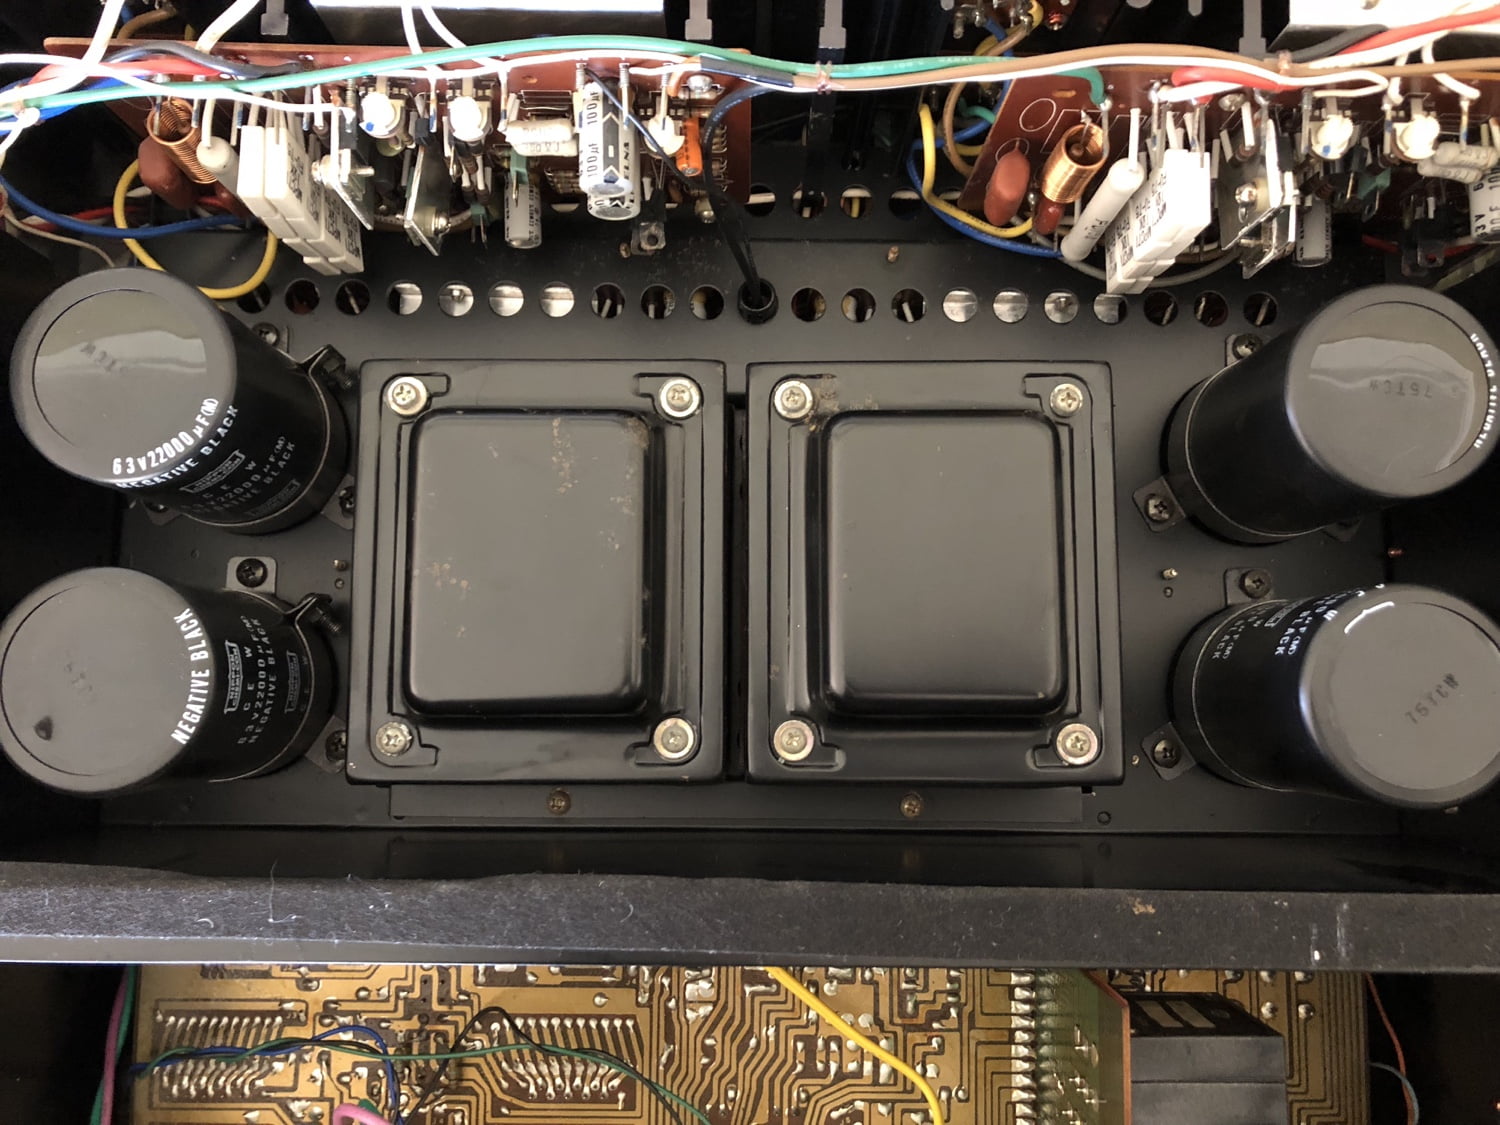
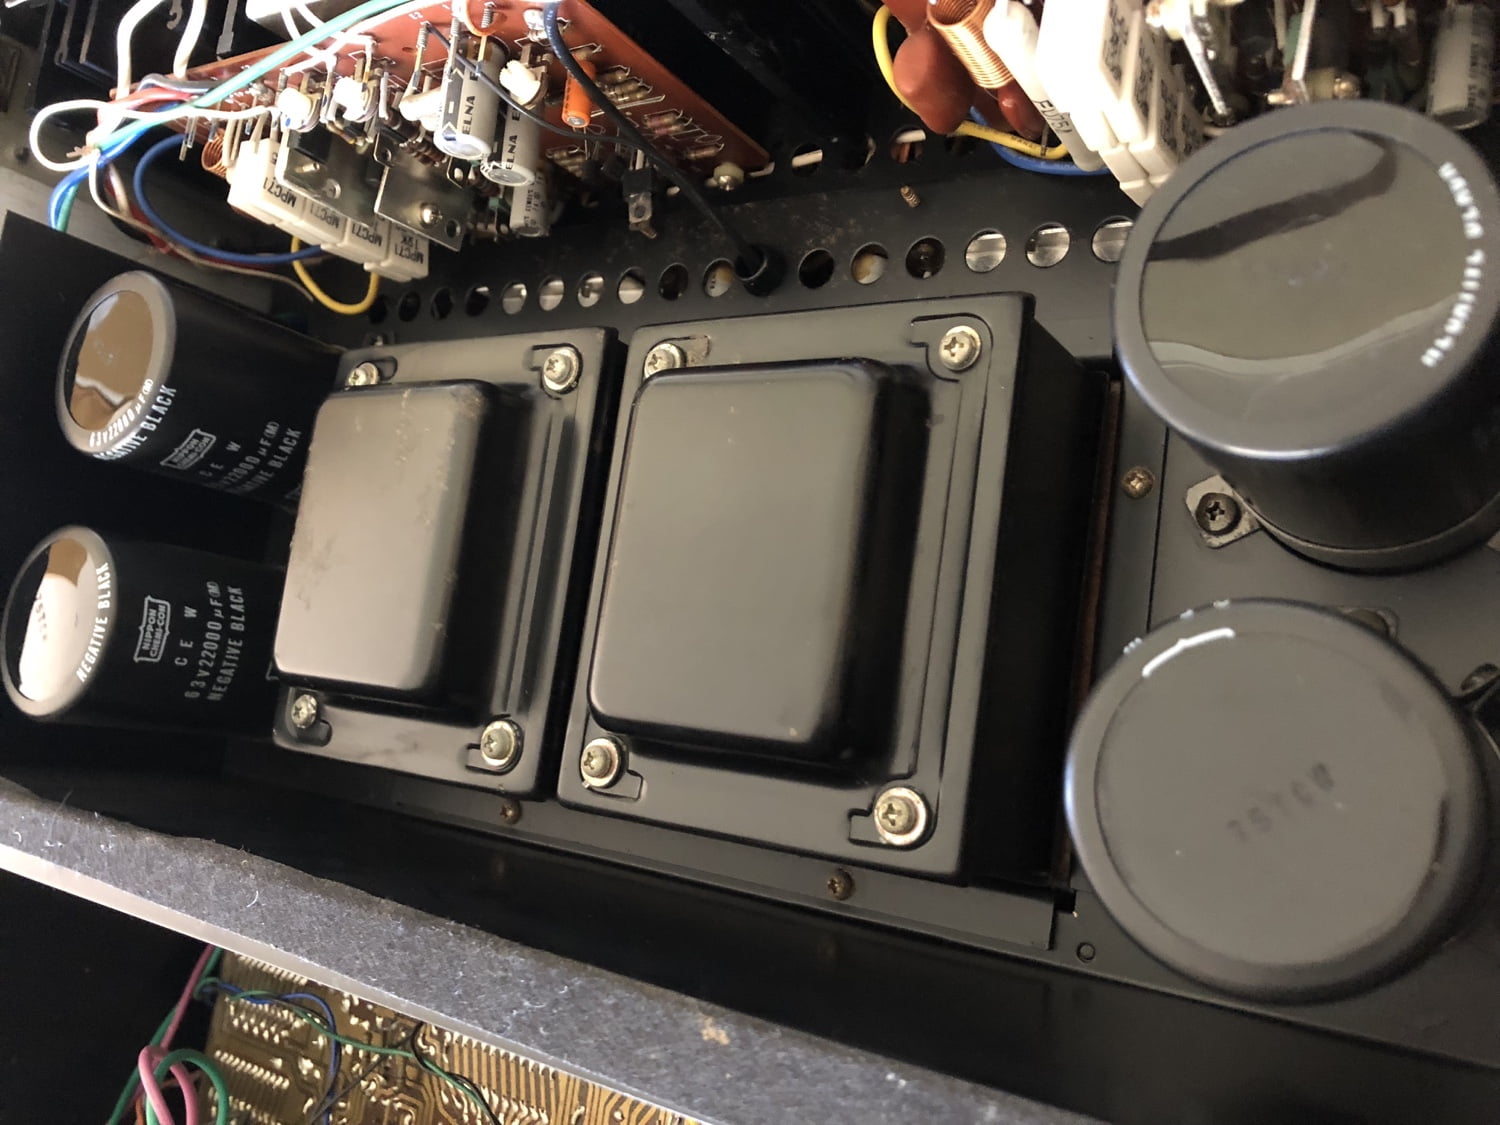
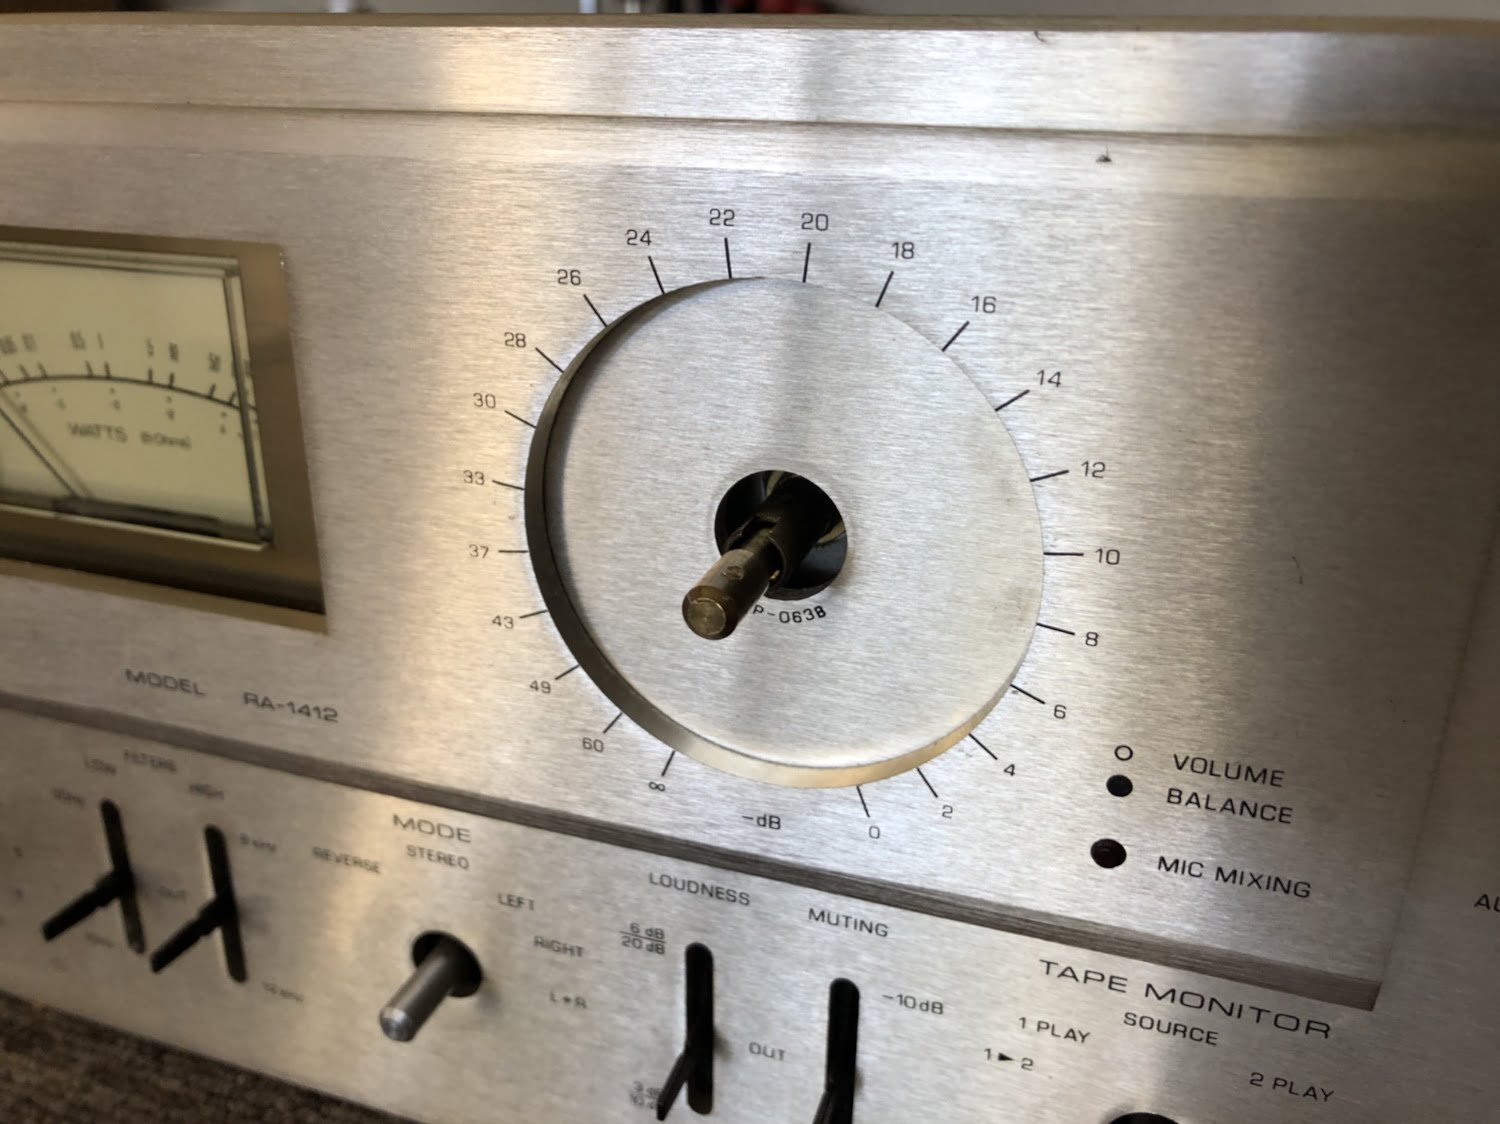
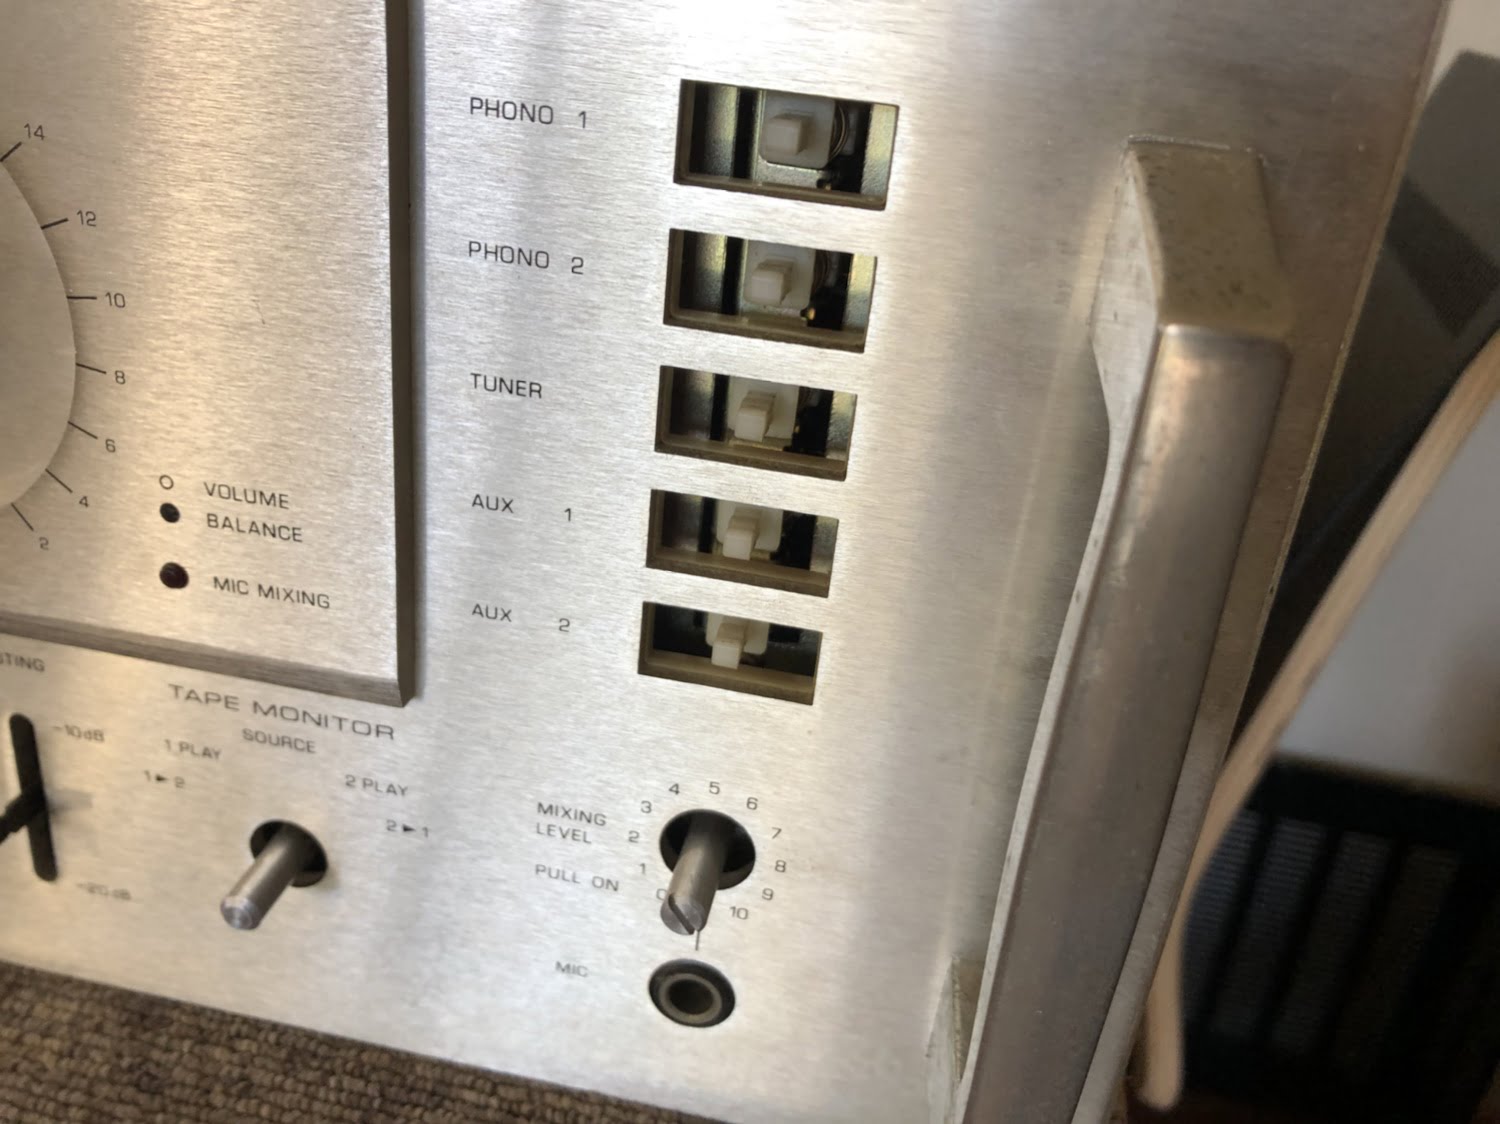
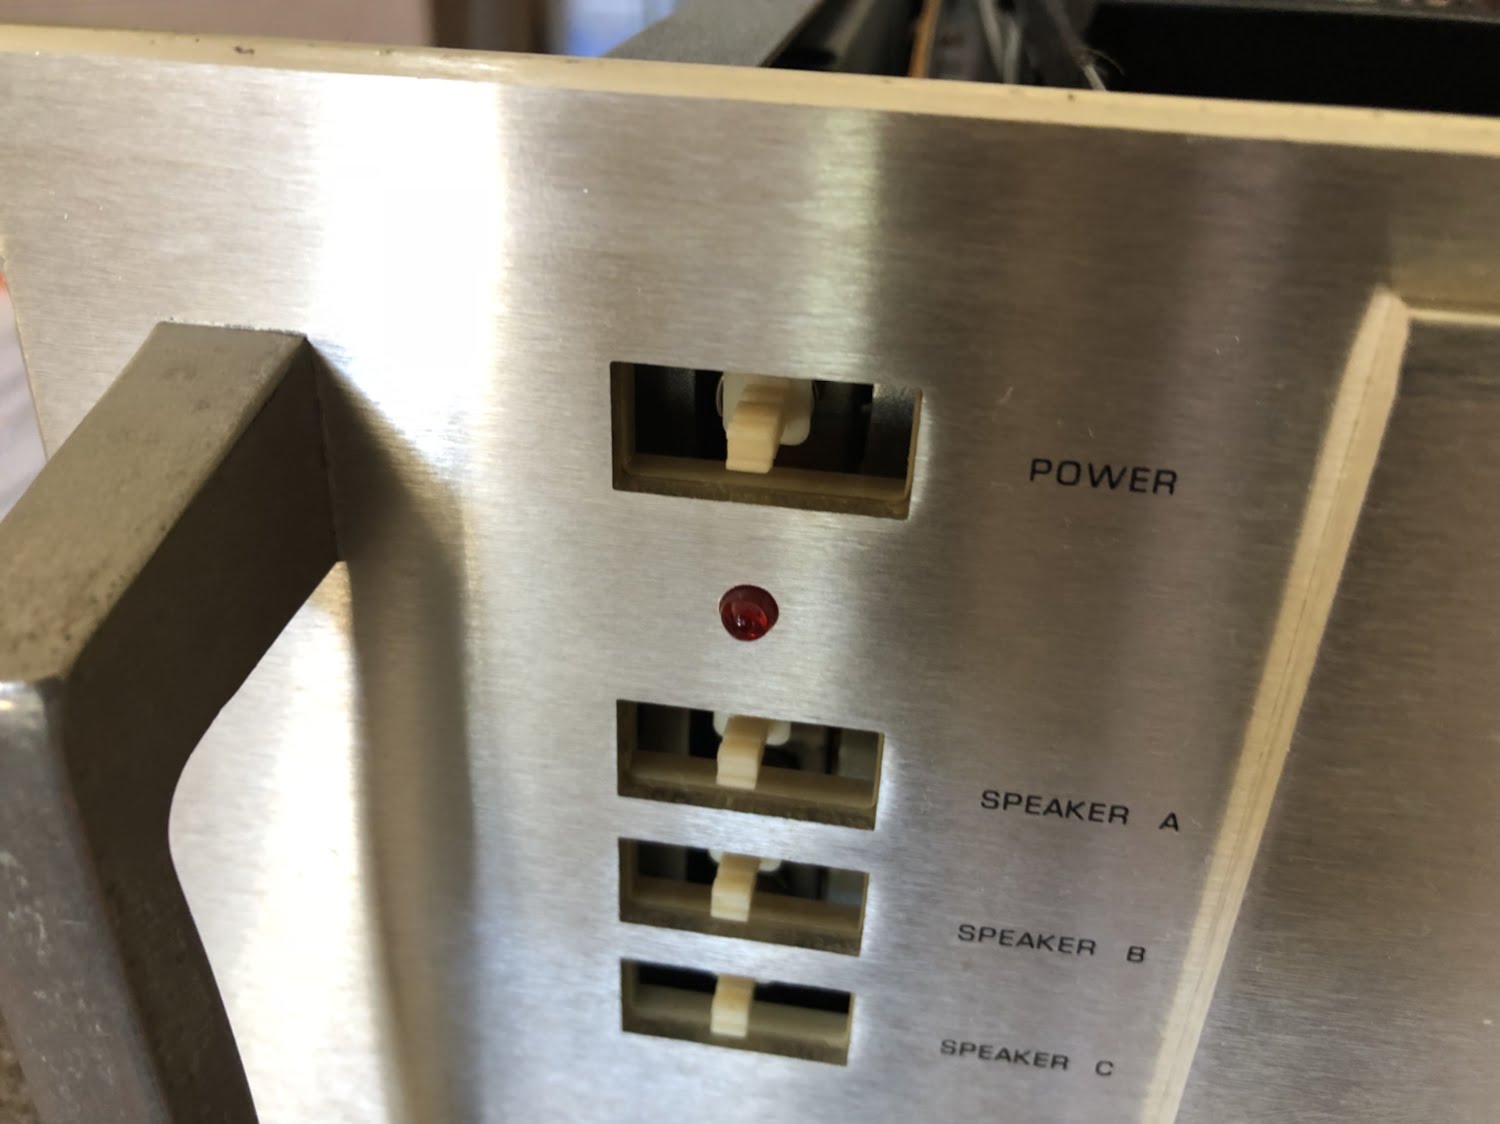

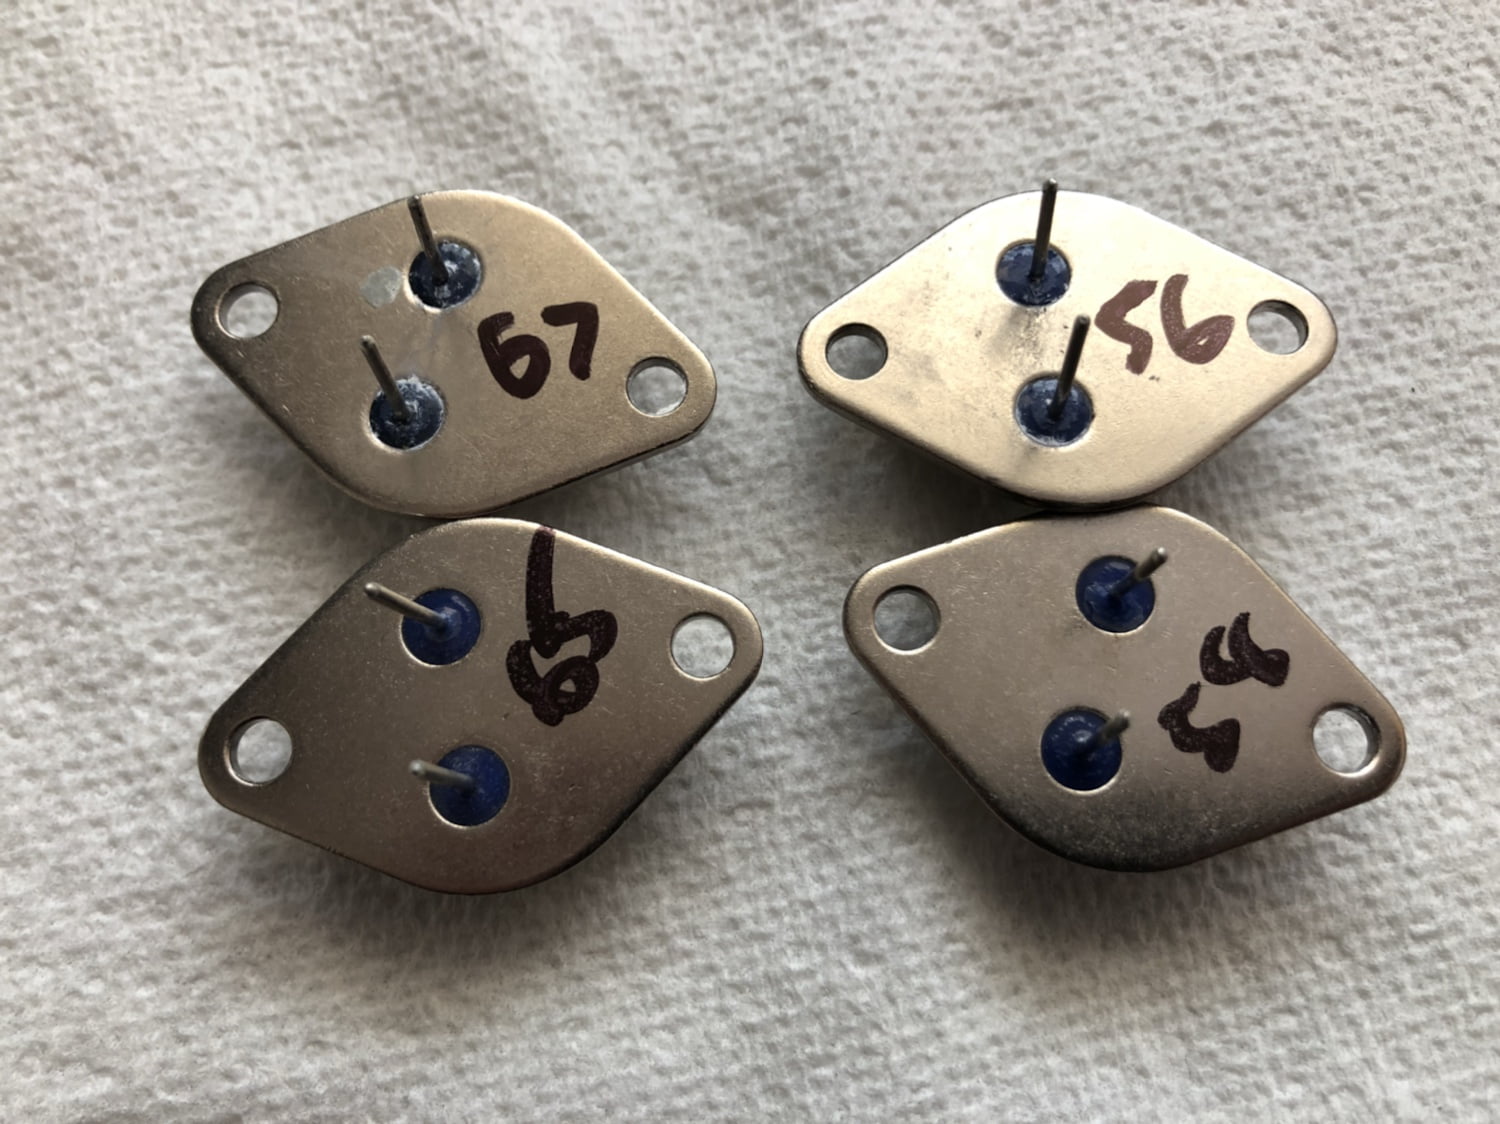
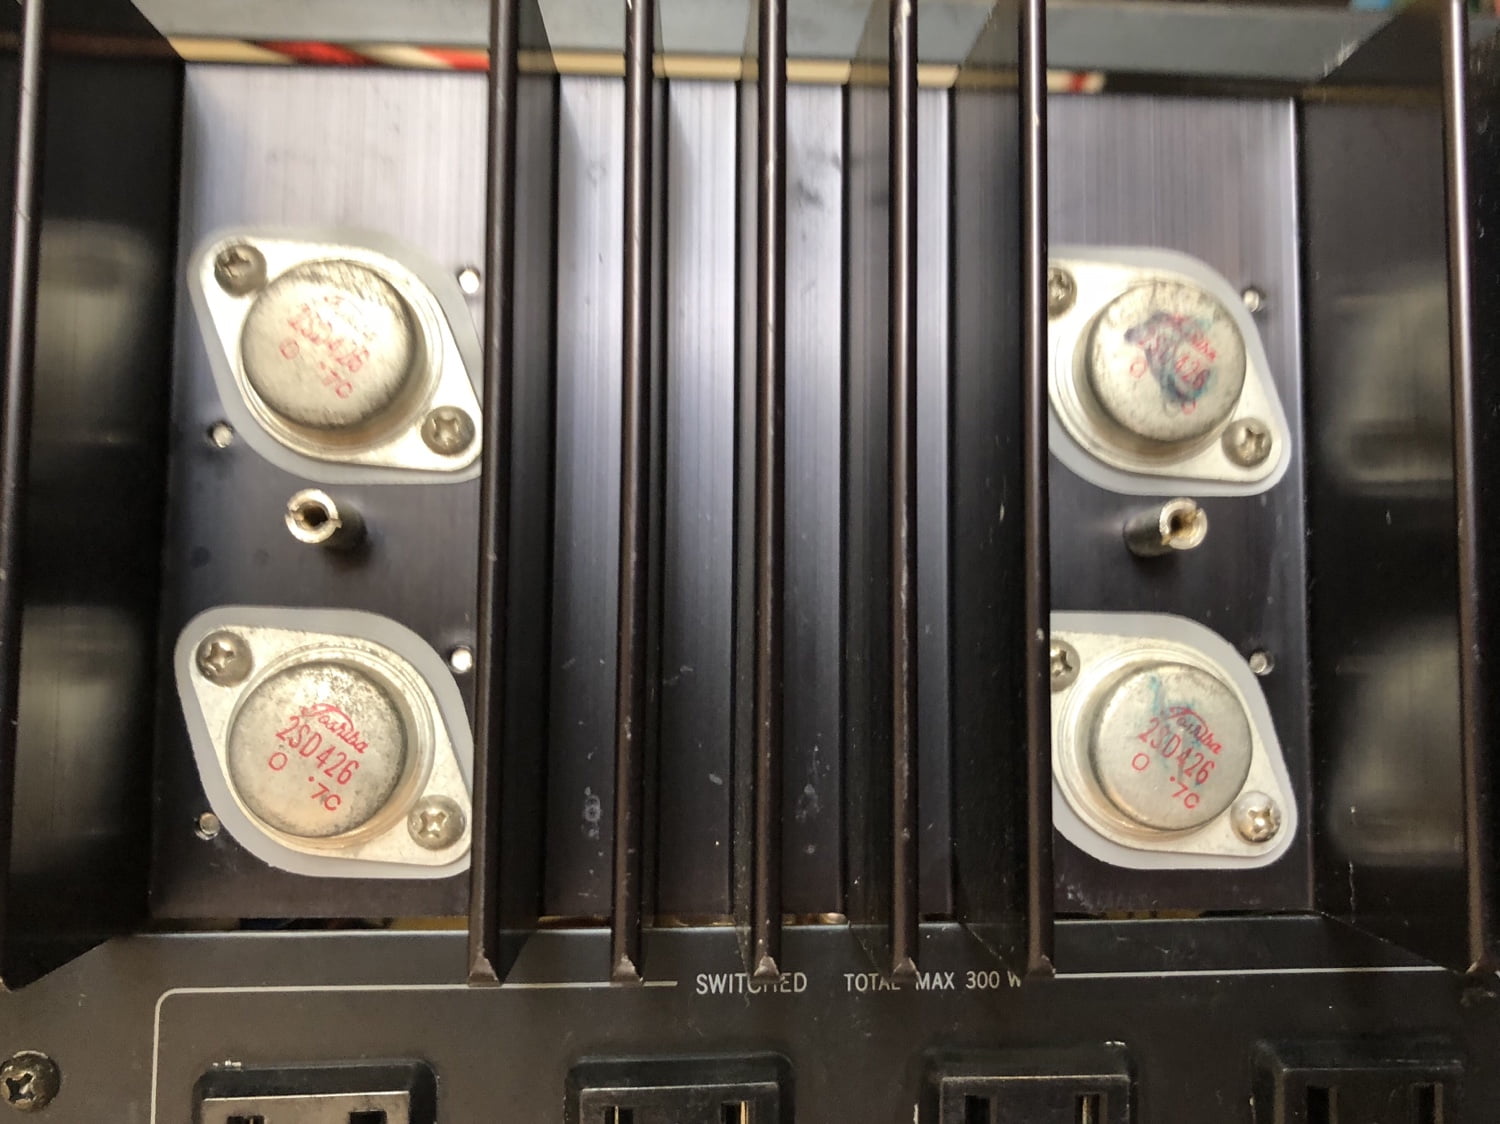
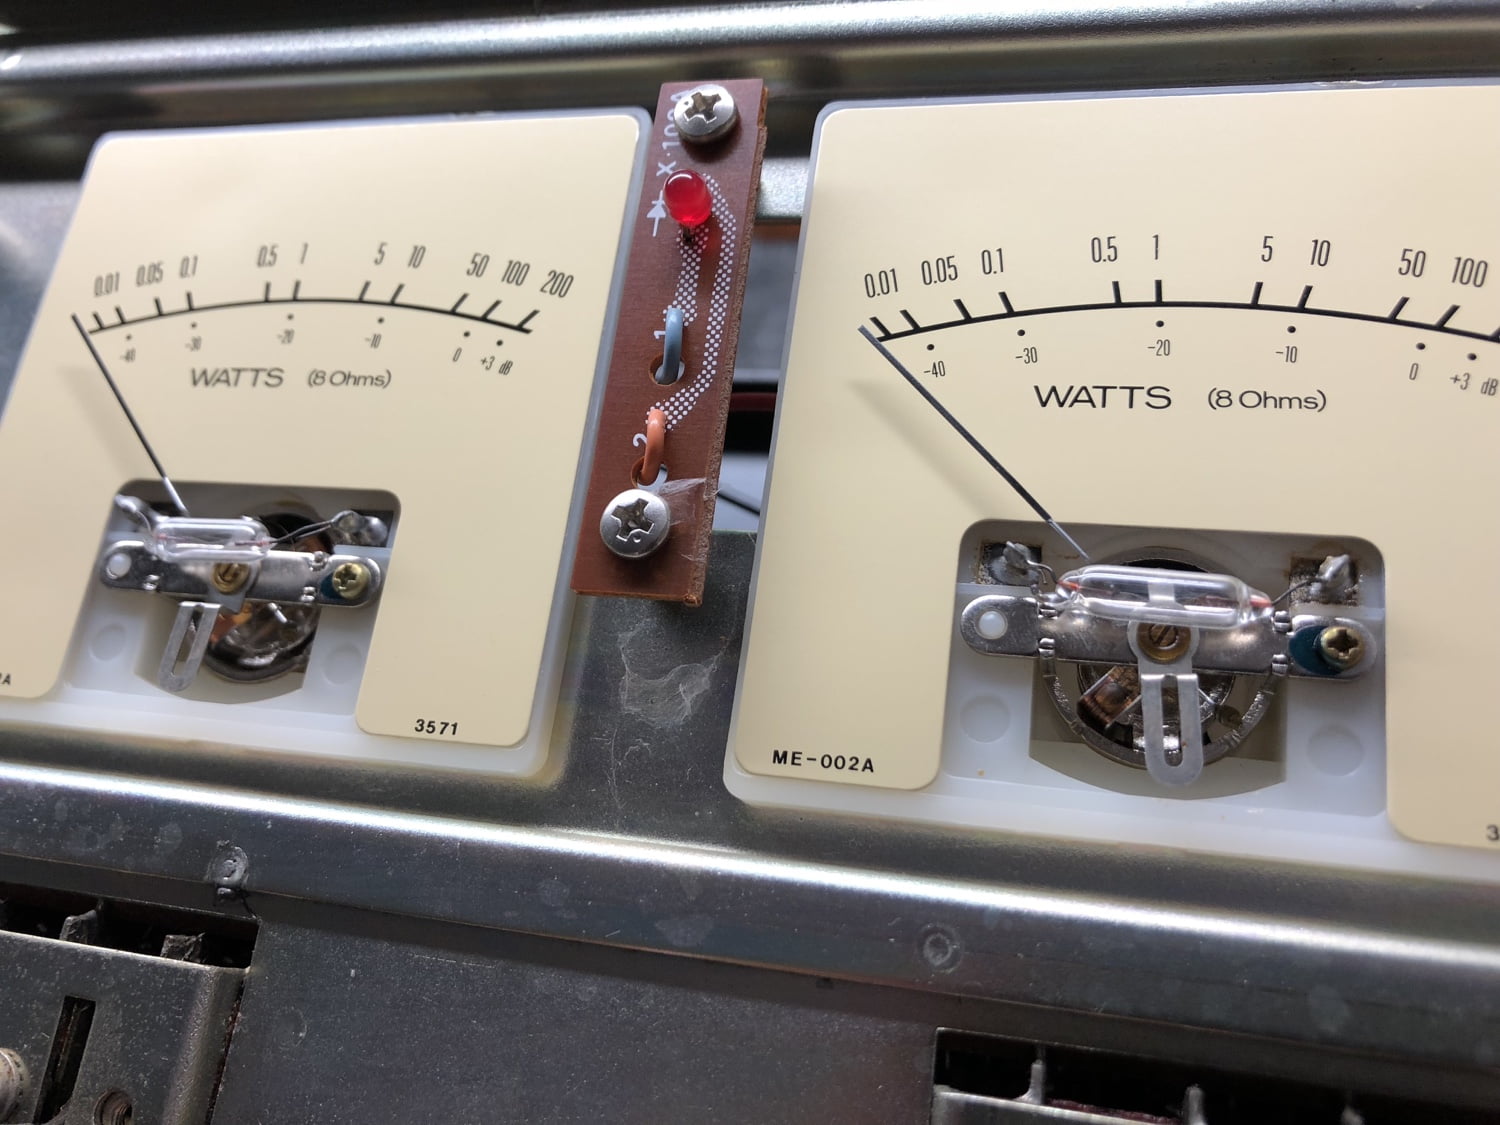
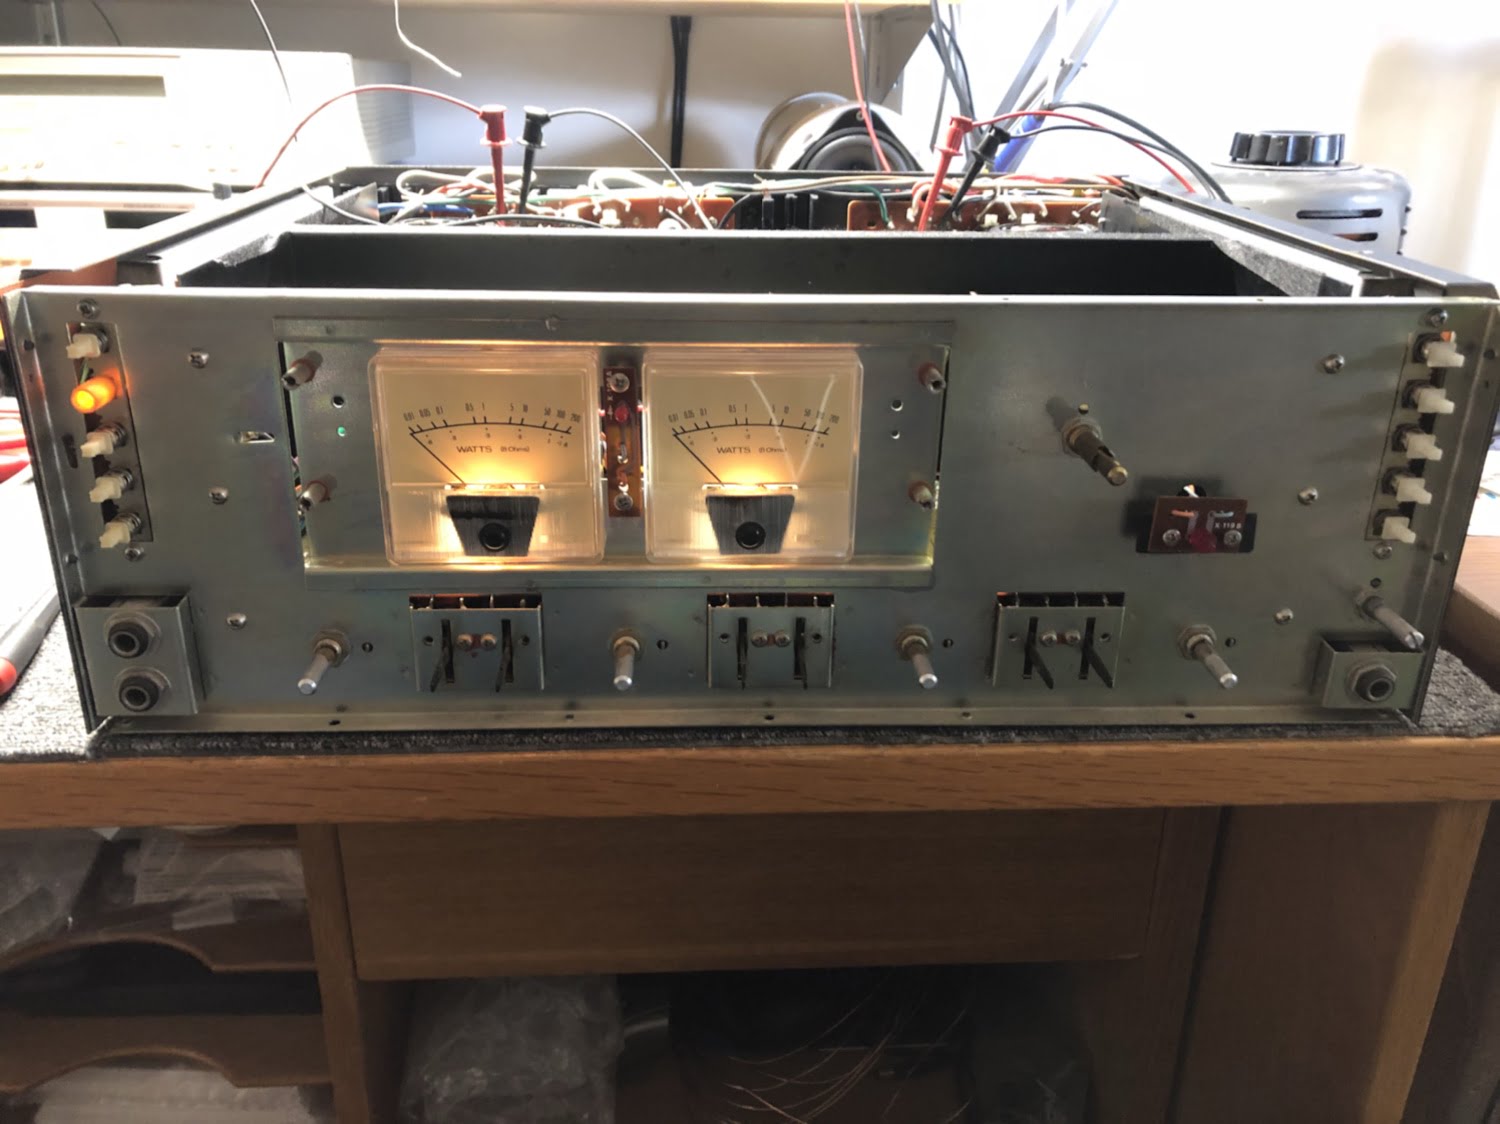
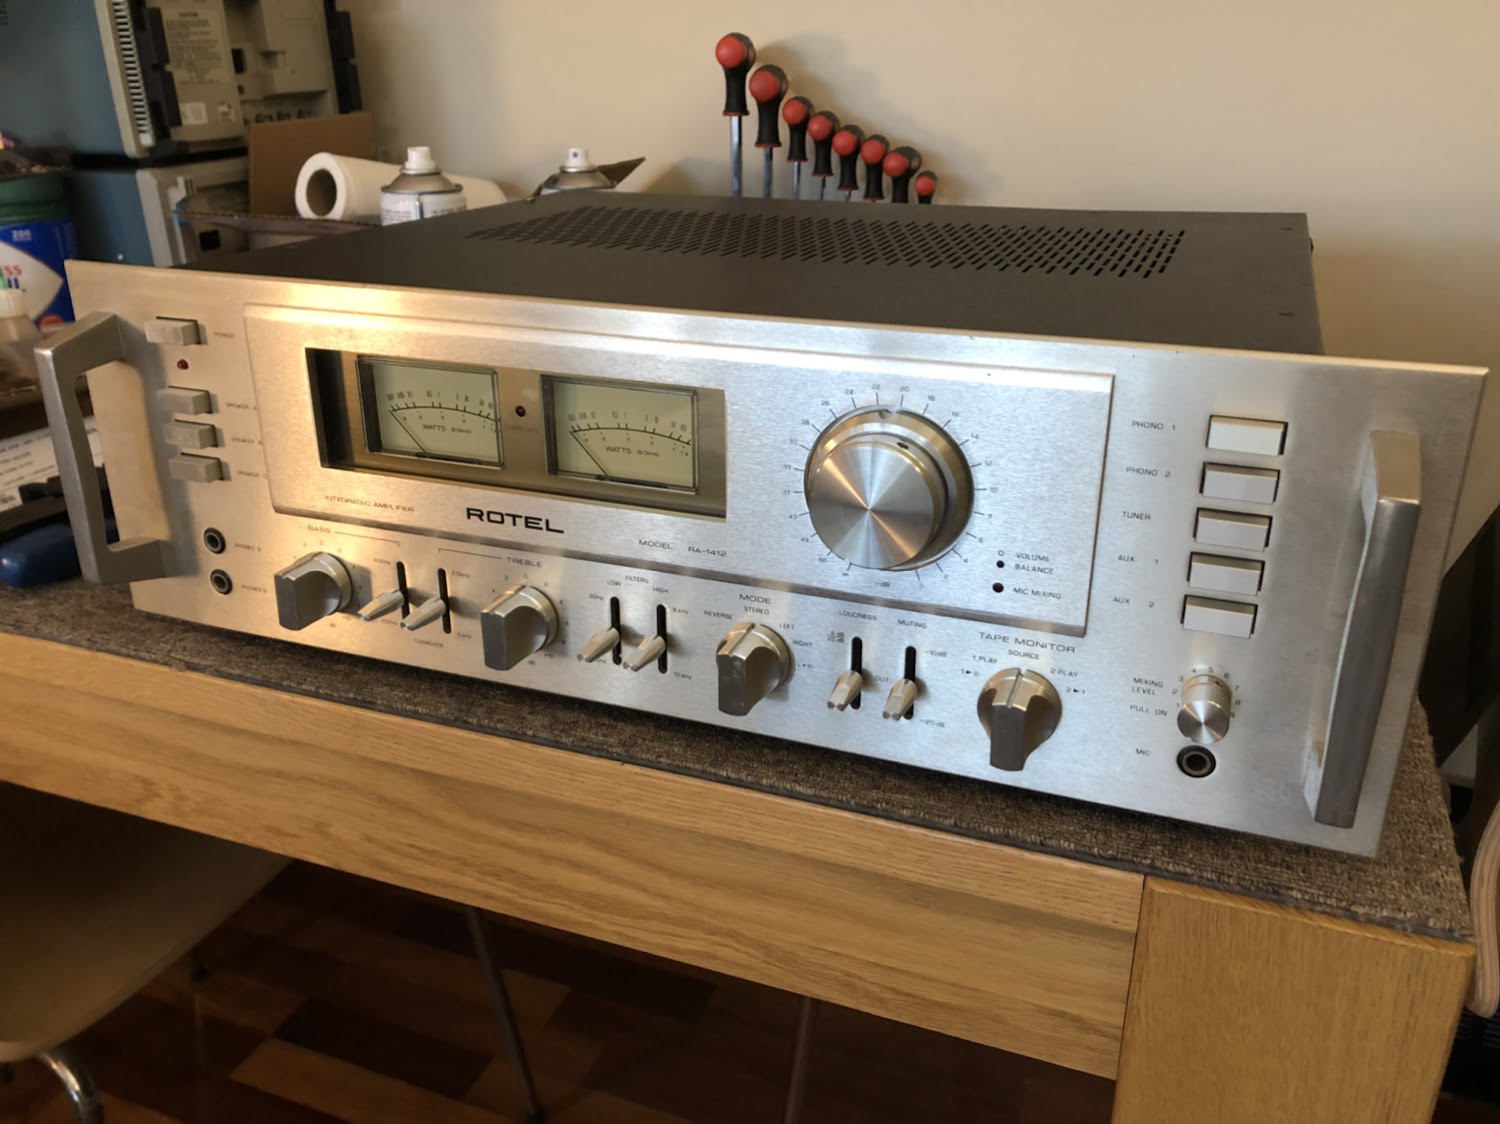
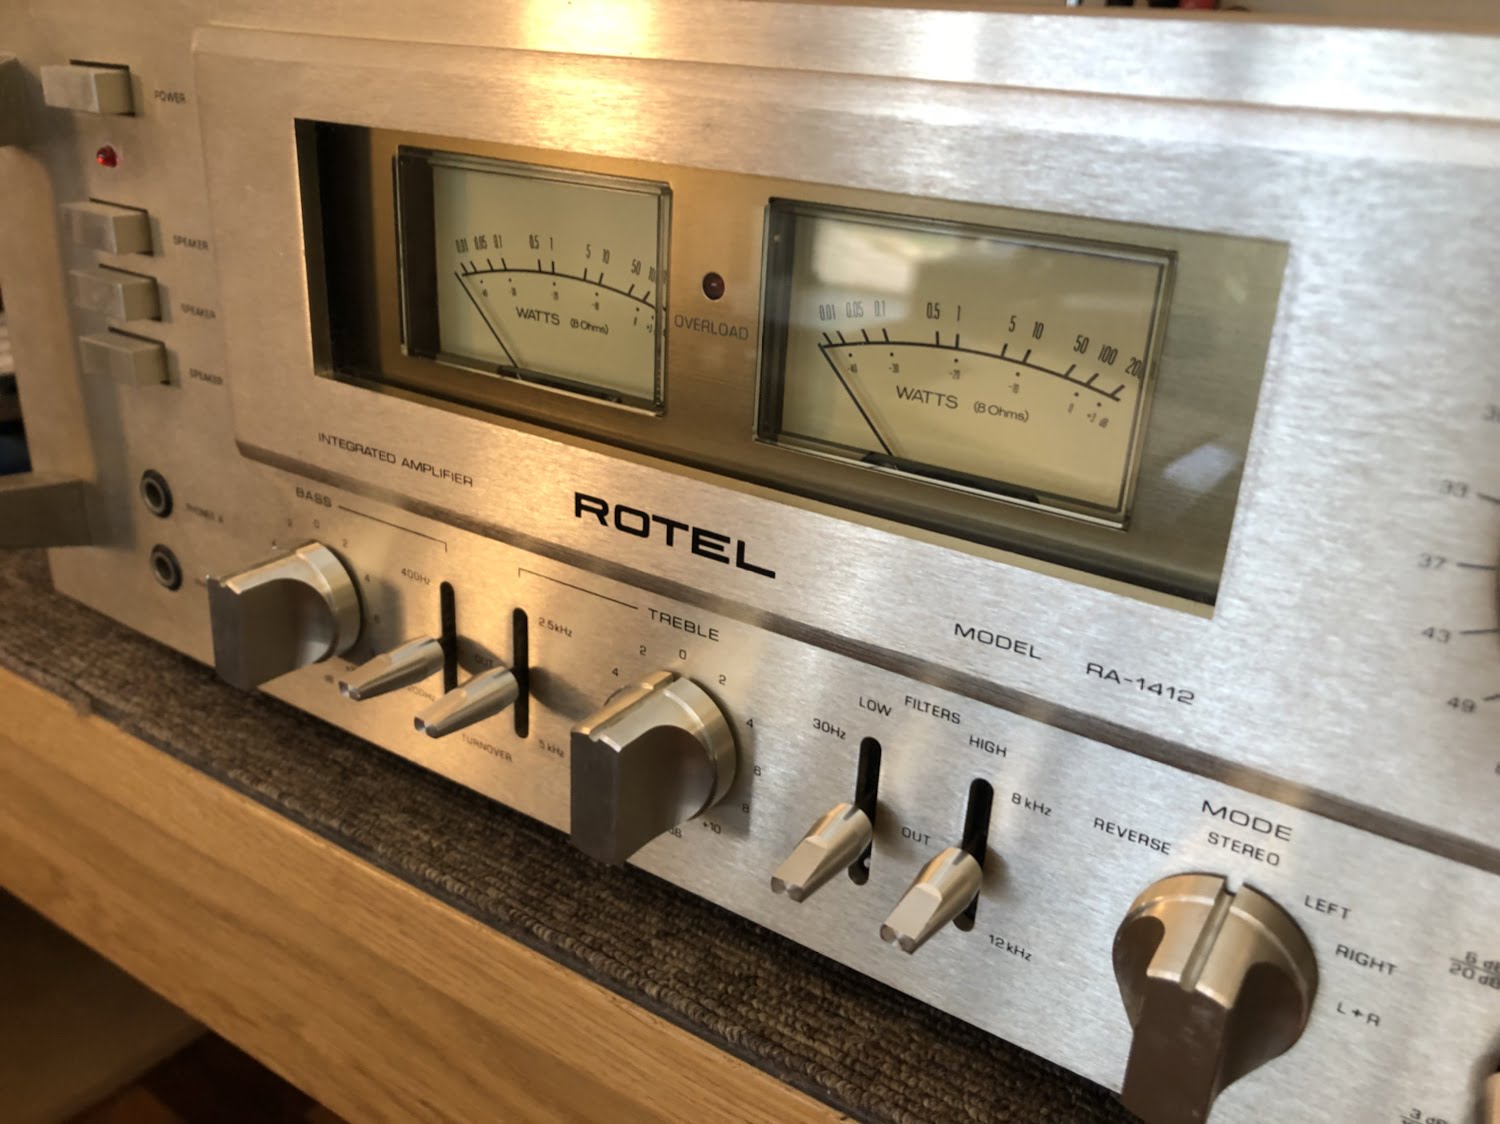
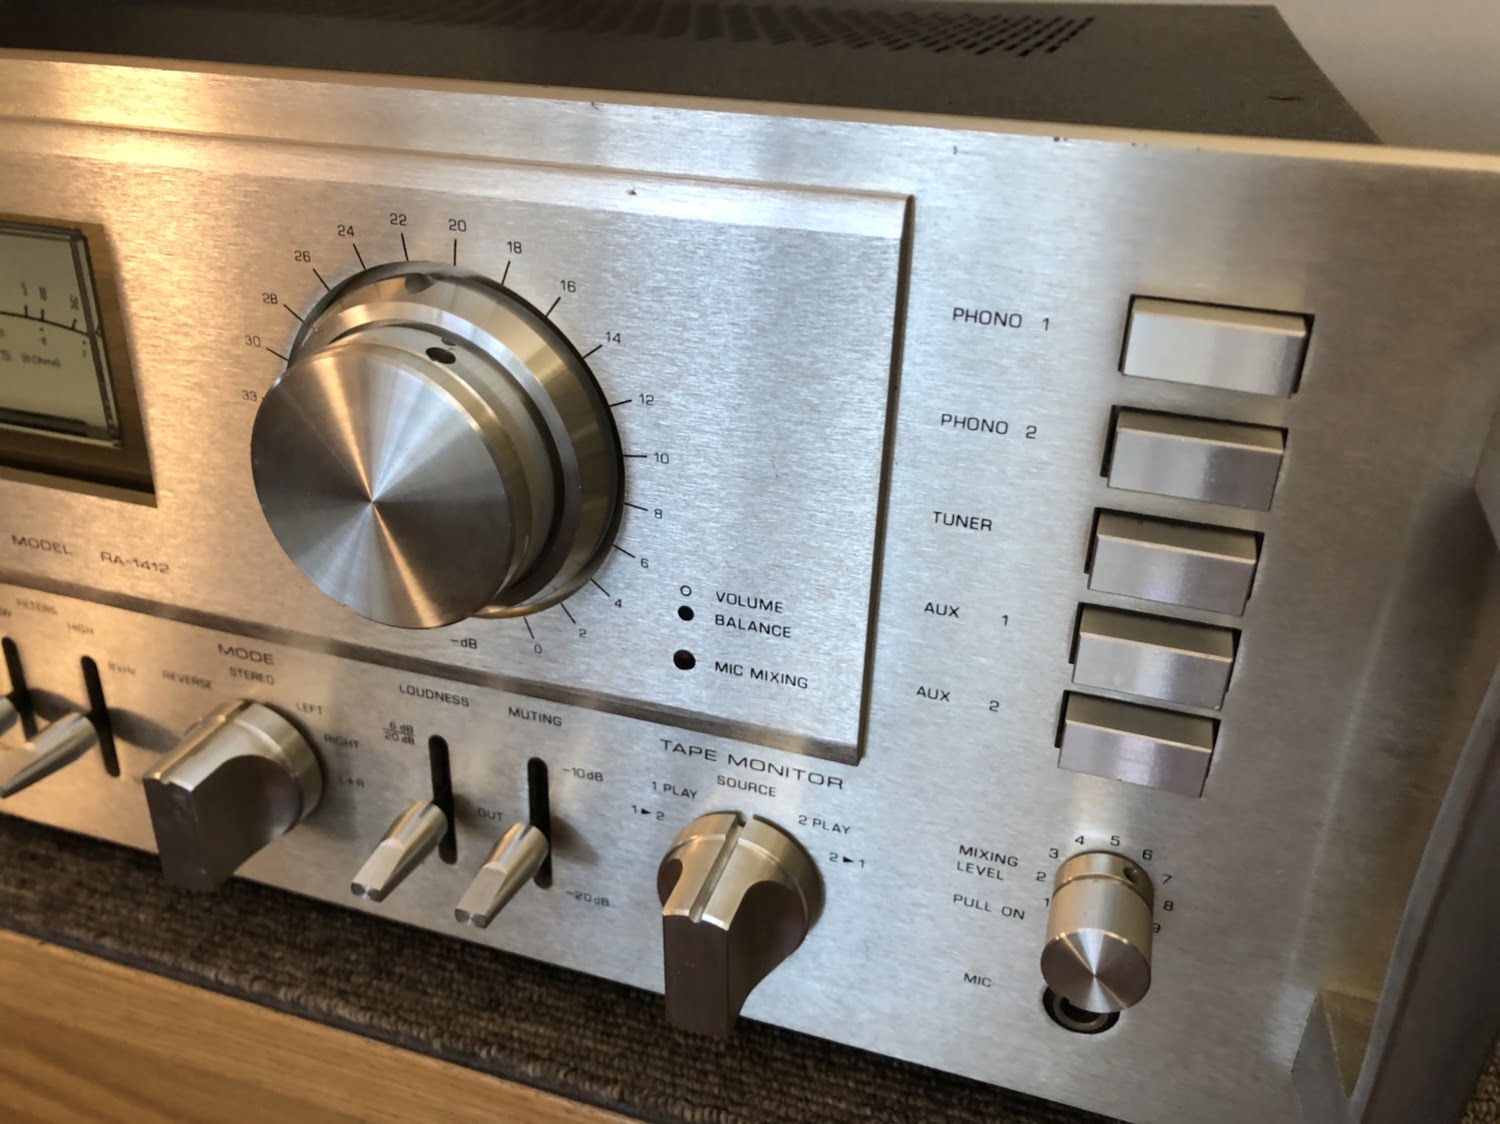
How Does She Sound?
As you would imagine, this Rotel RA-1412 sounds warm, punchy, and just fantastic. Don’t forget, you can view and potentially purchase this beast at Revolution Turntable, in Osborne Park, Western Australia.
Don’t forget that I’m always happy to service, repair and deep-clean Rotel and other equipment. You can reach me via the contact page.
Discover more from LiQUiD AUDiO
Subscribe to get the latest posts sent to your email.


Love watching these old bits of get get a new life. Amazing what you can do and the before and after condition never ceases to amaze me with the restorations.
Hi Paul, thank you and I’m really pleased to know that you enjoy these articles. Lots more coming!
Hi, Great article. And amazing pics! Thank you for posting. I just bought a RA-1412 and can’t wait to put it in use, but it also needs cleaning…badly. Did I see you washed the inside?? How? Doesn’t getting water inside harm it? I get the rest of the process, but that one has me stumped.
Hi Craig, thanks, that’s very kind of you. I use industrial/laboratory electronic equipment cleaning techniques that many don’t seem to know about or understand. In a nutshell, washing equipment is perfectly safe when done correctly, but there’s quite a bit to it. More importantly though and this is a big warning, most people definitely should not be doing what I do. Keep in mind I’ve been doing this a long time and I understand the processes, chemicals and equipment involved. For most people, mixing water and/or other solvents and electronics in an uncontrolled environment is a very bad idea, could be fatal and could damage the gear. I hope this clarifies some of what you were asking about? Feel free to hit me up with any follow-up questions.
Thanks Mike. I appreciate the clarification! I sure was wondering, never seen that before!! To be certain, I wasn’t going to attempt any interior work at all, the amp is going in to a specialty shop for testing and reconditioning. Besides a little static in the L/R,L+R knob, the unit functions perfectly. But the faceplate, knobs and switches are browned from smoke. From what I have seen on your blog, and read on other sites, I should be able to take off the faceplate safely, and using just soap and water, soak it overnight, then clean. Or are you using special solvents for that as well? Craig.
Hi Craig, that’s no problem. I don’t recommend soaking overnight as aluminium can become dulled by alkaline detergents and ink loosened to the point where you can lose printing, markings etc. Soaking knobs for an hour or so in a mild detergent and water solution is OK though and works well, combined with a toothbrush. I use specialty cleaners for fascias as these preserve ink and give the best results. Smoke, unfortunately, does generally create the need for a complete chassis wash to remove the tar-based residue from everything, so I hope they do that for you. The residue plays havoc with switches and controls and has to be removed wherever possible.
Hi Mike! I just picked up one of these with a somewhat matching tape deck (RD-30F). What did you use to clean the aluminum plate and knobs and dials? The black panels are alittle gunky on mine also.
Thanks!
Hi Ryan, well done on grabbing one of these beasts! I use a proprietary deep-cleaning process on gear that comes here for work, but a microfibre cloth and mild detergent solution work pretty well for general cleaning duties.
Thanks Mike! Would regular water and dish soap and baking soda be ok? Or do I need to worry about the water leading to corrosion?
I’d stick to a mild detergent/water solution as suggested, no need for baking soda. Water is no cause for concern here and the best solvent for most general cleaning duties of this nature, but as always with electronics, be sensible and dry things after cleaning.
HI ! i have the ra-1412 that needs repair , i need a complete parts list for it . the service manuals that i have downloaded does not have a complete parts list that includes resistors and caps . it has only transistors parts list .
do you know where i can get the a full complete parts list ?
any help is greatly appreciated .
Hi Mario, thank you for your enquiry. We don’t offer this service so I unfortunately cannot assist you here.