The Audiolab 8000Q preamplifier is a really nice piece of gear, let down by cheap parts. In this article, I repair a misbehaving Audiolab 8000Q.
The Audiolab 8000Q preamplifier in this article came to me with a fault which would see it sometimes take a long time to turn on. By a long time, I mean a really long time – this 8000Q would sometimes take up to 30 minutes to become operational after turning it on.
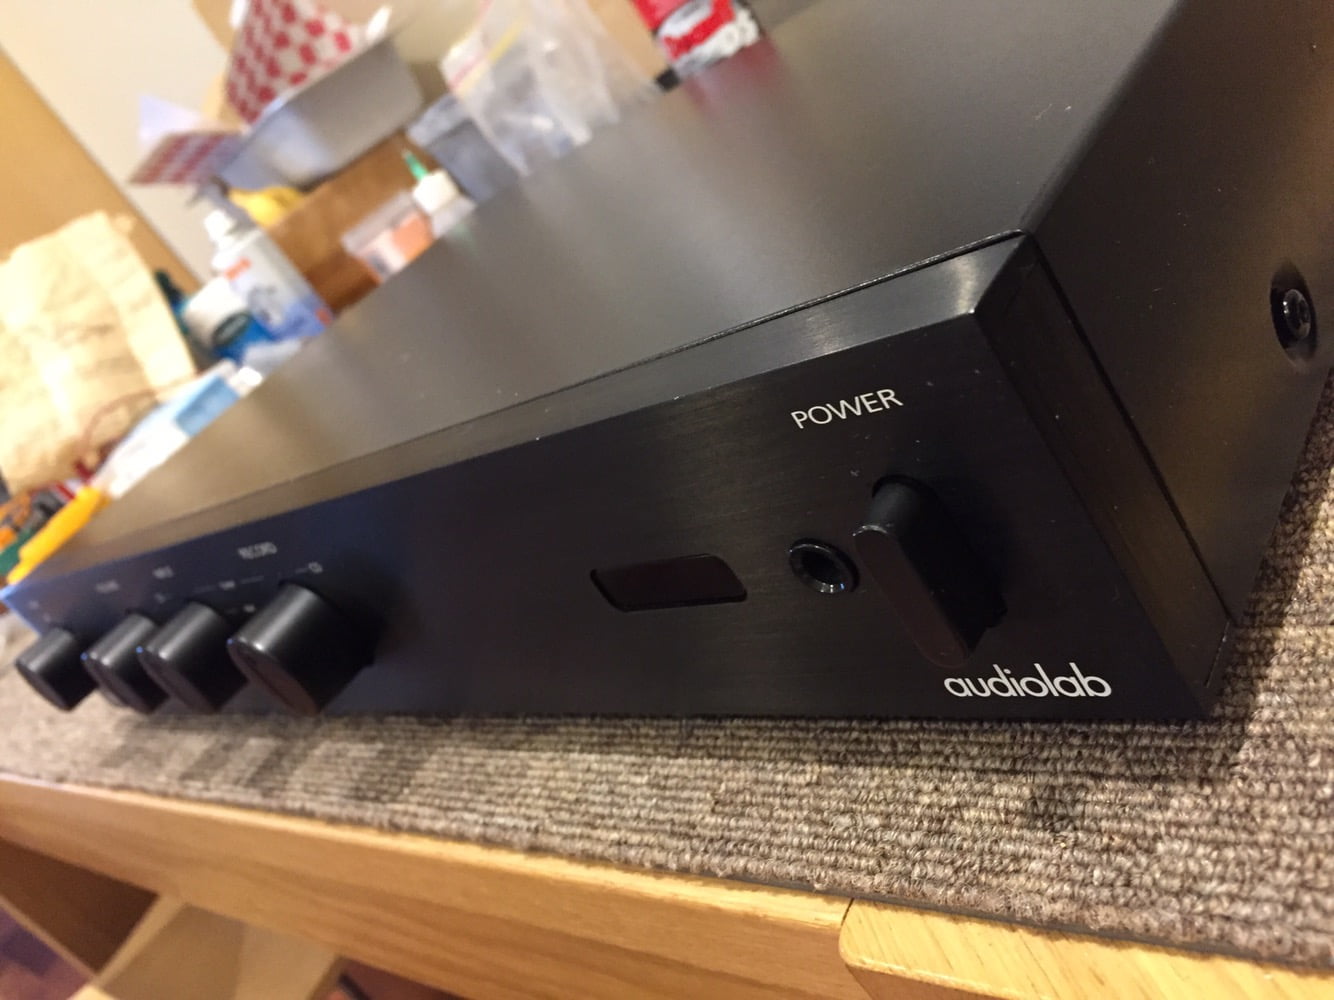
Specifications, as always, from HiFi Engine:
Frequency response: 10Hz to 20kHz
Total harmonic distortion: 0.007%
Gain: 15dB (line)
Input sensitivity: 100mV (line)
Signal to noise ratio: 97dB (line)
Channel separation: 100dB (line)
Output: 100mV (line), 0.5V (Pre out), 7.7V (Pre out Max)
Dimensions: 445 x 74 x 335mm
Weight: 6kg
Bad Caps
I found one definite fault and one possible contributing fault in this Audiolab 8000Q. A few of the electrolytic capacitors in the multiple regulated power supplies showed signs of aging. One was bulging and clearly suffering, exhibiting low C and high ESR.
The electrolytic capacitors in the 8000Q are made by a particularly awful Chinese brand called Capxon. Capxon capacitors feature in some spectacularly cheap and awful gear. This preamp neither cheap, nor awful, but the accountants saved a few cents by fitting the world’s worst capacitors. Nice work Audiolab.
I replaced all small electrolytic capacitors in the power supply, given that they were all so bad and that we’d gone to the trouble of opening her up. It’s likely they were all stressed due to poor construction, heat and age. I replaced them with premium high-temp, low ESR parts from stock.
The second, possible issue is that I suspect one of the owner’s sources is feeding DC into the 8000Q. The control circuit inside the 8000Q senses DC offsets and sends the preamp into standby until the DC fault clears. This is a very sensible protection circuit, but one that will prevent the unit from working in the presence of other faulty gear.
In the meantime, this Audiolab is working perfectly again, with the added bonus that it now sounds much better than before. If there are any other faults in the owner’s system, I’m sure I’ll hear about them once the preamp is back in place!
Repair
Let’s look now at the work I did on this Audiolab 8000Q.
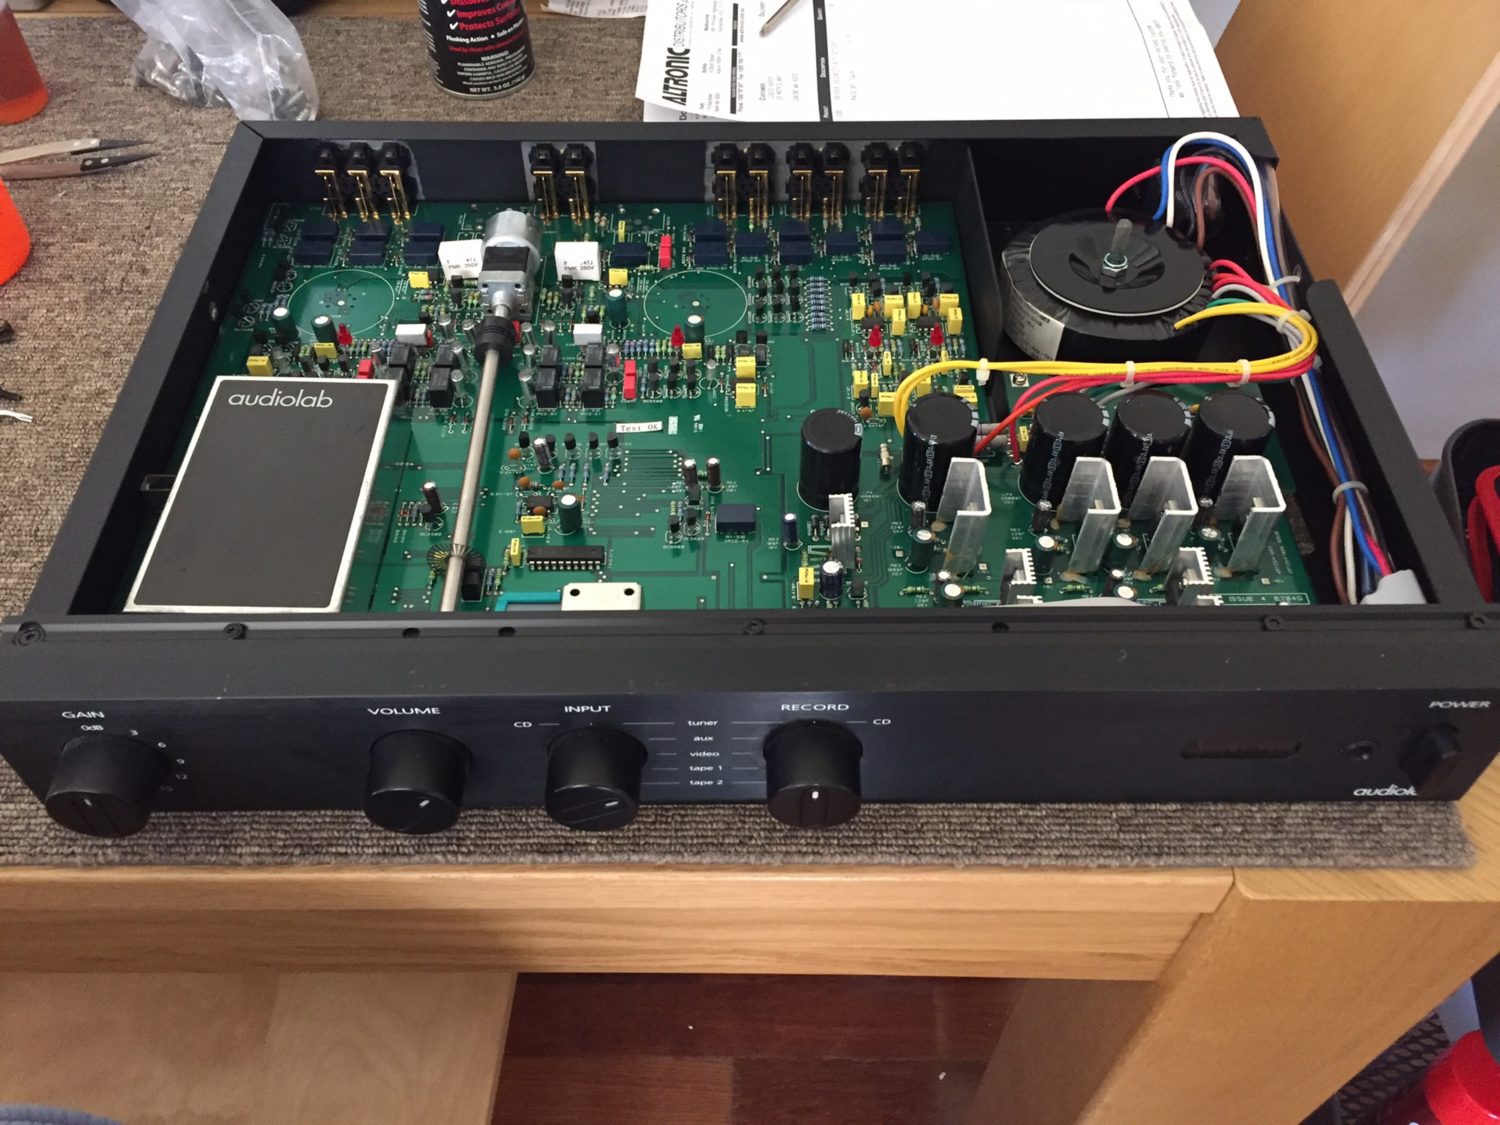
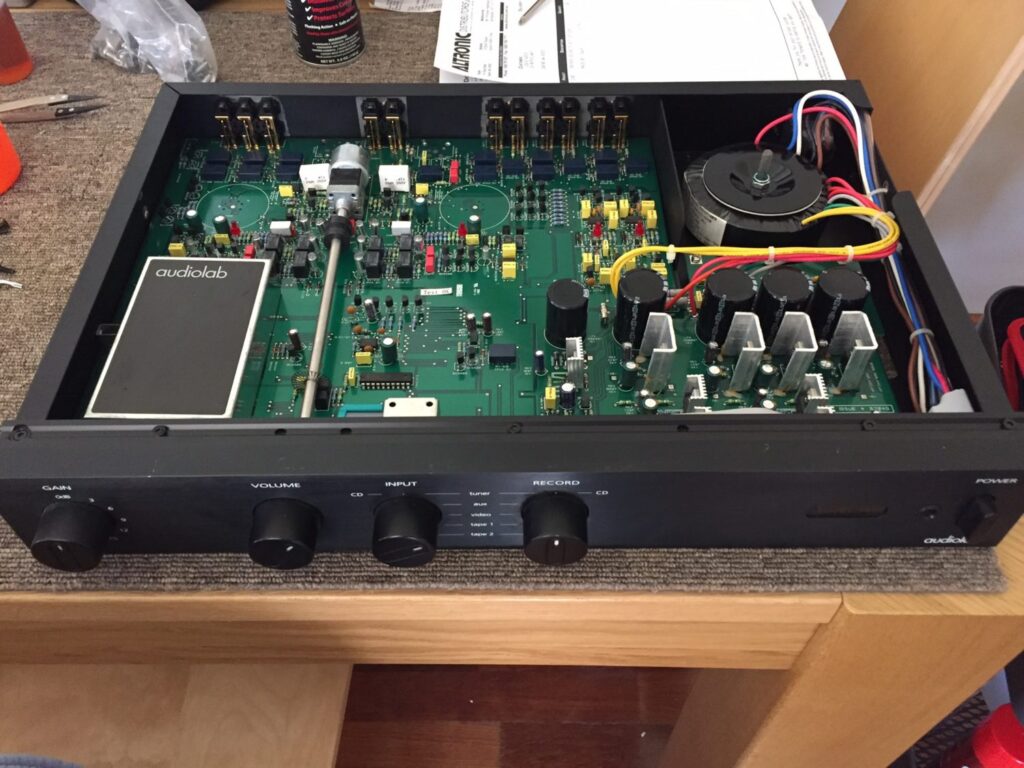
Nicely laid out, the Audiolab 8000Q features all components except the toroidal transformer located on just one high-quality fibreglass PCB.
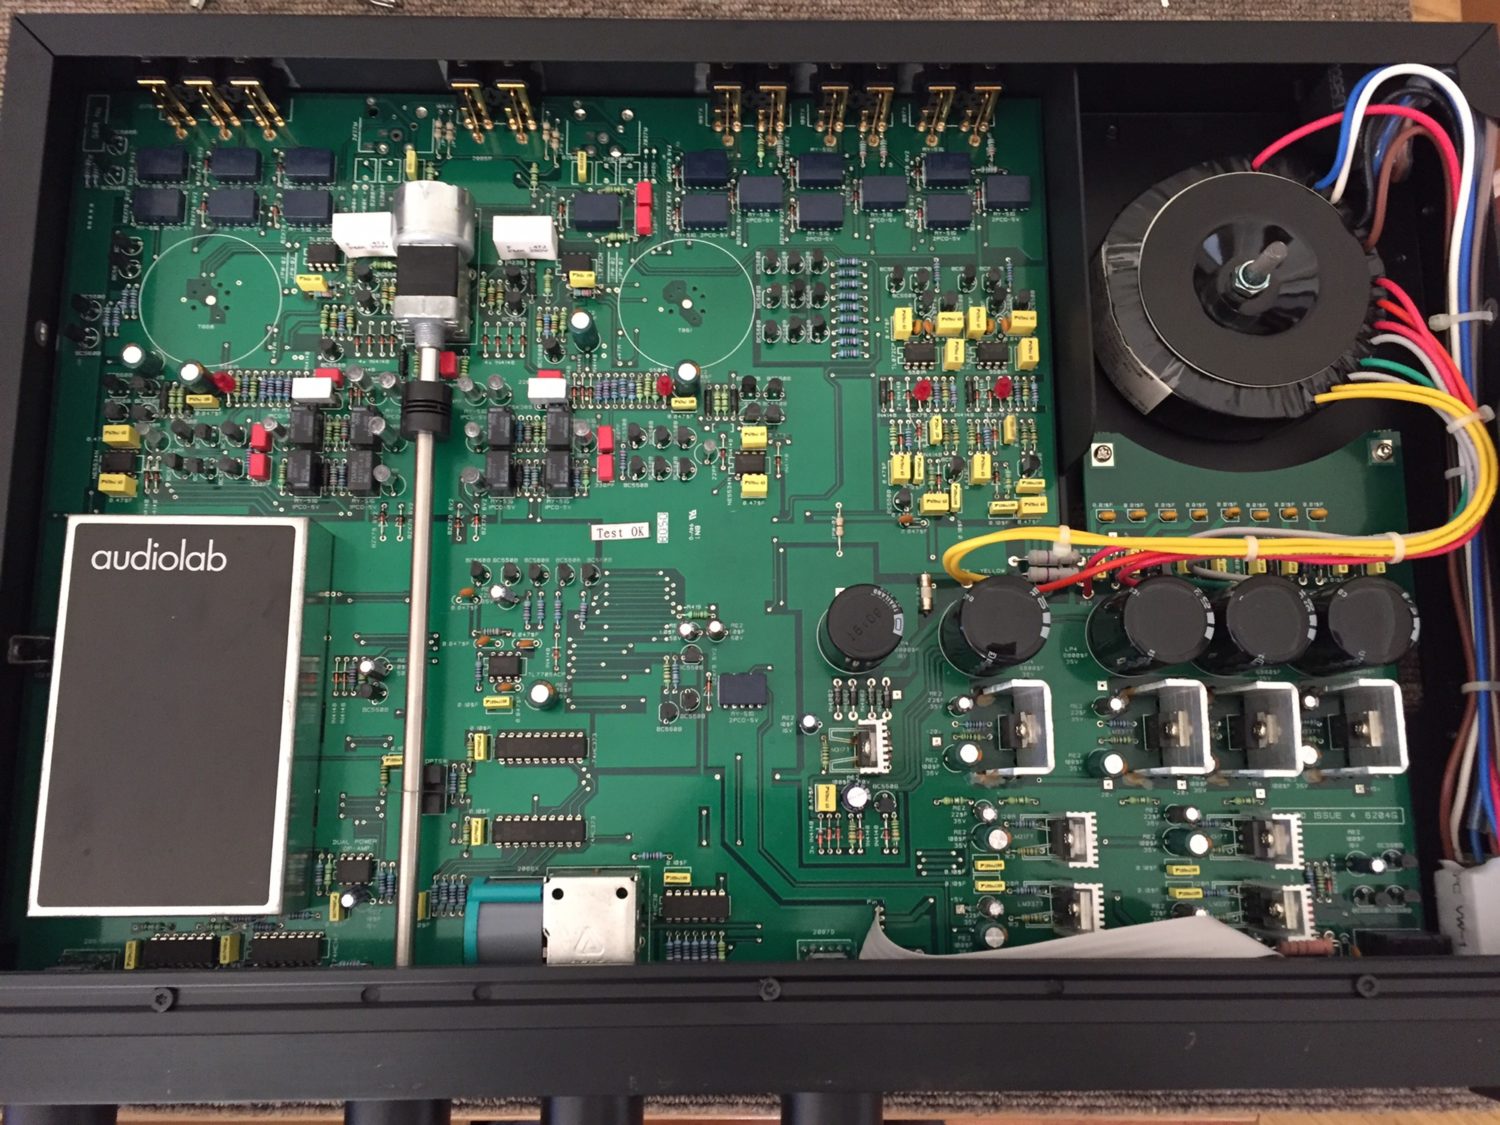
You can see unpopulated spots of the board for input transformers for an MC phono pre, if fitted. Note the neat, clean layout with almost zero wiring – very nice.
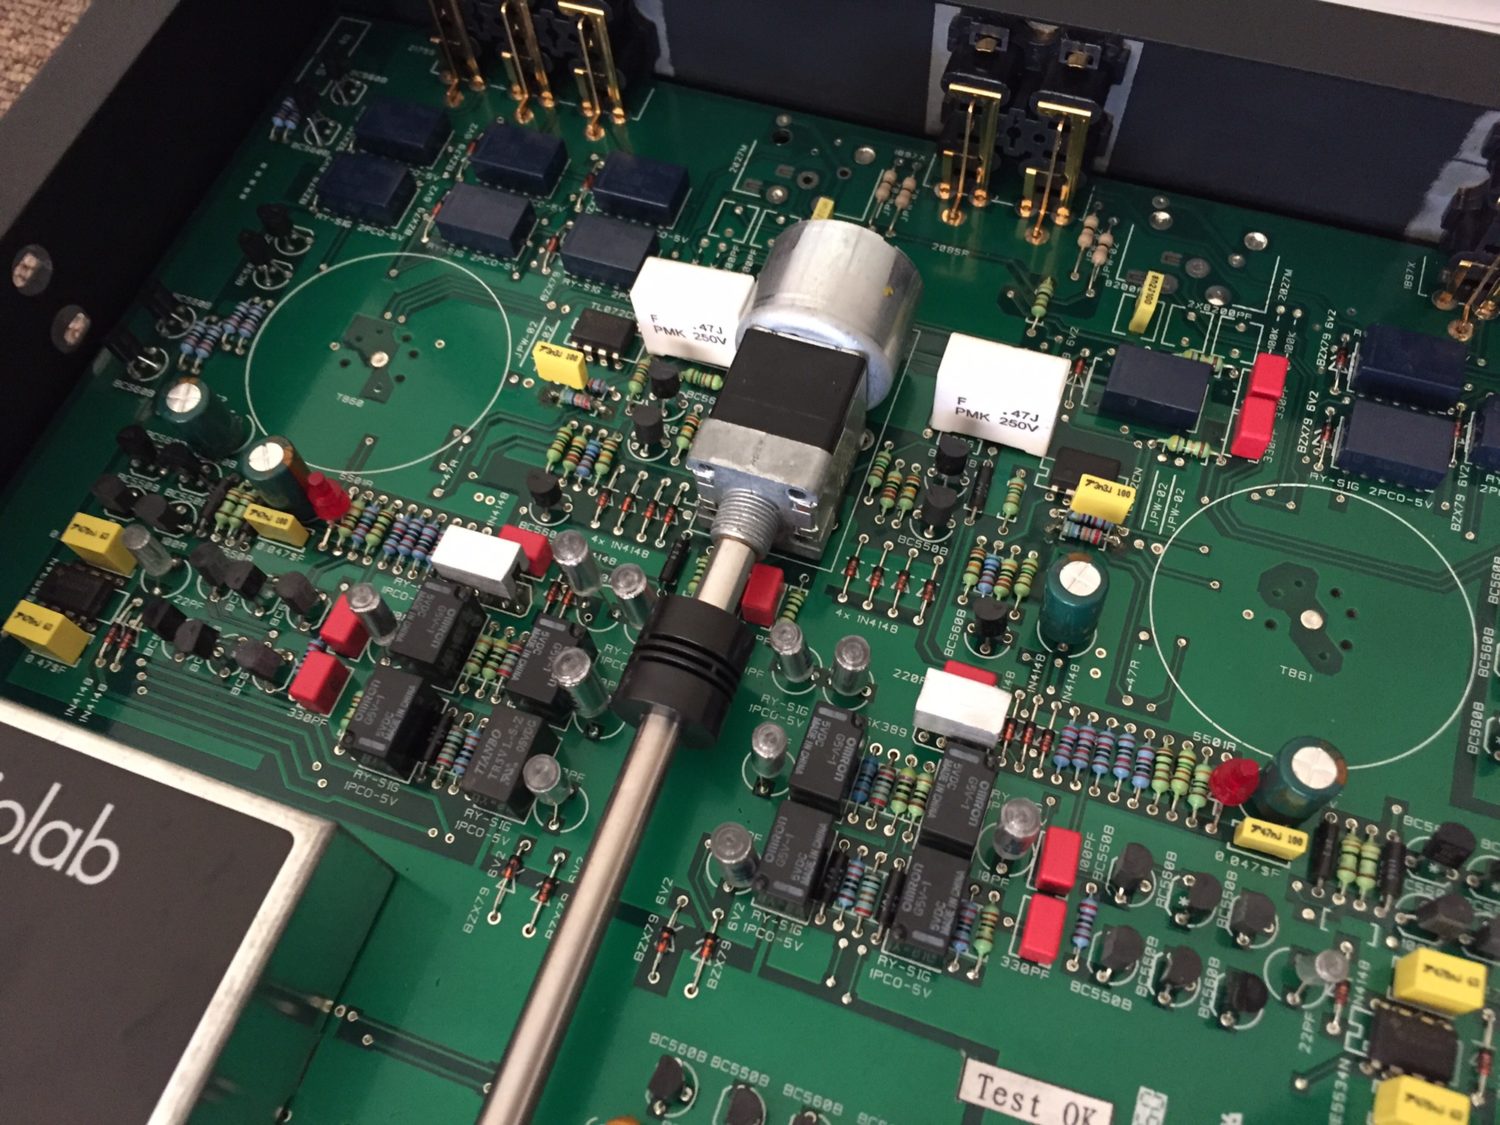
Board-mounted pot and space for MC step-up transformers. Note the quality board-mounted RCA connectors and relays everywhere, for low-noise, high-reliability switching.
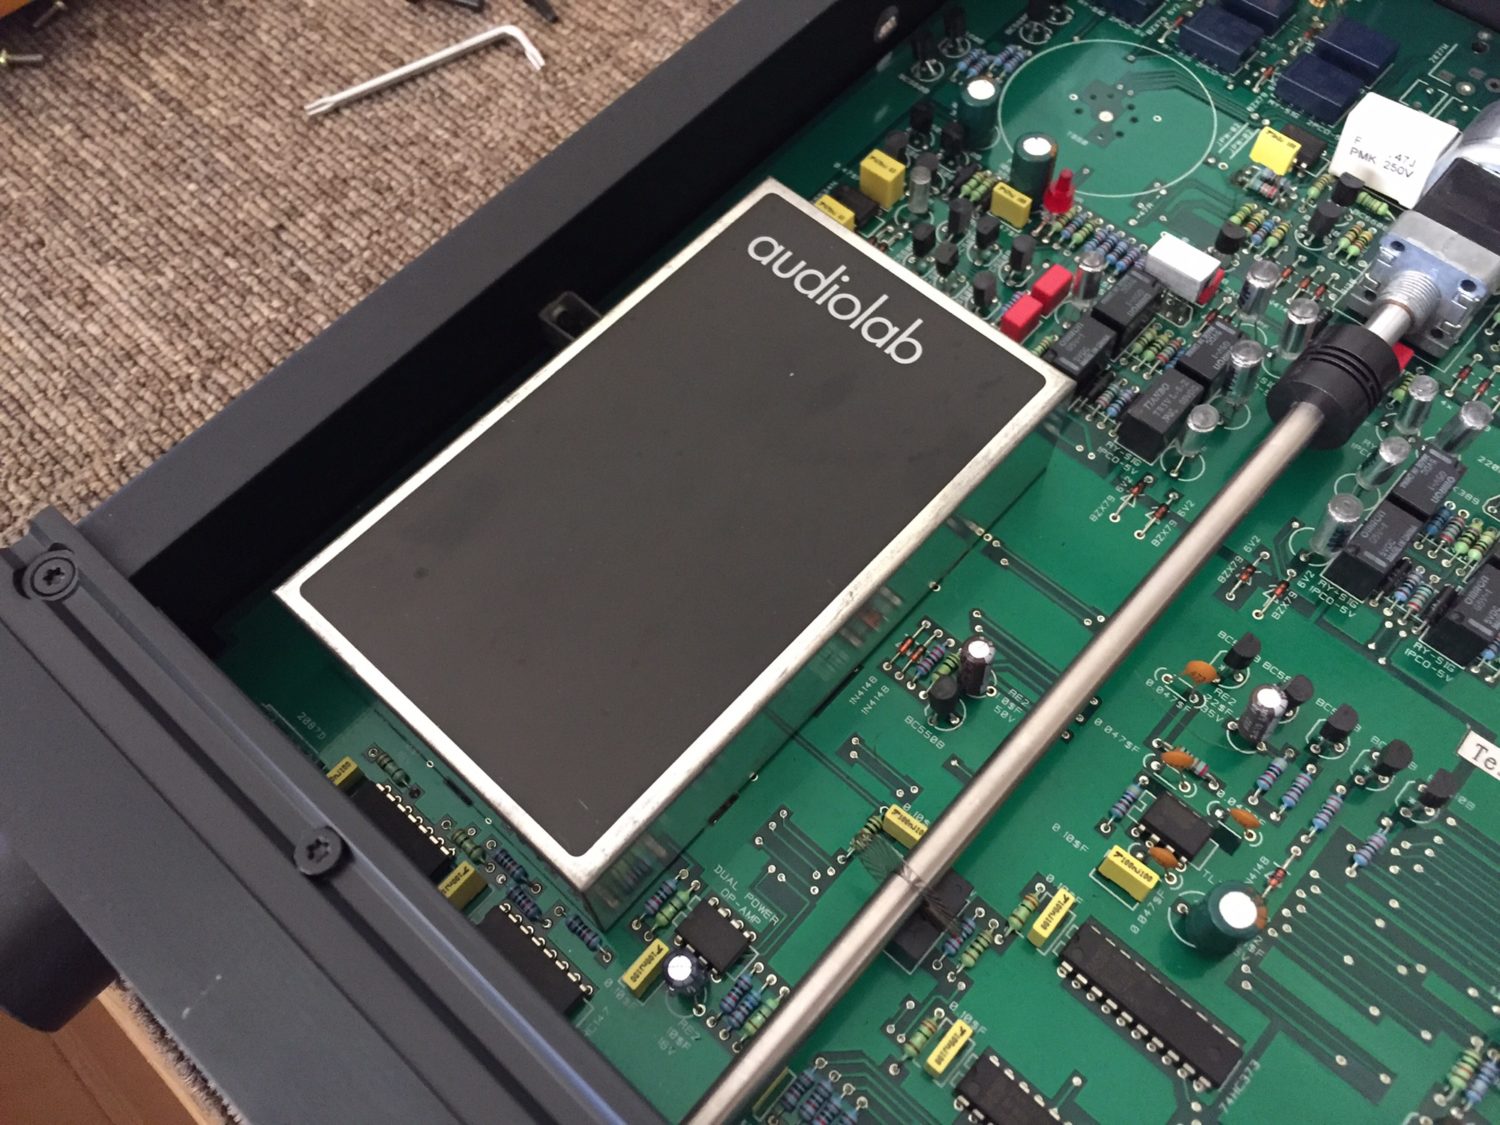
Digital control is under this RFI shield – again, a nice touch. The control unit detects DC offset, power supply issues etc.
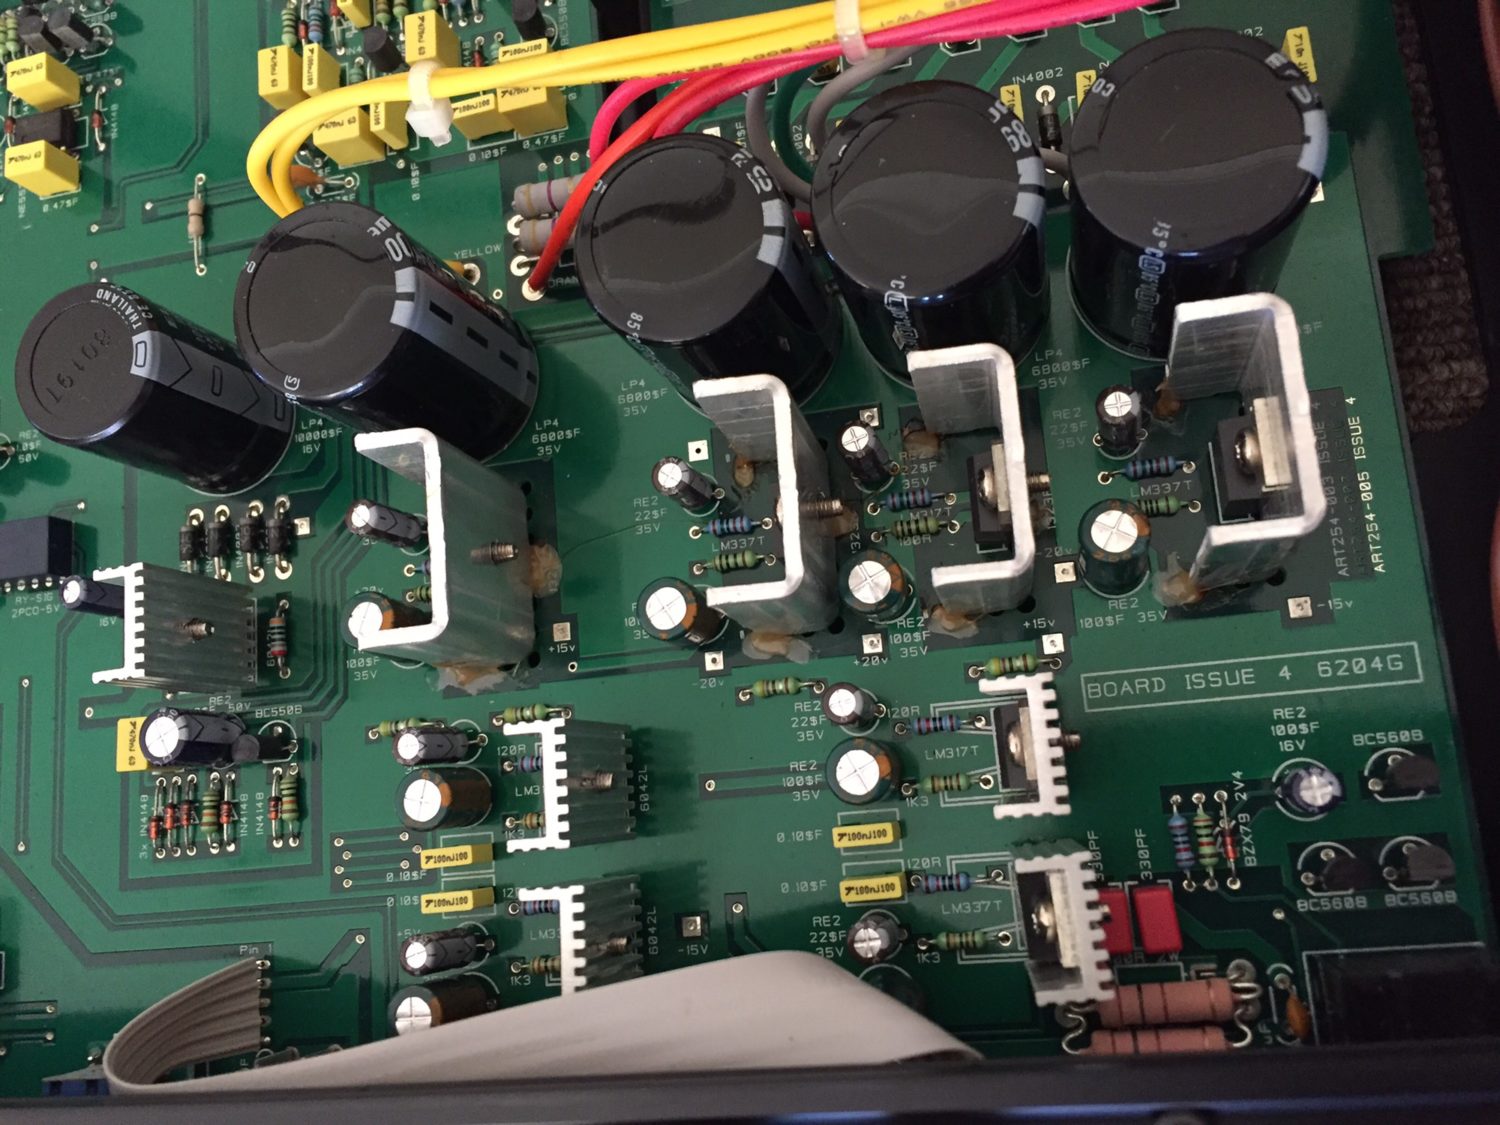
This is where the trouble was. Note the multiple power supply regulators, very much like Naim use in their gear. The issue is that those small capacitors are the cheapest, low-quality ‘Capxon’ brand.
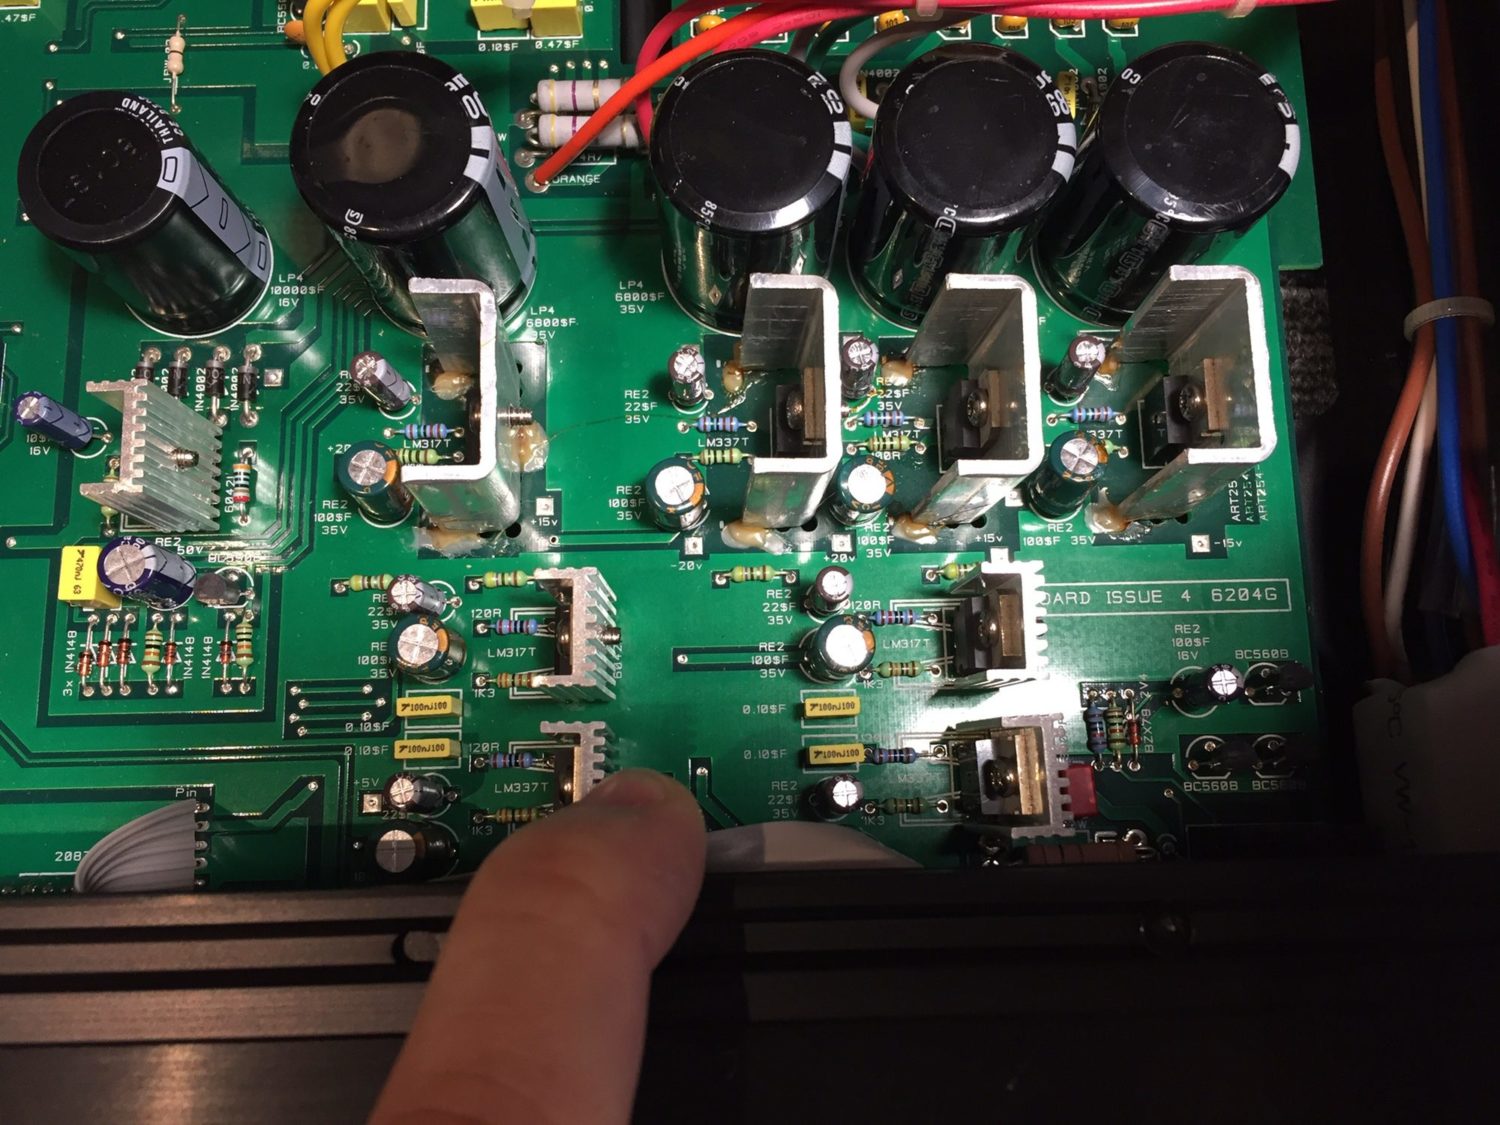
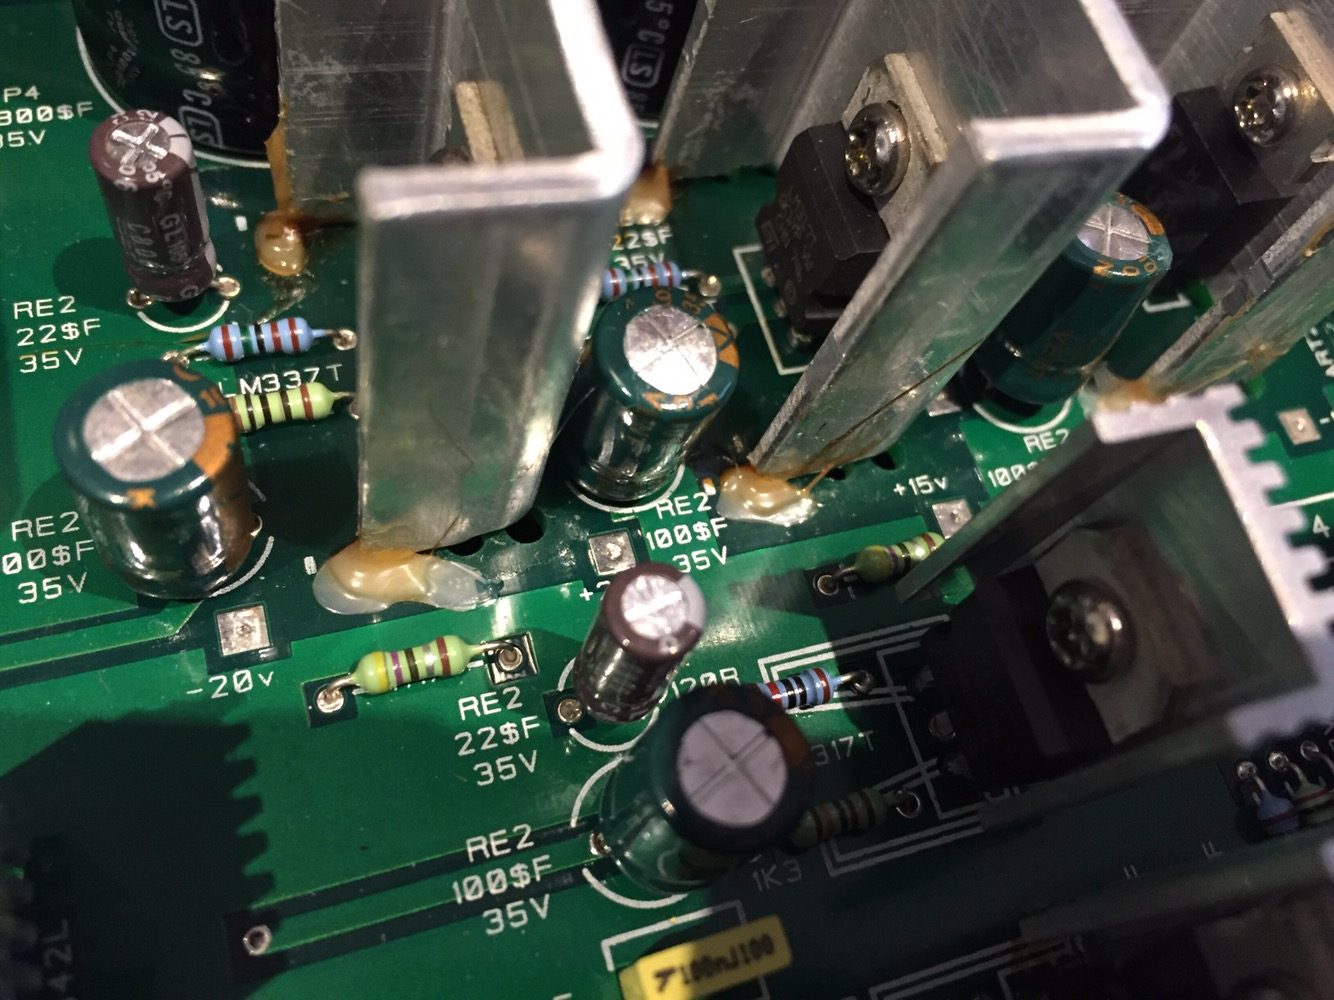
Spot the bulging one..? Nominally rated at 100uF, this cap tested at around 40uF and 2.5 ohms ESR. The ESR of the new parts was around 0.03 ohms for comparison!
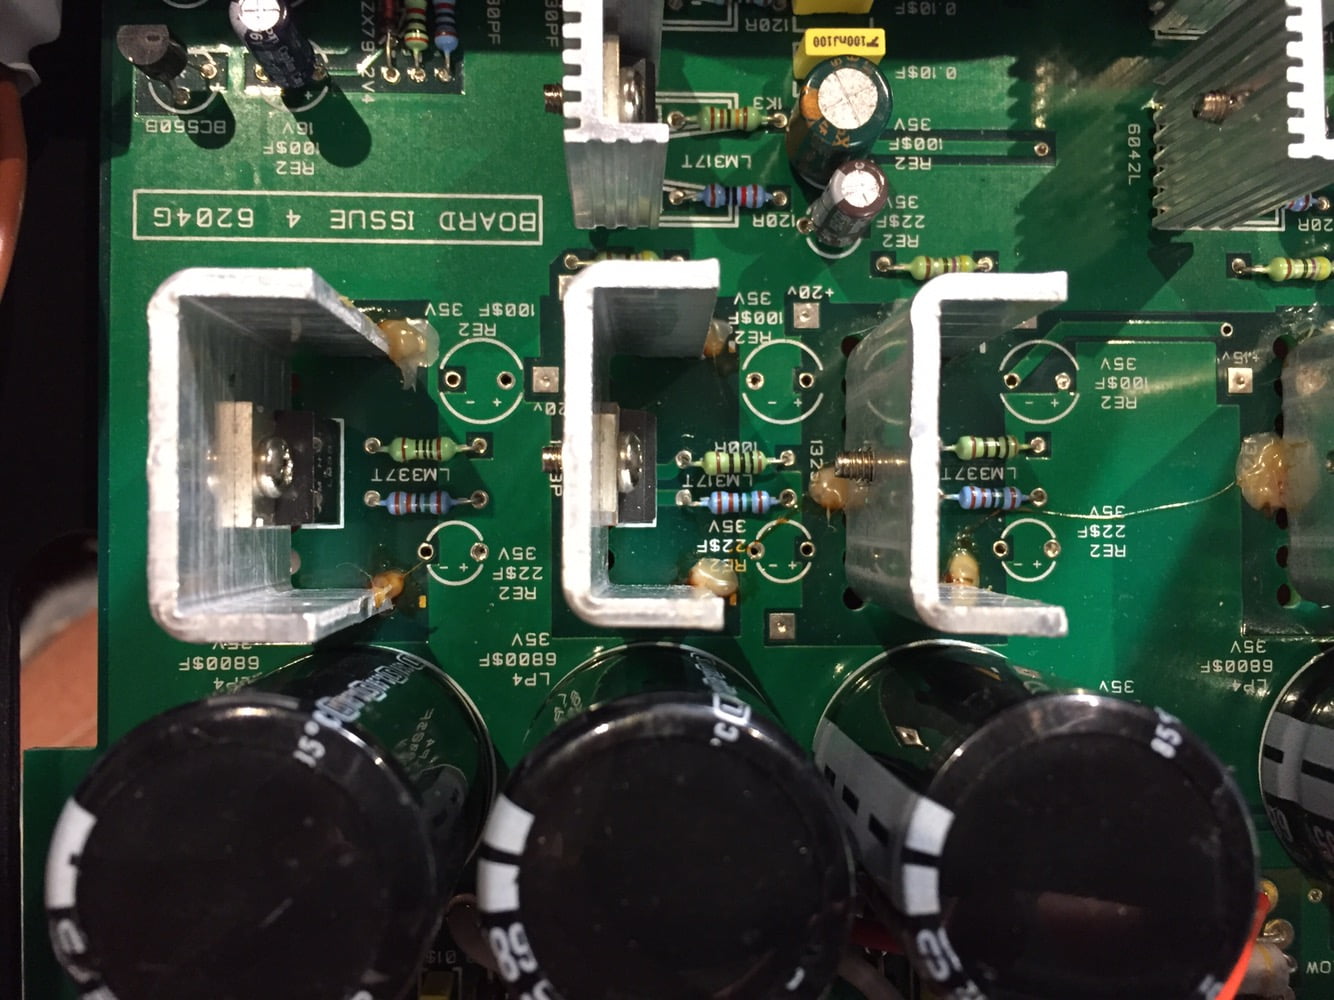
Out they come, all of them…
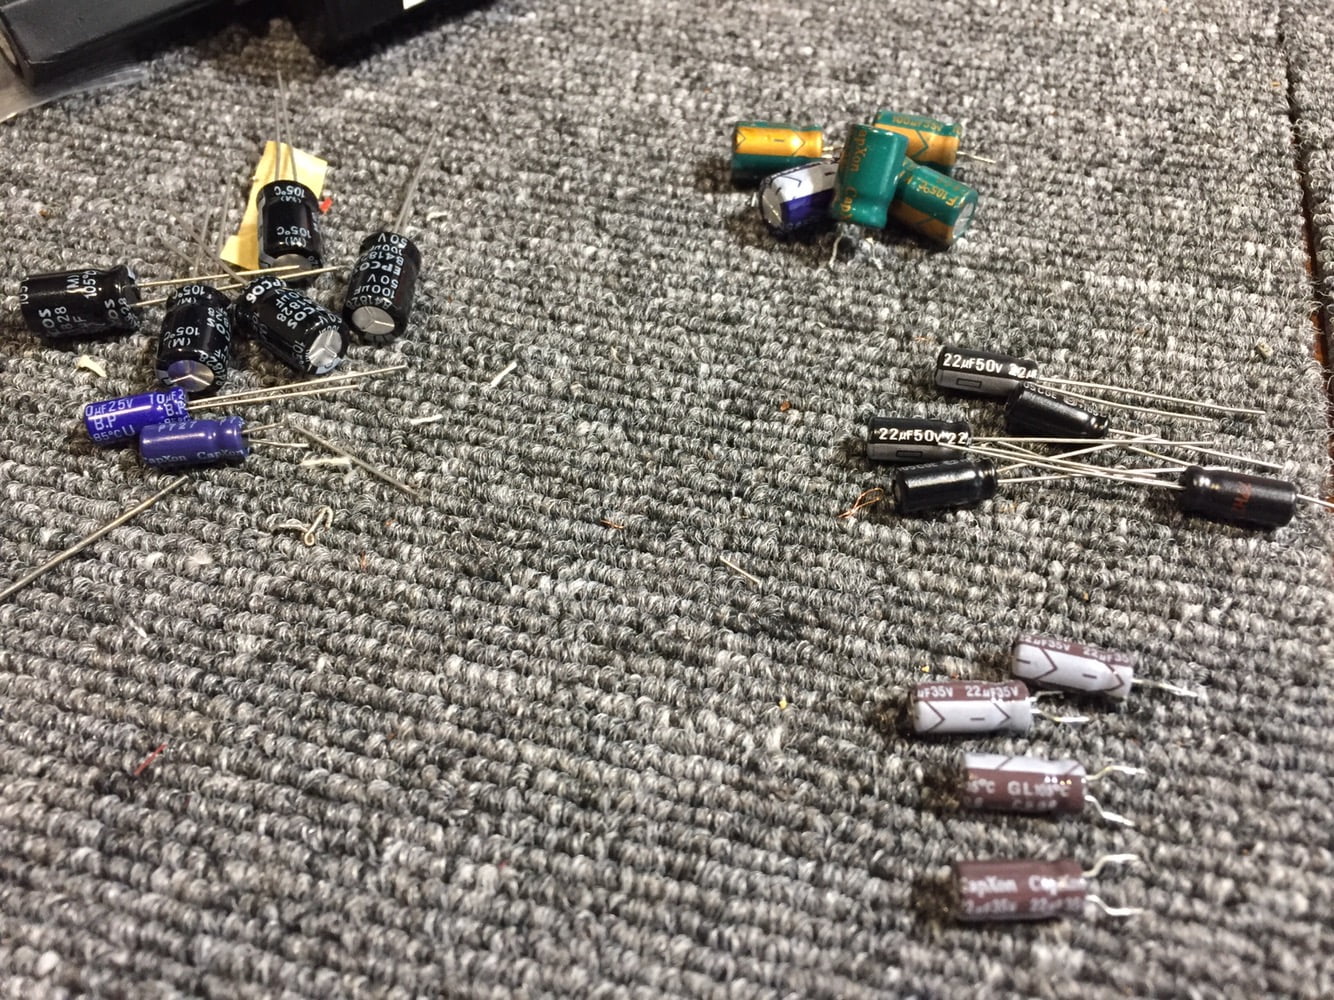
Here they are, next to some of their replacements. I use only premium replacements, many times the cost of the original parts, but always worth it.
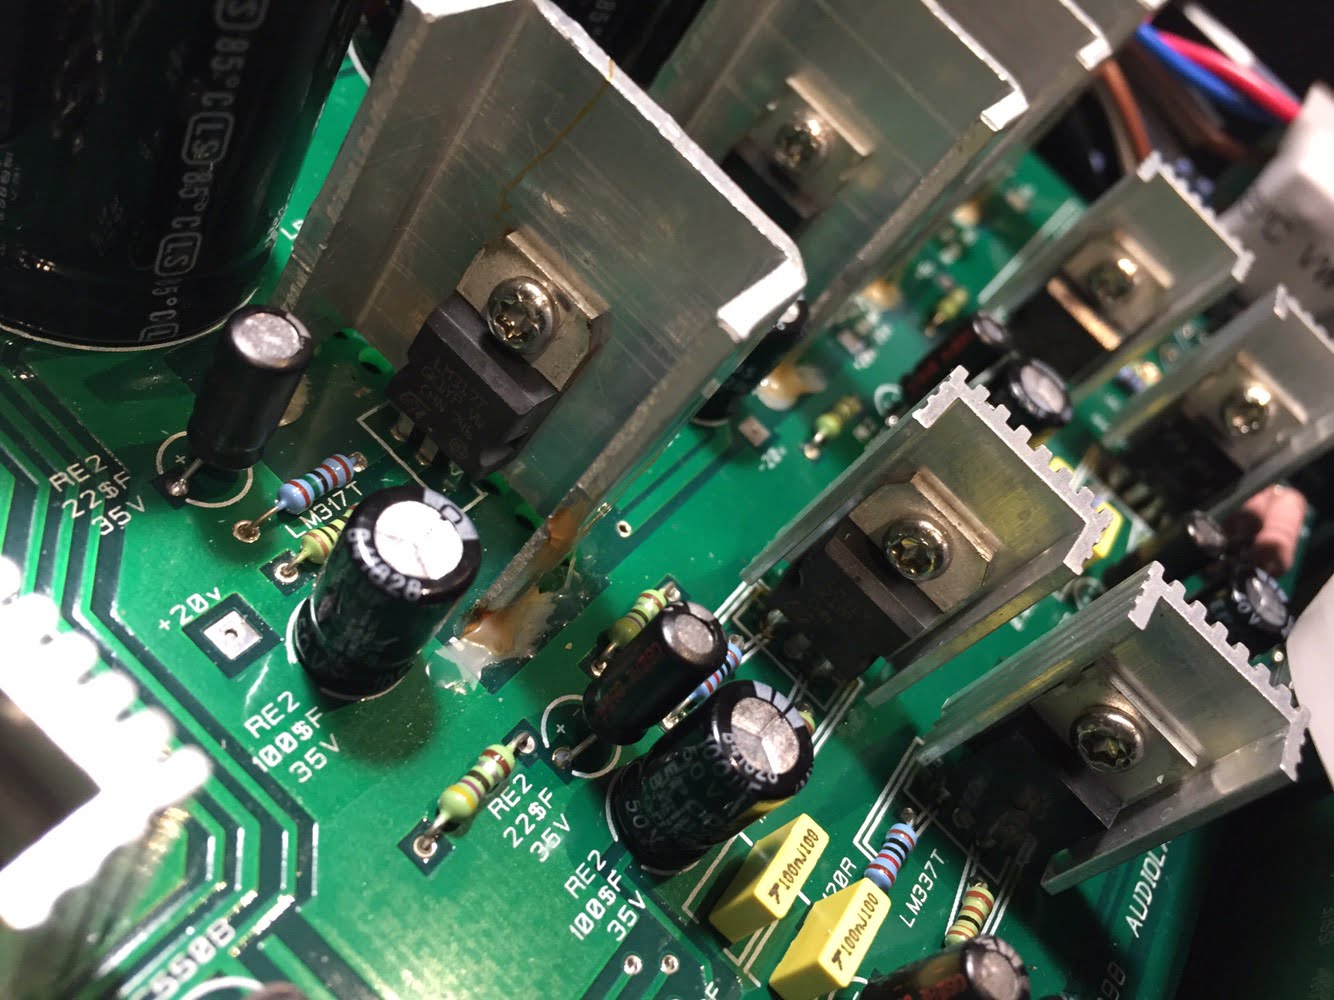
Job done, all small power supply capacitors replaced.
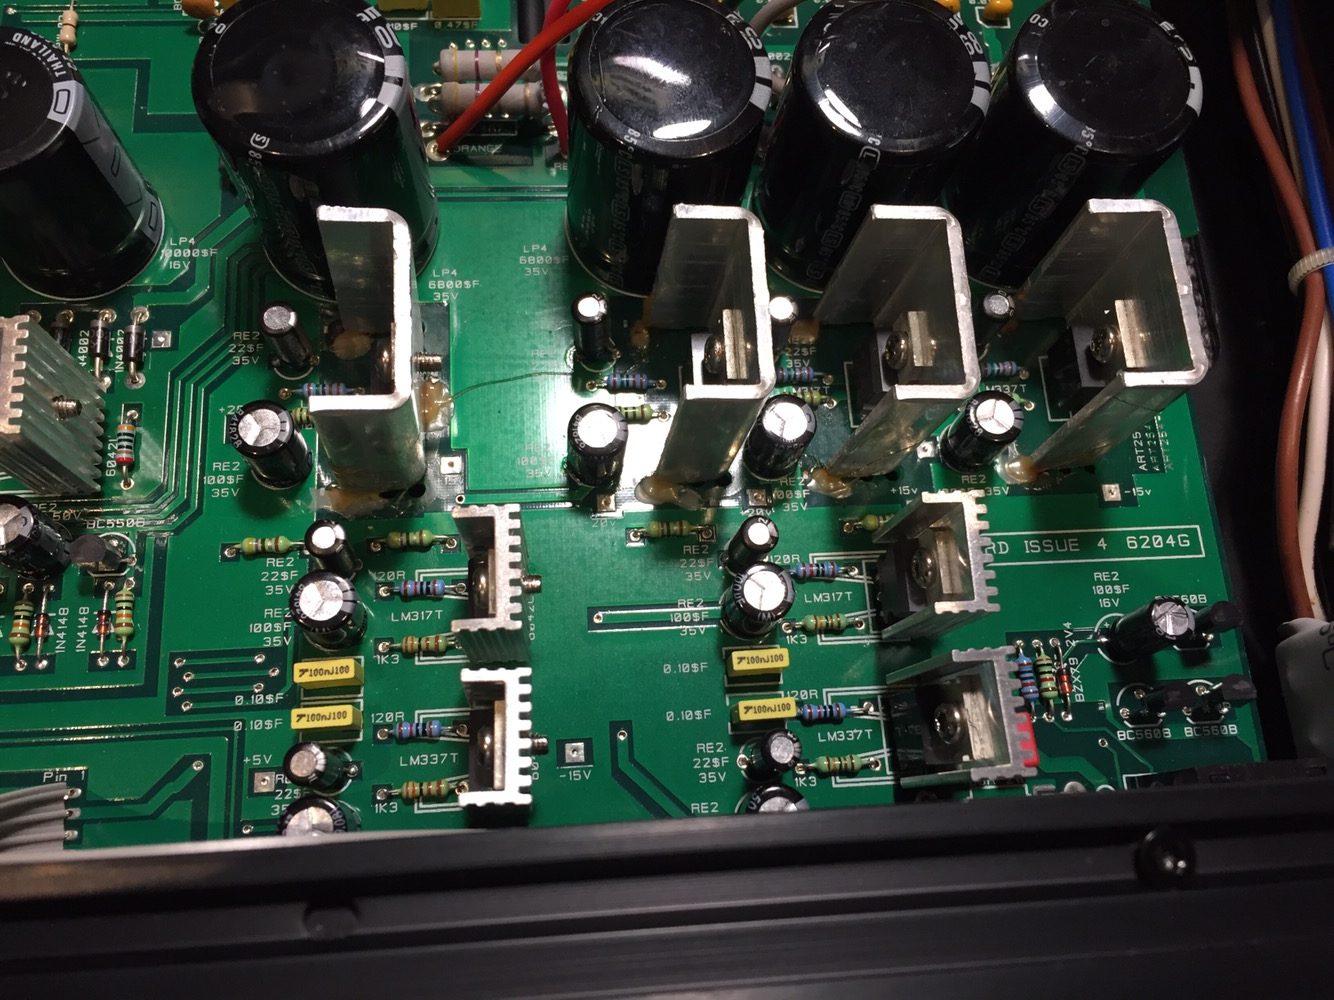
Another view of the replaced parts
Results
Overall, this repair was a success, with this Audiolab 8000Q restored to normal operation. She sounds fantastic, and works perfectly and the bonus is that service life and performance are both improved due to the premium, long-life parts I installed.
If you’d like me to service your Audiolab 8000Q or any other Audiolab product, get in touch.
Discover more from LiQUiD AUDiO
Subscribe to get the latest posts sent to your email.


Hi, brilliant post. Any chance you could tell me what capacitors you have replaced? Any help would be greatly appreciated. Many thanks. Kyle
Hi Kyle, thanks for writing and glad you enjoyed the post! It’s worth bearing in mind that each repair is unique and my best advice is to get this unit to me if you are within range, for proper diagnosis and repair. You wouldn’t want to base a repair on what I did here until proper diagnosis pointed in that direction. Are you local and in a position to bring her in? Regards, Mike.
Hi Mike, thanks for your quick reply. I am based in Wellington, NZ. So not within range. I am very confident I have the same issue, and its on my head if this does not work. For confidentiality on your solution, please could you email kylerichardnicol@googlemail.com – all I need to know is the types of capacitors you bought. In exchange, I will recommend you guys to my uncle and his family based in Perth, and also my colleagues based there. I can also let you know how my fix goes. Finally, if I ever move to Perth I will visit you guys! Any help would be greatly appreciated. Thanks, Kyle
Hi Kyle, no problem and happy to continue the conversation here for now. Hope all is well over in NZ. In terms of caps, I just grab the parts directly from stock as I need them. I’m not quite sure what you are asking for – are you looking for the specific values of capacitors I used in this repair? If so, I couldn’t tell you because I can’t remember. I don’t make a list, I pull them from stock as needed. You have to remember I repair dozens of units a month and that repair was a year or two ago! It might be best if you call and speak to me directly on 0439 690 436, with the Australian codes in front of course. Look forward to chatting on the phone! Mike