Come with me as I repair a Sansui AU-317 integrated amplifier and discuss problems associated with the wrong approach to caring for beauties like this.
This isn’t really a rant, we don’t rant here at Liquid Audio, but I do occasionally get frustrated, and it’s a chance for me to express my thoughts, to hopefully educate, inform and help readers make better decisions. Welcome back!
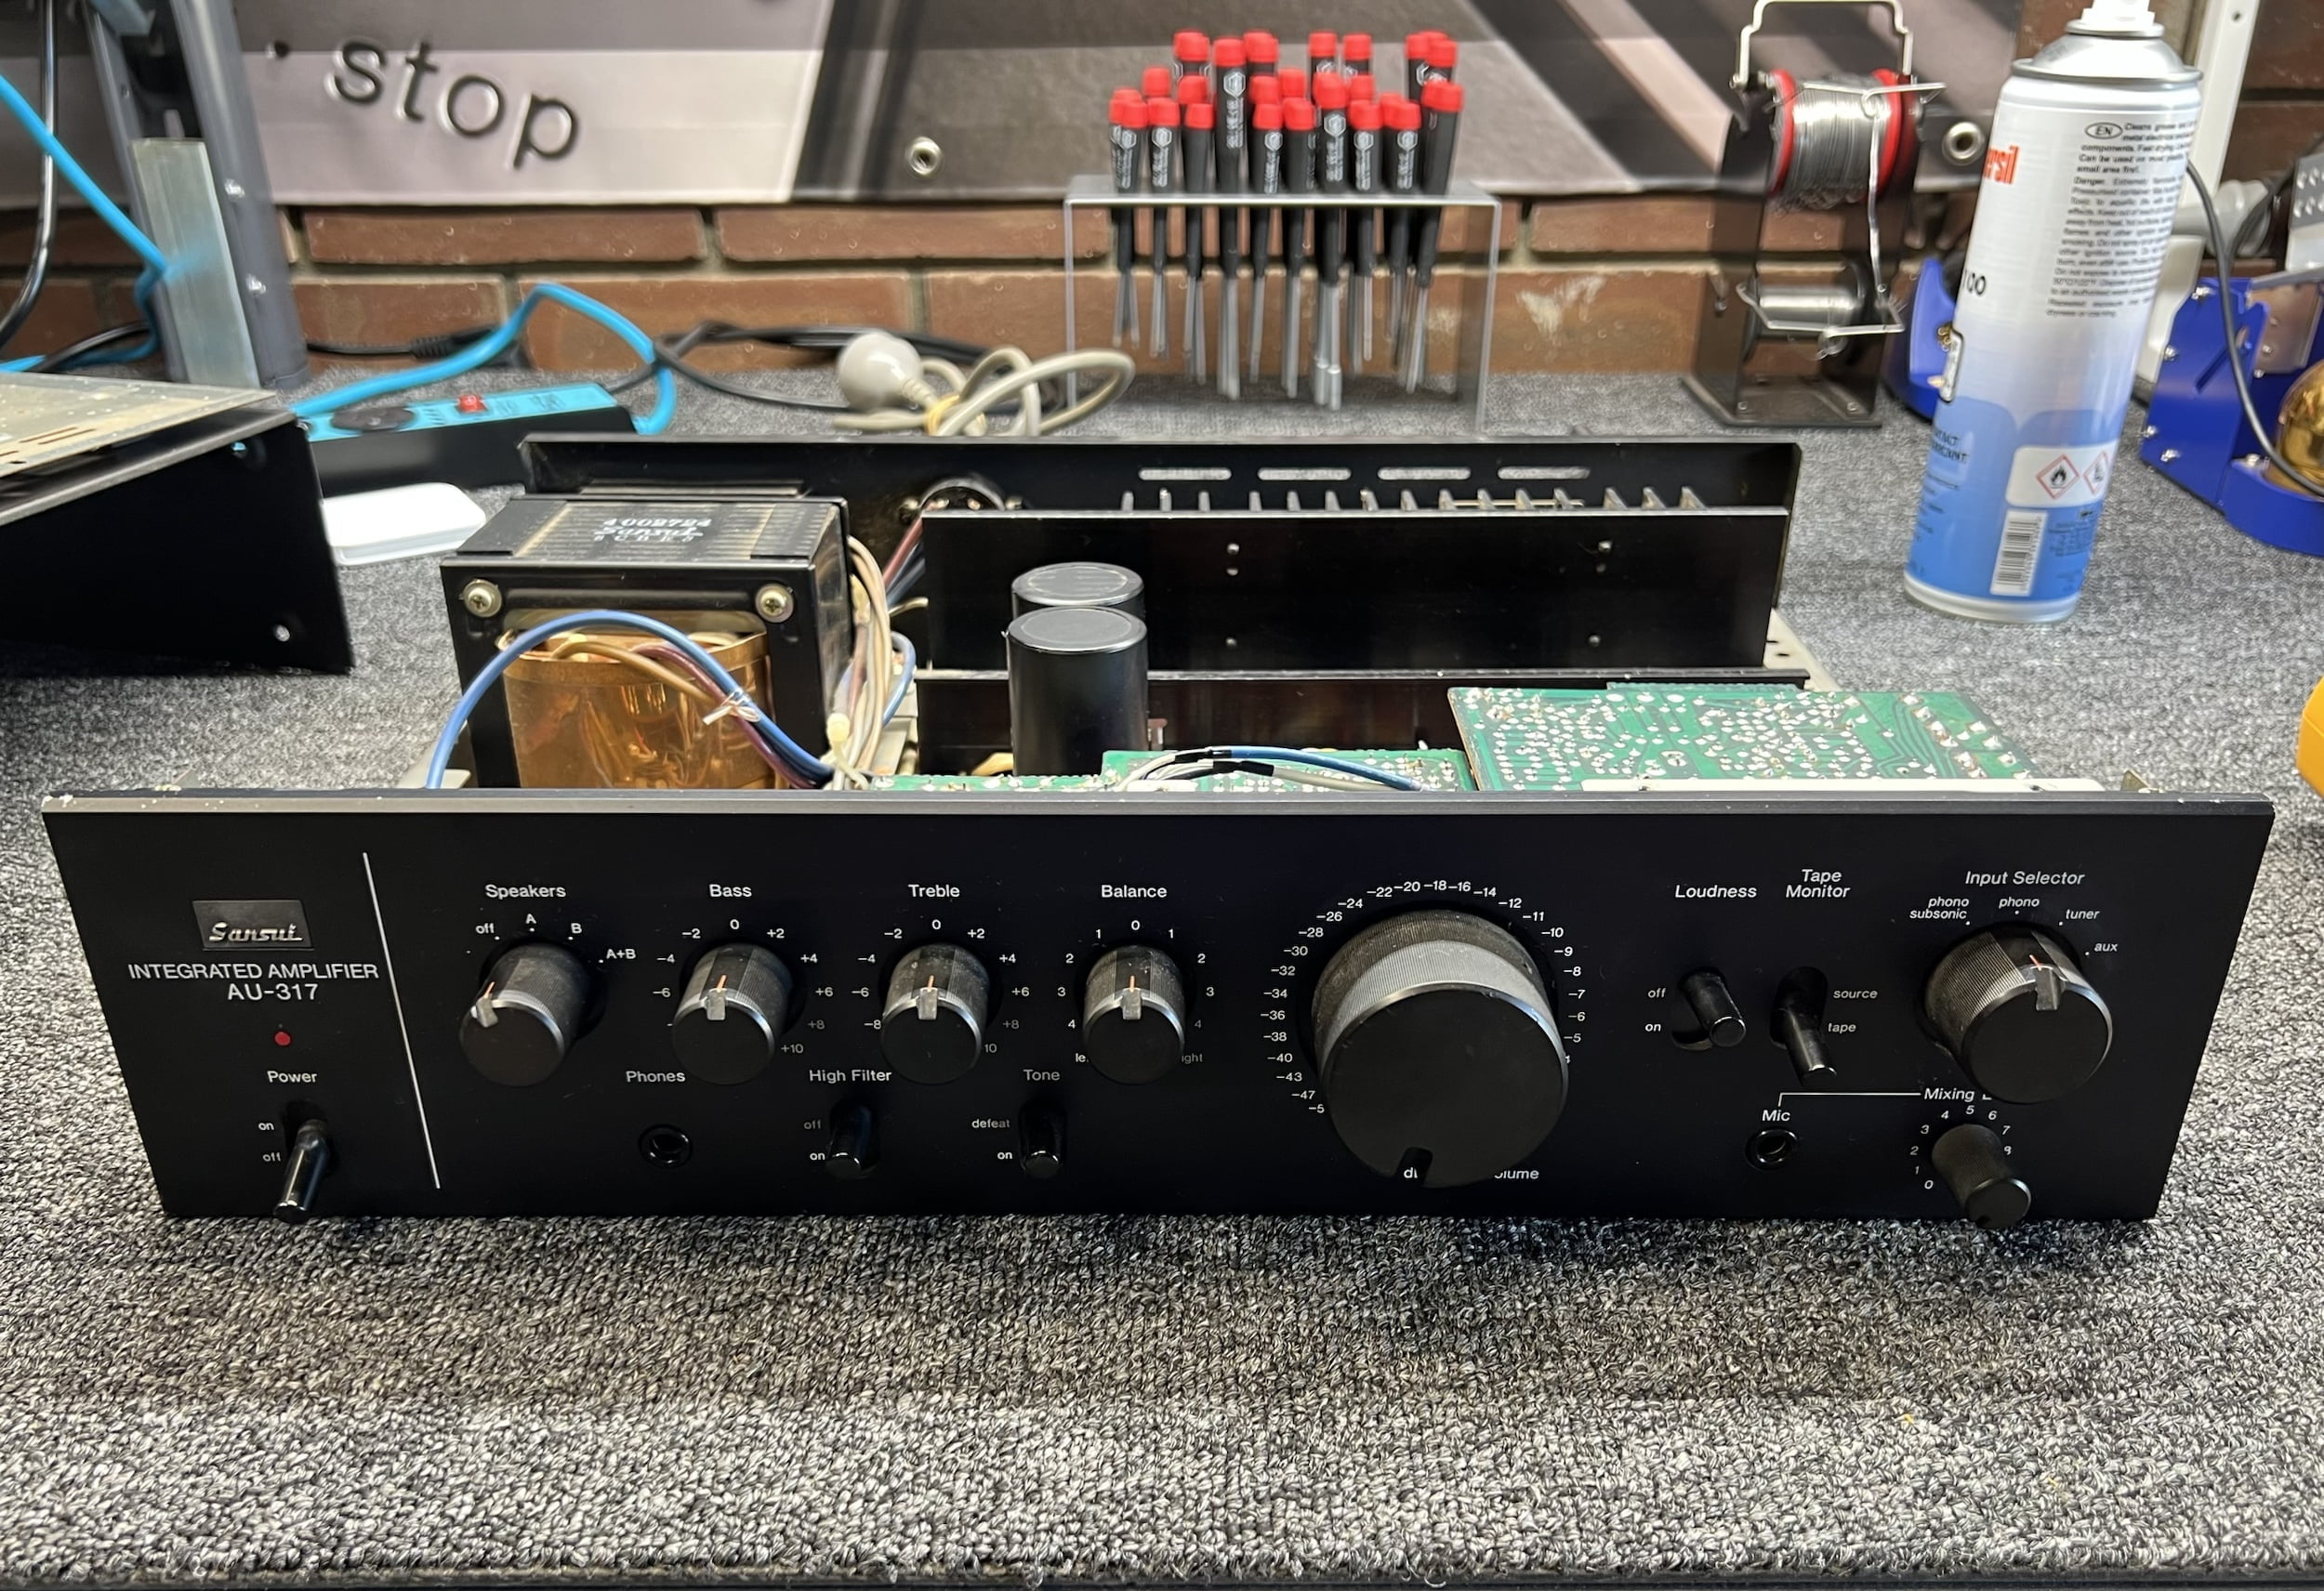
I’ve just repaired this lovely Sansui AU-317, a classic integrated amplifier from the late ’70s that we will chat more about as we go. This case presents a useful learning opportunity and provides pause for owners of such equipment to carefully evaluate who they entrust it with.
By the way, I’ve been busy updating the FAQs and the Hall of Shame, in particular case #16, featuring one of the worst-made hi-fi products I’ve seen in a while and a business owner who threatened me with legal action for making people aware of it. But I digress… Time to geek out a little bit at one of the best budget amplifiers ever made. Let’s go. 😉
For more about this story and a nice little video summary that has gone viral, by my YouTube channel standards at least, check this out:
The Sansui AU-317
Many of you will have seen my own Sansui AU-317 in the workshop over the years. I love these amplifiers, their baby brothers the AU-117 and AU-217 and the bigger brother AU-517 and AU-717, AU-D707/AU-819 and AU-919. I repaired an AU-217 only last week, and there is a lot to love about the slightly more capable AU-317. The rest of the range is, of course, legendary, and I love these stylish, serviceable and great-sounding amplifiers.
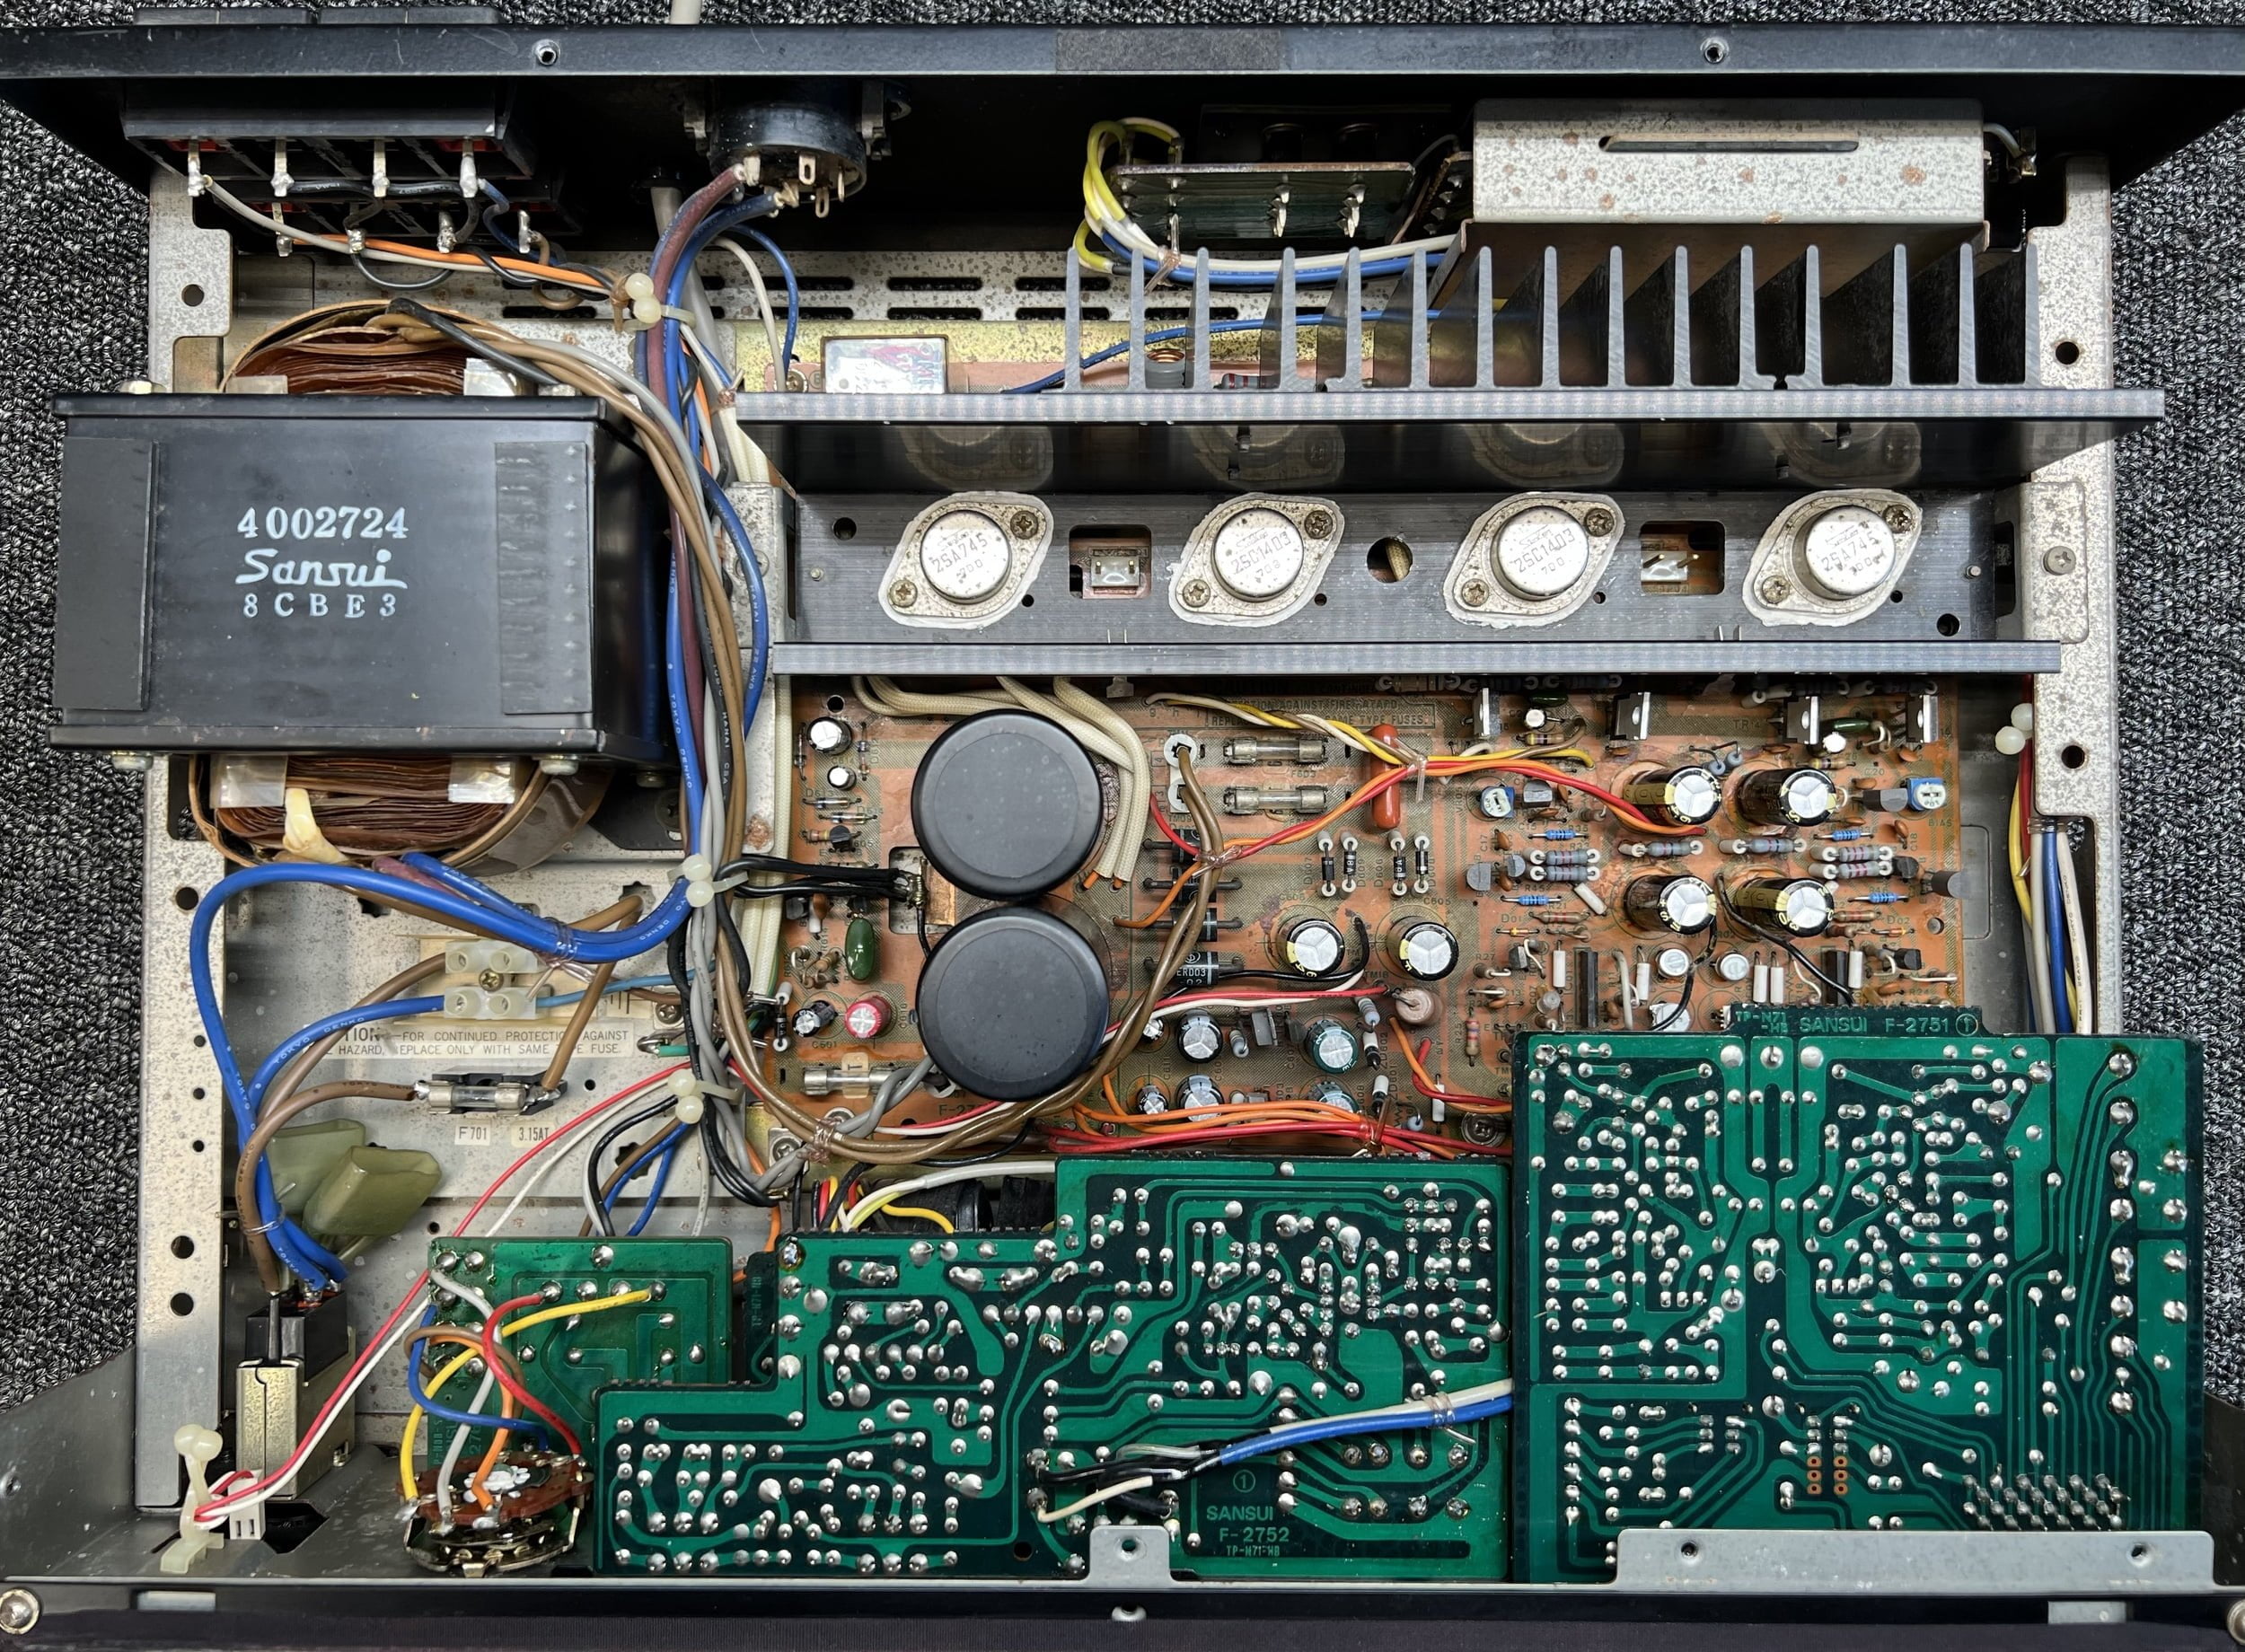
The Sansui AU-317 is a fully discrete component, full-featured design that can form the heart of a nice little system. With 50 Watts per channel and a solid 10kg build, these babies from 1977 – 1980 make modern $1000 amplifiers look like the toys they are. The AU-317 has a really good discrete phono preamplifier containing some very nice parts built in, a headphone ‘amplifier’ (really just a socket, but you know what I mean), and bypassable tone controls.
These amplifiers are completely repairable even now, more than 40 years on. Virtually nothing would render an AU-317 unrepairable unless it caught fire maybe, so there’s a lot to love here. Try repairing a Cambridge Audio CXA61 in ten years and you’ll appreciate my enthusiasm for equipment like the AU-317.
Sansui AU-317 Specifications
Courtesy of HiFi Engine (absolute legends, BTW!)
- Power output: 50 watts per channel into 8Ω (stereo)
- Frequency response: 5Hz to 70kHz
- Total harmonic distortion: 0.03%
- Damping factor: 70
- Input sensitivity: 20mV (mic), 2.5mV (MM), 150mV (line)
- Signal-to-noise ratio: 77dB (MM), 100dB (line)
- Channel separation: 65dB (MM), 73dB (line)
- Output: 150mV (line), 1V (Pre out)
- Speaker load impedance: 8Ω (minimum)
- Semiconductors: 51 x transistors, 25 x diodes, 2 x FET
- Dimensions: 430 x 110 x 340mm
- Weight: 9.5kg
- Year: 1978
The Right Approach
Liquid Audio focuses on preserving and rejuvenating classic hi-fi equipment, so I don’t want to waste too much time discussing what not to do, but there’s no avoiding it here. Regulars will know I have a particular dislike of poor workmanship, unnecessary work, BS and recappers, so no surprises that I’m going to dig into this a little here.
There’s a ton of Sansui AU-317s around, and they fail occasionally, in different ways, but repairing an AU-217, AU-317, AU-517, AU-717, etc., should be no big deal. Successfully repairing equipment like this is heavily dependent on a technician’s approach. Can there be ‘right’ and ‘wrong’ approaches? There undoubtedly are right and wrong approaches, and it’s worth breaking this down so people can better understand it.
The wrong approach, so often applied, typically shares the following:
- Individuals with poor technical skill and ability, unable to technically assess equipment, asking in forums for advice and buying fake parts on eBay
- Shotgun parts replacement and ‘improvements’ again often suggested by people who think they know what should be done, rather than by anyone who’s determined precisely what needs to be done based on a skilled technical assessment.
- Removing perfectly good original parts and replacing them with cheap Chinese/eBay sourced components, ‘kits’ of parts with no traceable provenance, etc.
- Not testing components and circuits, and plenty of guesswork, rather than sound, logic-based technical work
This approach is wasteful, largely ineffectual, prone to introducing new faults, and devalues otherwise irreplaceable equipment. This is also the most common approach because it requires the least knowledge, skill and technical proficiency. The internet is largely to blame.
The right approach is rare and very different:
- It is a conservative, technically-focused one
- It assumes that the original design engineers were smarter than most who attempt to repair such equipment
- It focuses on assessing and caring for the unique needs of the equipment in front of a technician, not what someone else who hasn’t assessed it thinks it needs
- Parts are replaced conservatively, where necessary and are always better than the original, where possible
- The goal is to repair faults and restore perfect operation whilst keeping to the original design intent
- It is informed by a technician’s experience, knowledge and skill, and the condition and faults of equipment
This approach is far less common because it requires an unusual level of experience, skill, technical knowledge, and the ability to find and solve sometimes tricky problems. The upside is that caring for equipment in this way adds value, improves performance and increases owner enjoyment of it.
“She Needs a New Flux Capacitor, Sir…”
So, this Sansui AU-317 went to a local repairer via her previous owner. Like some others, this business has emulated aspects of my approach, content, and style (without acknowledgement, of course), I guess because they see my excellent results and happy customers.
Unlike Liquid Audio, this business has changed its business name at least three times over the last few years, probably because it accumulated some very bad reviews and lost a significant case in Joondalup Magistrates Court in 2024. One should always be wary of businesses with constantly changing names. I’m sure this doesn’t need further explanation.
Whether any of this matters is up to the individual, but I’m certain most would want these details before deciding where to take their cherished hi-fi equipment. This background paints a picture, and whatever that picture is, it’s helpful if people can see it to be able to make up their own minds. I’m sure you will agree.
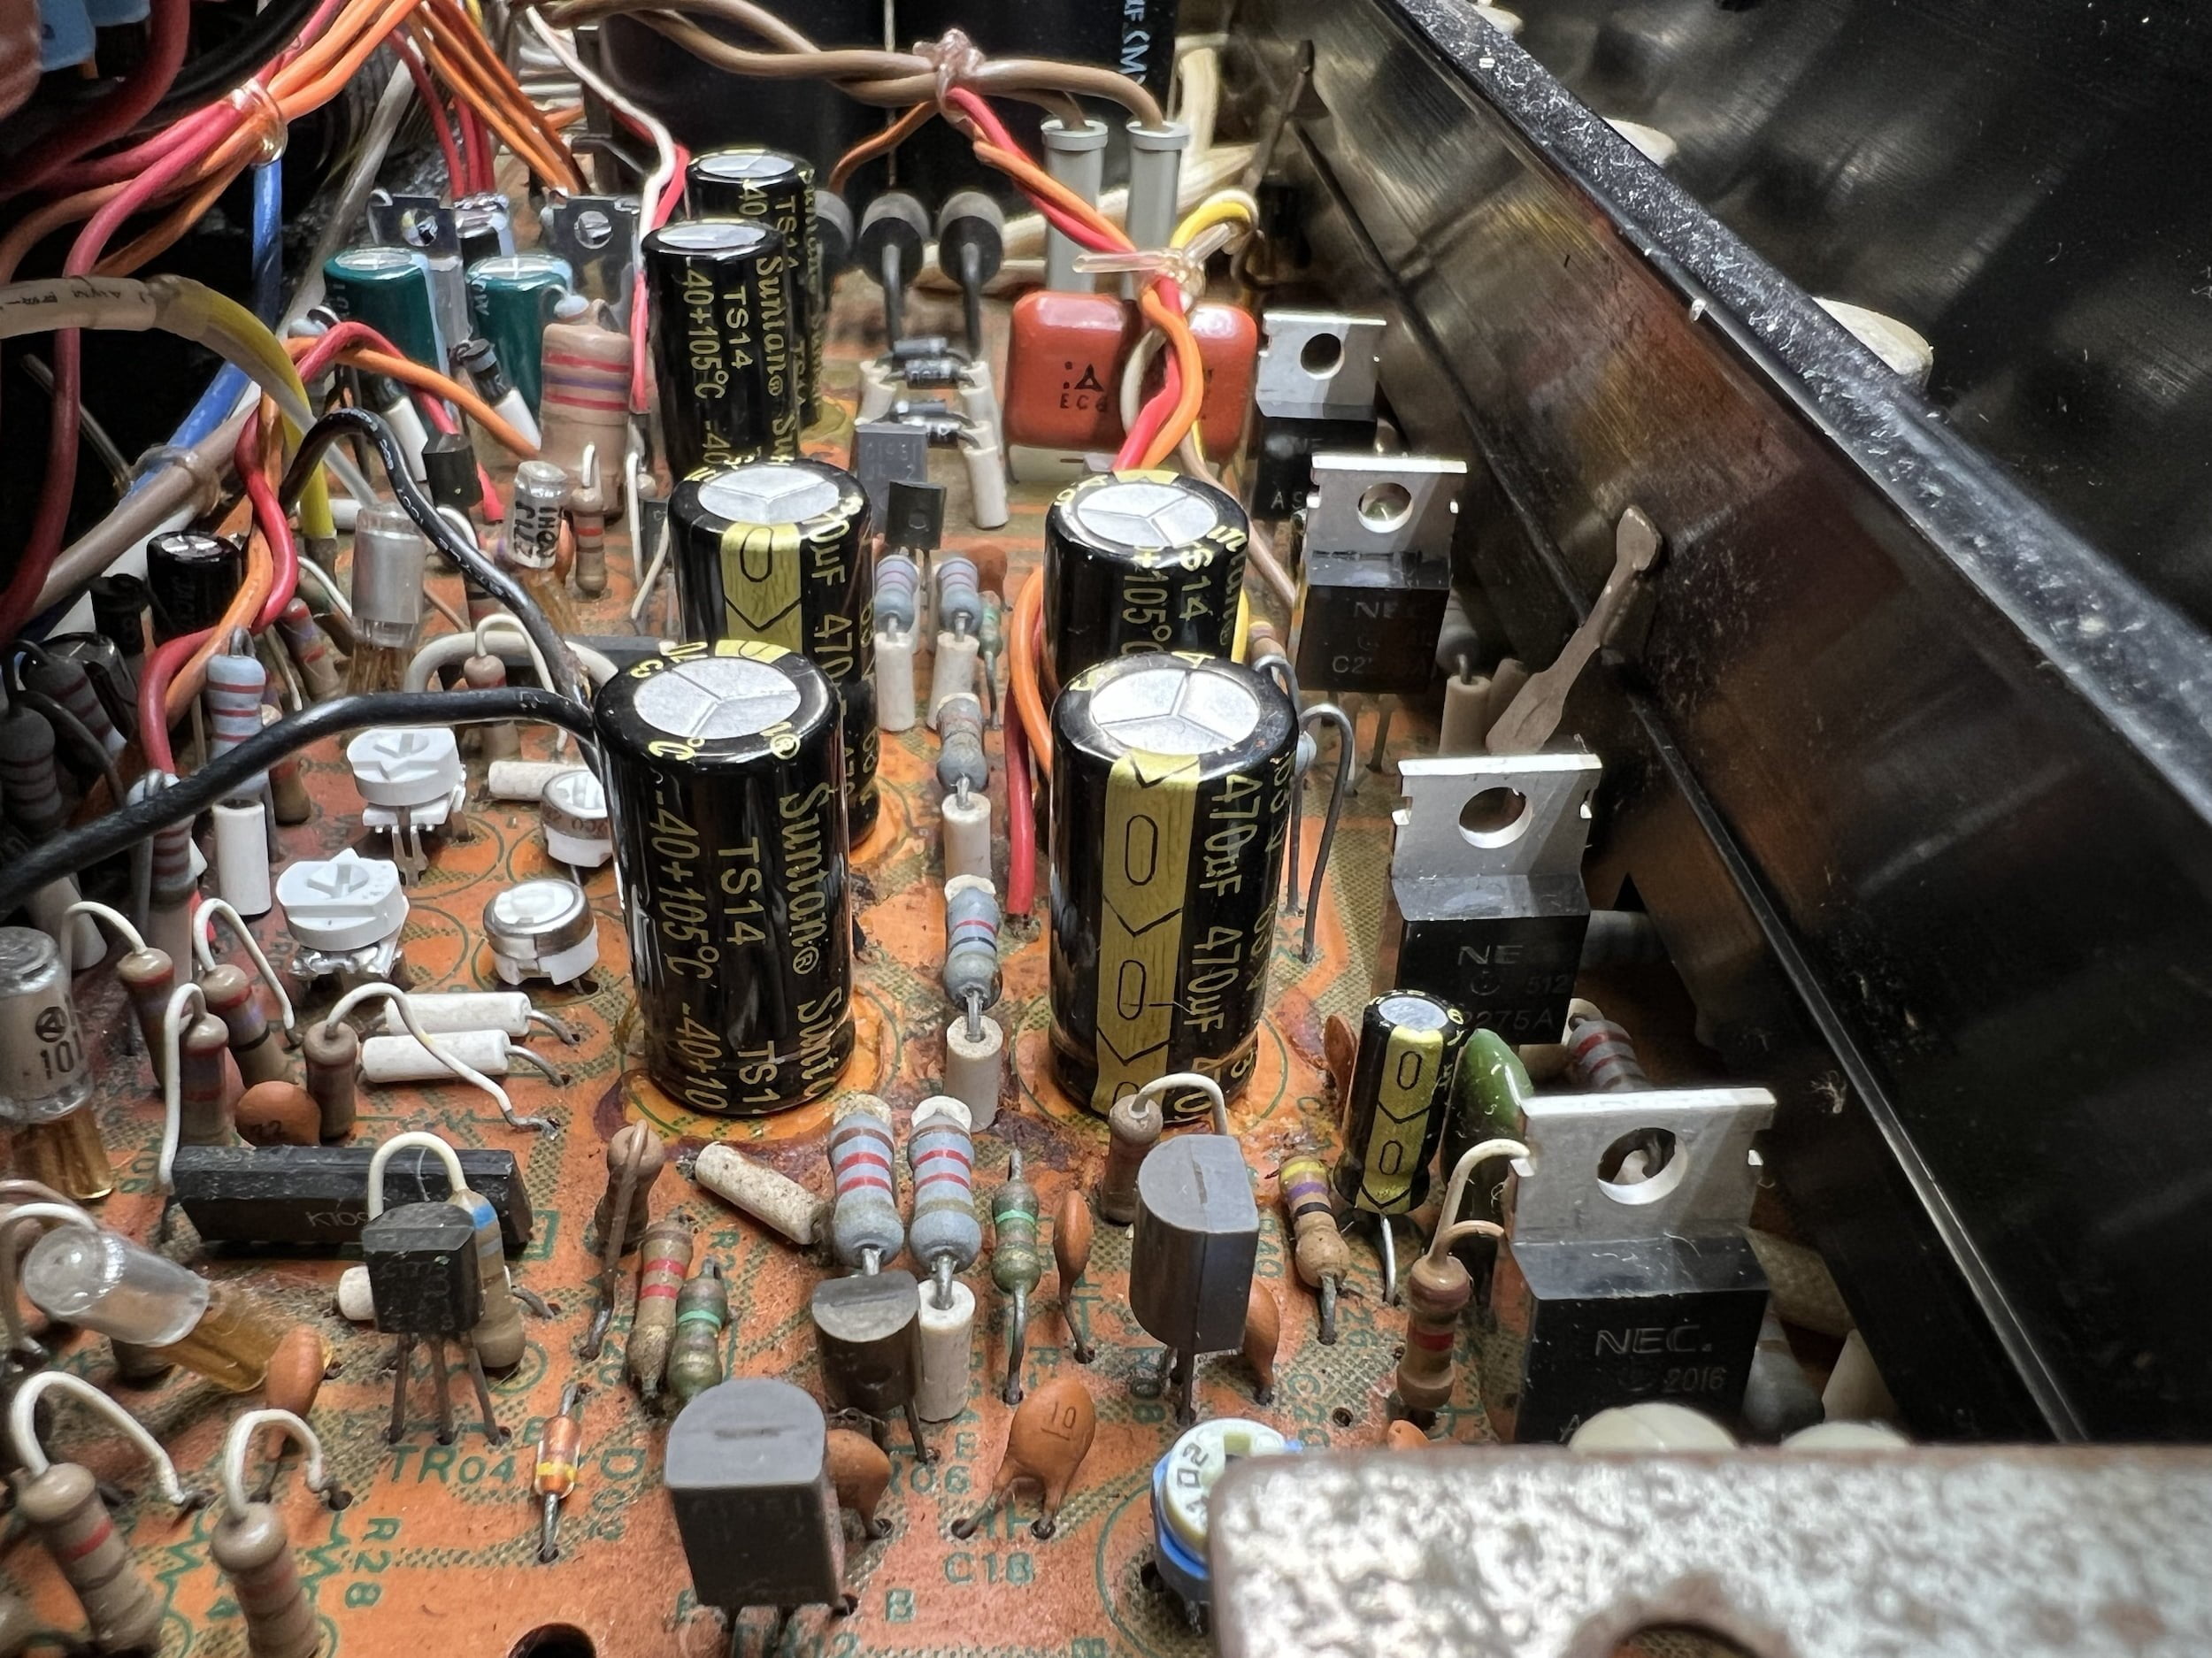
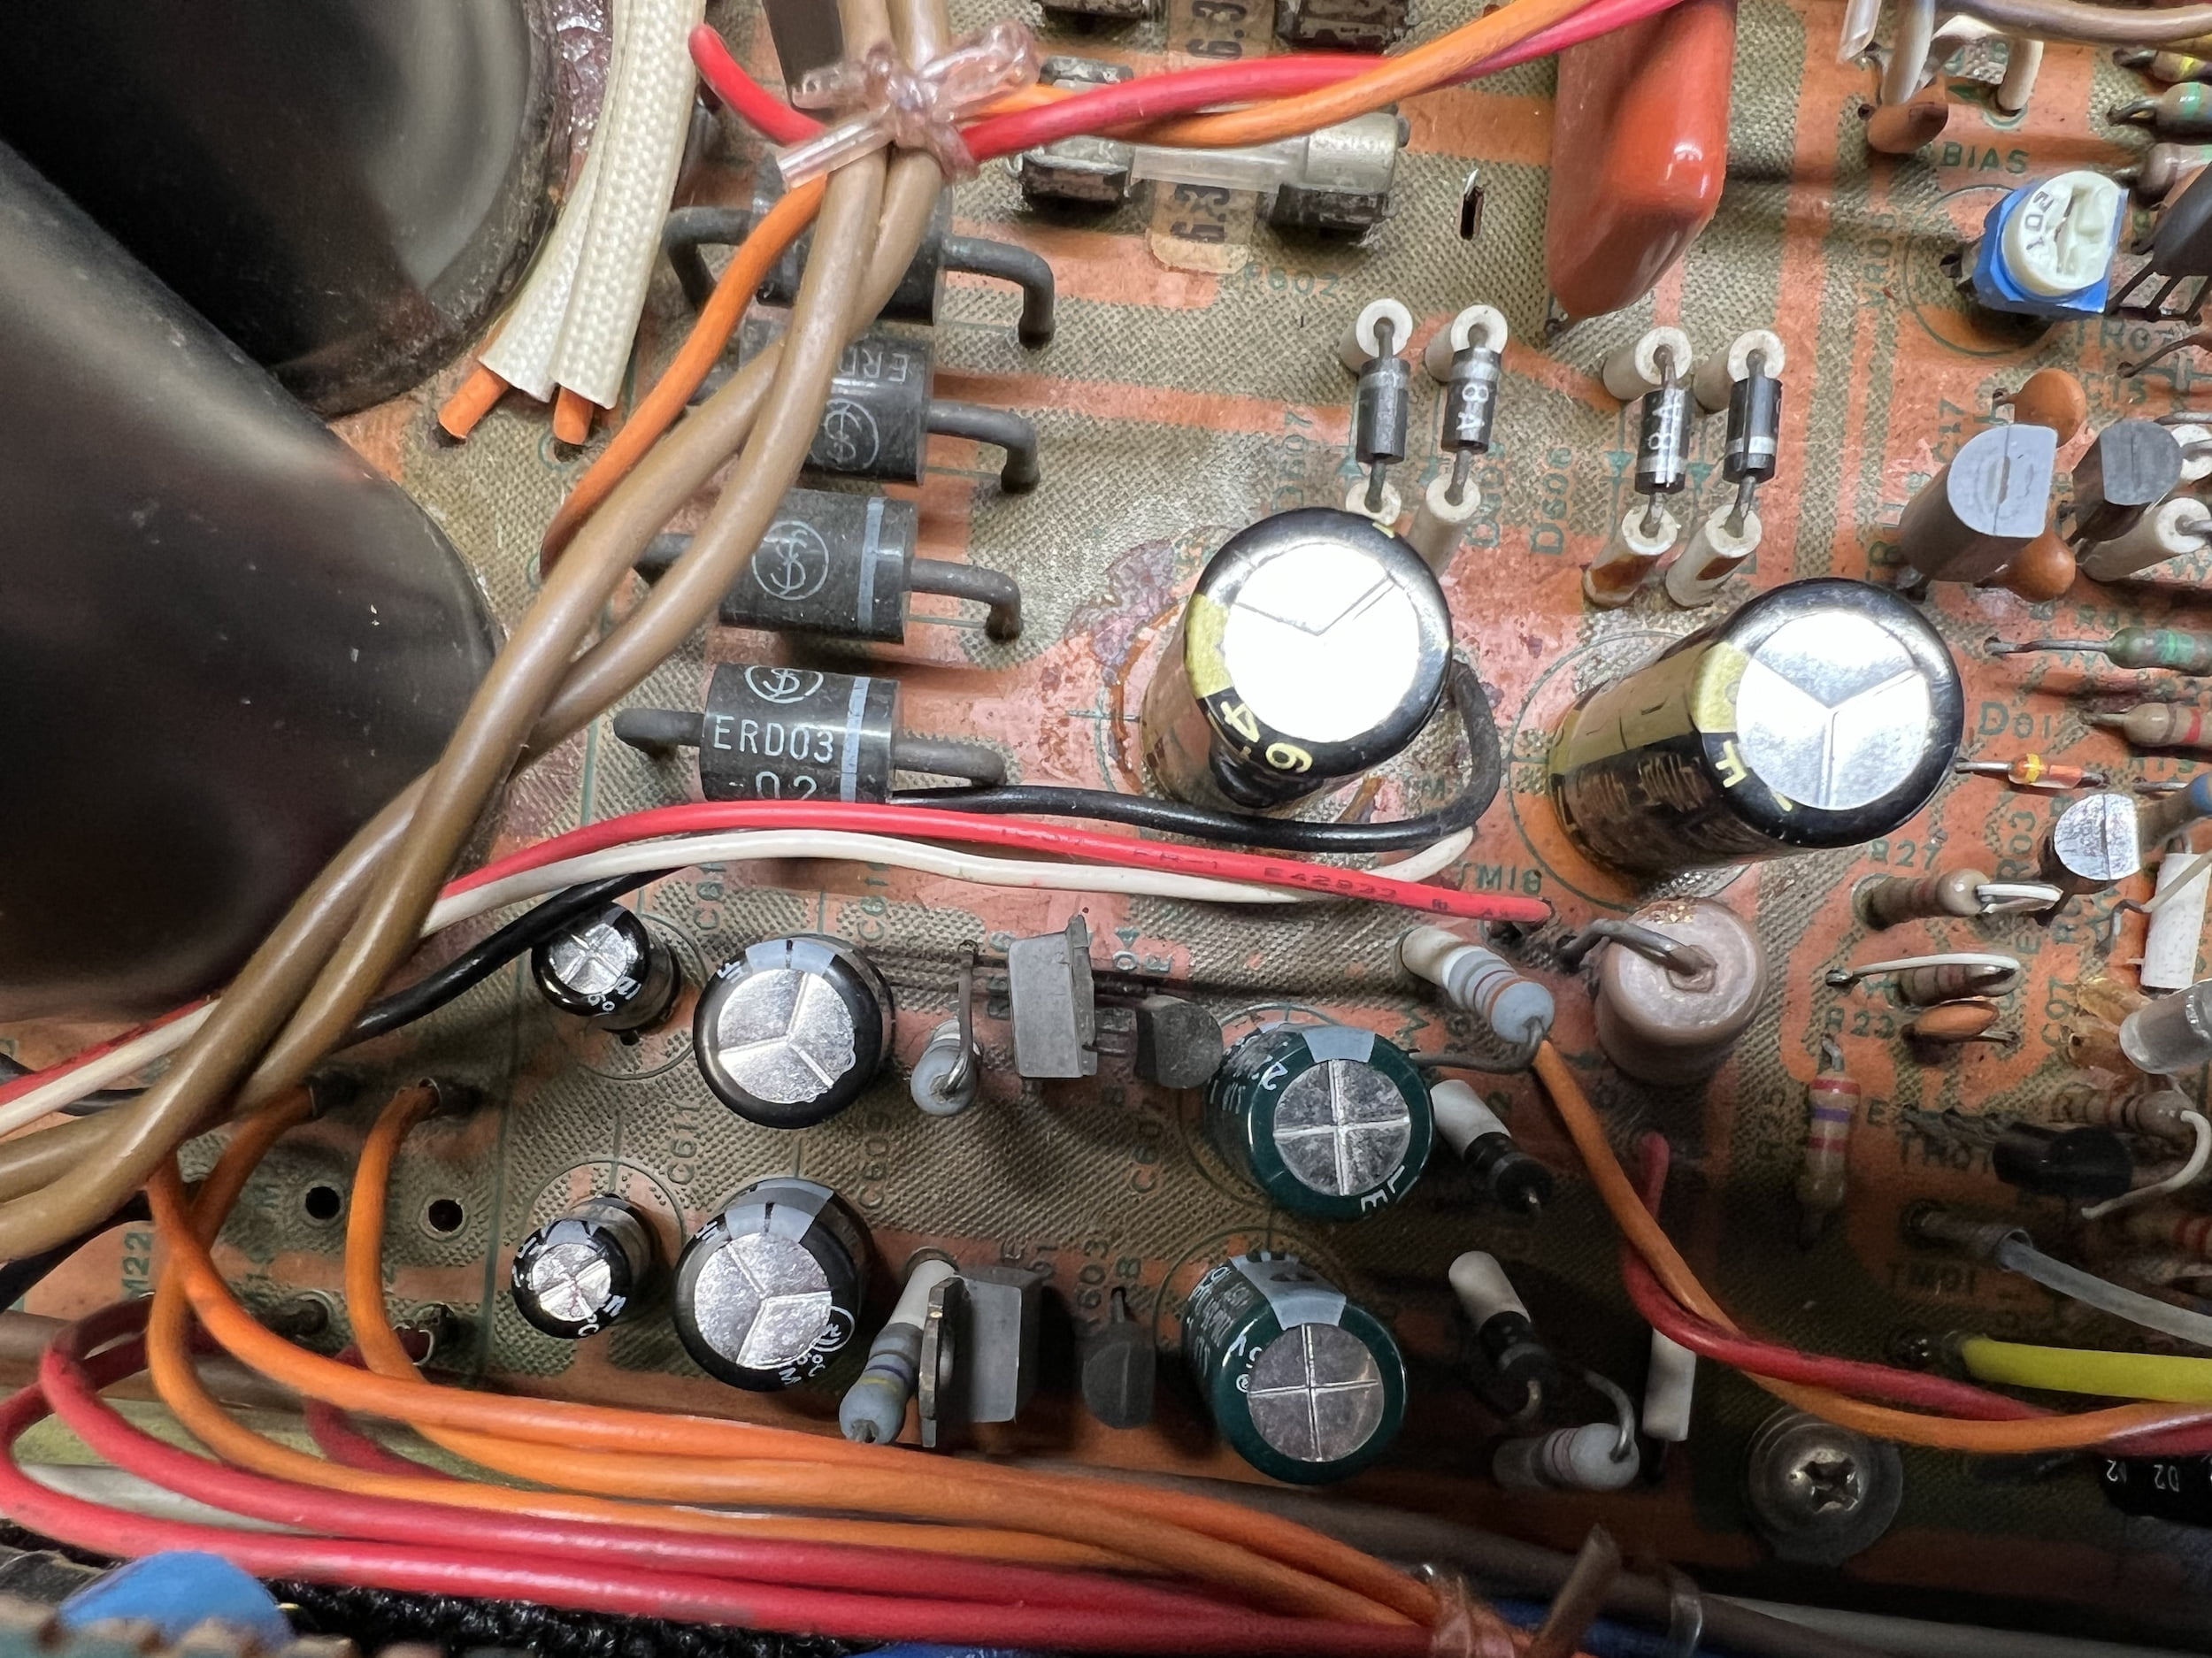
The amp went in for presumably the same issues she came to me for: unlistenable levels of distortion and DC offset that rendered the amplifier completely unusable. She was sent back with those same problems but minus all of her original high-quality capacitors and with a new set of crappy ‘Suntan’ brand caps, driver devices and trimmer potentiometers installed, at the owner’s expense.
That owner finally gave up on her after reading the diagnosis I’m about to show you and listed her for sale. The current owner, my customer, purchased her for next to nothing. The seller kindly suggested the amplifier be brought to me. Thank you to the previous owner.
What caught my attention, though, was the diagnosis provided by the previous repairer:
“The transformer related to the power section is on its way out” and “the JFET ICs need to be replaced.”
Previous repairer
This is nonsense, and while the customer might not understand what this means, any competent technician reading this will think: “Hang on a minute..!”
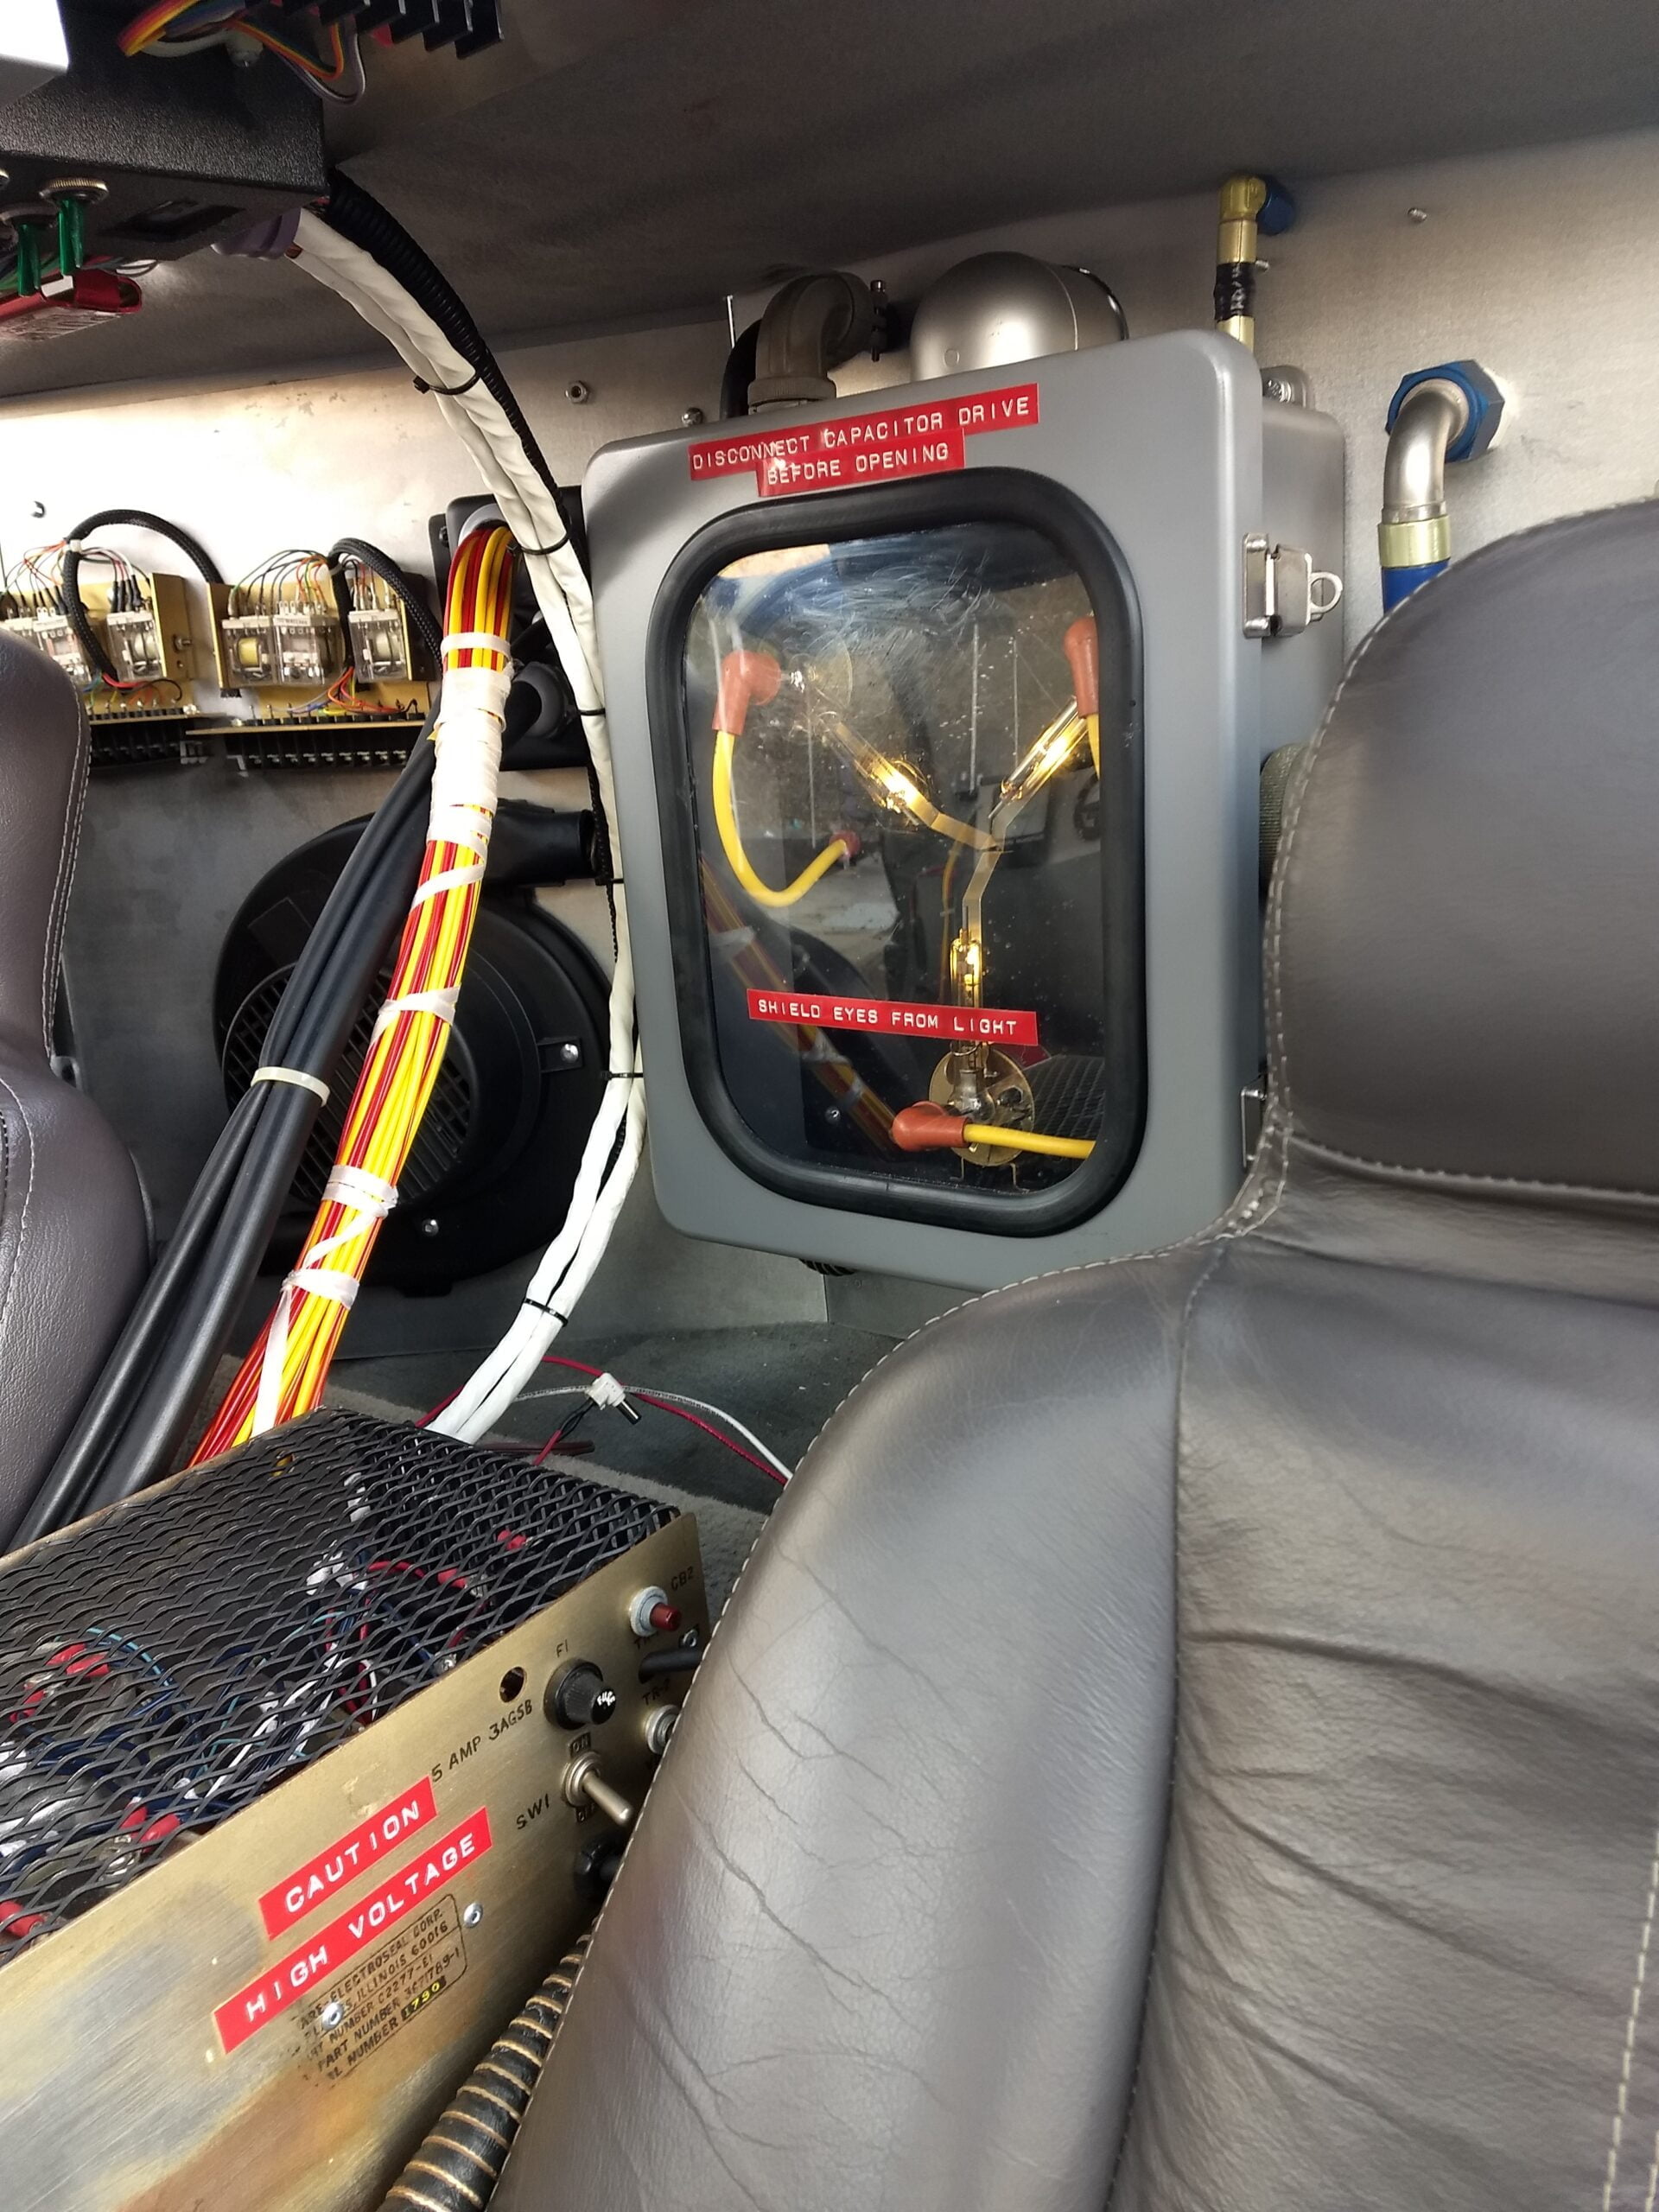
Unfortunately, that diagnosis is neither accurate nor even possible in this amplifier. He might just as well have said, “She needs a new flux capacitor!”
Nonsense Breakdown
Let’s dig into this because it’s unlikely anybody else is going to. What does “The transformer related to the power section is on its way out” mean, exactly? Is there a transformer party somewhere that this transformer needs to attend? Transformers – more than meets the eye!
There is only one transformer in this amplifier, not a separate one for “the power section”, and there is no “power section”. Why not just say the transformer is on the way out? Well, transformers either work or they don’t, so a transformer cannot be “on the way out” either. And what is “the power section” anyway, apart from a great potential band name, similar to another great band name?!
Regarding the “JFET ICs”, there are no integrated circuits or ICs in an AU-317; it’s one of the lovely things about the design. The service manual refers to the input differential JFET pairs as ICs, but that’s a translation glitch; these are dual JFET packages, not integrated circuits. The JEFT packages work perfectly, a fact confirmed by a quick functional test of the amplifier.
Even if these packages did “need to be replaced” (they do not), the replacement is straightforward. Why not test them and determine whether they need to be replaced? And why replace all the trimmer potentiometers and driver devices when these were perfectly good and original and did not need to be replaced?
Ethics & Integrity
This diagnosis was given because the person giving it couldn’t fix the amp but felt they needed to tell the owner something useful, but couldn’t, so they made it up. That’s not good enough, and time and money-wasting practices like this have no place in this industry.
Let me say this: we have all faced repairs we couldn’t complete, because time or a customer’s budget ran out, a cause was elusive, or because some mission-critical part couldn’t be sourced. This work can be challenging, but sending equipment back with false, misleading or made-up fault descriptions is unethical and quite simply unacceptable.
Sending equipment back unrepaired, having done one’s best within a certain time frame, is occasionally part of tackling complex technical repair work. Repairs may not be possible within an hour or two, and that’s OK, as long as this is carefully explained and options are provided. It’s part of working with complex equipment.
It happened to me recently with a Marantz 6300 turntable. In that case, I was not able to effect repair within the first hour, which I explained to the customer. He misunderstood and thought that meant I could not repair the deck, period, so I clarified that it only meant I could not repair it within the hour I’d already spent. There is a critical difference.
For anyone still wondering why any of this matters, I see two reasons:
- This amplifier was someone’s pride and joy, and they no longer own it because of what happened here
- Unethical behaviour and unnecessary work are commonplace, harming equipment and the industry, and I believe people need to know about it.
Yes, I’m a stickler for doing things properly, but many owners are too. I’m not for a moment suggesting that I’m the only person doing sound technical work on equipment like this, either, but those of us who do are in a minority, and it’s helpful if equipment owners know who those businesses are.
The business responsible has since changed its name again and is still doing work like this. My challenge to this business and others like it is this:
Rather than copying my style and content, which is easy, how about tackling the important stuff, like technical skill, ethics and professionalism? And how about showing some original thinking and creating your own style and niche? More honesty and integrity would go a long way in this industry.
Service & Repair
OK, with that out of the way, let’s continue!
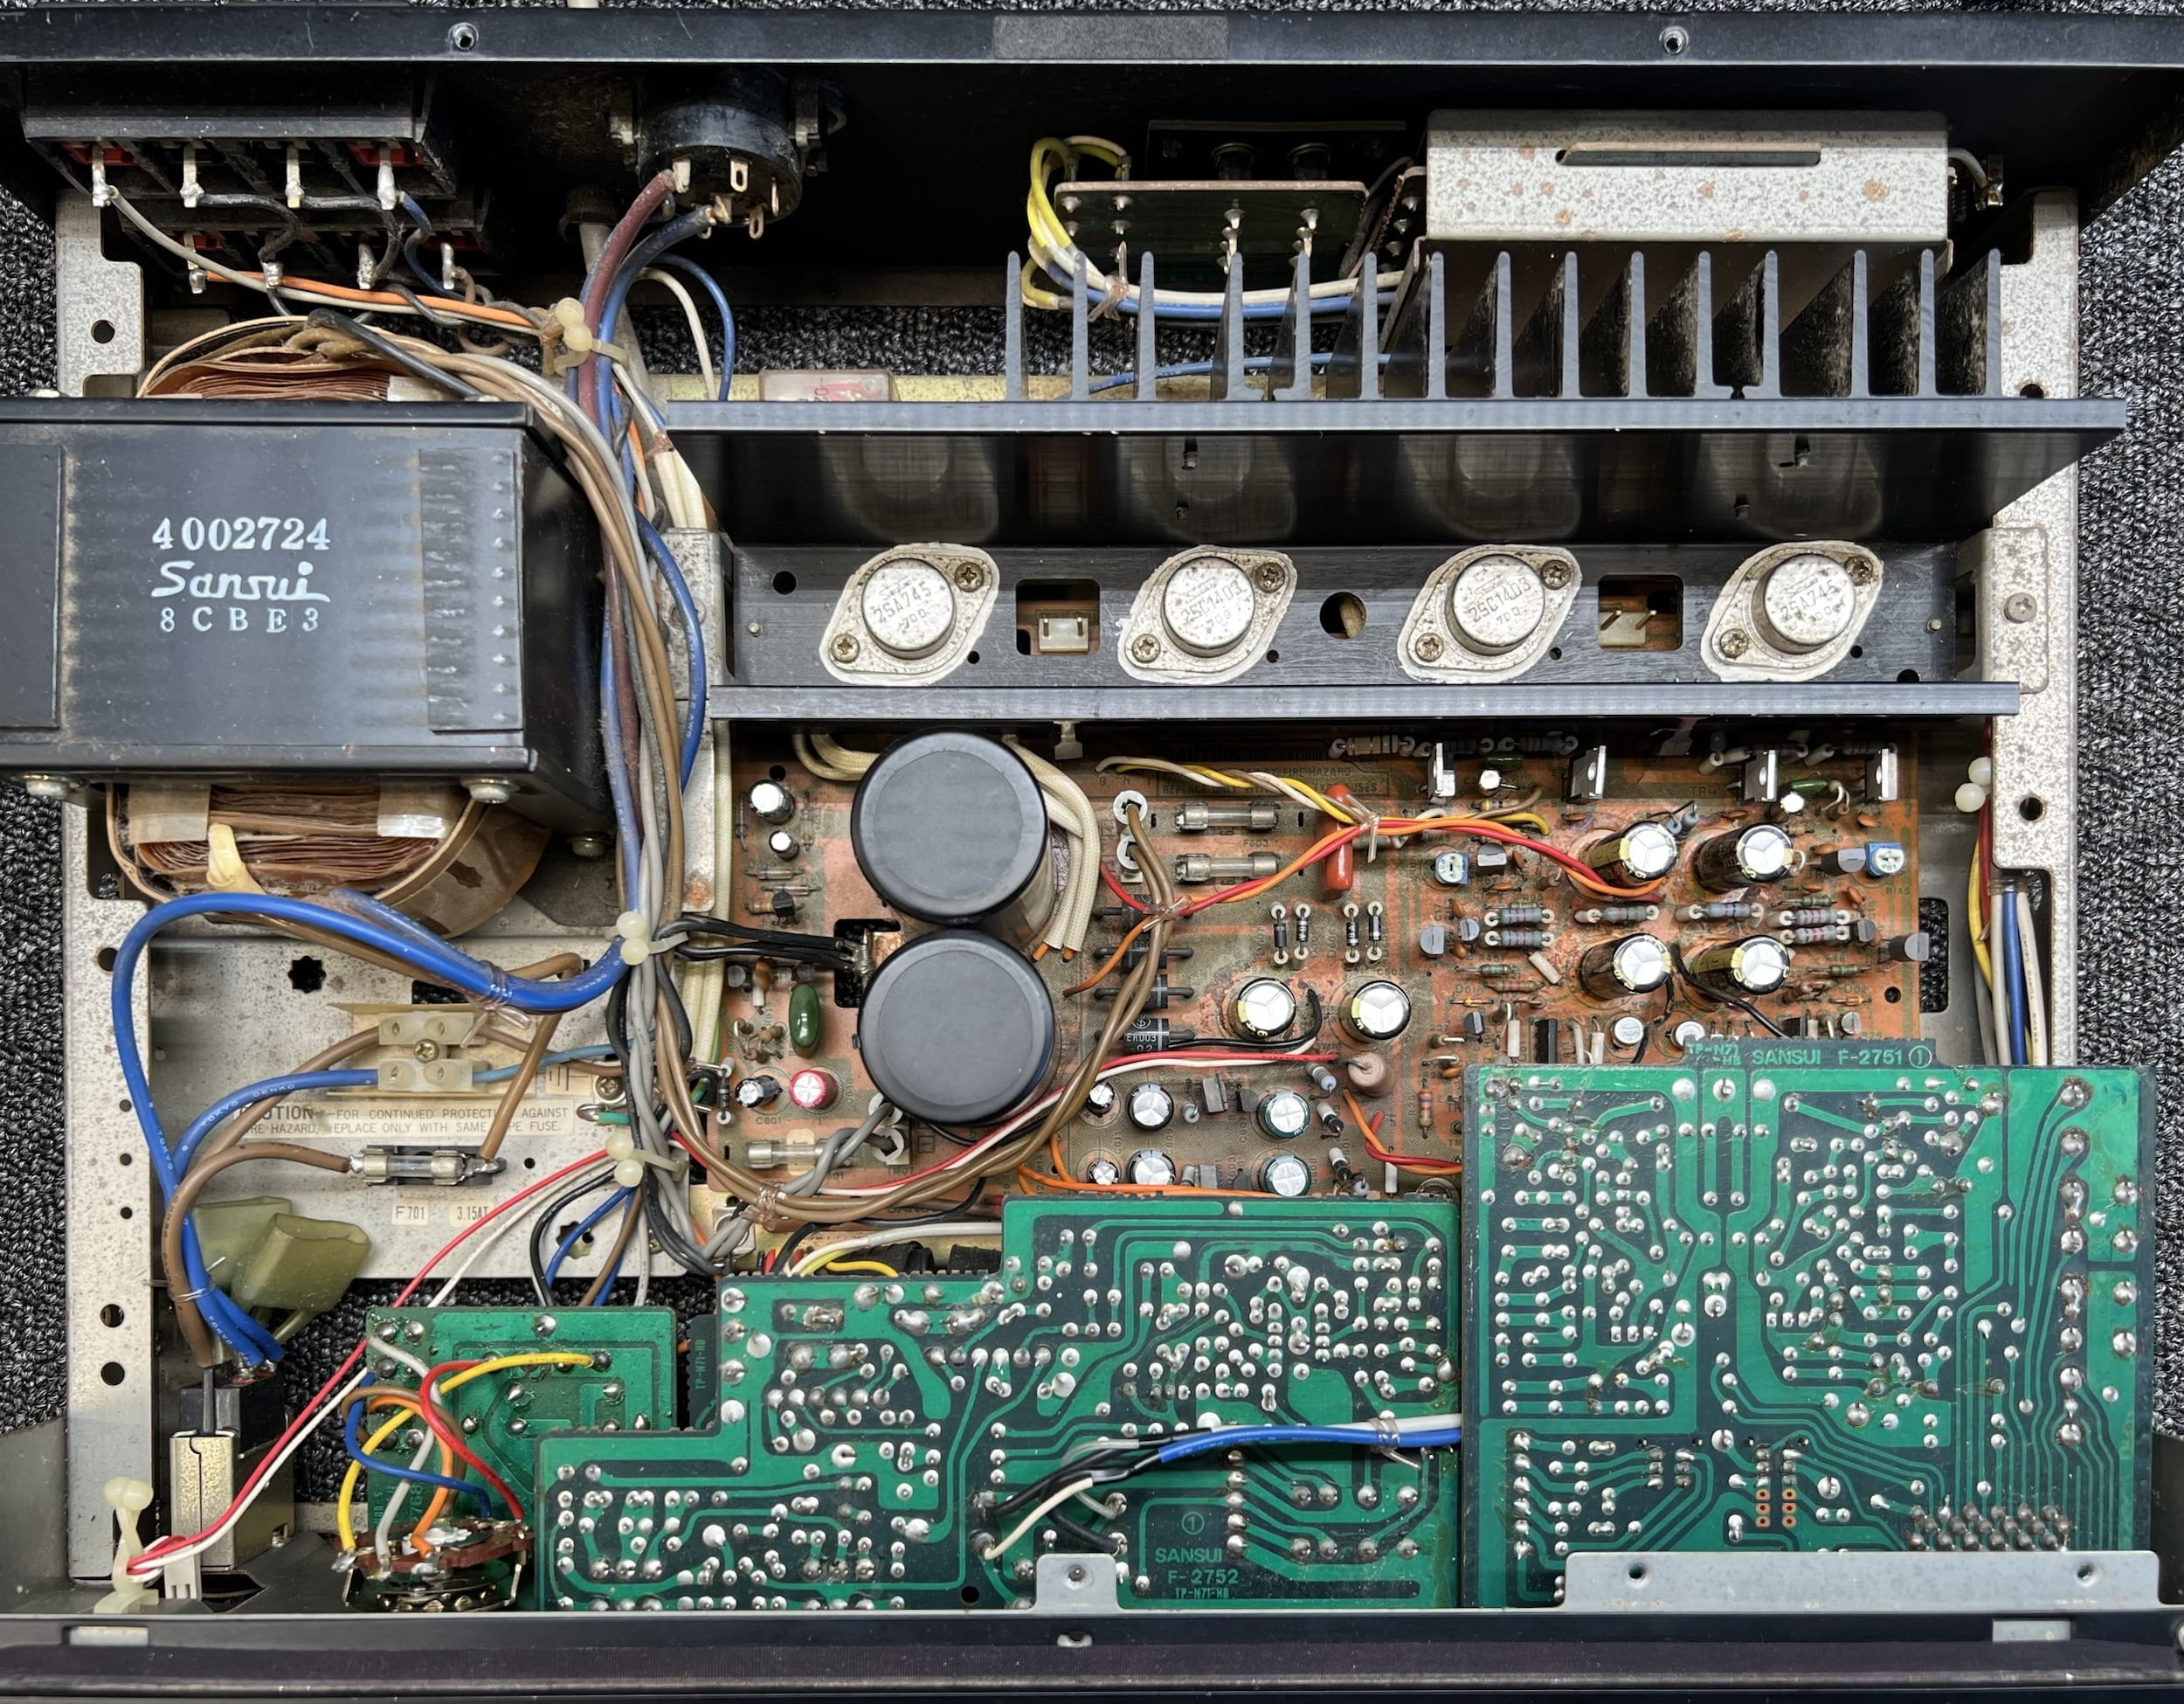
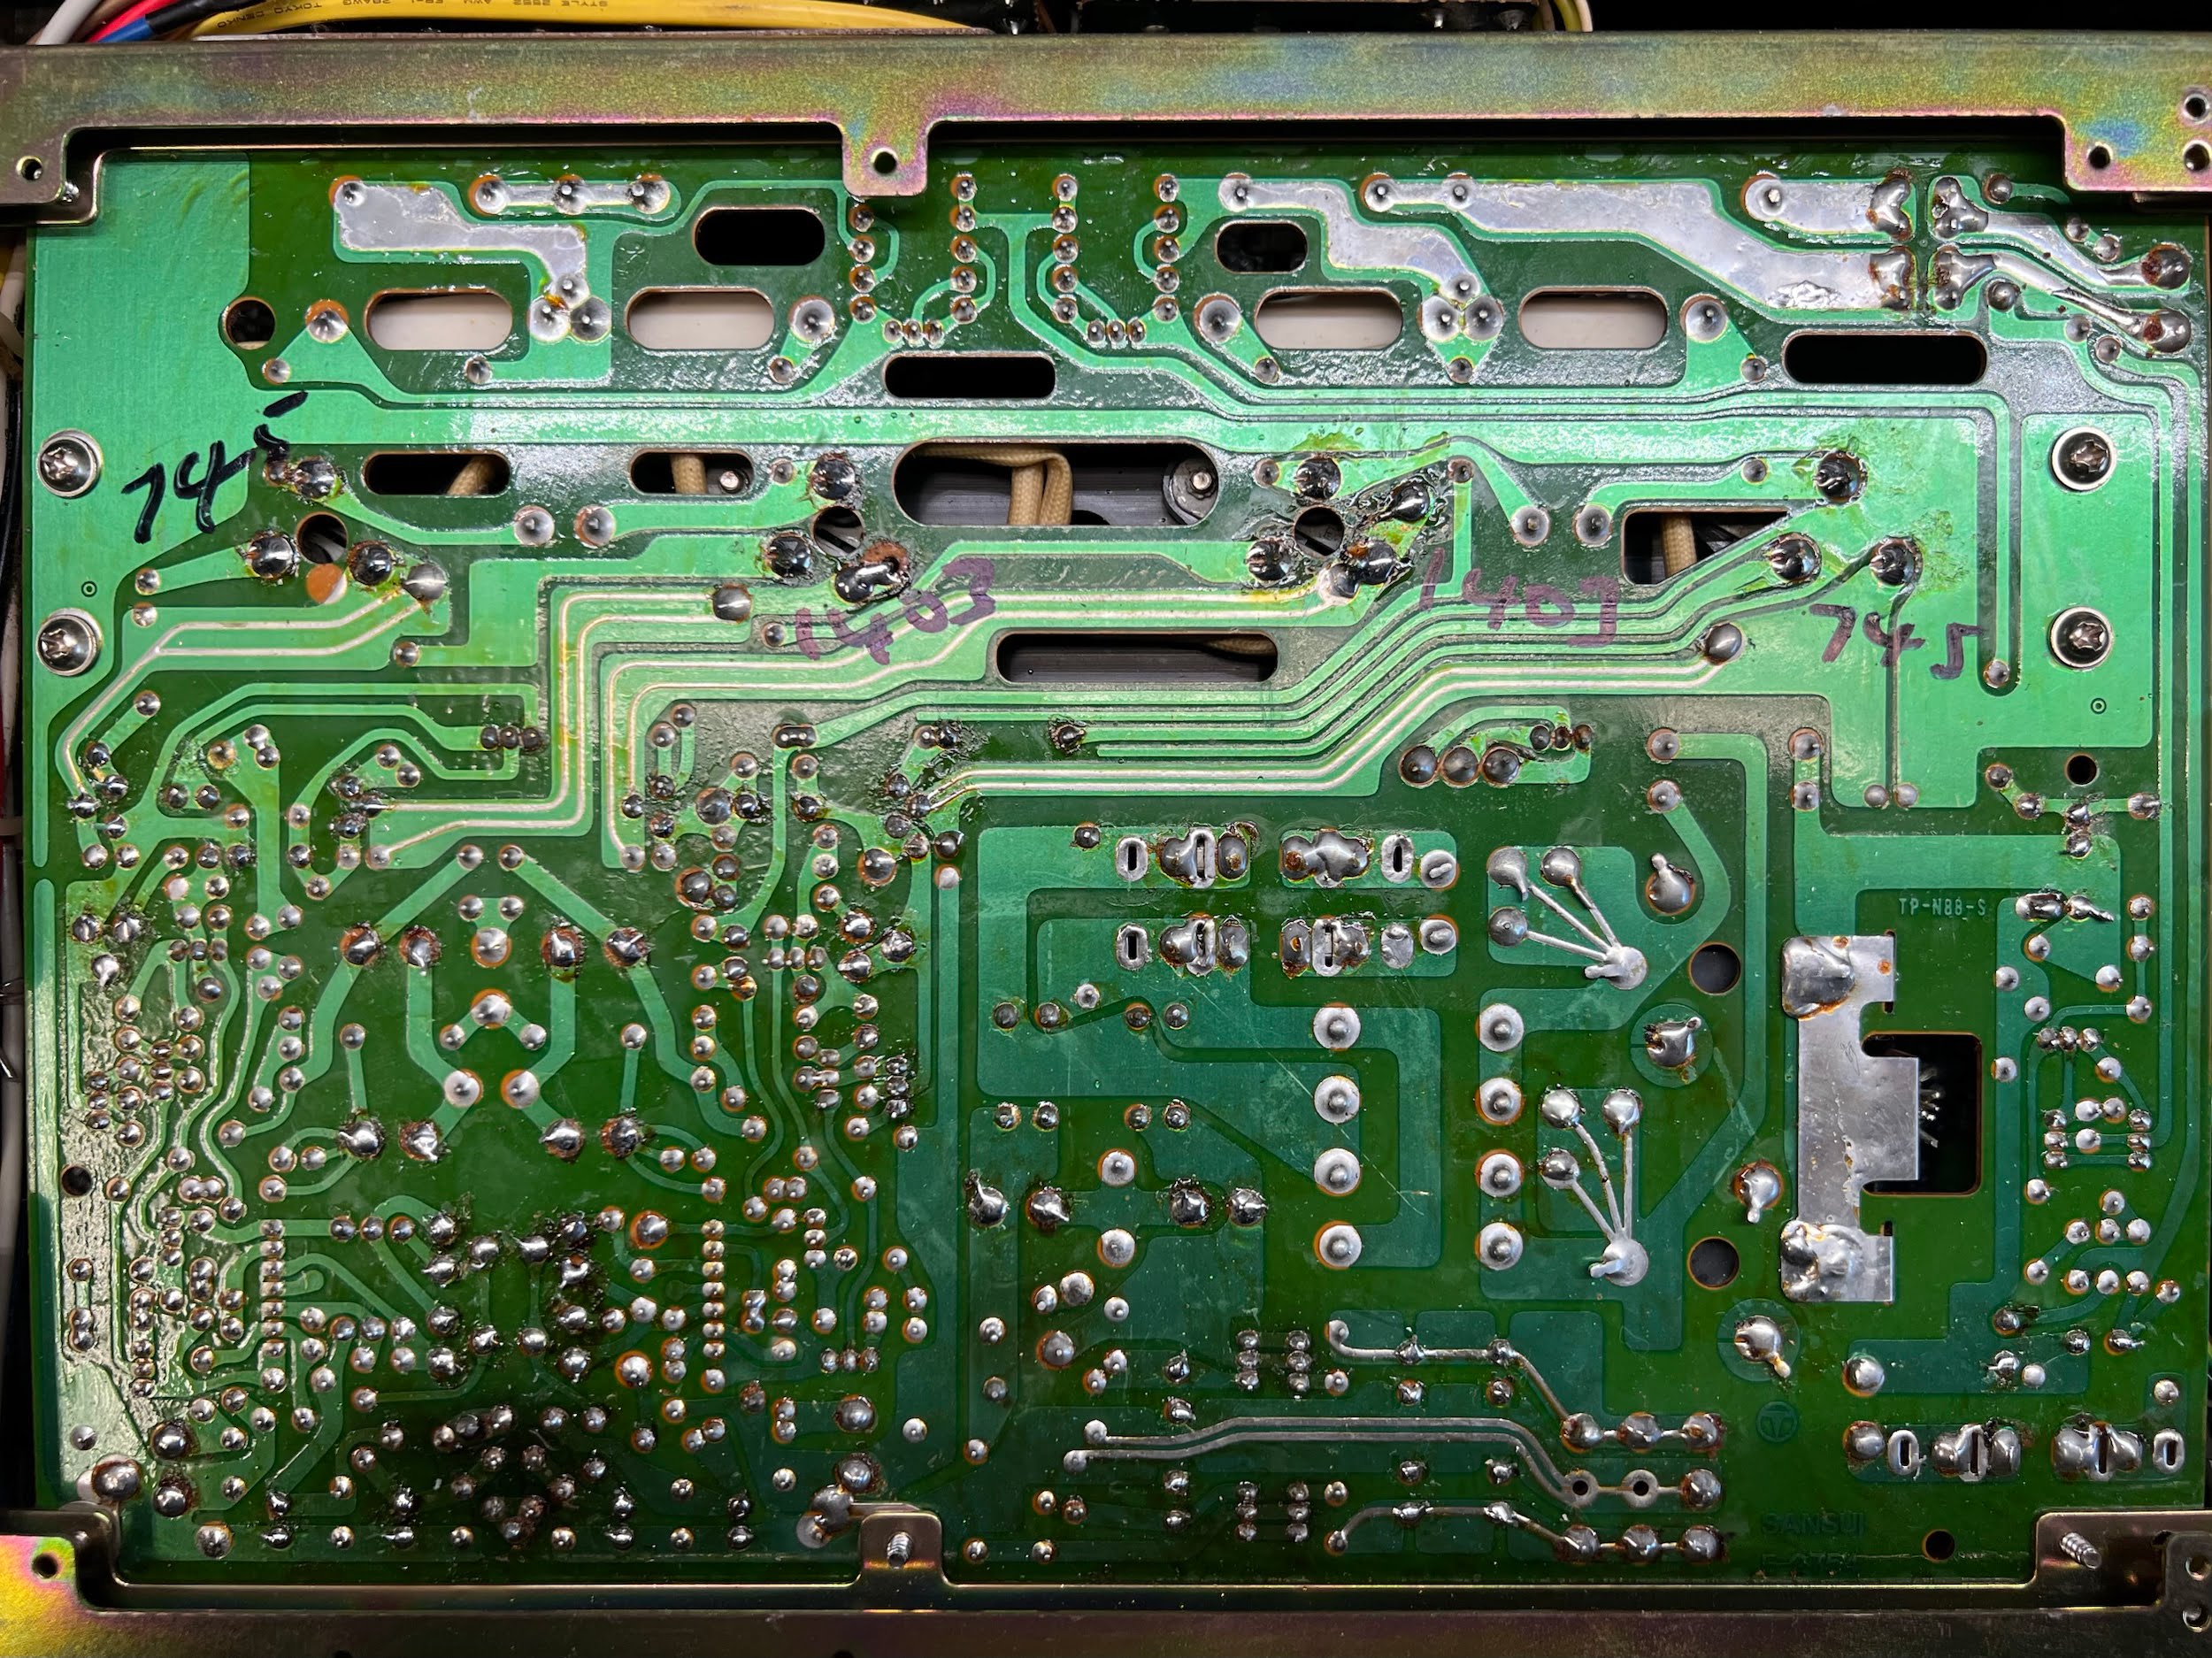
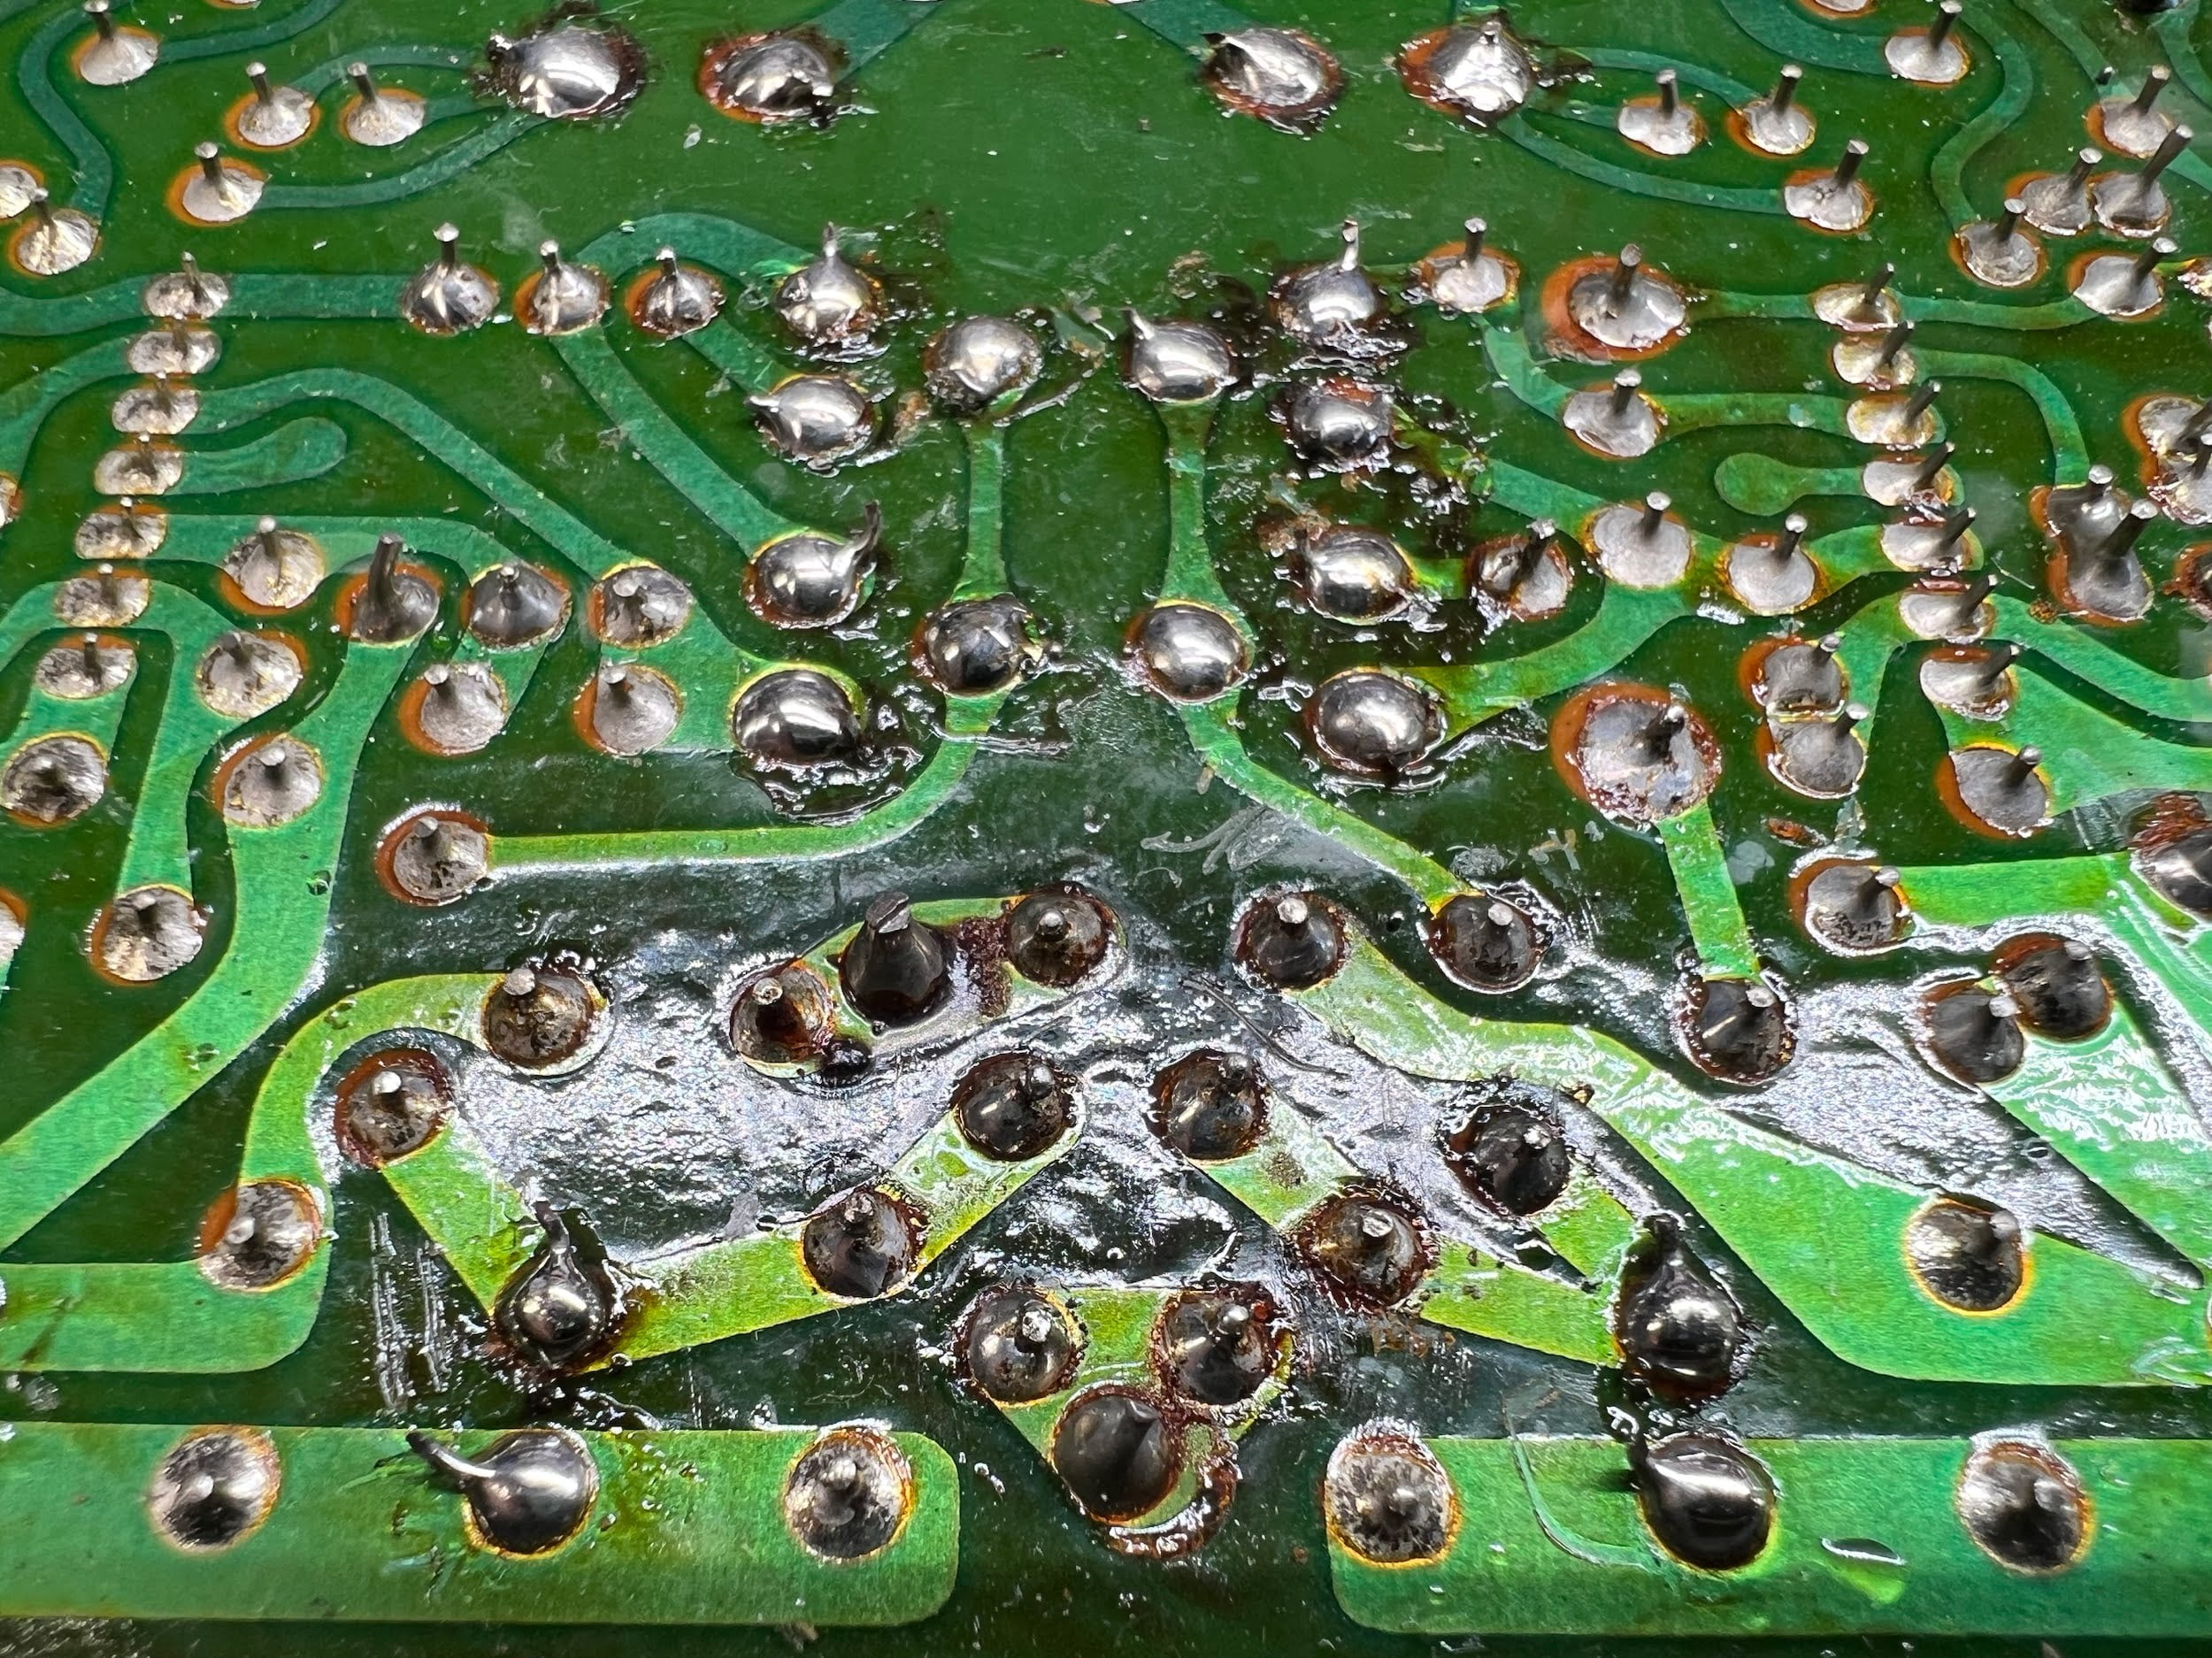
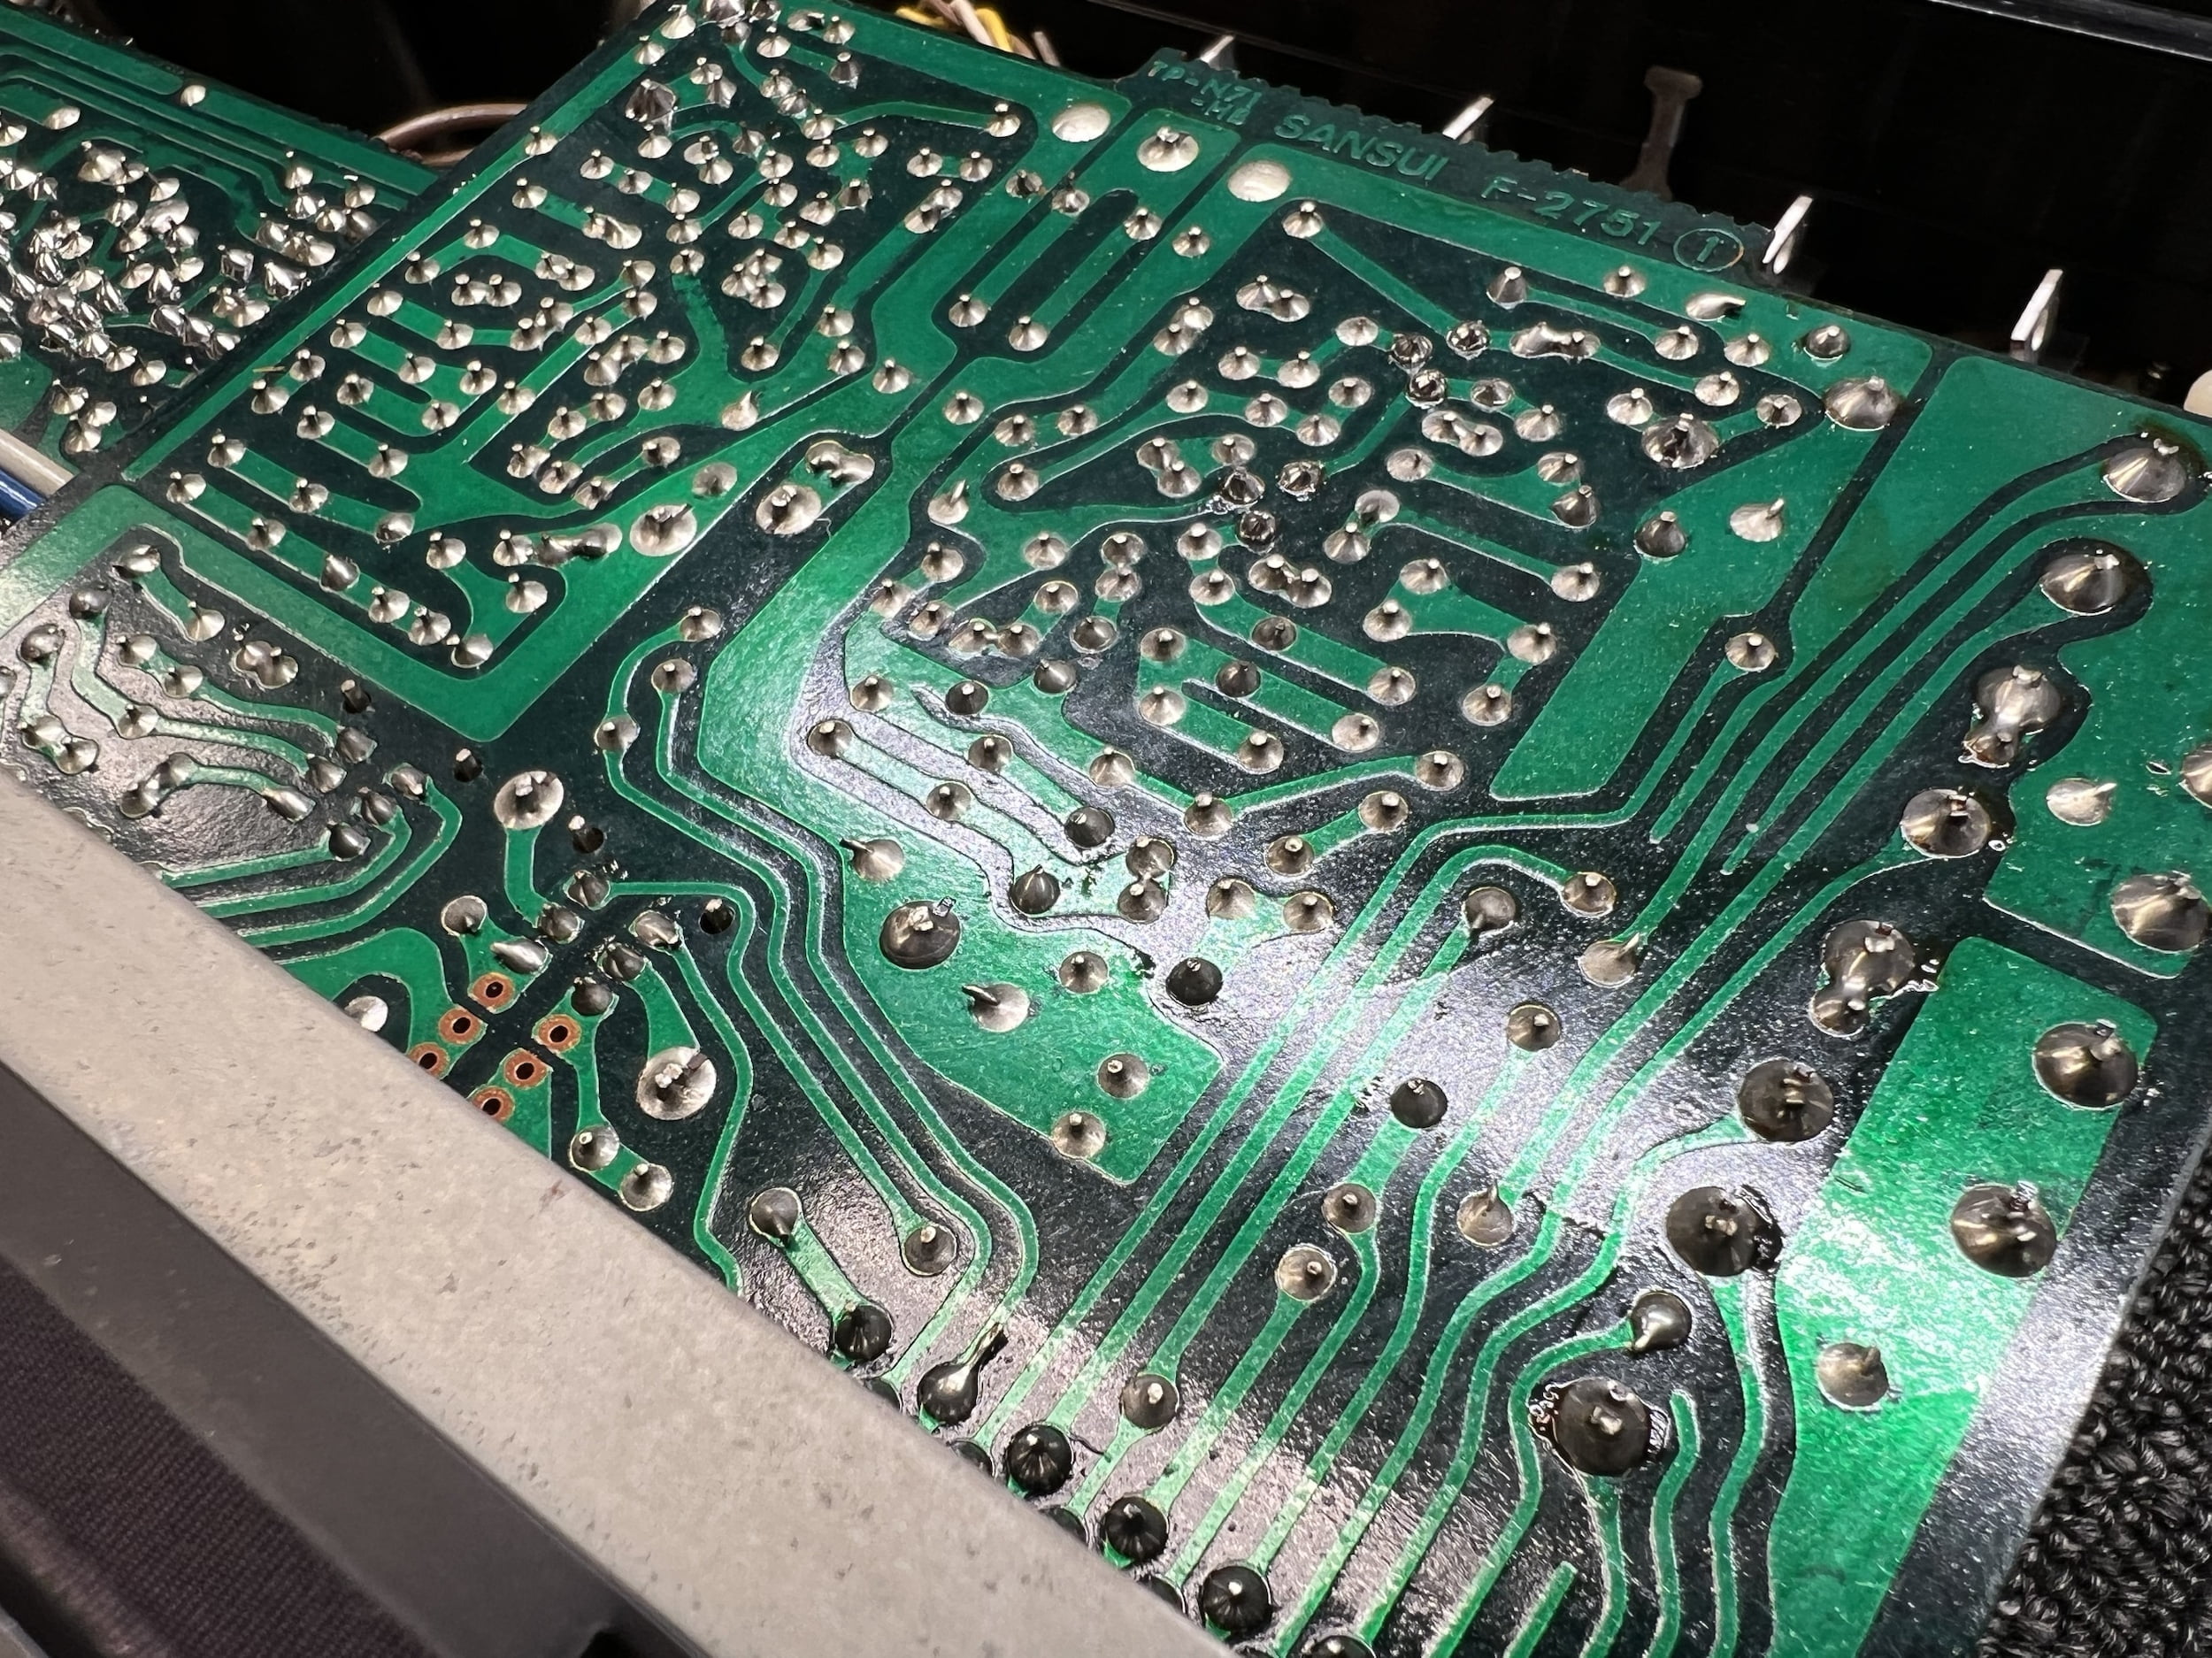
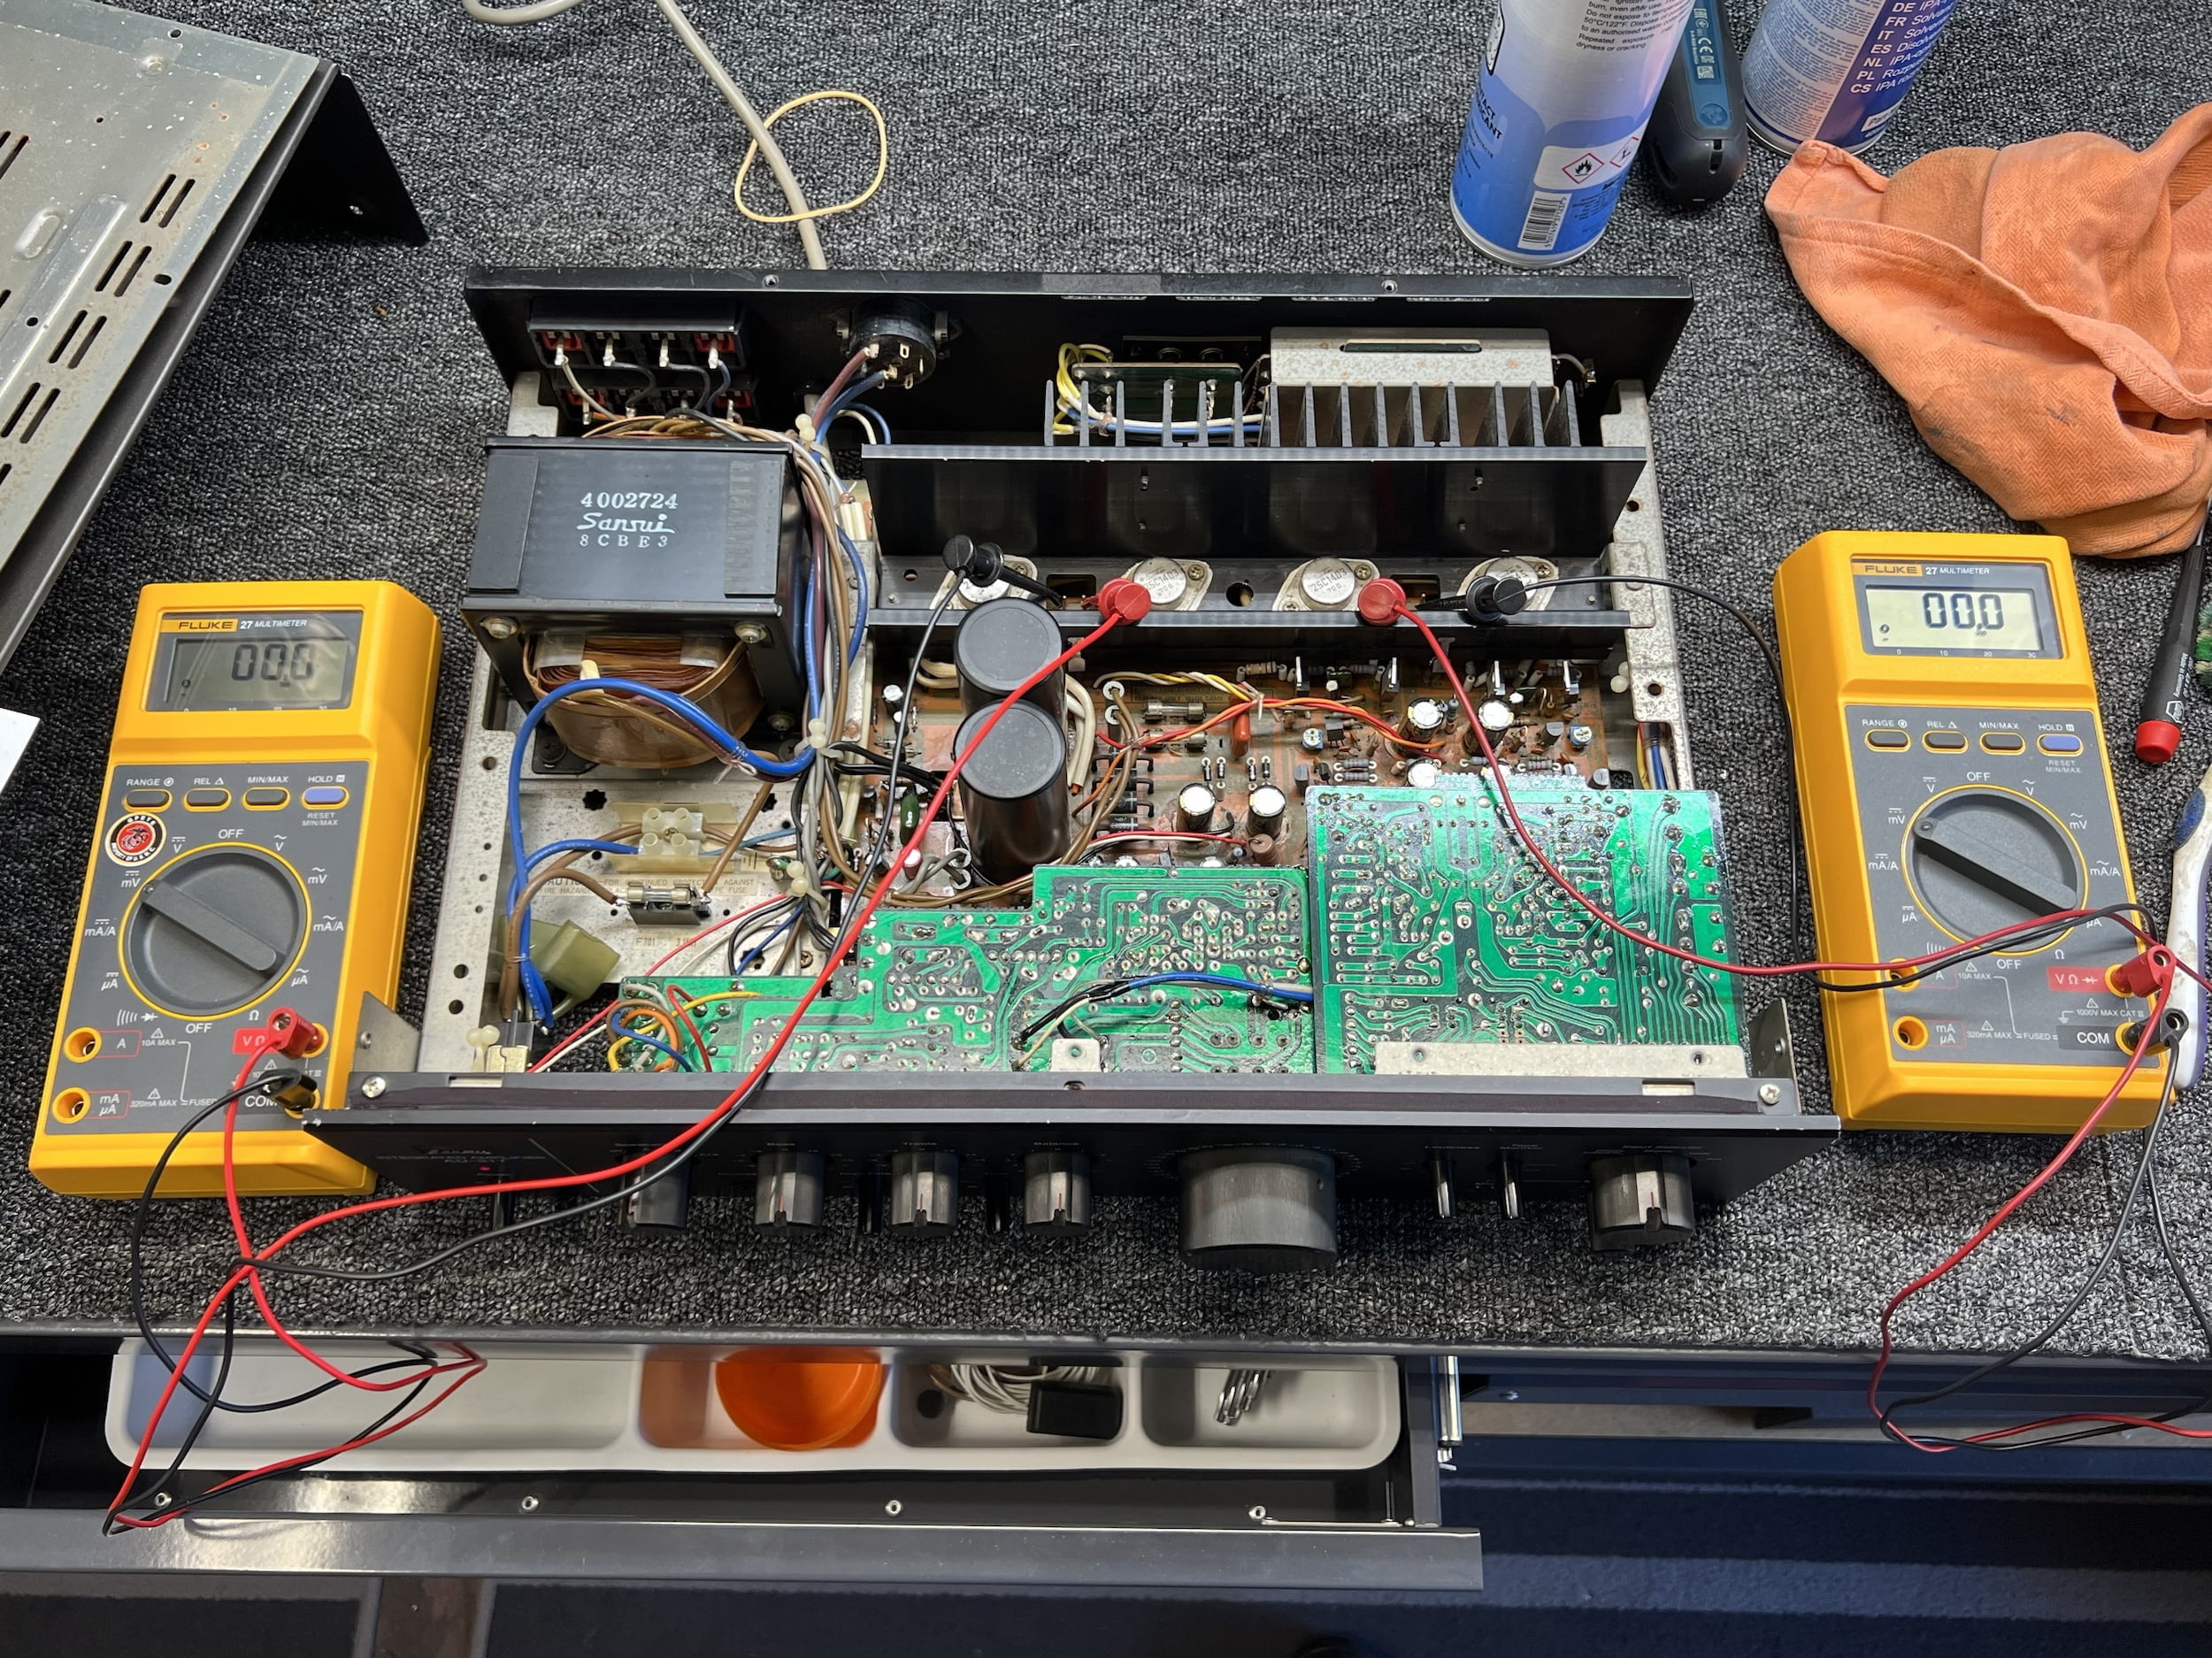
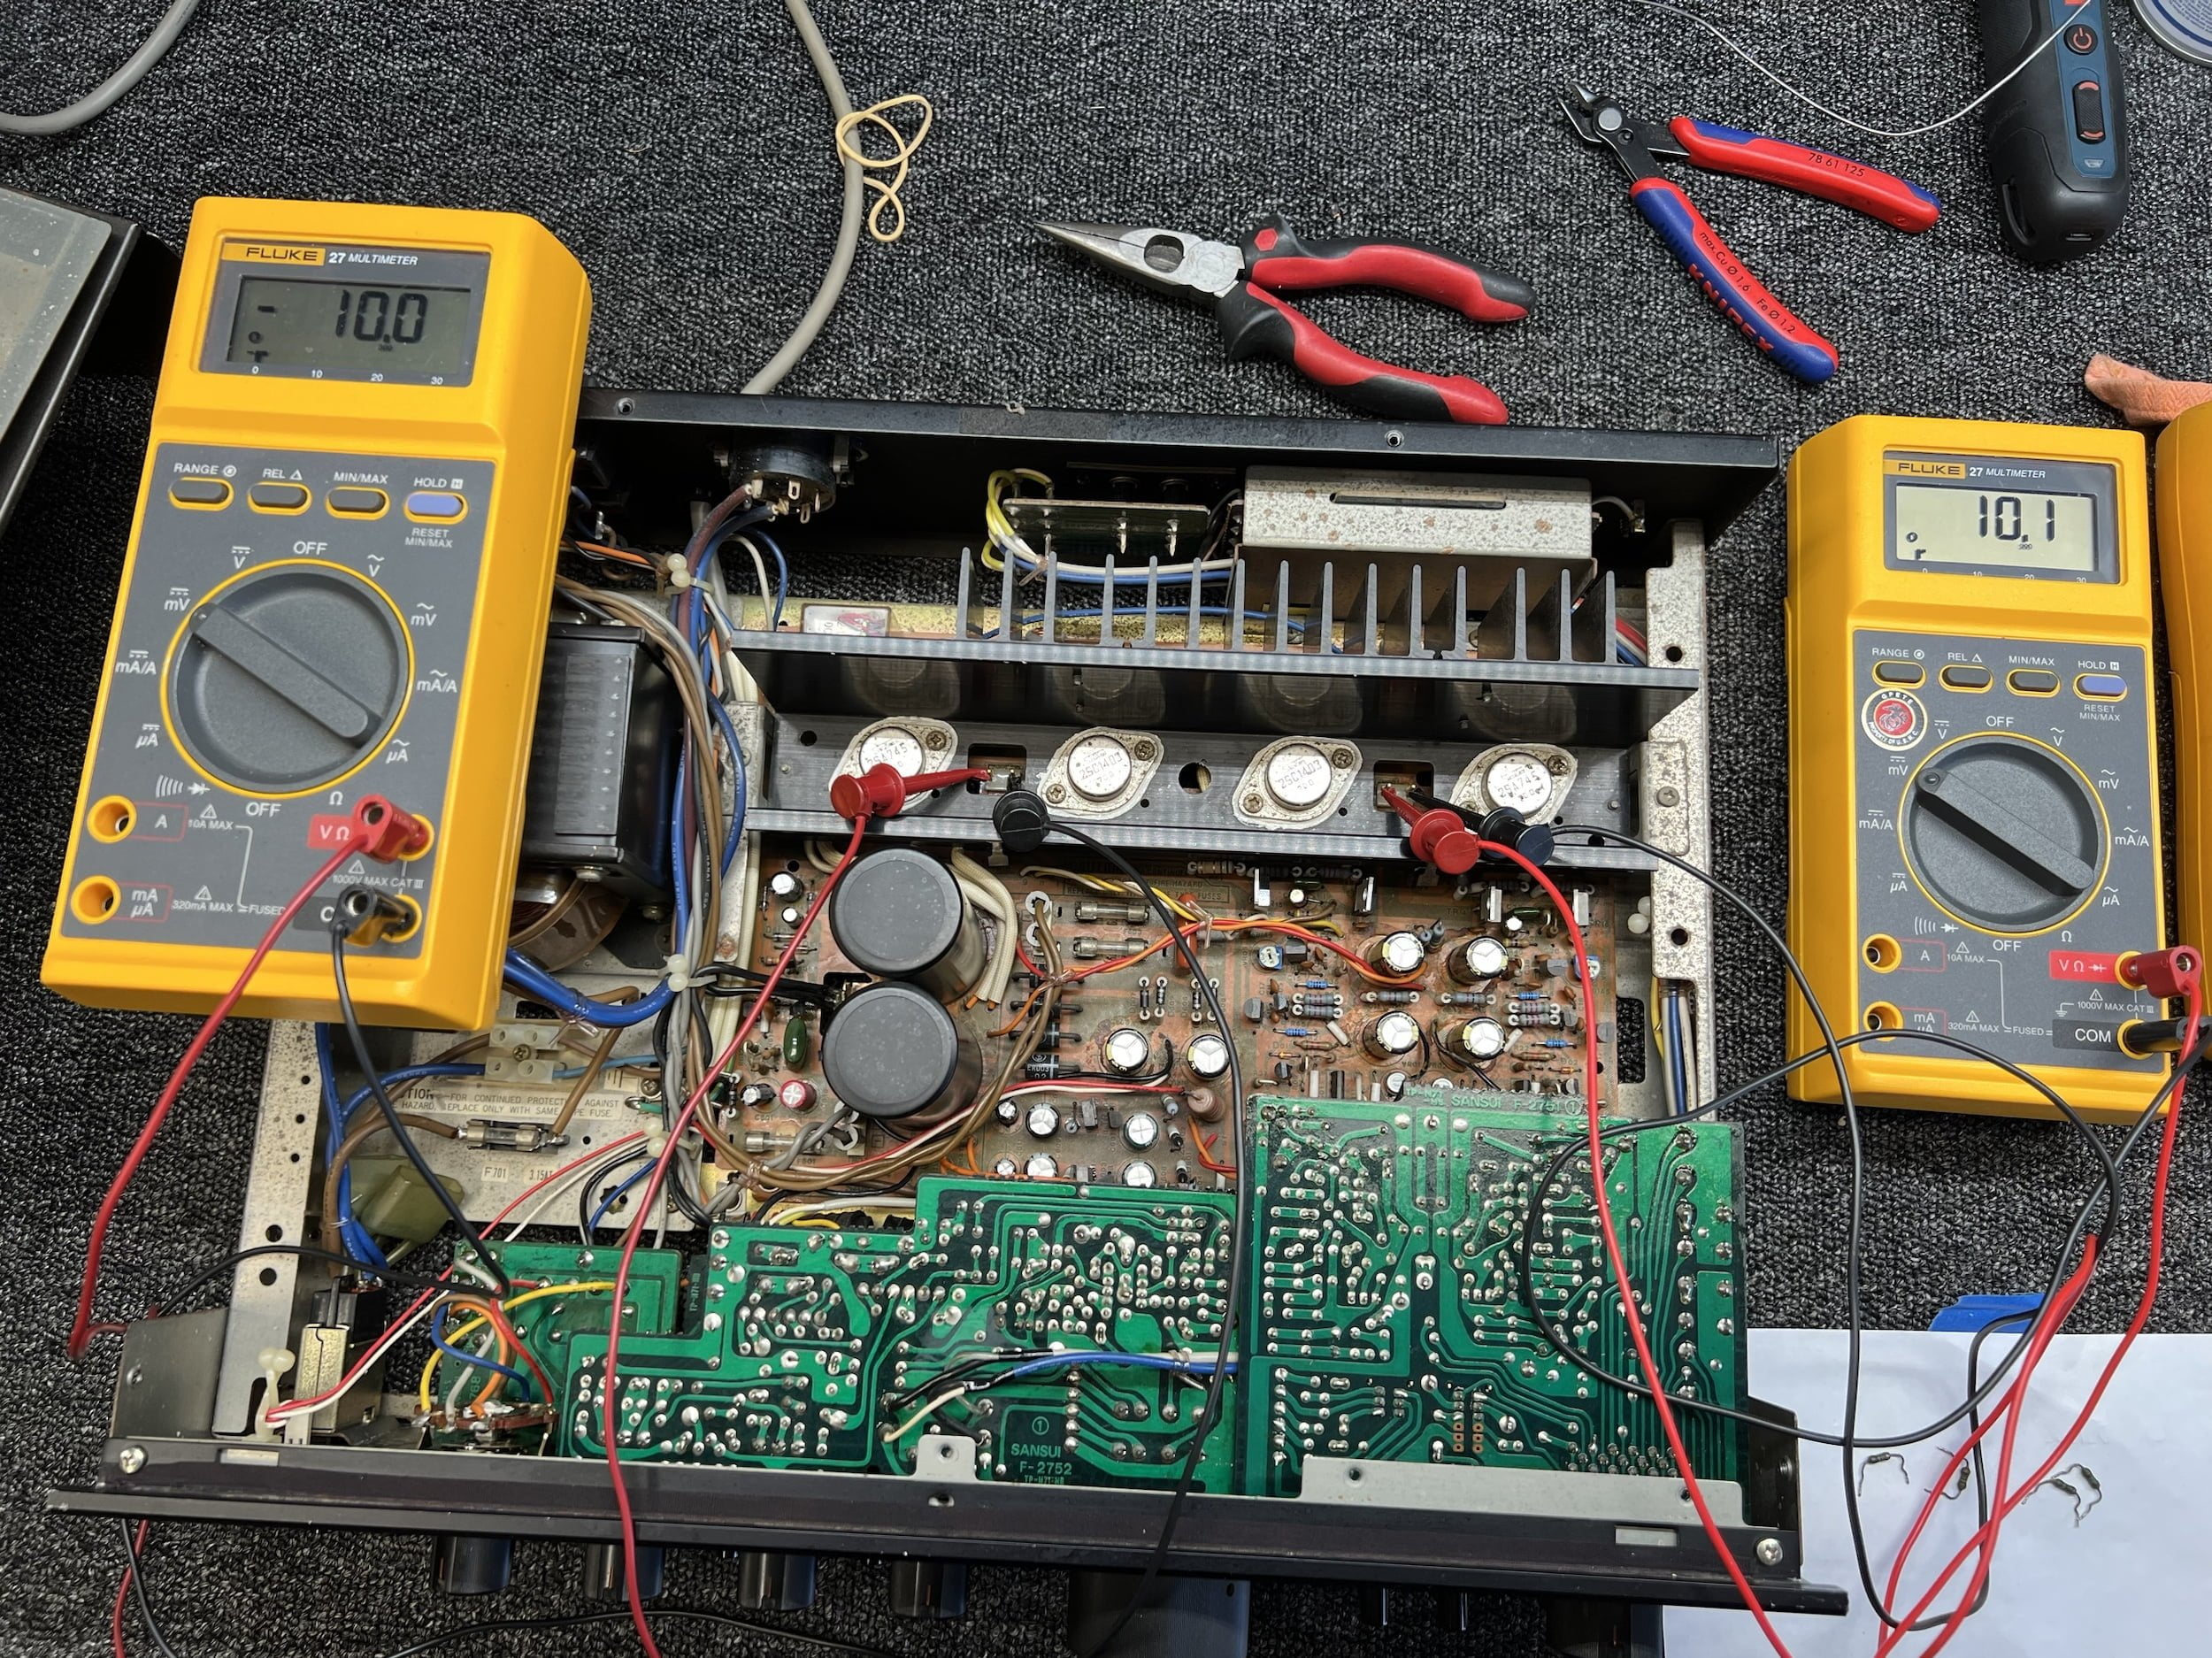
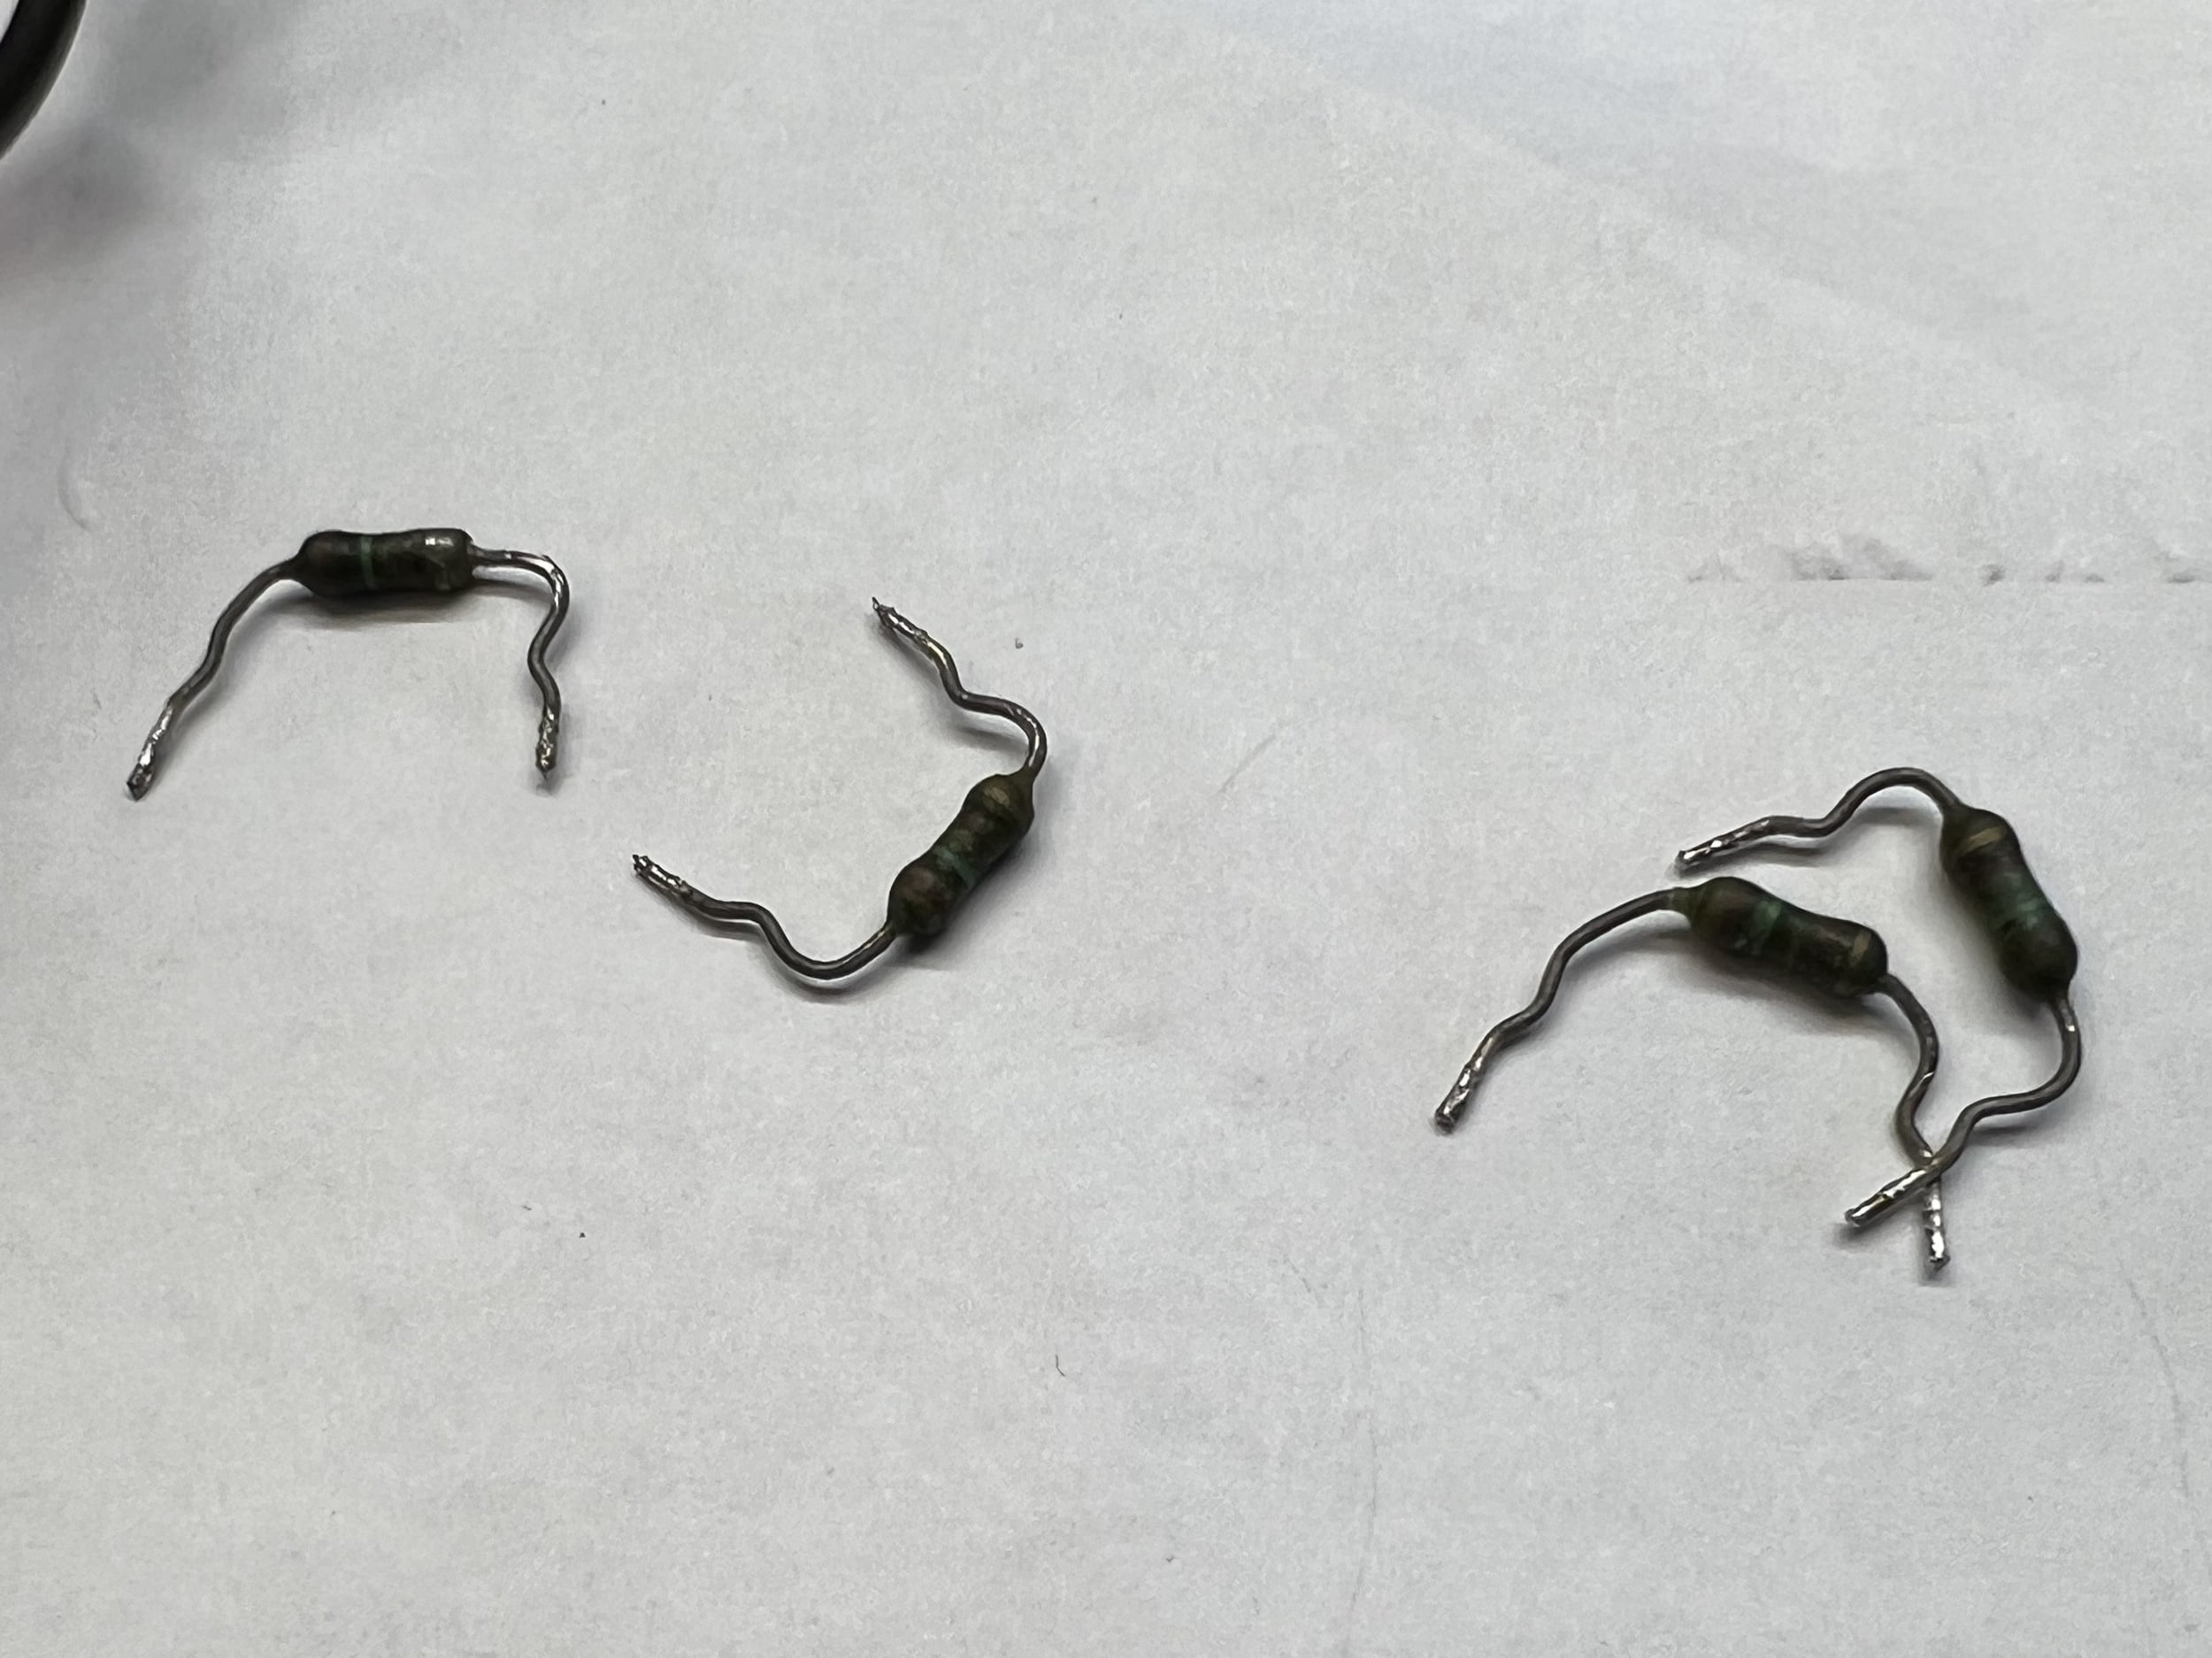
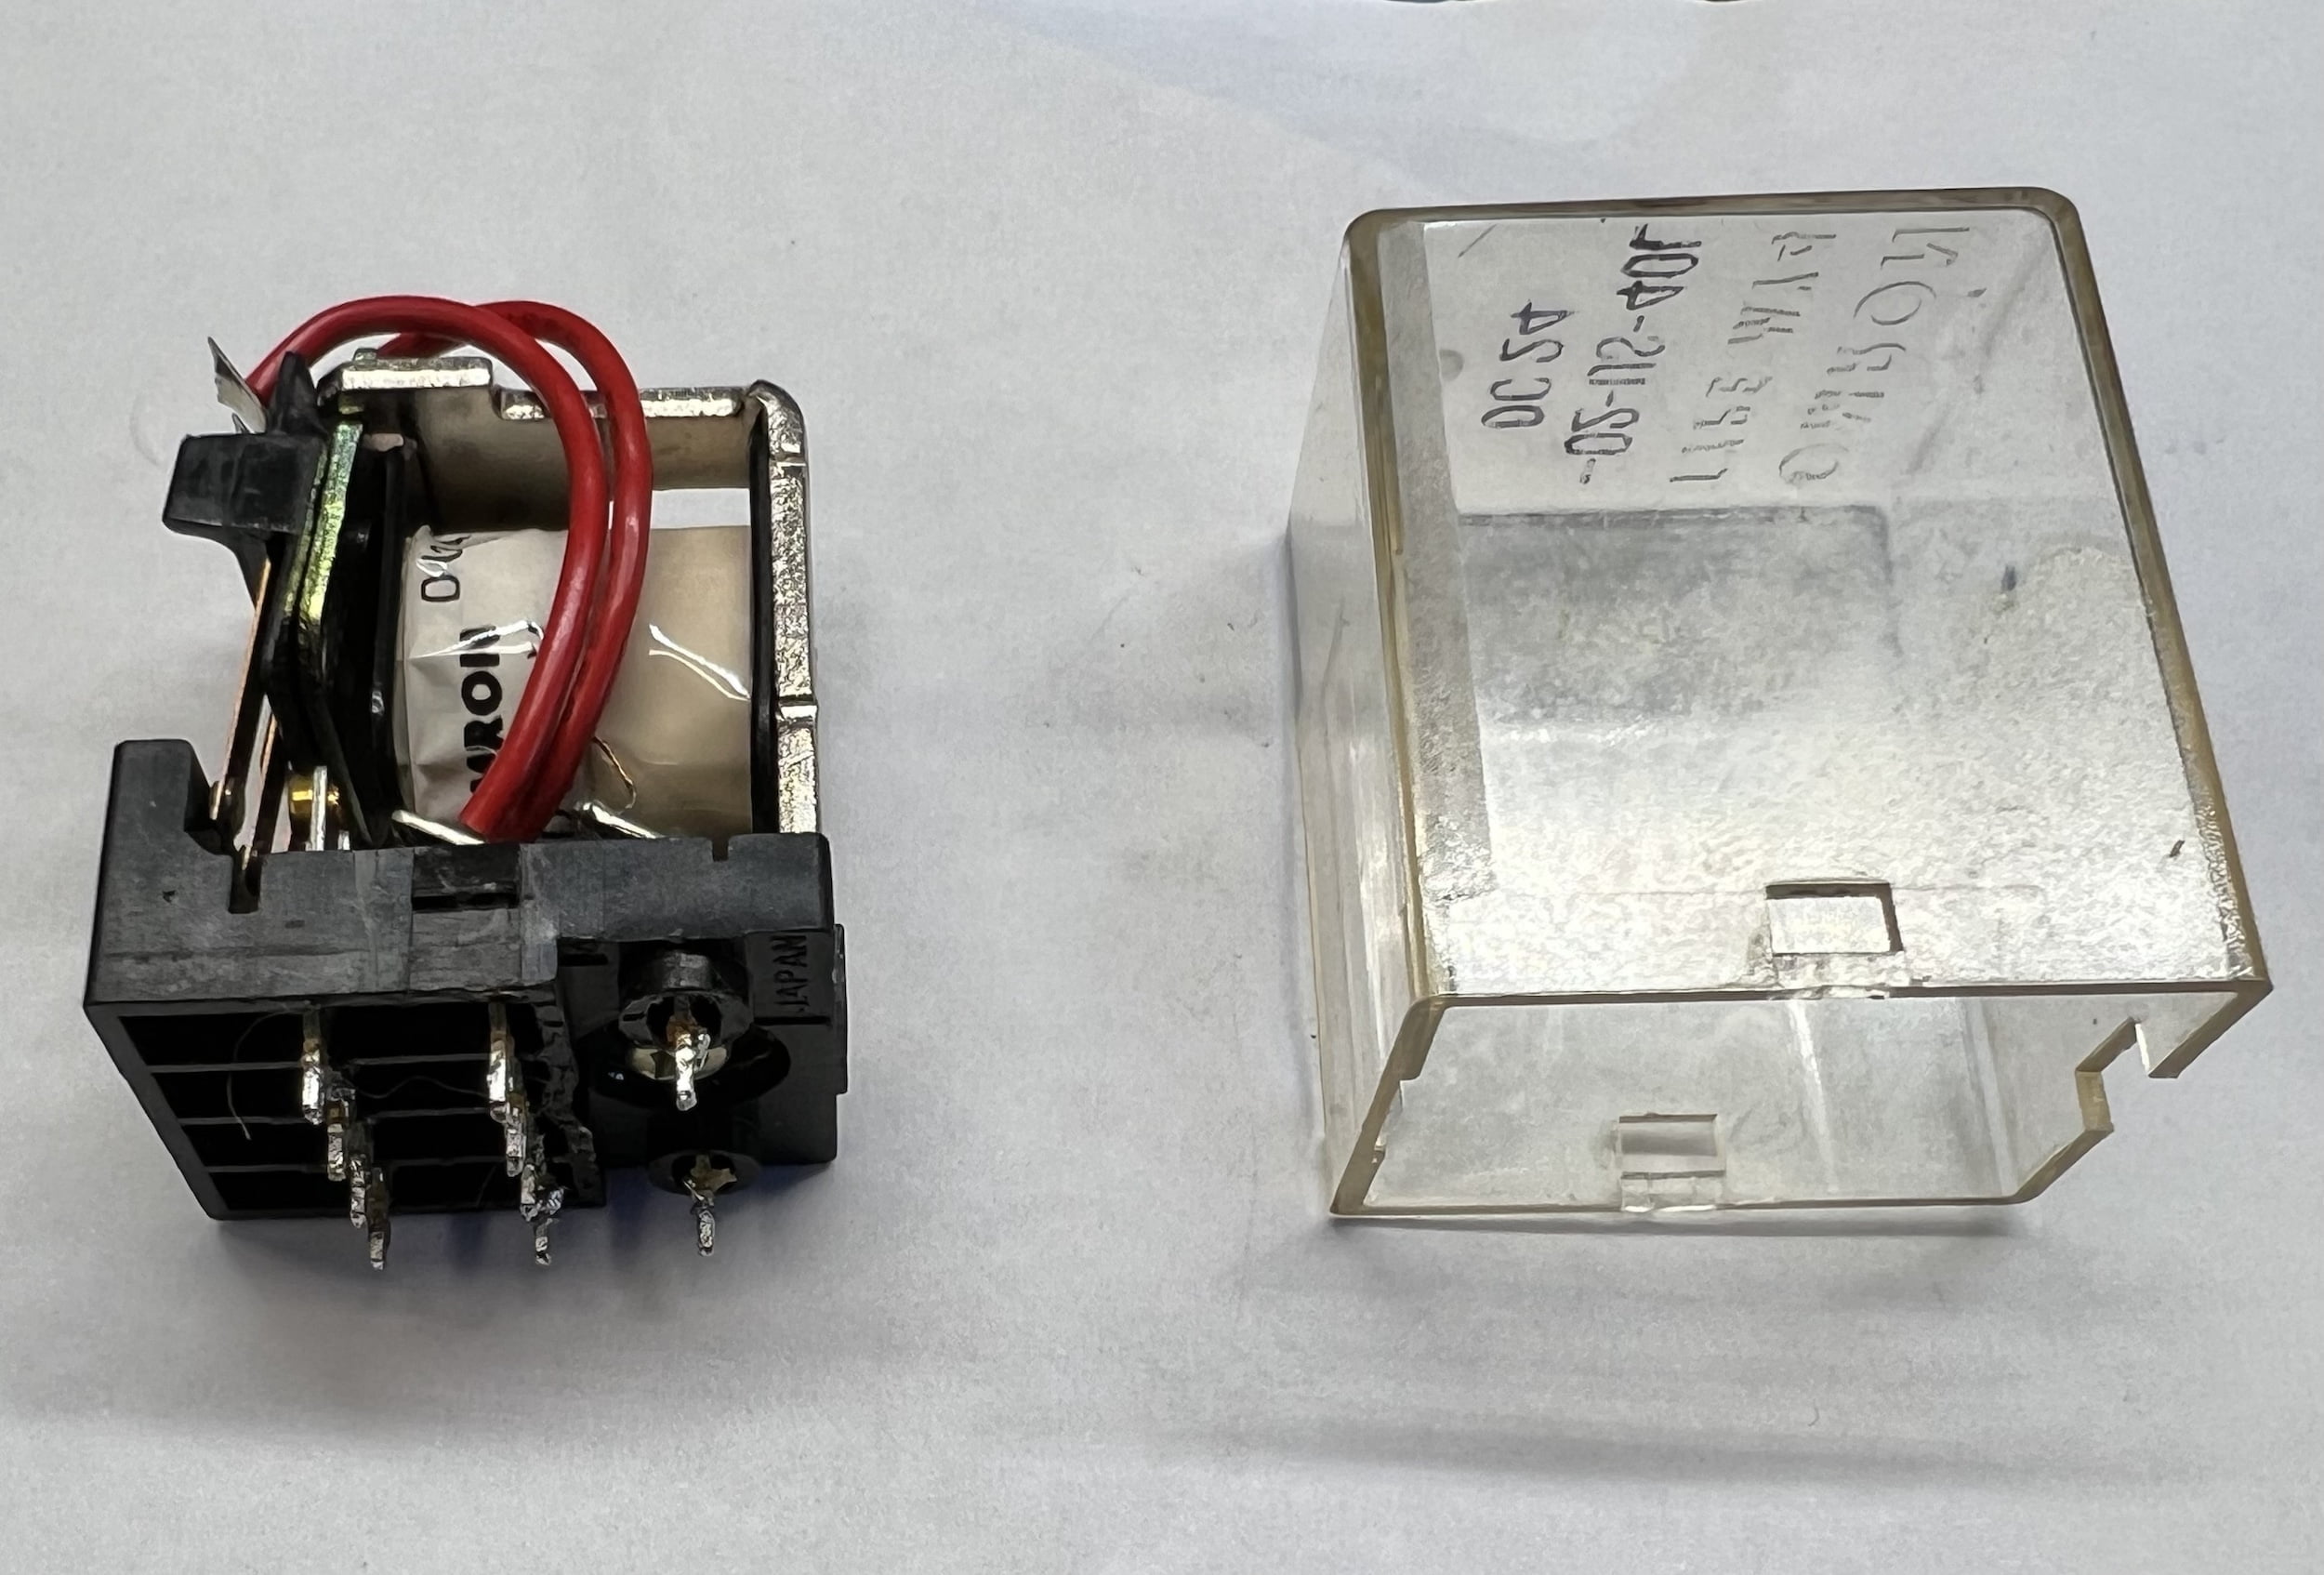
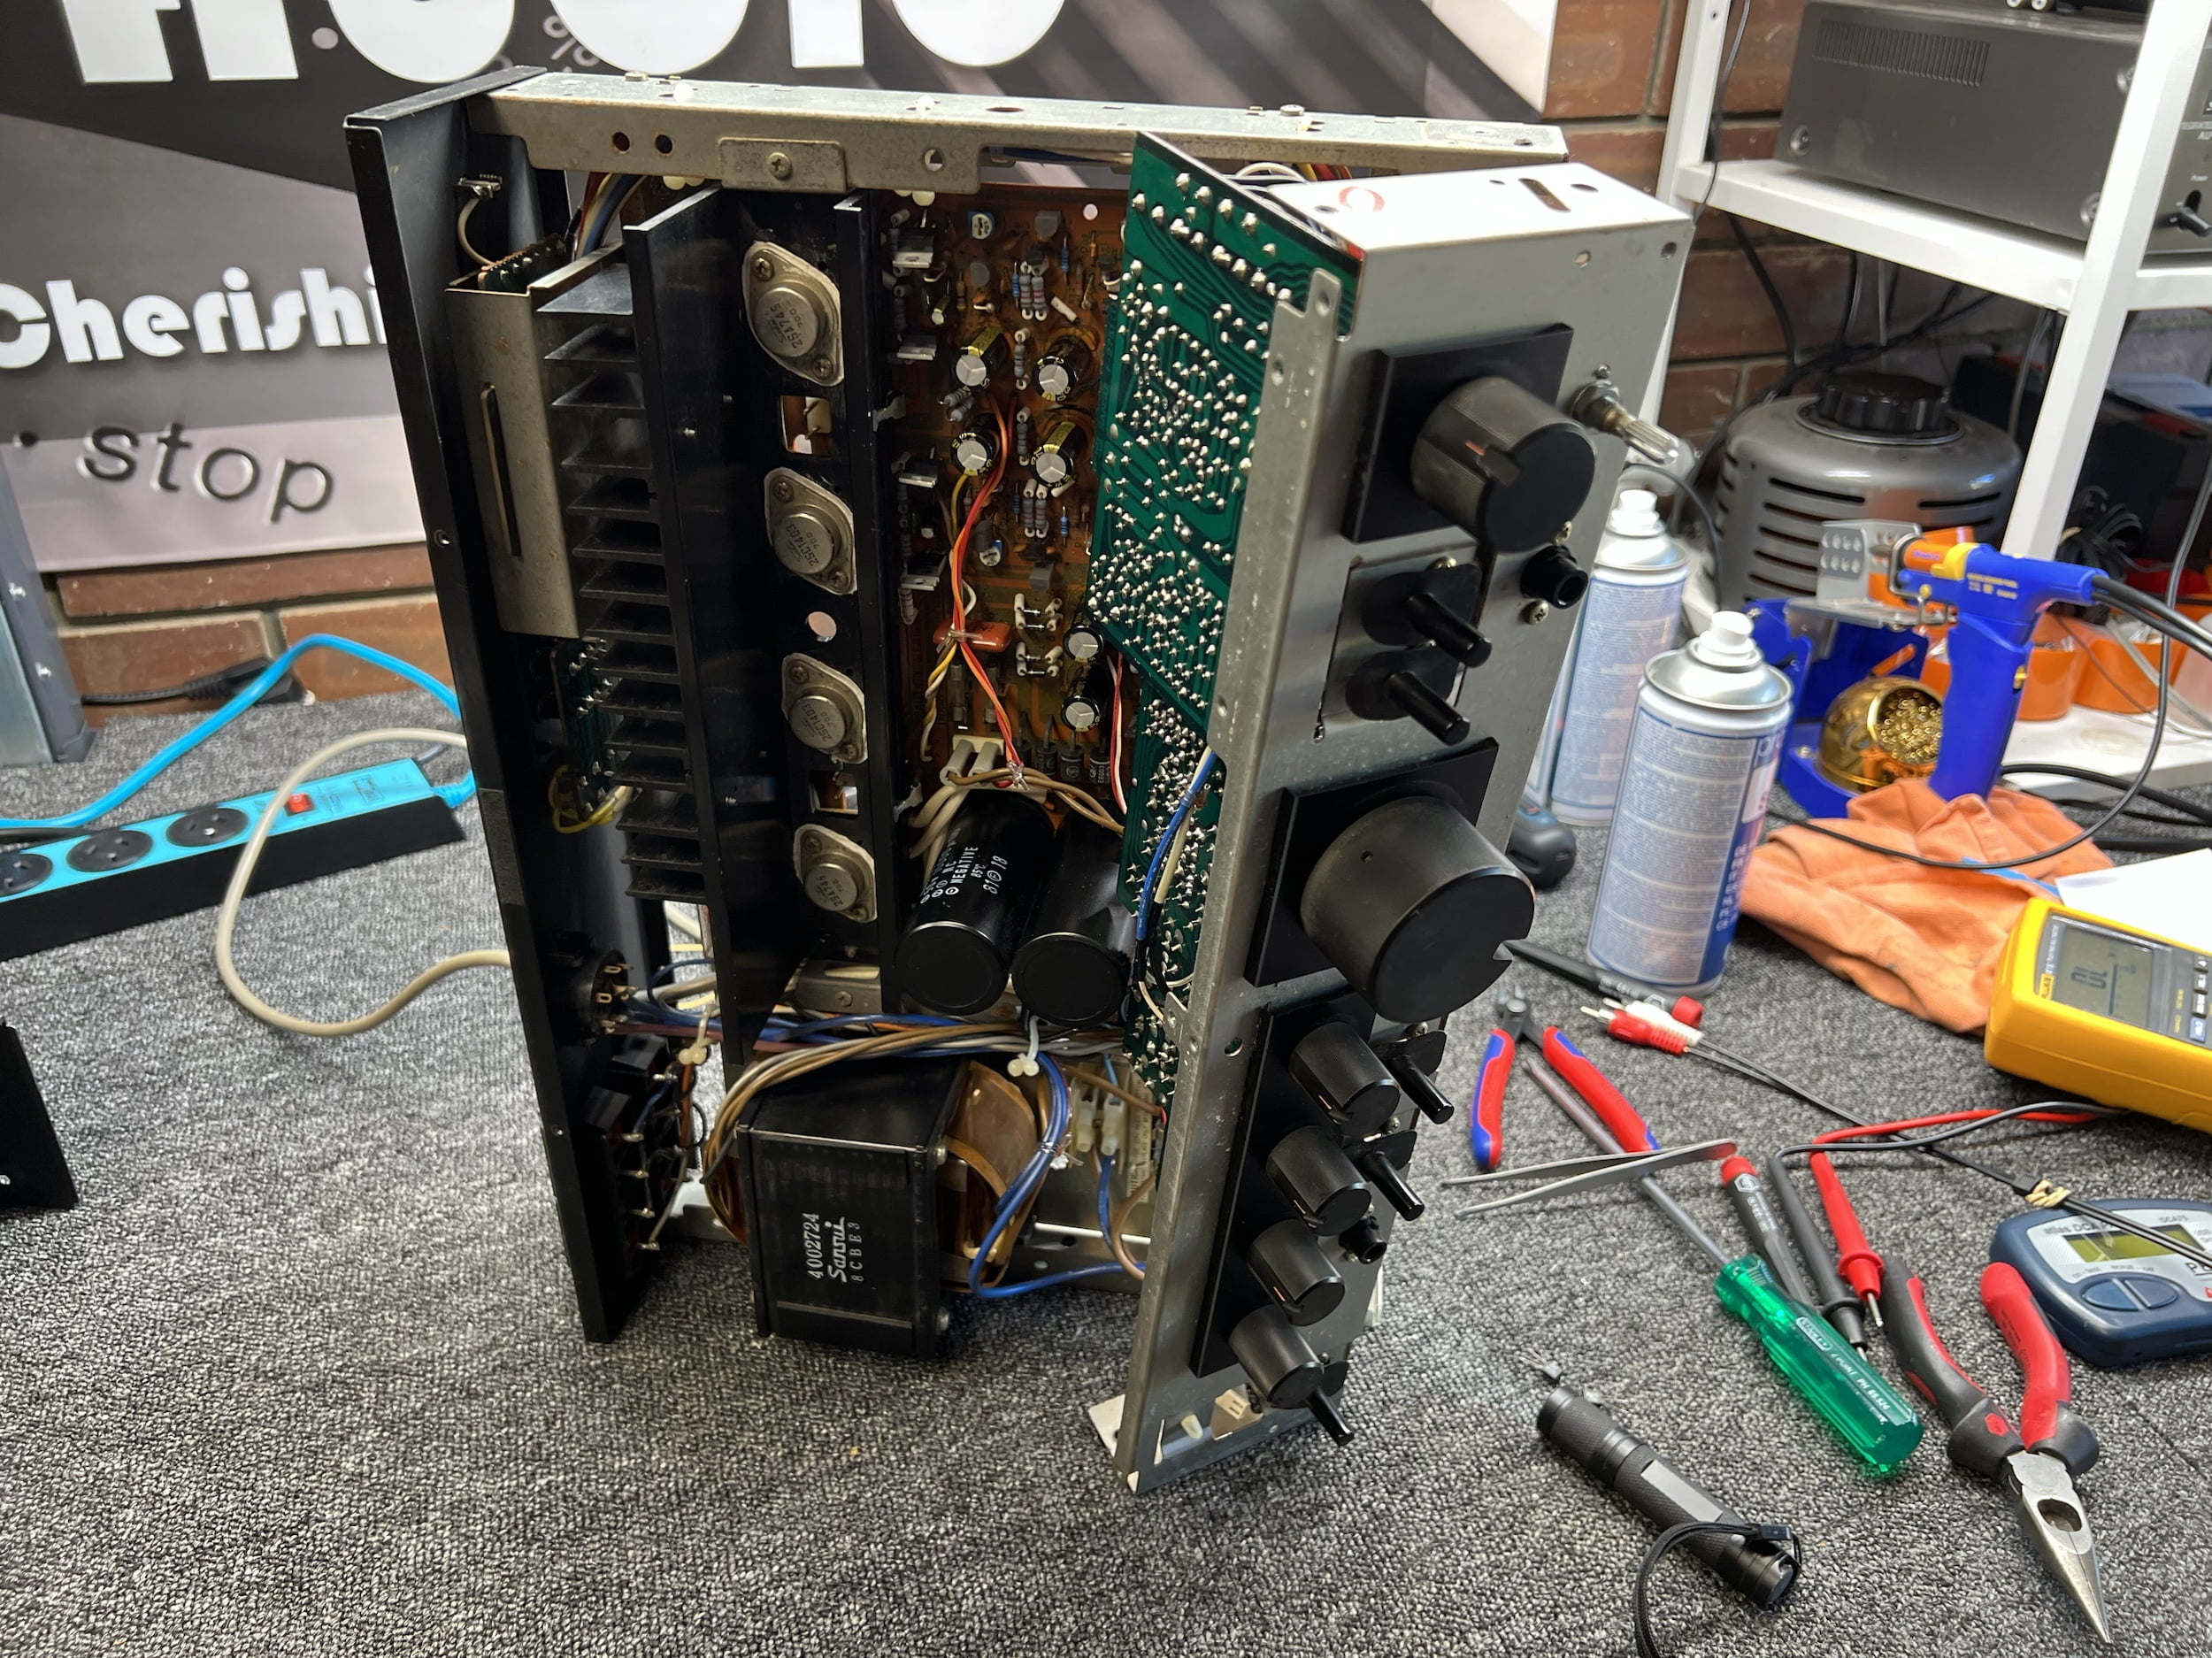
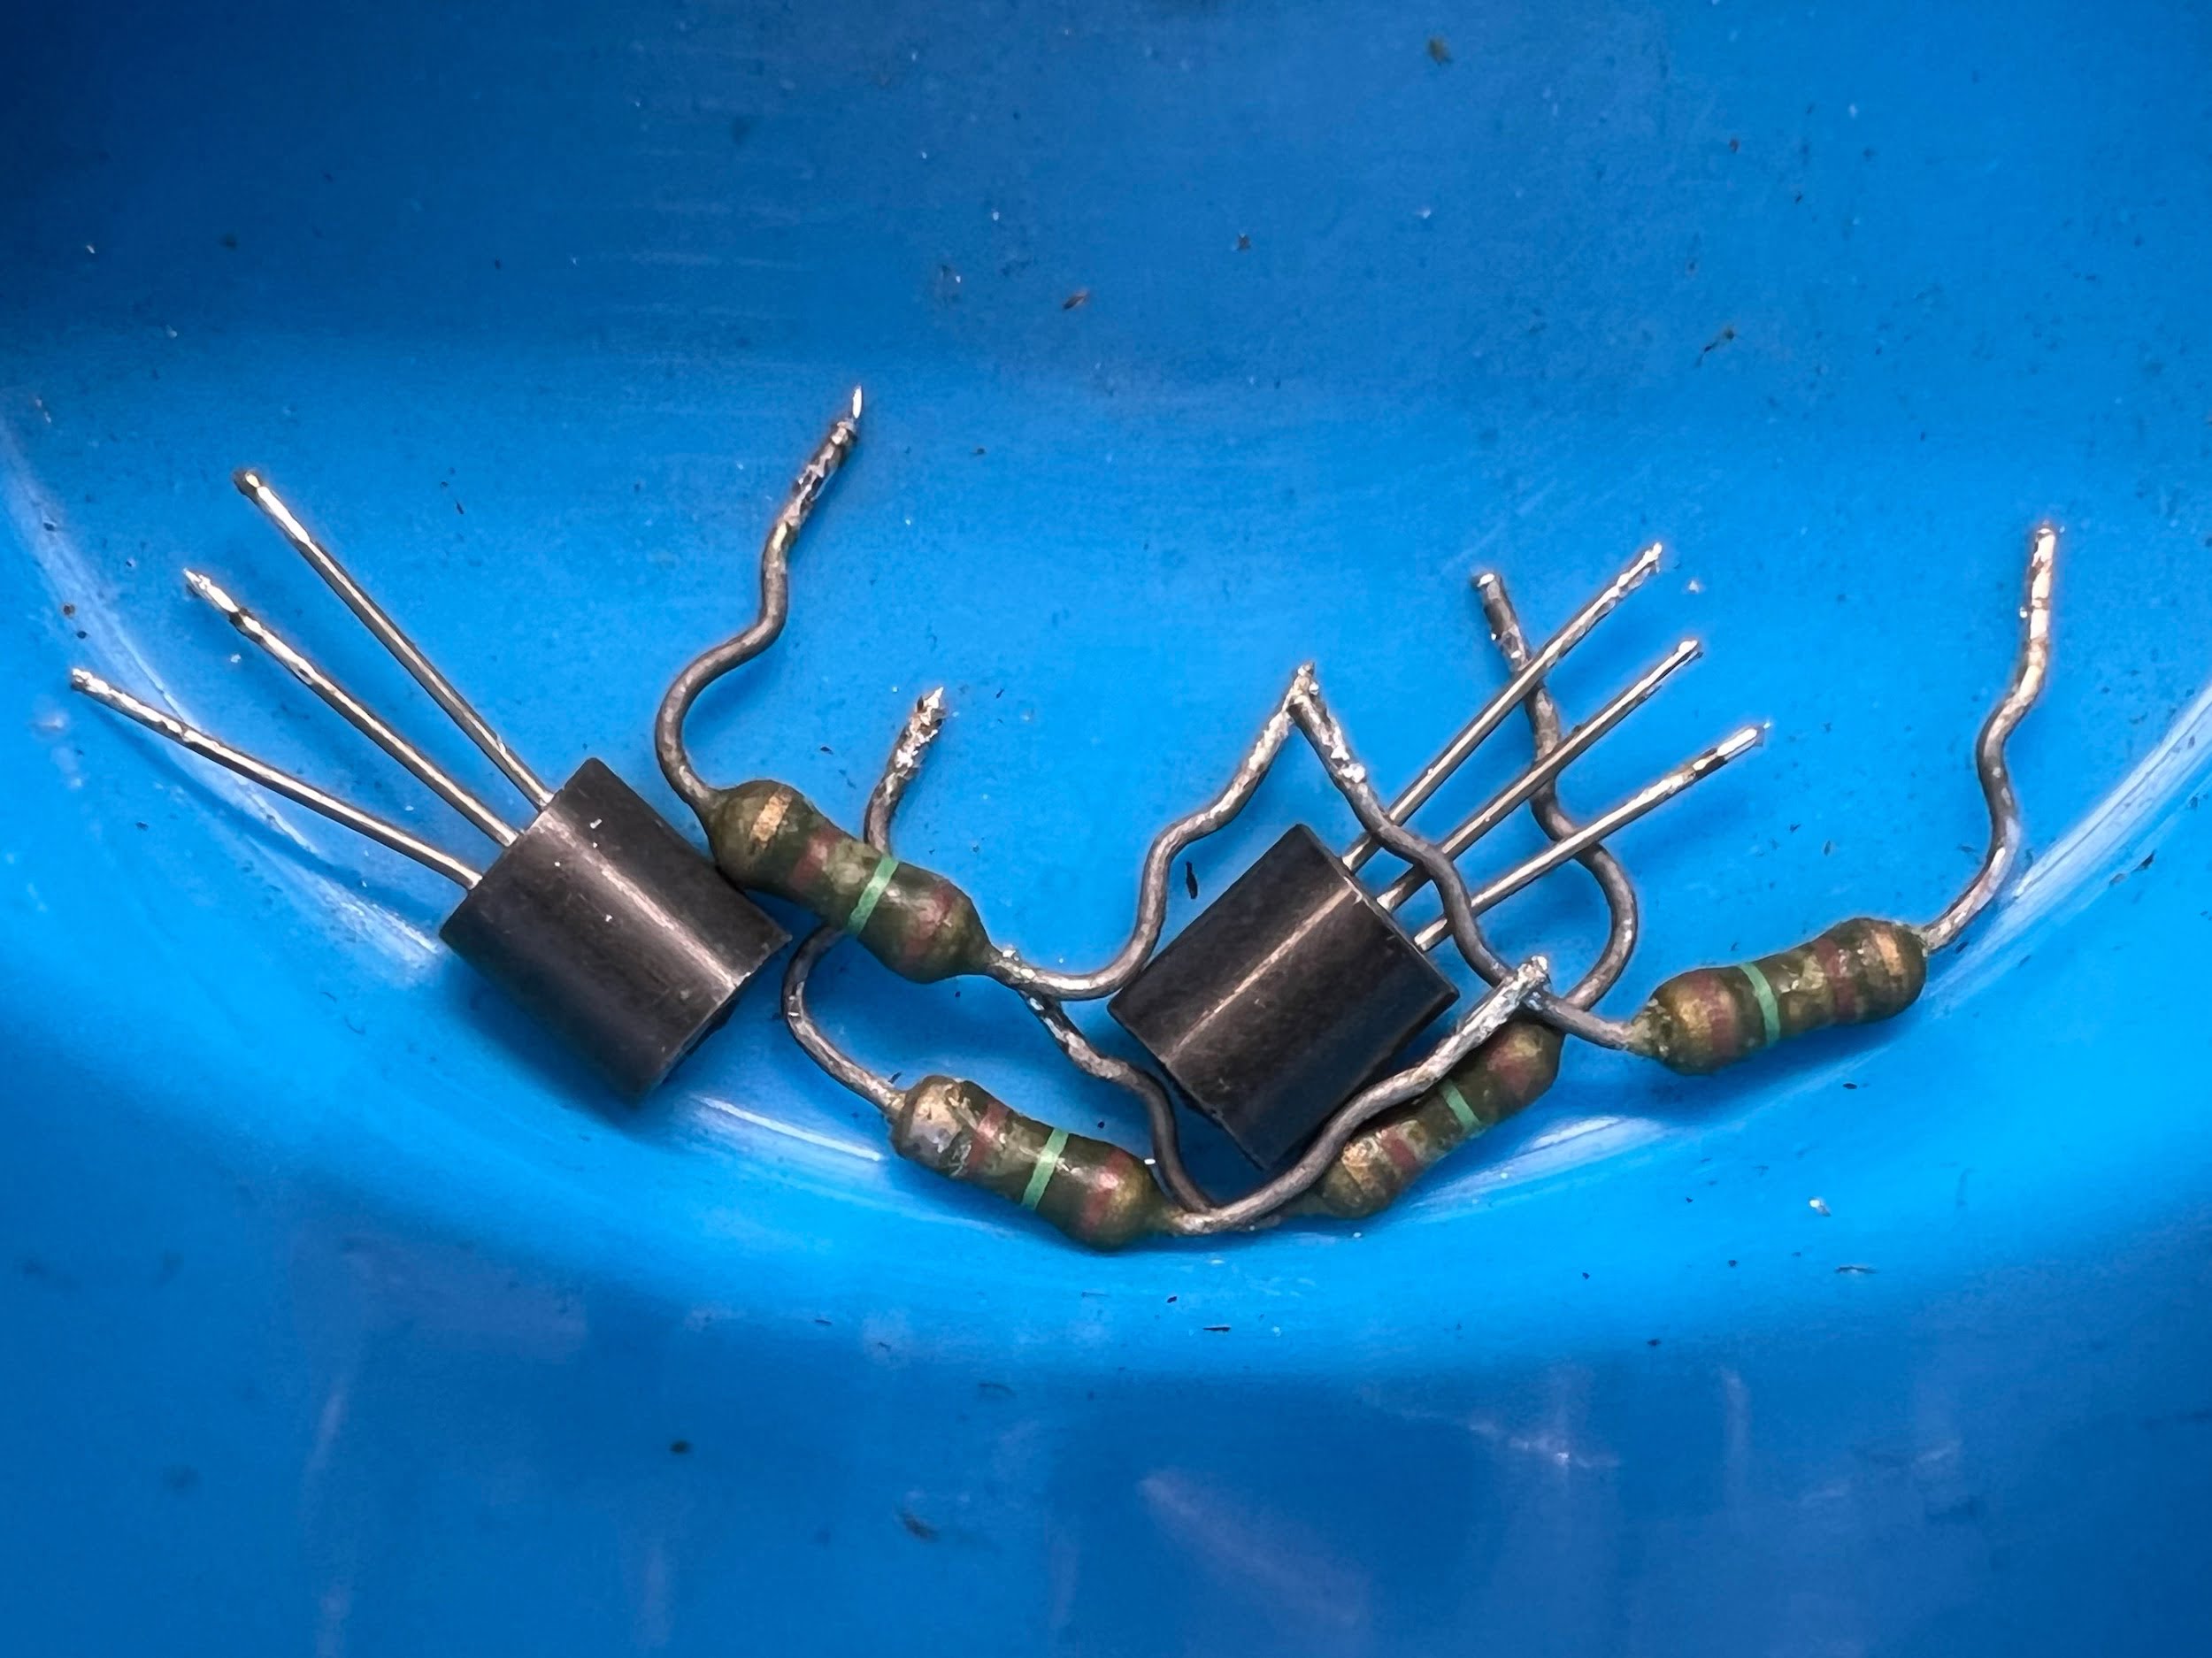
The path to repairing this lovely classic AU-317 was to isolate, diagnose and repair the faults, of which there were two. That took six electronic components and some time.
Fault 1 – Distortion. The distortion was caused by blown current limit resistors in the bias/drive circuit that turned this amplifier into a class-B design with no driver stage. That means that huge signals would be needed to drive the output stage at all, and what you get would be badly distorted. I replaced the current limit resistors, set the bias current and bingo, the distortion was gone.
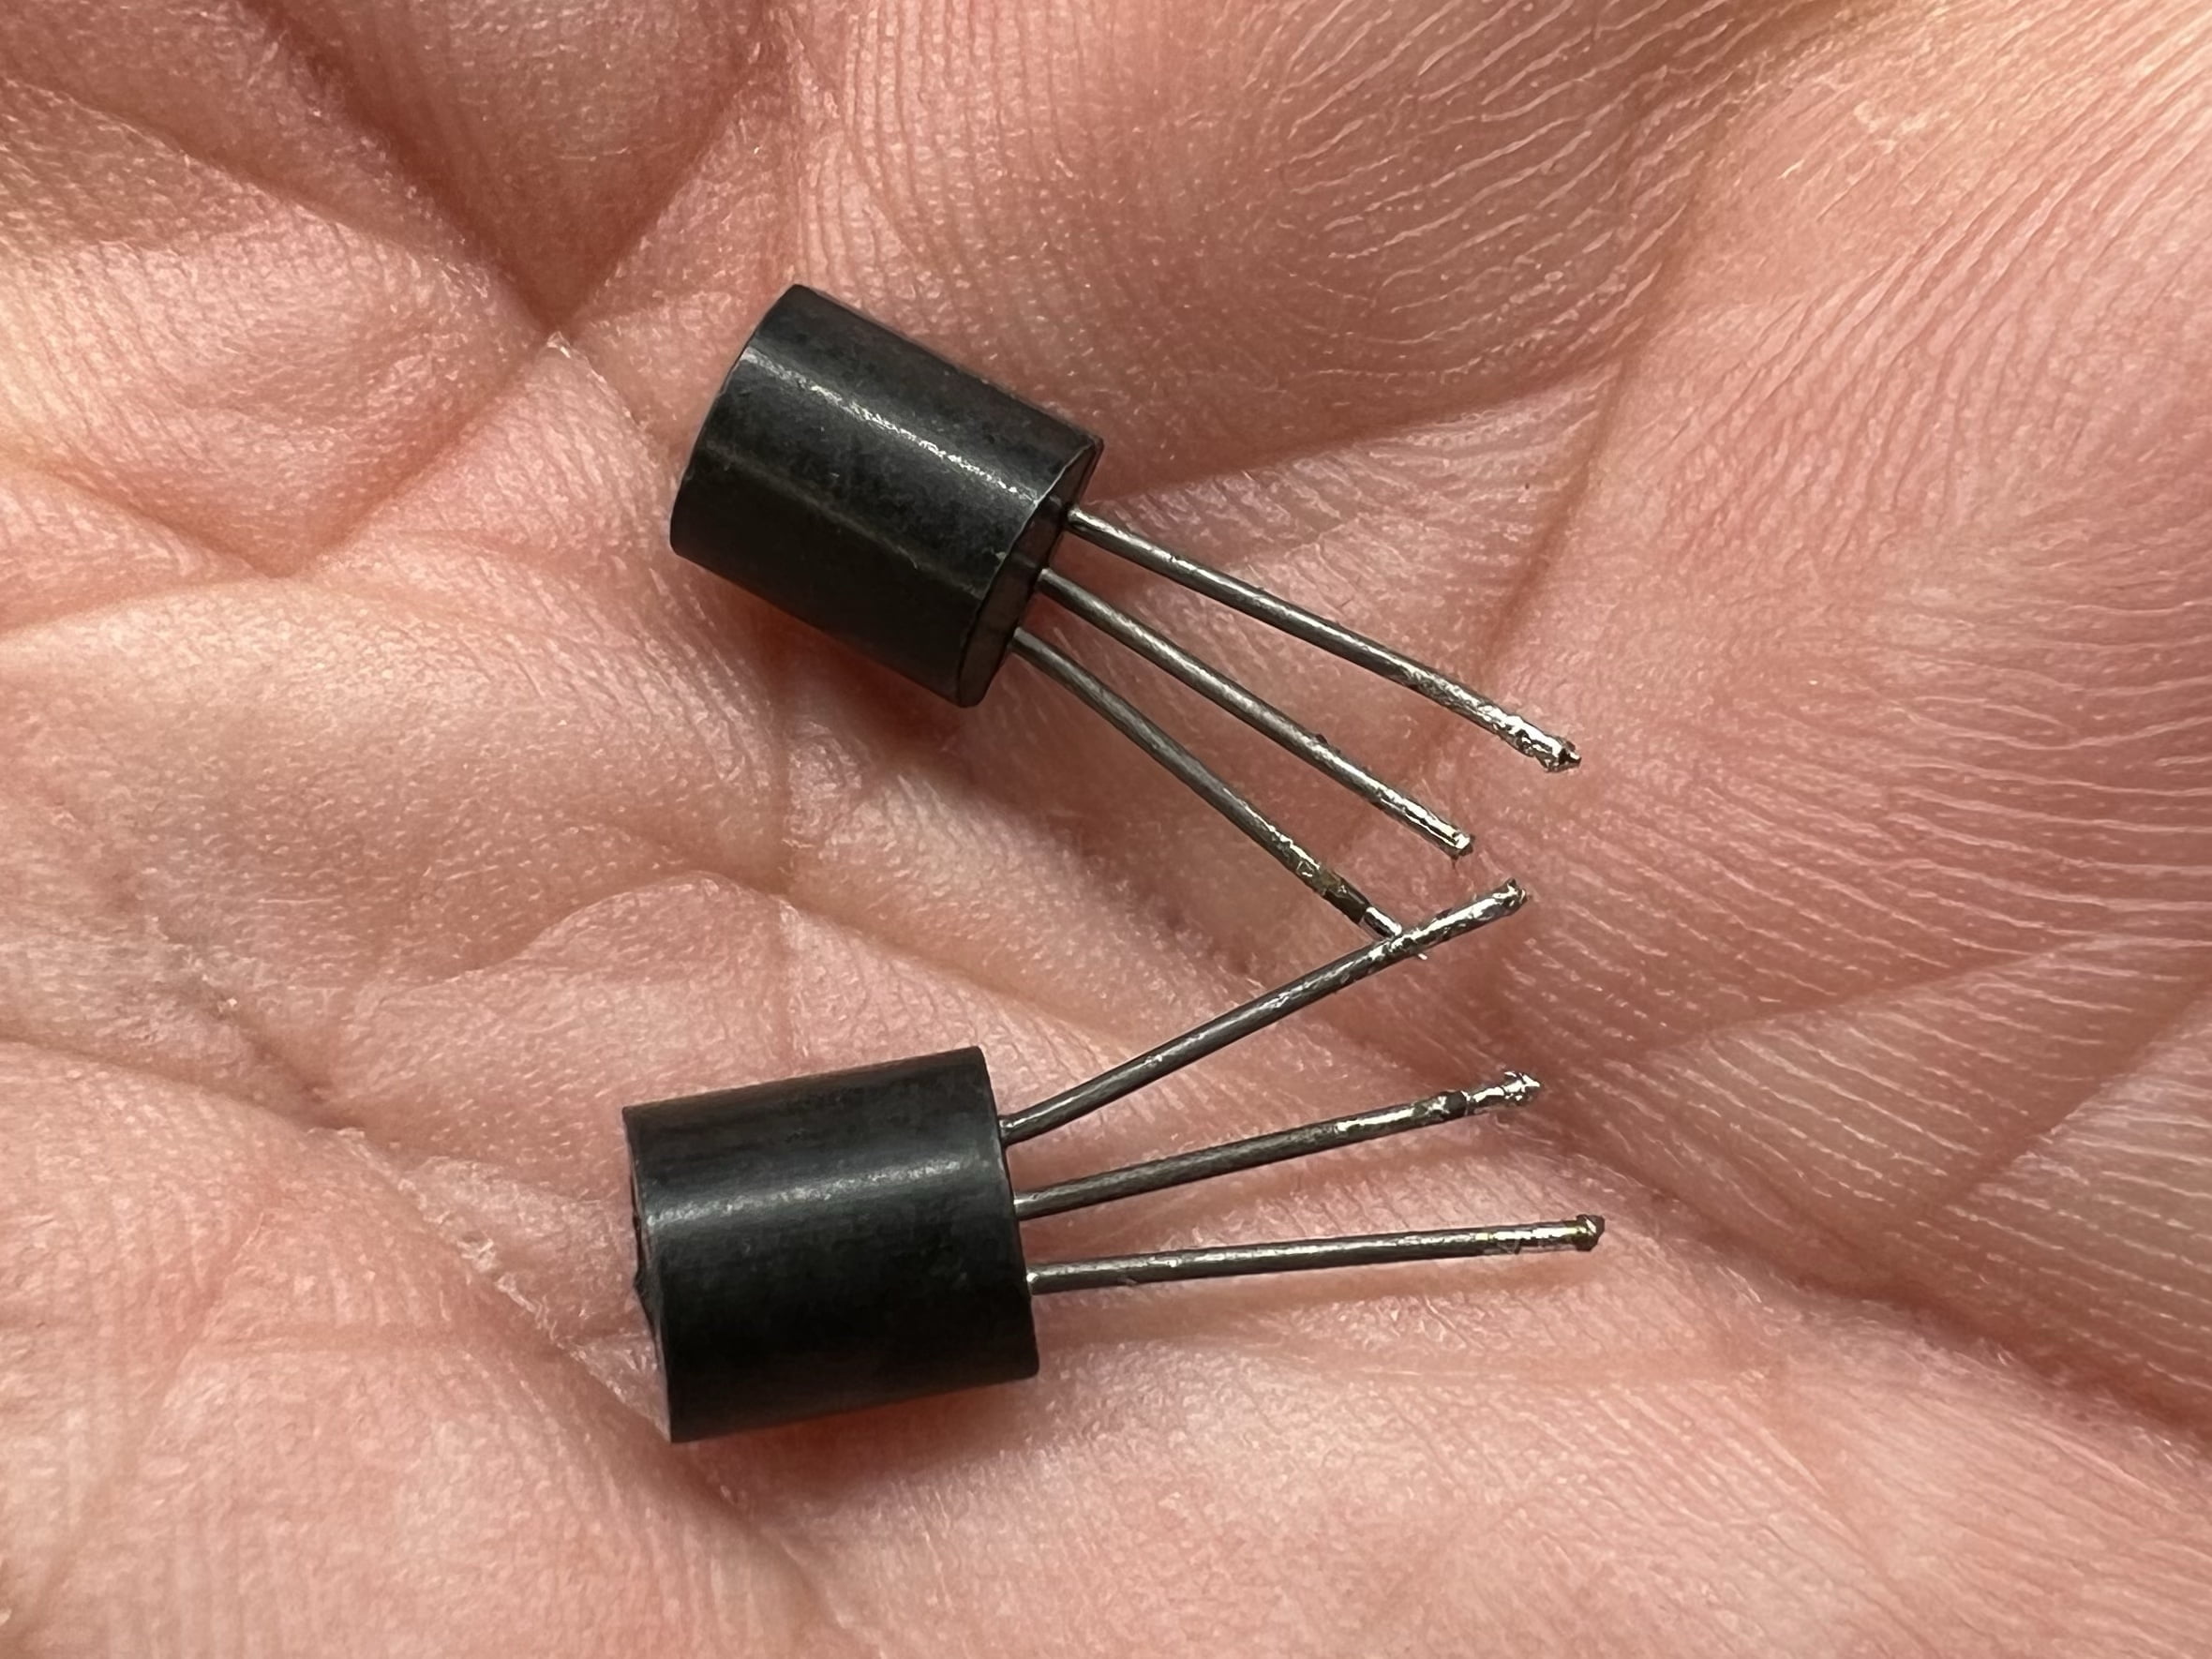
Fault 2 – DC offset in the right channel of the phono preamp. DC offsets are typically caused by leaky or drifty small signal semiconductors and the obvious pair to check in the right channel of the phono preamp is the right channel input differential pair. Sure enough, one device was bad, so I replaced both with a new hand-matched pair with improved specs.
Some critical cleaning, service and adjustment completed the work here and is what had this AU-317 running perfectly again.
Results
This Sansui AU-317 repair was particularly rewarding because her owner is such a nice guy and he appreciates the approach I’ve described in this article. He owns many Sansui amplifiers including a Sansui AU-101, AU-217, AU-555A and AU-4900, all of which I’ve serviced and repaired for him but his favourites are the AU-217 and AU-317 I recently worked on. Here’s what he told me about the AU-317:
[The] 317 sounds spot on, you are the man, thanks again Mike. She sounds bloody awesome, I hate to admit its in a tight second spot for my favourite.
Michael B
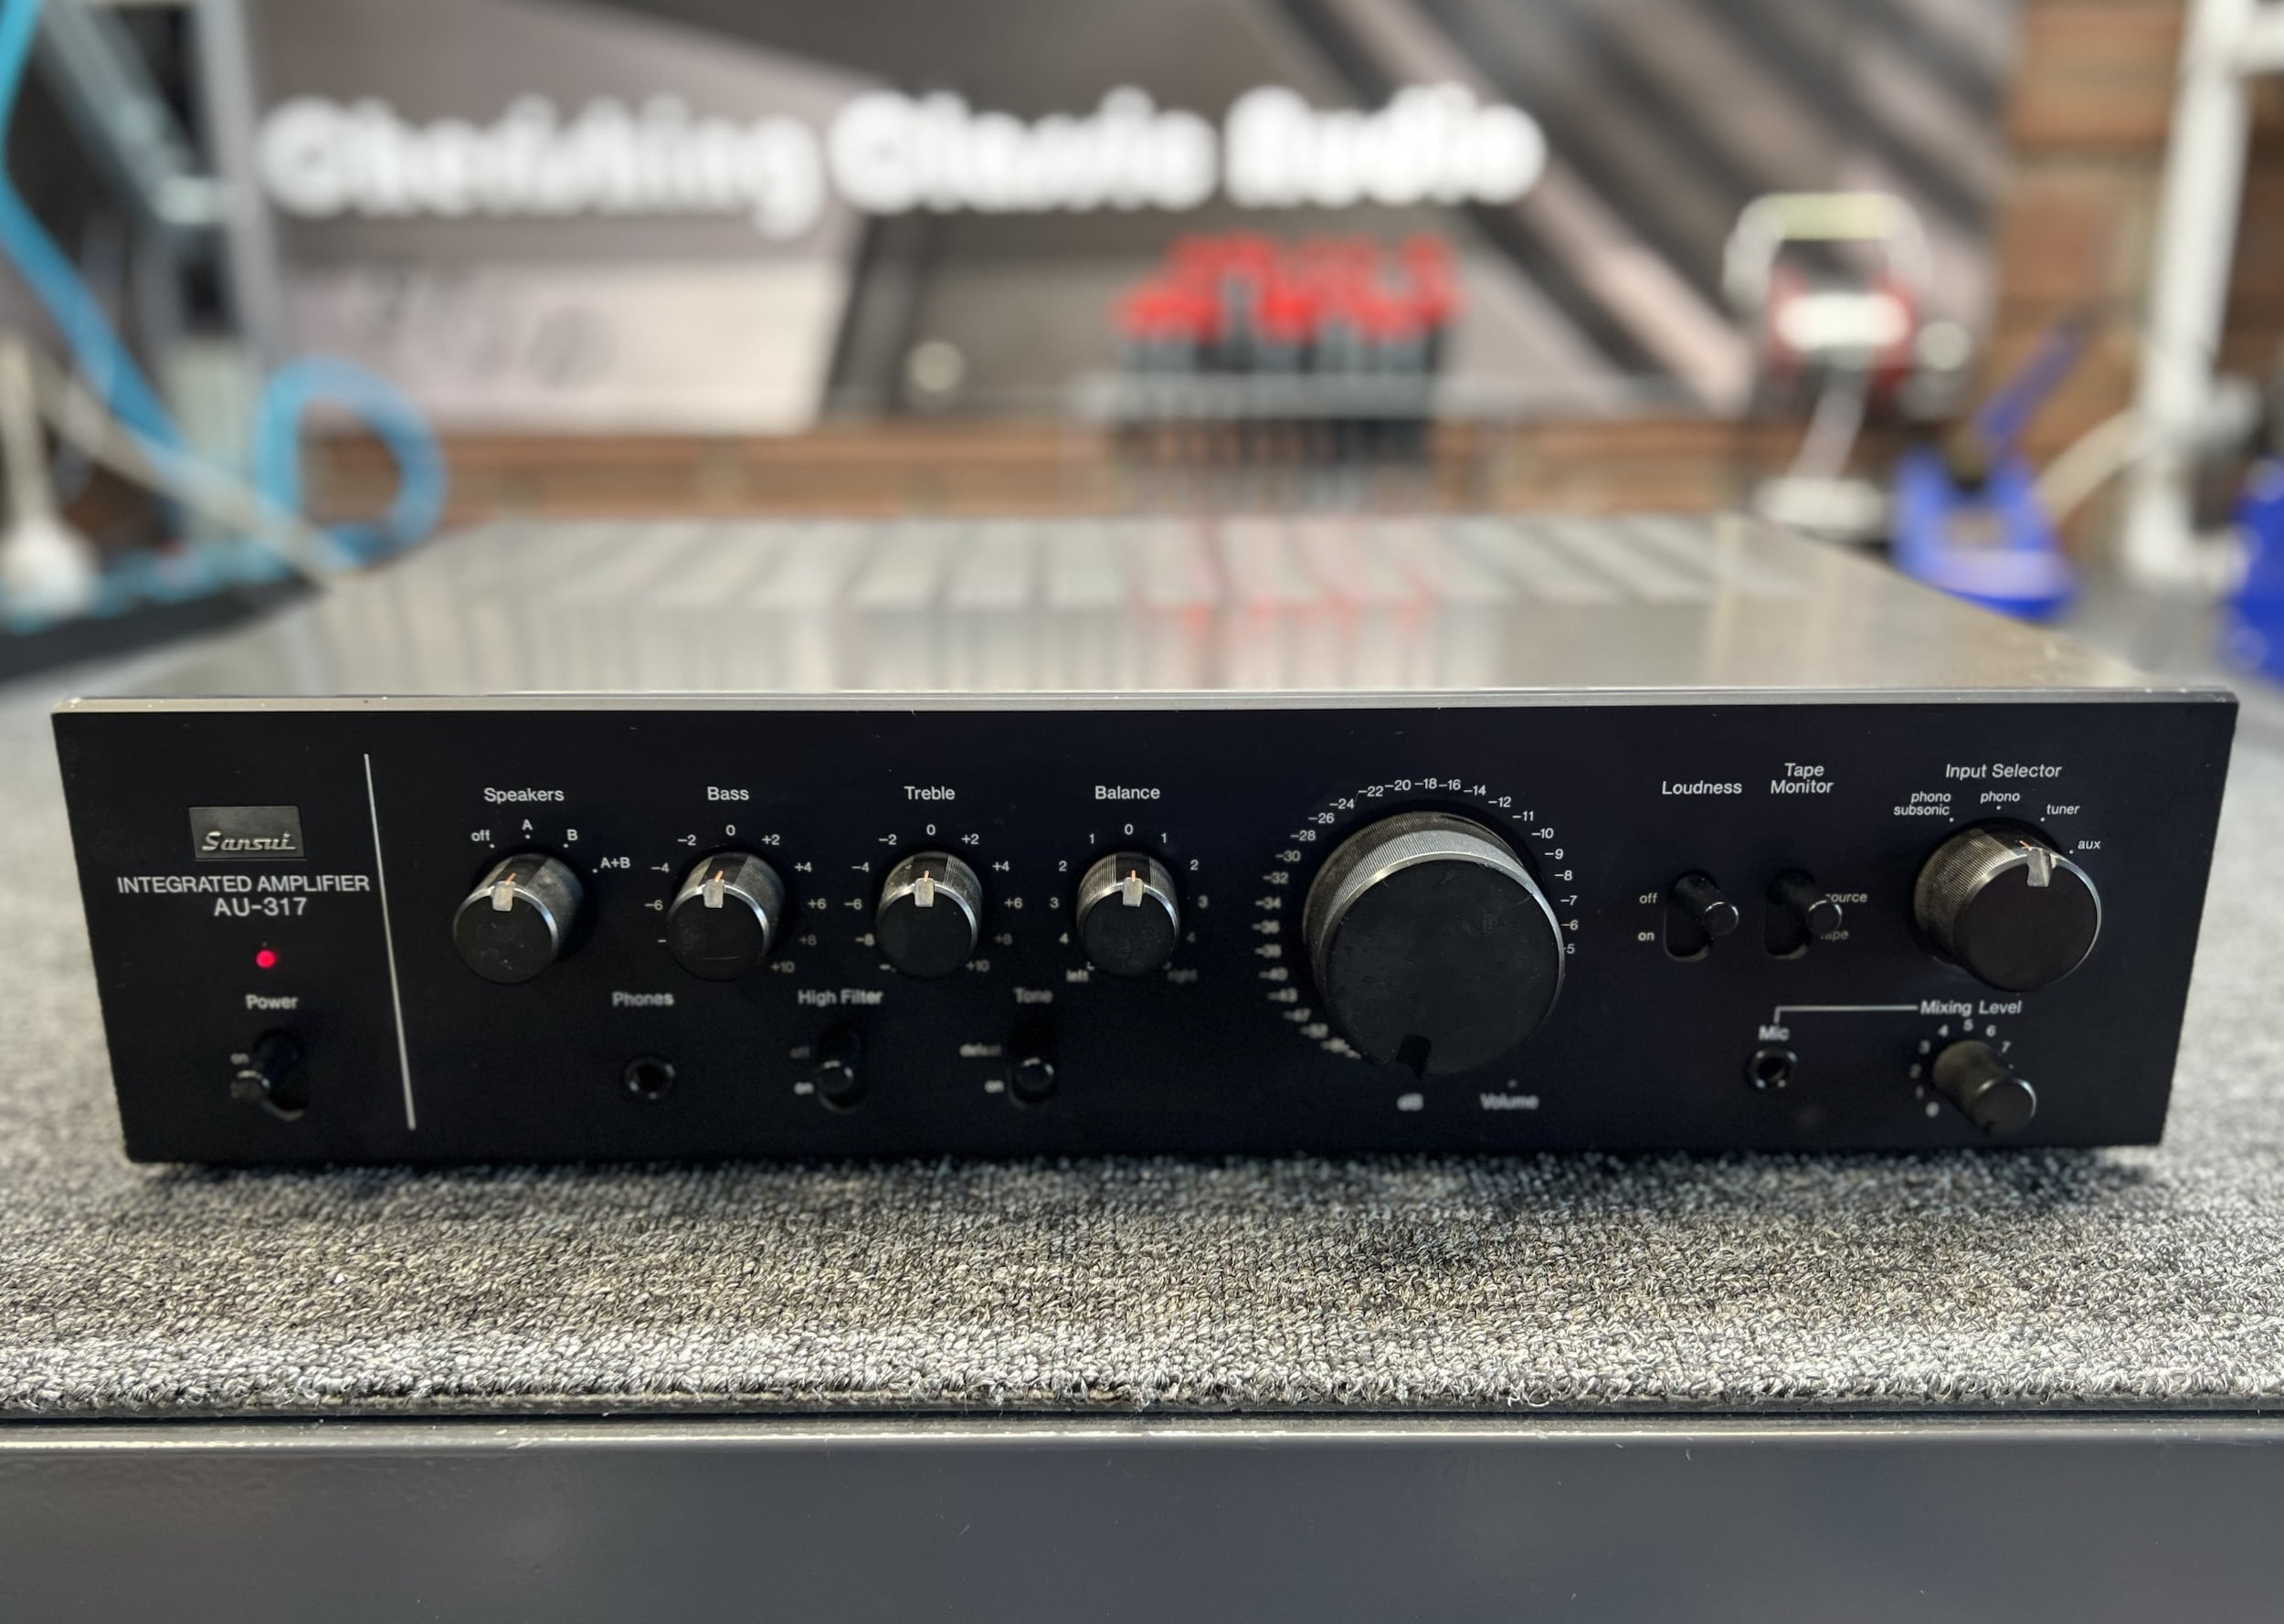
In terms of overhaul and restoration, less is more, especially with pieces in generally good condition. Overhauls by the right people are worth having done, but as always, the devil is in the details. The right technician won’t be getting their information from forums, installing Suntan capacitors or charging $1500 AUD to overhaul a basic amplifier. They will already know what to do, based on the condition of the equipment in question. Keep this in mind.
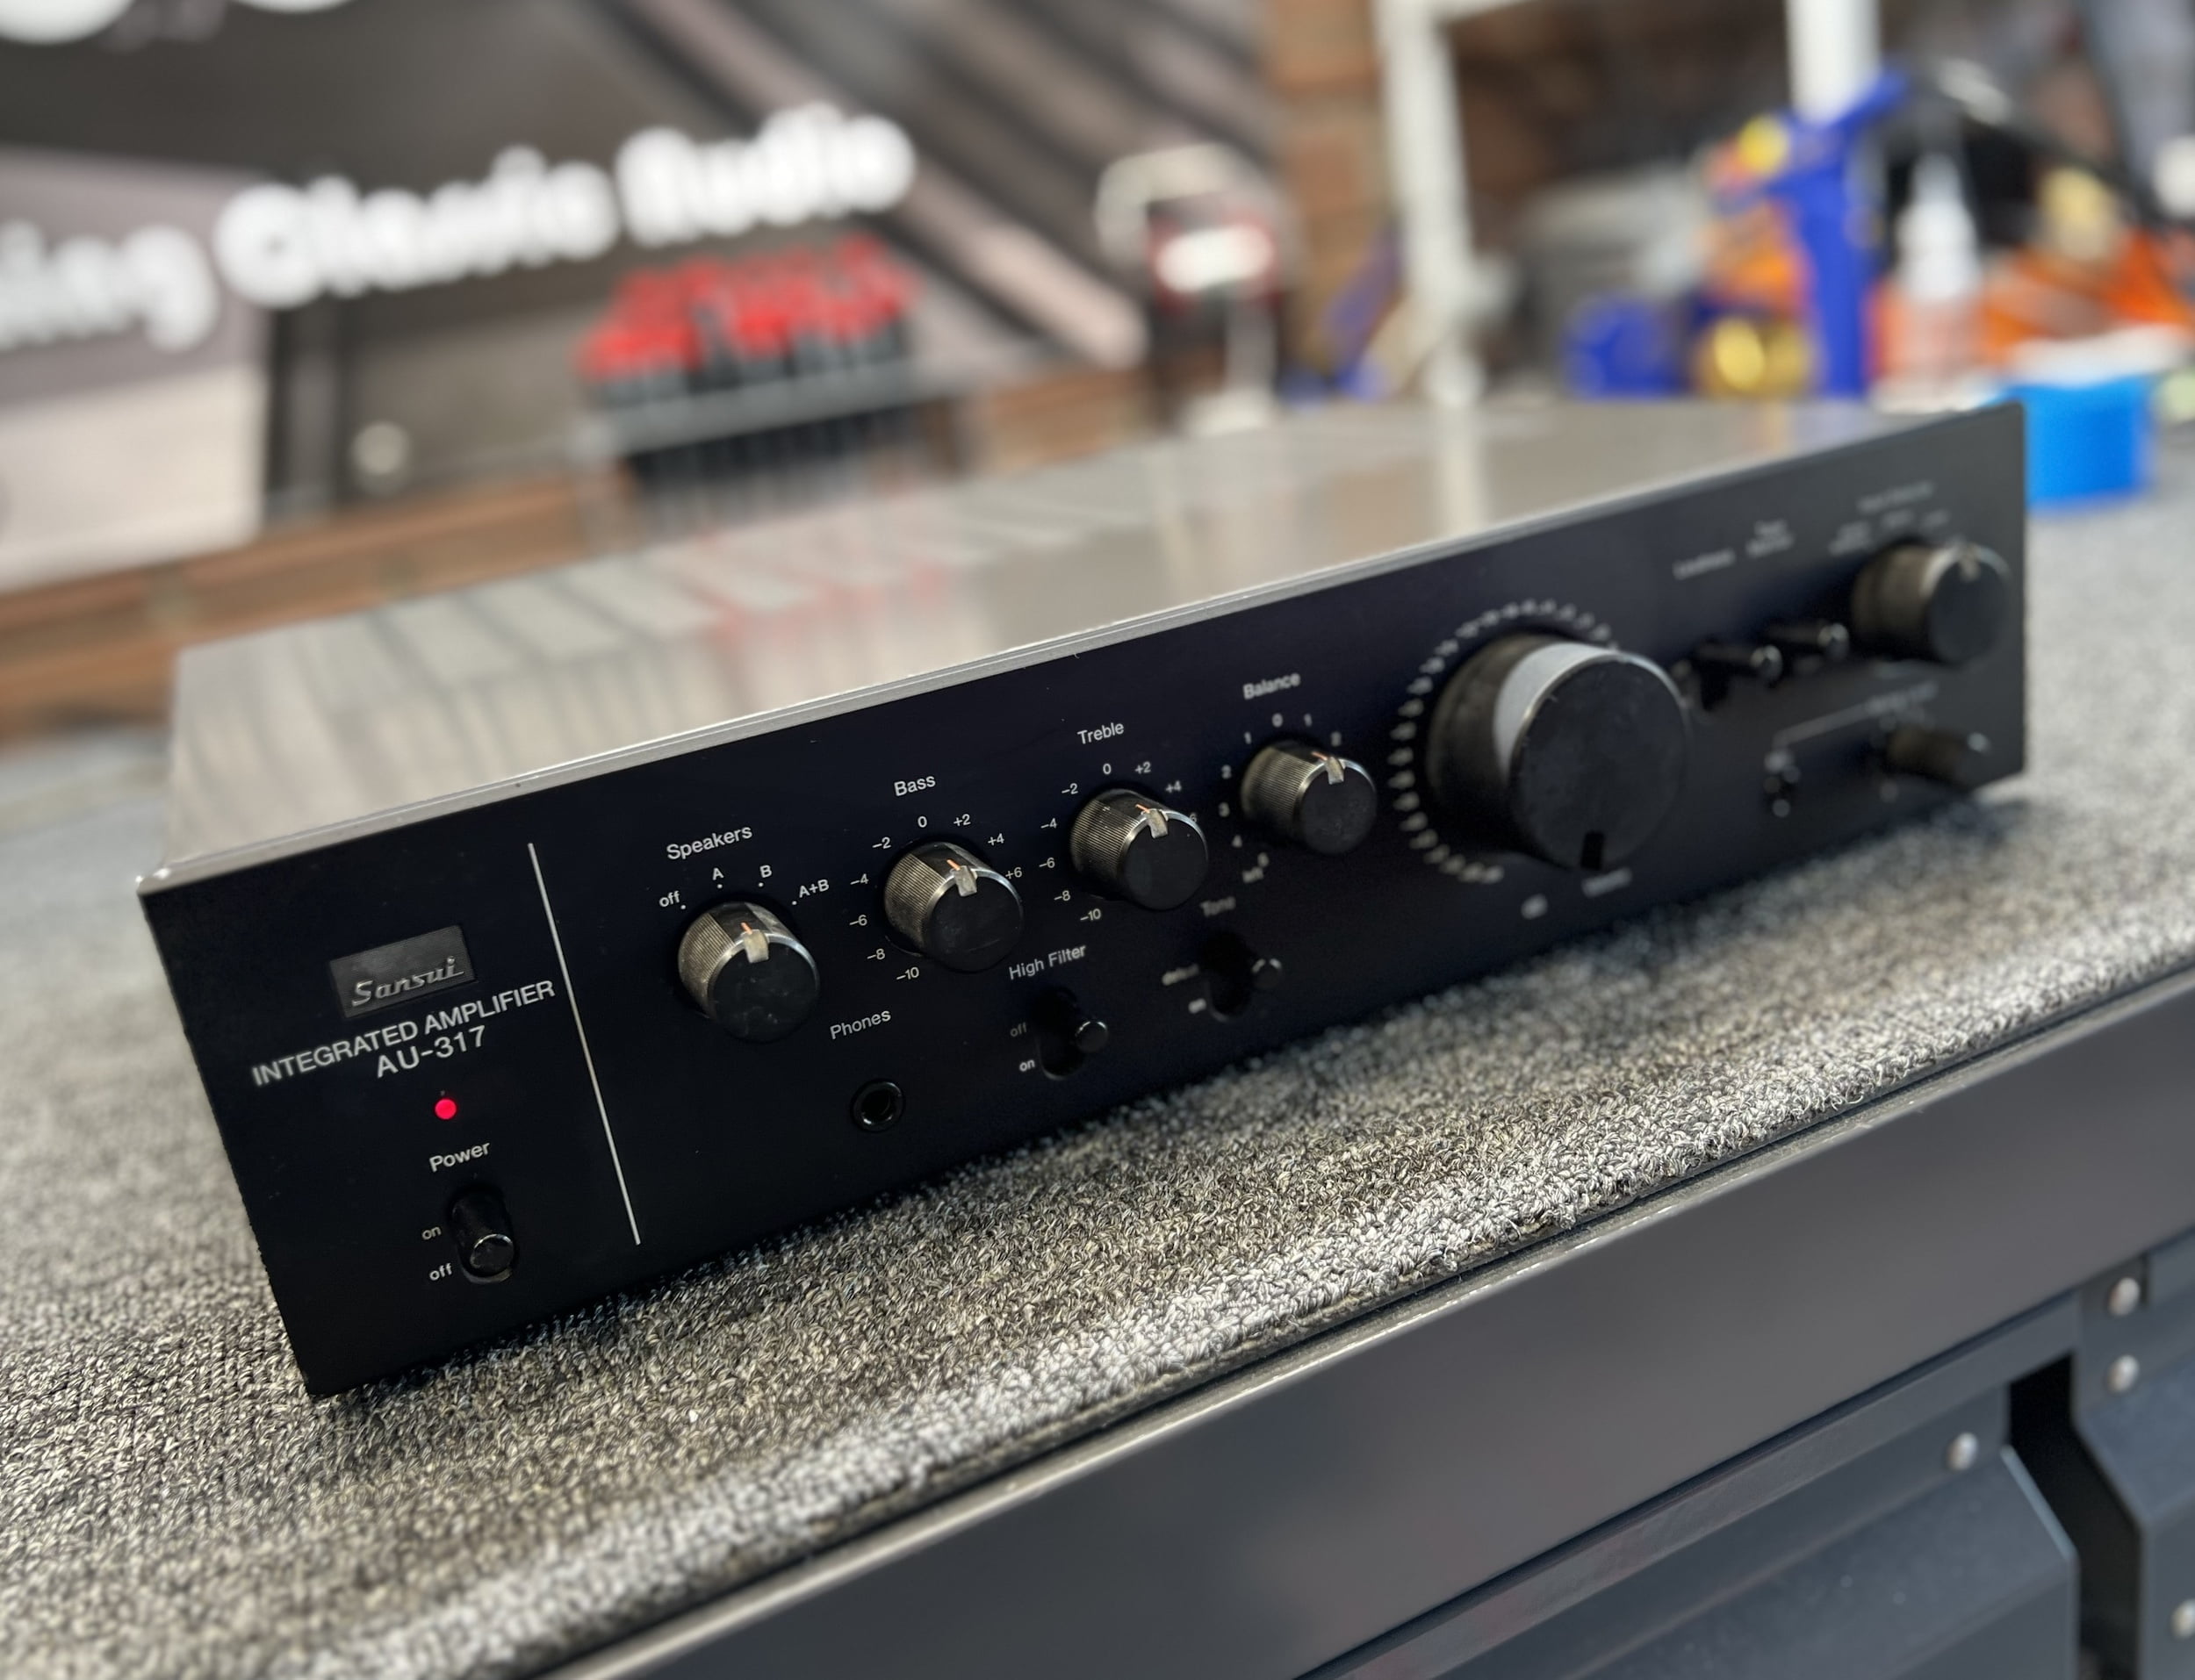
If you want to spend that much on a vintage amplifier, I suggest you take the $1500, sell the AU-317 and put all of that money into a nice Sansui AU-717, AU-819 or AU-919. That’s going to give you a far better piece of gear and bang for your buck than going crazy with an AU-317 or AU-4900.
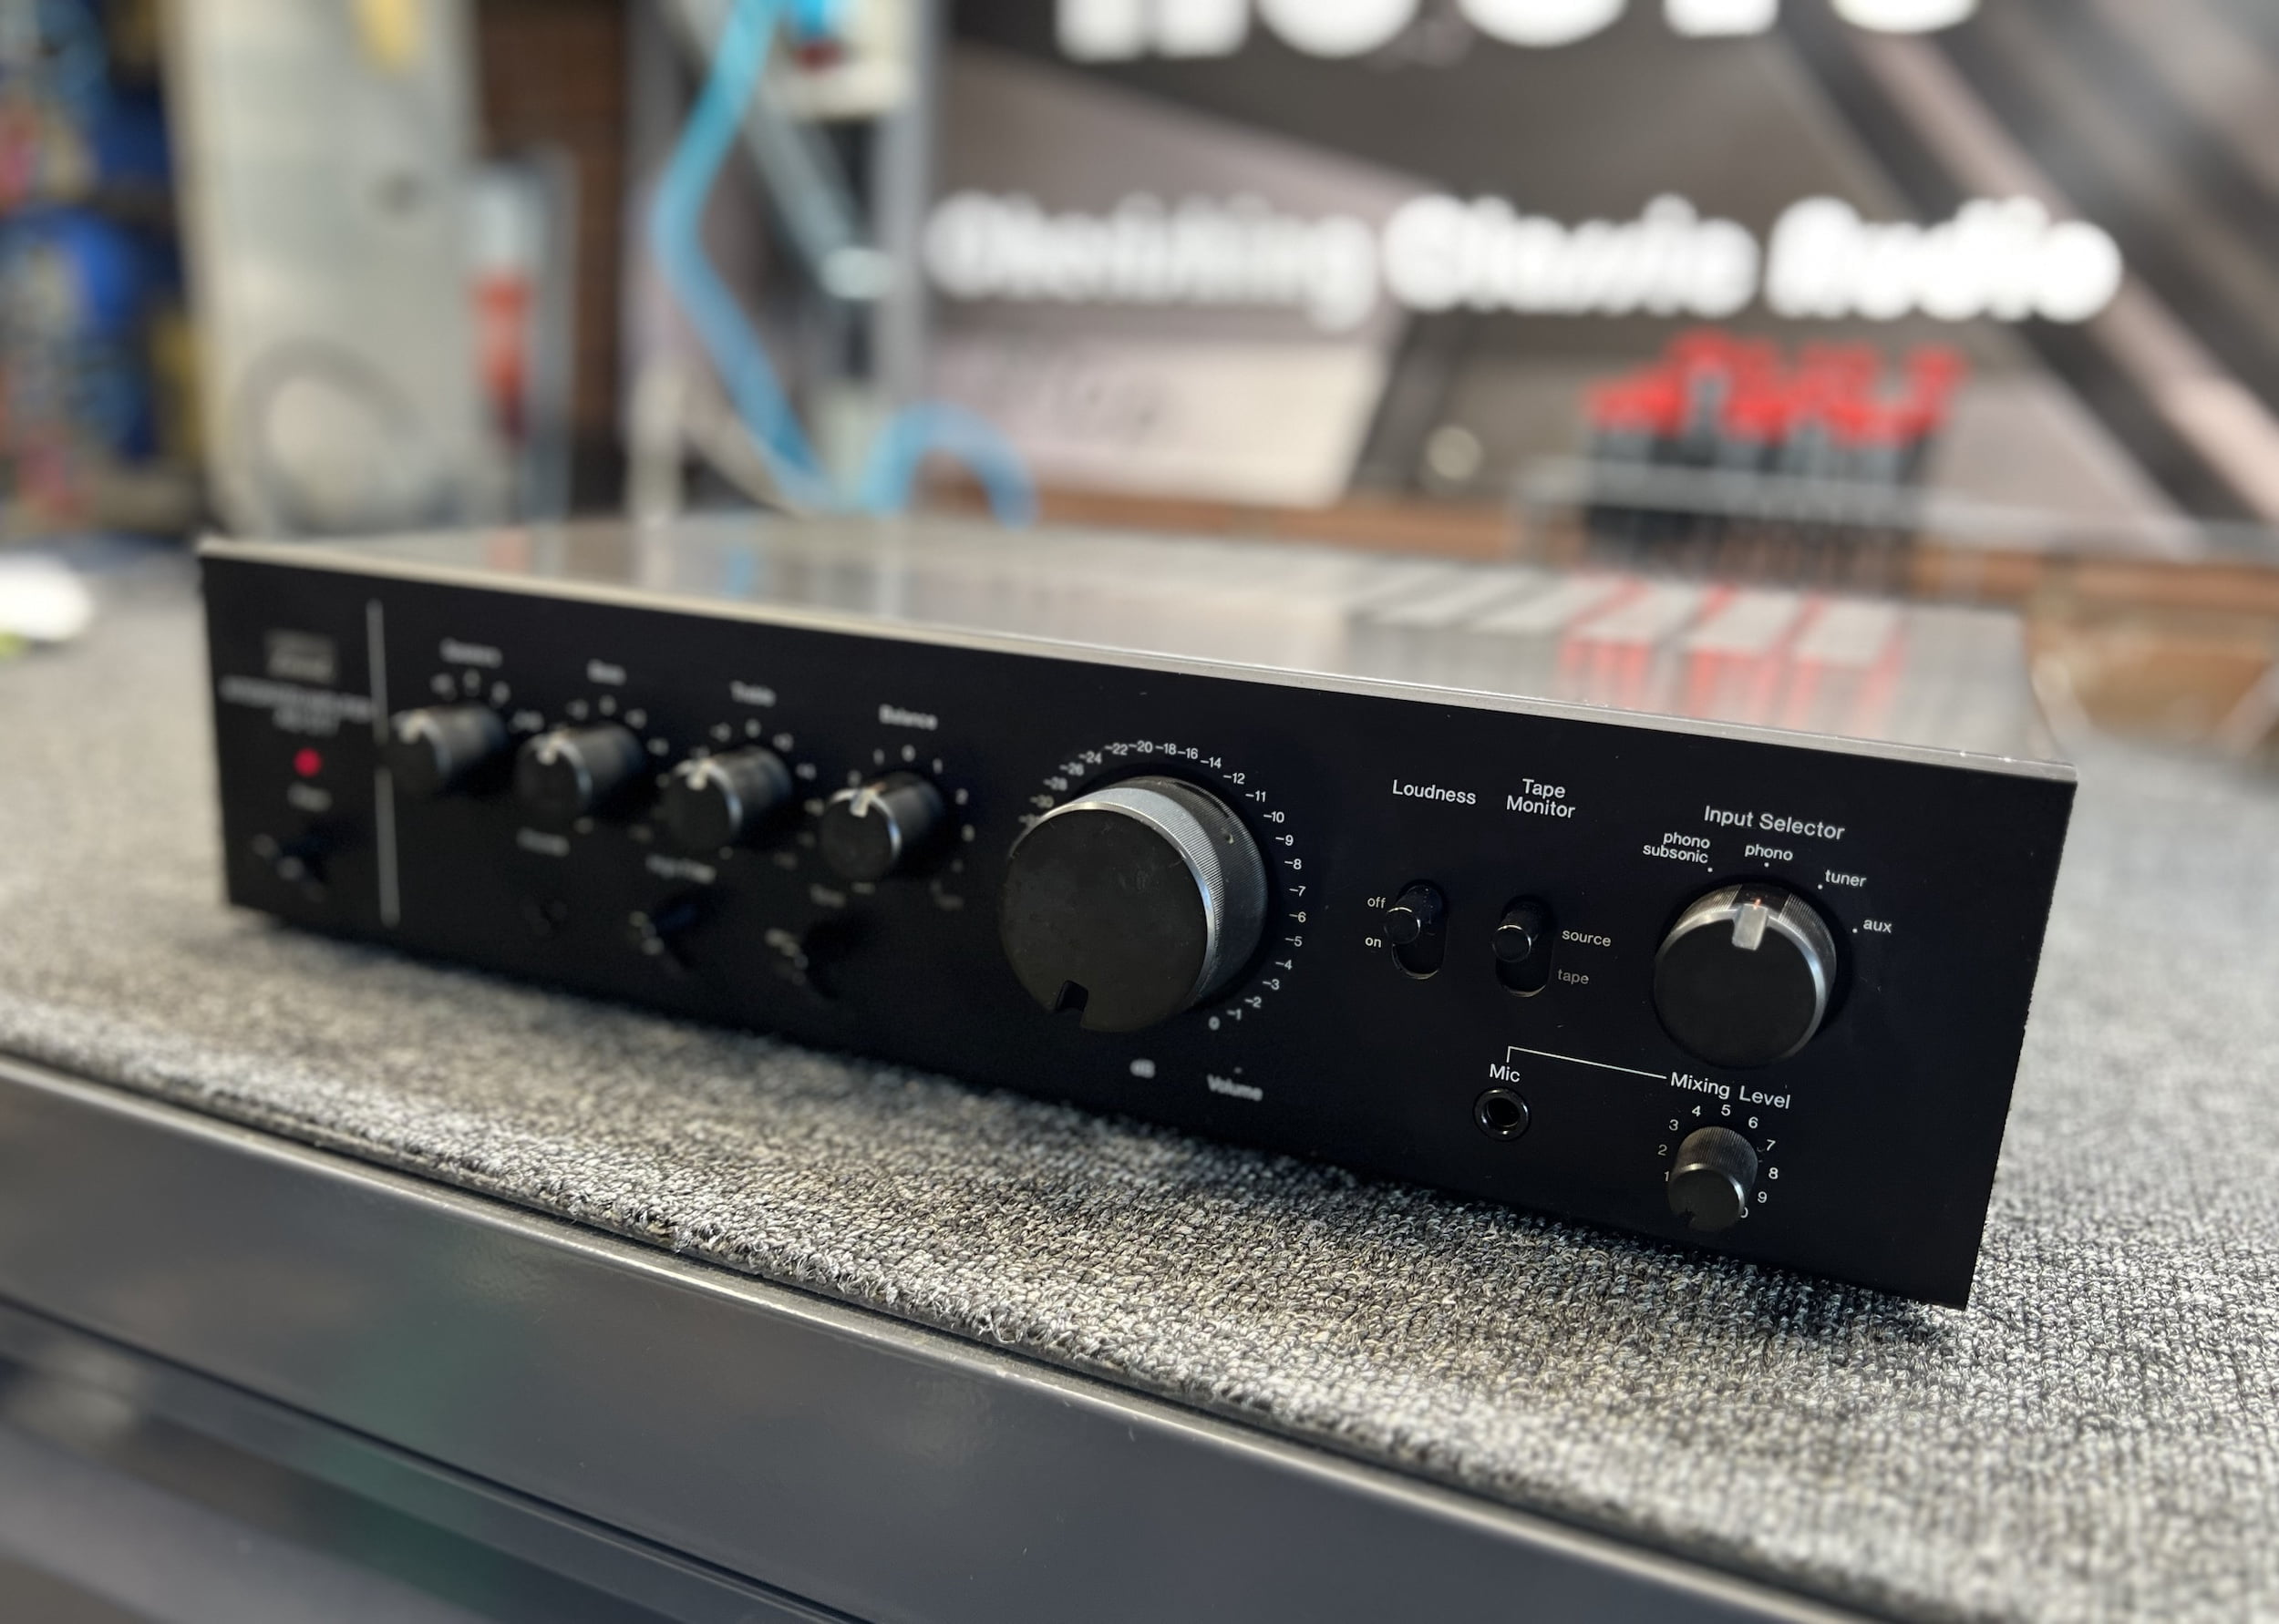
The Bottom Line
Want a beautiful-looking, great-sounding, affordable, reliable, repairable moderate-power integrated amplifier? I highly recommend you consider the Sansui AU-317 if so. These are solid, well-designed, well-made pieces of Japanese hi-fi history.
Nothing like this will be made again and at their current prices, you can’t go wrong. I’d take one of these over new plastic rubbish with Bluetooth integration every day of the week. Just take it to someone with the right approach when it needs service!
As always, thanks for reading and I hope you found this article informative. If you’d like me to look at your Sansui AU-317 or any other lovely Sansui amplifier, get in touch.
Discover more from LiQUiD AUDiO
Subscribe to get the latest posts sent to your email.

Great article!
Glad you enjoyed it!
I have an old Sansui AU 317 from my dads estate that I would like to sell if anyone is interested!? Or knows best place to move it!? It’s from my fathers estate and it’s okay condition. I am in Brisbane. Anyway I came across your article while researching this amp. I don’t know if I am out of place mentioning it here. But it be nice for it to go to someone who is interested in this. Cheers Kris
Hi Kris, not at all, you are welcome to mention it here, but you’d be better advertising it via mainstream selling channels like Gumtree, Facebook marketplace, Stereonet, etc.
What an unconscionable disaster was inflicted on that poor AU-317. Thank goodness the owner entrusted it to you! As always, an interesting and educational read from Mike, especially when it’s about a Sansui!!
Thanks Rob, this one could have been much worse but I was happy to save it for sure.
Hi Mike,
Nice work as always, and agreed the 317 is a great “little” amp. Having repaired/restored a great deal of Sansui gear over the last 10 years or so on the east coast of Australia I can attest to the failure (drift high or go open circuit) of the “current limit/fuse resistors” in nearly every amp/receiver that has these fitted. You may not be aware, on the 317 there is also a fuse resistor fitted to each channel of the Control Amp (tone control) board – R17 and R18 68ohm 1/4W. These are also invariably high in resistance or open circuit.
One other thing (typo I believe), the 317 doesn’t have a dedicated headphone amp, but it does have a dedicated Mike amp.
Keep up the great work!
Cheers
John
Hi John, thank you for the kind words and it sounds like we’ve both worked on lots of Sansui, me since 2009. You are quite right about the fusible resistors being problematic in these and many other amplifiers. I try to limit the technical detail I present in these articles a) because certain competitors seem to enjoy visiting which helps them but not me!, and b) I’m mindful of not making articles too technically ‘heavy’ for the average reader. Not a typo re the headphone amp, the whole thing essentially is a headphone amp when used with ‘phones but agreed, it doesn’t have a separate active headphone amplifier/buffer circuit. The mic amp is a classic feature I rarely mention but some will enjoy it for sure. Karaoke anyone..?!
Bravo, Mike! I’m so glad that I have you looking after my current system (the best I’ve ever owned) and with several components bought from you. I’d hate to have to take my gear to anyone else. Cheers, David
Thanks David, that’s very kind, it’s always a pleasure working with you and I look forward to assisting with whatever is next!
Hello everyone, I would like to ask, sunsui au-307 makes a beeping sound when it is turned on! What components should be replaced?
If only it were that simple, Simon! Thanks for your question though. To clarify, your question is equivalent to: “My car won’t start, what parts should be replaced?” This cannot be known without inspection, testing, and diagnosis of the issue/s. I suggest a visit to a local specialist repairer to let them fix this for you.
Hi Mike! Nice repair. I have been playing with my au 317 for a few days now and after doing a few hours of headphone listening and thinking it sounds amazing, can you explain a little bit more on how the the whole thing essentially is a headphone amp when used with ‘phones? i find this piece of gear to sound worlds nicer than my yamaha as801. I have done a/b listening with an amp switcher and my cd player playing both out of rca for the sansui and digitally with optical for the yamaha. I couldn’t believe what i was missing with this new amp. cheers!
Hi Alex, glad you enjoyed this one and are loving your AU-317. If you think that sounds nice, wait till you hear a 717 or higher! The AU-317 does not utilise a seperate headphone buffer amplifier circuit, rather it takes the main amplifier output and simply feeds it through limiting resistors to the ‘phones, like many amplifiers of this period. For most ‘normal’ headphones this works pretty well and cuts down on extra and often unnecessary components. It sounds like you are hearing that for yourself. An integrated amplifier like the A-S801 is so heavily compromised with everything they jam into it that I’m not at all surprised you prefer the 317, despite its lower power rating. I still use one as my bench test amplifier, lovely things!