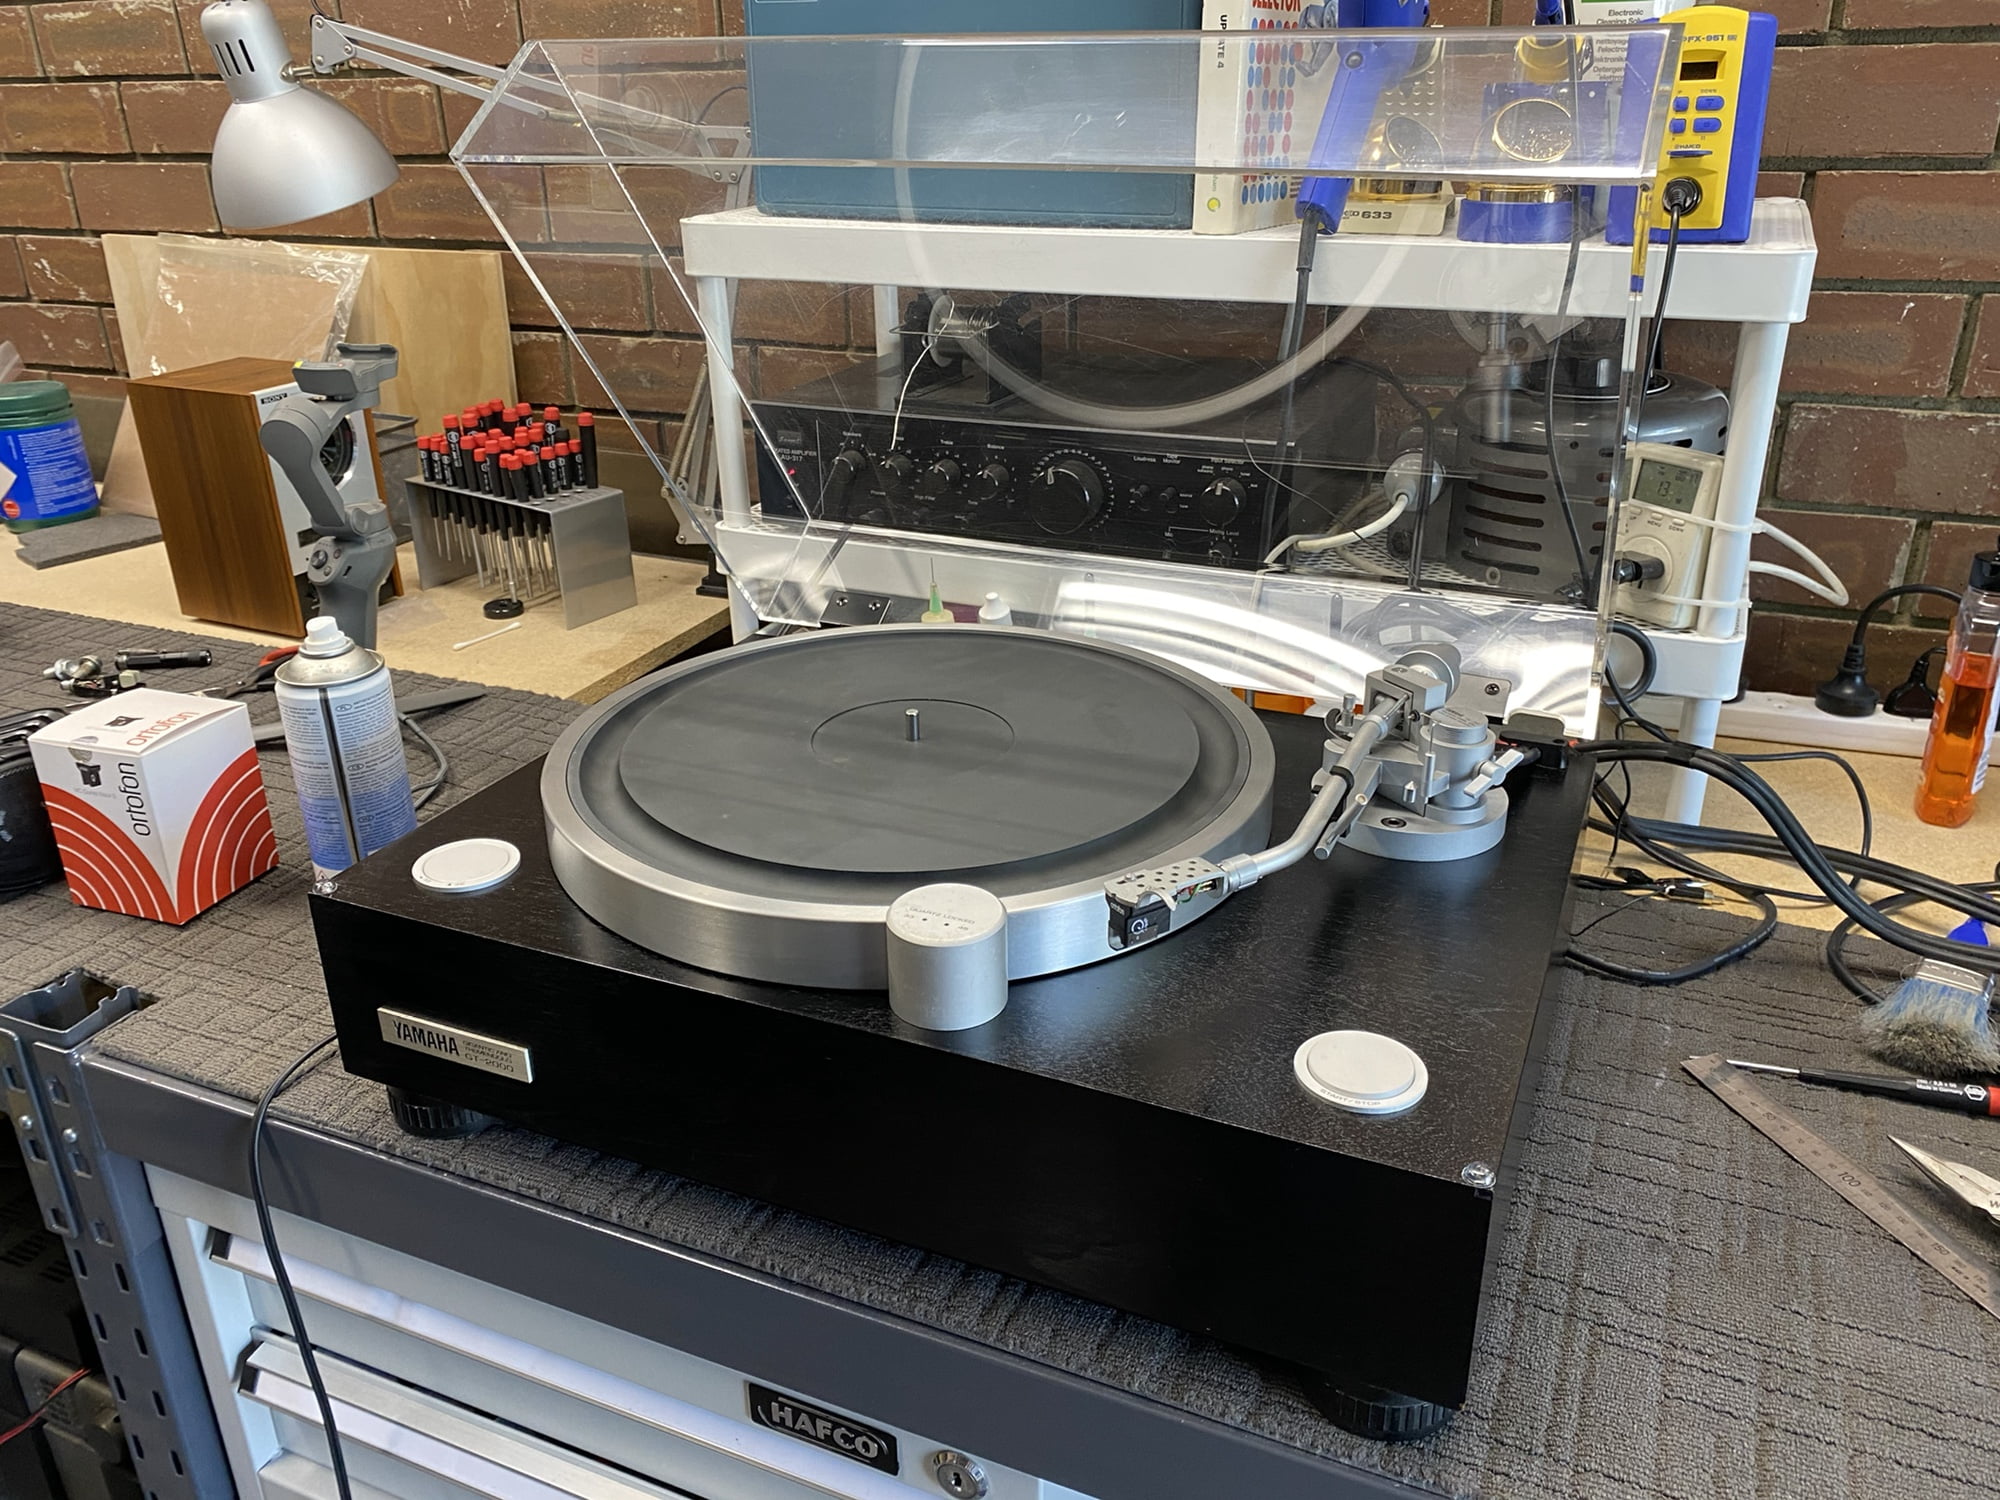
The Yamaha GT-2000 is one of my favourite golden-era turntables. Let’s take one of the first published looks inside this great deck.
It’s true, I do love the Yamaha GT-2000 direct drive turntable and have written about the model several times. I’ve reviewed a Yamaha GT-2000 and documented replacing the audio cable with a custom-made Mogami cable I built for that machine. I’ve also covered other GT-2000 setup tweaks and considerations. Bottom line: you’d take a GT-2000 over the new Yamaha GT-5000, any day, and you’d save about 10K!
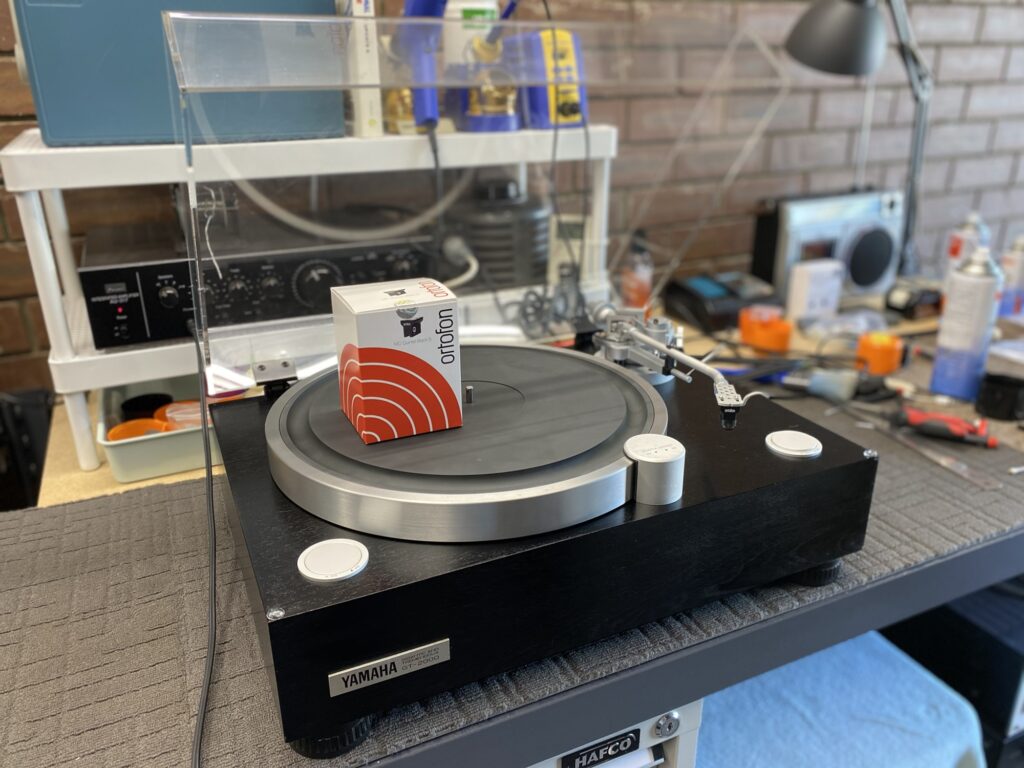
This time, however, we take a really deep dive inside a customer’s recently imported GT-2000. I check the motor, spindle bearing, and circuitry, and then look at how I care for the chassis of a deck like this and fit a beautiful Ortofon Quintet Black S MC cartridge.
A quick note: As I’m sure readers are aware, until articles like this one are created – an intense and time-consuming process – they generally don’t exist. I’ve never seen an article like this one before, that’s why I create them. If you enjoy this one, you can support my endeavours by liking, sharing, subscribing, and even making a donation in the footer.
If you need specs and other details on why the Yamaha GT-2000 is one of the great turntables, check out my GT-2000 review. As always, visit the Vintage Knob for more great Yamaha GT-2000 info!
Stay tuned here for a video about this major service, as soon as I get a chance to edit it.
Straight Outta Japan
This Yamaha GT-2000 came almost directly from Japan to me, via my customer. This is a new customer and we had a few chats on the phone about turntables, what I recommended and so on. I have to point out the obvious here – this is part of the advantage in speaking with a specialist. I persuaded him to consider upgrading from a Pro-Ject turntable to one of these beasts. I don’t think he’d even considered it prior to reading my articles and speaking with me.
After a few conversations, he’d ordered a GT-2000 from a vendor I recommended in Japan. Great result. Seriously, this is like going from 1 to 10, like going from a Hyundai Getz to a Mercedes G-Wagon, straight to the pointy end of analog audio. Talk about an upgrade. But I reckon this is what the hi-fi hobby is all about, learning, listening, trying new equipment, speaking with people who give us a better understanding, and so on.
Anyway, let’s get into it.
Inspection
The Yamaha GT-2000 came here partly for a post-purchase inspection, testing, service and set-up. As will become evident, time is needed to properly go through, assess, service and set up a deck like this. The first part is always to inspect the package. Is everything there? Are all the accessories included? Is there any obvious damage? Is the main bearing OK?
This was the first issue I found. There was excessive clearance or free-play in the spindle bearing of this deck. I knew this because of my previous experience with this model and with other high-end turntables and I have data saved based on my measurements with other similar decks. I was able to considerably improve this though, more on this later. Everything else appeared OK, a great start.
Deep Cleaning & Rejuvenation
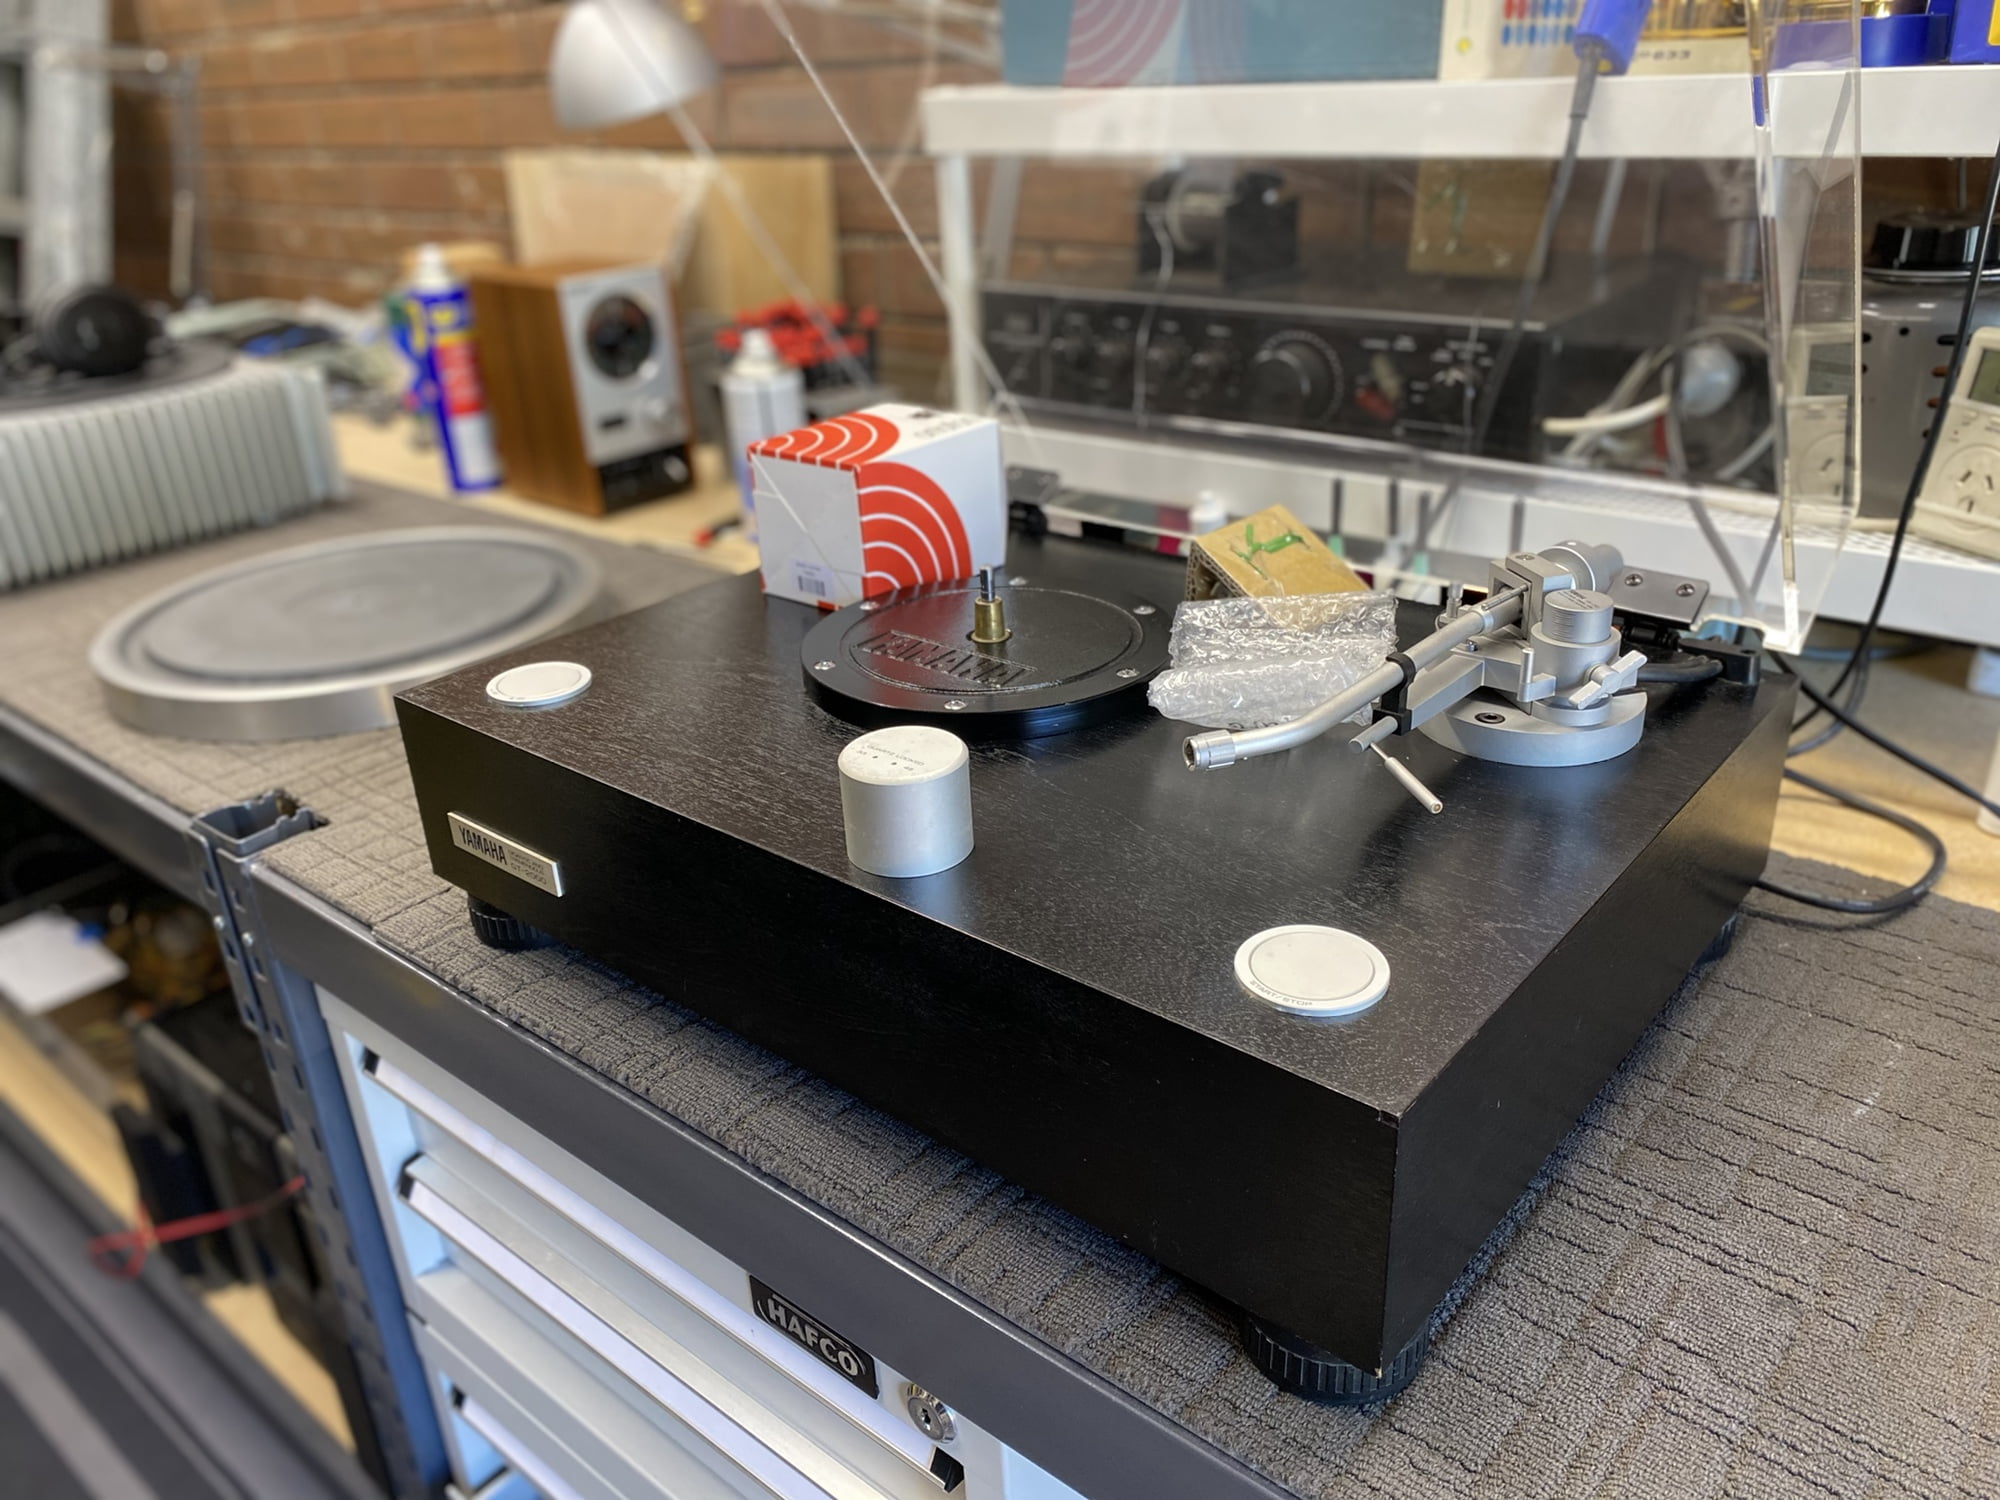
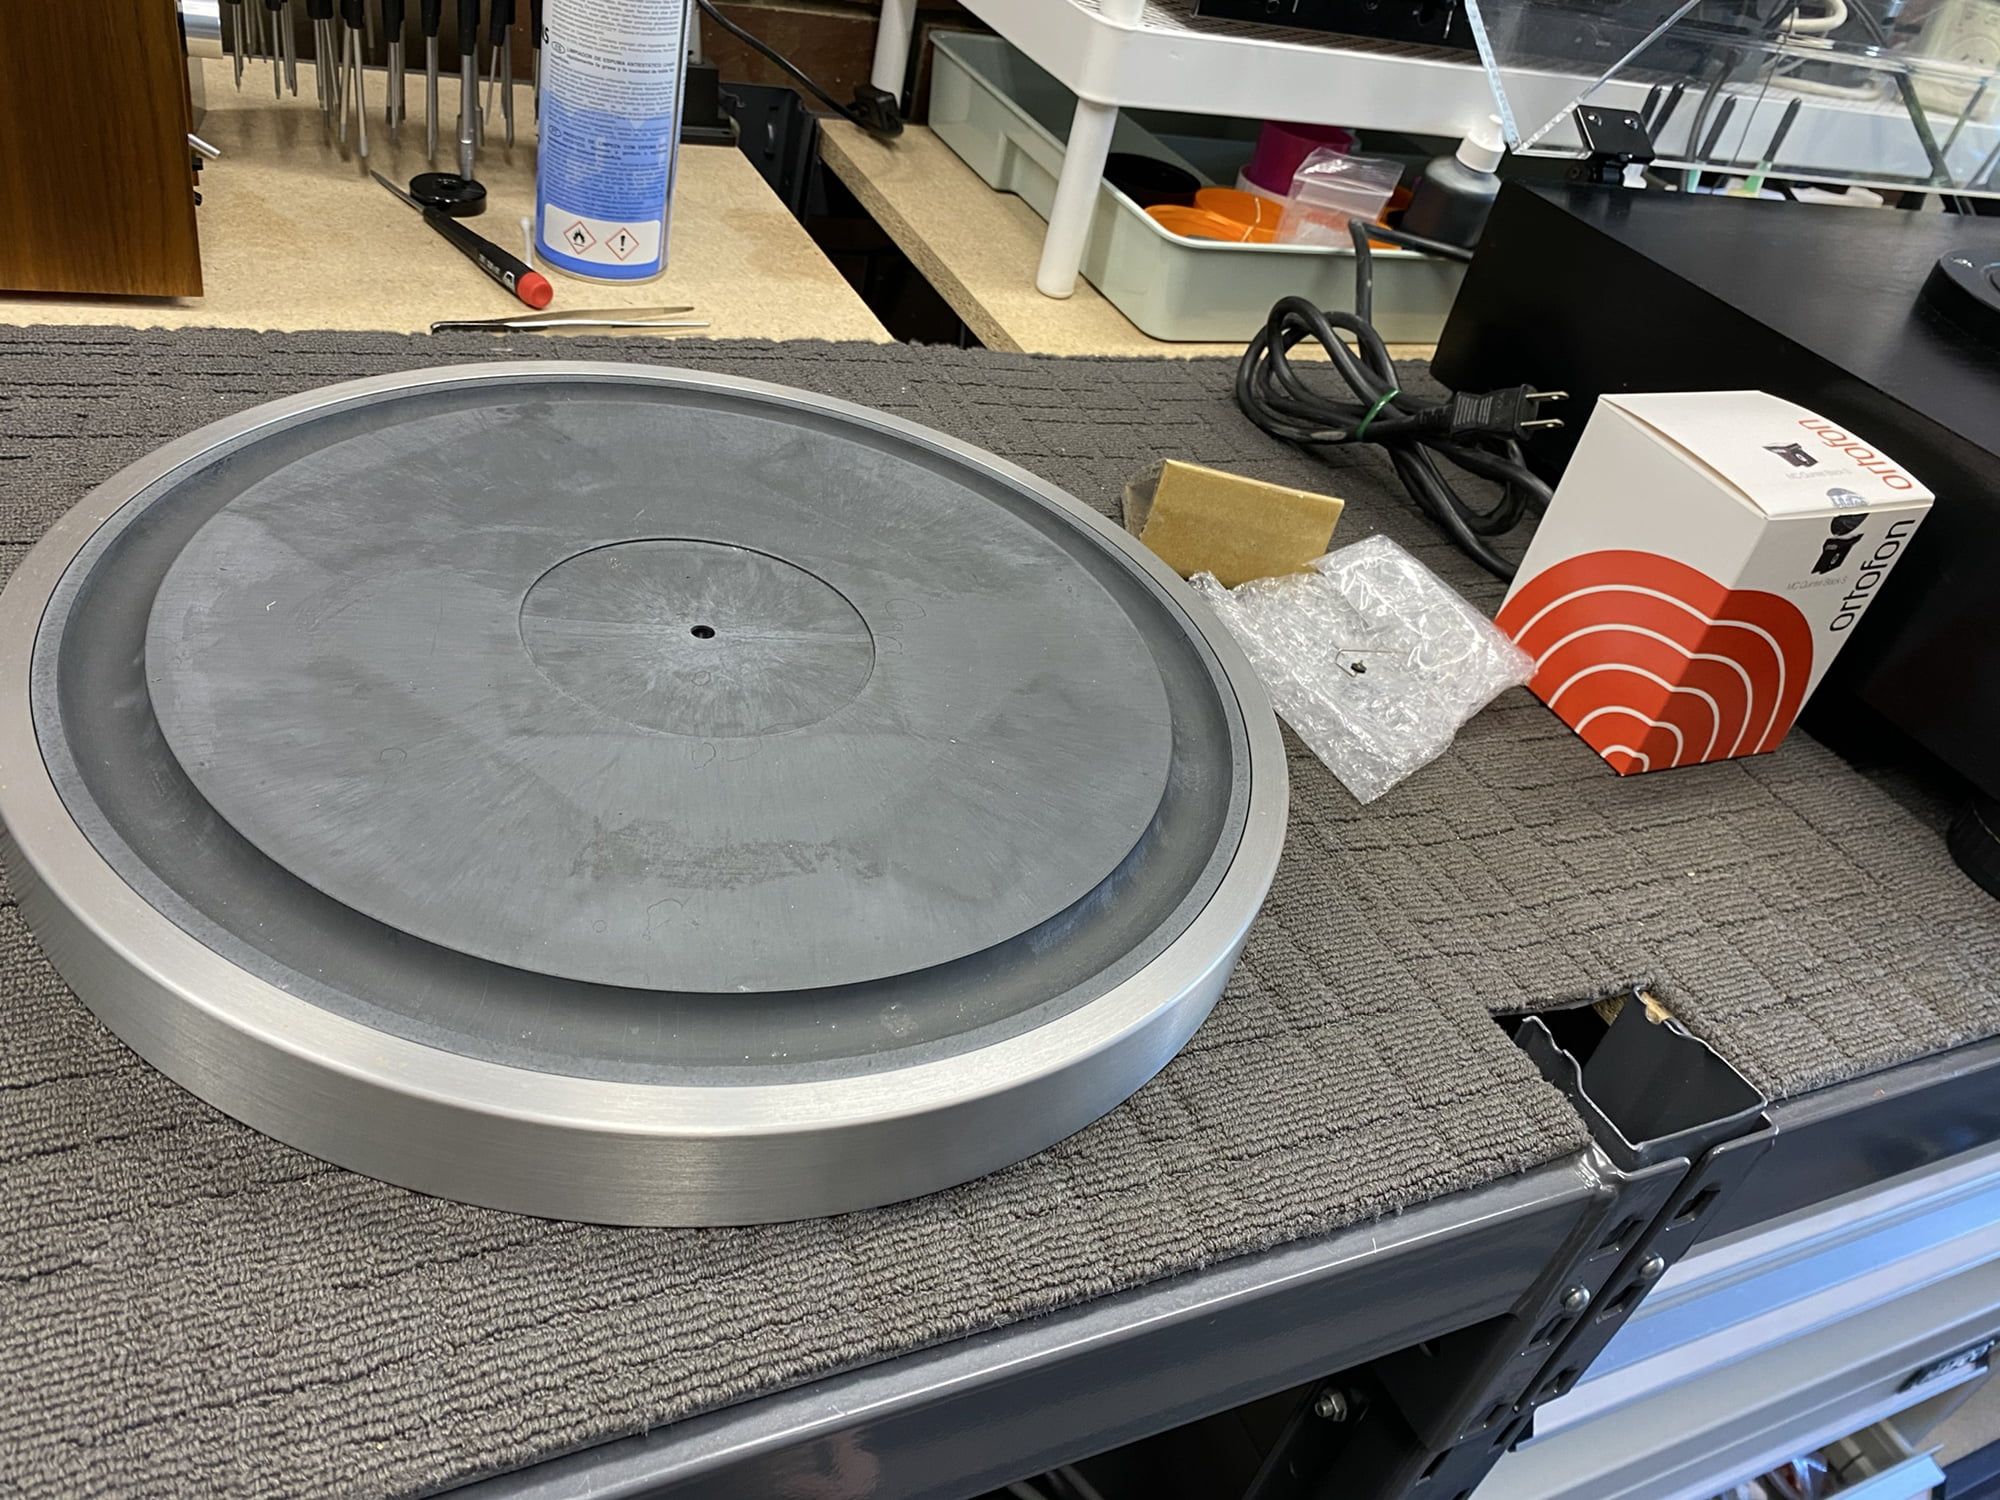
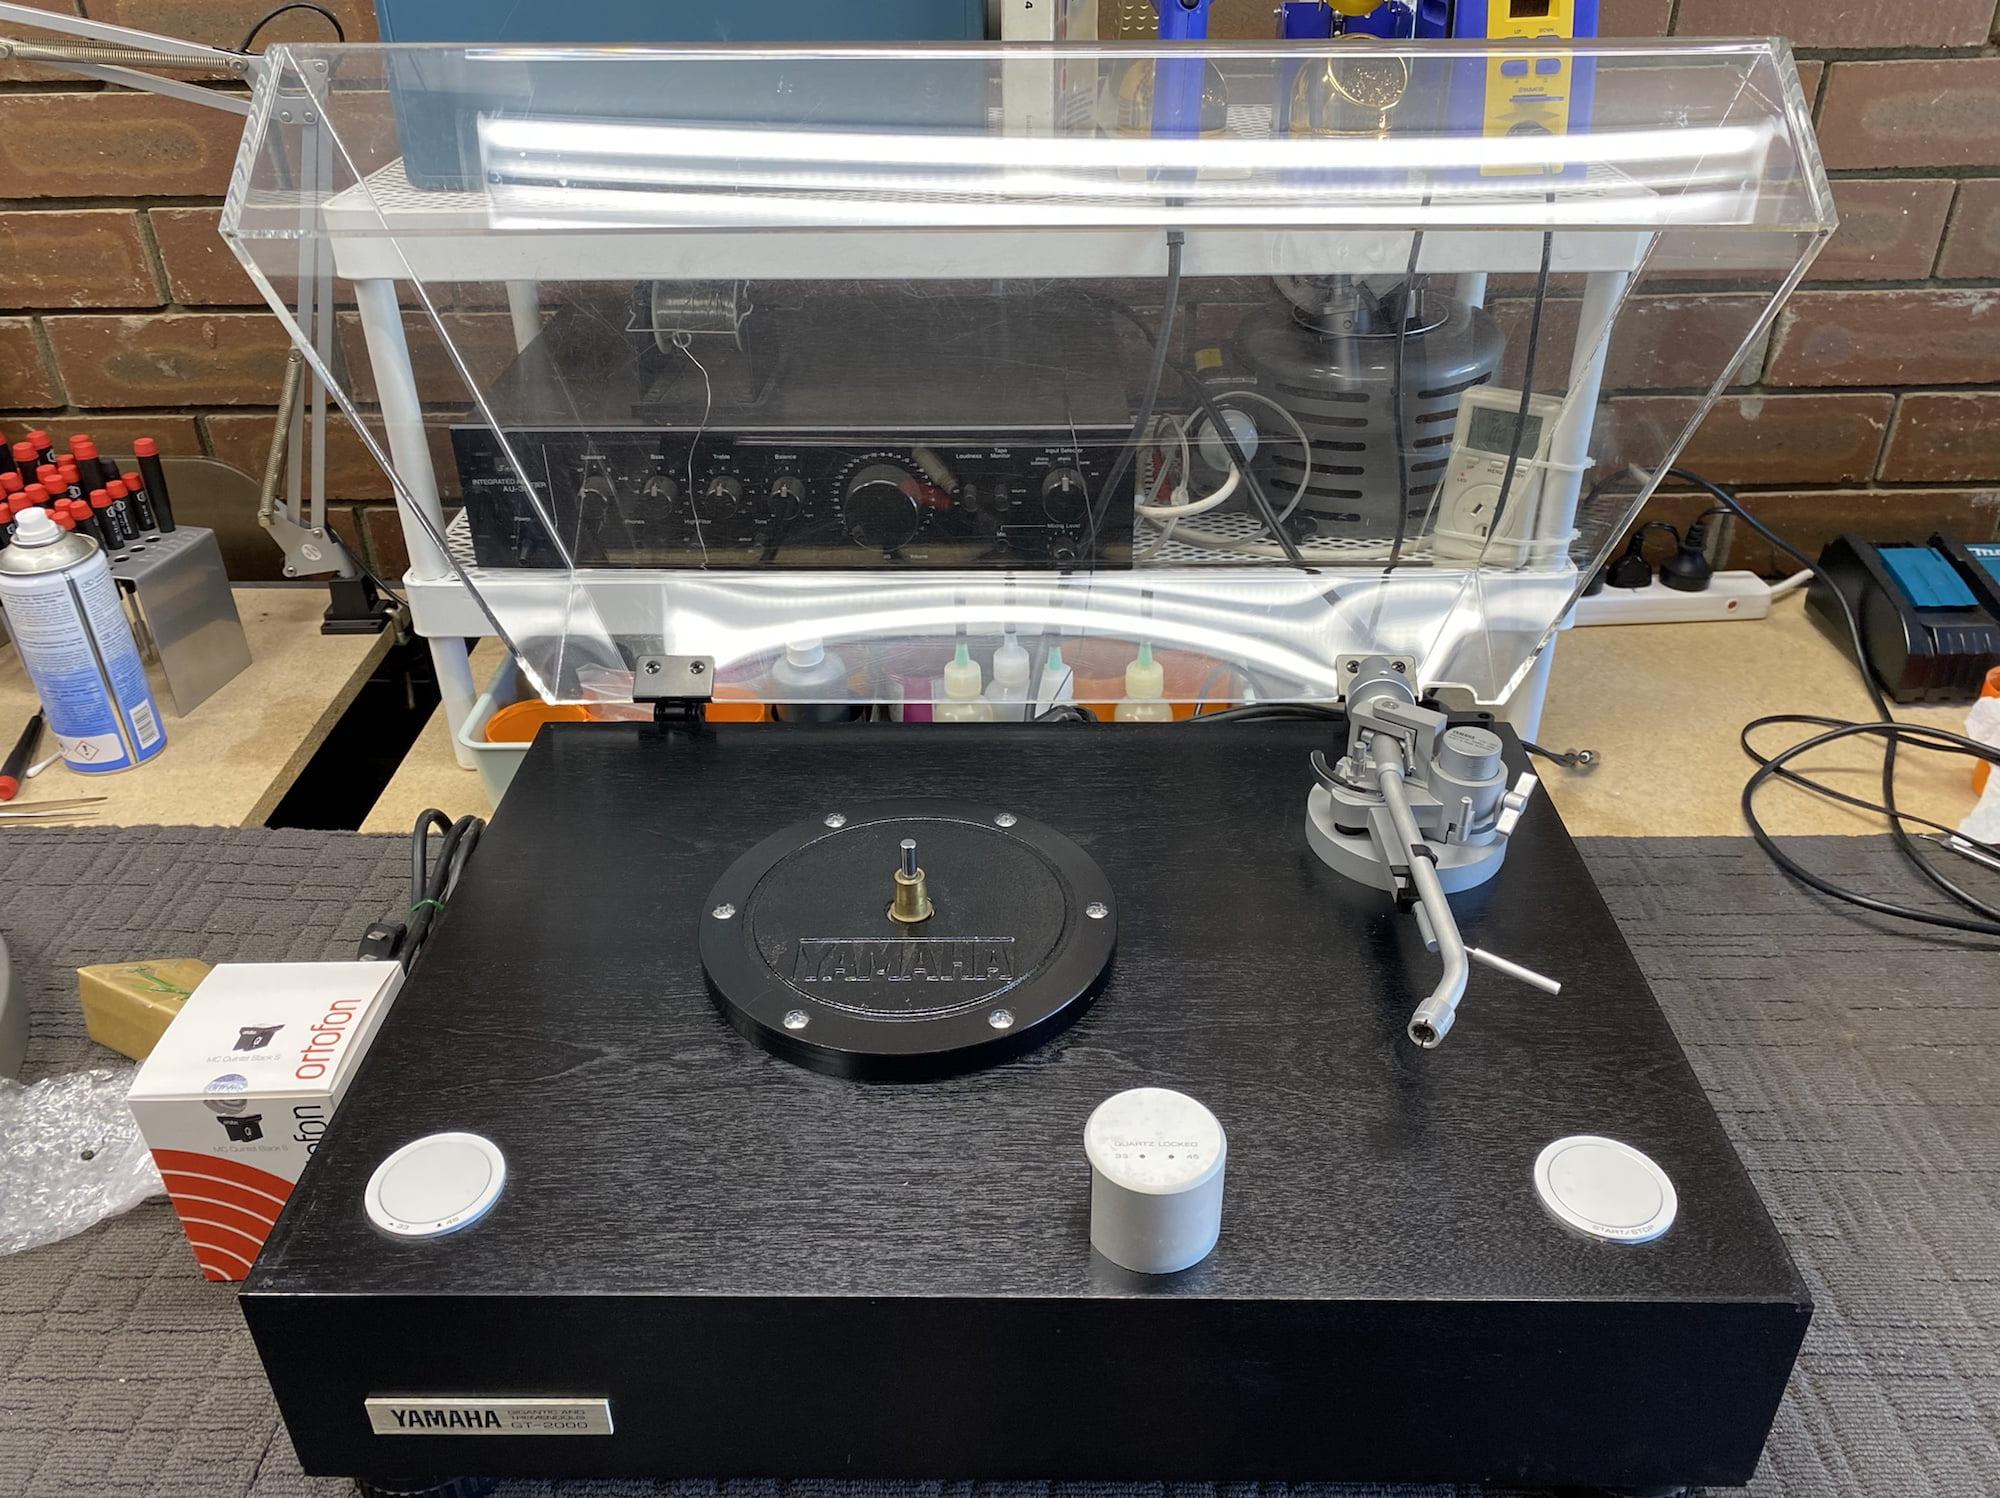
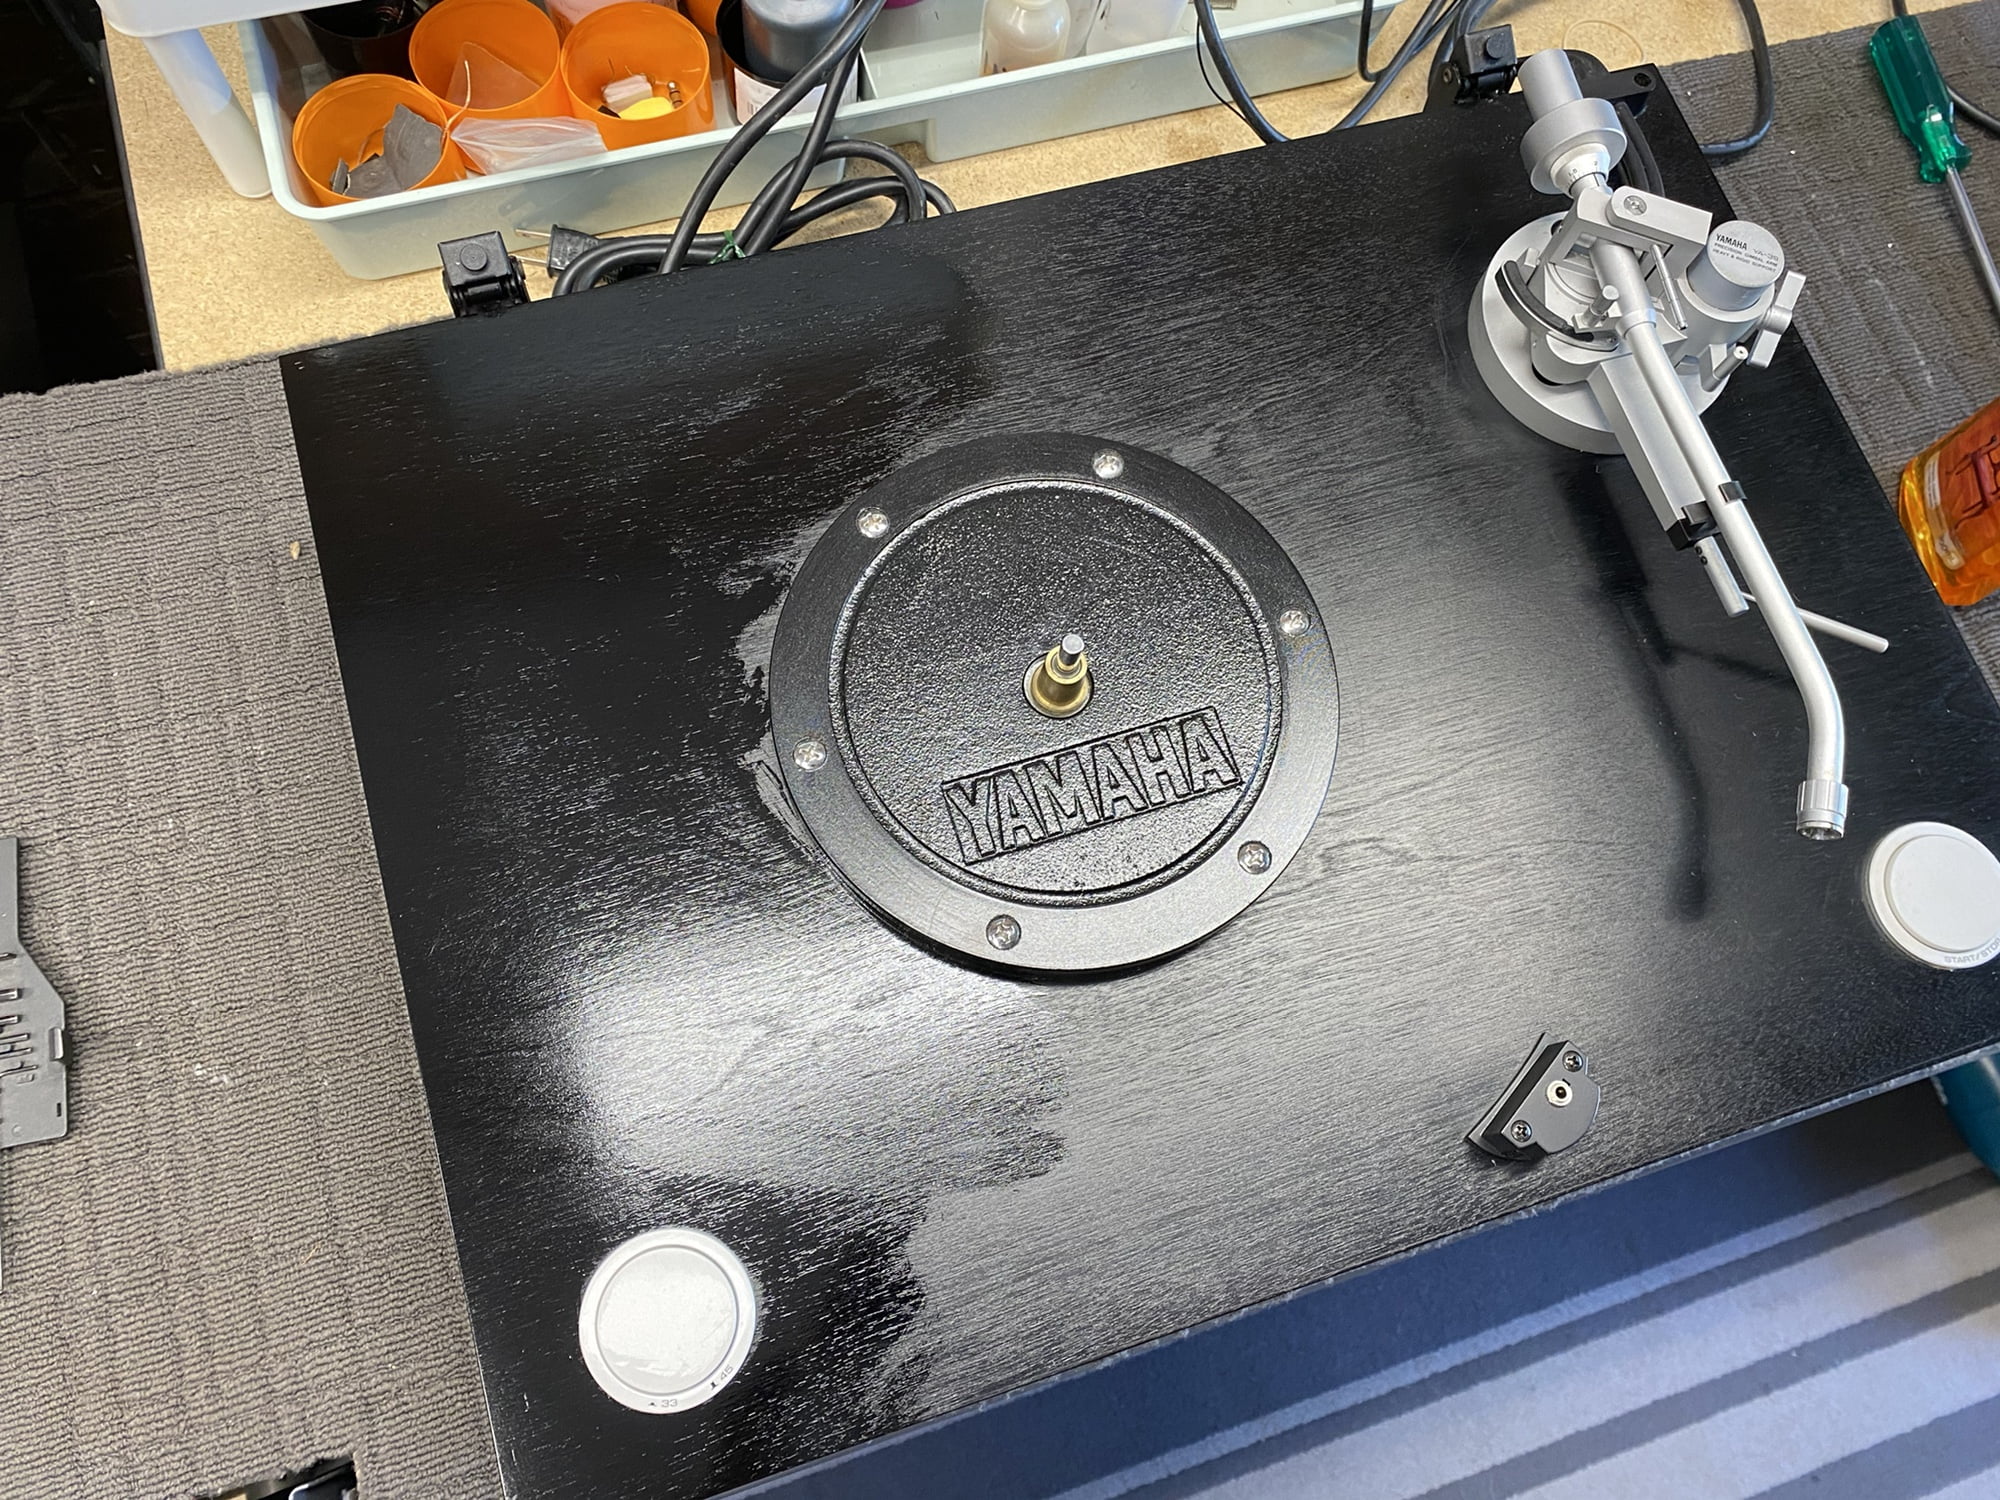
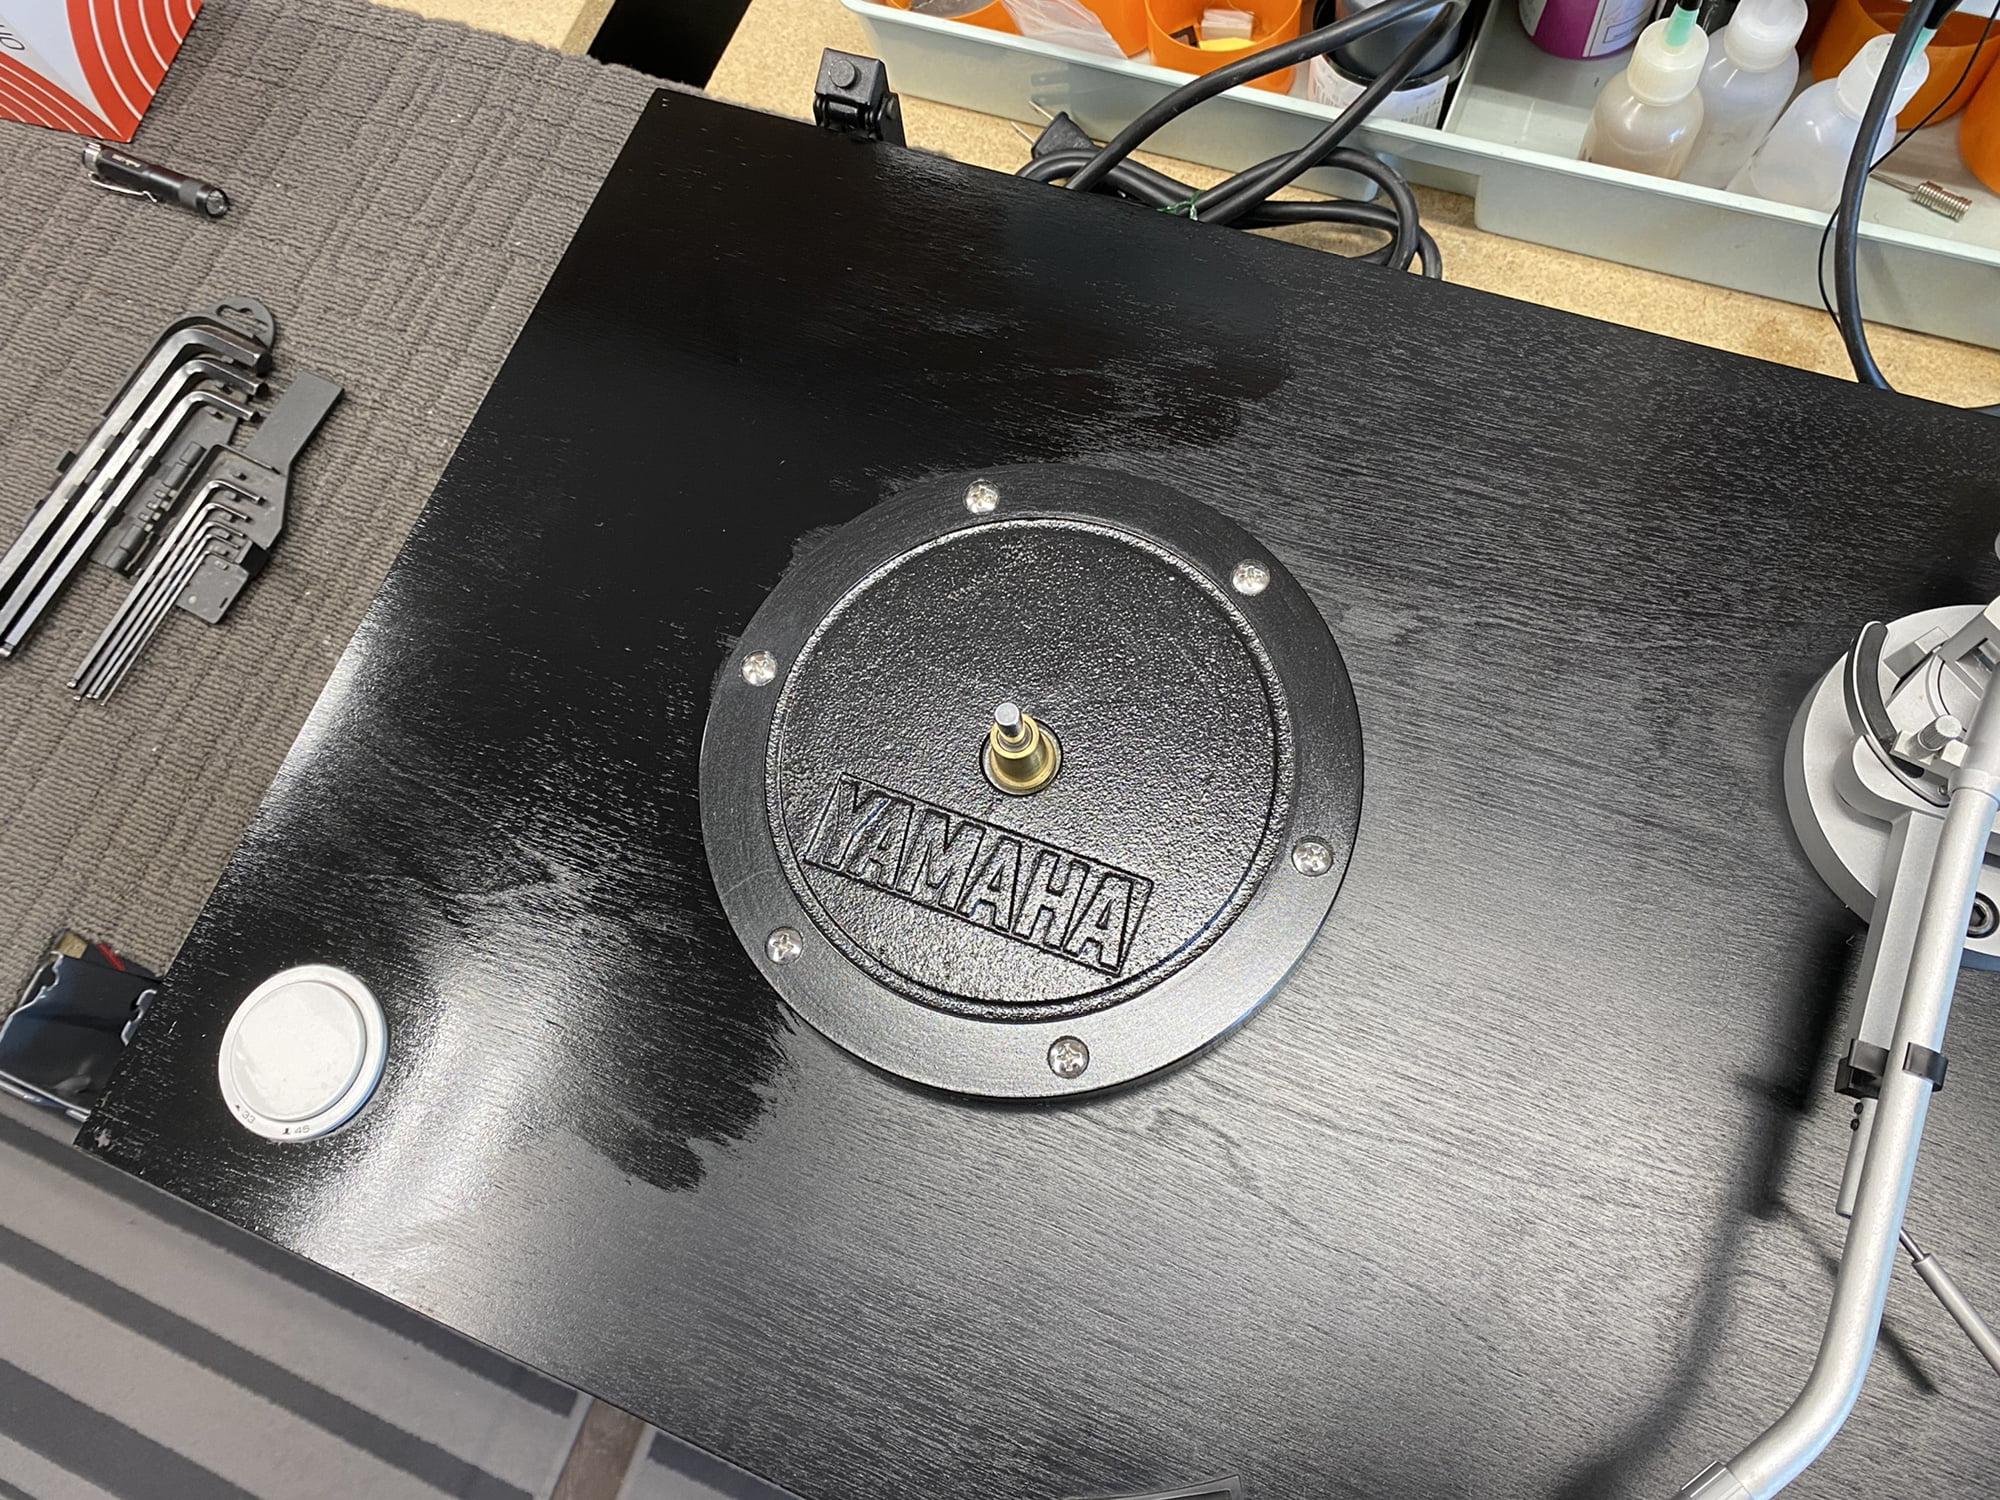
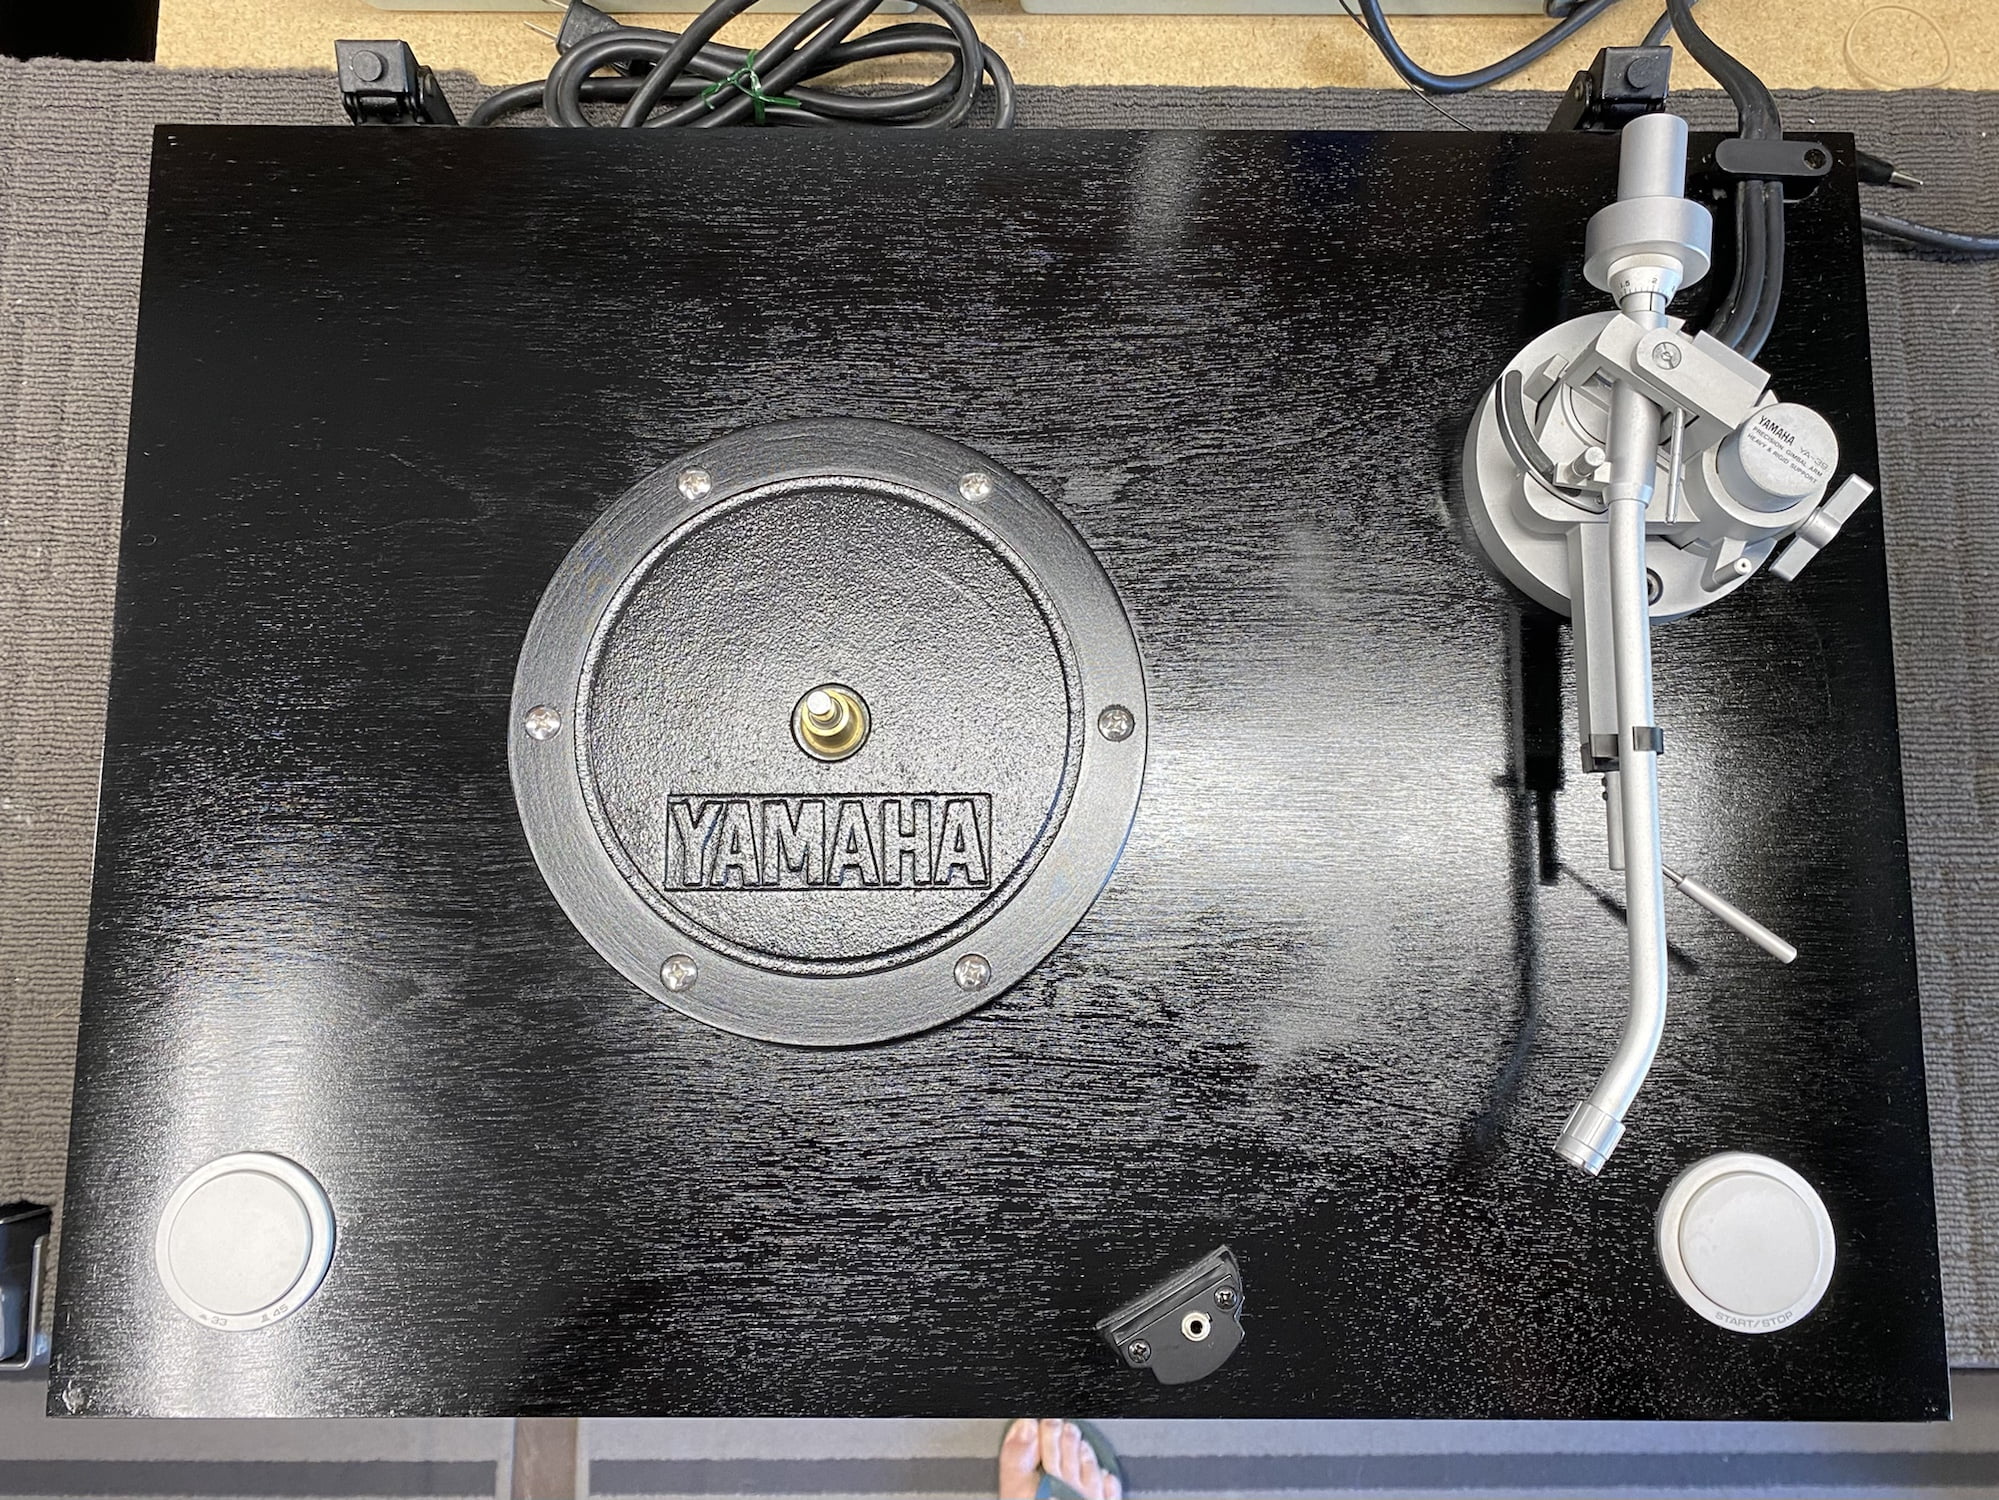
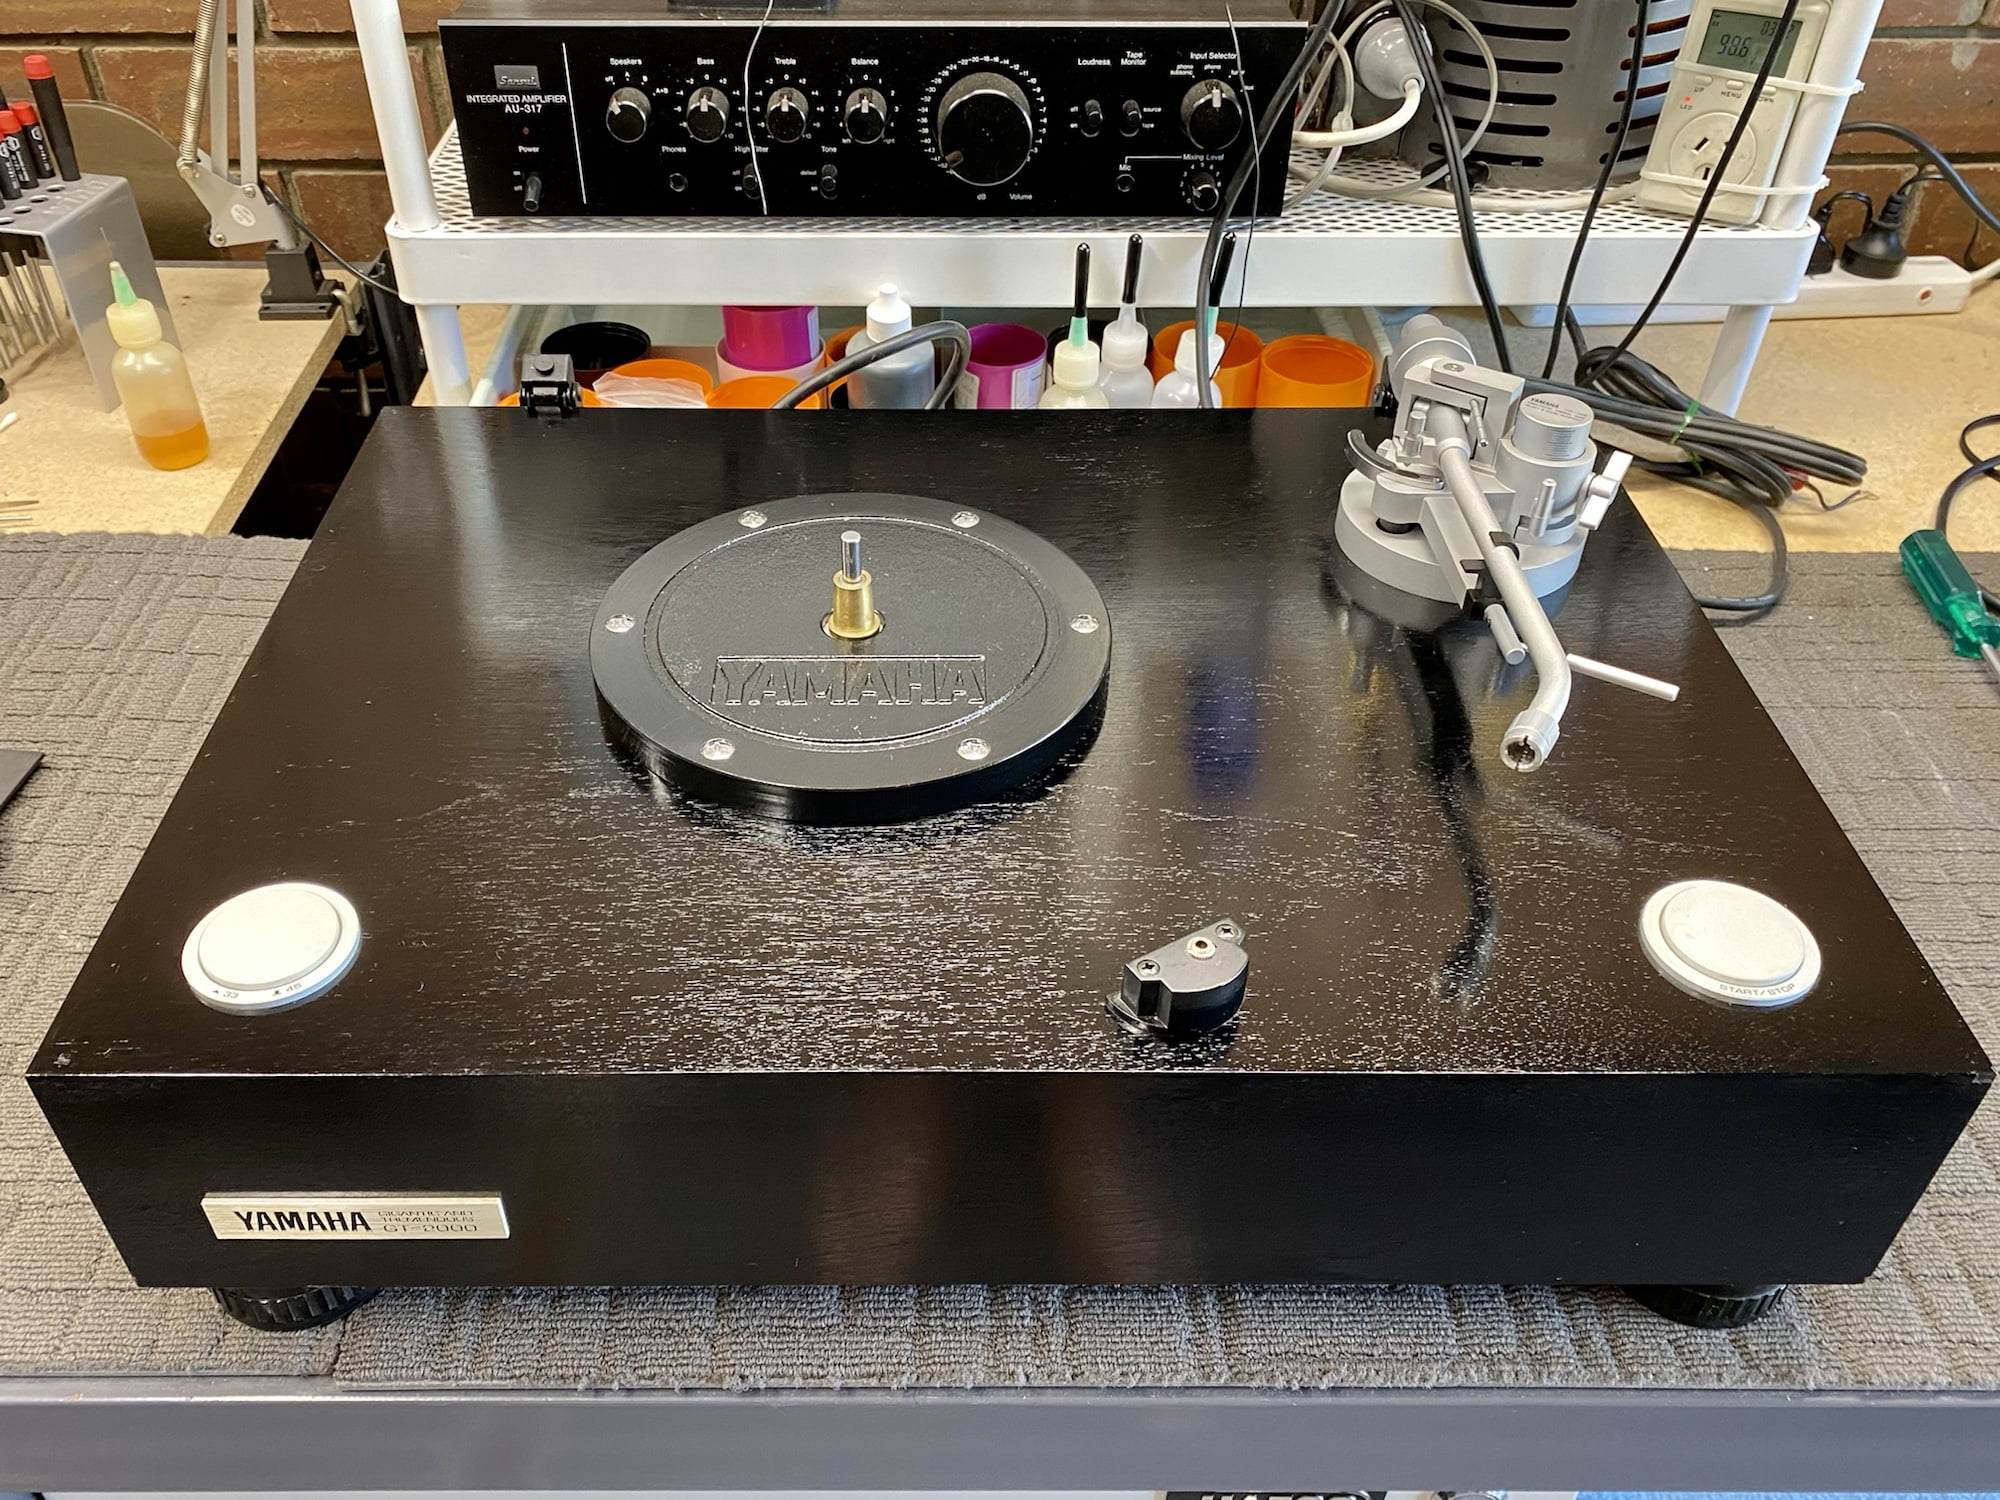
The cleaning process for me is always quite relaxing, more so on large turntables like this one. I always start by removing whatever parts I can and all loose dust and dirt using a very soft brush. I then usually go over the chassis and check the torque of all fasteners, the tonearm, lid and motor fasteners in particular.
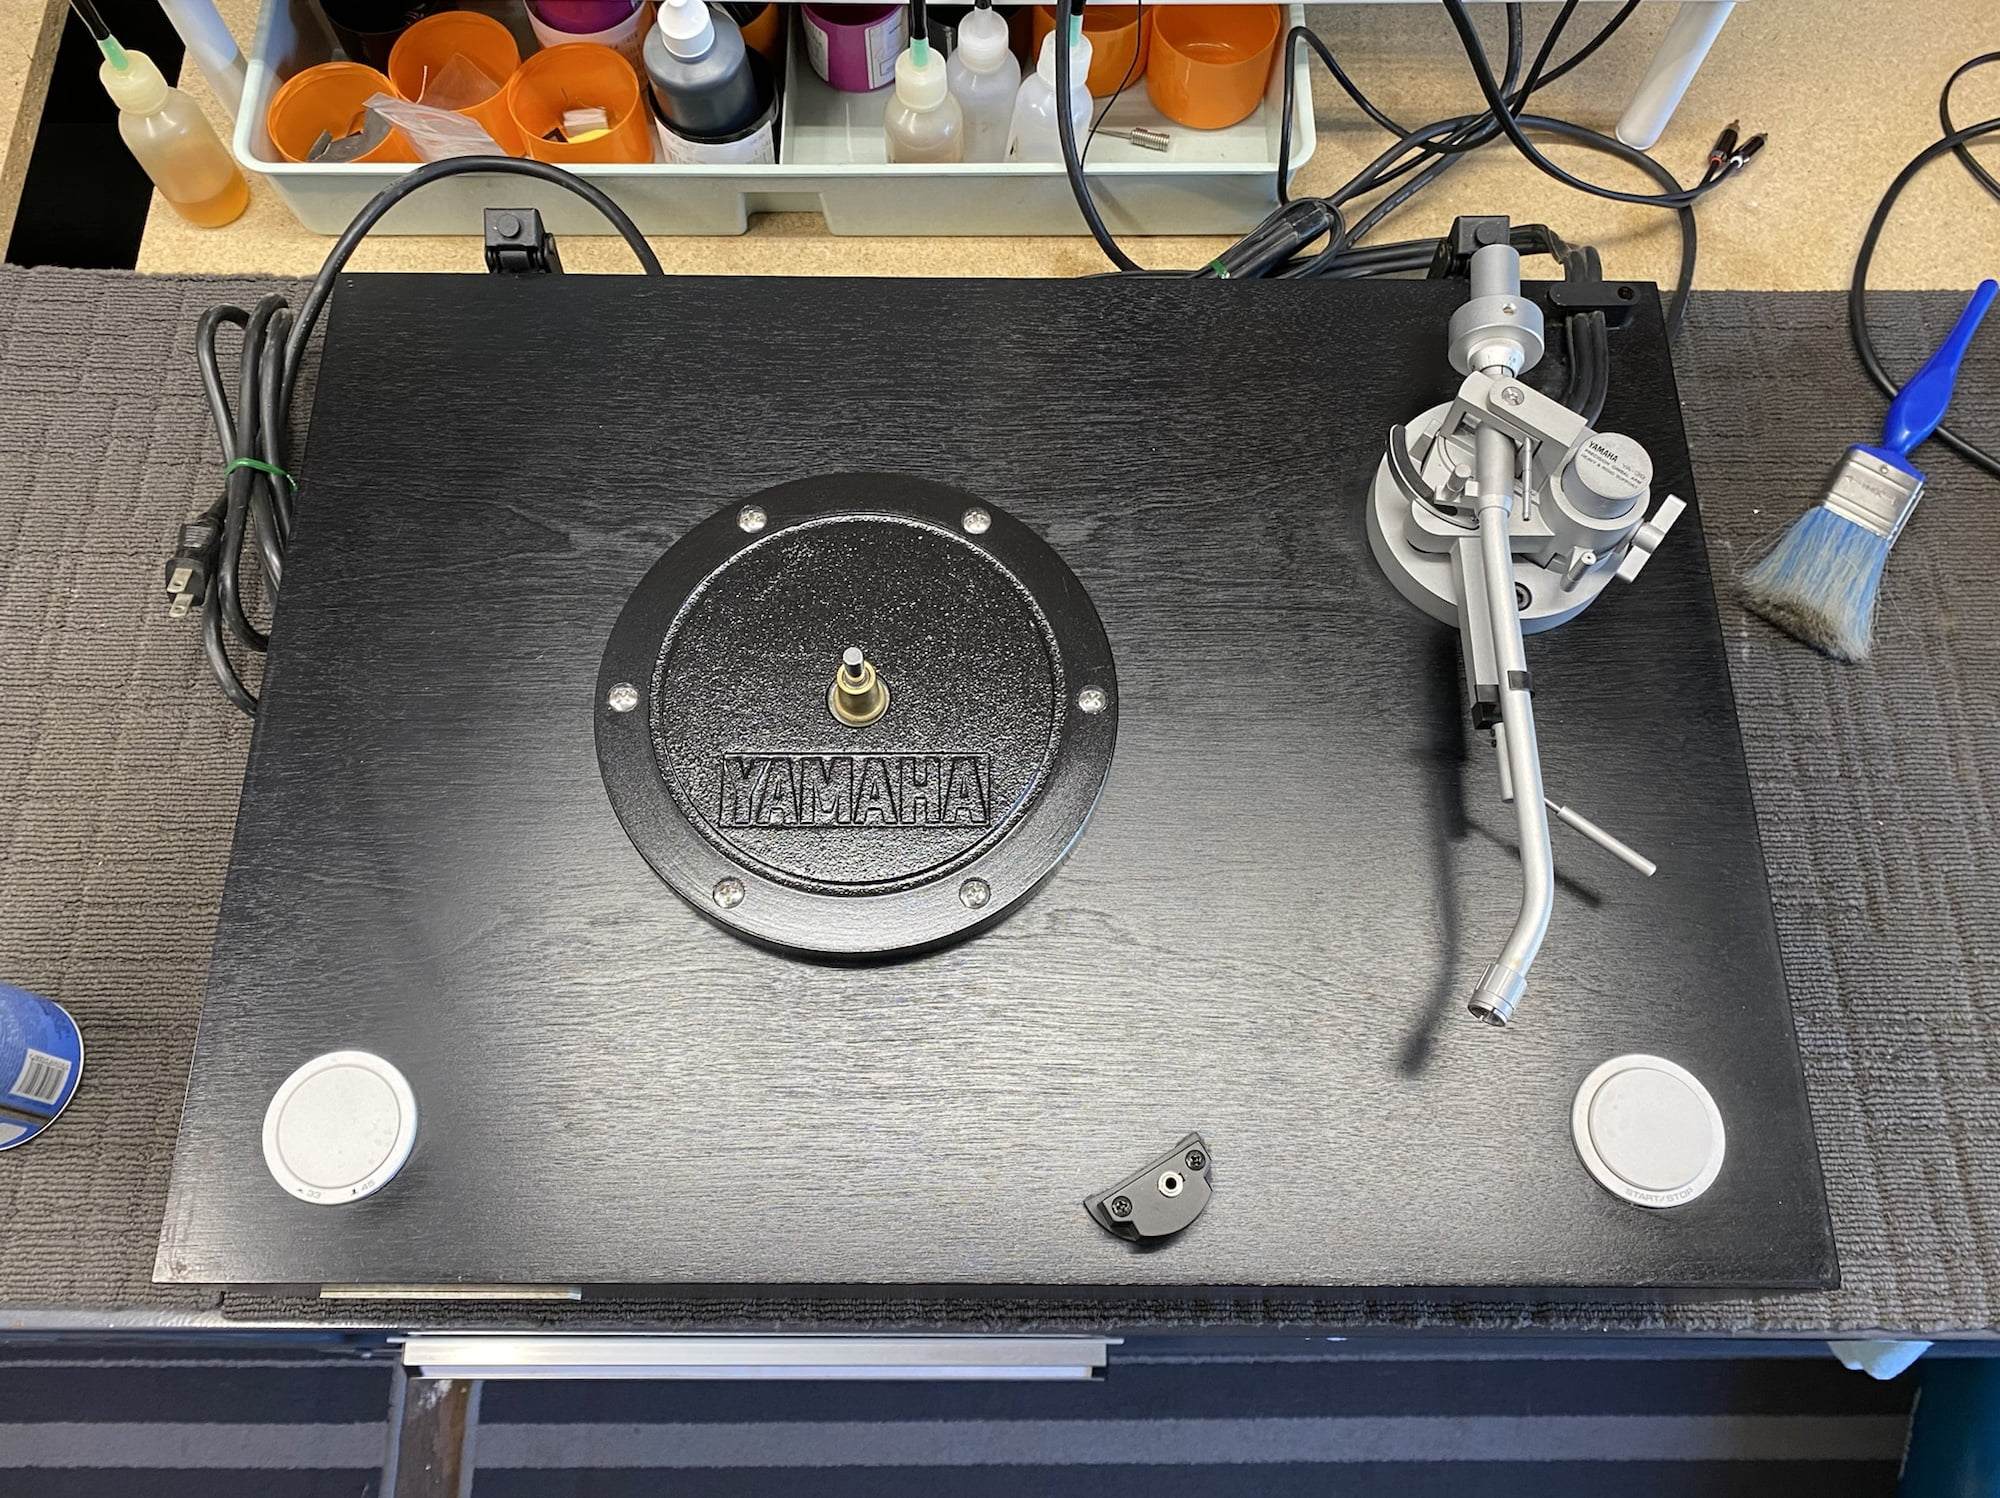
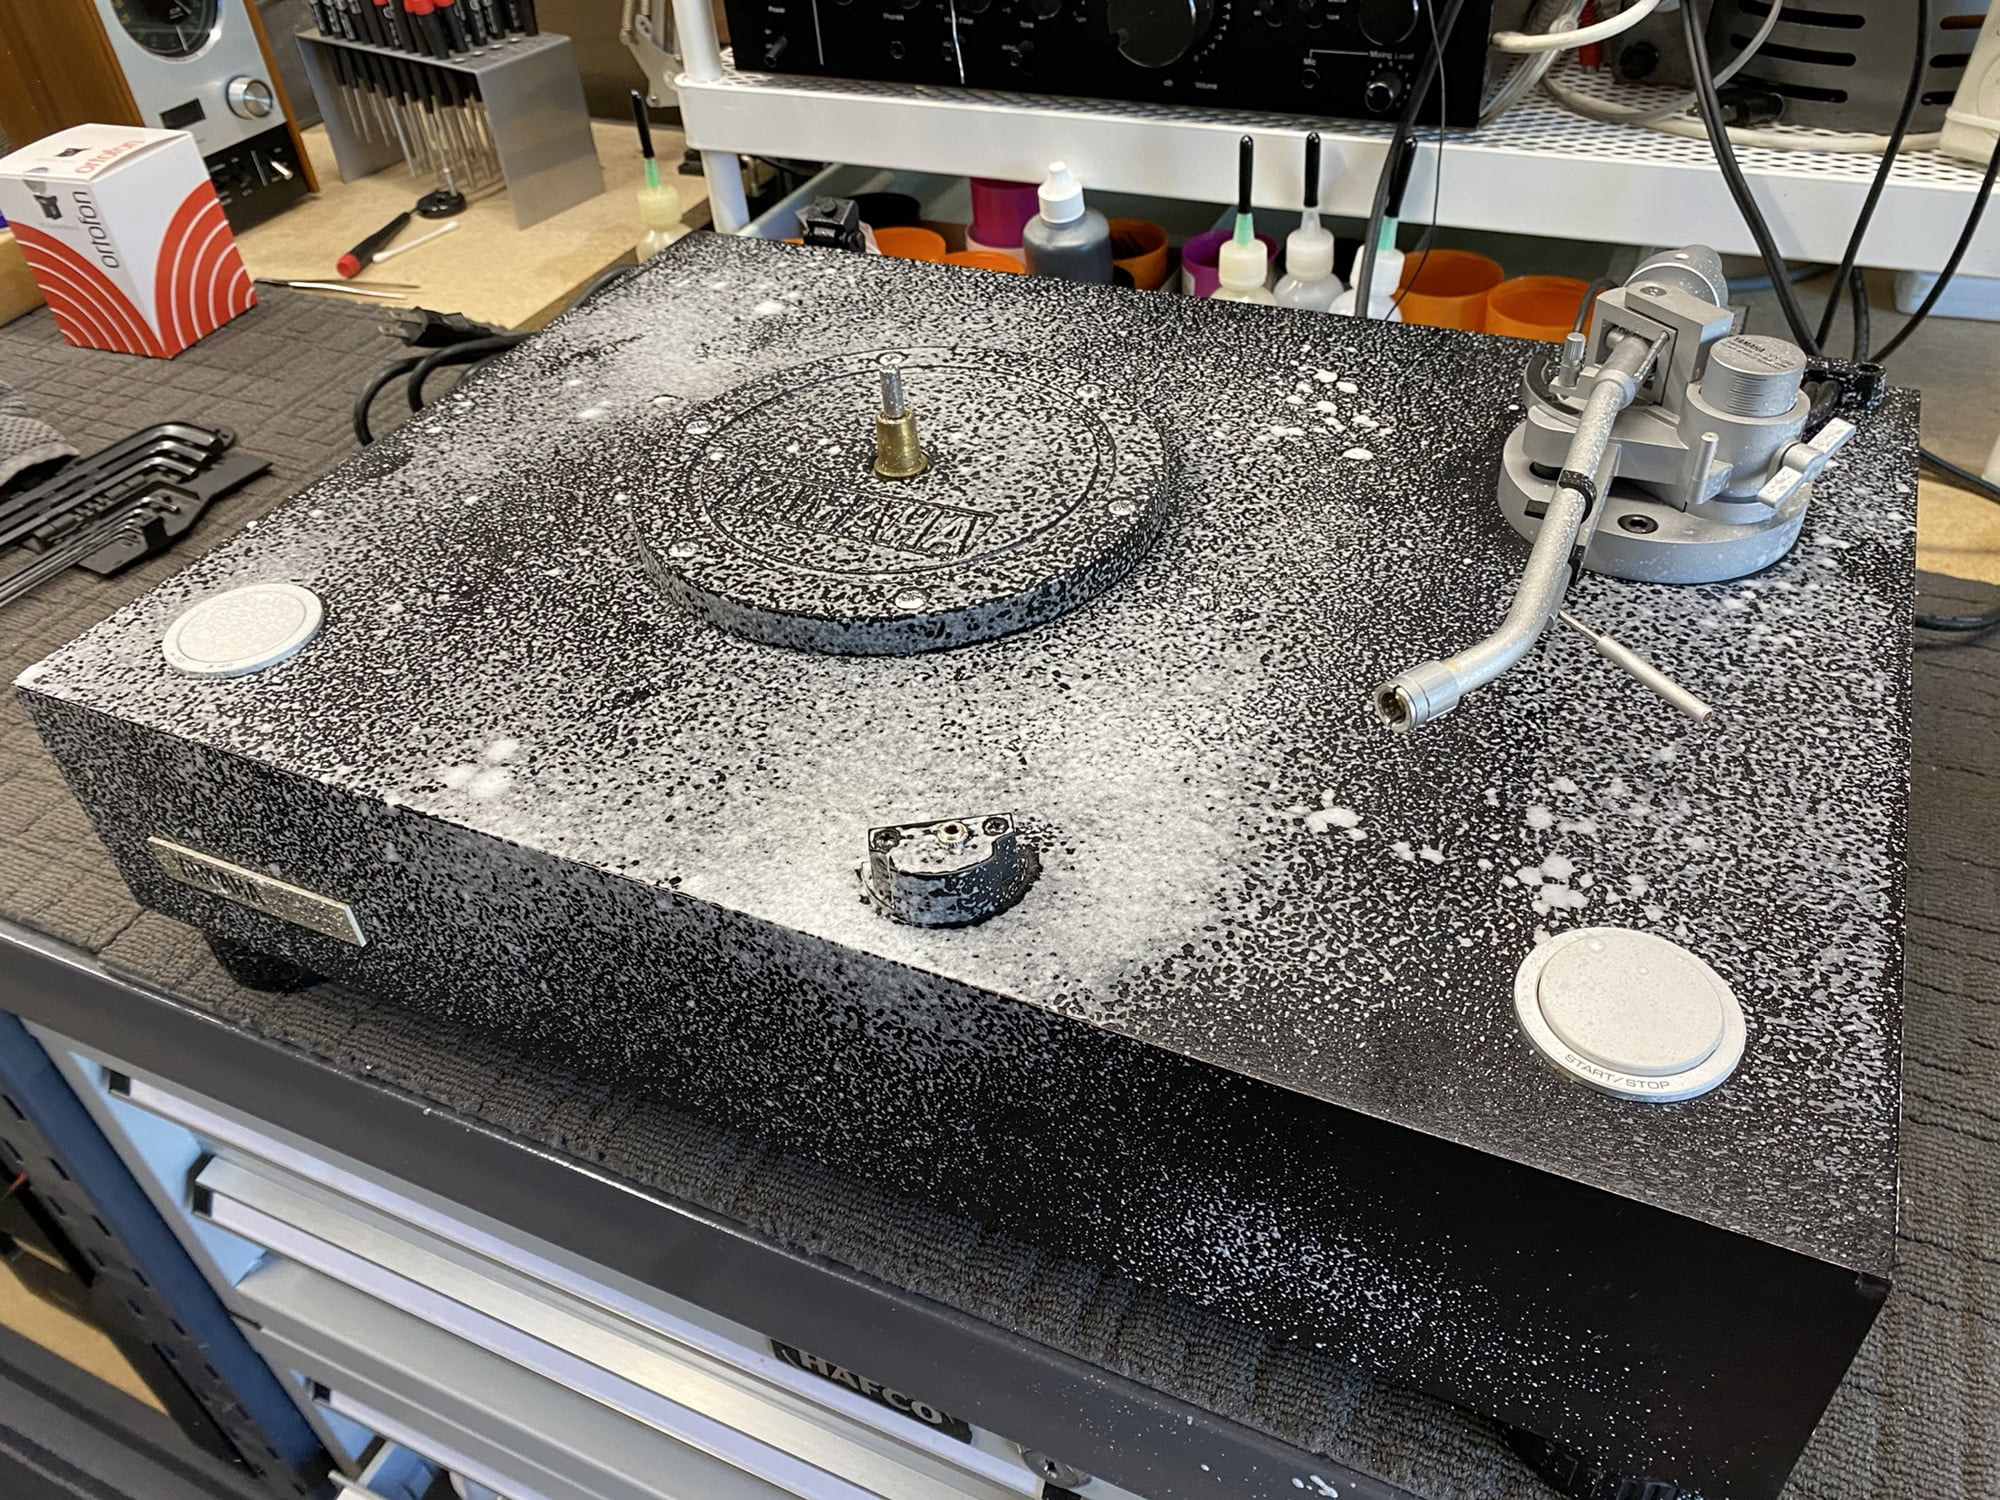
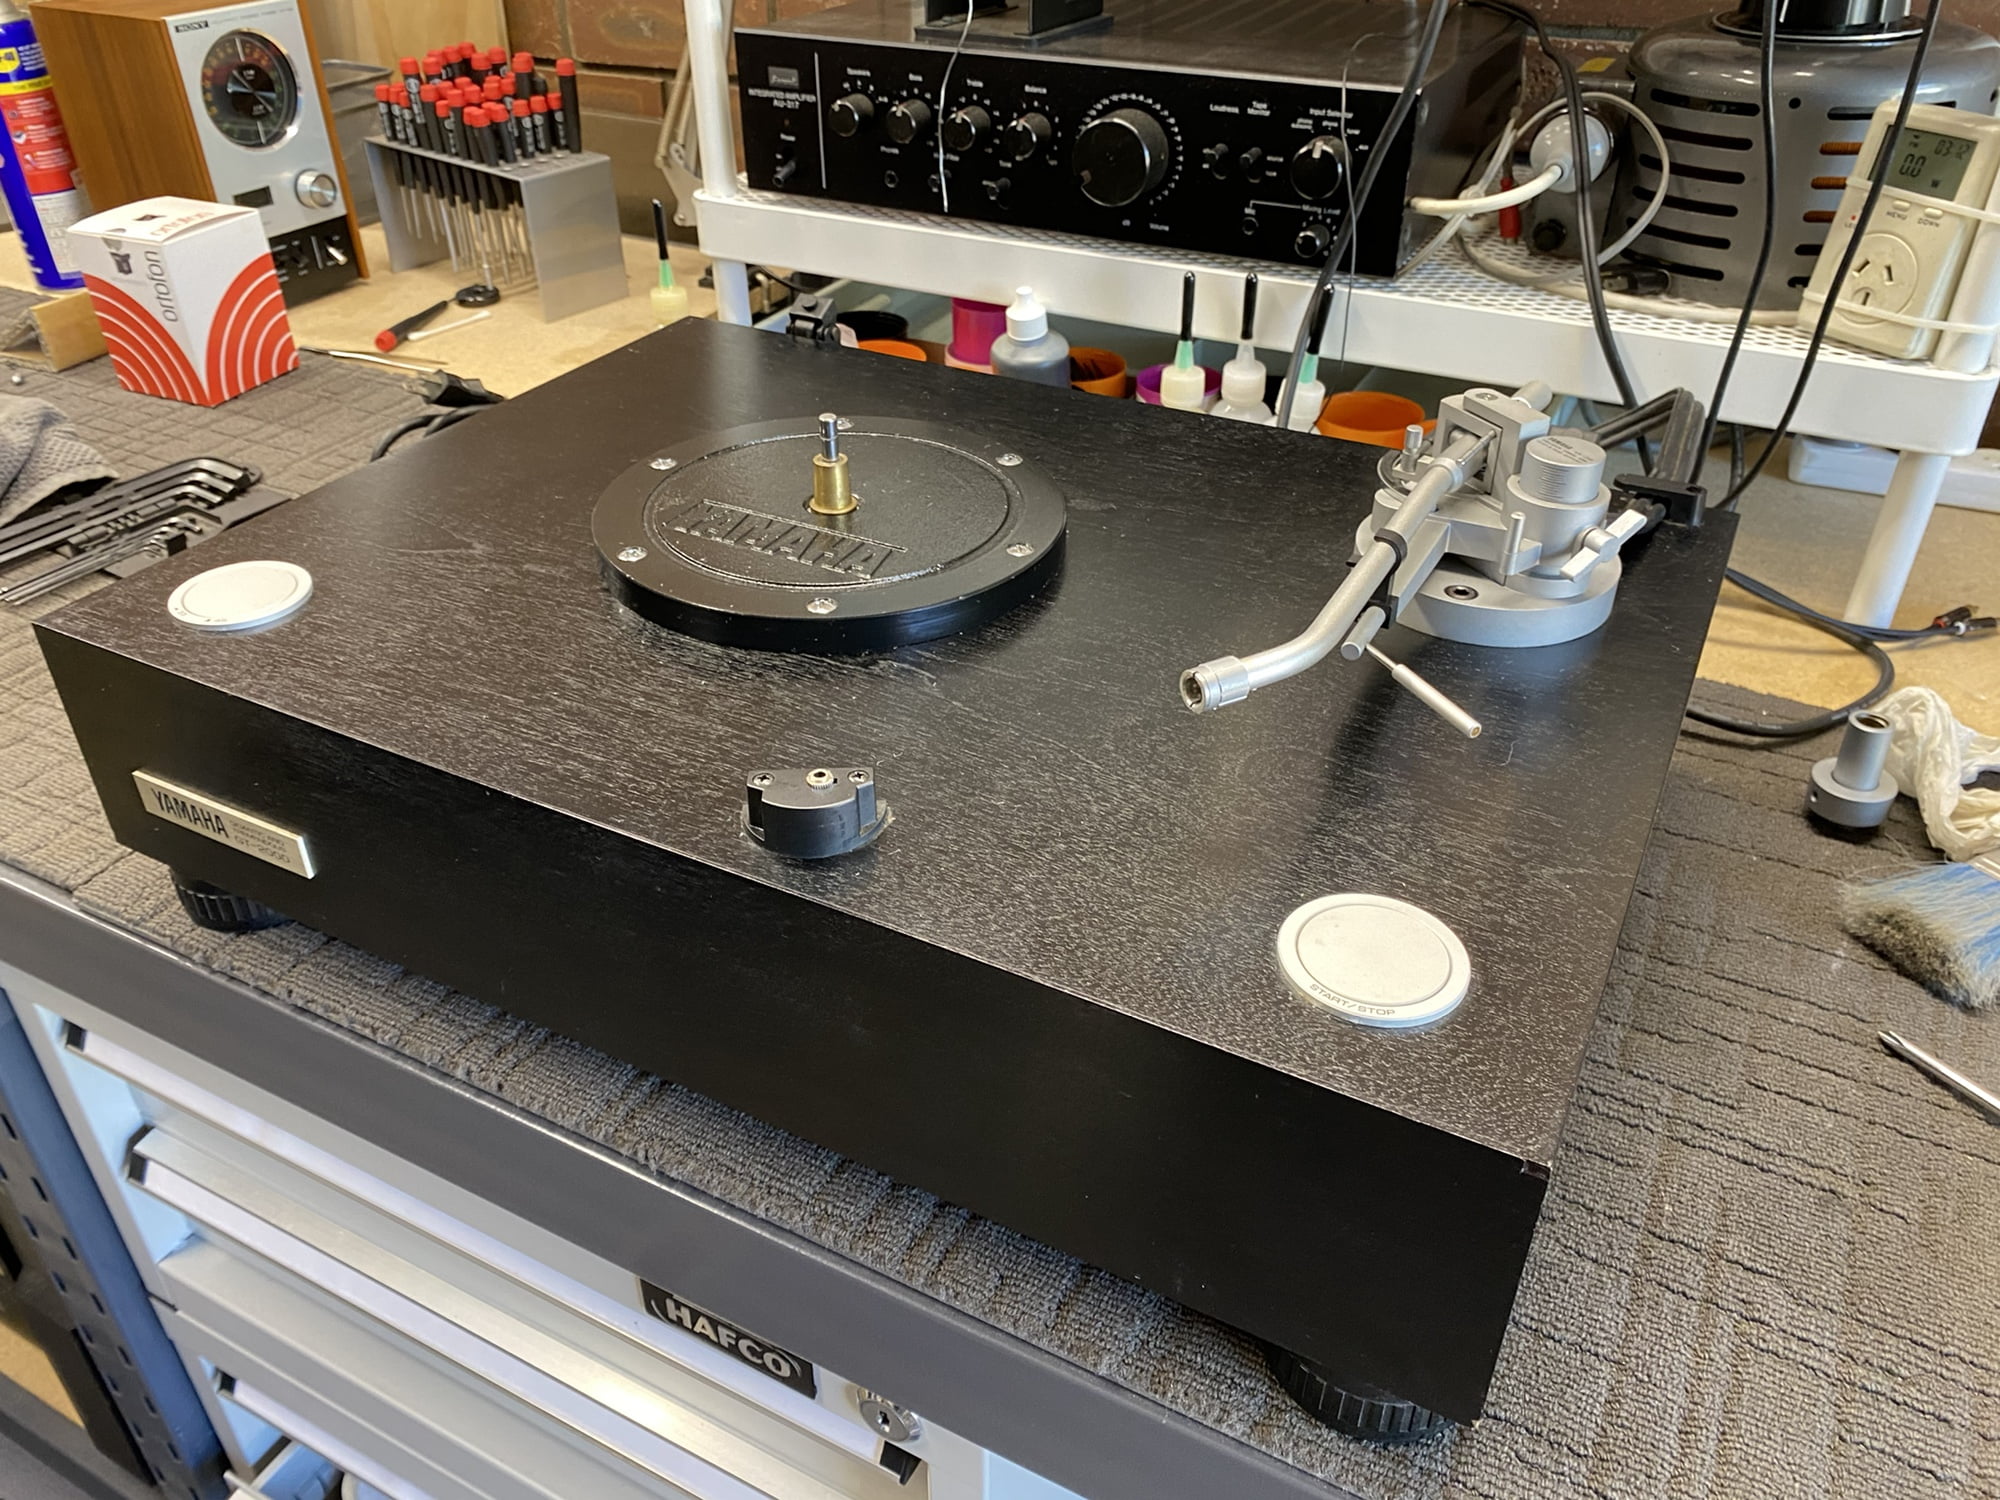
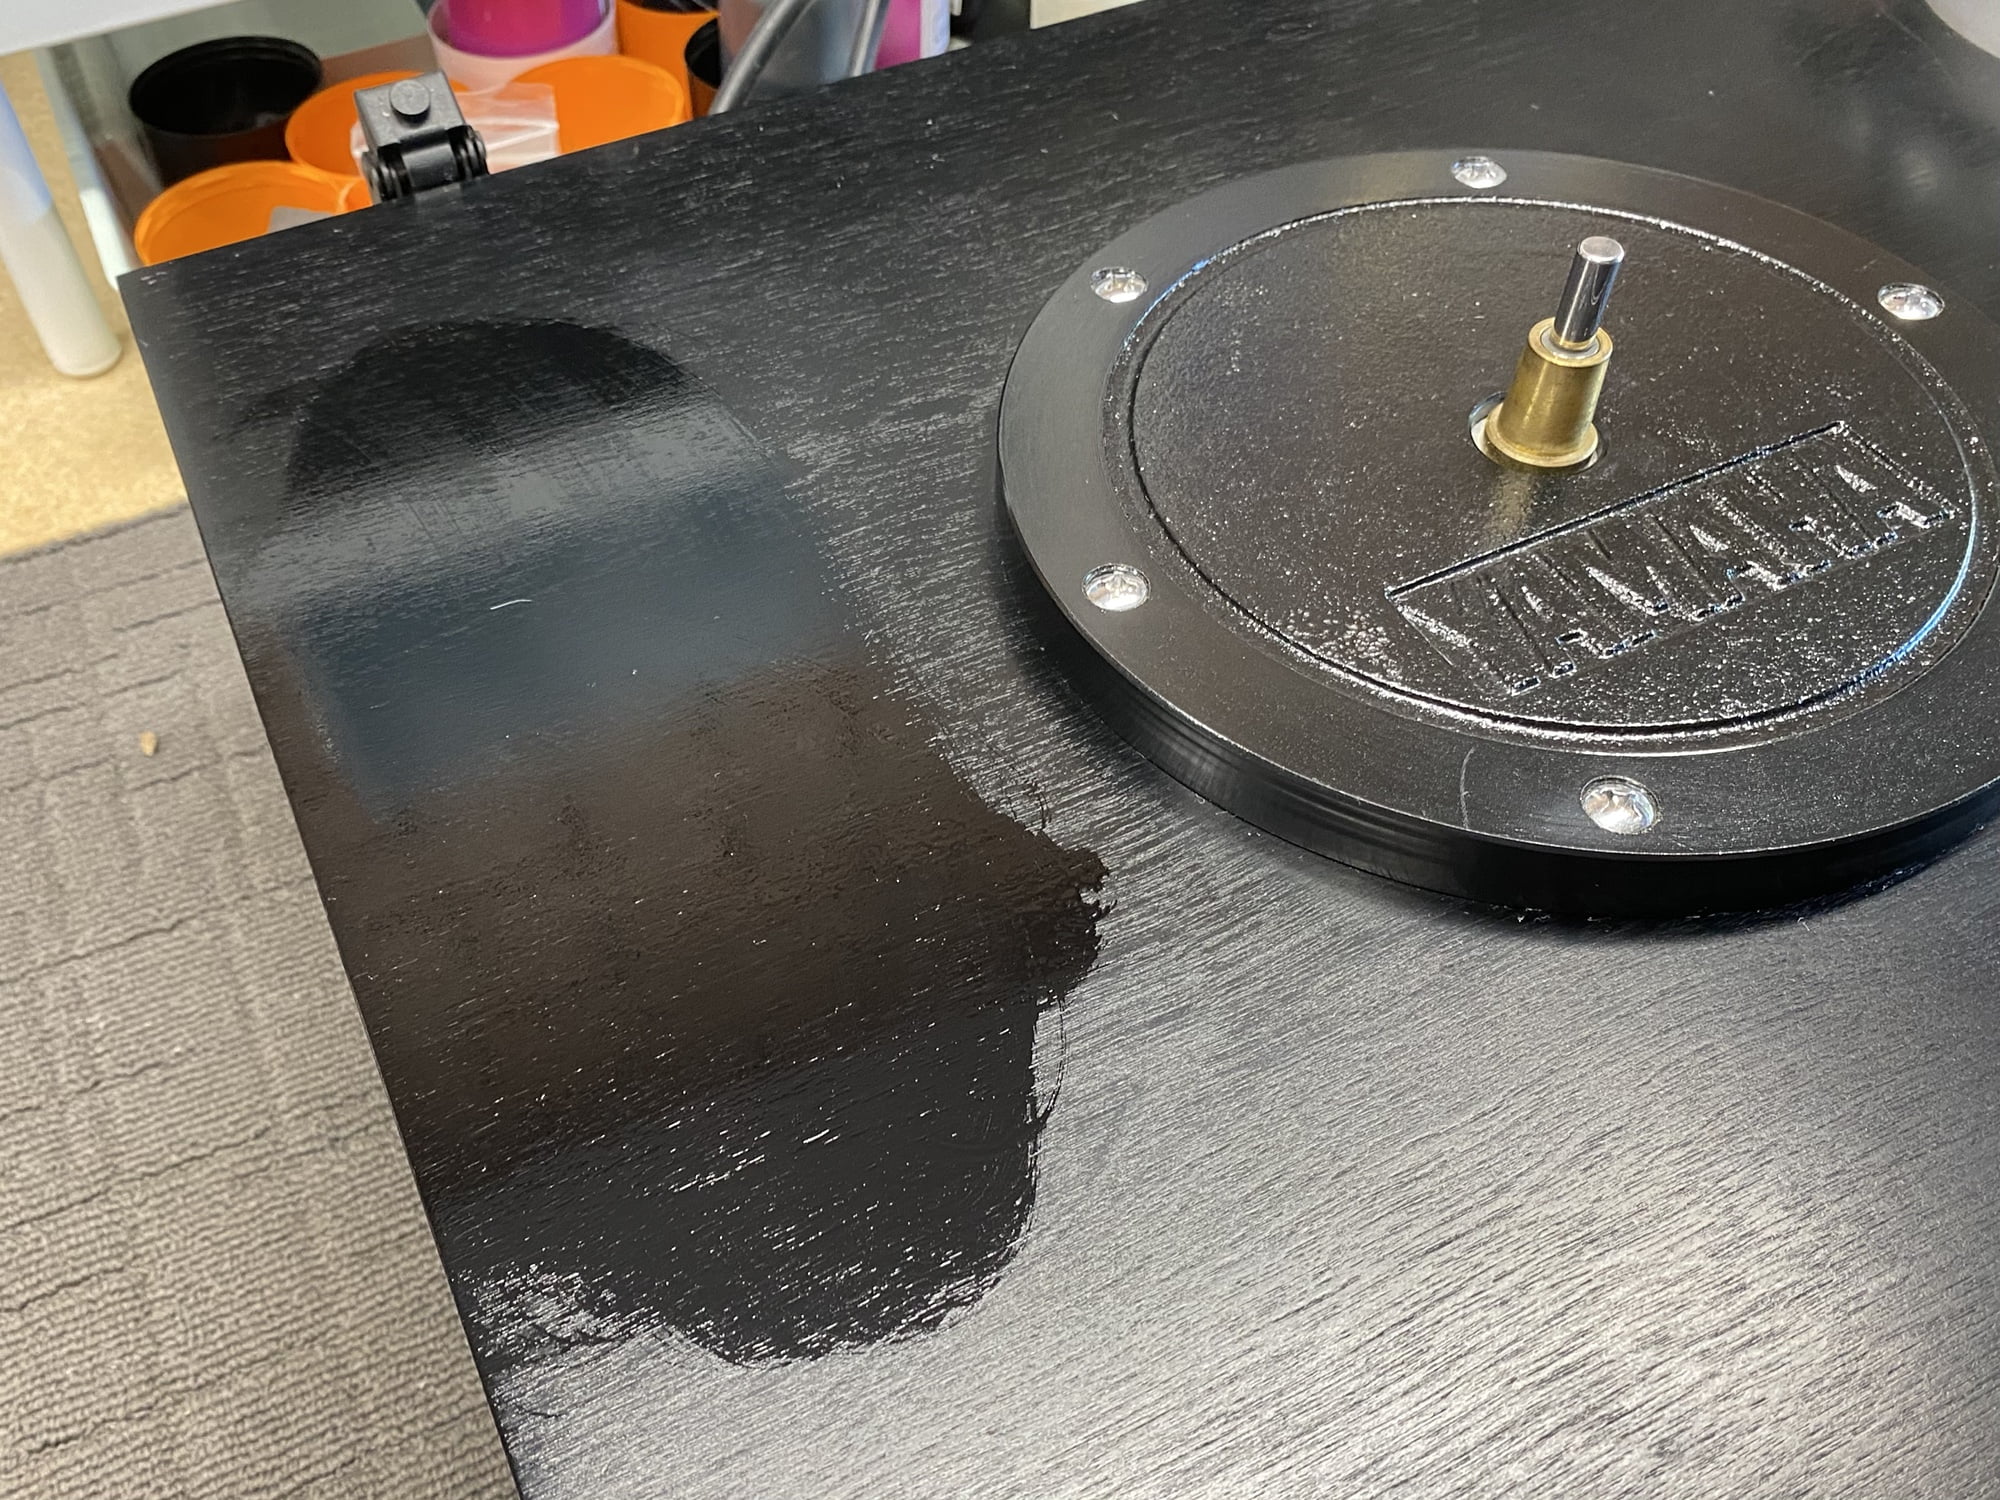
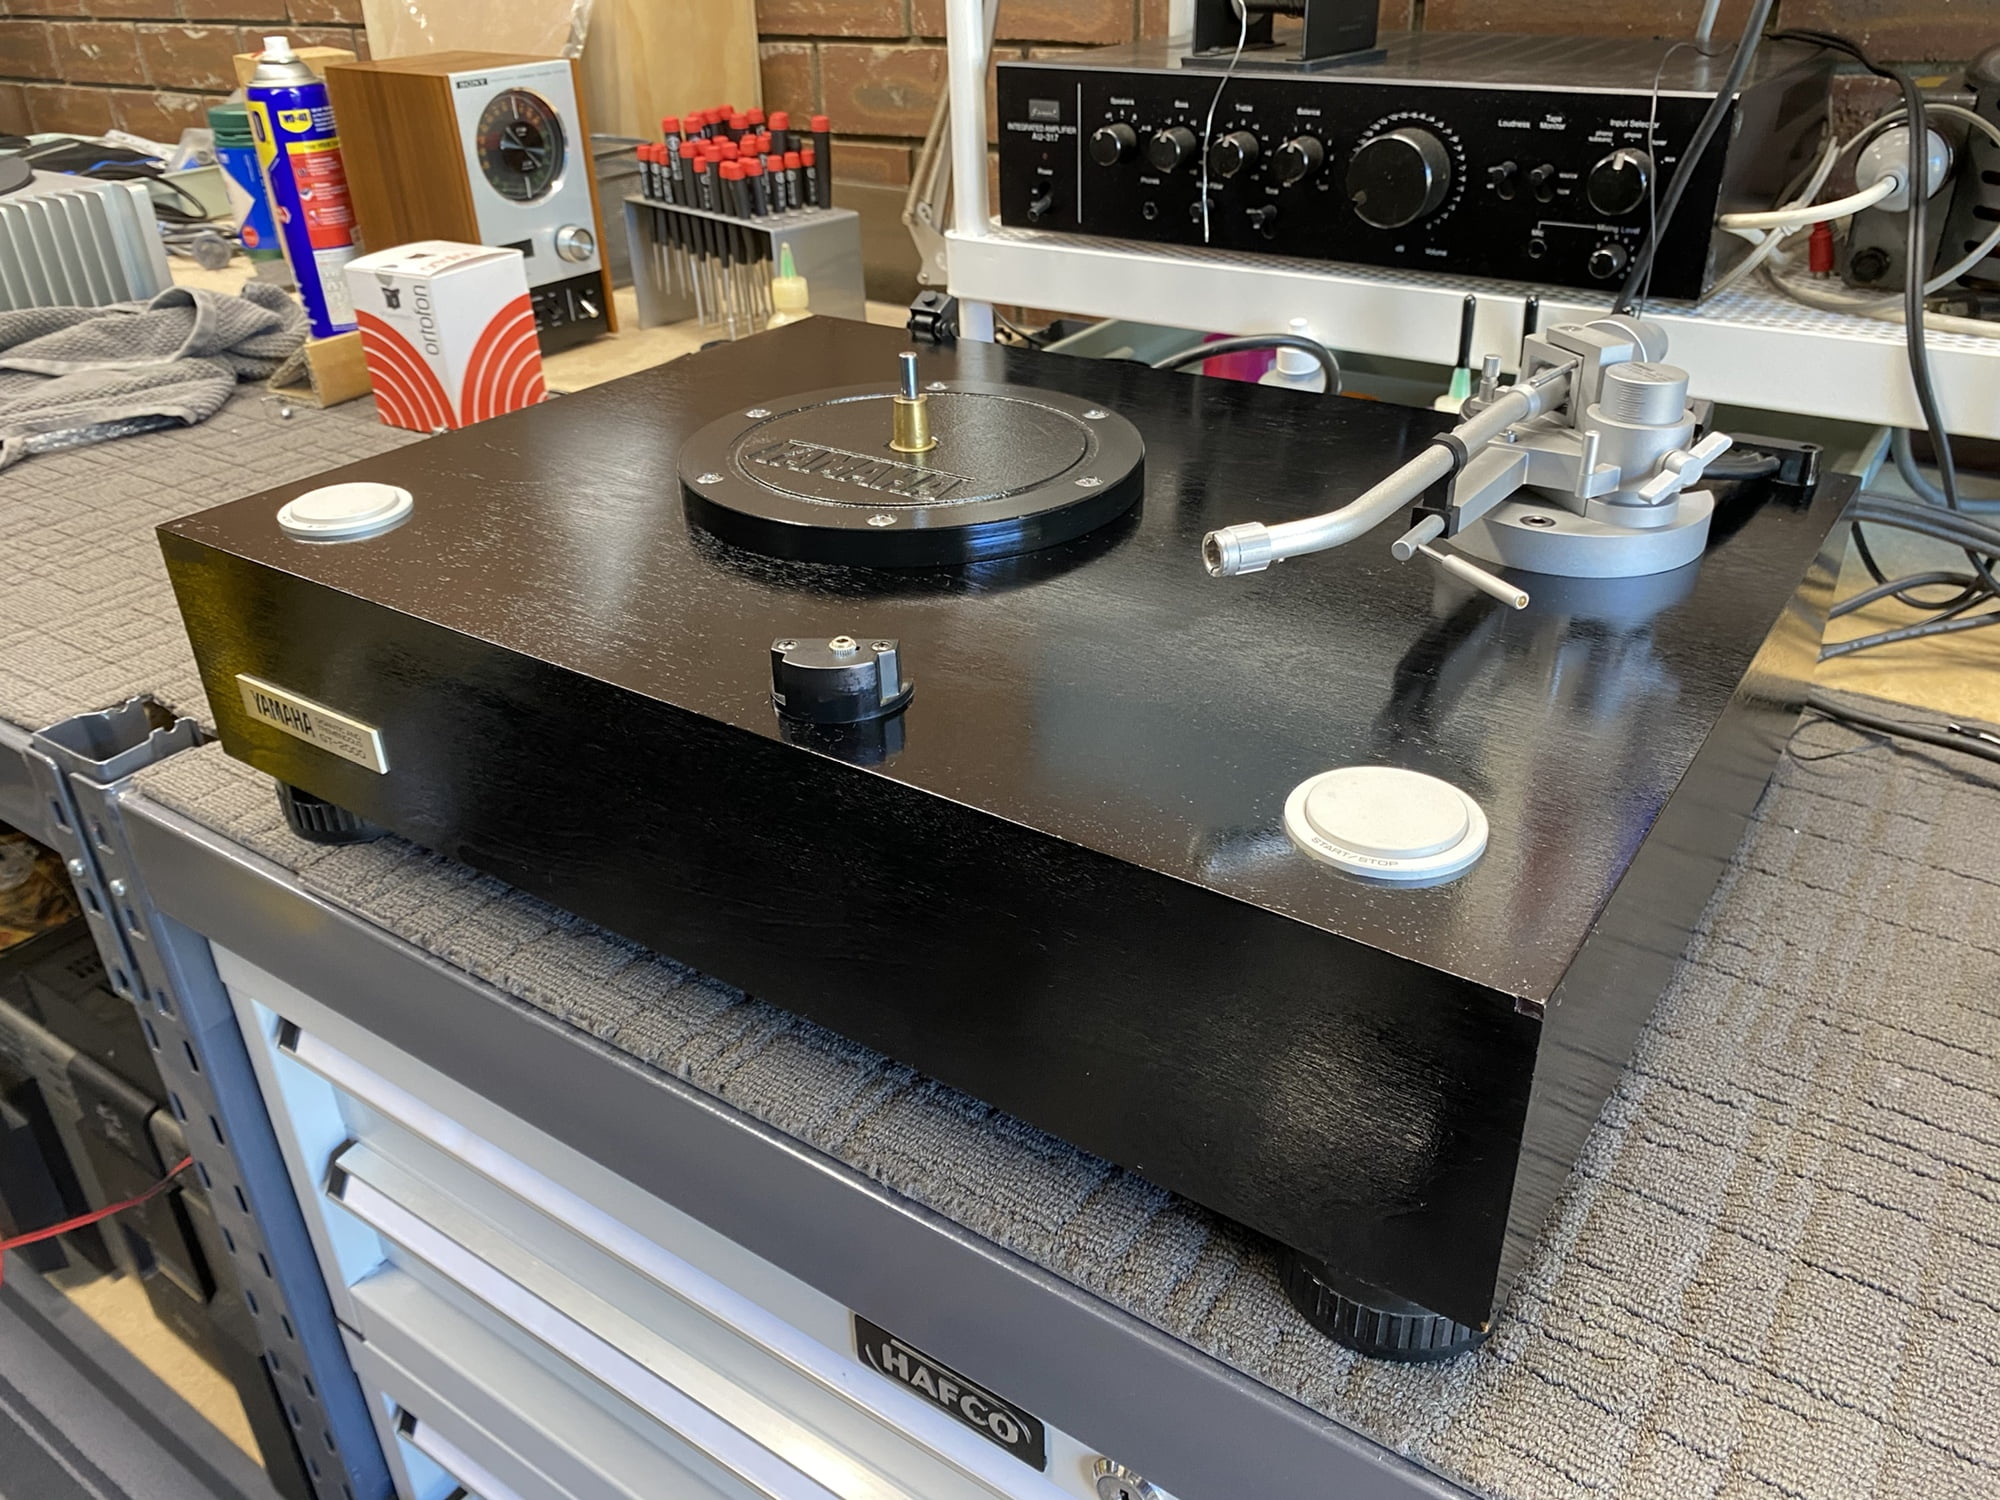
Step 3 is rejuvenation. In this case, because of the beautiful wooden plinth, I’ve treated the wood with special furniture-grade wood oil. This oil gives me great results every time.
Service
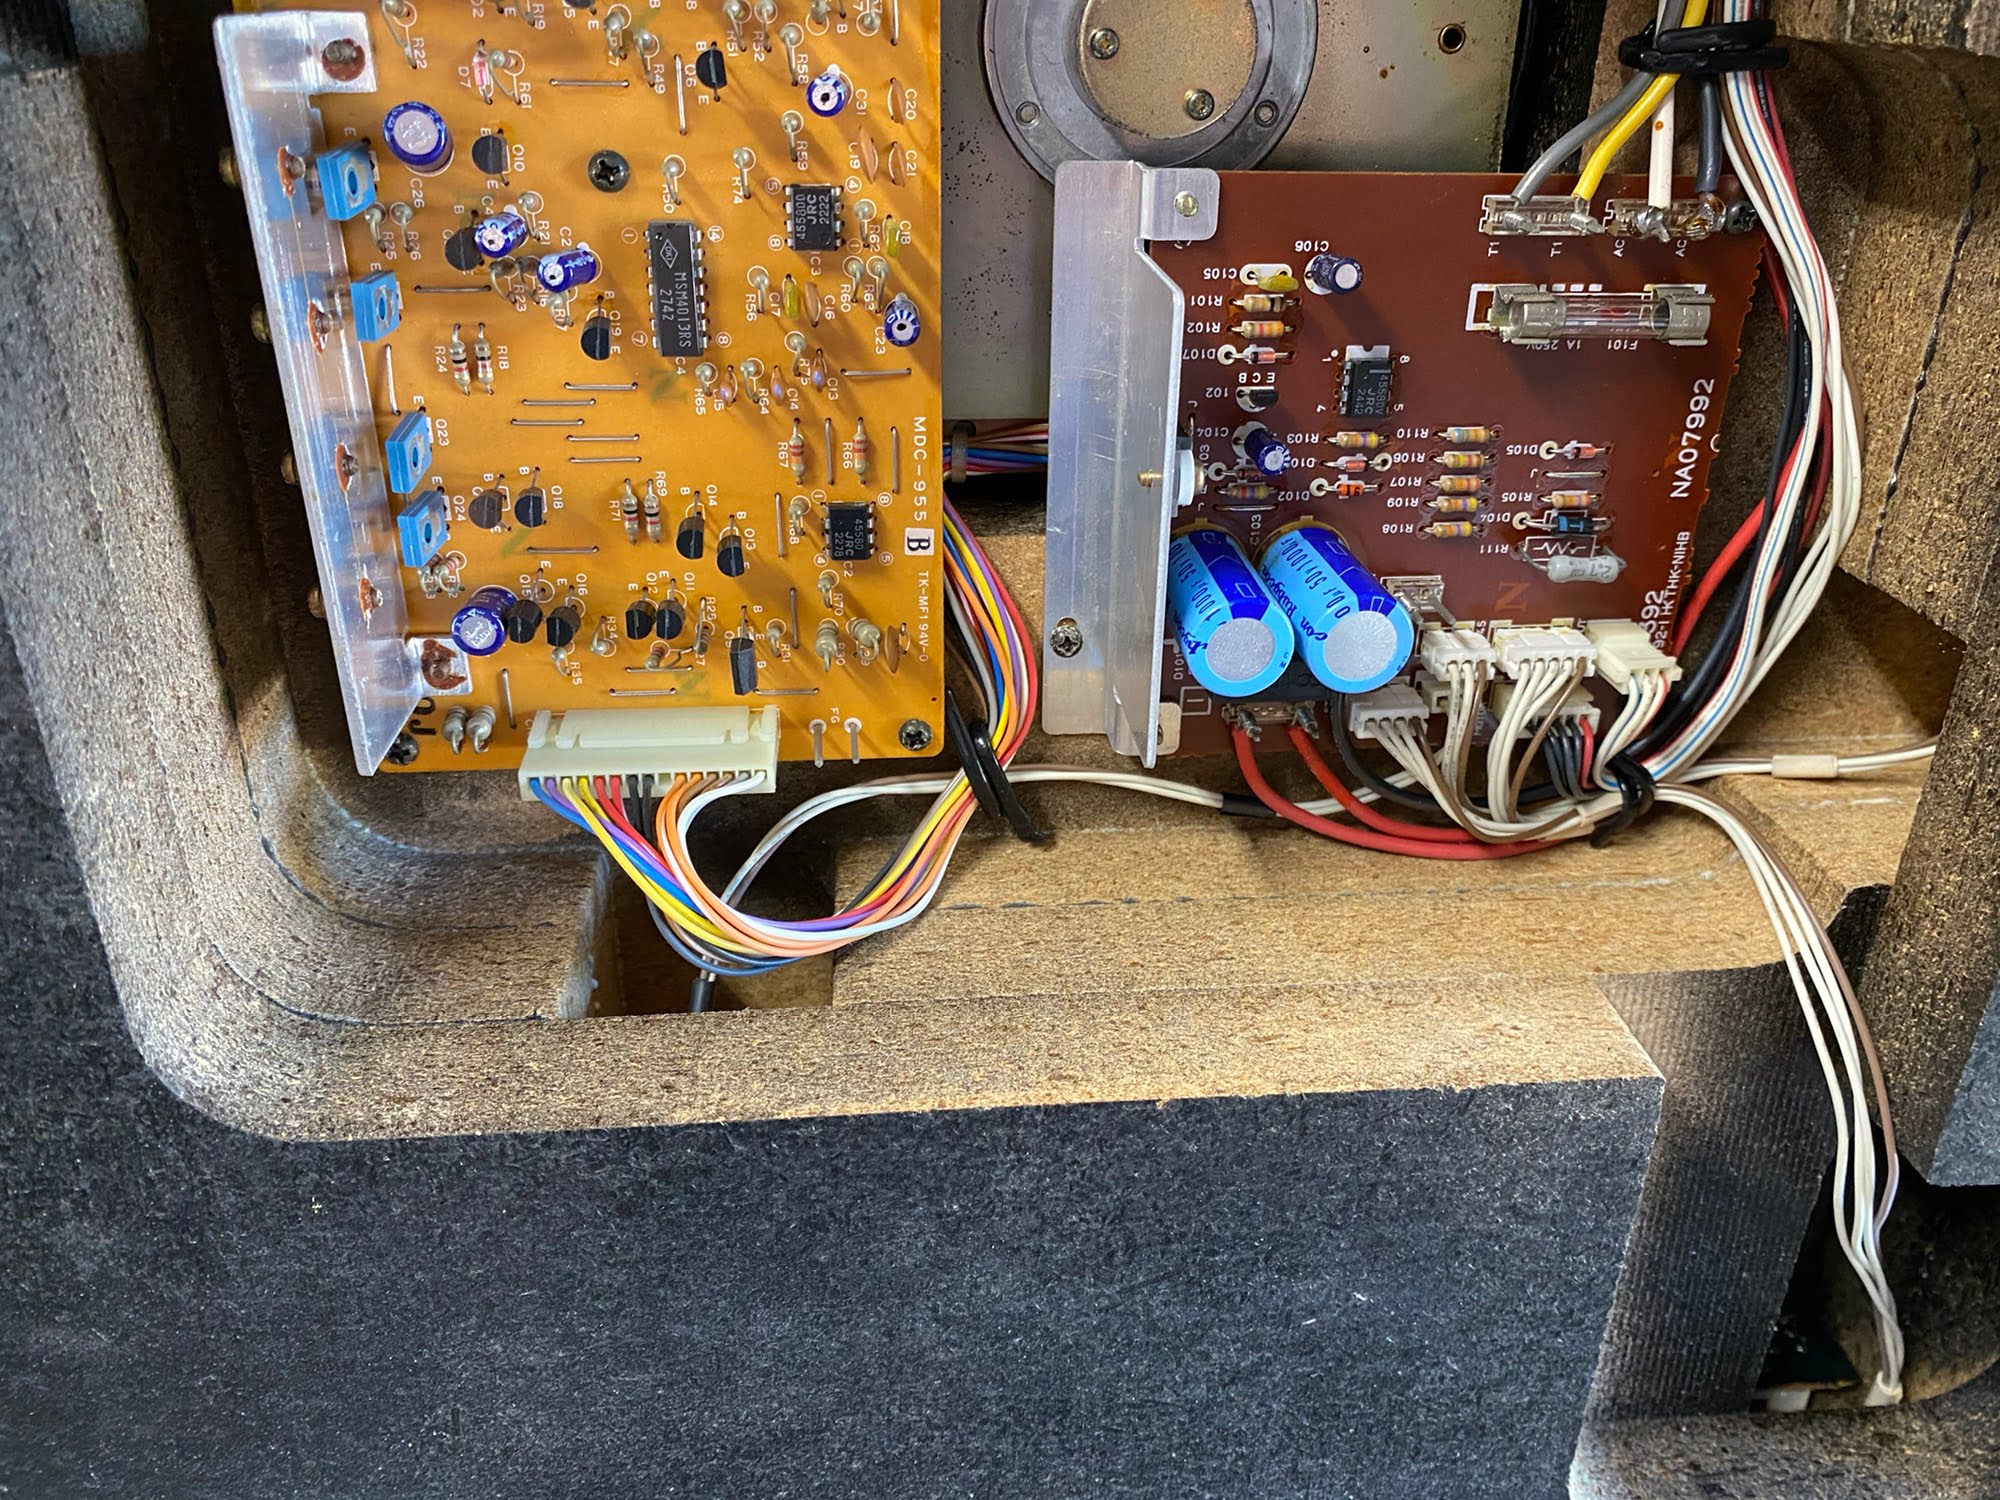
Servicing a Yamaha GT-2000 or any other turntable involves mechanical and electronic elements and steps. With this machine, I’ve focussed on the mechanical aspects of service as the electronics tested and worked perfectly. I expect this from these very reliable machines, from a very reliable manufacturer. I love Yamaha, for lots of good reasons.
Let’s begin by accessing the motor and electronics.
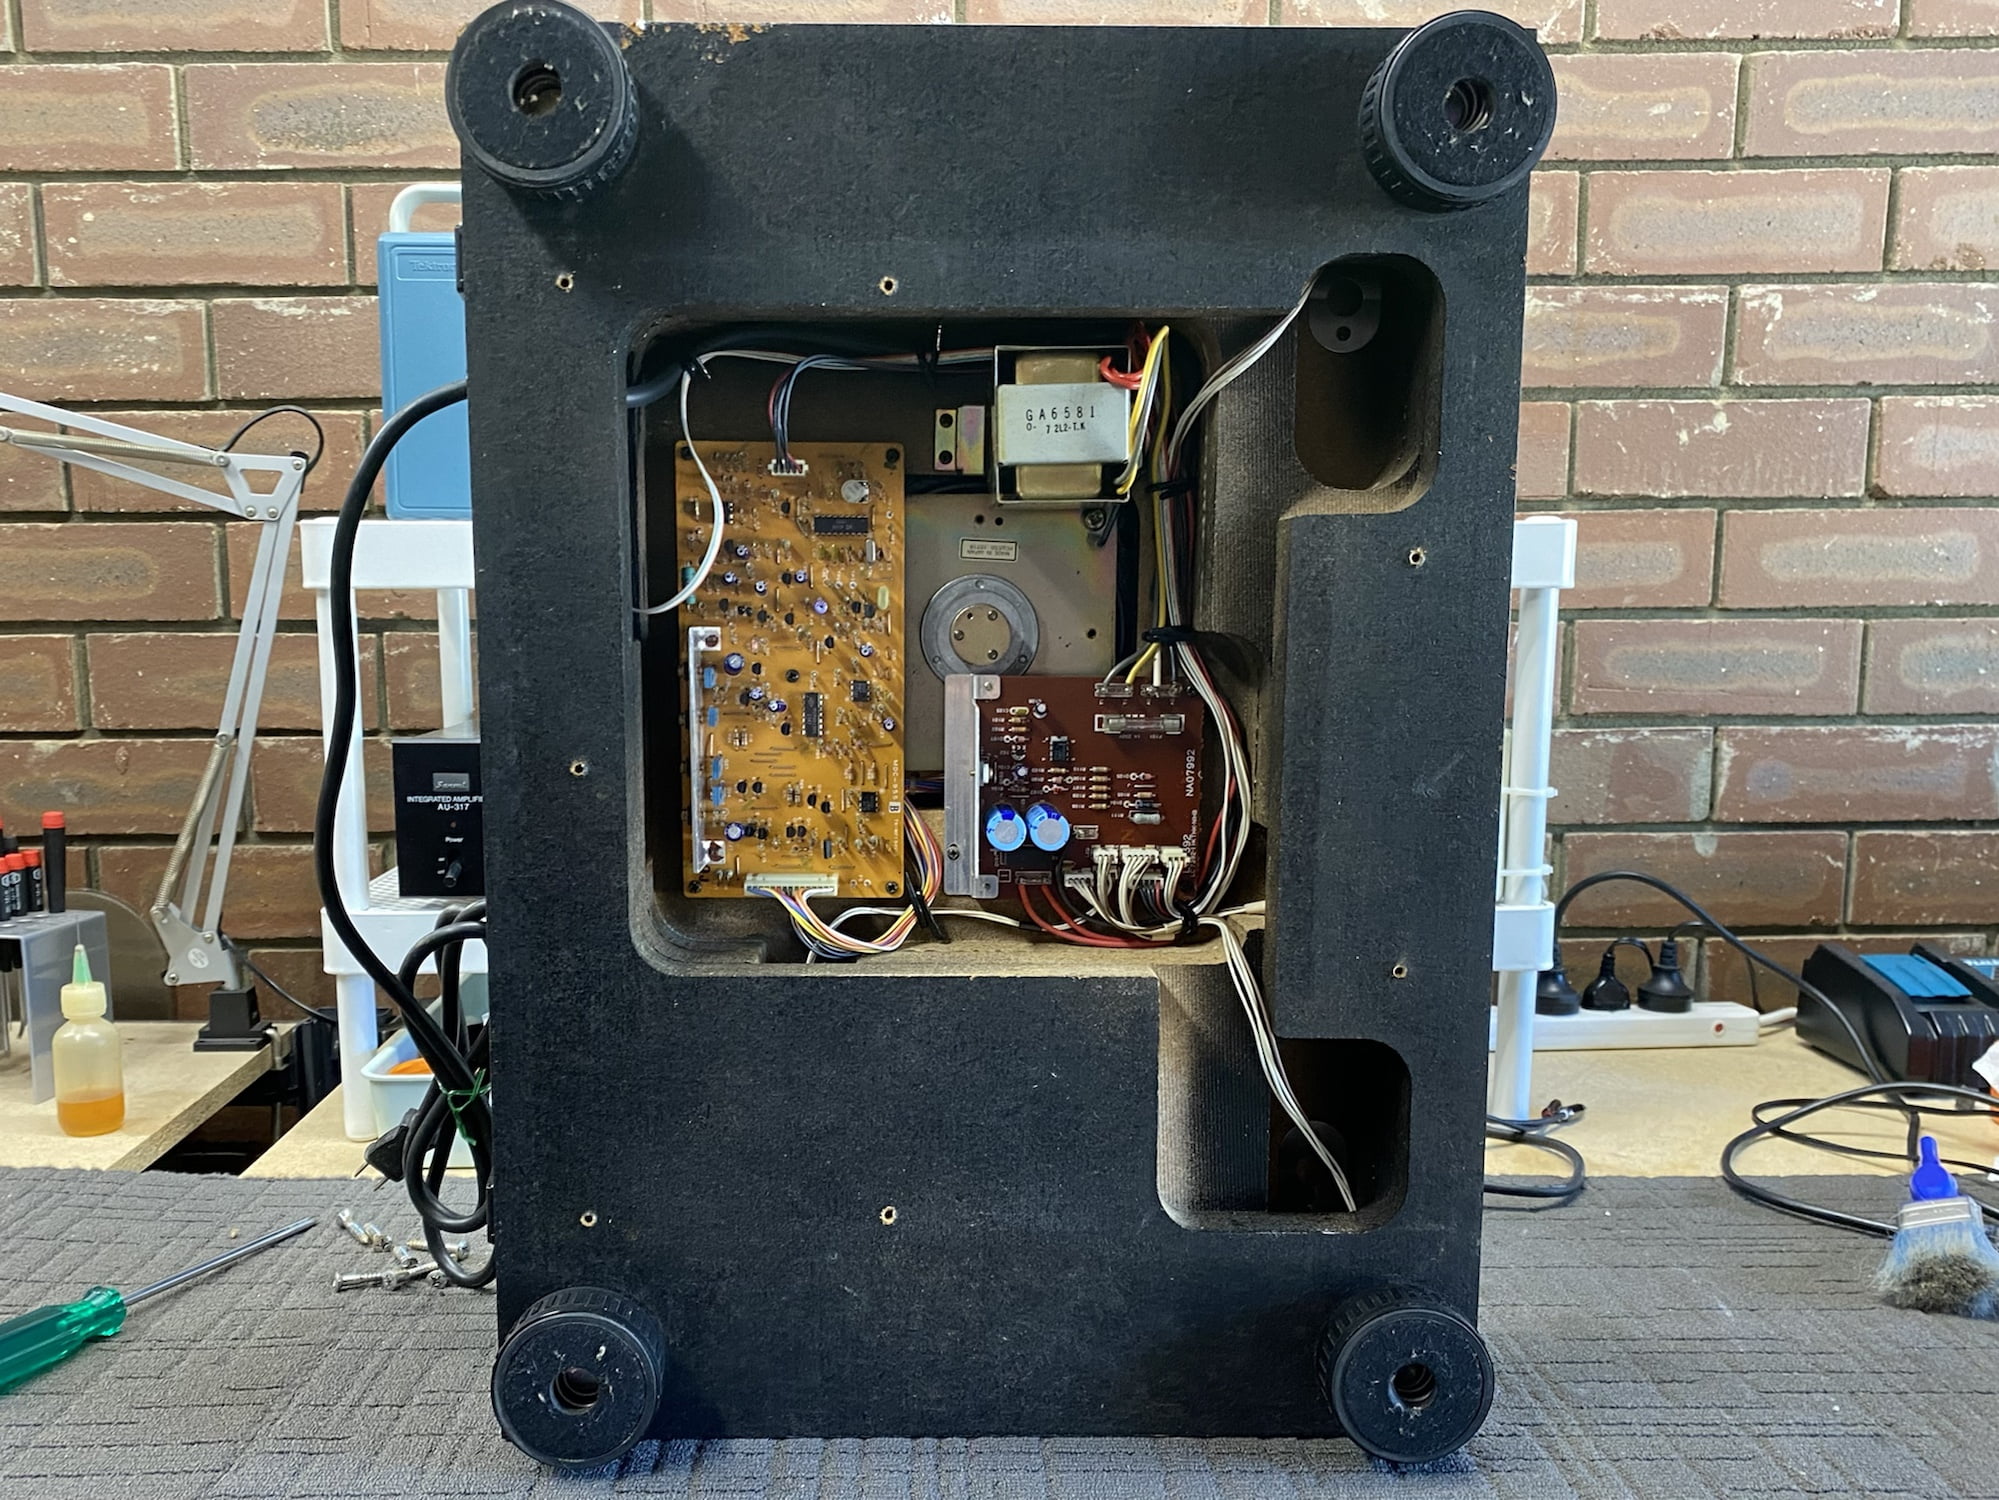
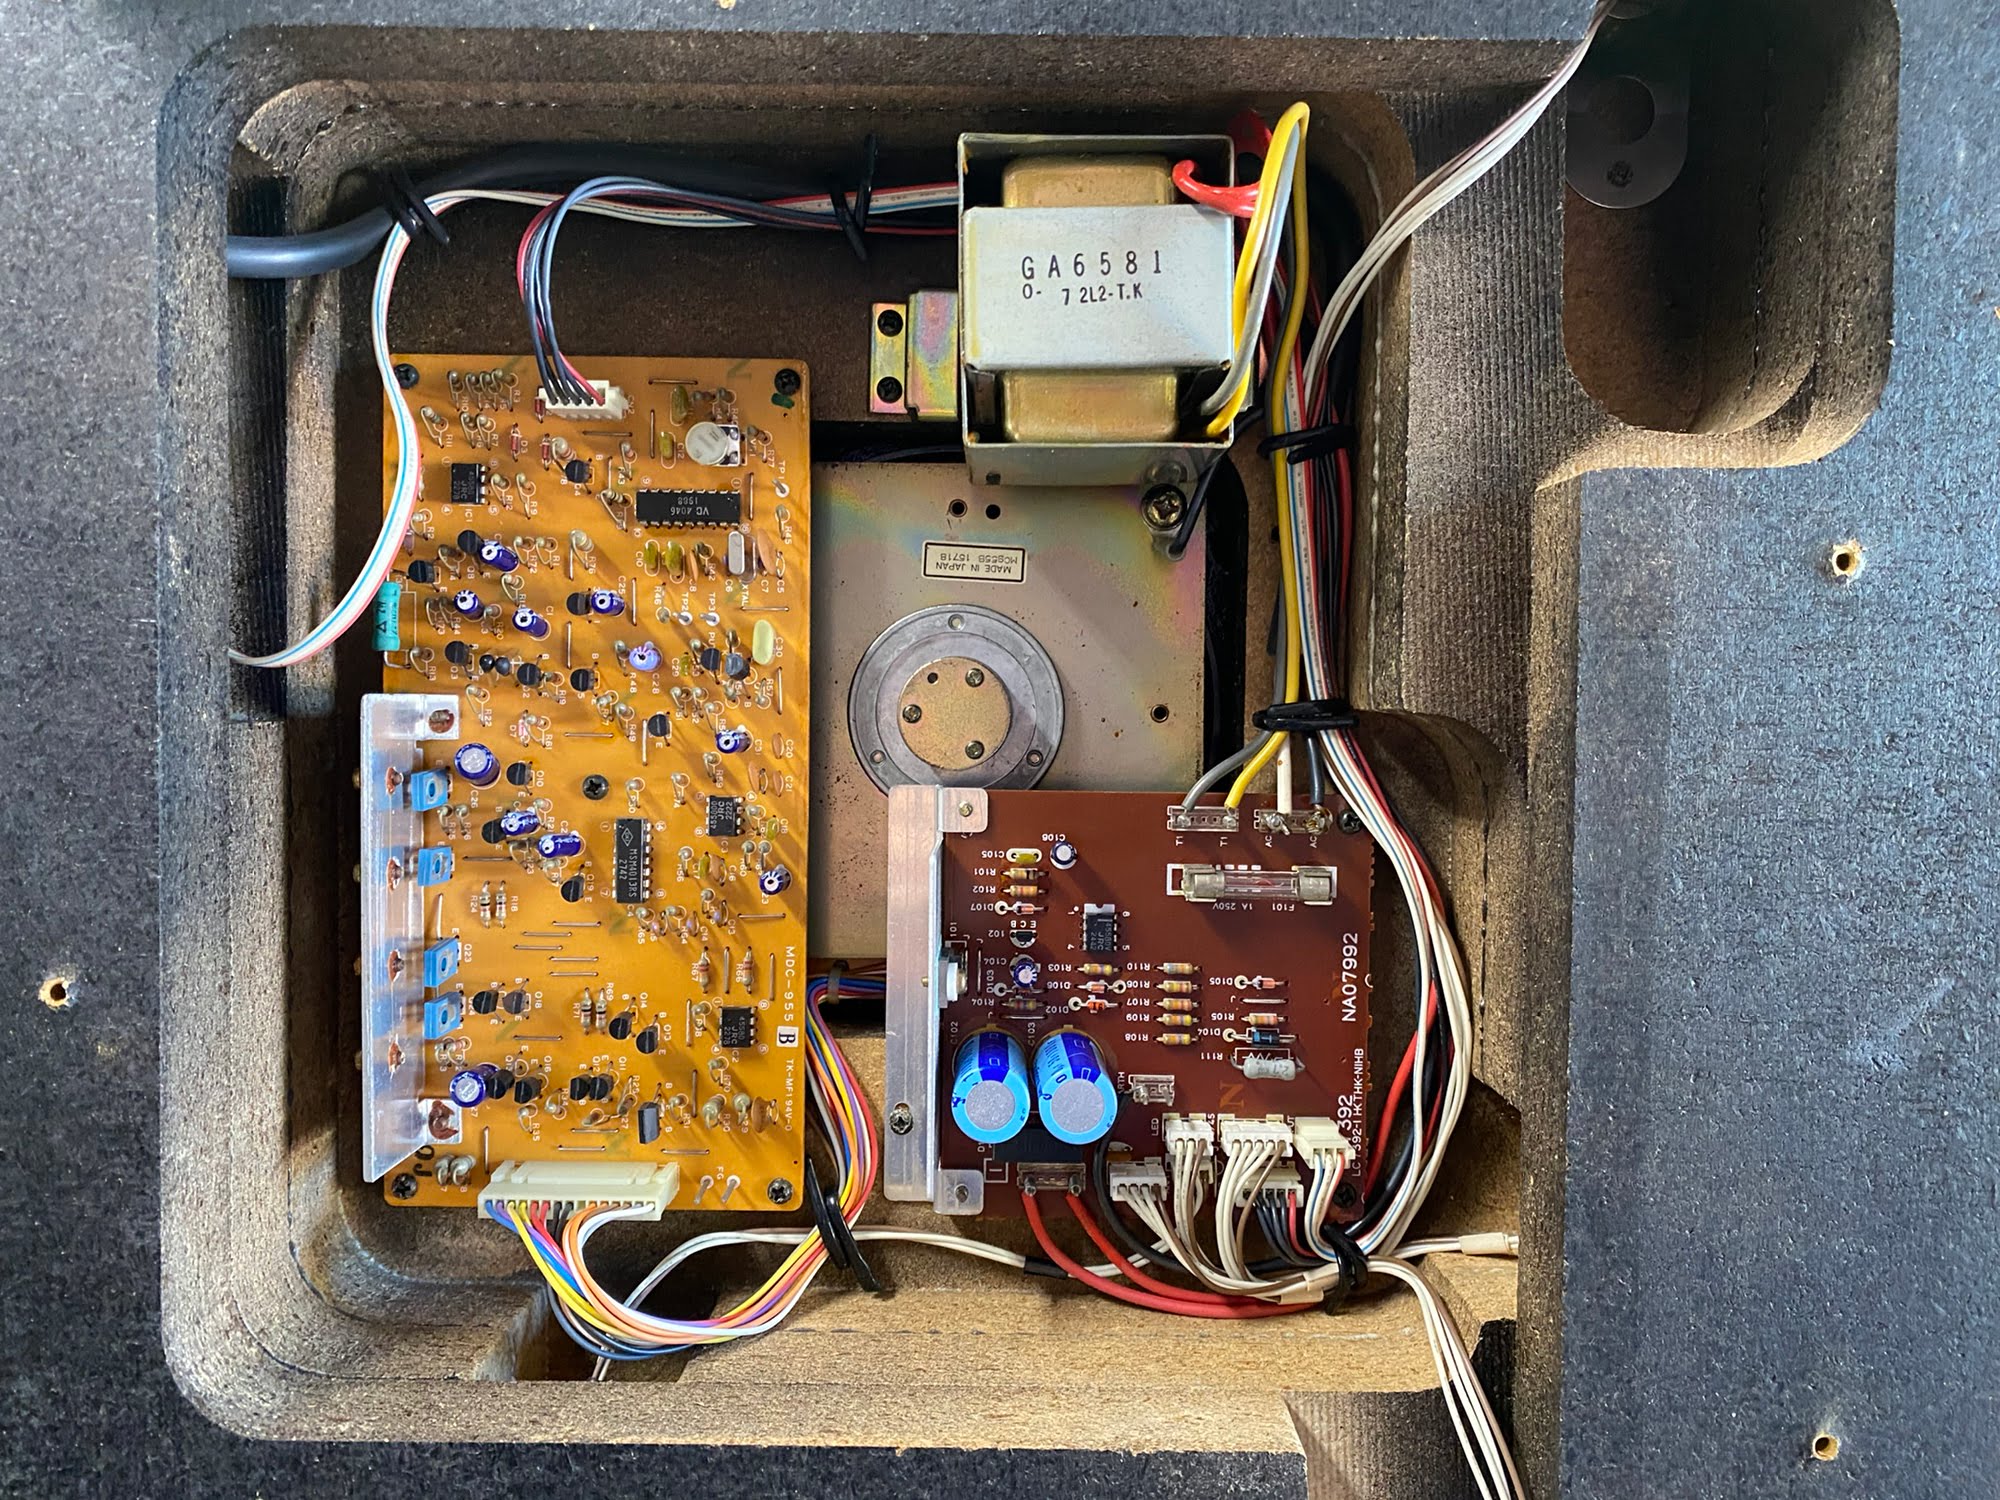
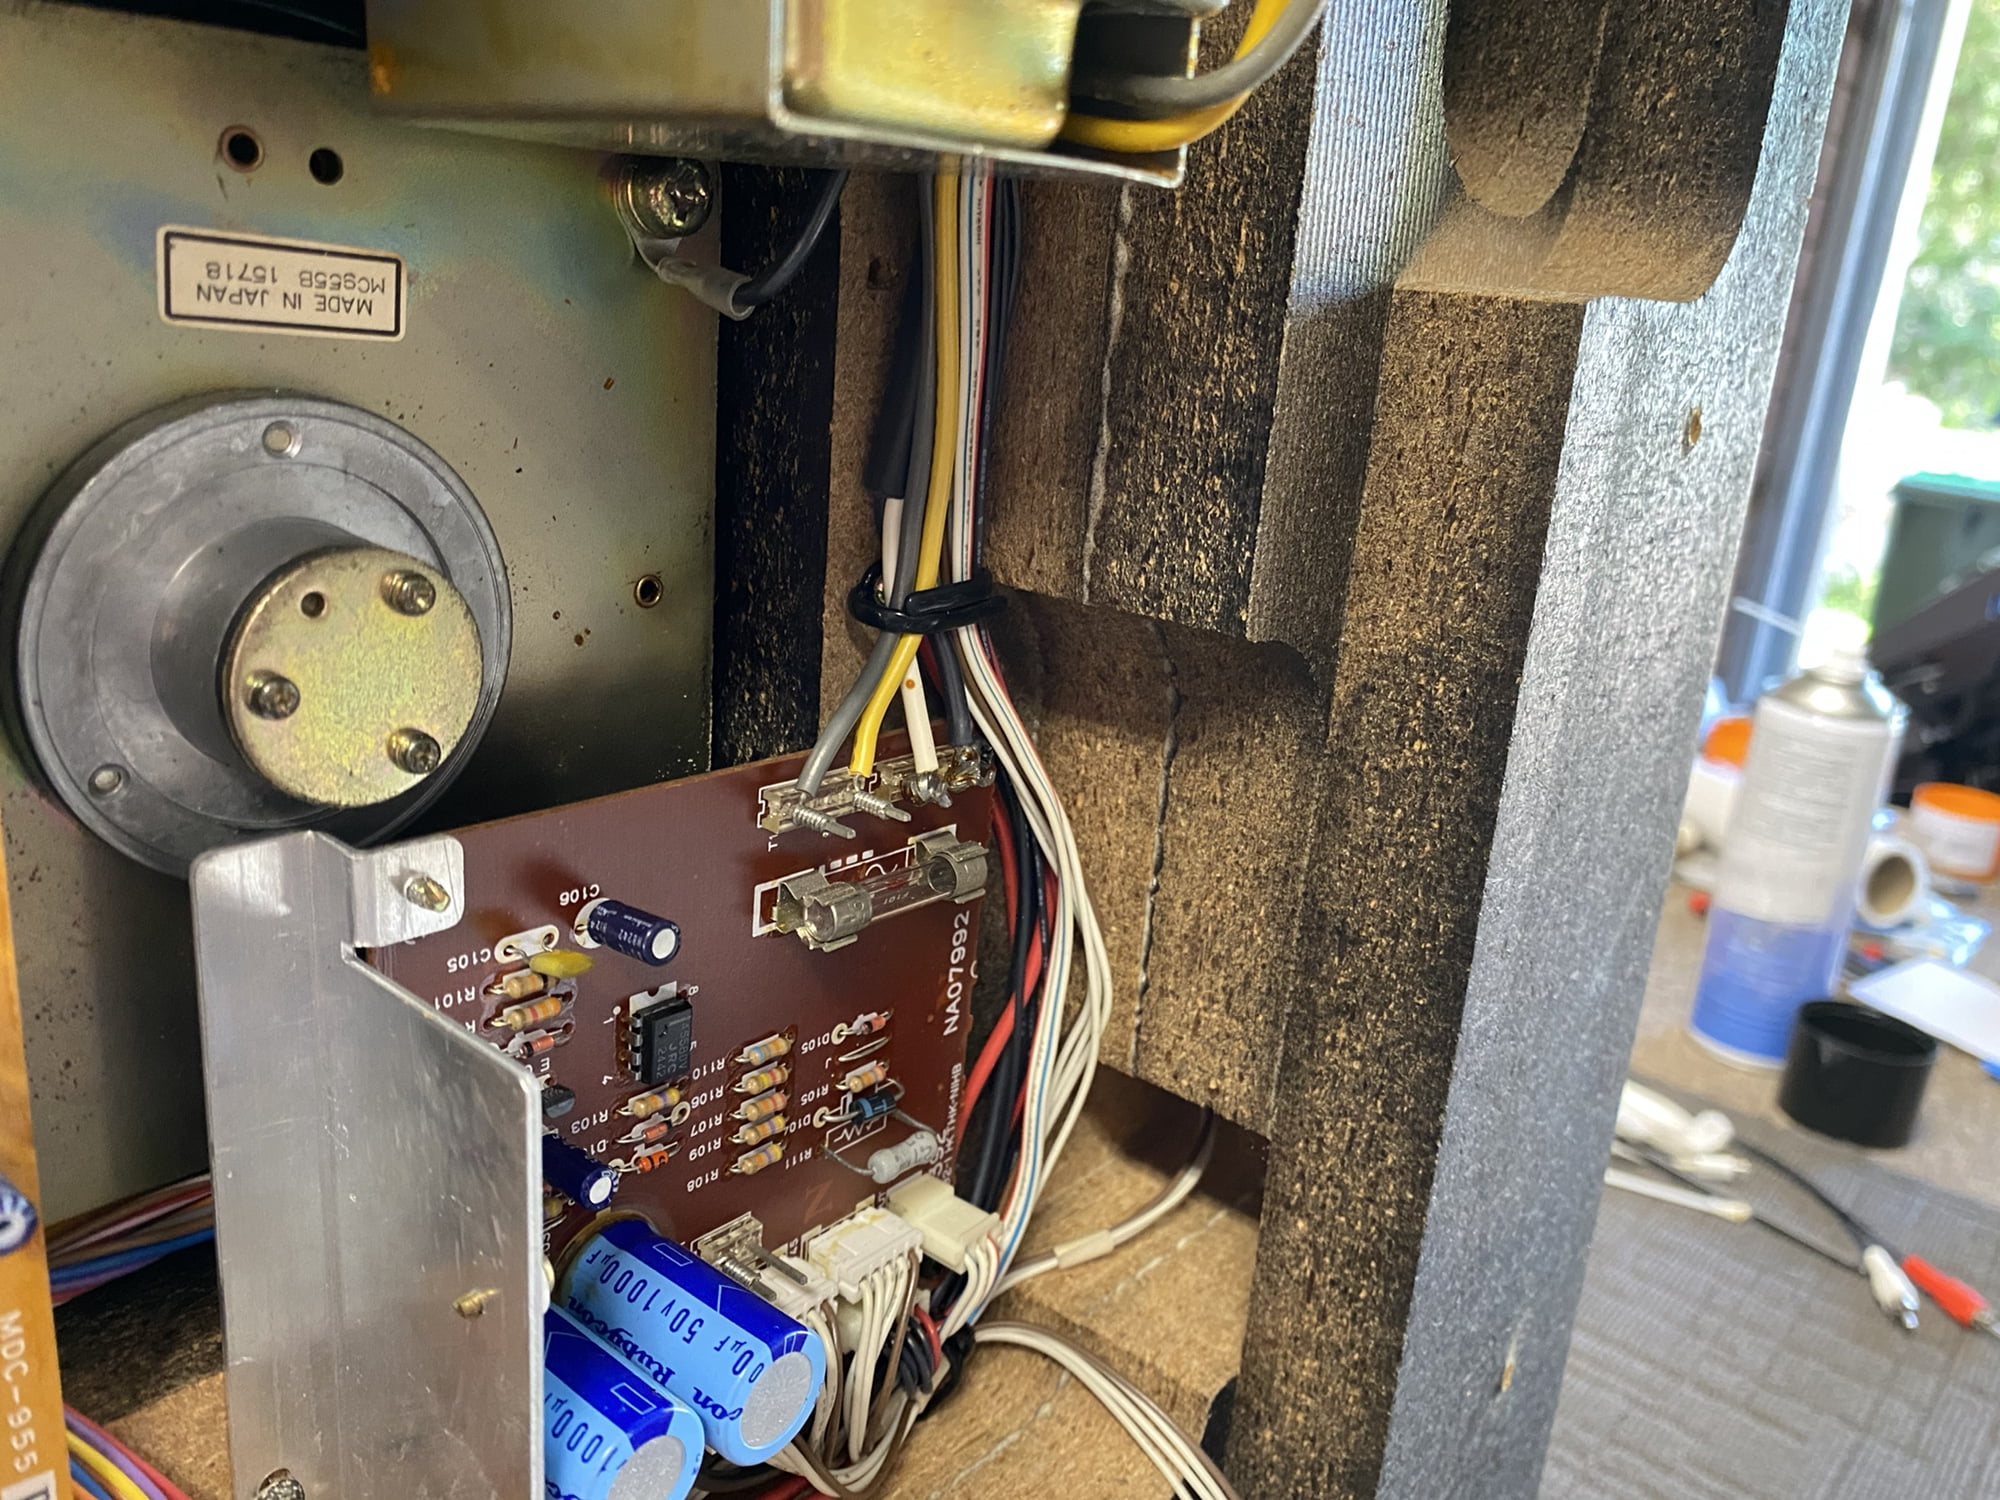
You might remember I noted an issue with the main bearing on this GT-2000. This is part of the reason why a deck like this should always receive a professional inspection, especially after a long trip from Osaka. Knowing this, I can investigate further and do something about it.
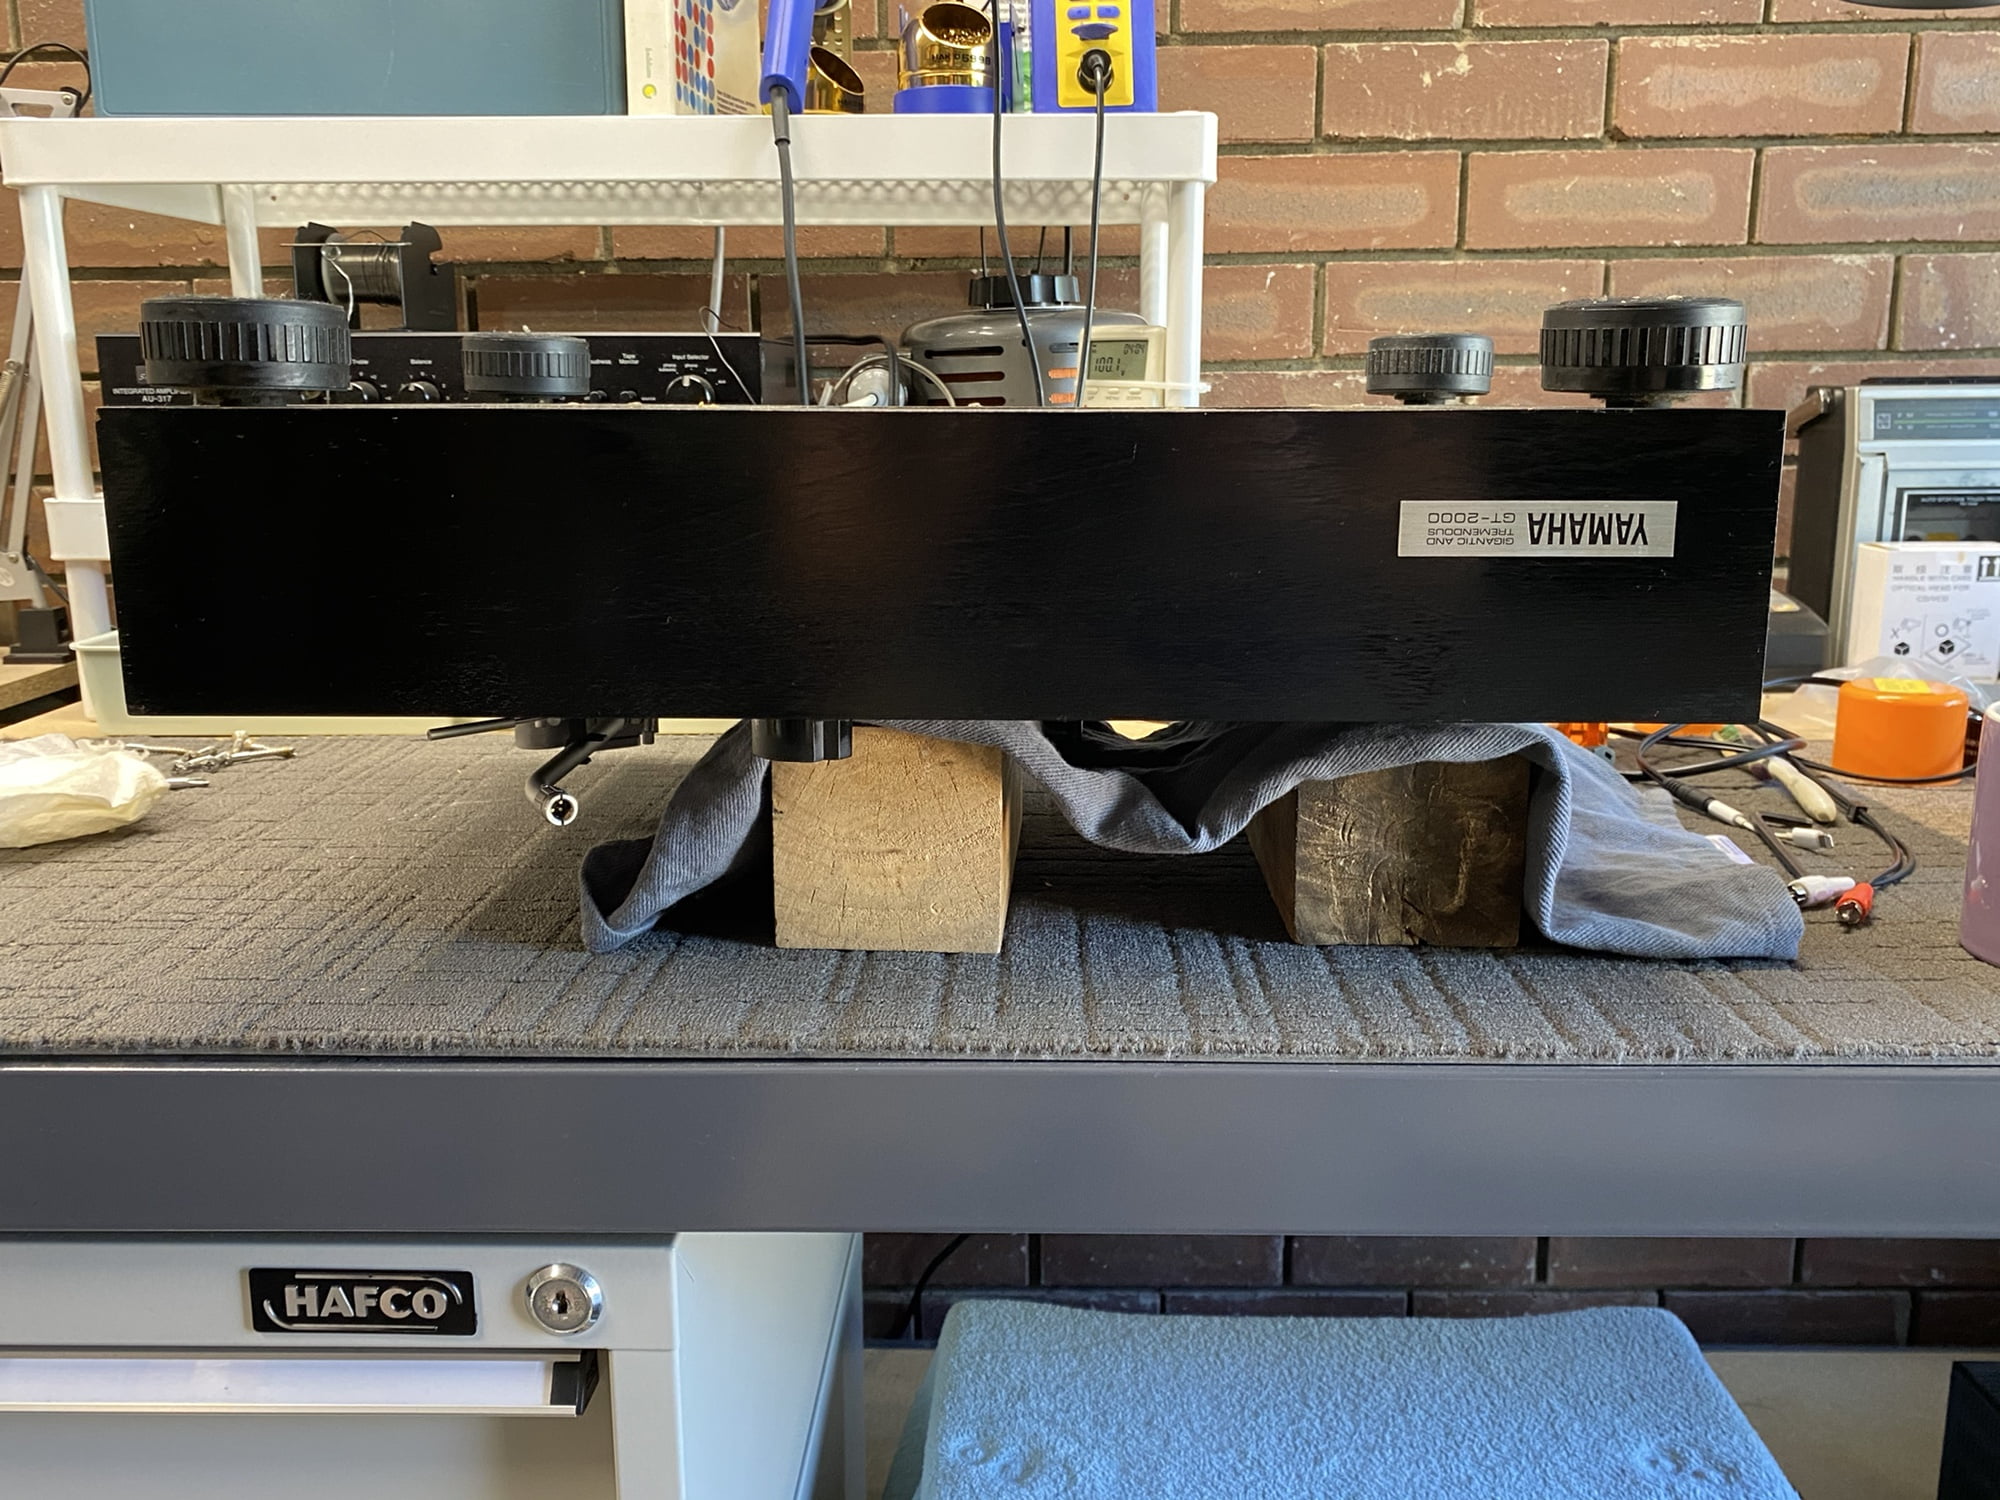
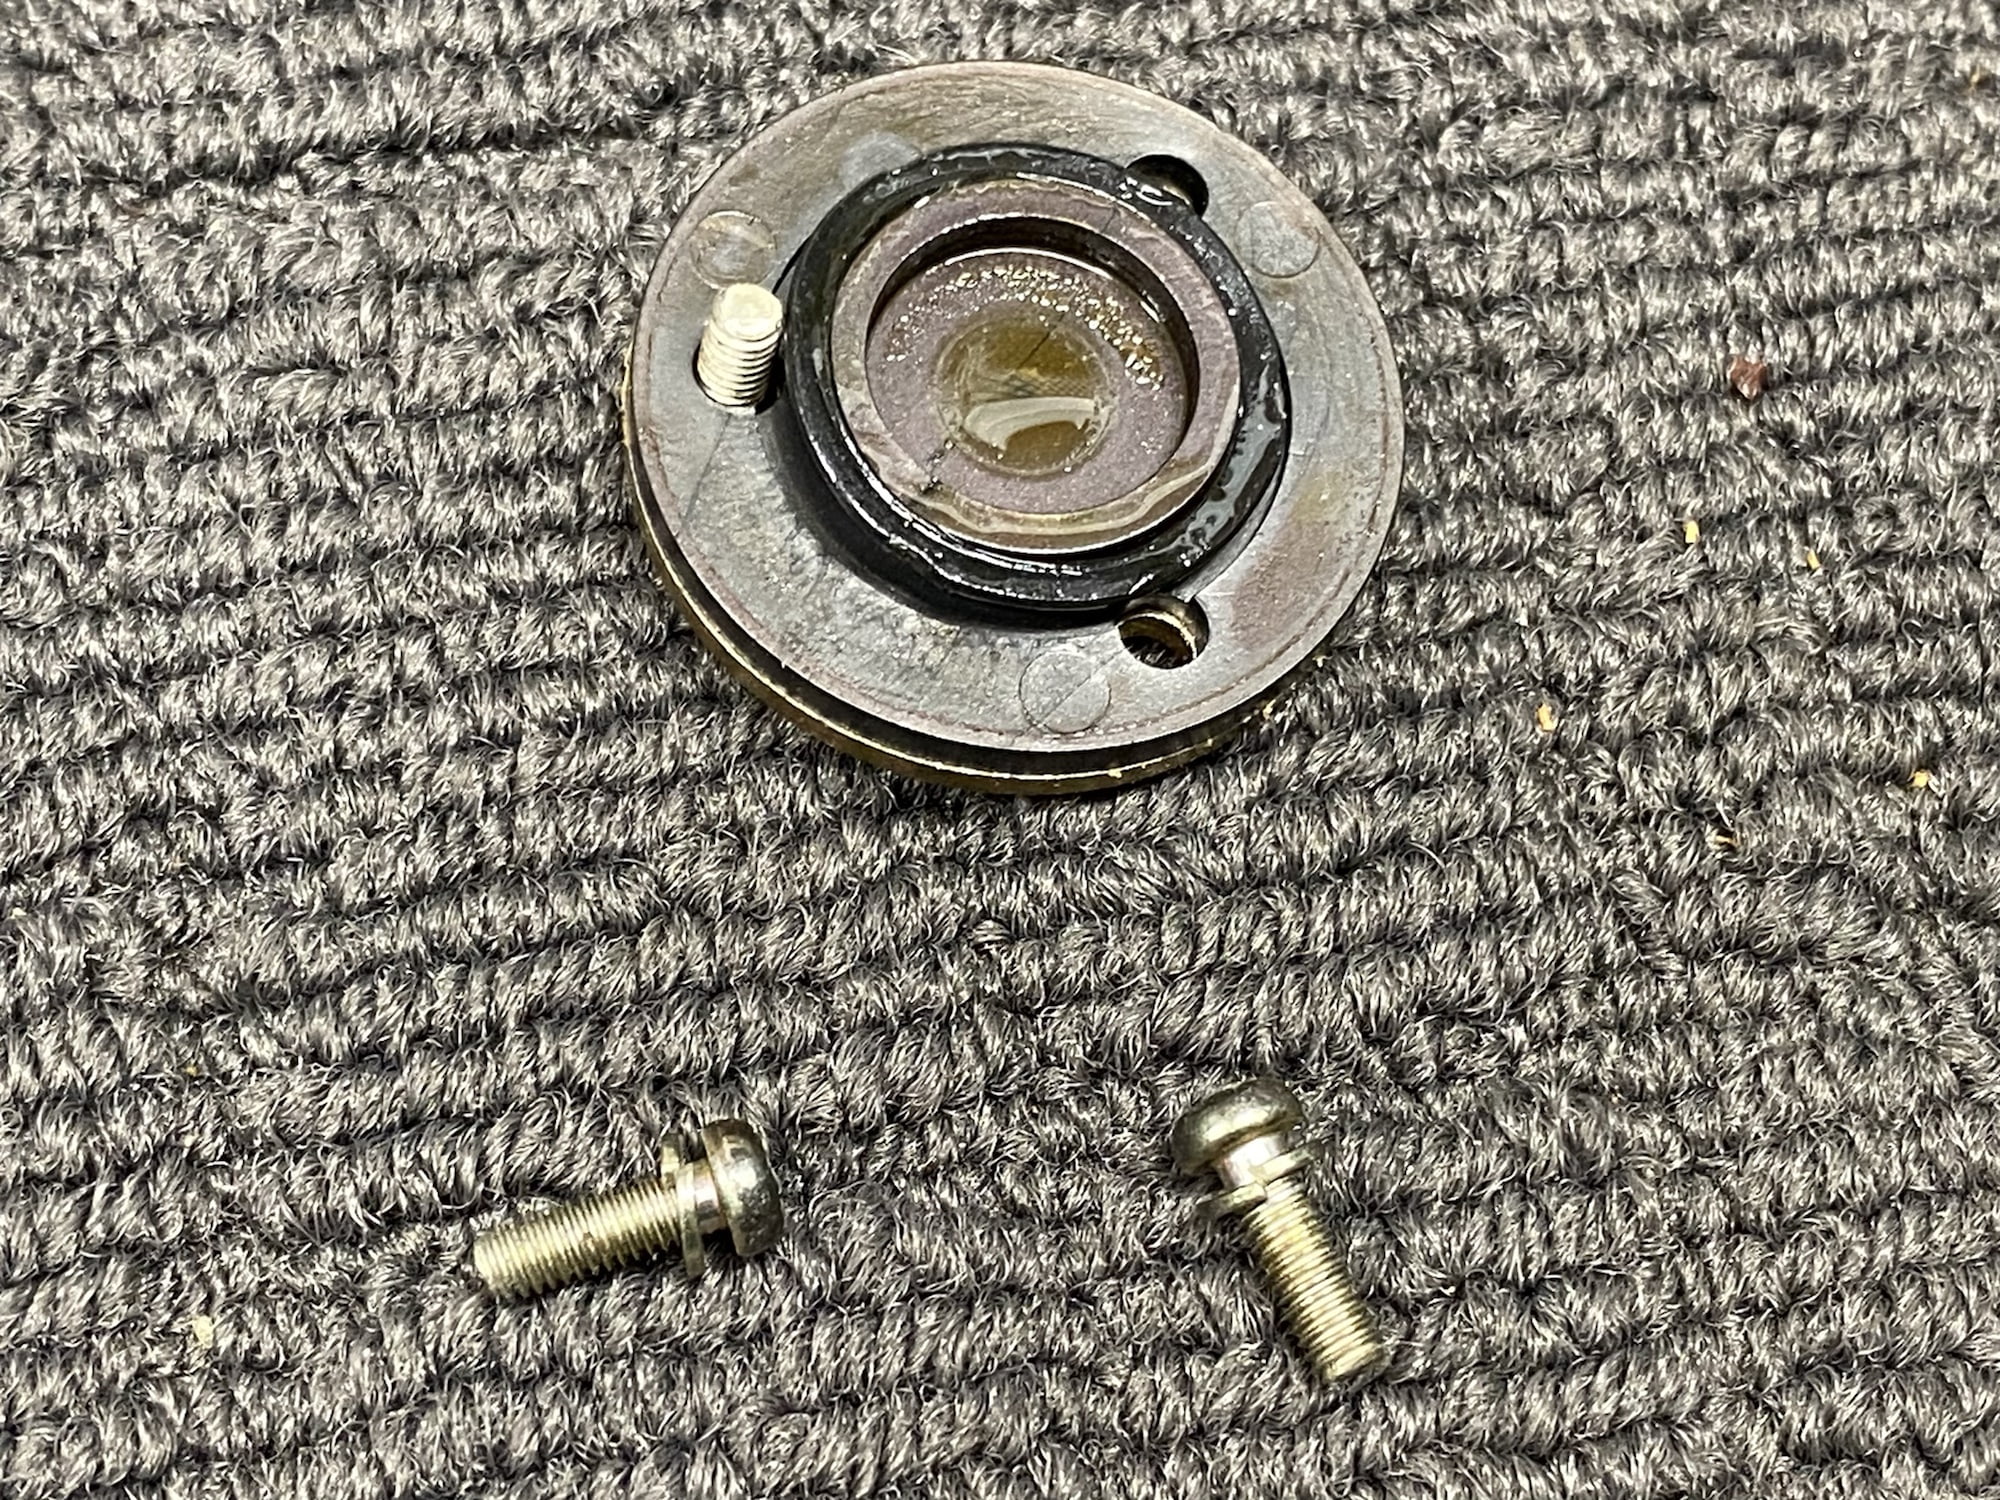
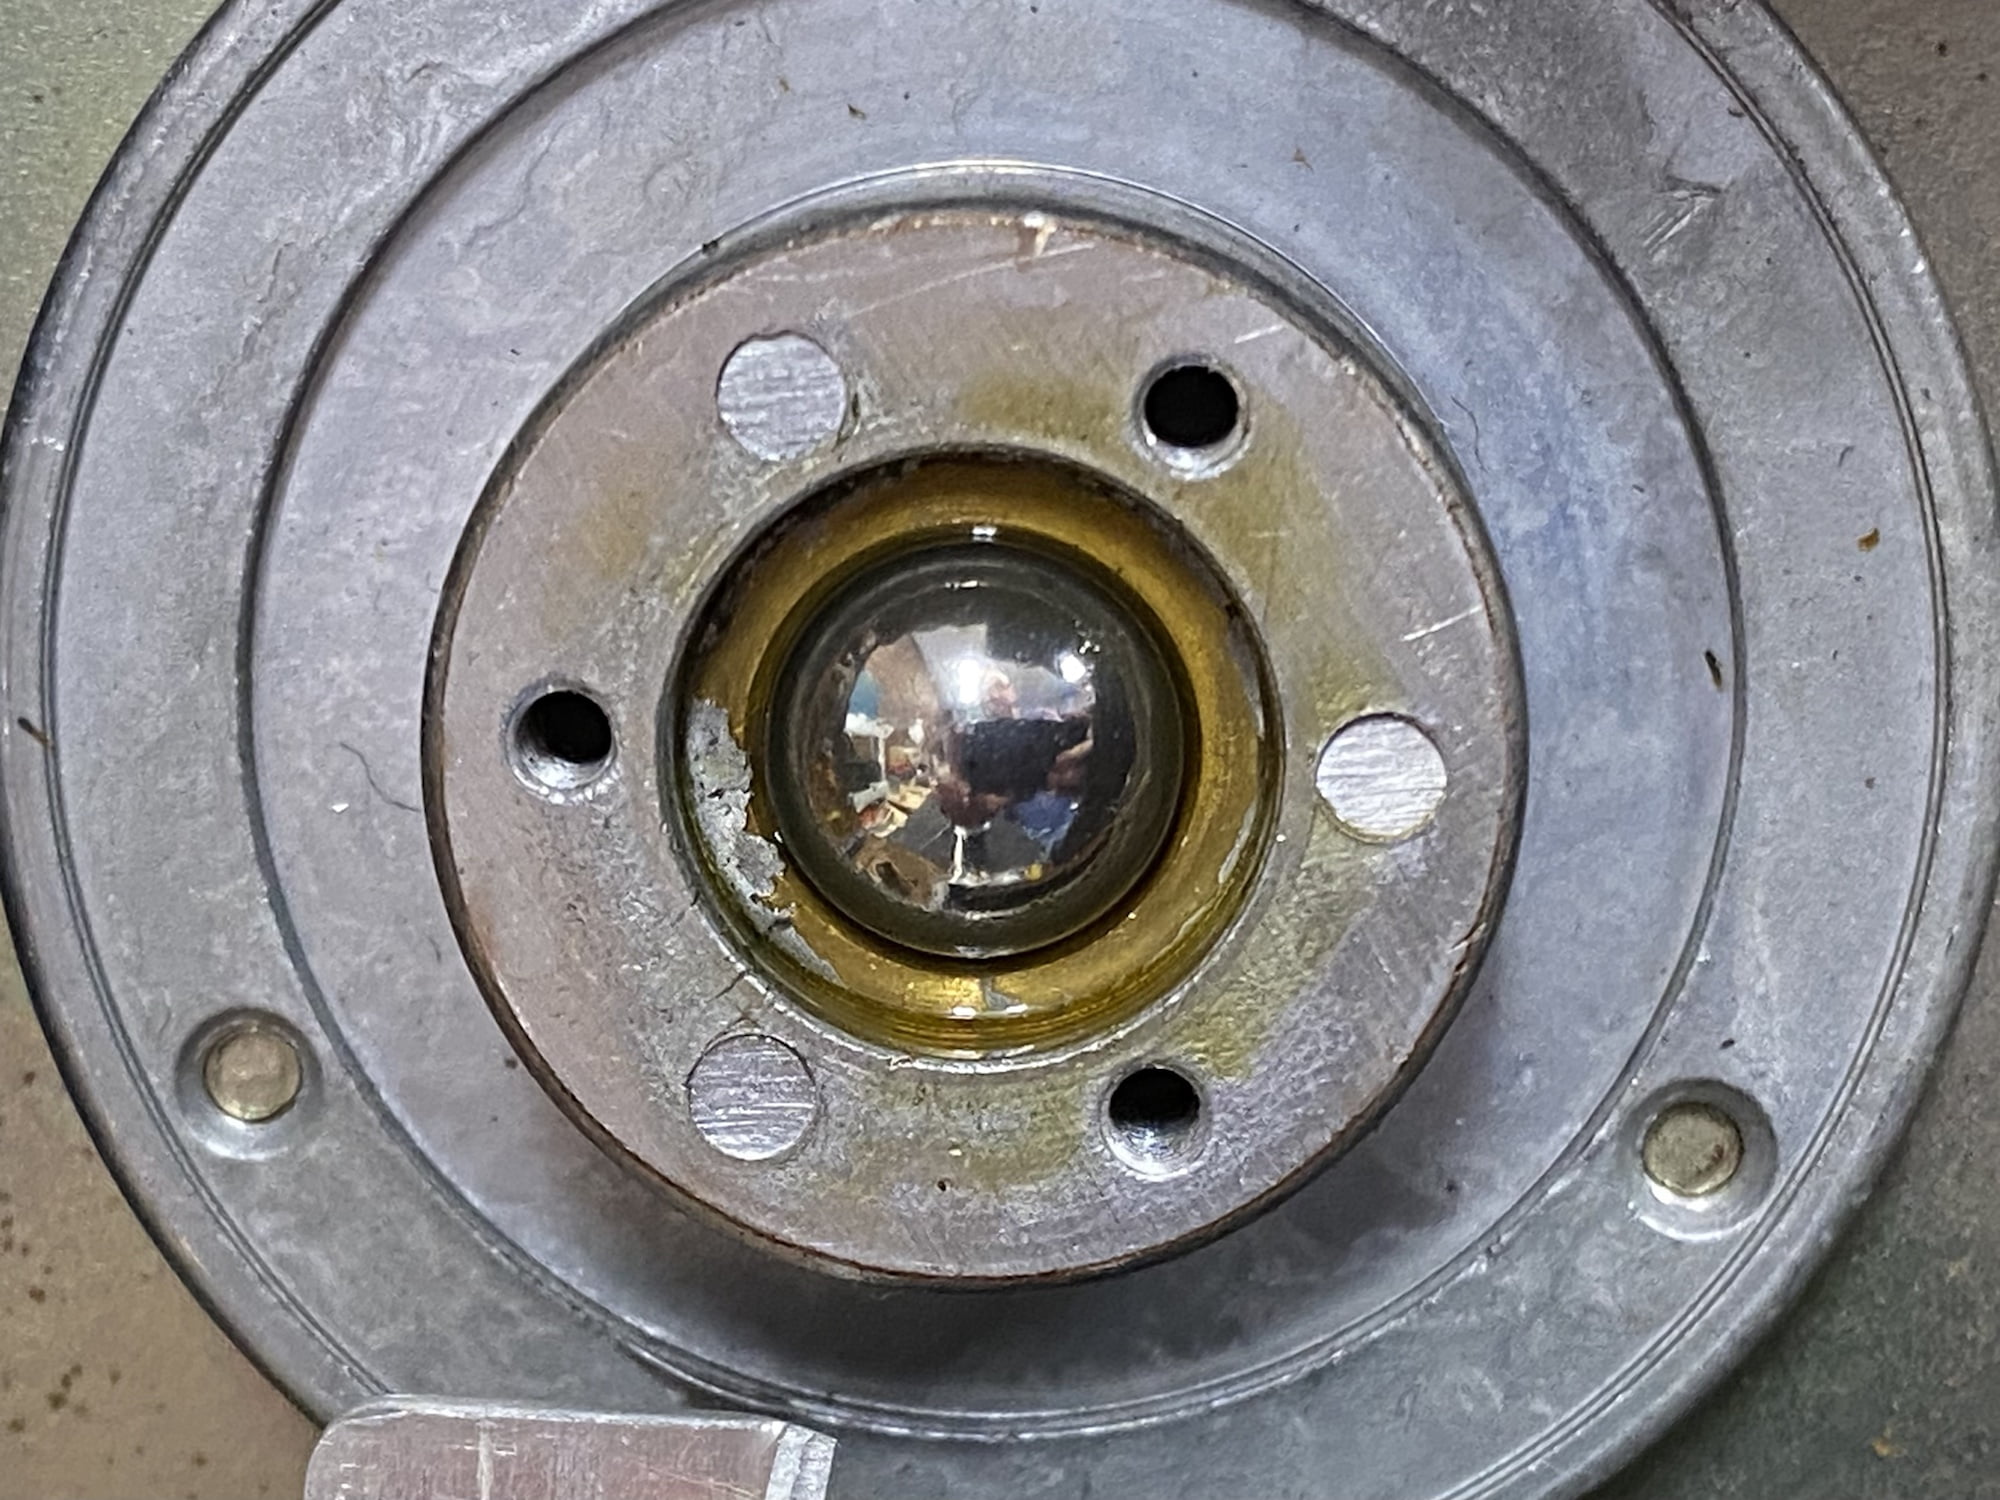
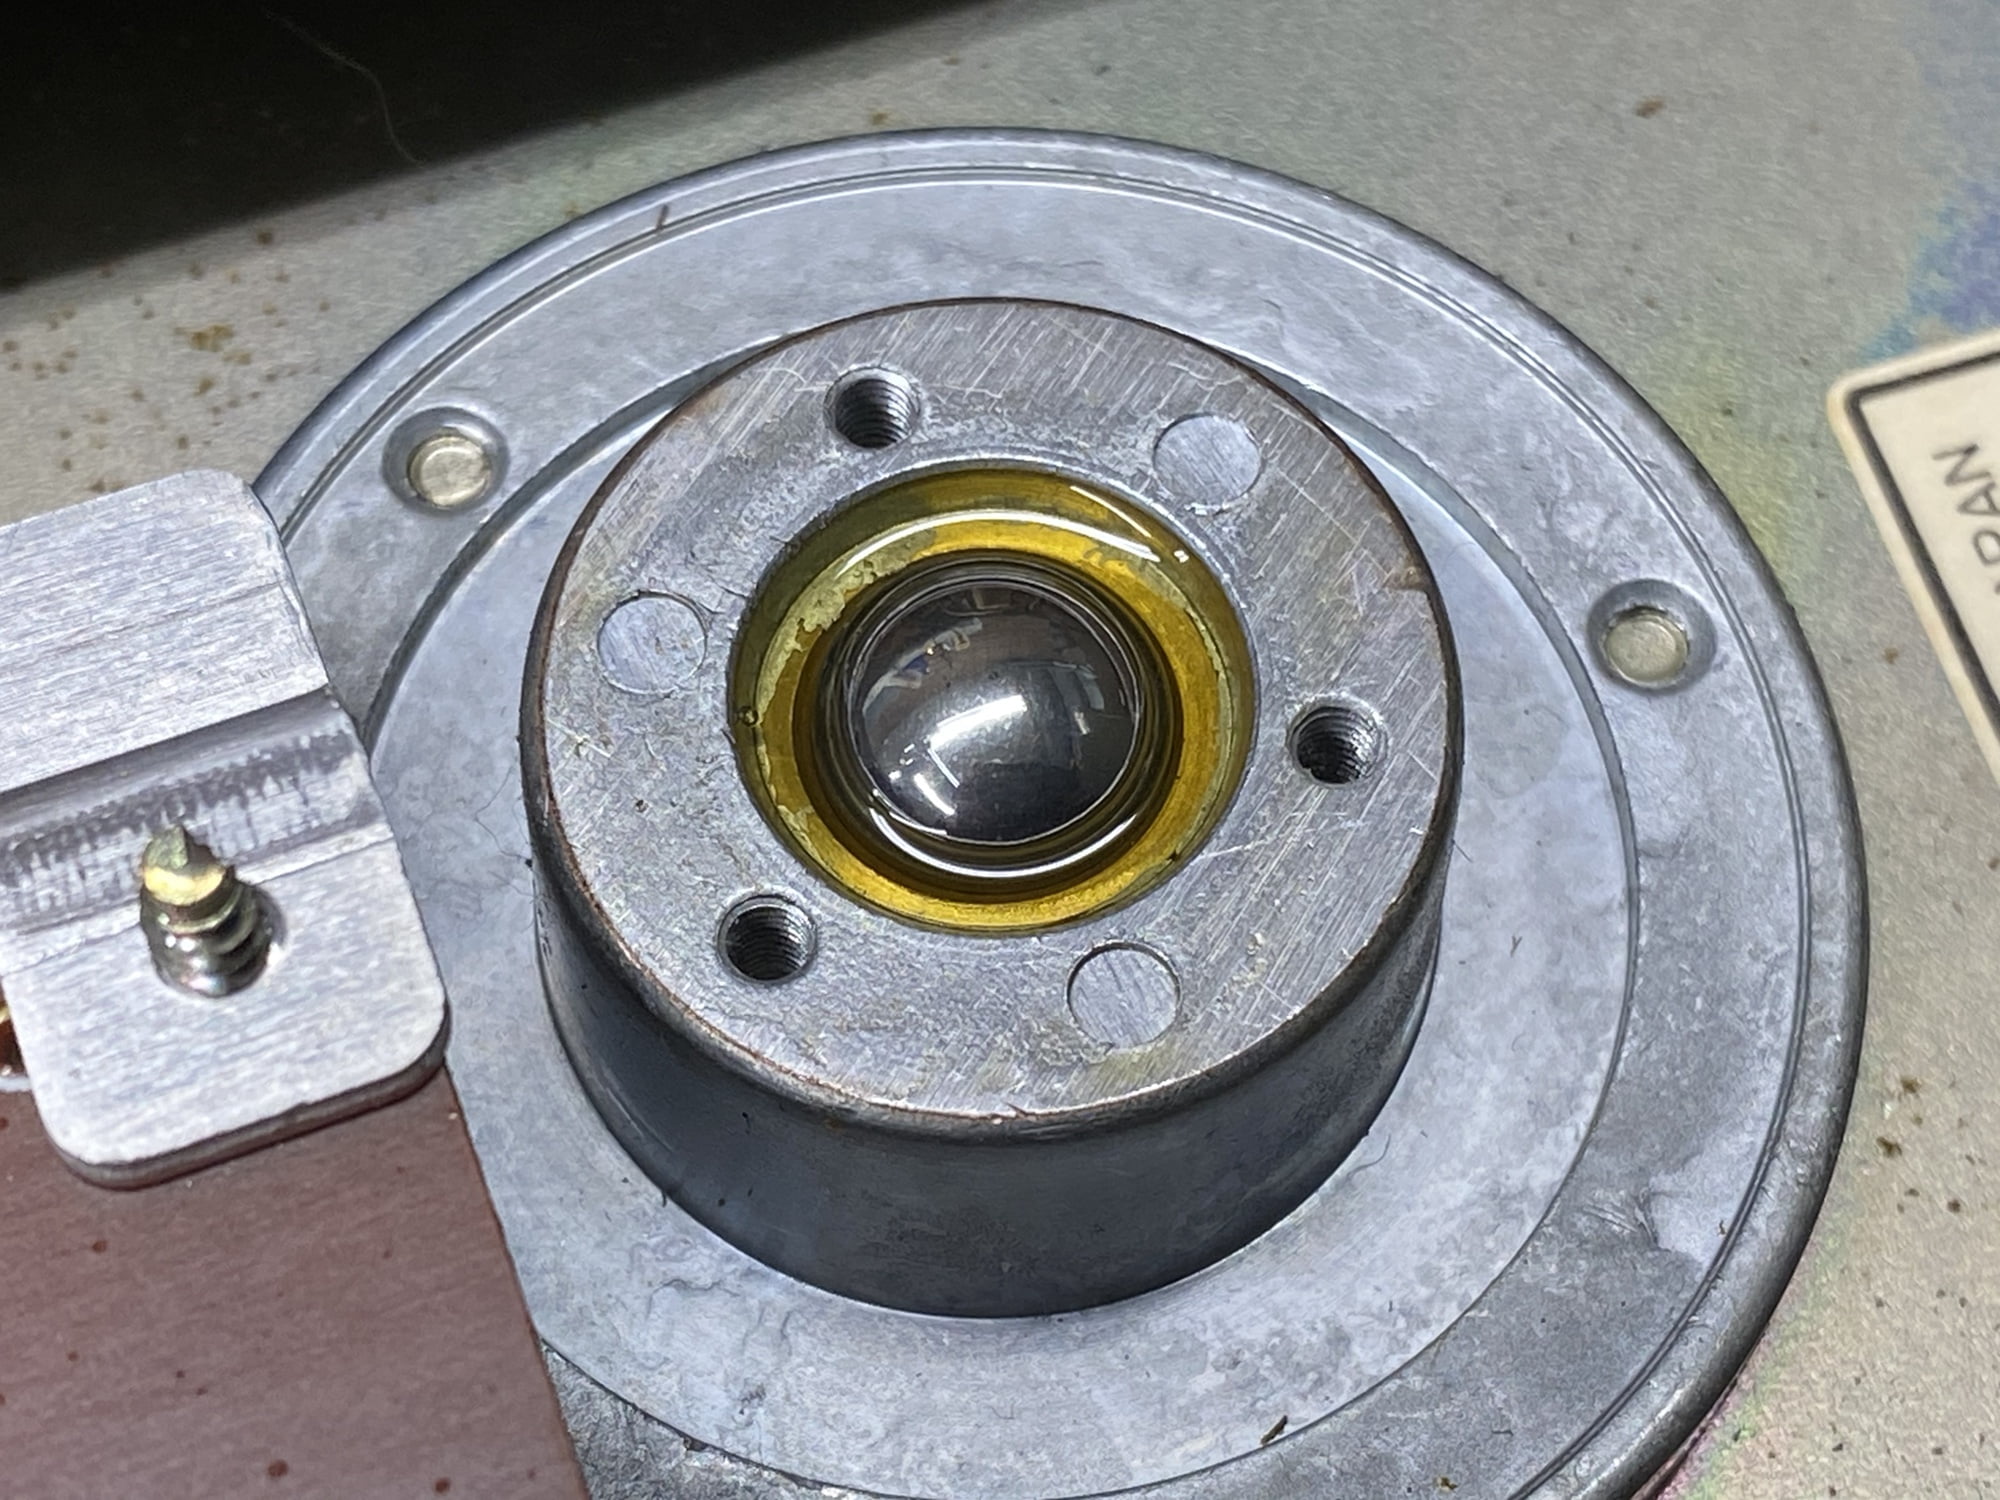
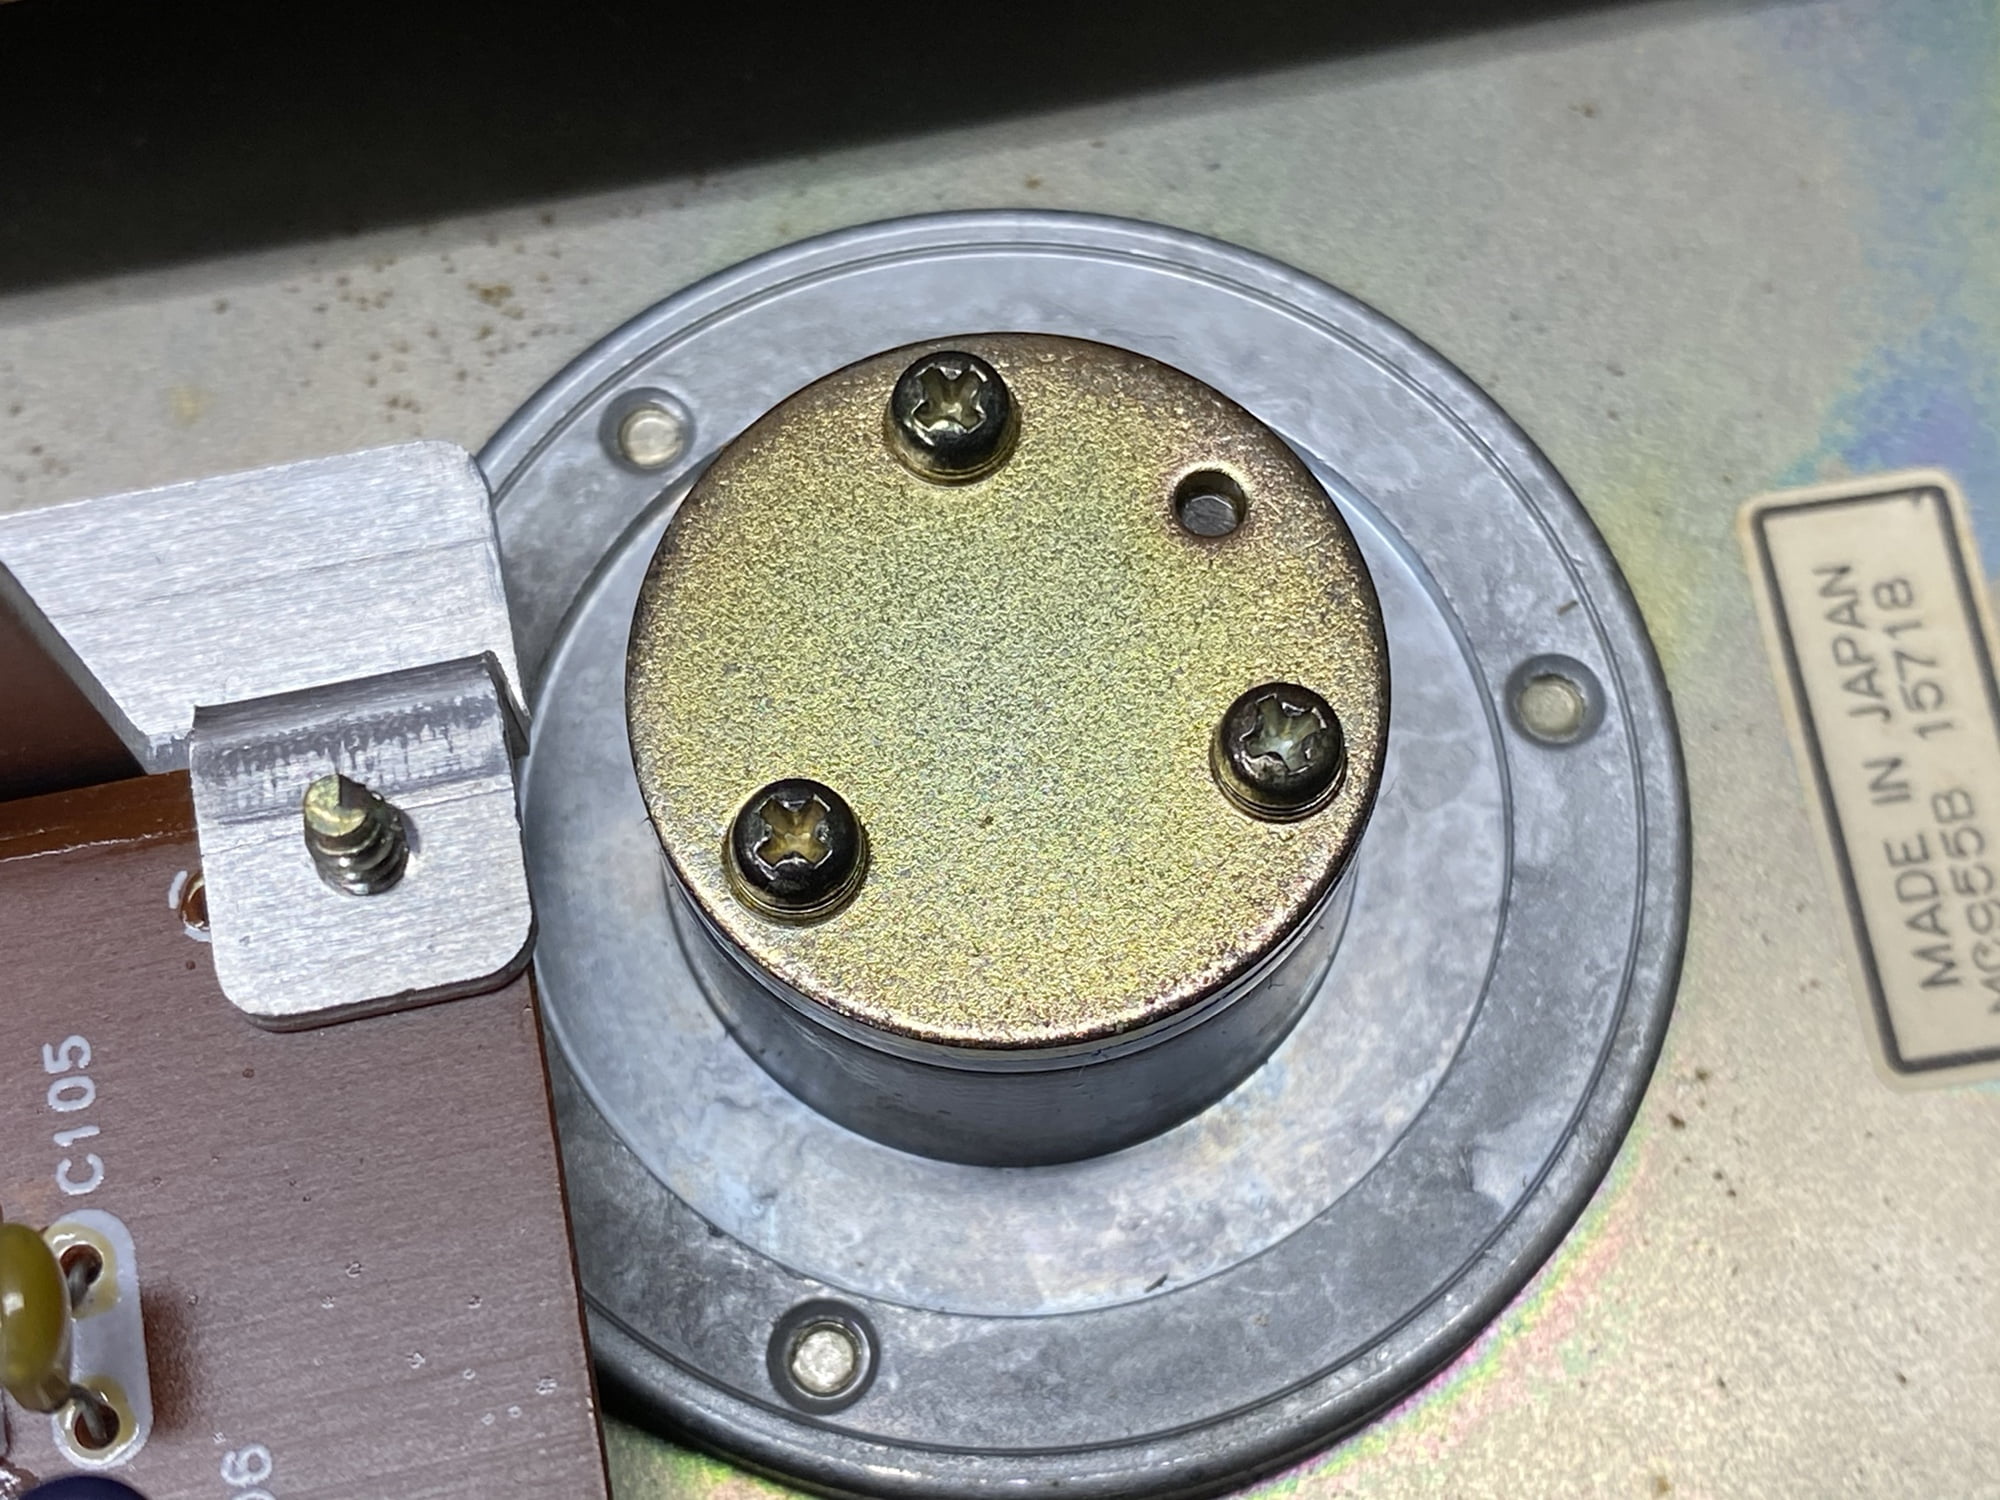
Servicing the bearing didn’t fix the excessive bearing clearance, but it did reduce it. The platter certainly rotated more freely after service.
Cartridge Installation
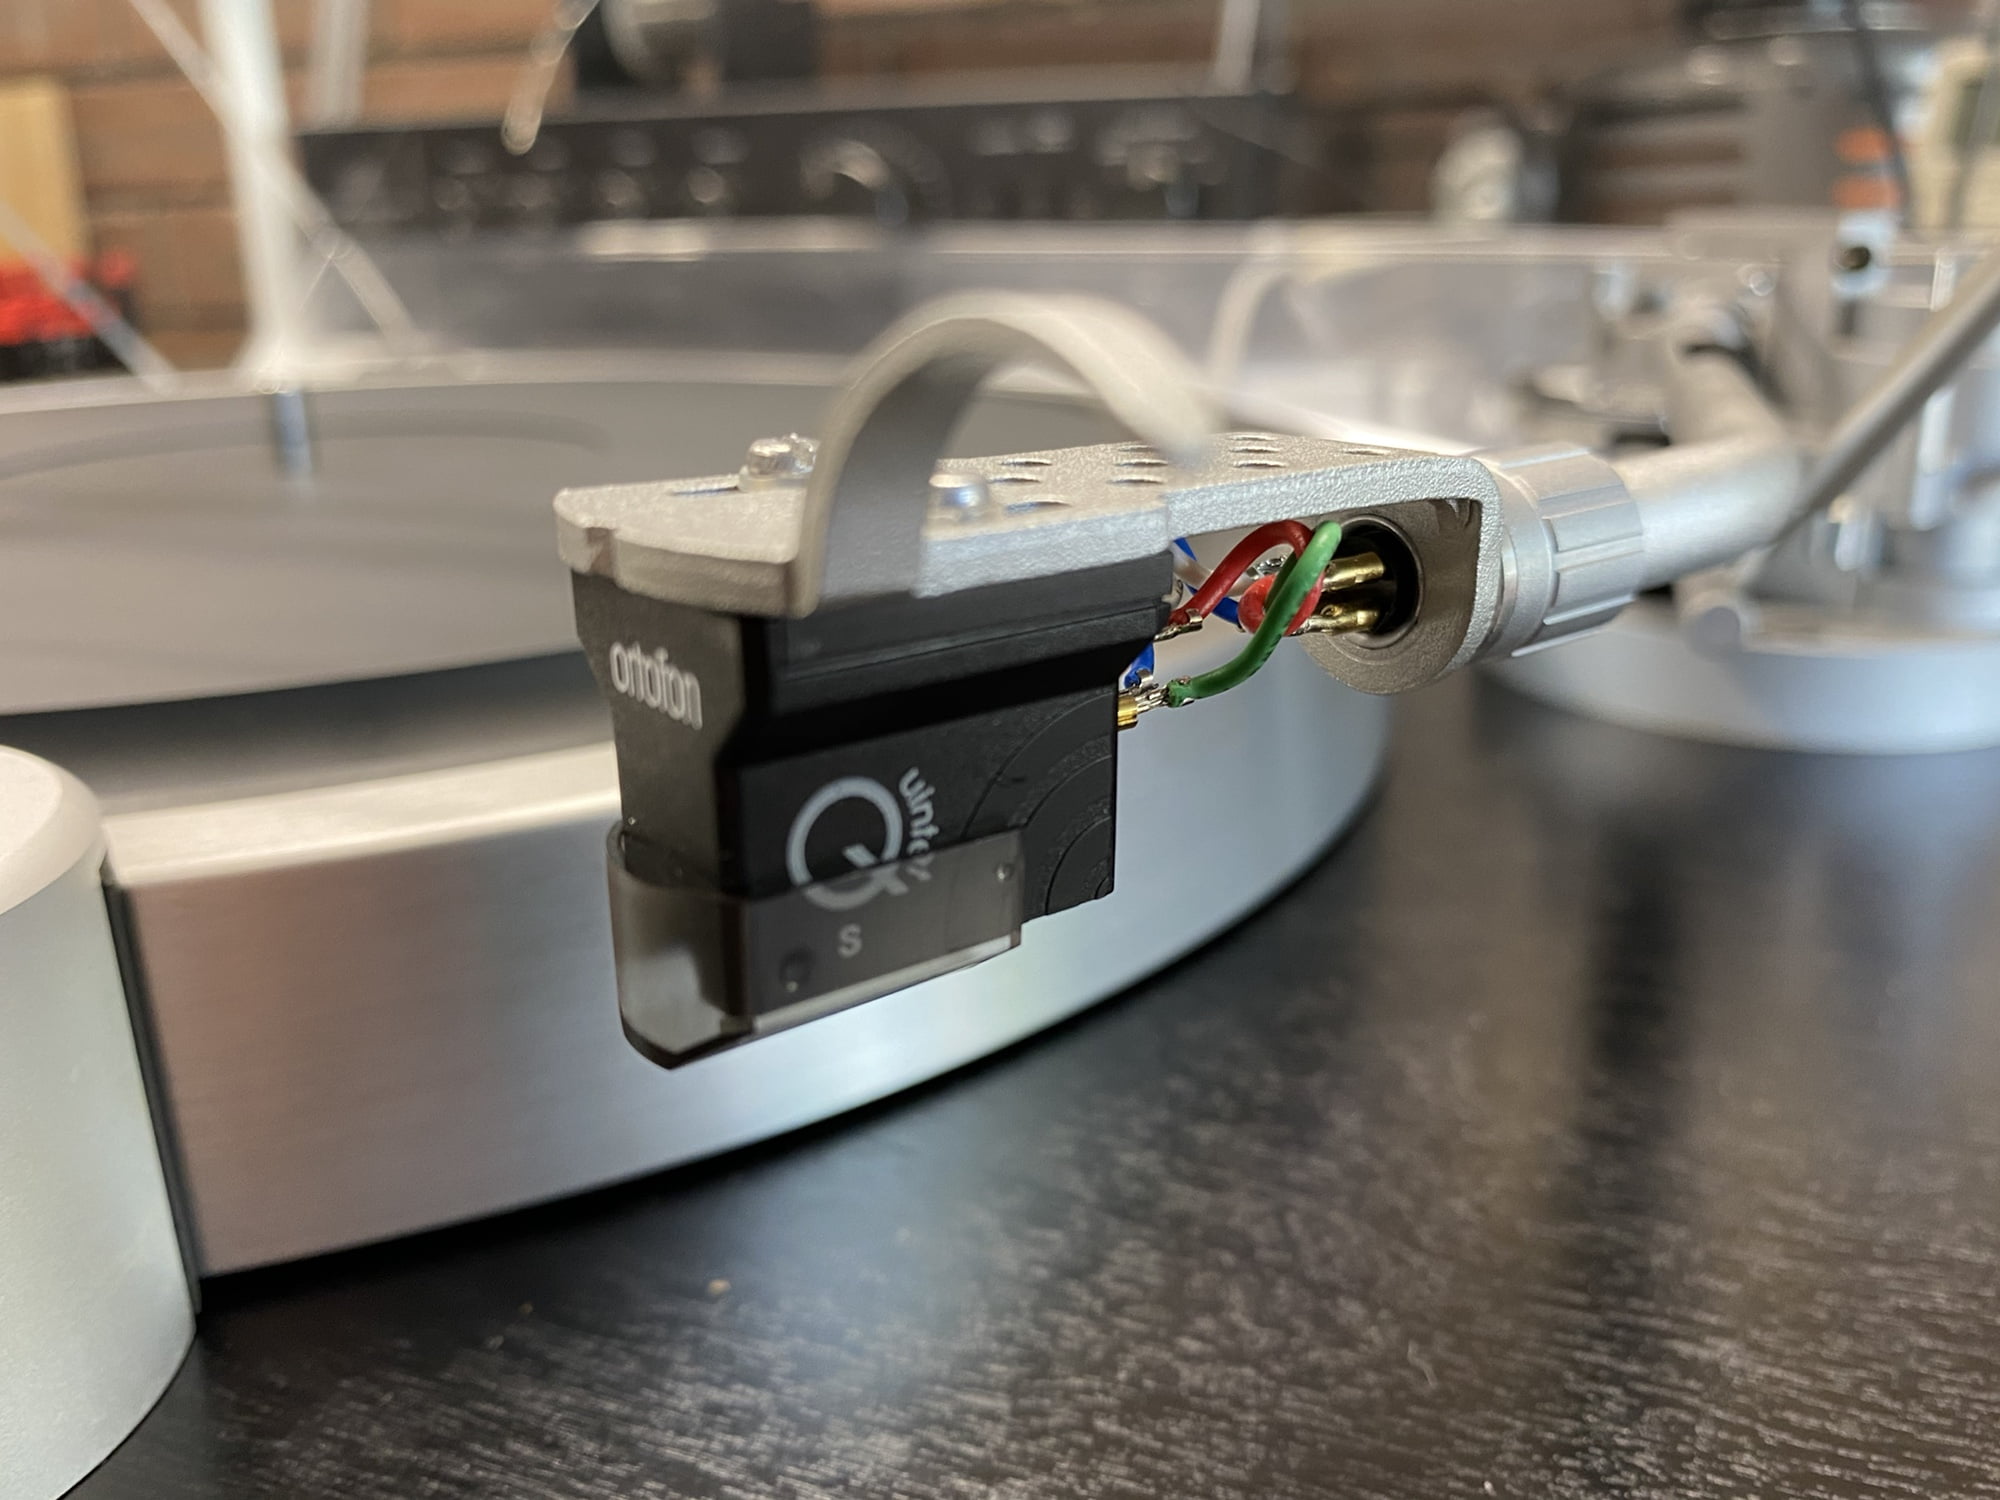
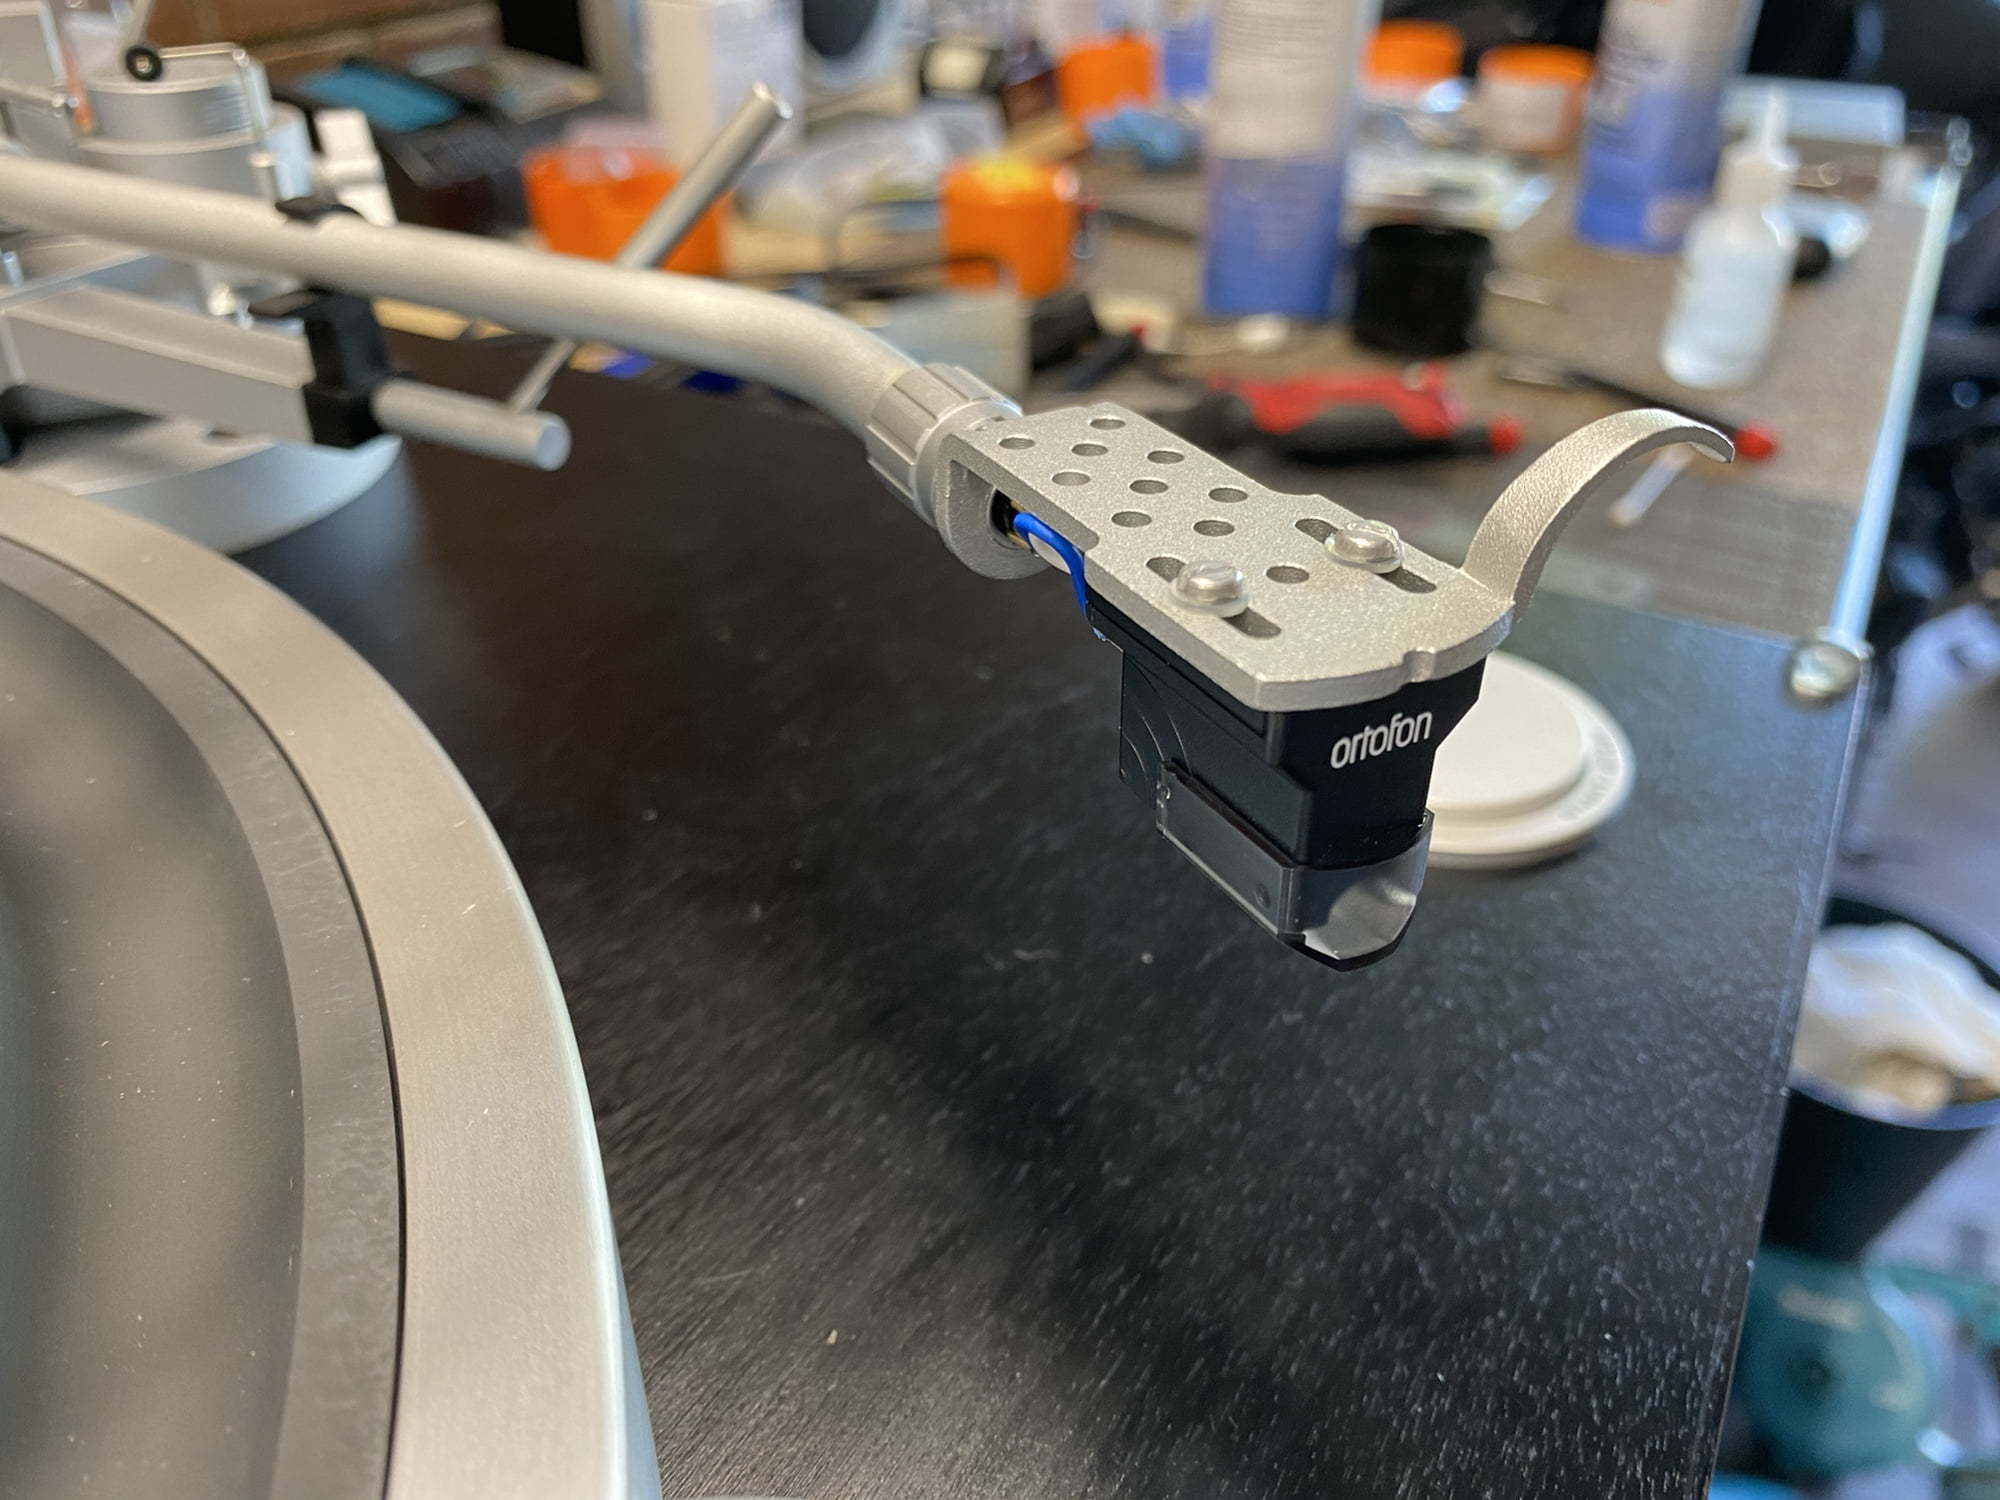
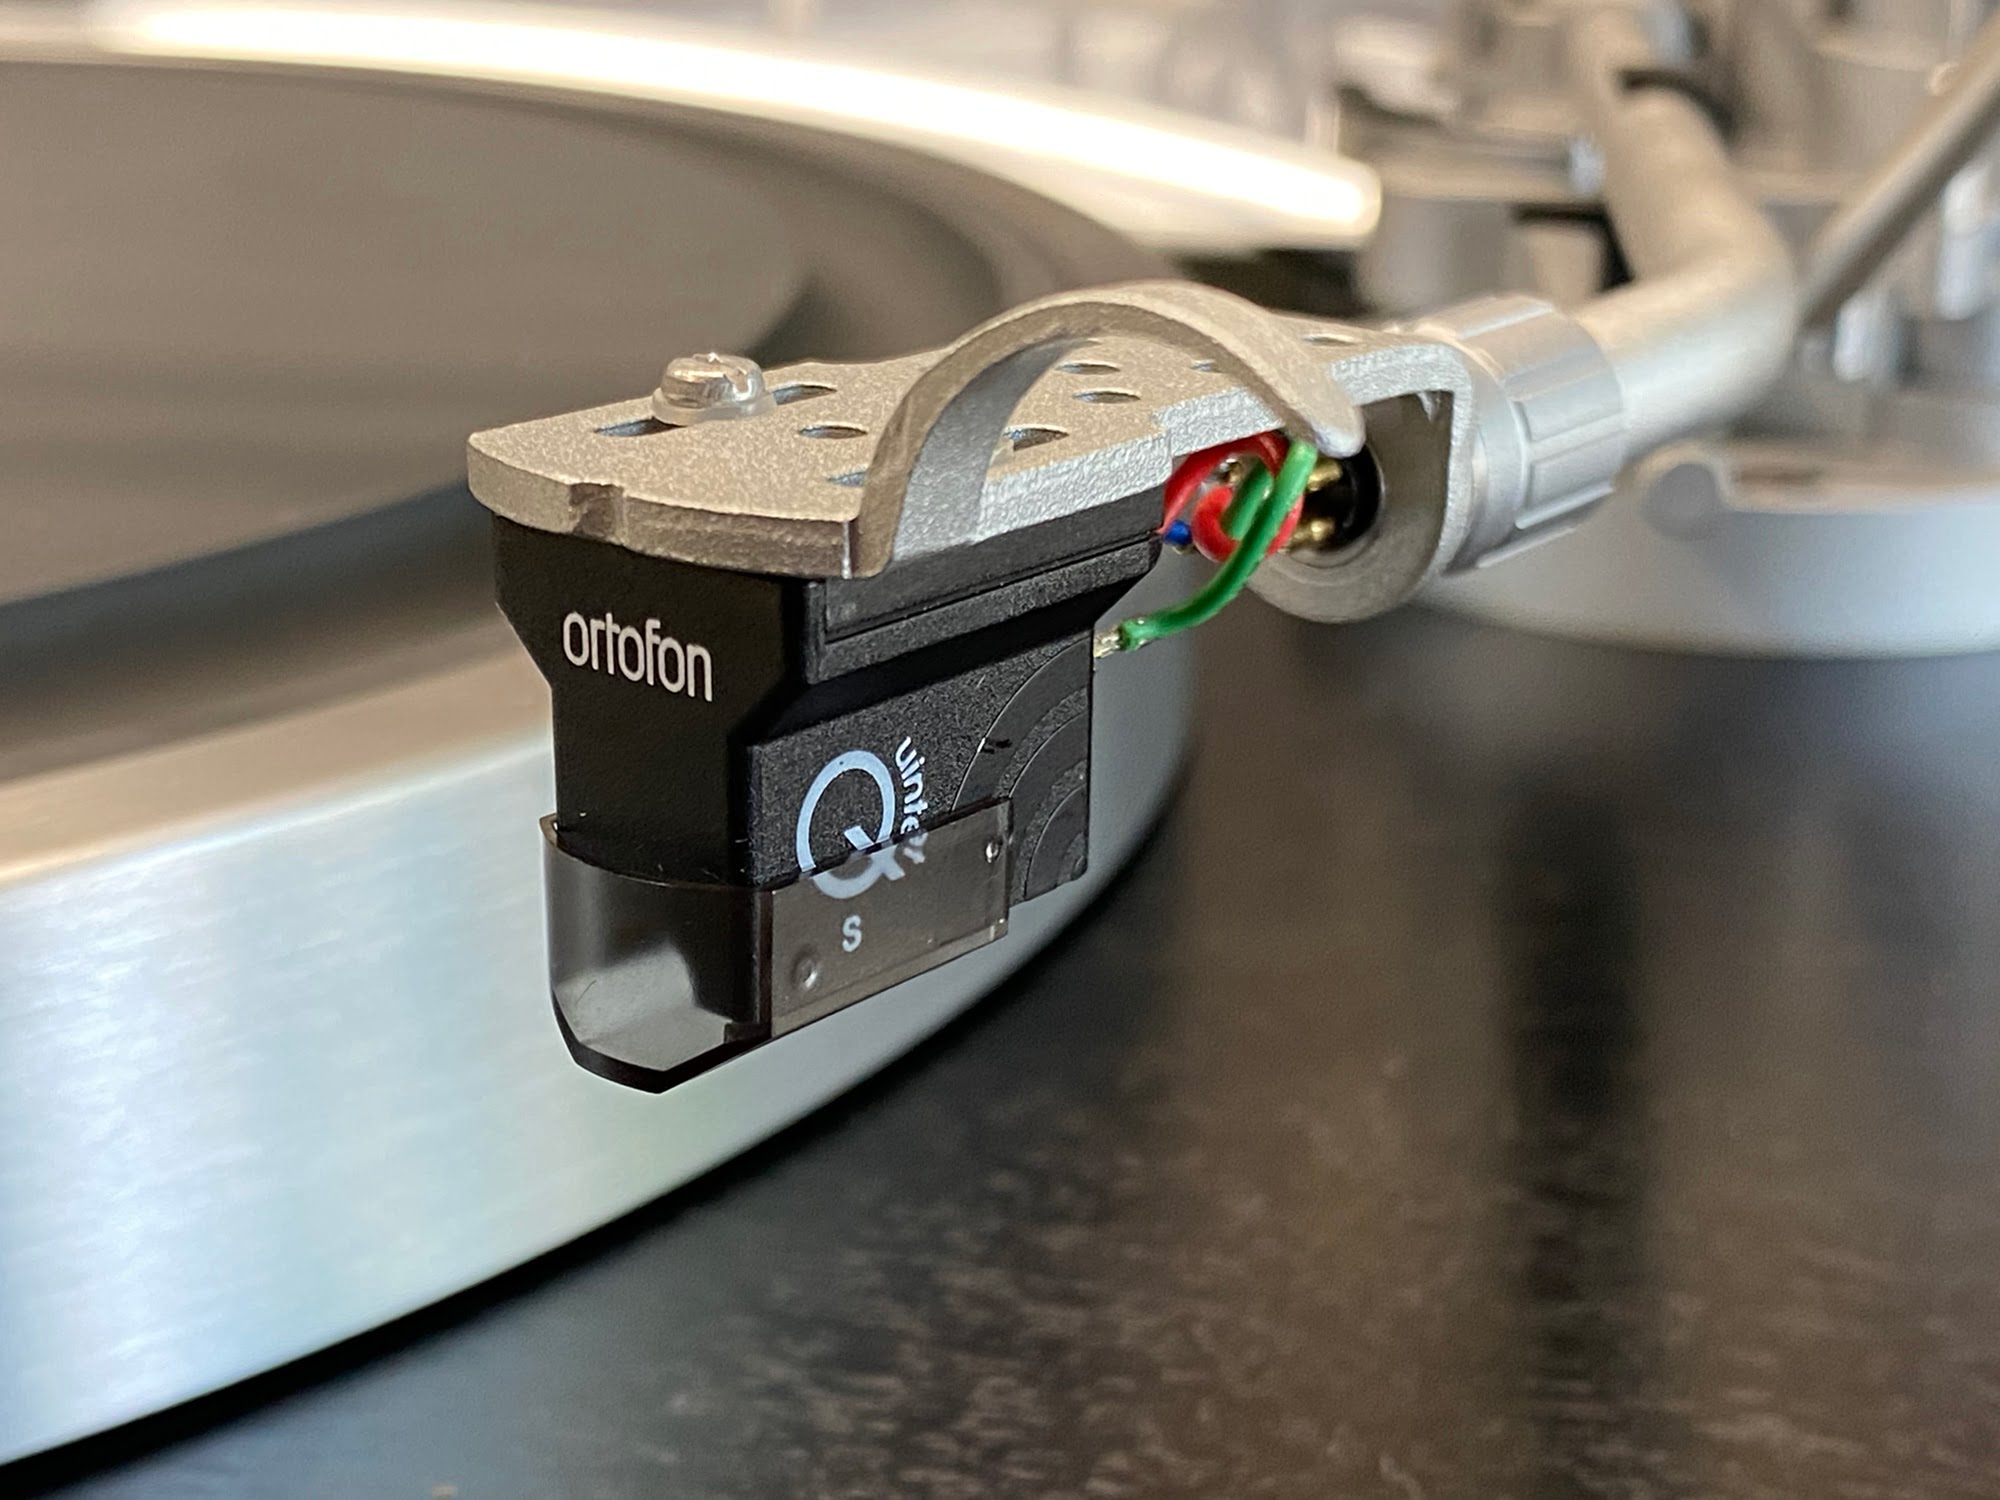
Lastly, I installed a lovely Ortofon Quintet Black S moving coil cartridge on one of the lightweight alloy headshells I stock for lower-mass arms like this. The Quintet Black is perhaps not my ideal choice for this machine but it works well enough and sounded fantastic.
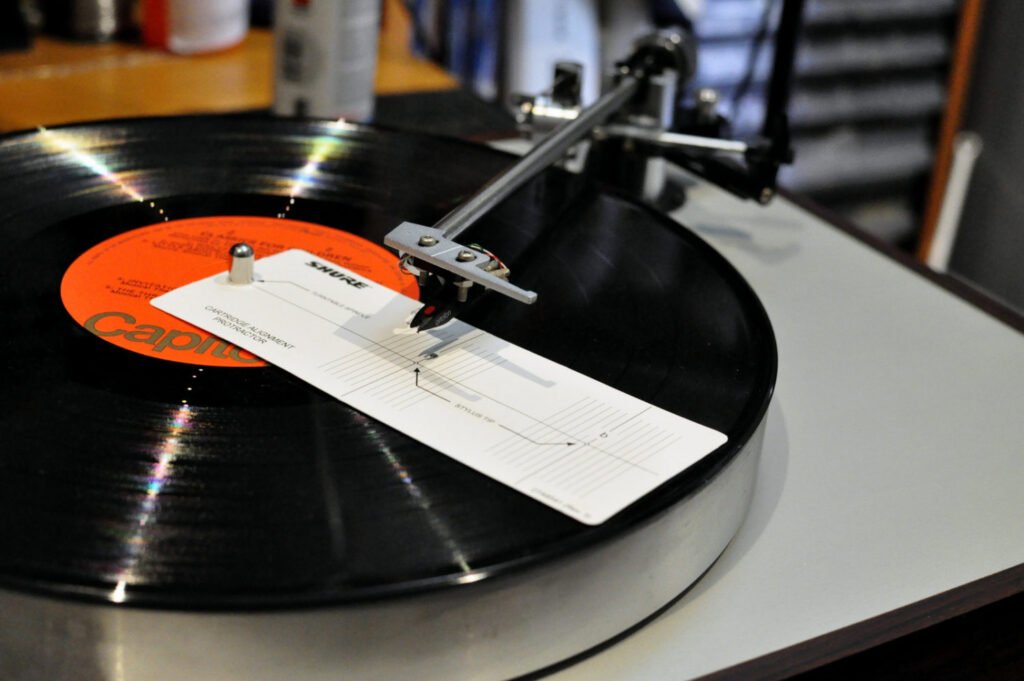
Everything must be spot-on, including overhang, azimuth, tracking force, anti-skate and VTA. Turntable set-up is critical, but never more so than with a line-contact or Shibata stylus like the one fitted to the Quintet Black S.
Results
The results speak for themselves and whilst this customer disappeared as quickly as he initially appeared, I’m sure it’s because he’s just loving playing his records. This deck sounded amazing, set up as you see here. As if any of this would be a surprise when you see the elements we are talking about though!
UPDATE: This customer got back in touch with the following feedback, edited here for brevity:
Hi Mike
The GT-2000, what a beast! … Removing the RP3 with the 2M Black and putting in the GT-2000 with the Black Quintet MC Cart we both went wow and our jaws dropped. Vinyl was heard for the first time again in such a rich and bassful way … 🙂
System is GT-2000, Quintet Cart, ST-7 SUT, Dynavector P75 Mk4 Phono Stage. Lovely rich sound.
Bill R
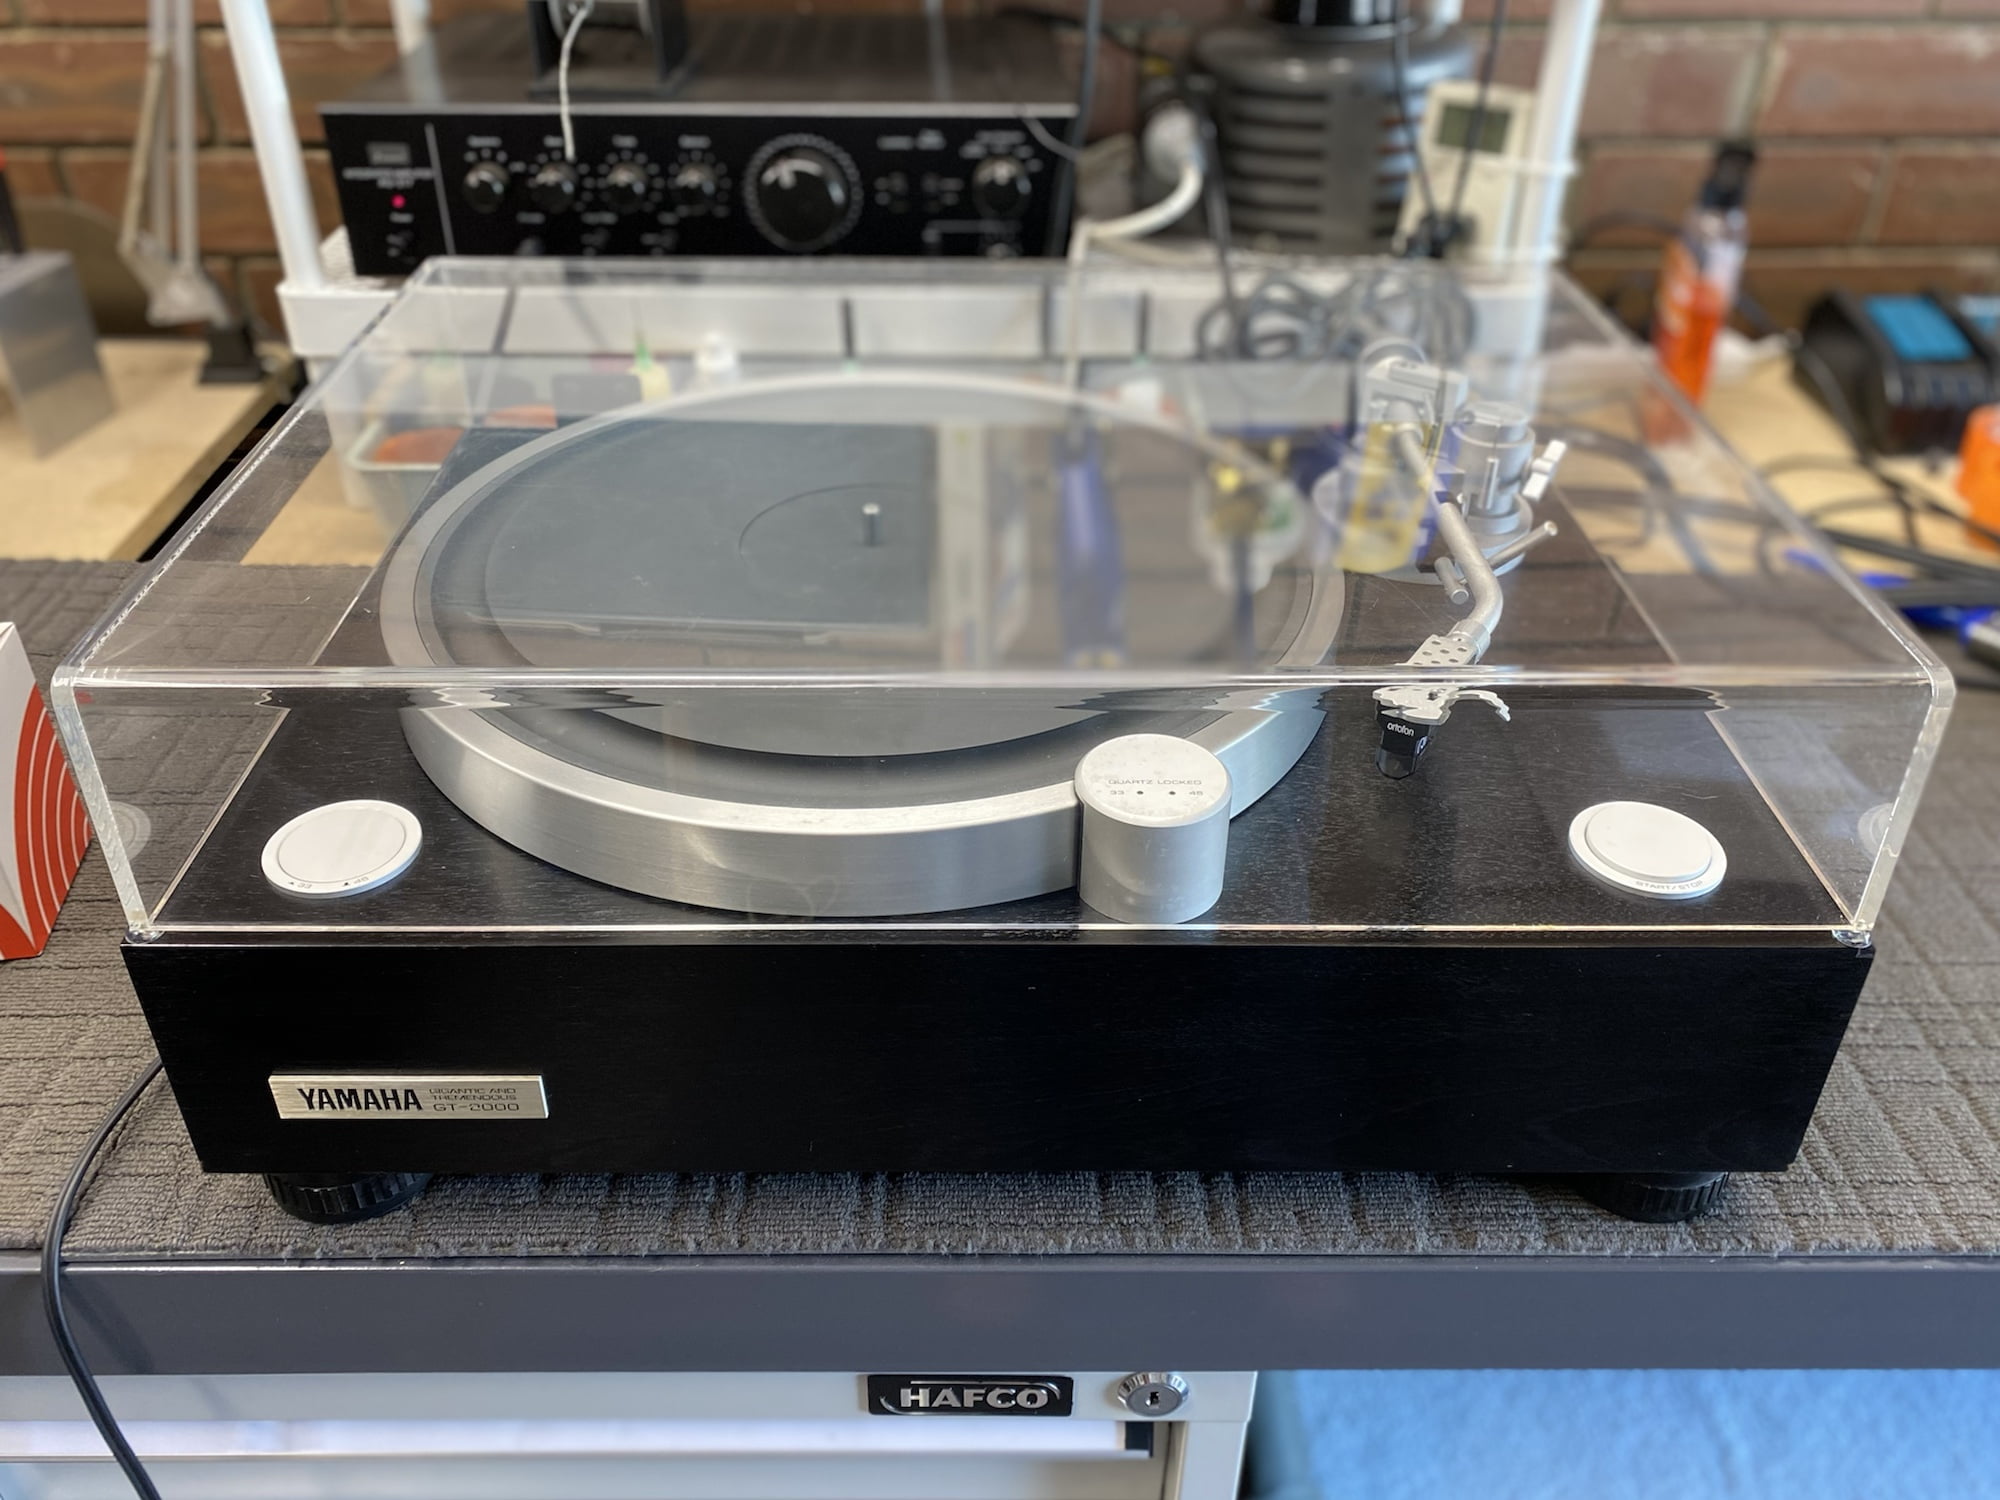
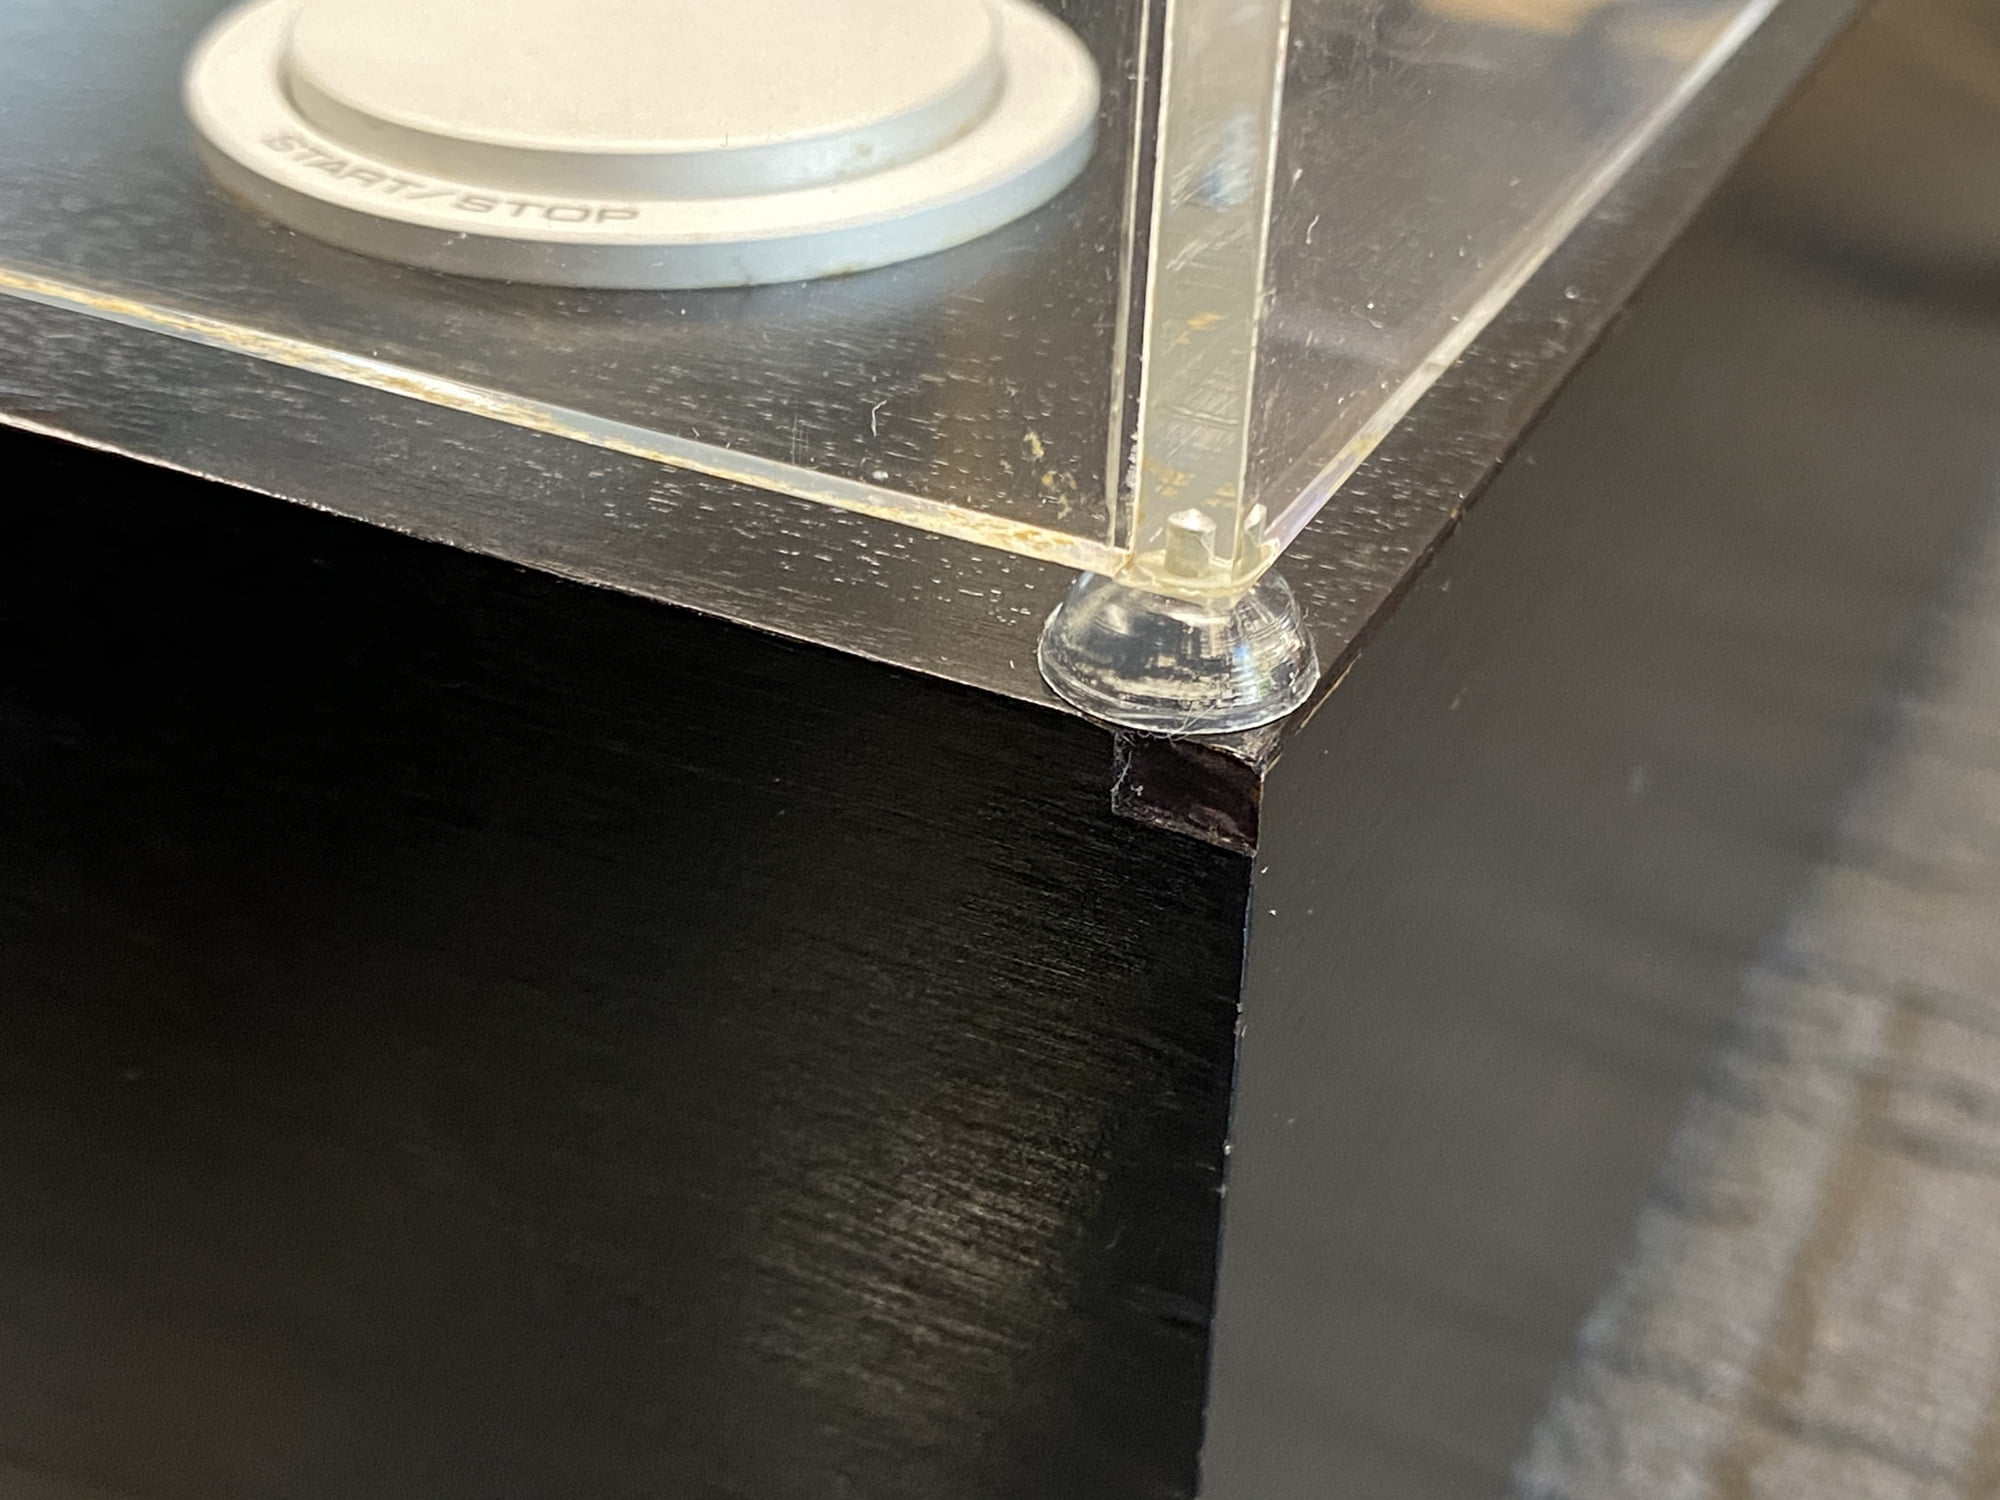
I was pleased to perform a major service on this timeless Japanese classic. Whilst this deck has suffered some damage, it is still so far ahead of the owner’s previous Pro-Ject machine and most other decks you might be able to afford that it doesn’t matter. It’s nice to have a little performance headroom, whereby the turntable is not the limiting factor.
Final Thoughts
So is it worth spending $3000 AUD to get yourself a Yamaha GT-2000? You bet it is! At three grand, these are one of the deals of the century. Go and look for yourself at what Yamaha wants for the GT-5000, a pale belt-driven imitation of this great classic. It’s $13,000 AUD for goodness sake. Which would you rather have? Three grand for a GT-2000? Sign me up. If I didn’t already own a Luxman PD-350 and Kenwood L-07D, I buy one!
To further improve performance, I would fit a better headshell and some really good headshell wires, like these Ortofon LW-800S silver headshell wires I have in stock.
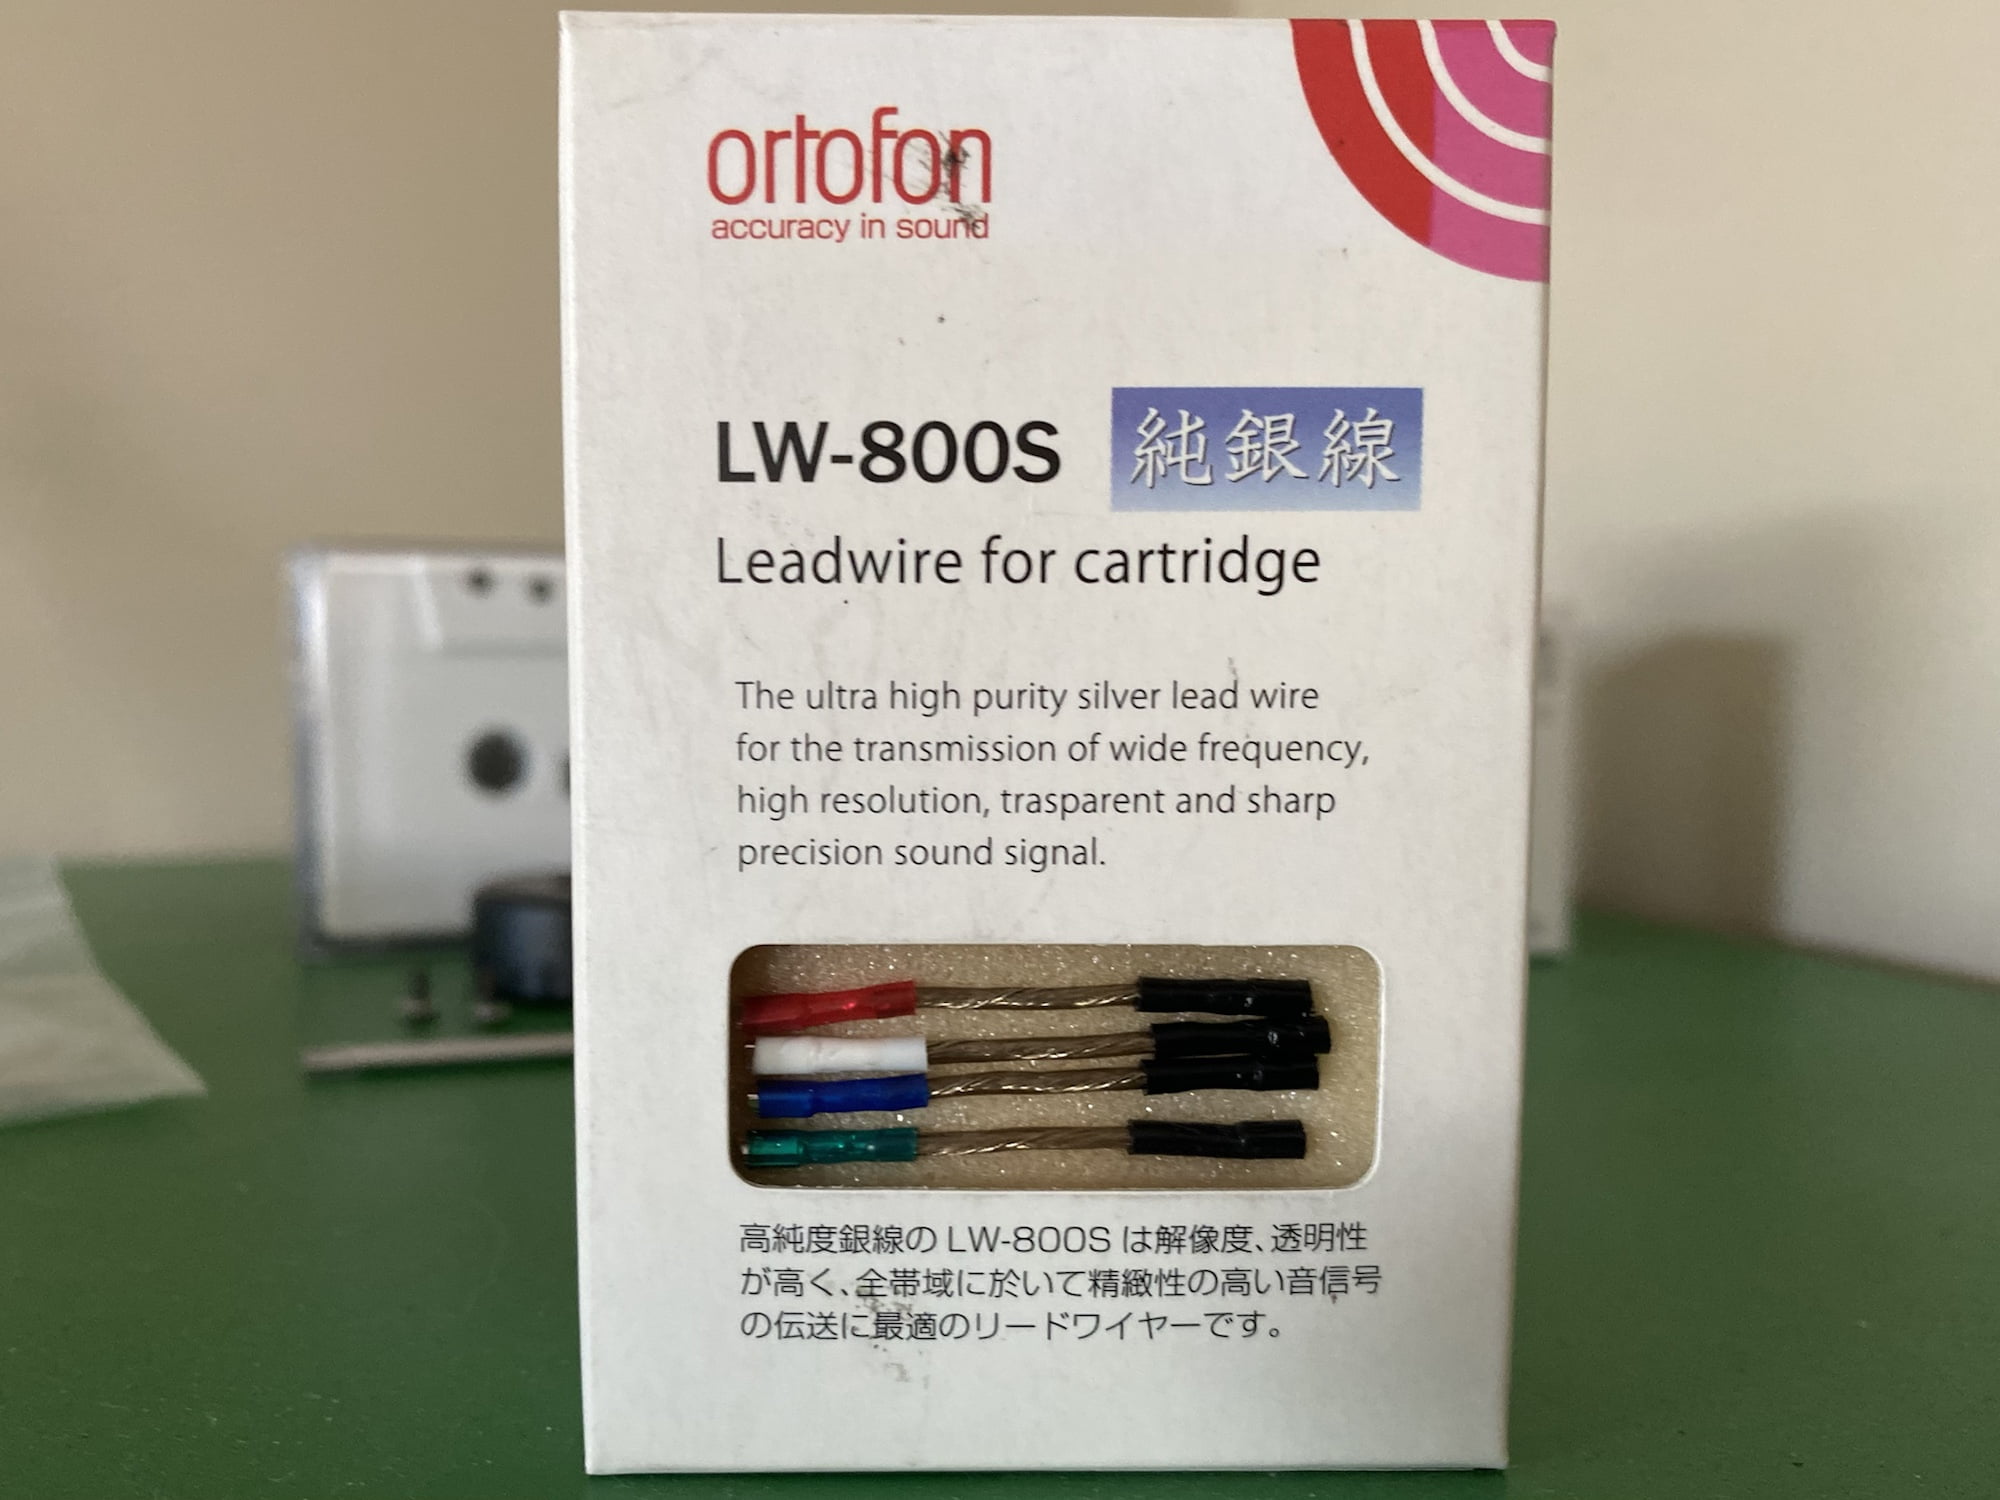
The headshell issue requires thought because it’s easy to overwhelm the small counterweight with a headshell/cartridge combination that’s too heavy. Then there are the critically important resonance considerations. The arm can be rewired and a higher quality audio cable can be fitted if required, but fitting a better cartridge will yield a noticeable improvement as well. The age-old question is where does one draw the line?
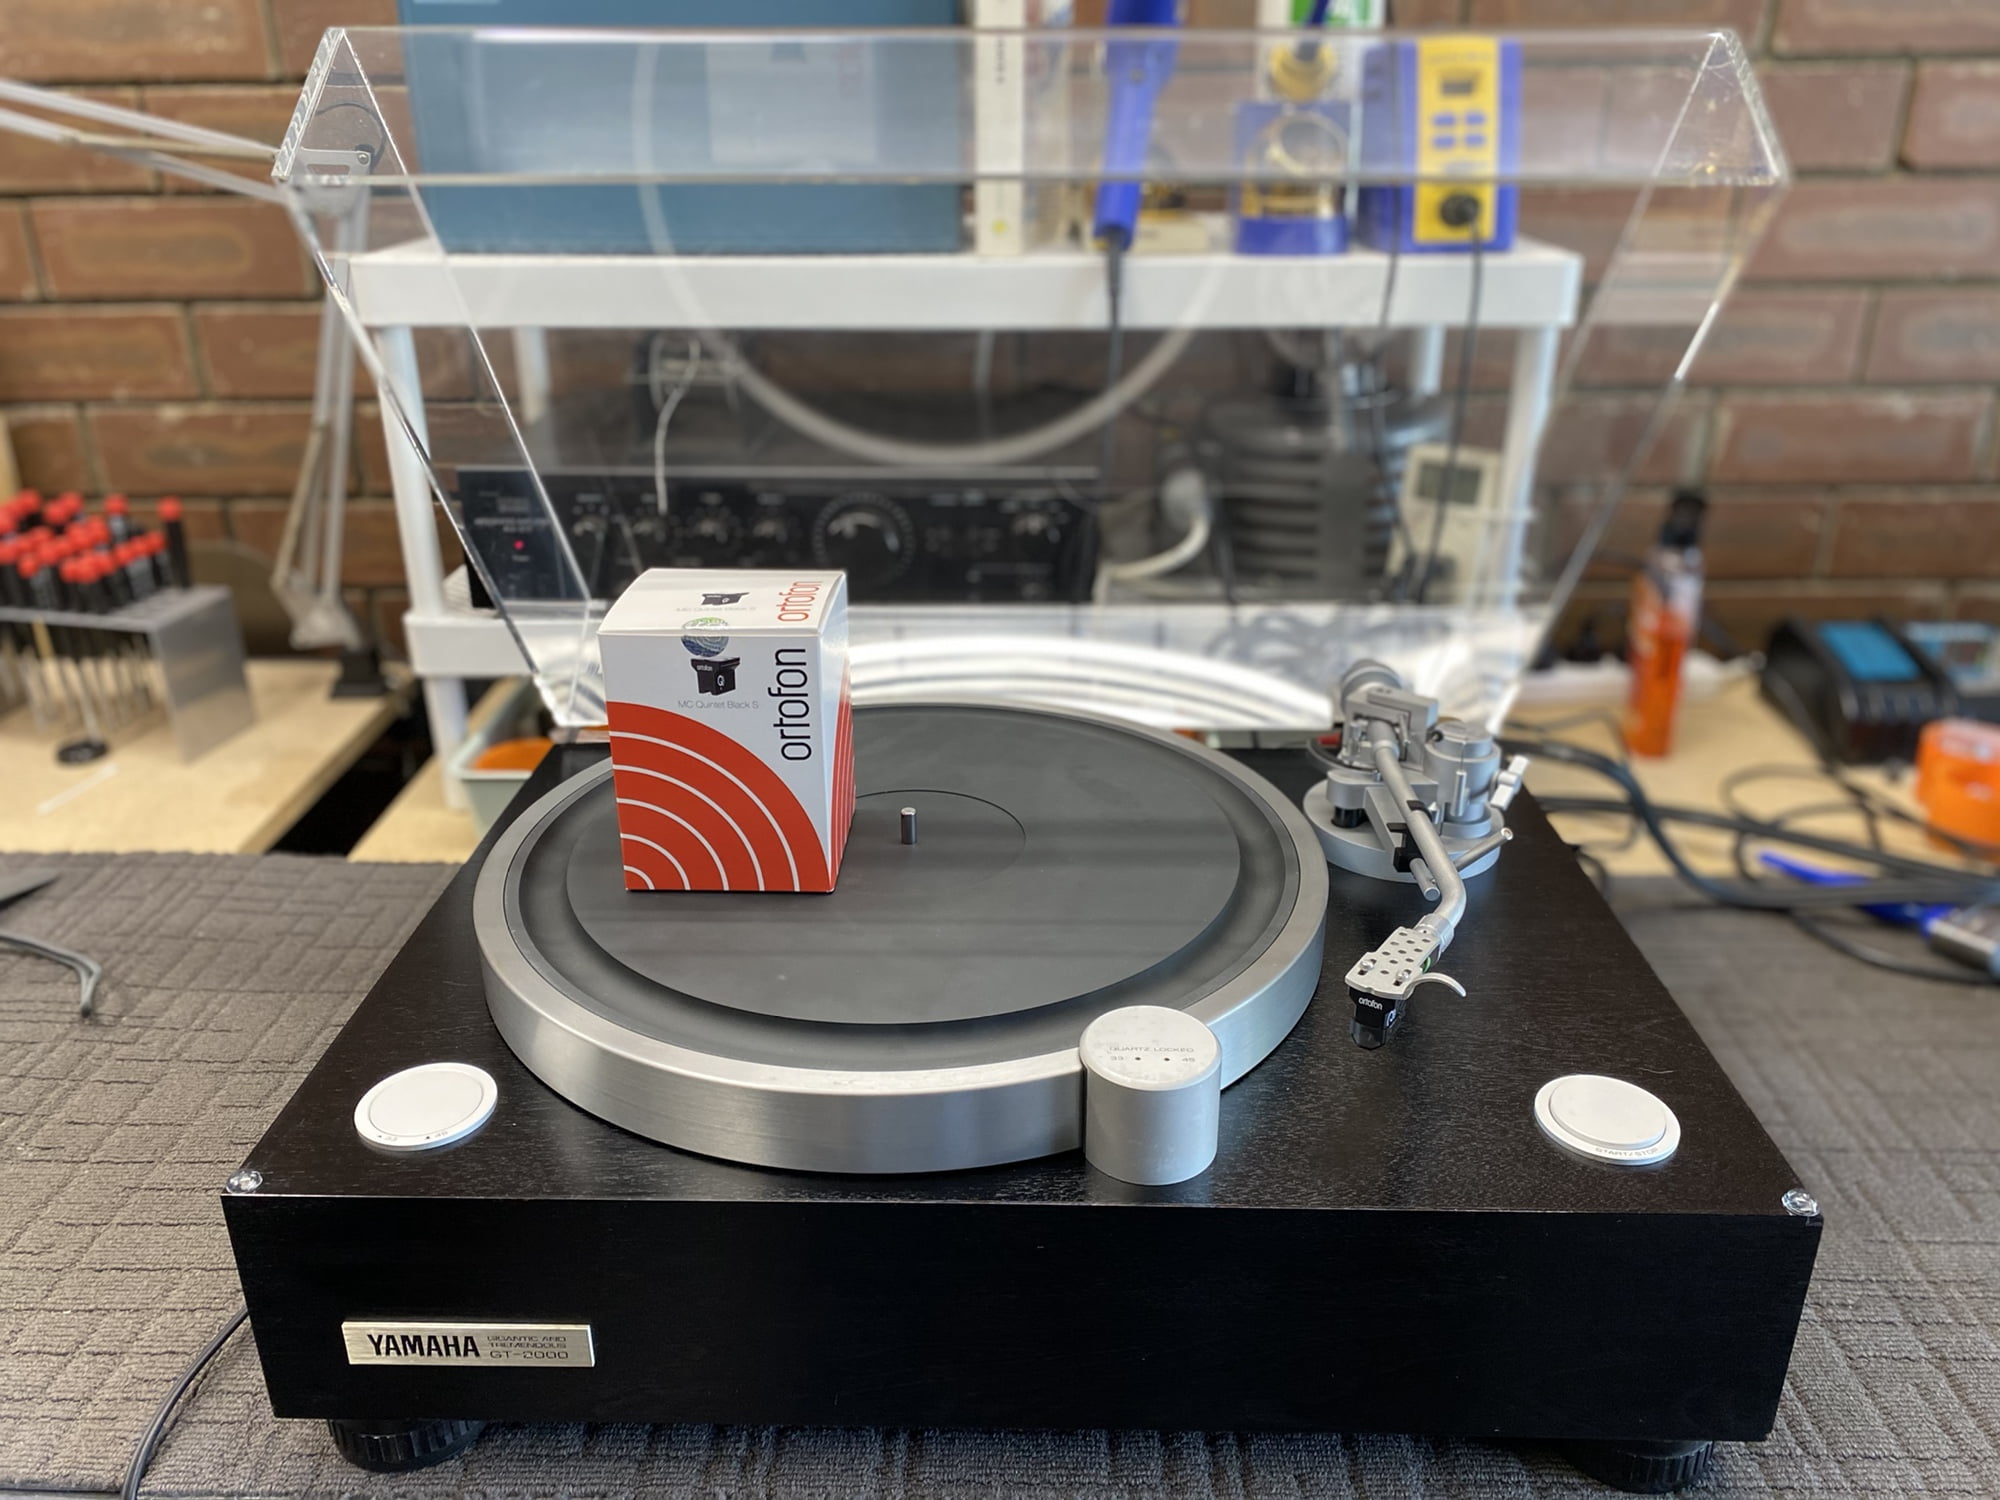
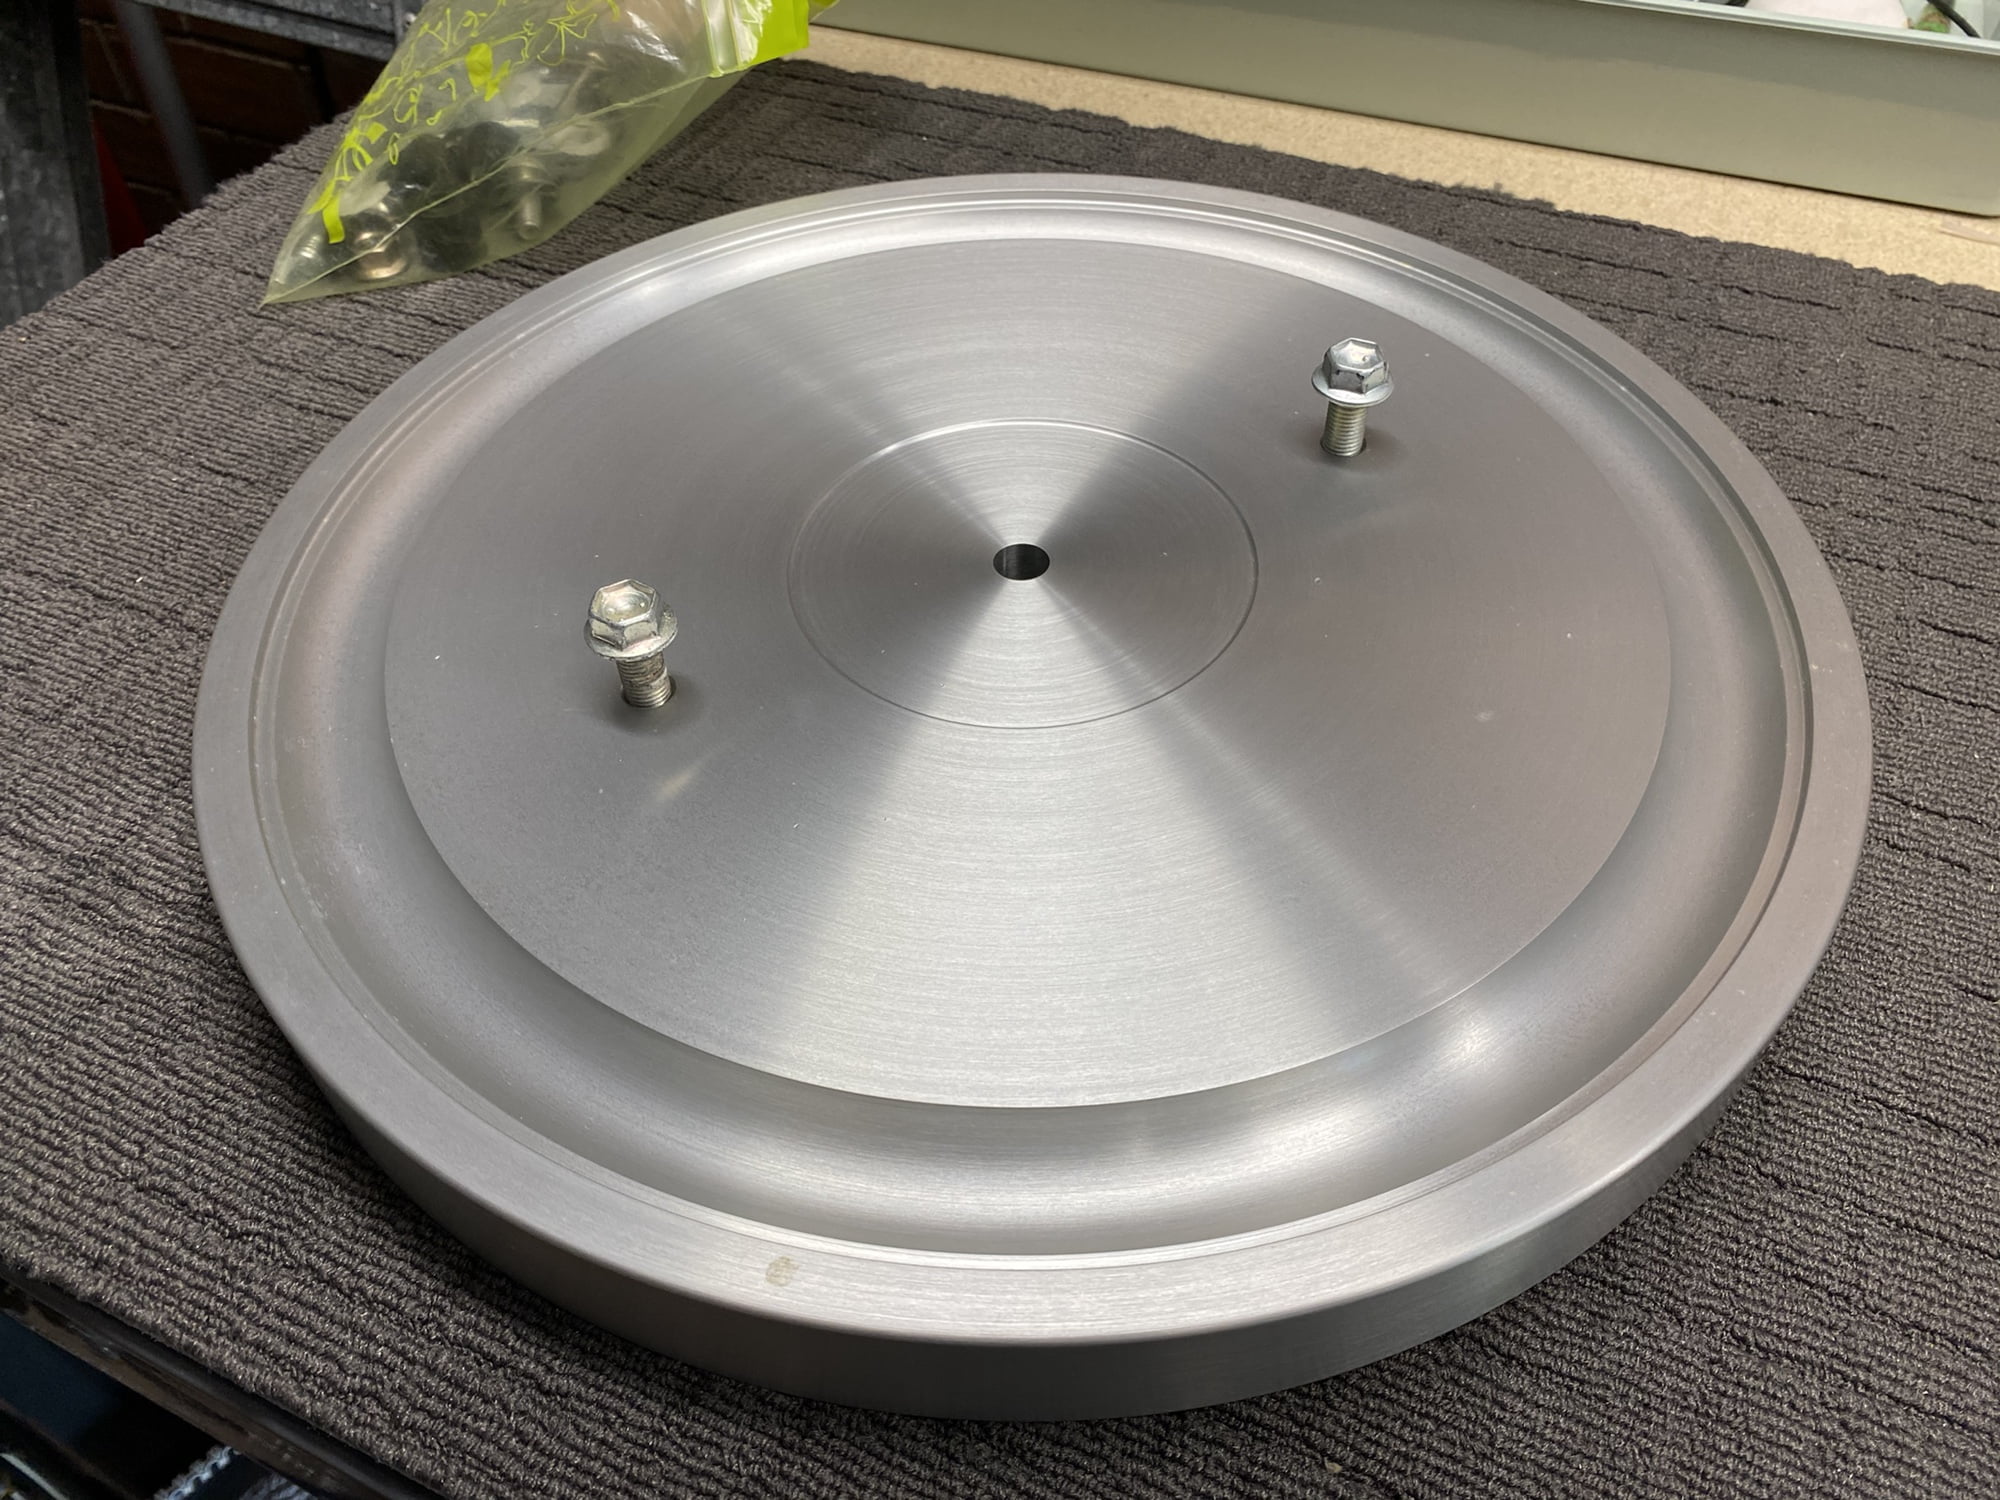
I’d fit one of the straight-arm Yamaha options that were available when this deck was sold, the YSA-1 or YSA-2. You can still find these for sale in Japan, often quite reasonably priced. Also, the gunmetal platter has to be the ultimate upgrade for any GT-2000 though. These often sell for over $4000 AUD – just for a platter! Mind you, it does weigh 20 or so kilograms!
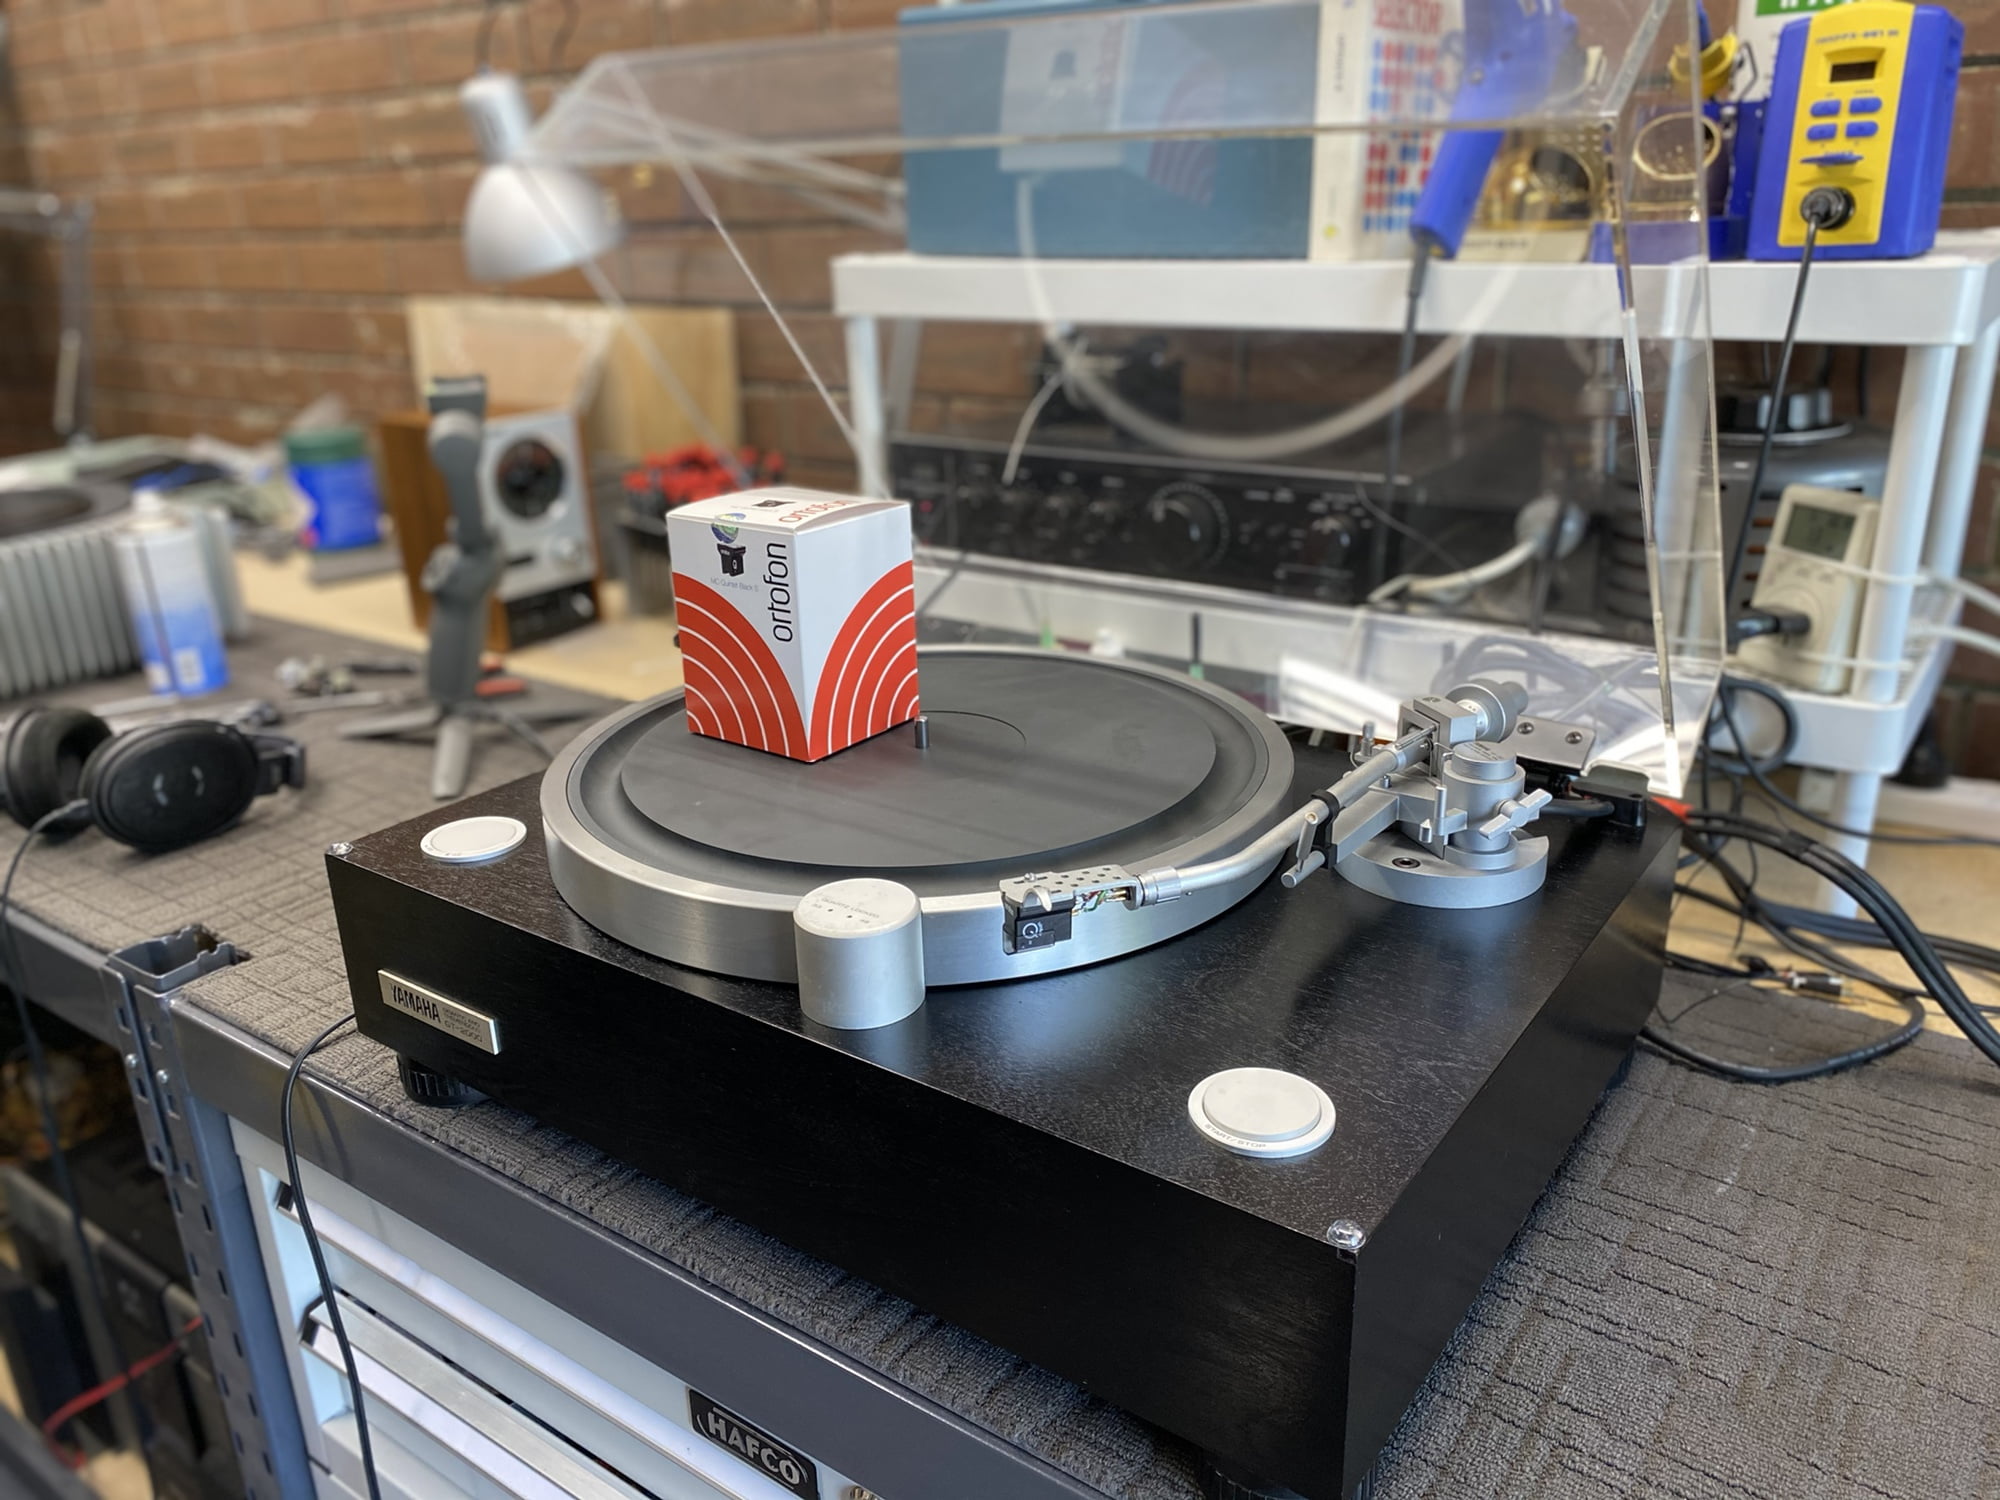
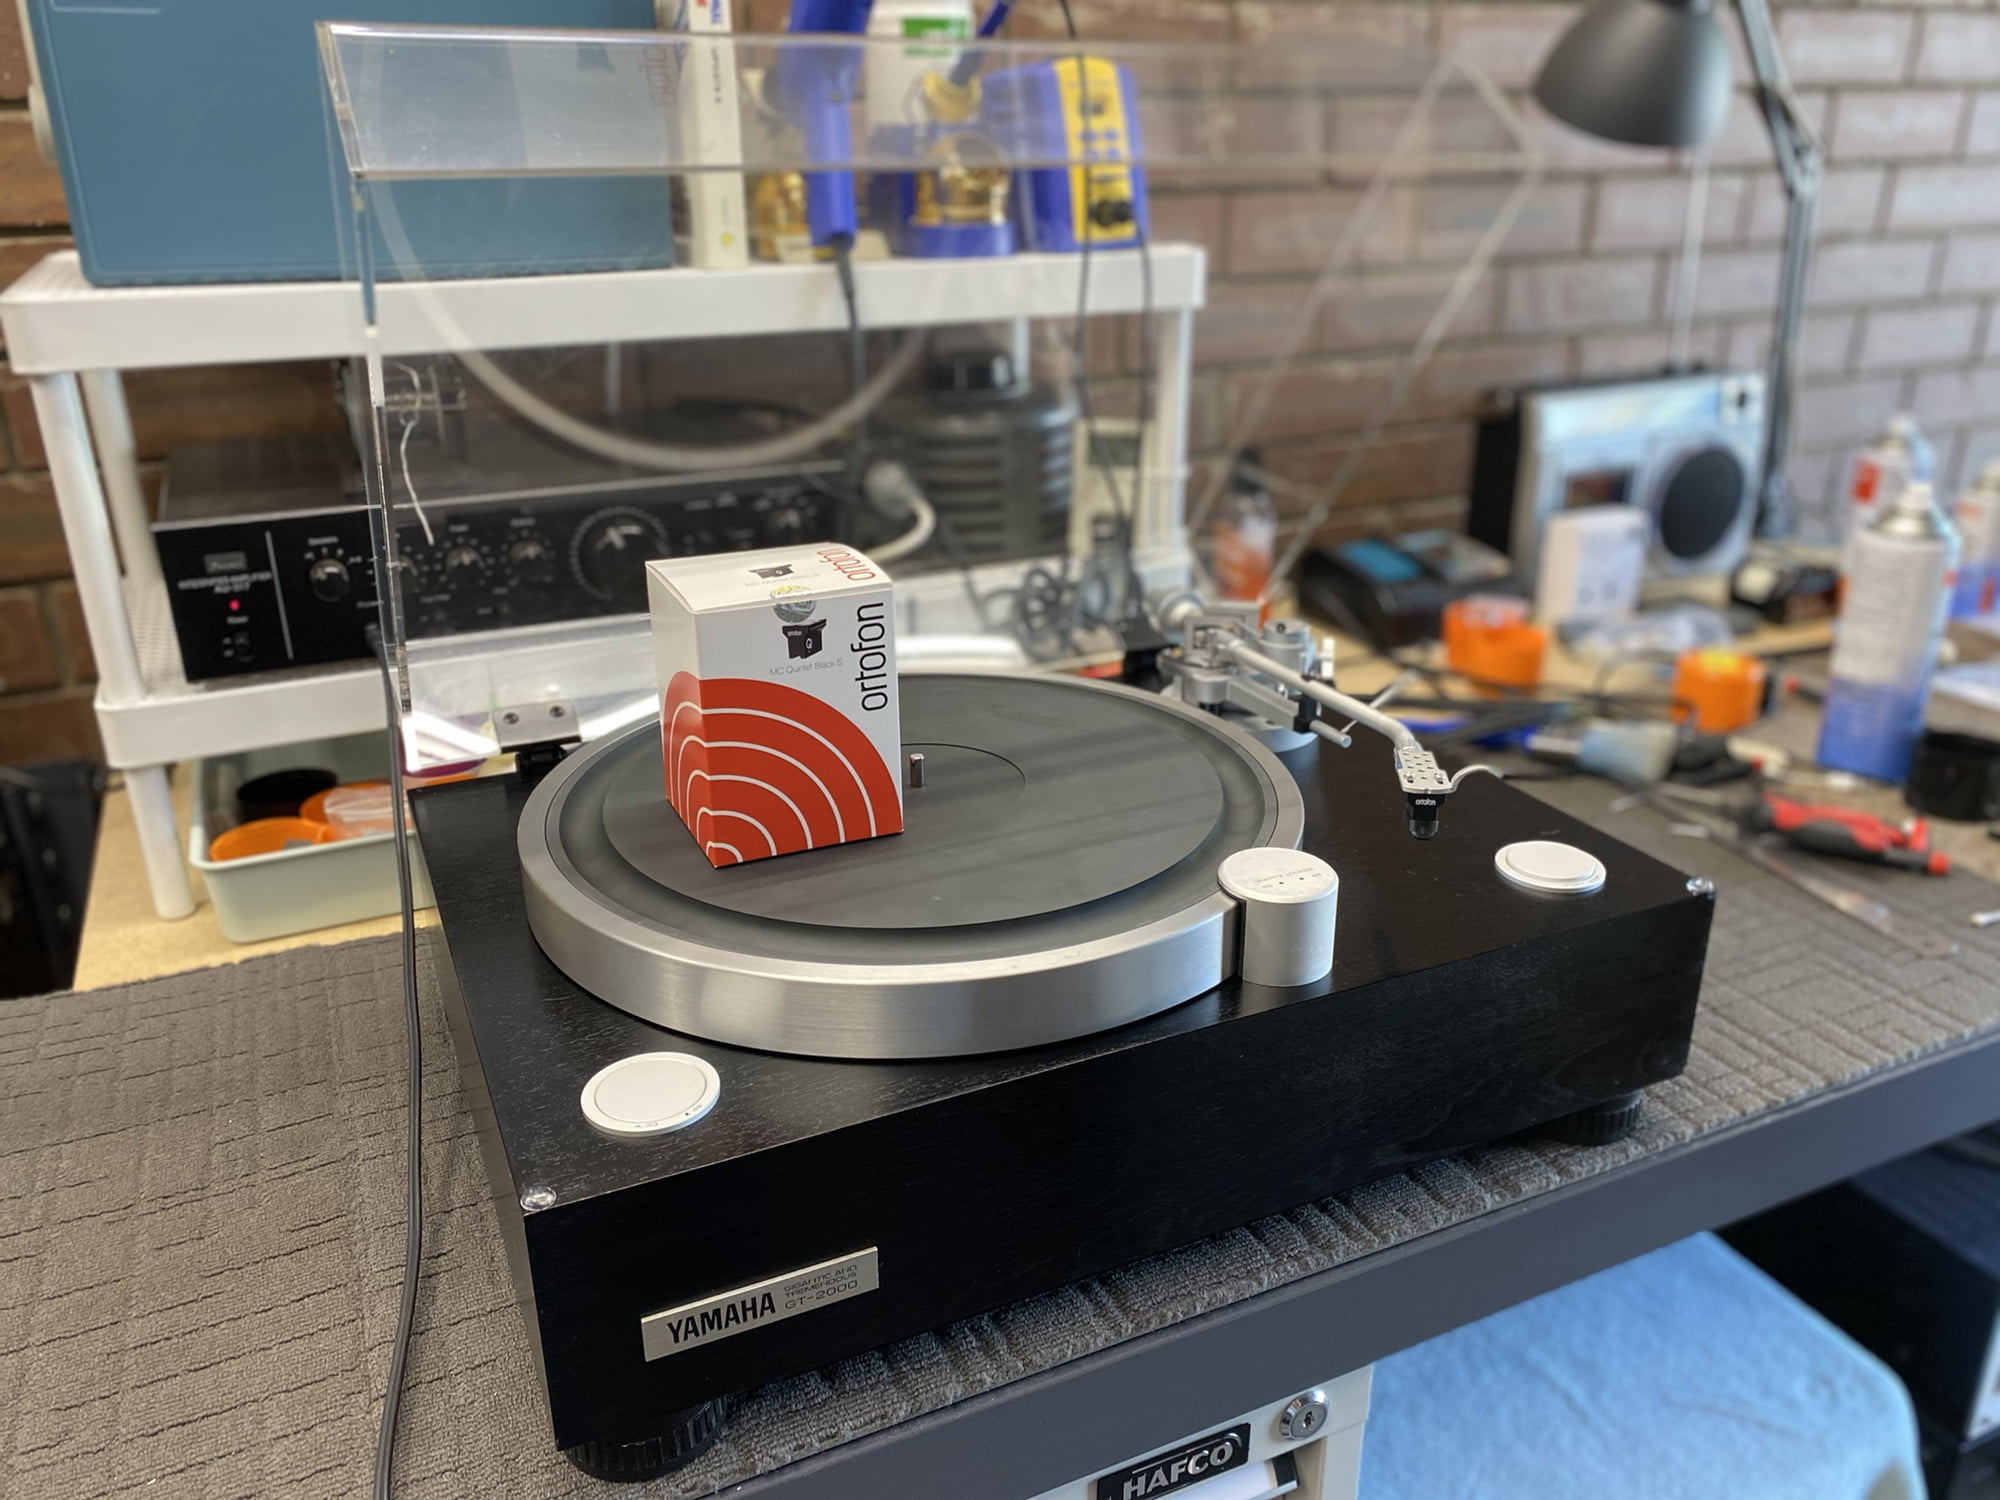
As always, thanks for reading. Don’t hesitate to let me know if you’d like me to look over and service your Yamaha GT-2000, or any other high-end turntable, for that matter.
Please like, share and subscribe to stay up to date, and you can support my work with a donation, if you so wish.
Discover more from LiQUiD AUDiO
Subscribe to get the latest posts sent to your email.


I’ve got one of these and have been contemplating sending it off to get the caps changed for longevity sake. I’m worried that maybe one day one will go bacd and take one of the ICs with it. Interesting to see you haven’t done so here. Mine has functioned flawlessly since i’ve owned it but will probably need attention one day.
Hi Louis, thanks for your comment and glad you enjoyed the latest article! Always good to speak with GT-2000 owners. If you do send this away, make sure it’s to someone who really knows what they are doing and has experience with these machines. Replacing all the electrolytic caps is a sensible plan in theory, but removing boards and replacing parts exponentially increases the risks to the gear when in the wrong hands. Just look in my Hall of Shame and you’ll understand. I didn’t replace caps here for a couple of reasons, they didn’t need to be replaced, nor was it in the scope of work. This was a post-purchase inspection, service and set-up, not a restoration or overhaul. The caps measured well and with equipment like this that runs cool and used great caps initially, this is often the case. Ideally, for long term reliability, we would replace them, and this will likely happen in the future. I could go on for days about capacitors and the misinformation about them out there. When electrolytic caps are bad they can cause havoc and have to go. When they are good, as is the case here, they often work perfectly for many decades.
Nice write up. I was hoping to see your usual scoring of this machine at the end. How does this machine compare (build quality, sound quality, etc.) to the Kenwood KD-650?
Hi Brock, glad you enjoyed it! I didn’t review the GT-2000 here, only because I’ve done it previously. There’s a link to it near the start of this article.
May I know how to remove the footers ? Thks
Hi Mike
How do you clean the mats? Dishwasher? Special cleaner?
Hi Mischa, I have a lot of special cleaners (!), but very mild detergent/water-bath cleaning works well for most rubber mats.