I love the incredible variety of equipment I get to work on. Let’s take a look at my restoration of a sweet little original Naim Nait integrated amplifier.
For all those wondering, I’m very slowly recovering. I think! Anyway, with that in mind, here’s a short but to-the-point article about a gorgeous little original Naim Nait restoration. I think I can get over the writing hurdle a little easier by choosing manageable topics to write about, rather than trying to write epic articles about this, for example! I don’t always want to write about mega amplifiers anyway, so let’s go.
Iconic
Many things can be said about Iconic British hi-fi manufacturer Naim. They are a stalwart of the British hi-fi scene and remain intact, long after many contemporaries have been absorbed by the hi-fi monsters in China. They are also unique in terms of design, aesthetics and styling, approach and in producing genuinely high-quality gear.
Fans think there is something magical about Naim. There isn’t. Well, I don’t consider excellent engineering and high-quality manufacturing magic, but perhaps in this day and age, they are!
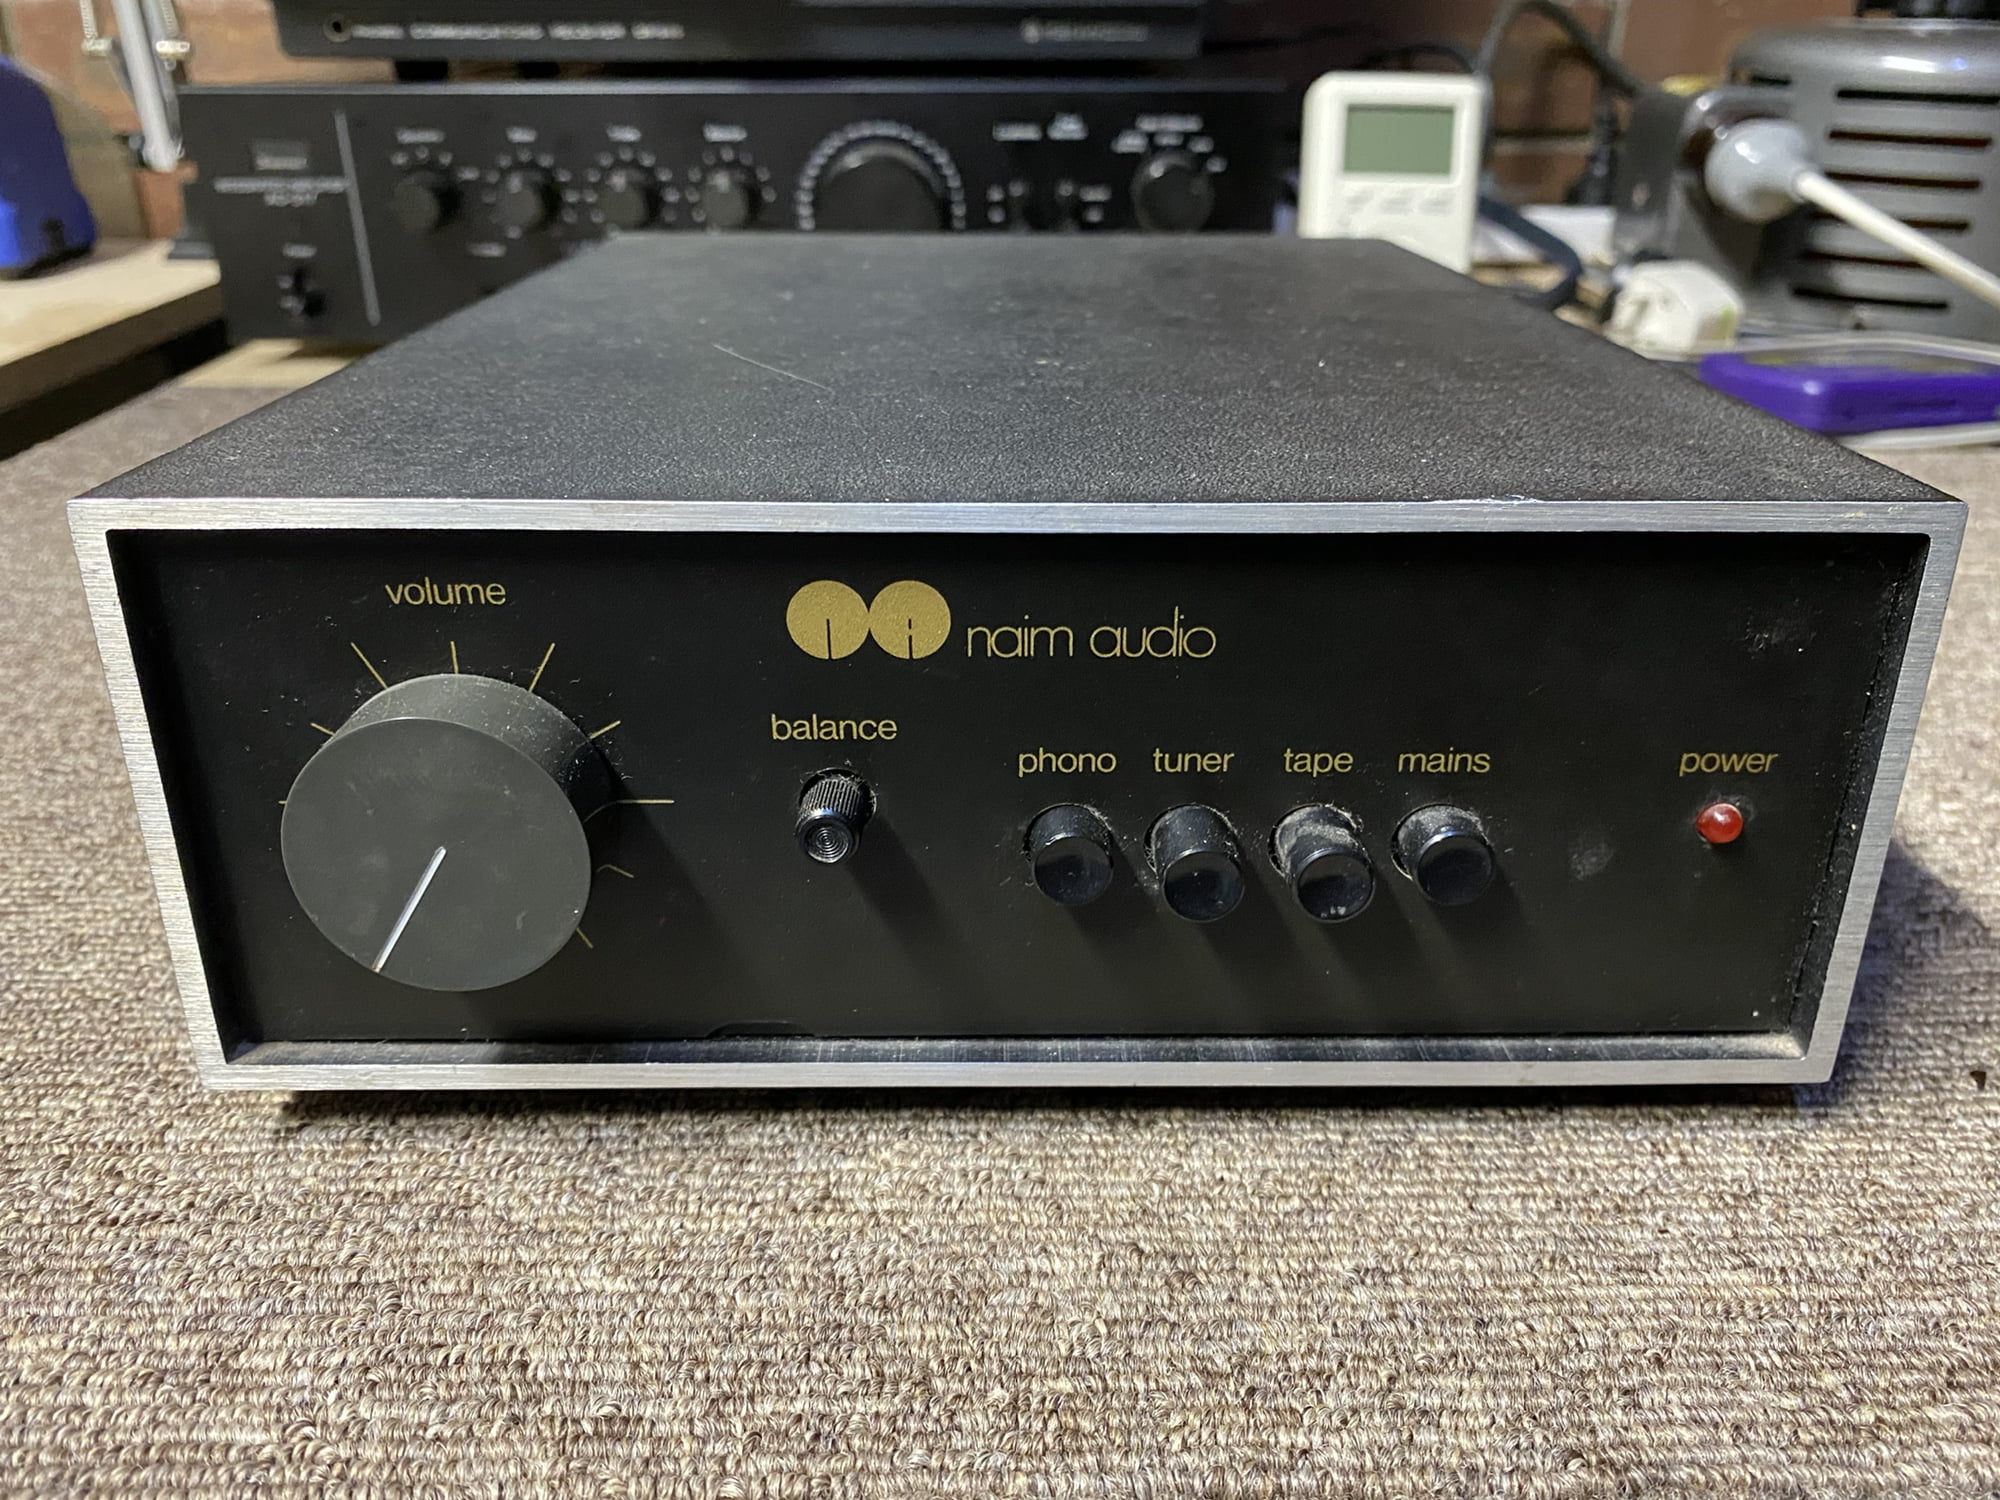
The Baby
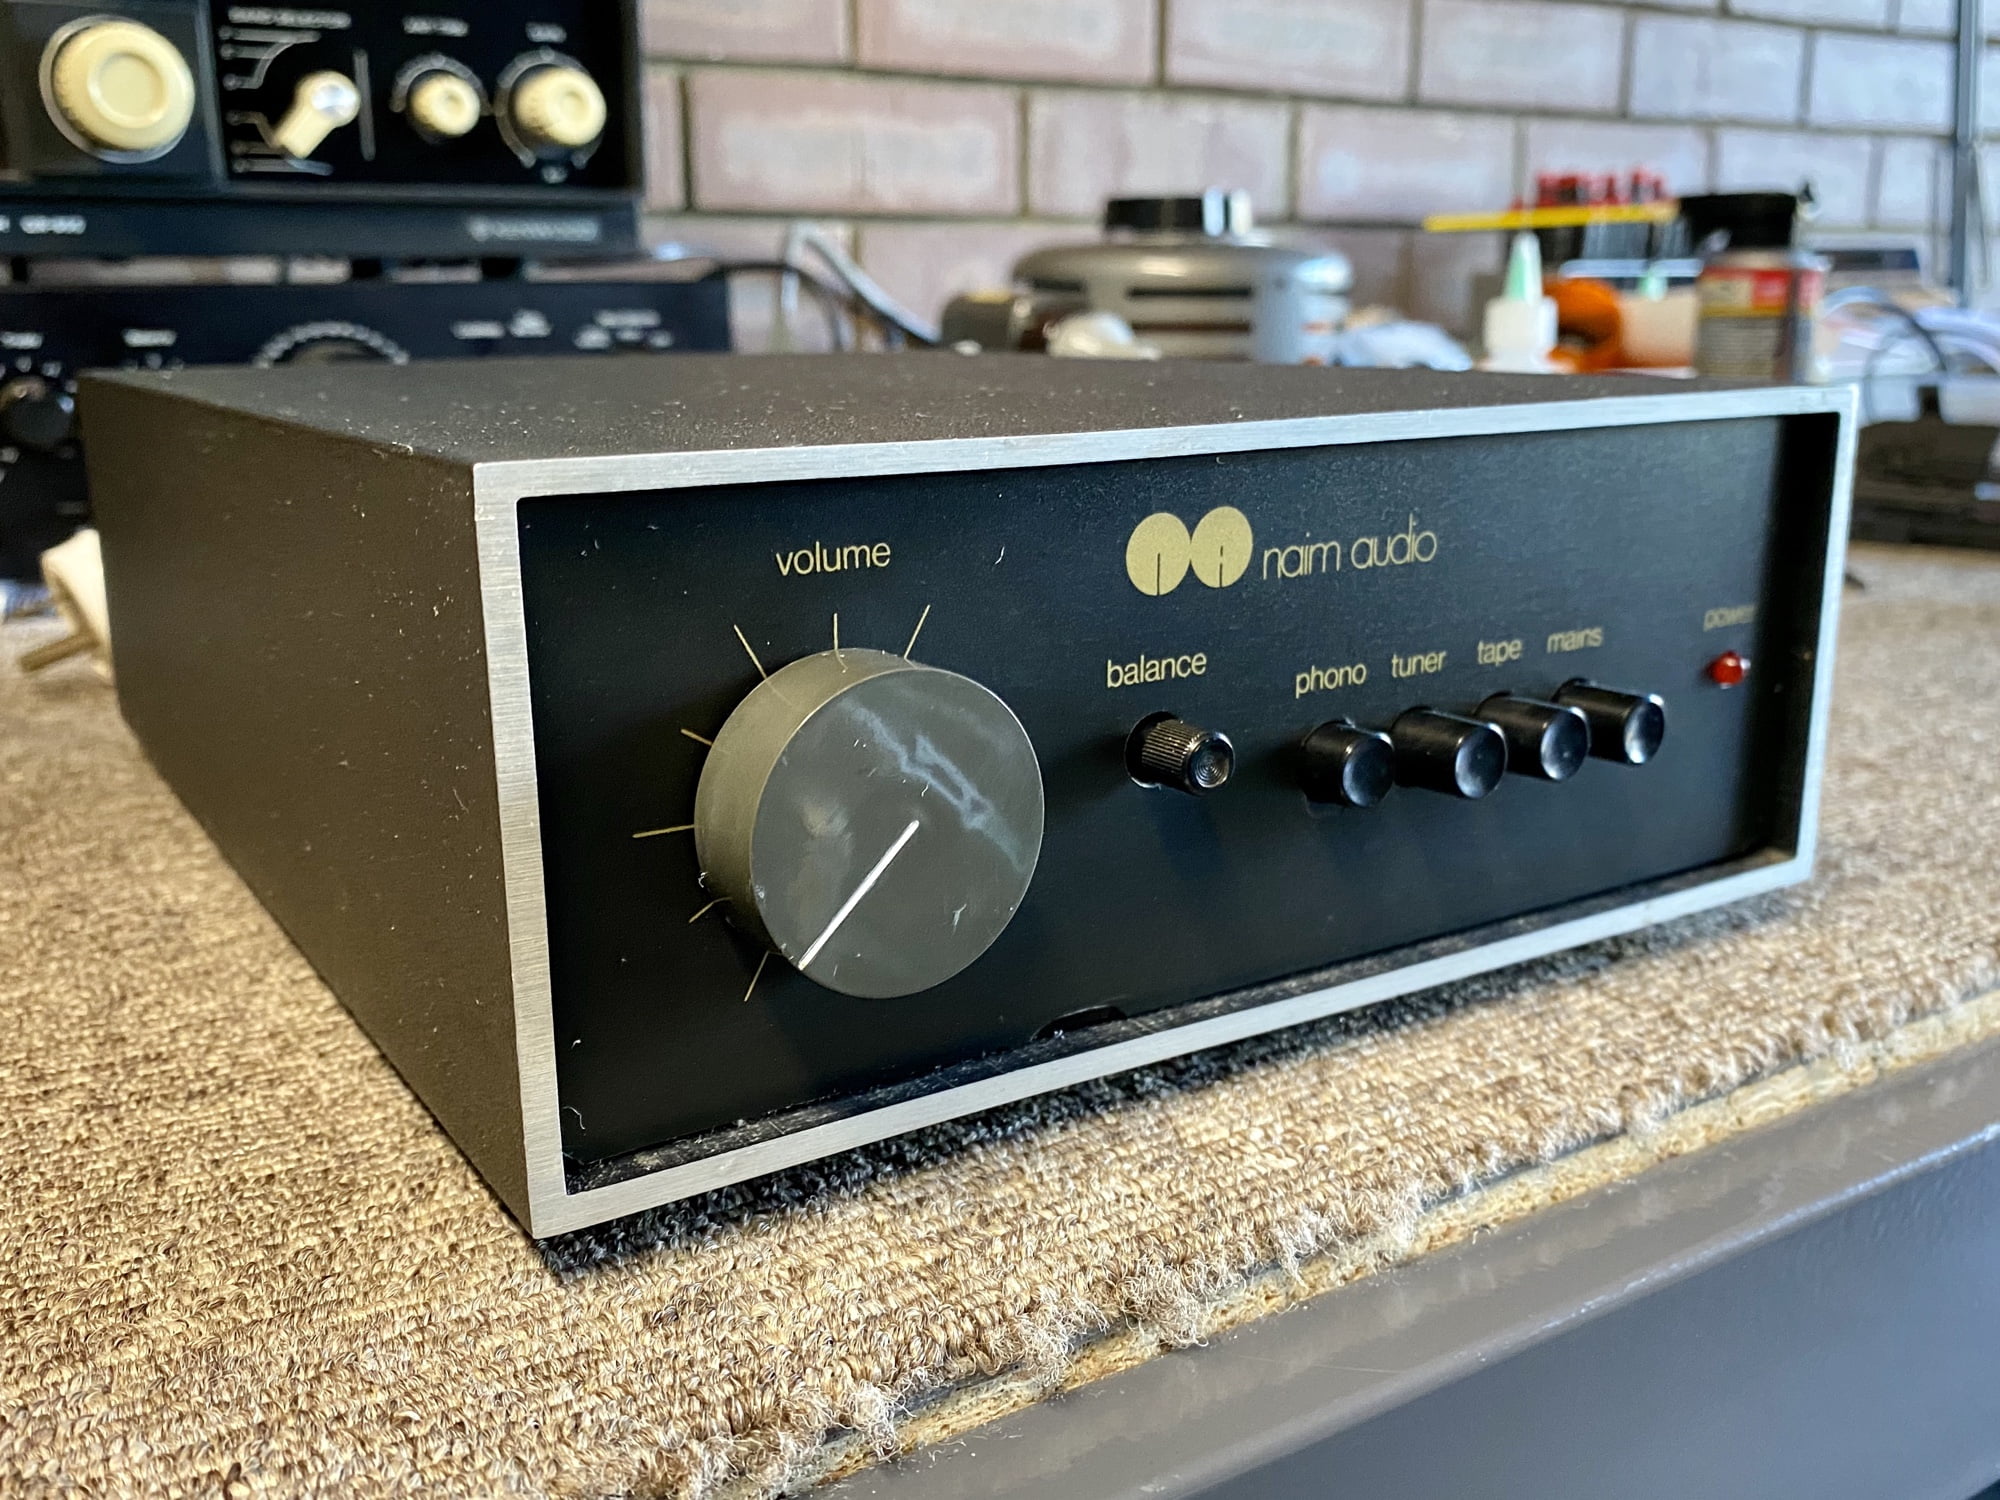
So, the Naim Nait integrated amplifier is the baby of the range and is still produced today, albeit in a very different guise and range of models. The one we are looking at here is the original chrome bumper version, made somewhere between 1983 and 1989.
It’s puny by any real measure, with TO-220 output devices and just 13 Watts per channel (or 15, depending on who you believe) with the wind blowing in the right direction. This is barely enough for anything but small, sensitive speakers, but that’s how the Brits did things back then. It does sound very nice too, just small.
It needs to be partnered up with appropriate speakers. Don’t let anyone tell you it’s much more powerful than 13 Watts per channel because it isn’t. A really good 13 Watts can sound excellent; it just needs the right speaker partner.
All of that being said, the Naim Nait has an enviable reputation and many glowing reviews. Is this hype or real? Read on to find out, but spoiler alert – the Nait is a genuinely nice-sounding amplifier and provides a little taste of high-end audio, within limits, for sensible money.
By the way, Naim has even written about restoring these baby amplifiers. Check that out if you get a moment.
Specifications
Inputs: Phono, Tuner, Tape
Phono Sensitivity: 2.5mV
Tuner & Tape Sensitivity: 75mV
Power Output: 15W/ch (optimistic I’d say…)
Max Power Consumption: 100VA (again unlikely, probably the transformer rating)
Dimensions(w x d x h): 21 x 29 x 8.5 cm
Weight: 5kg
Disassembly
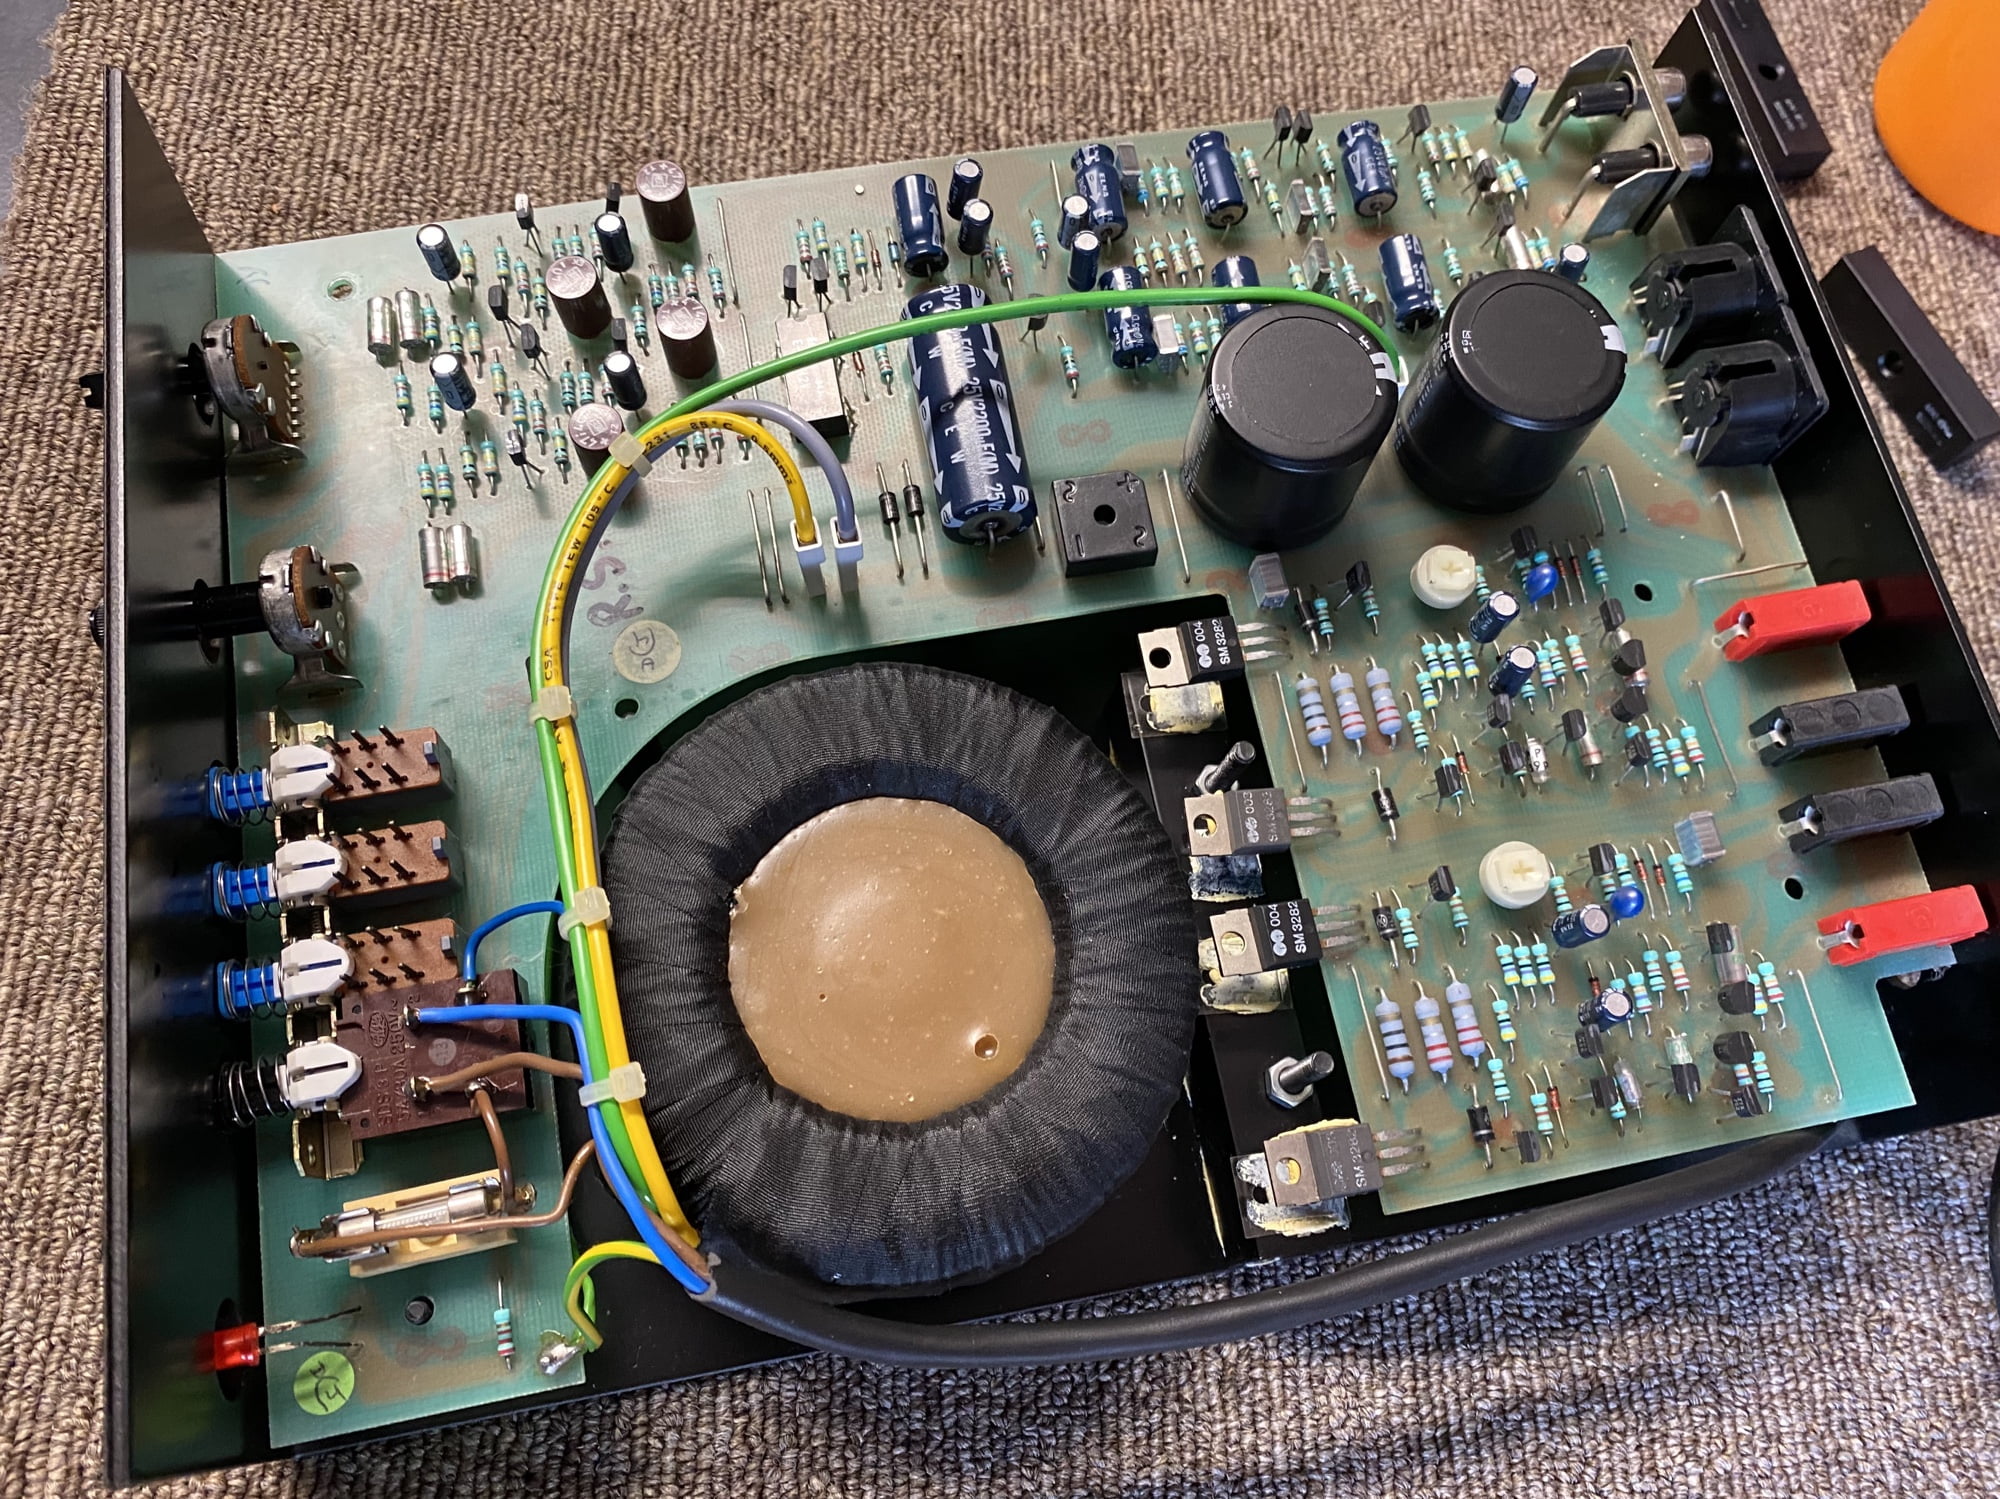
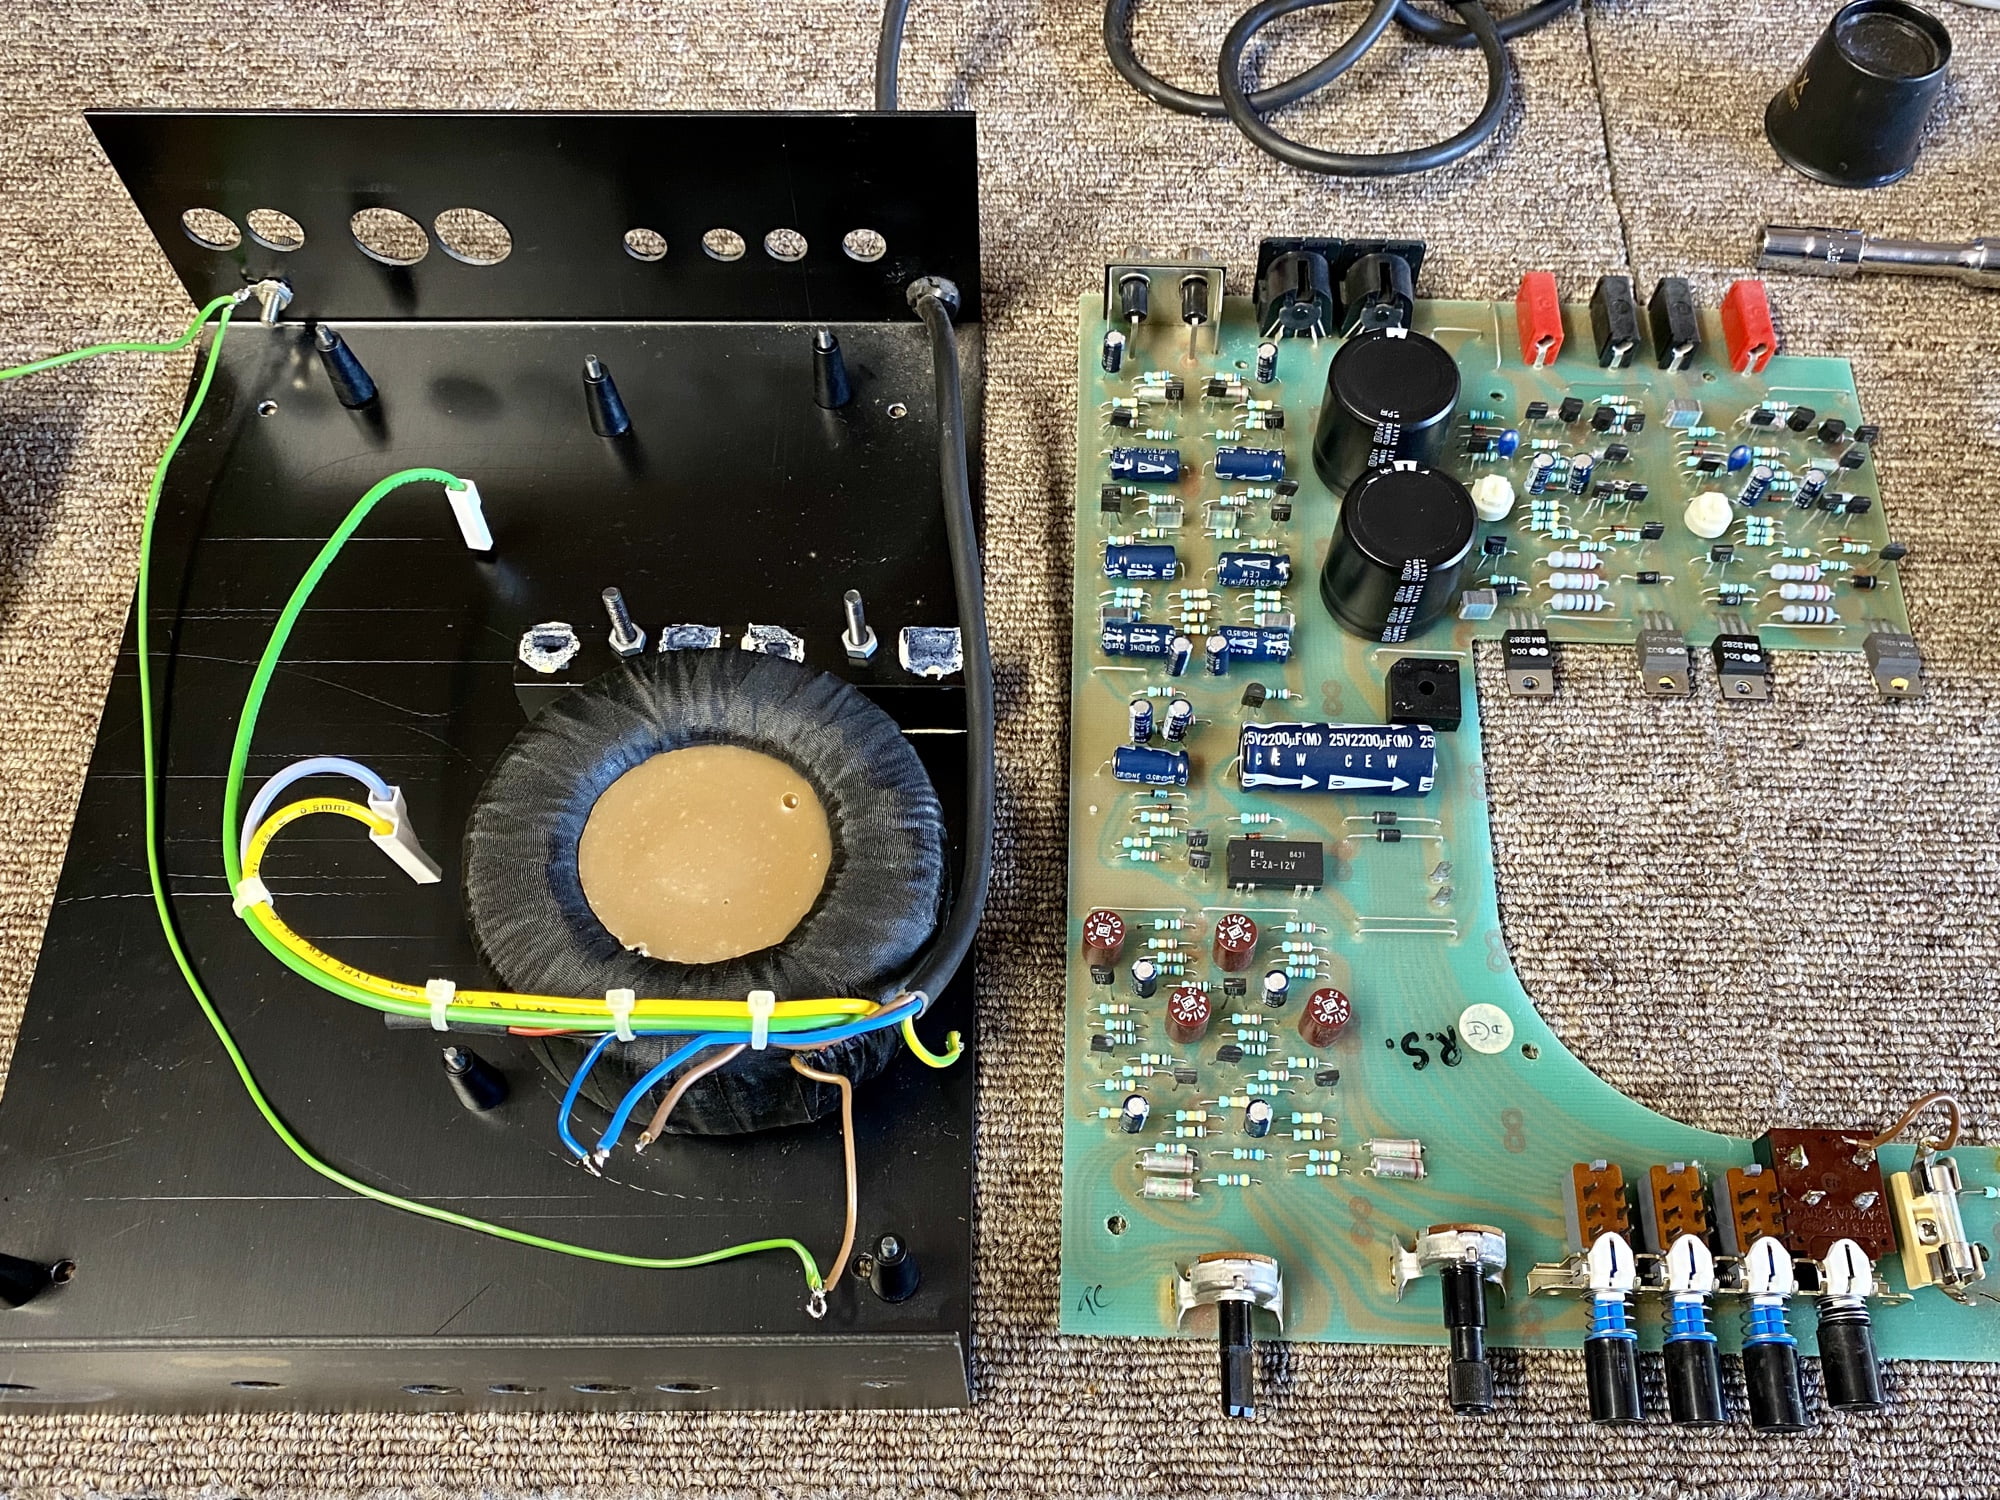
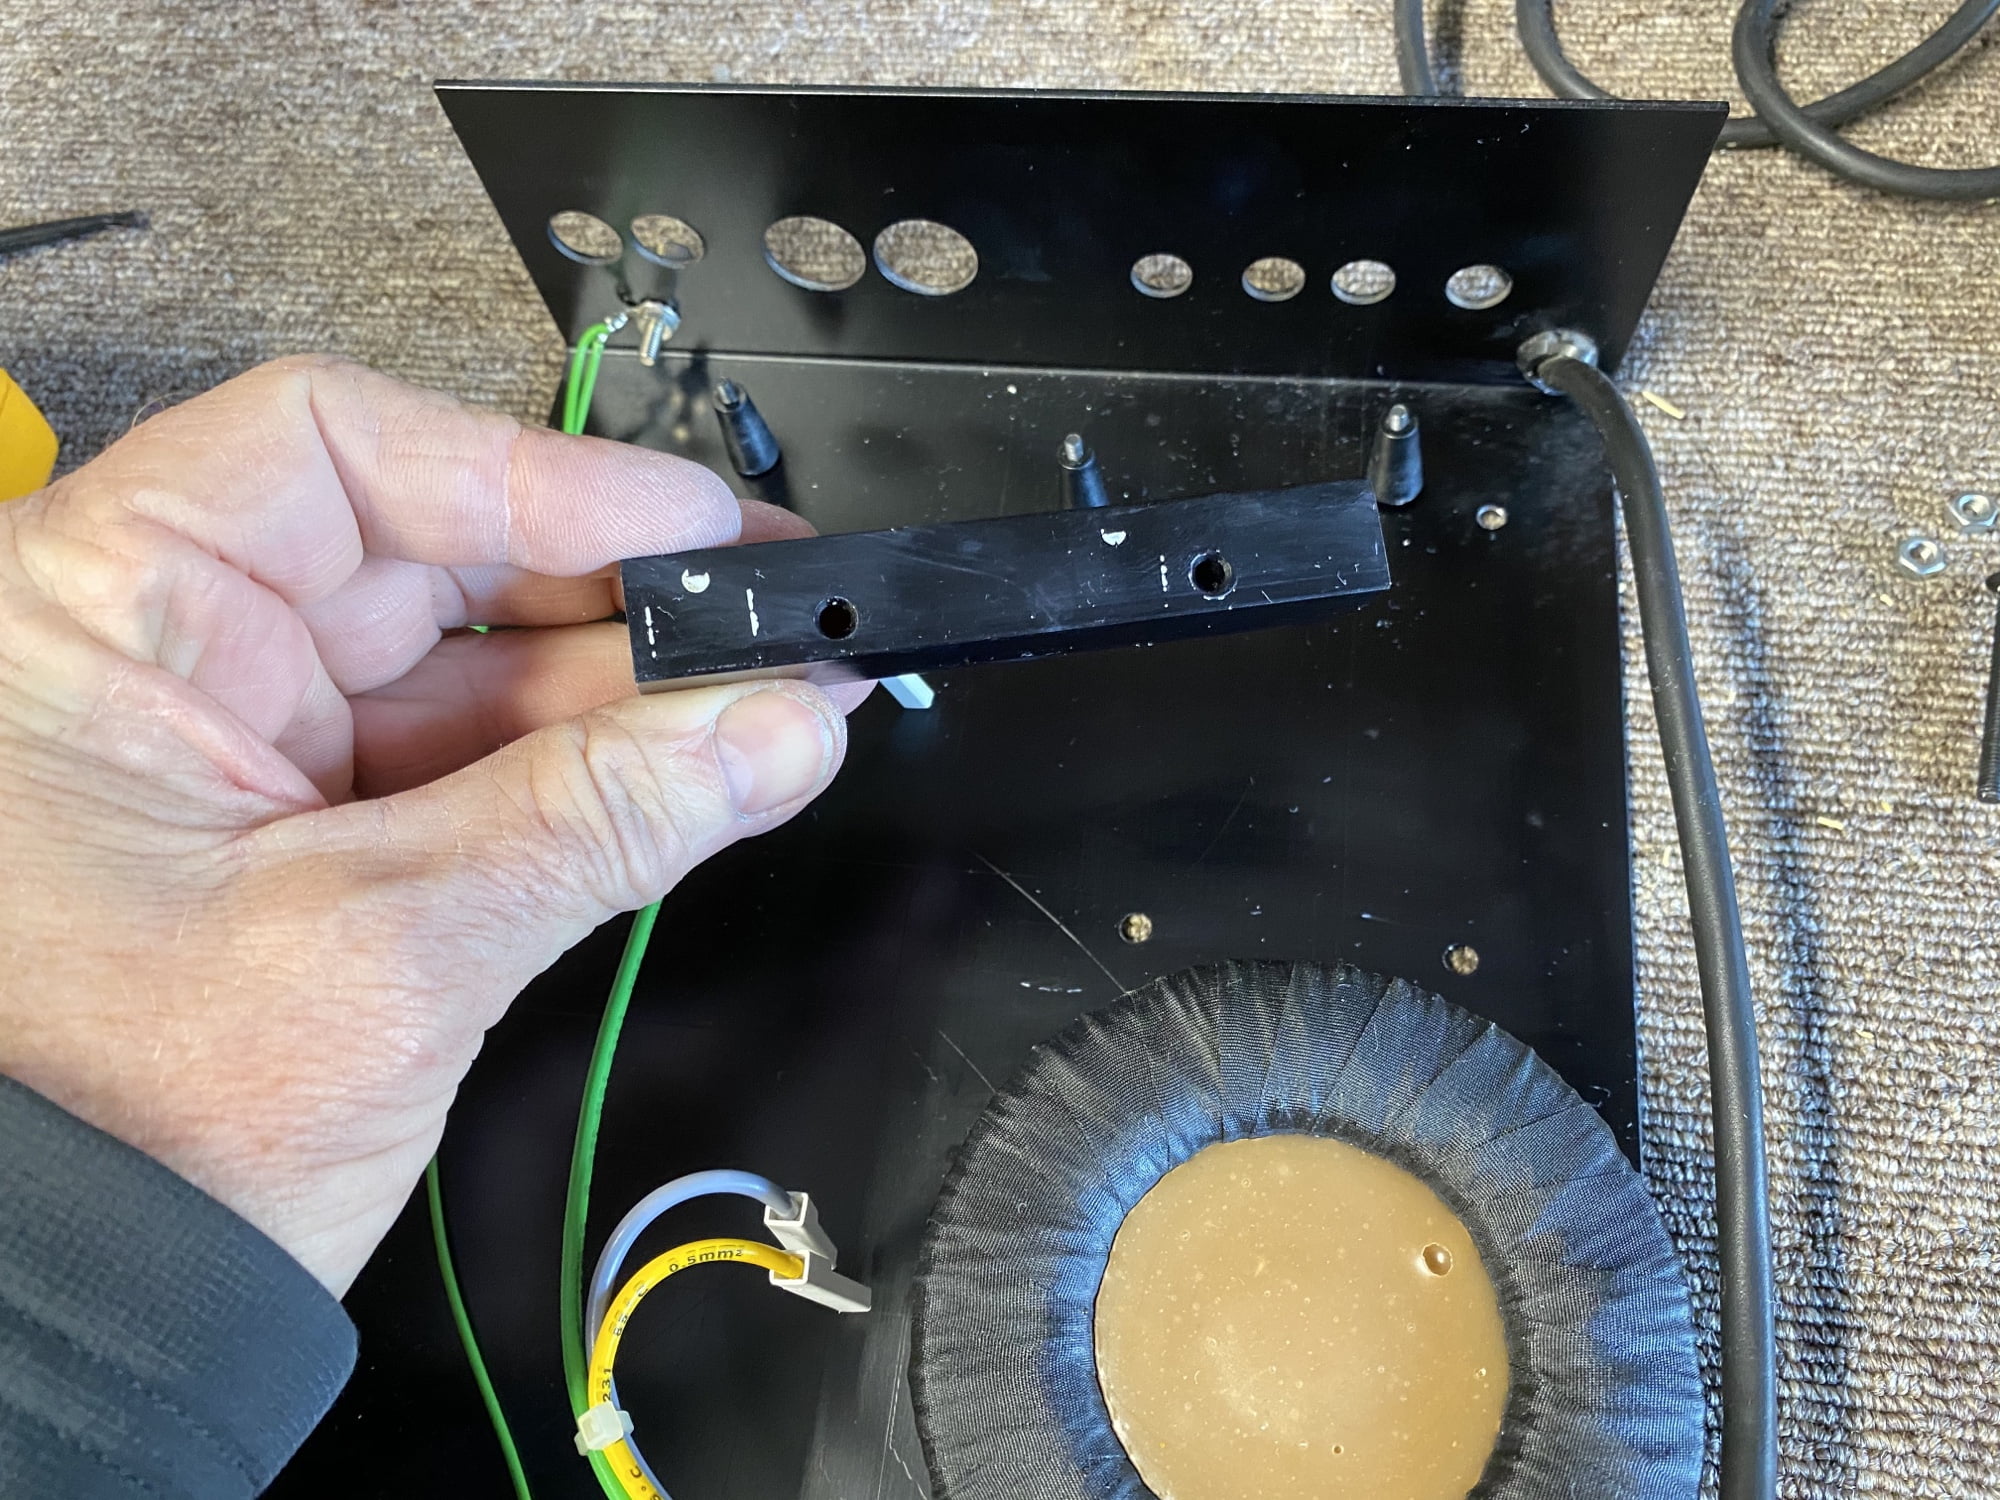
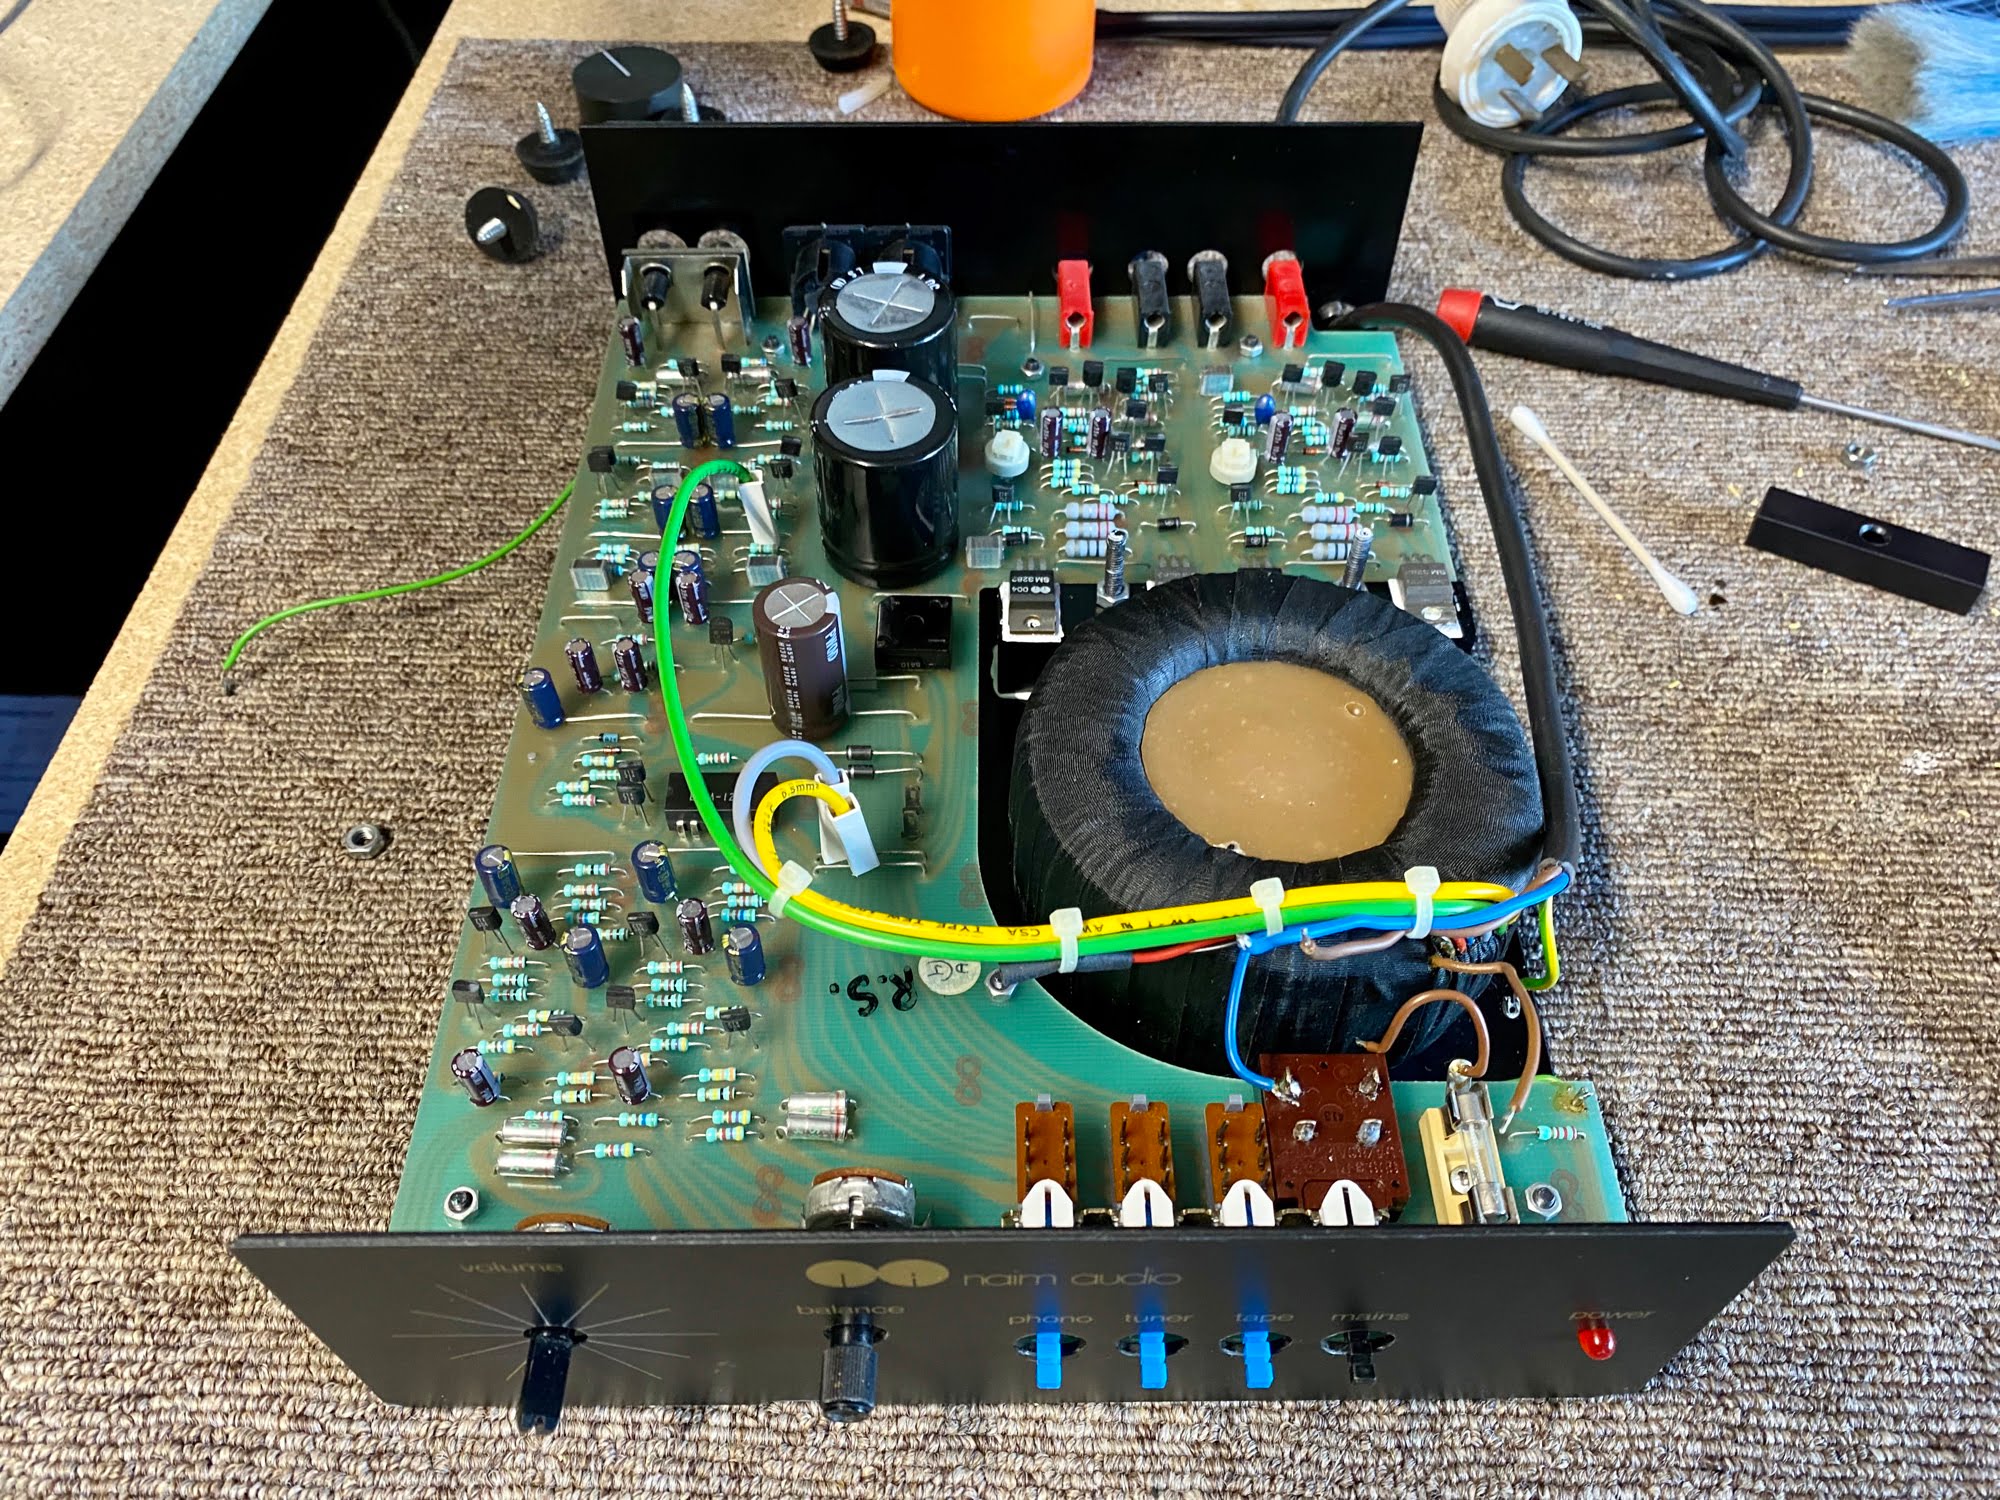
So this Naim Nait 1 let’s call it, came to me in 2020. Her owner asked me to refresh her and that’s what I did, using better than original parts and a conservative, technical approach as always. Let’s take a deeper look inside the iconic Naim Nait integrated amplifier.
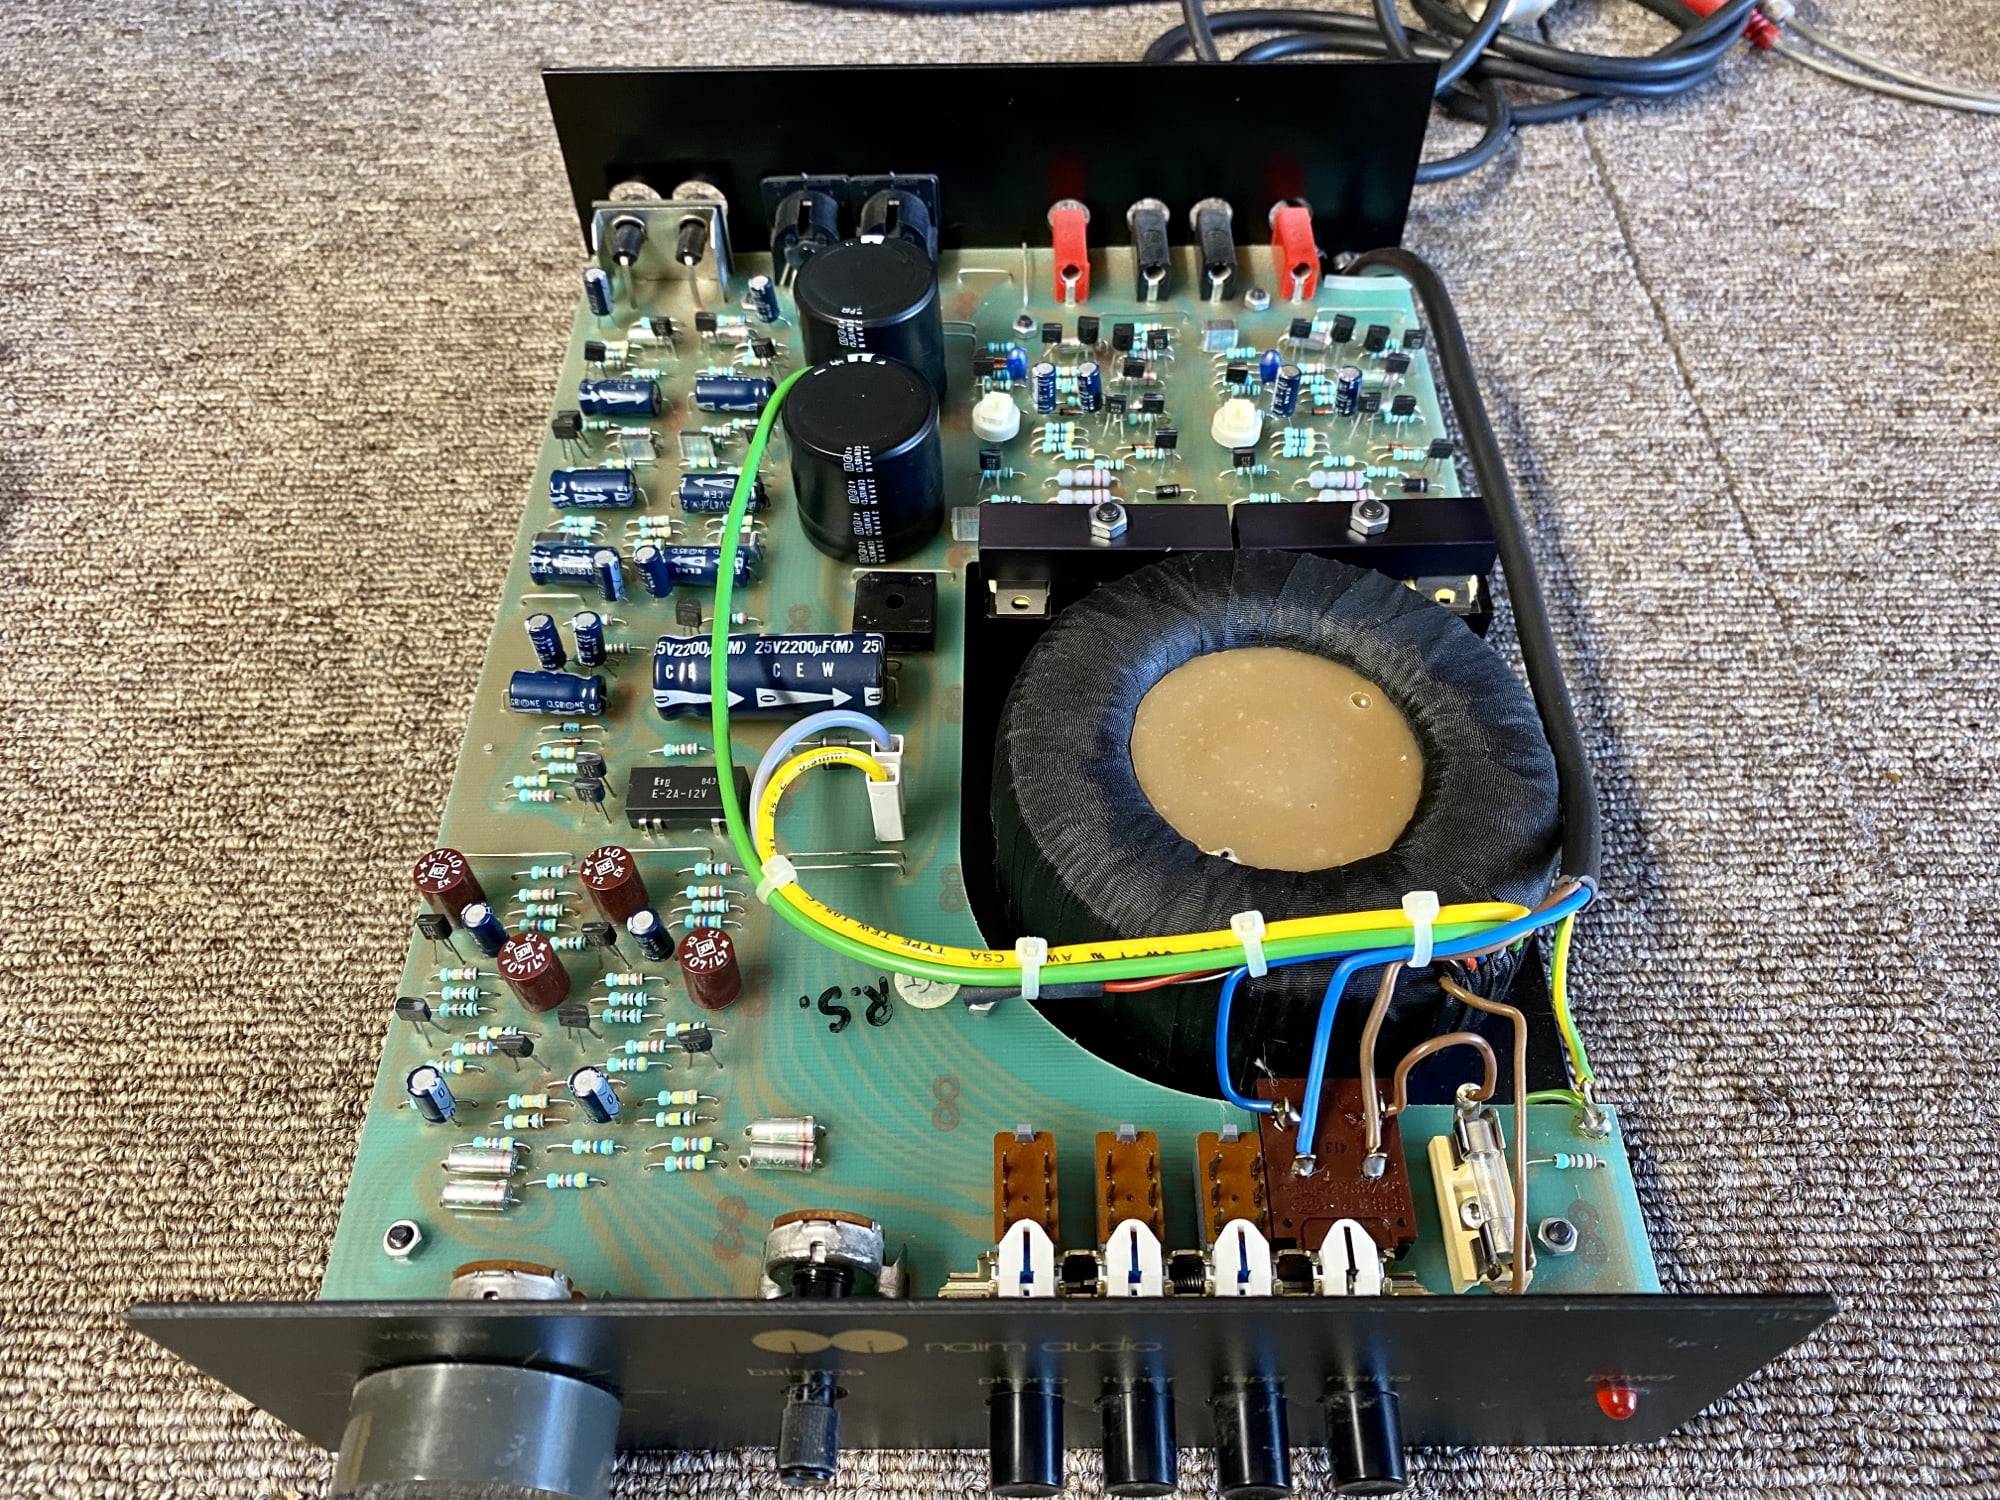
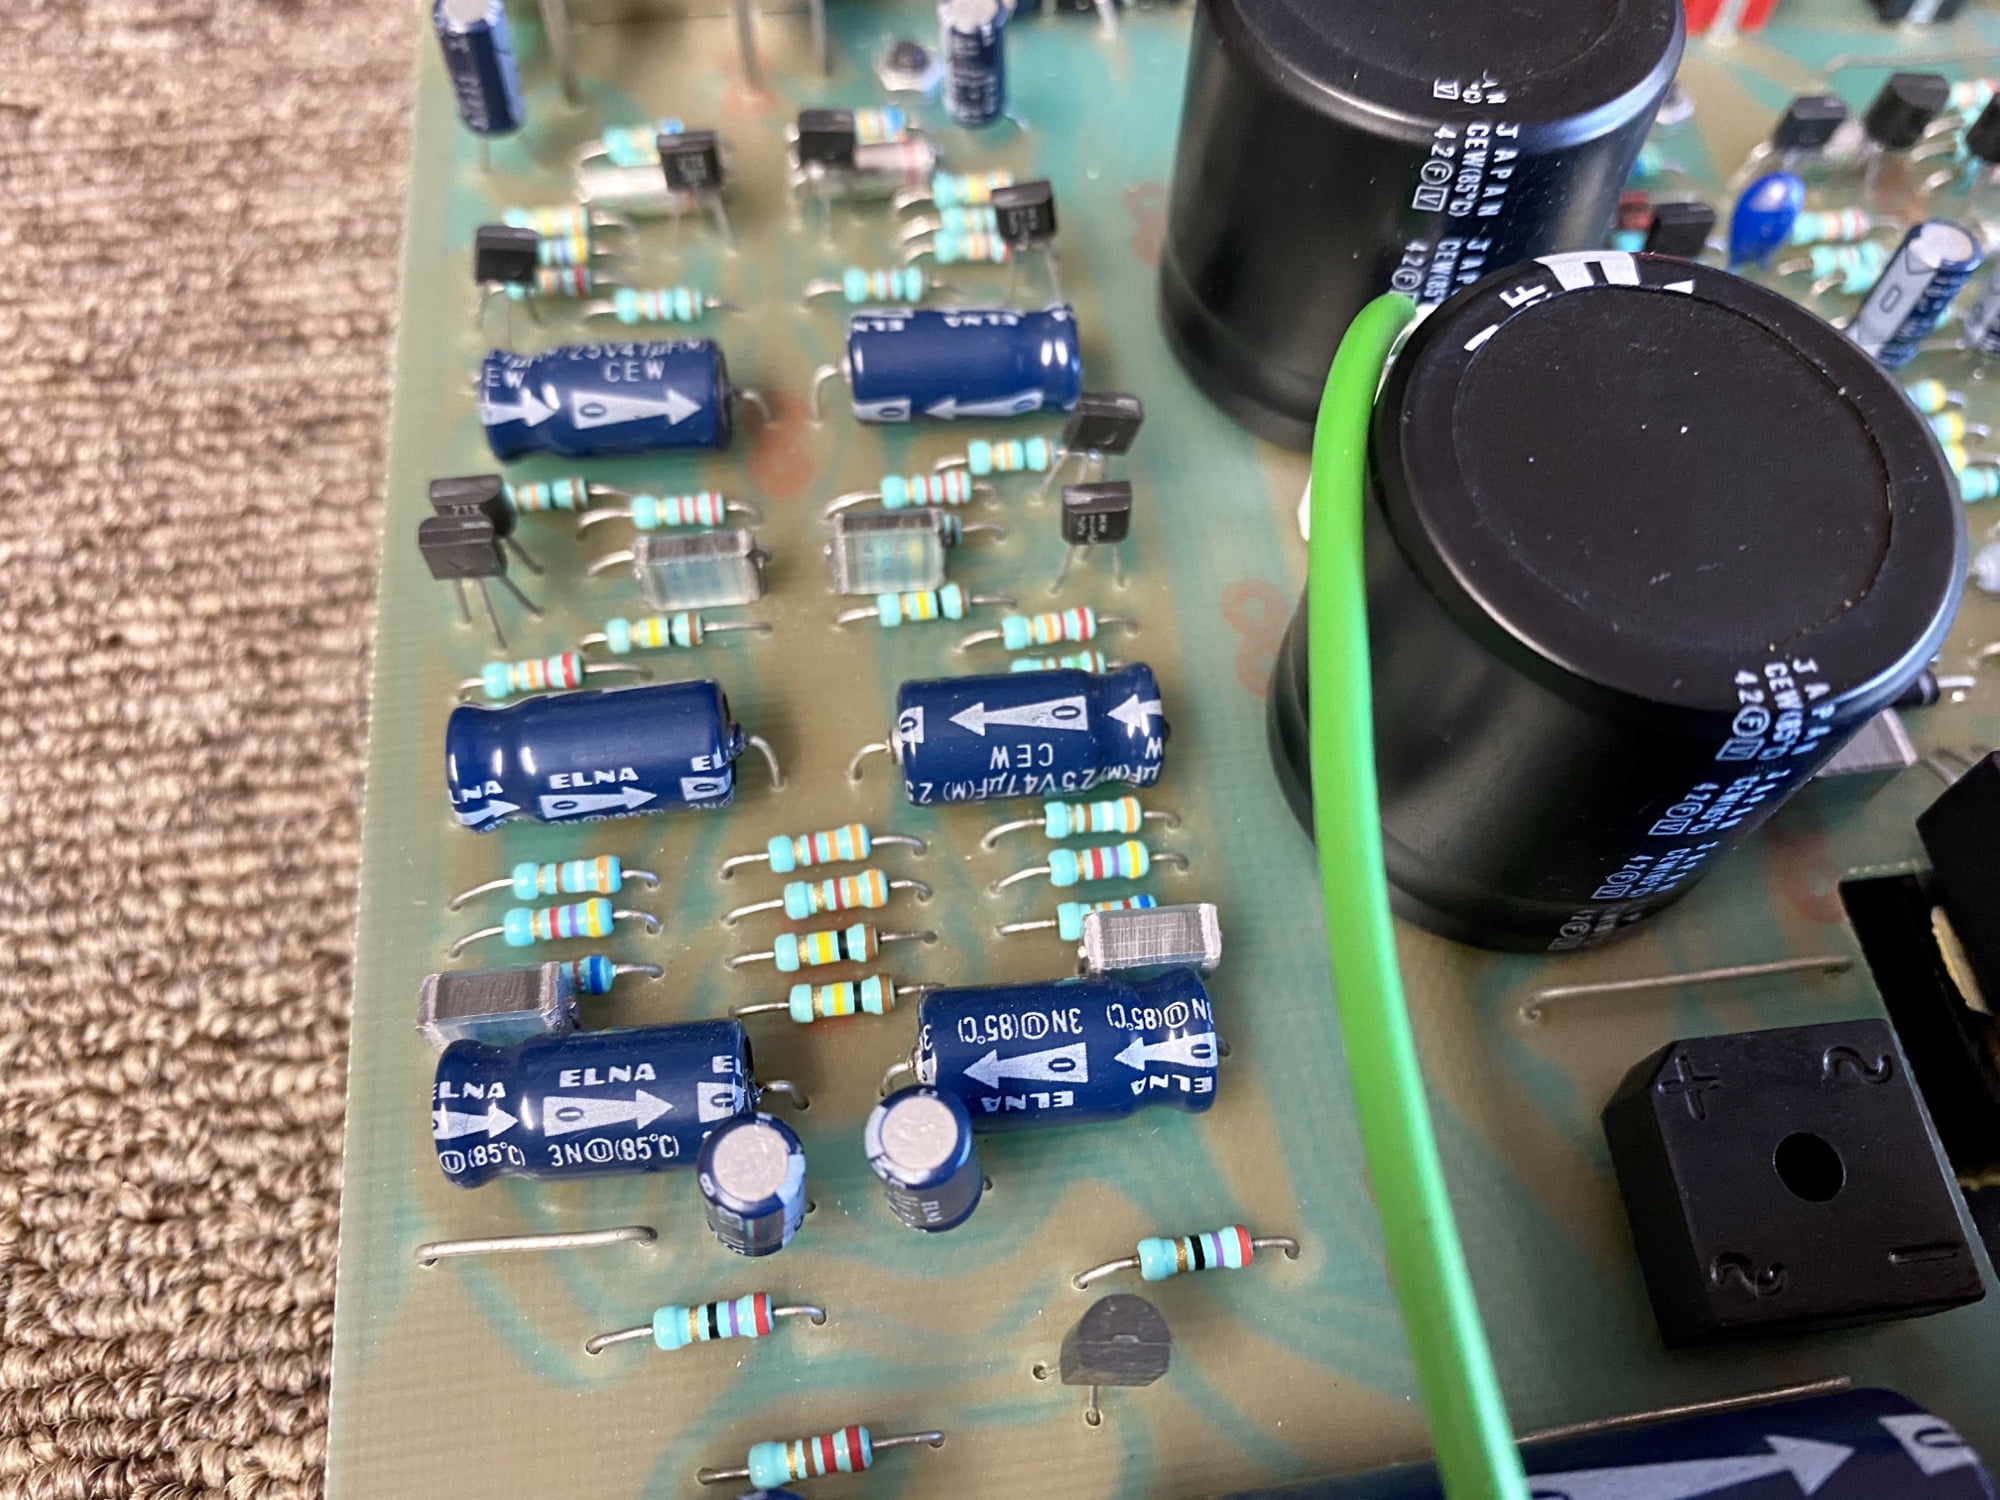
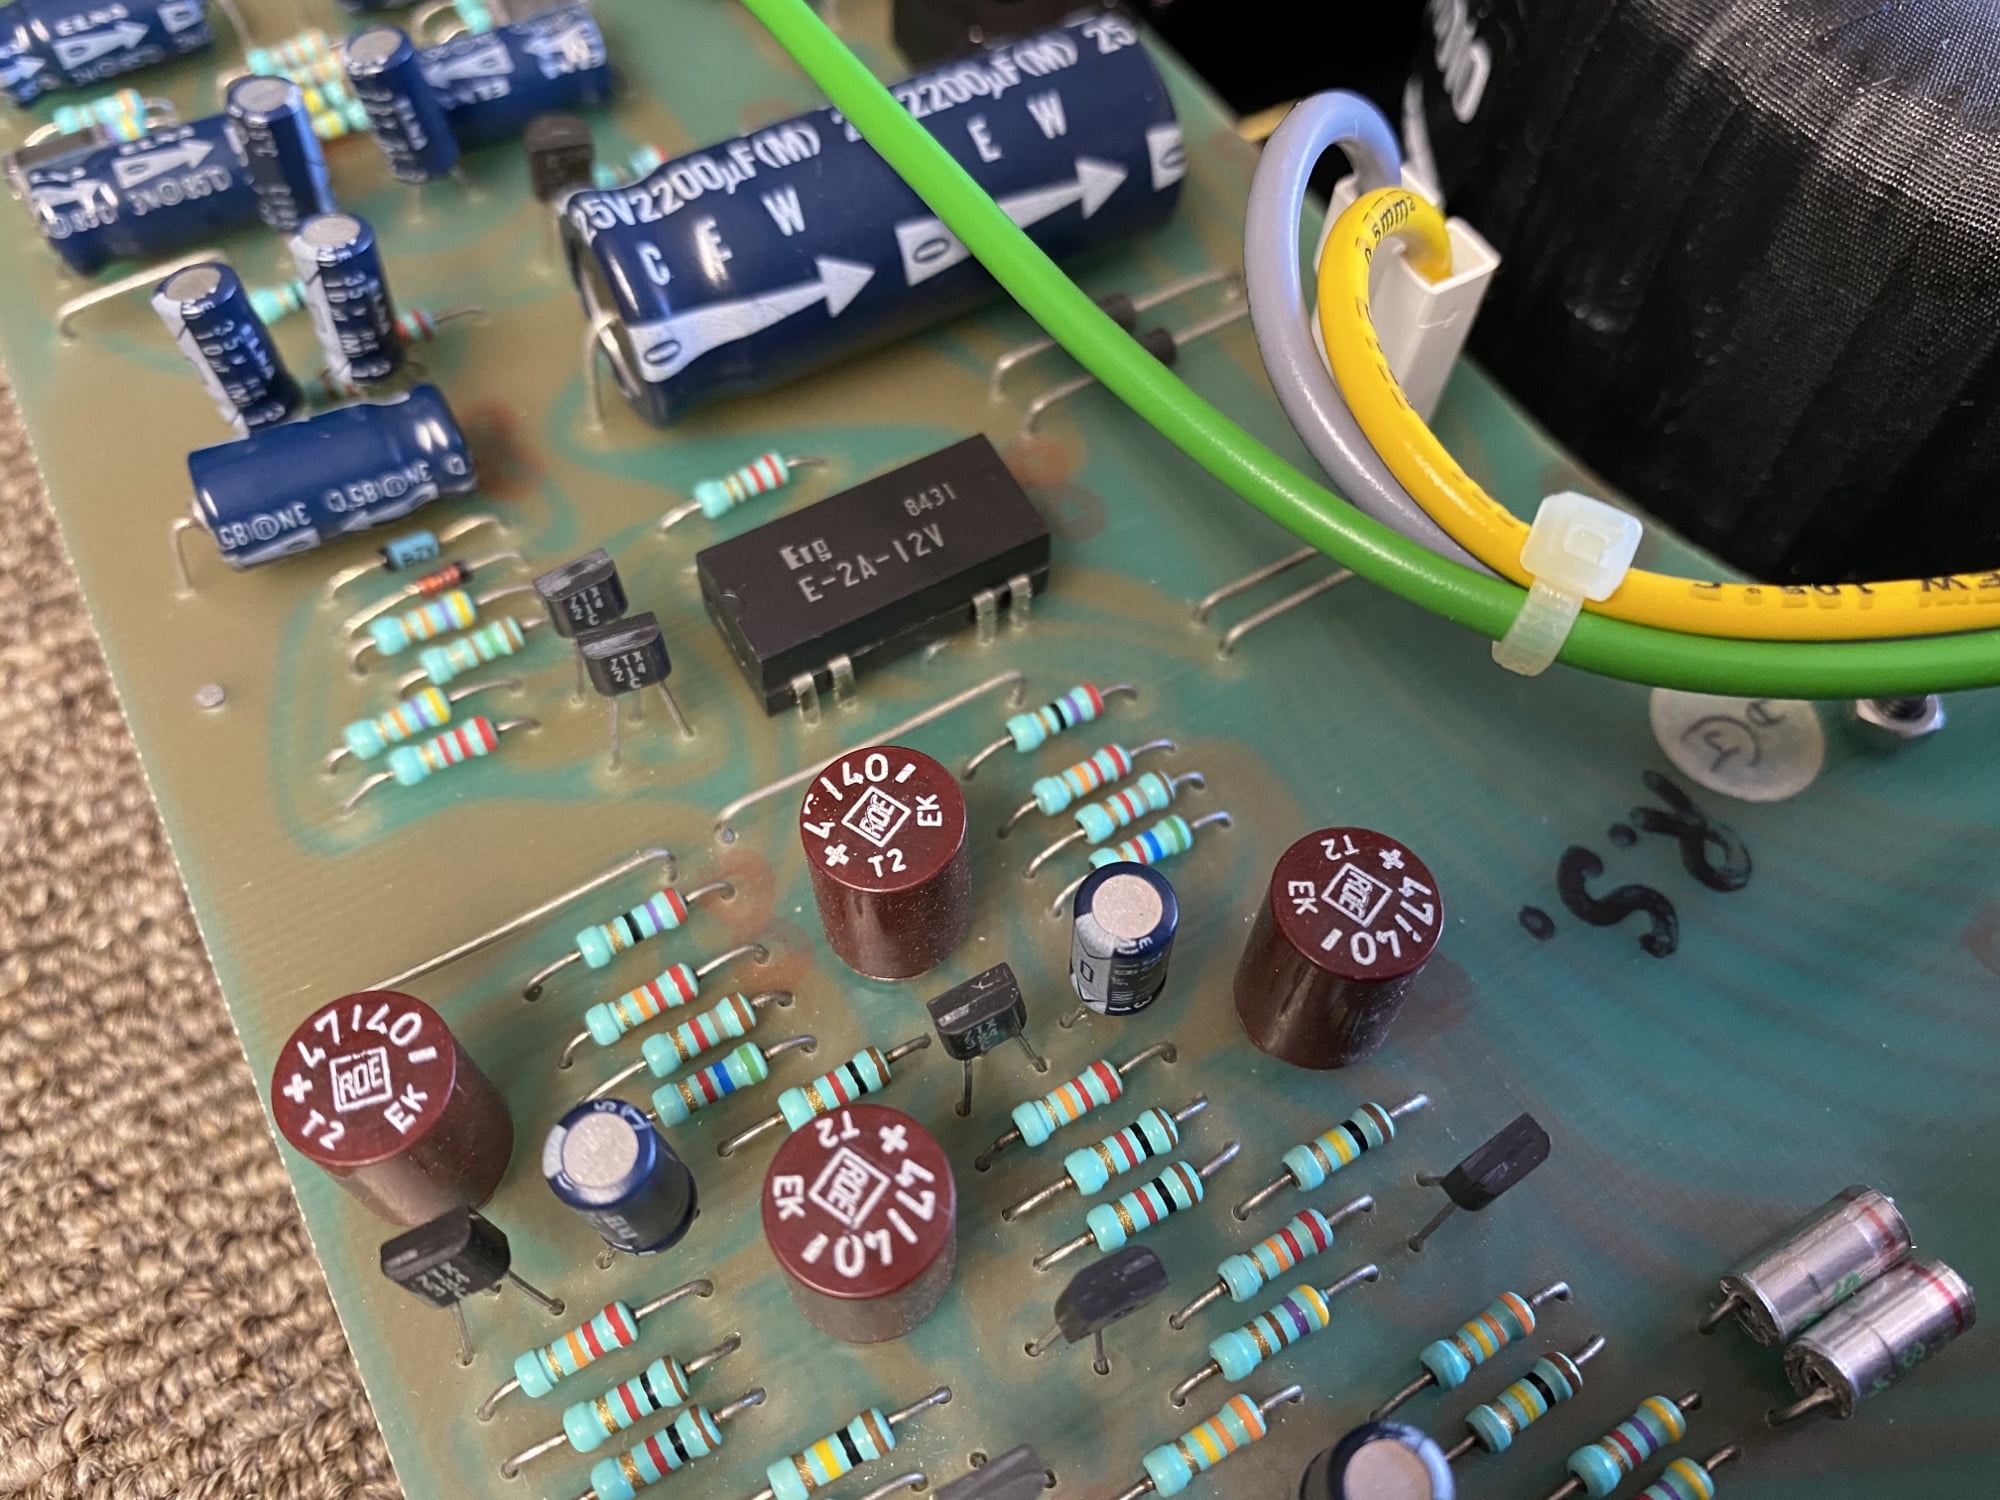
Parts Replacement
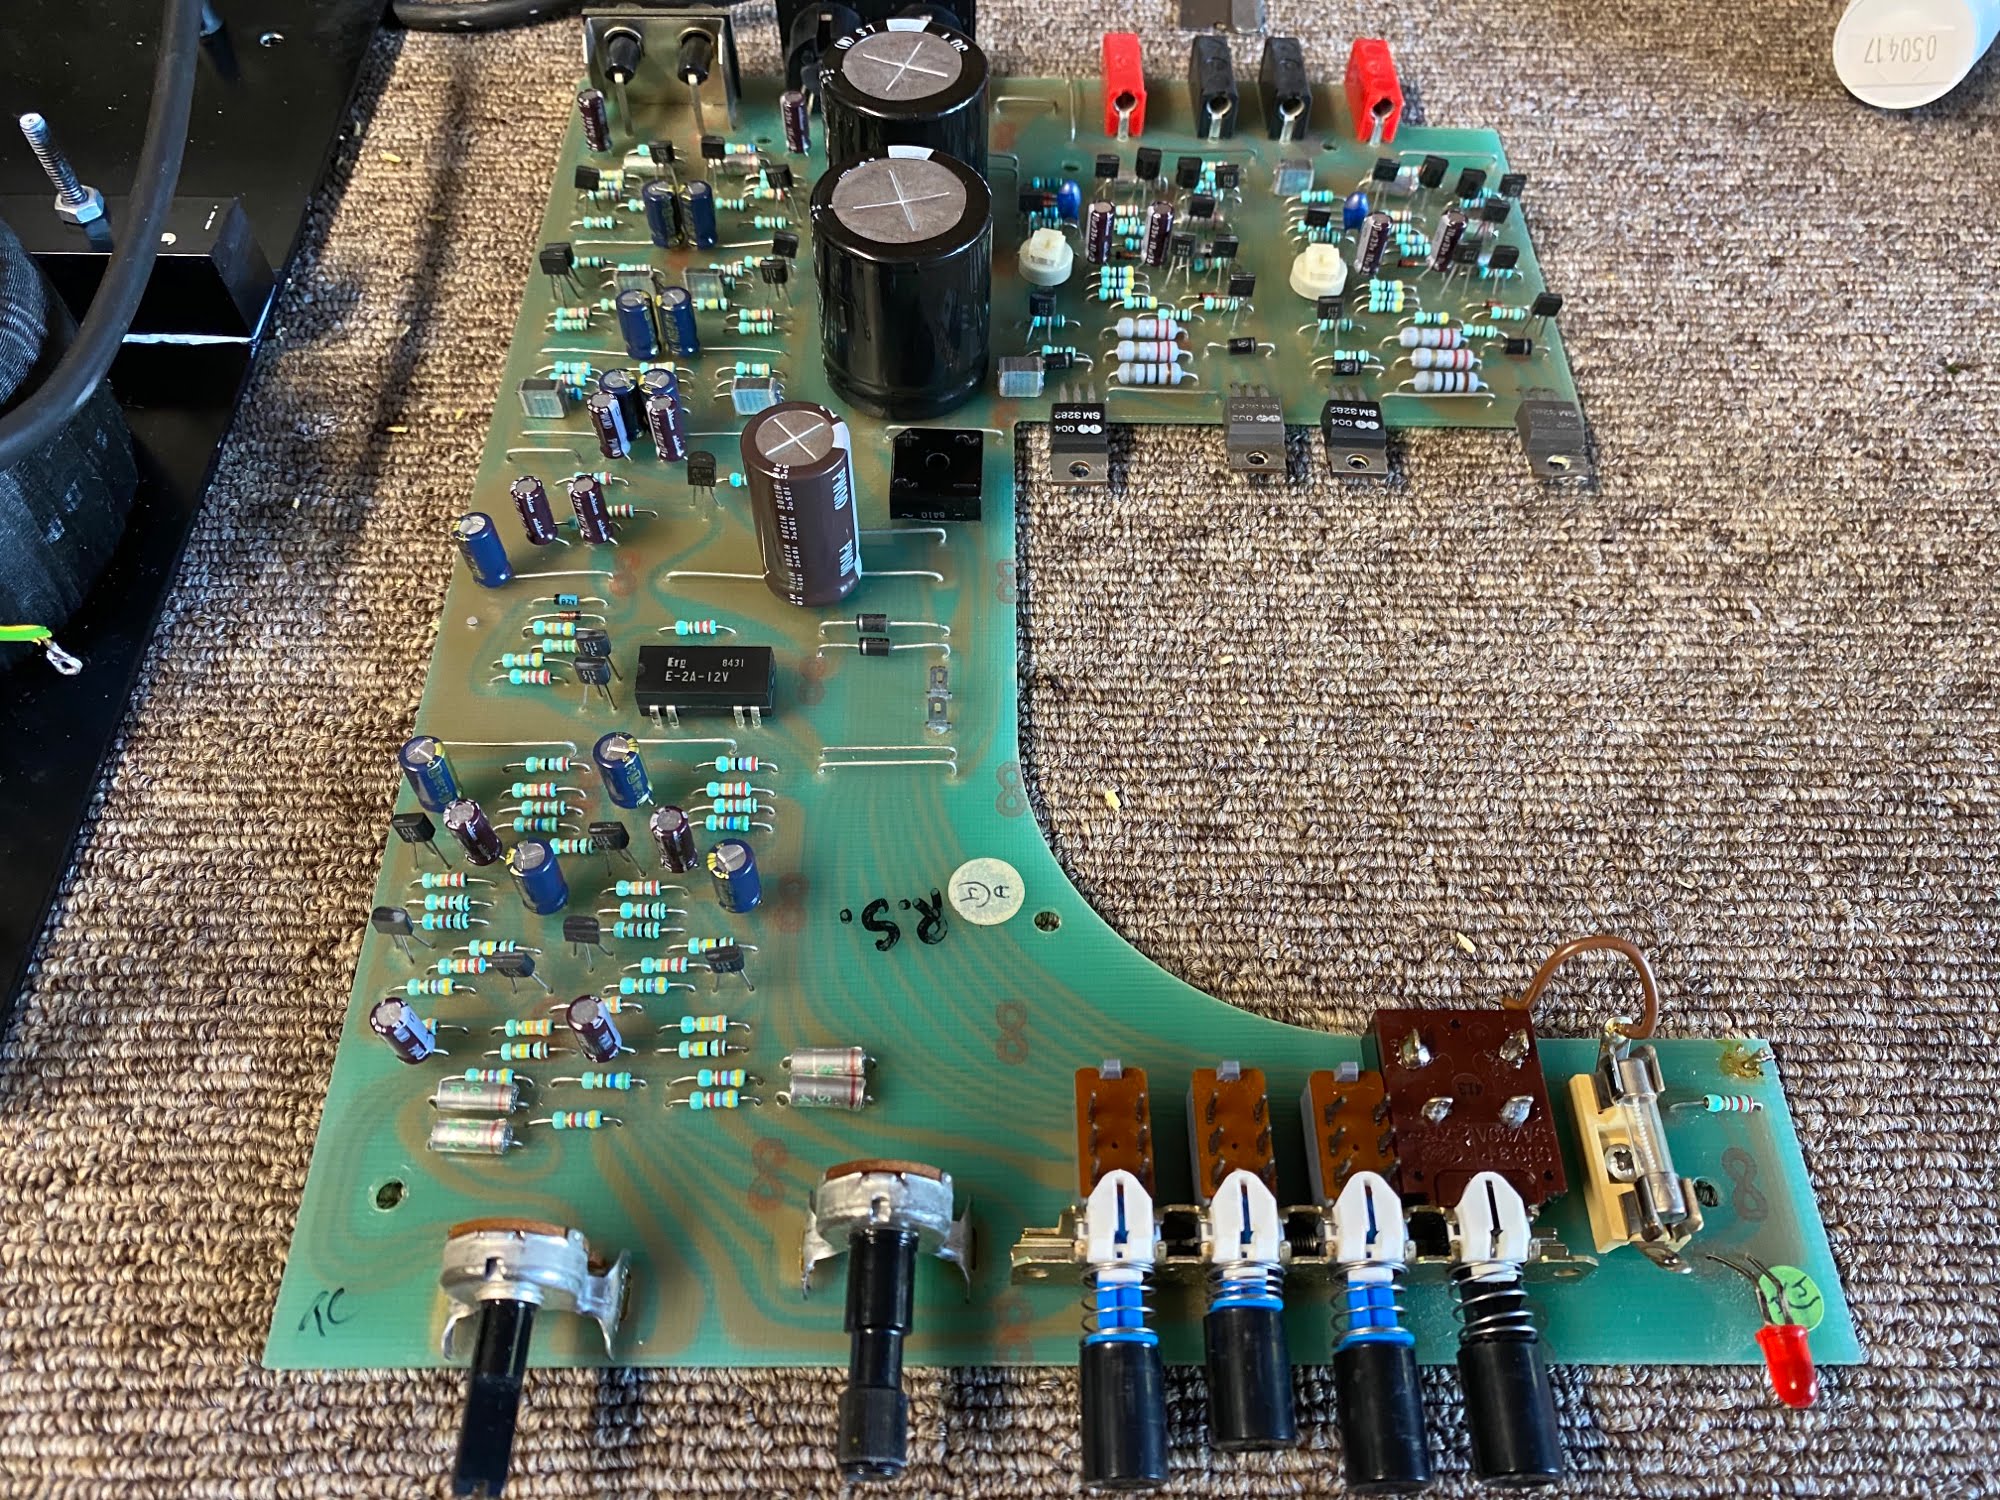
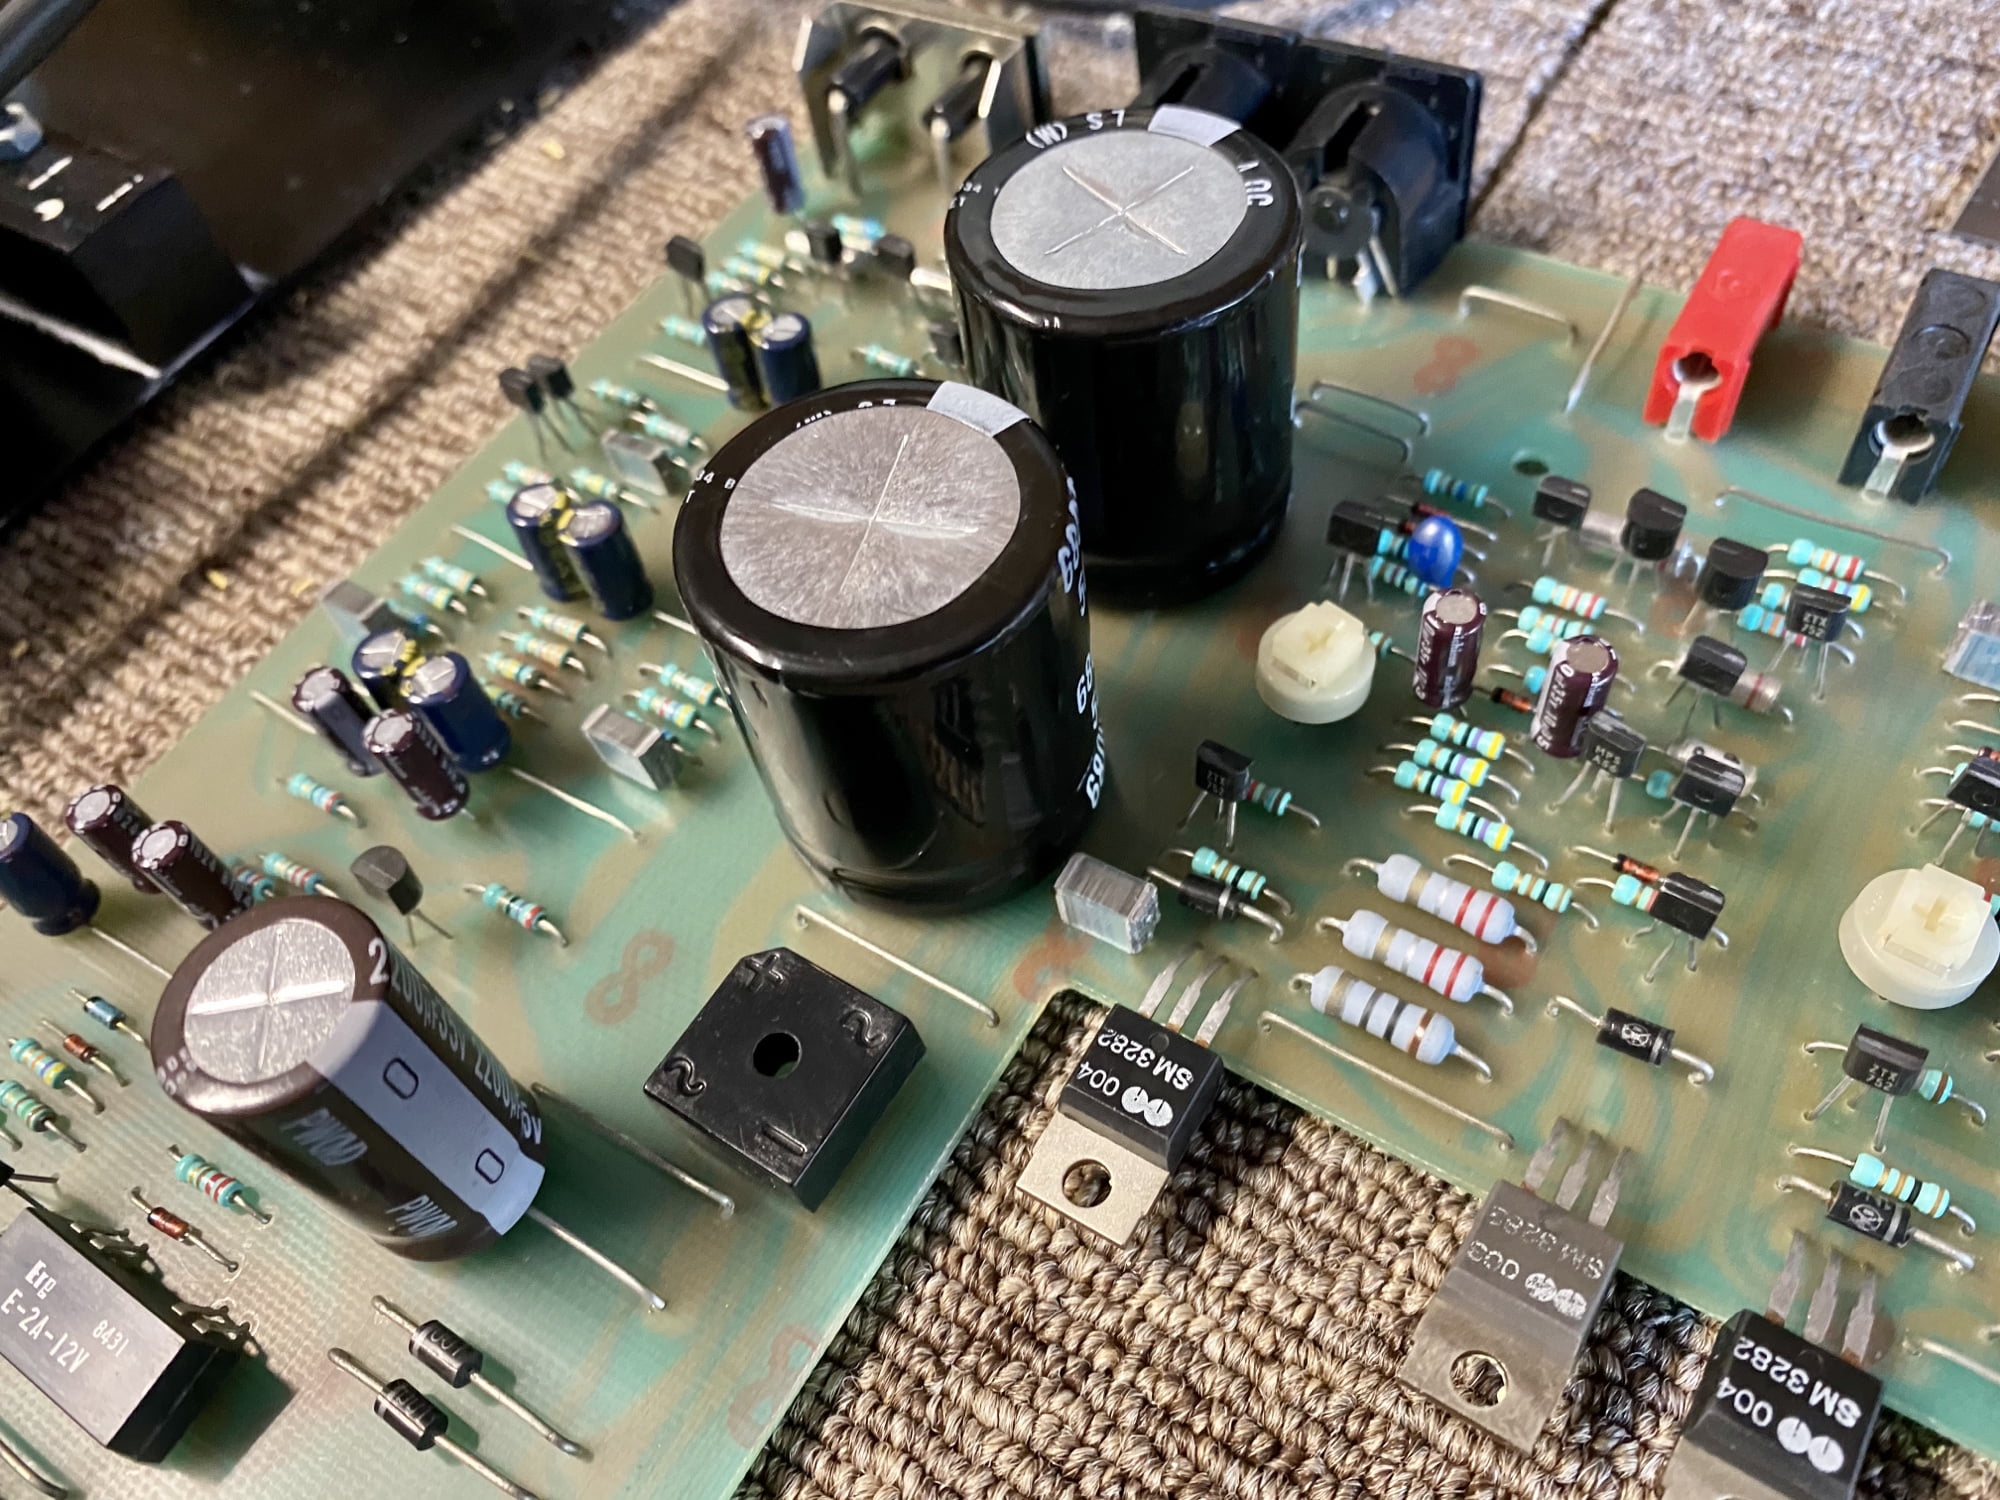
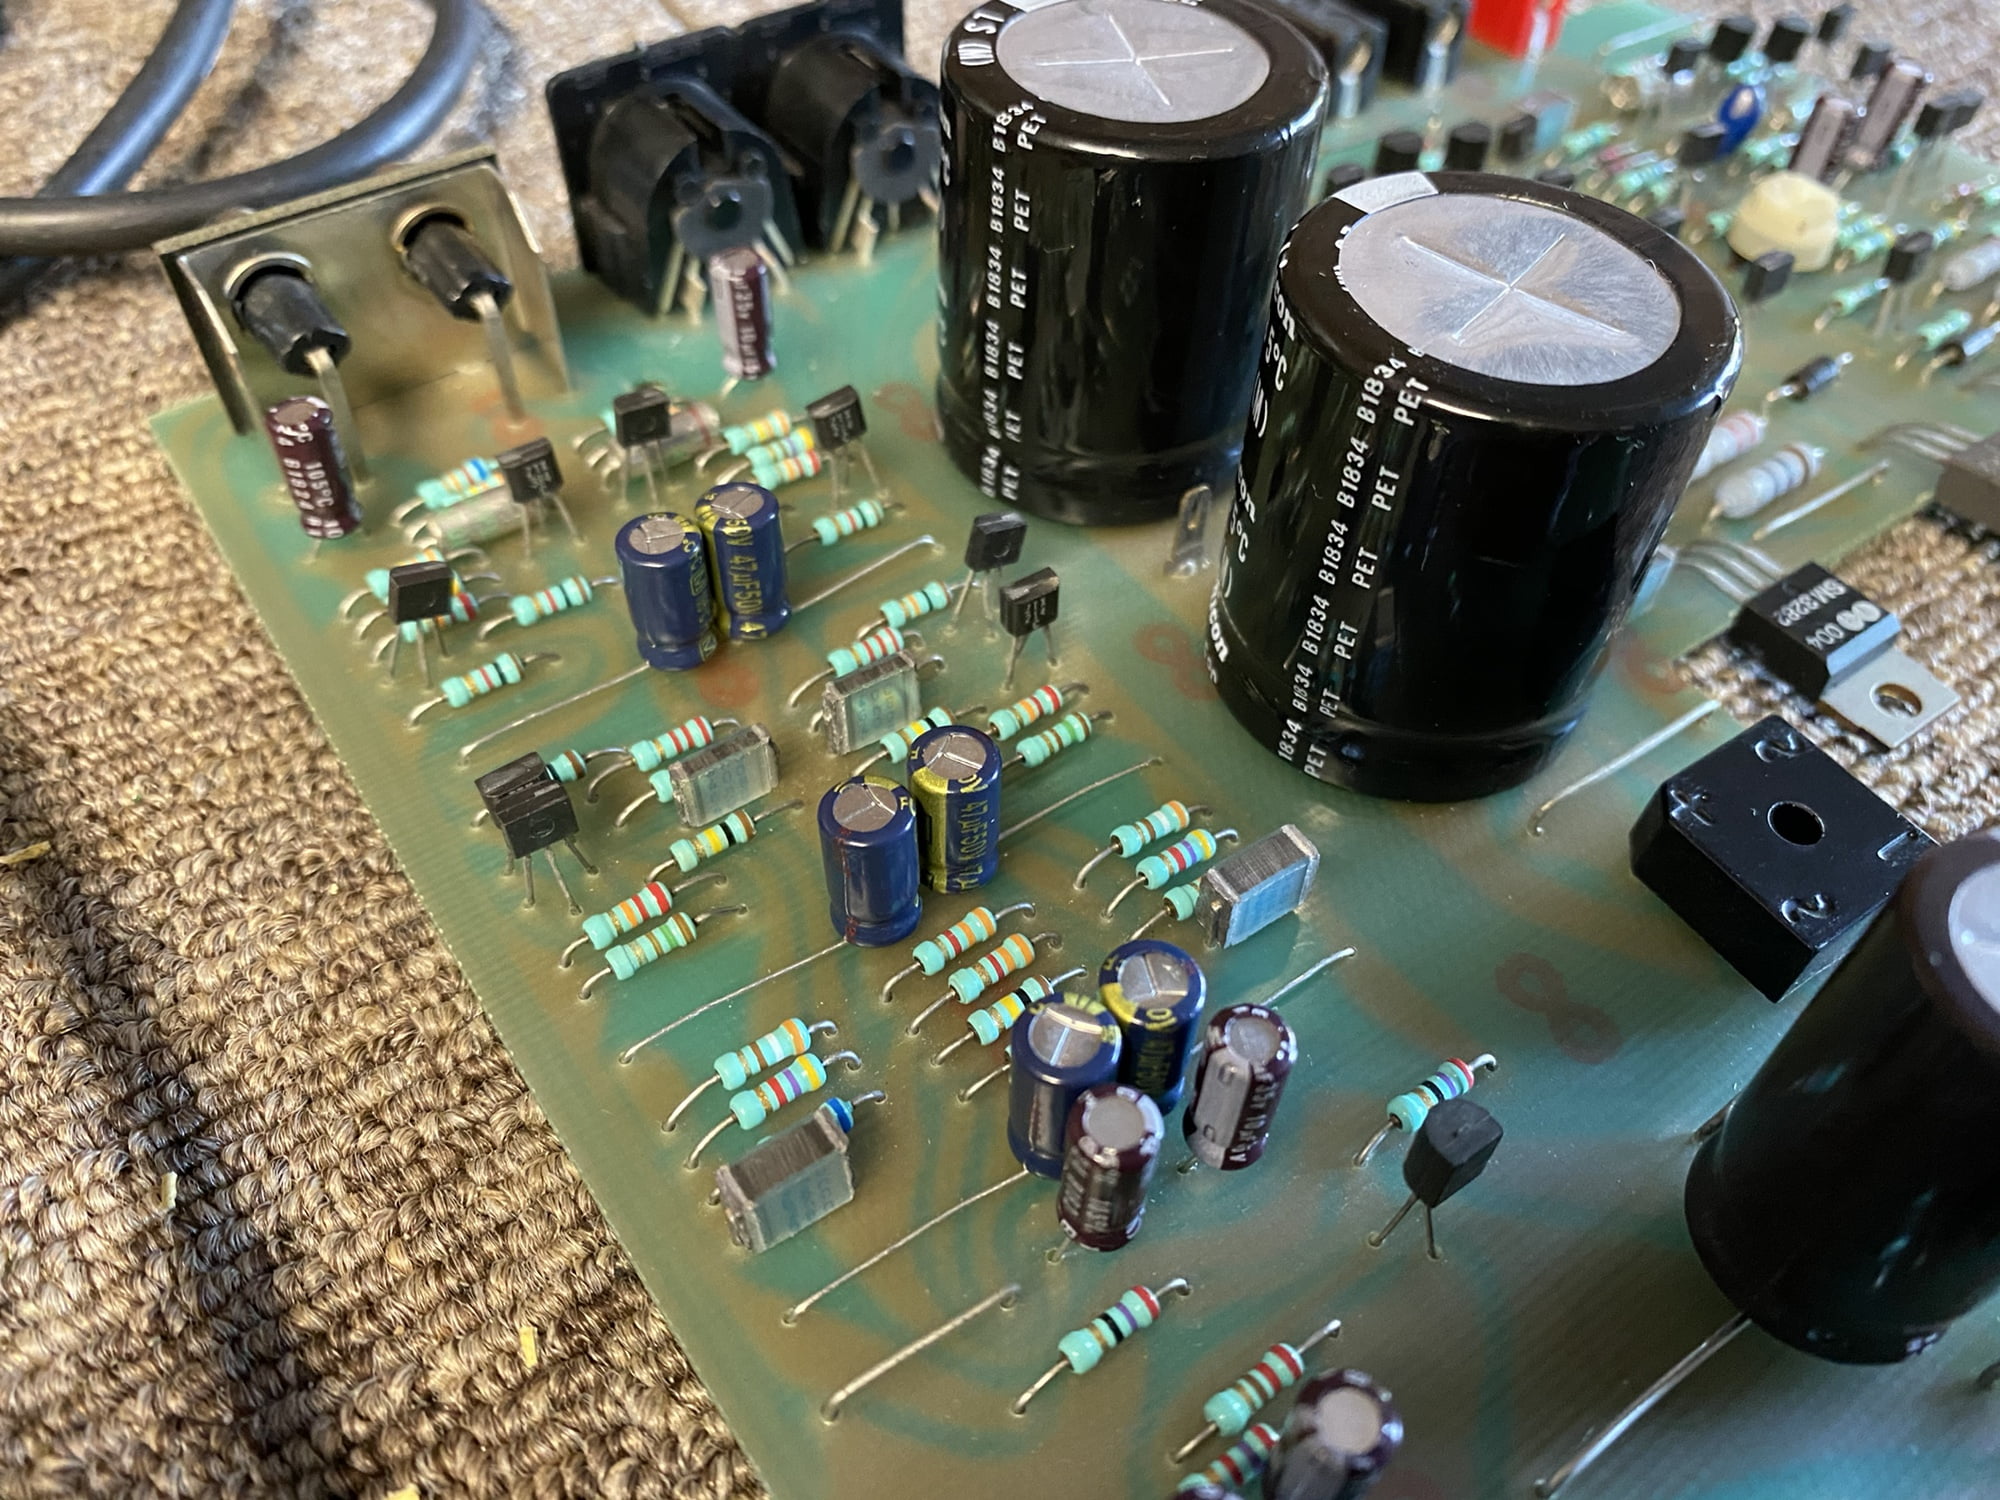
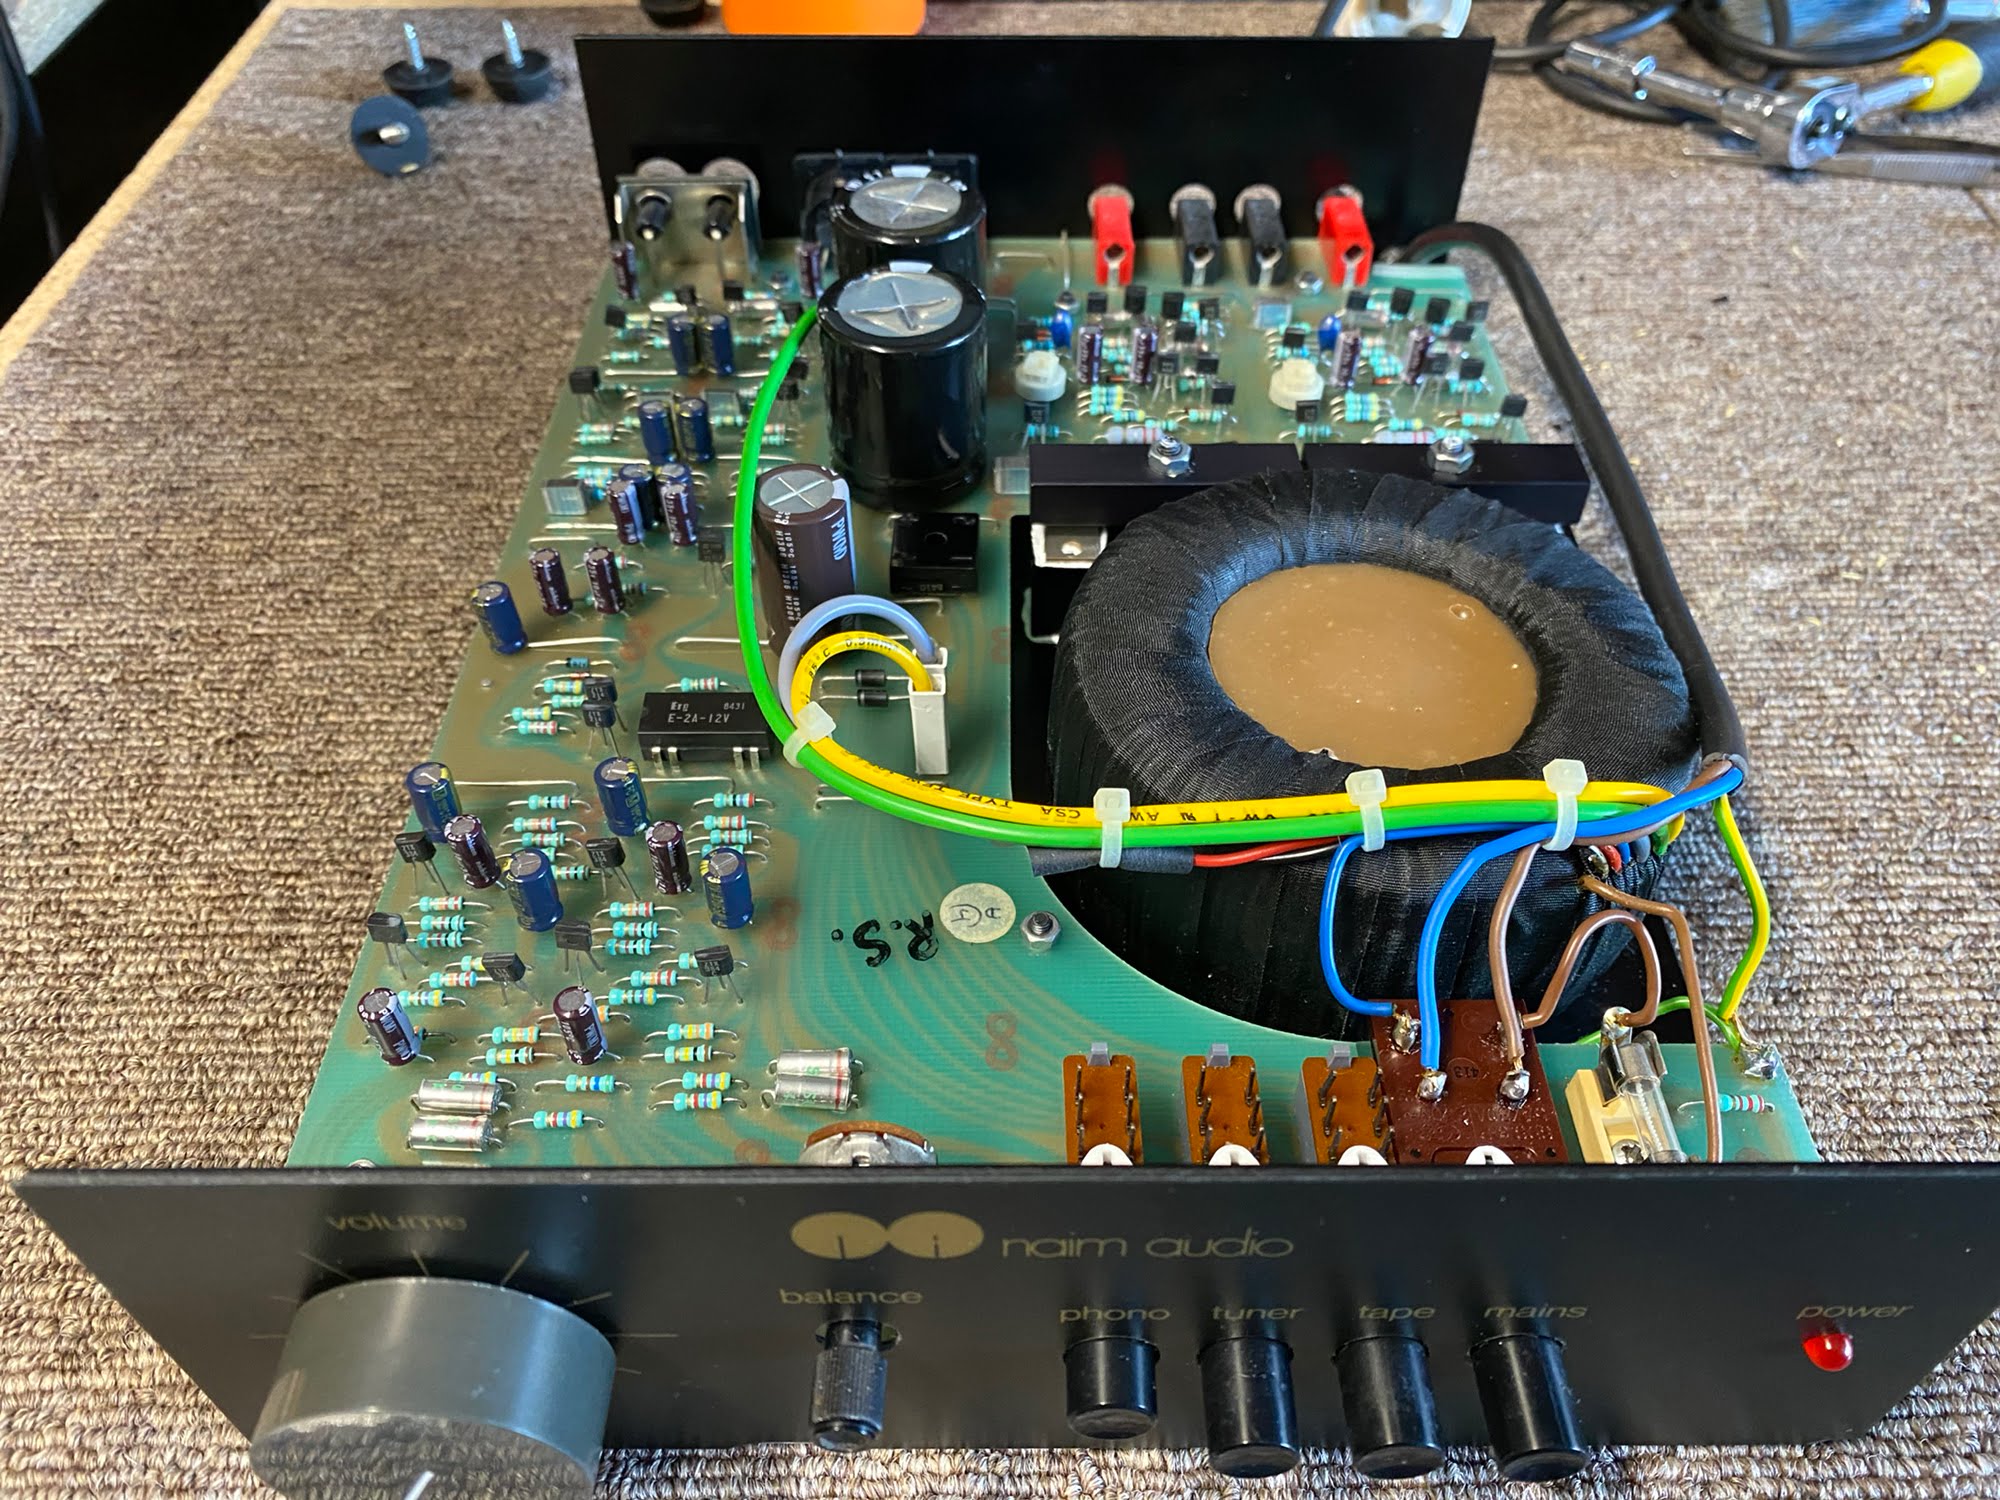
As usual, pictures tell the story here. I replaced all electrolytic capacitors with high-quality parts rated for higher temperature, longer life and lower ESR. Not that this is that kind of amplifier really in the sense of running hot for example, but I only ever use these sorts of parts anyway, so that’s what I have in stock.
Results
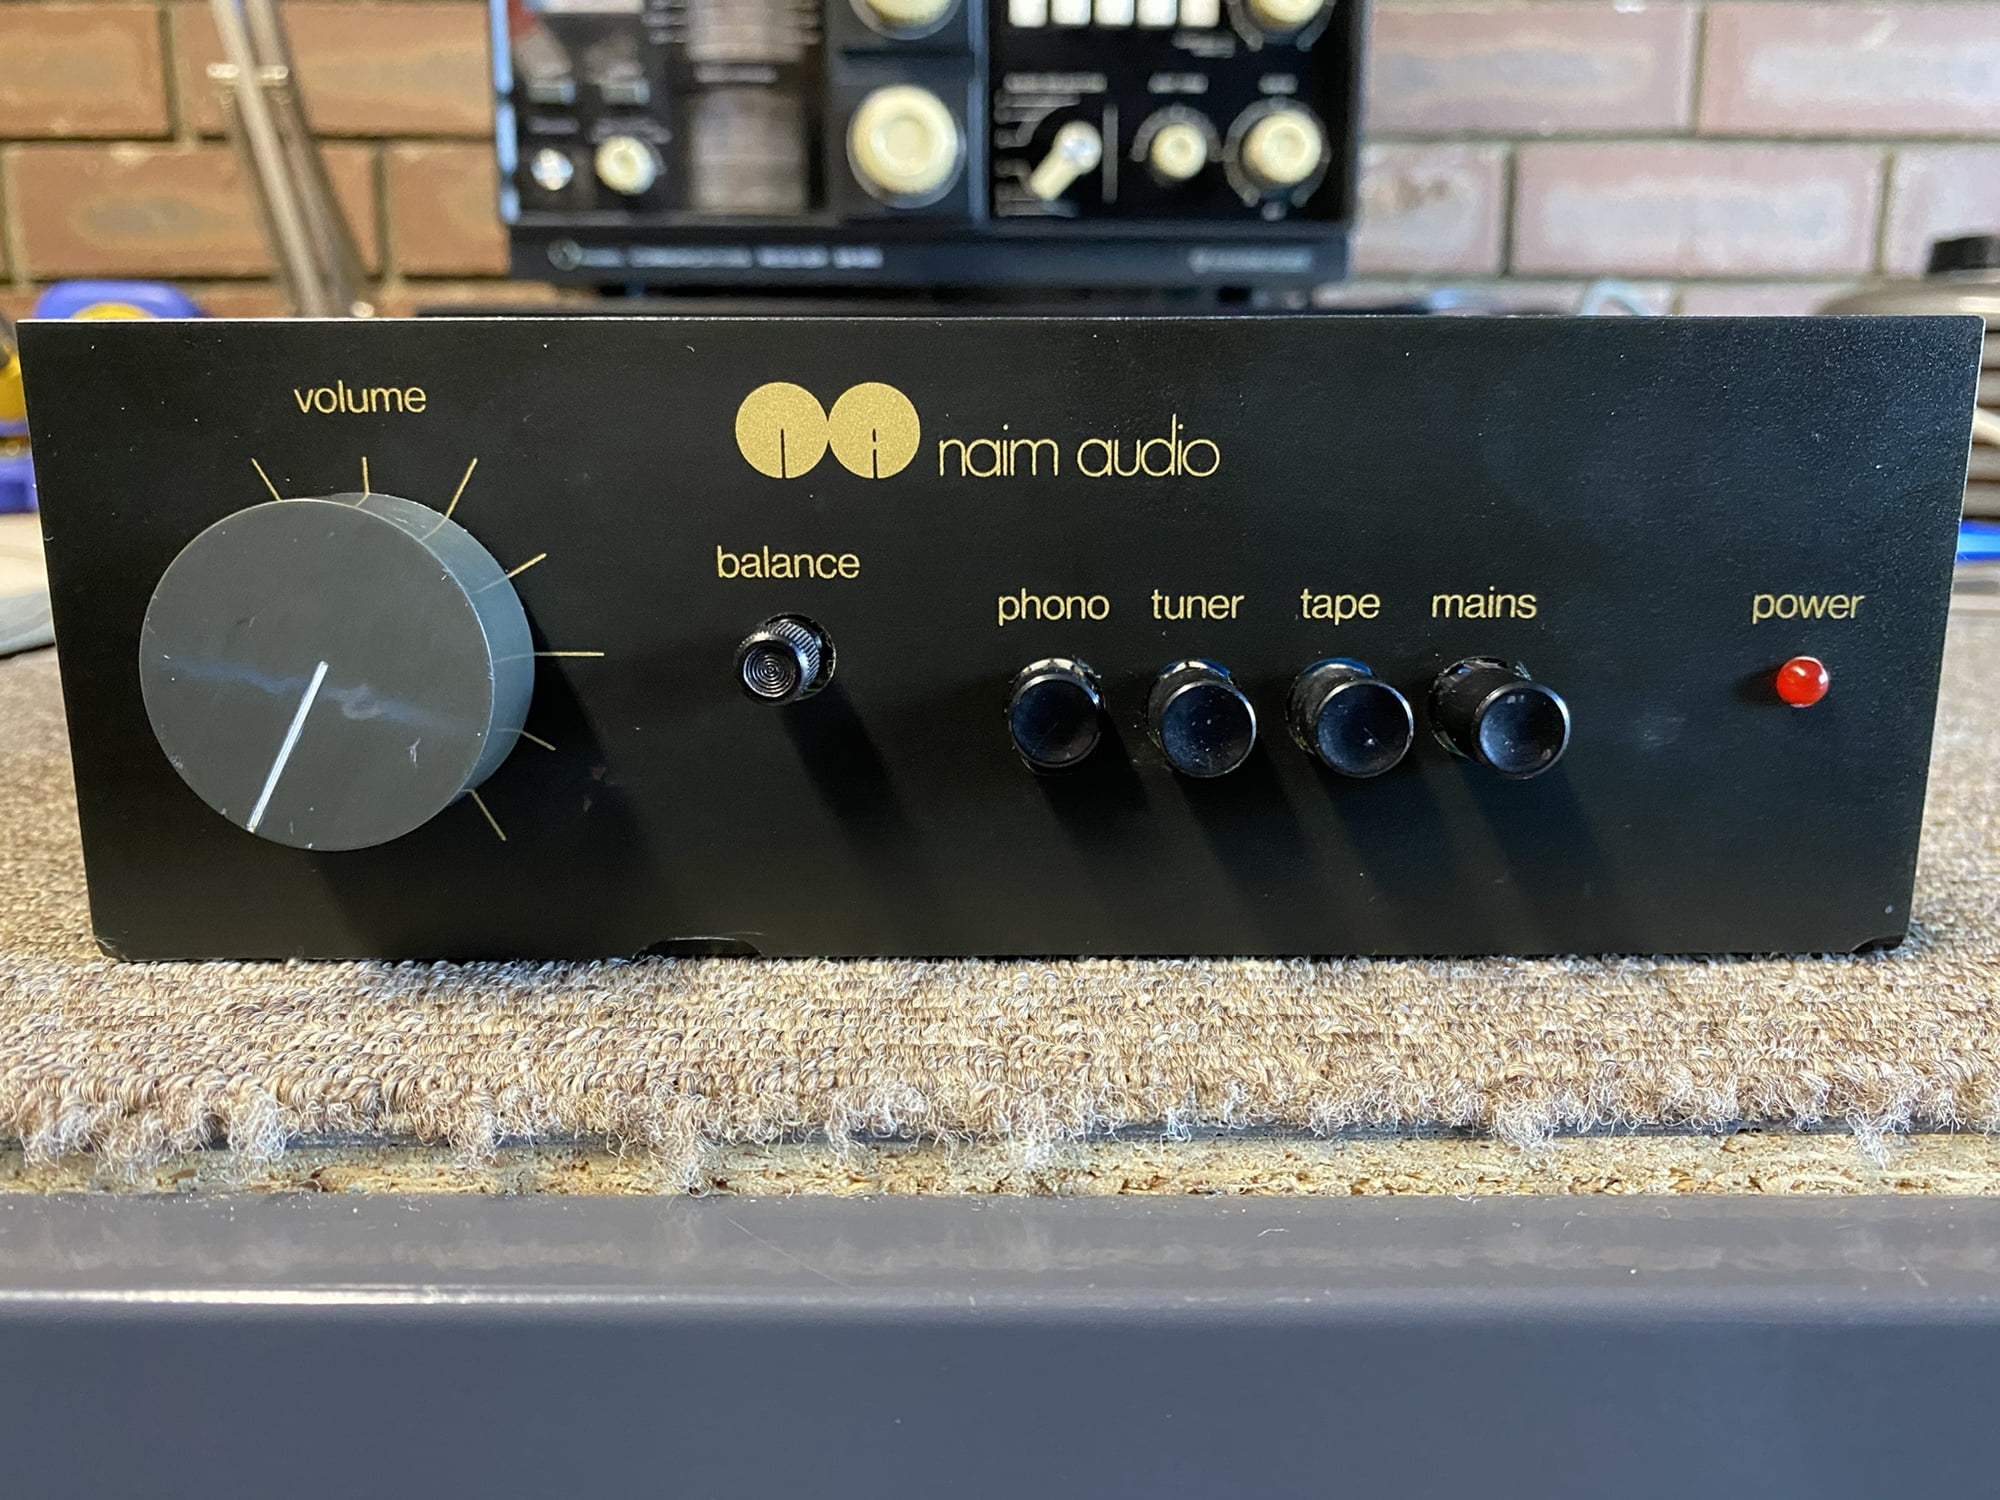
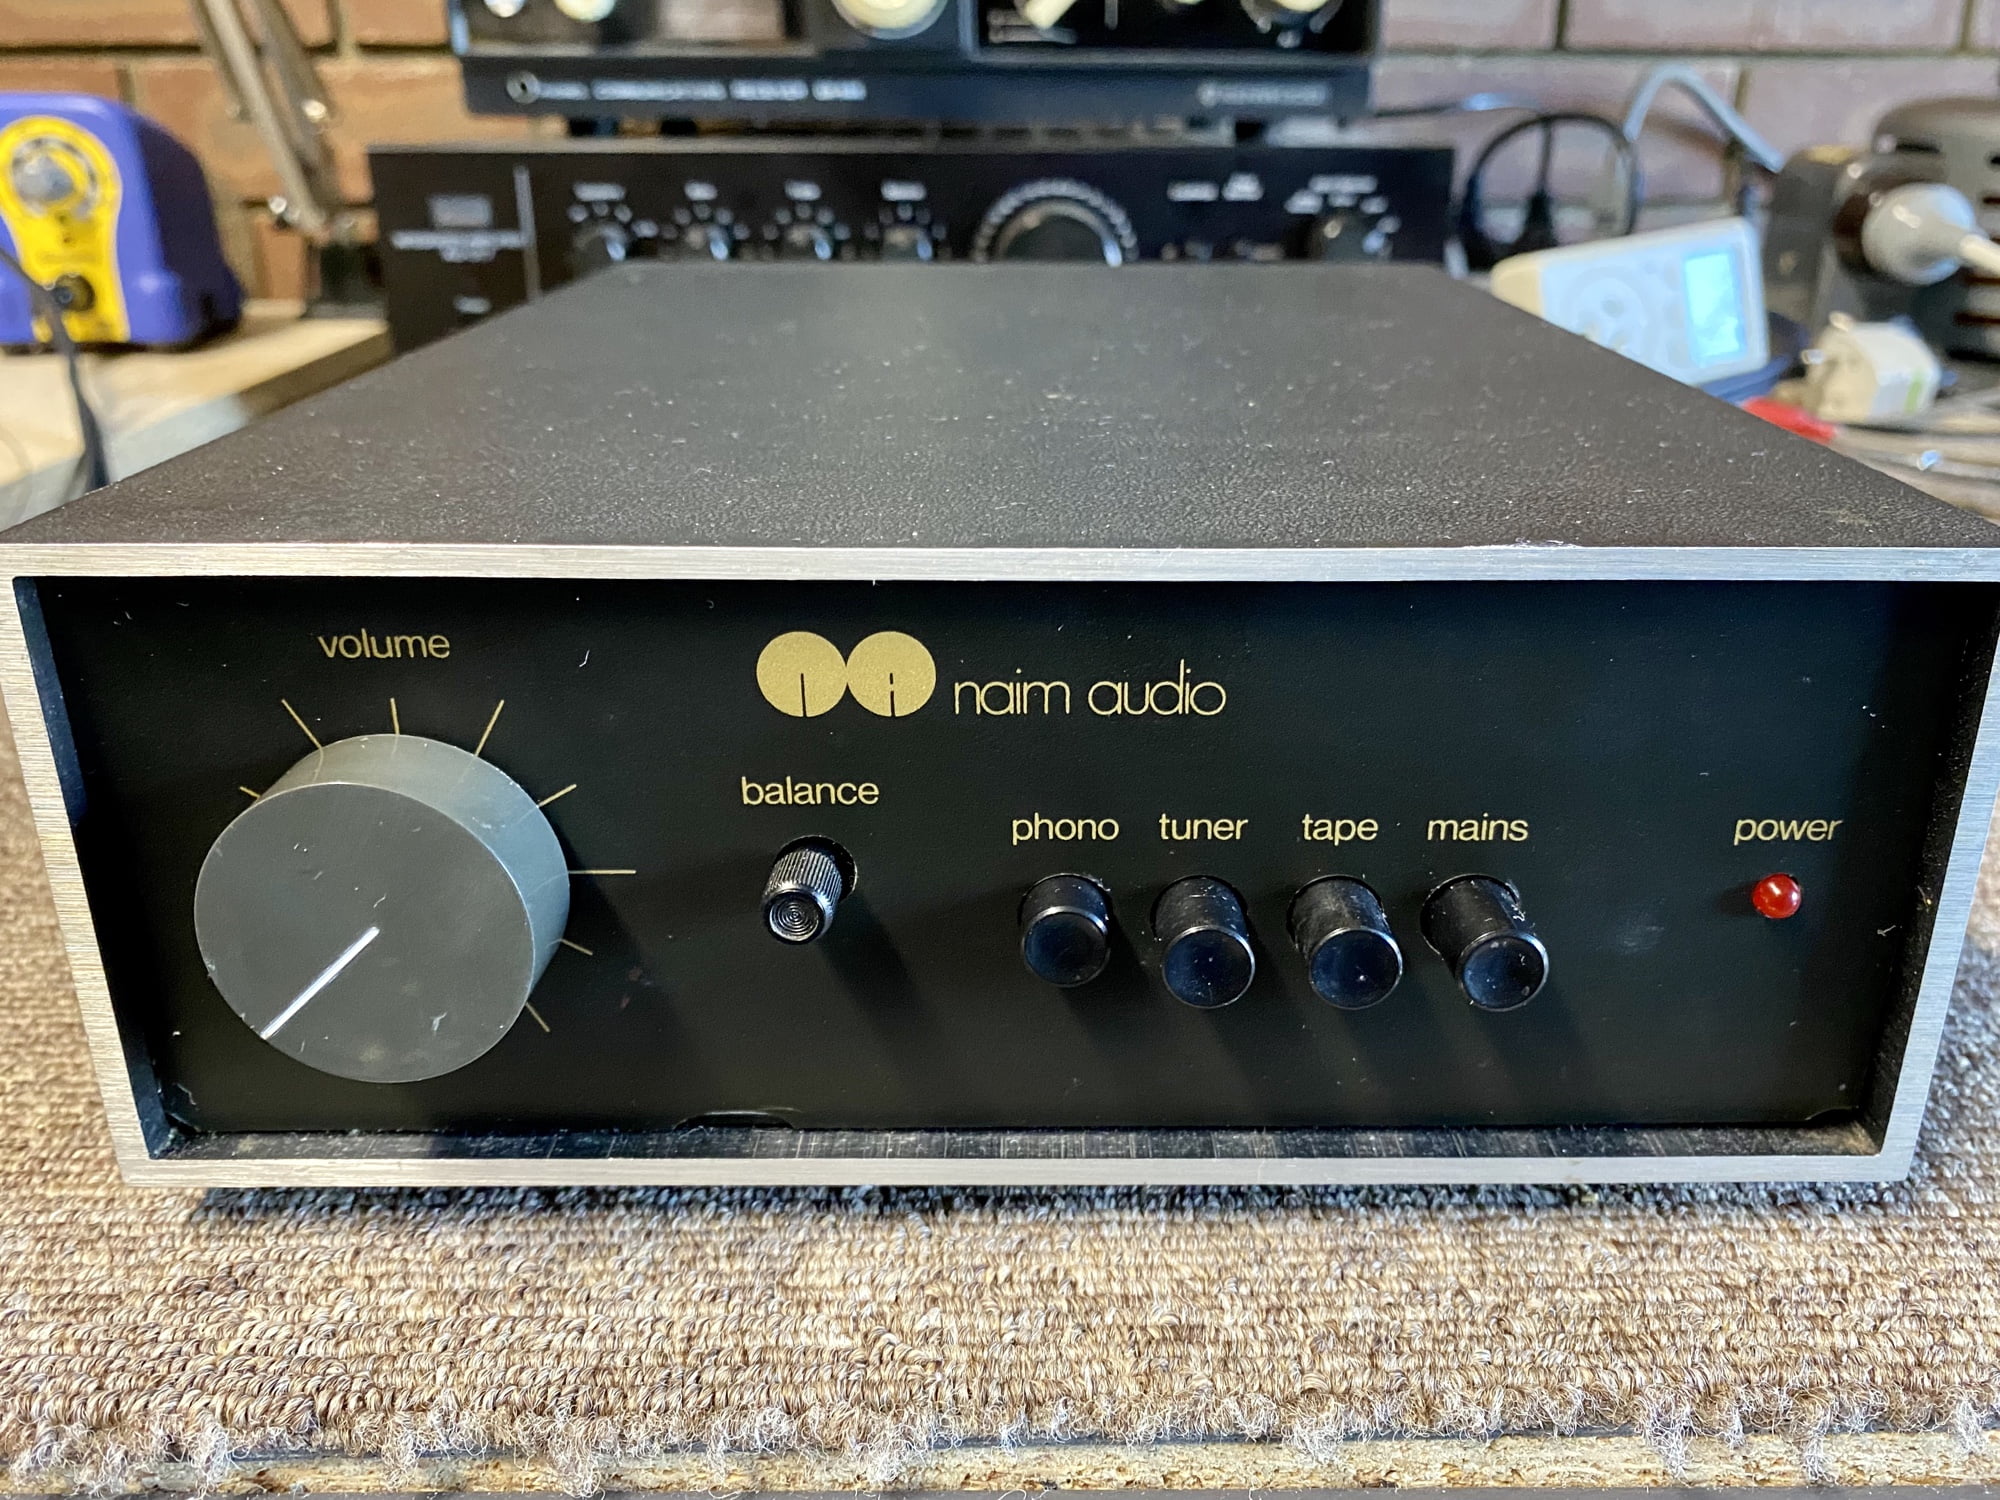
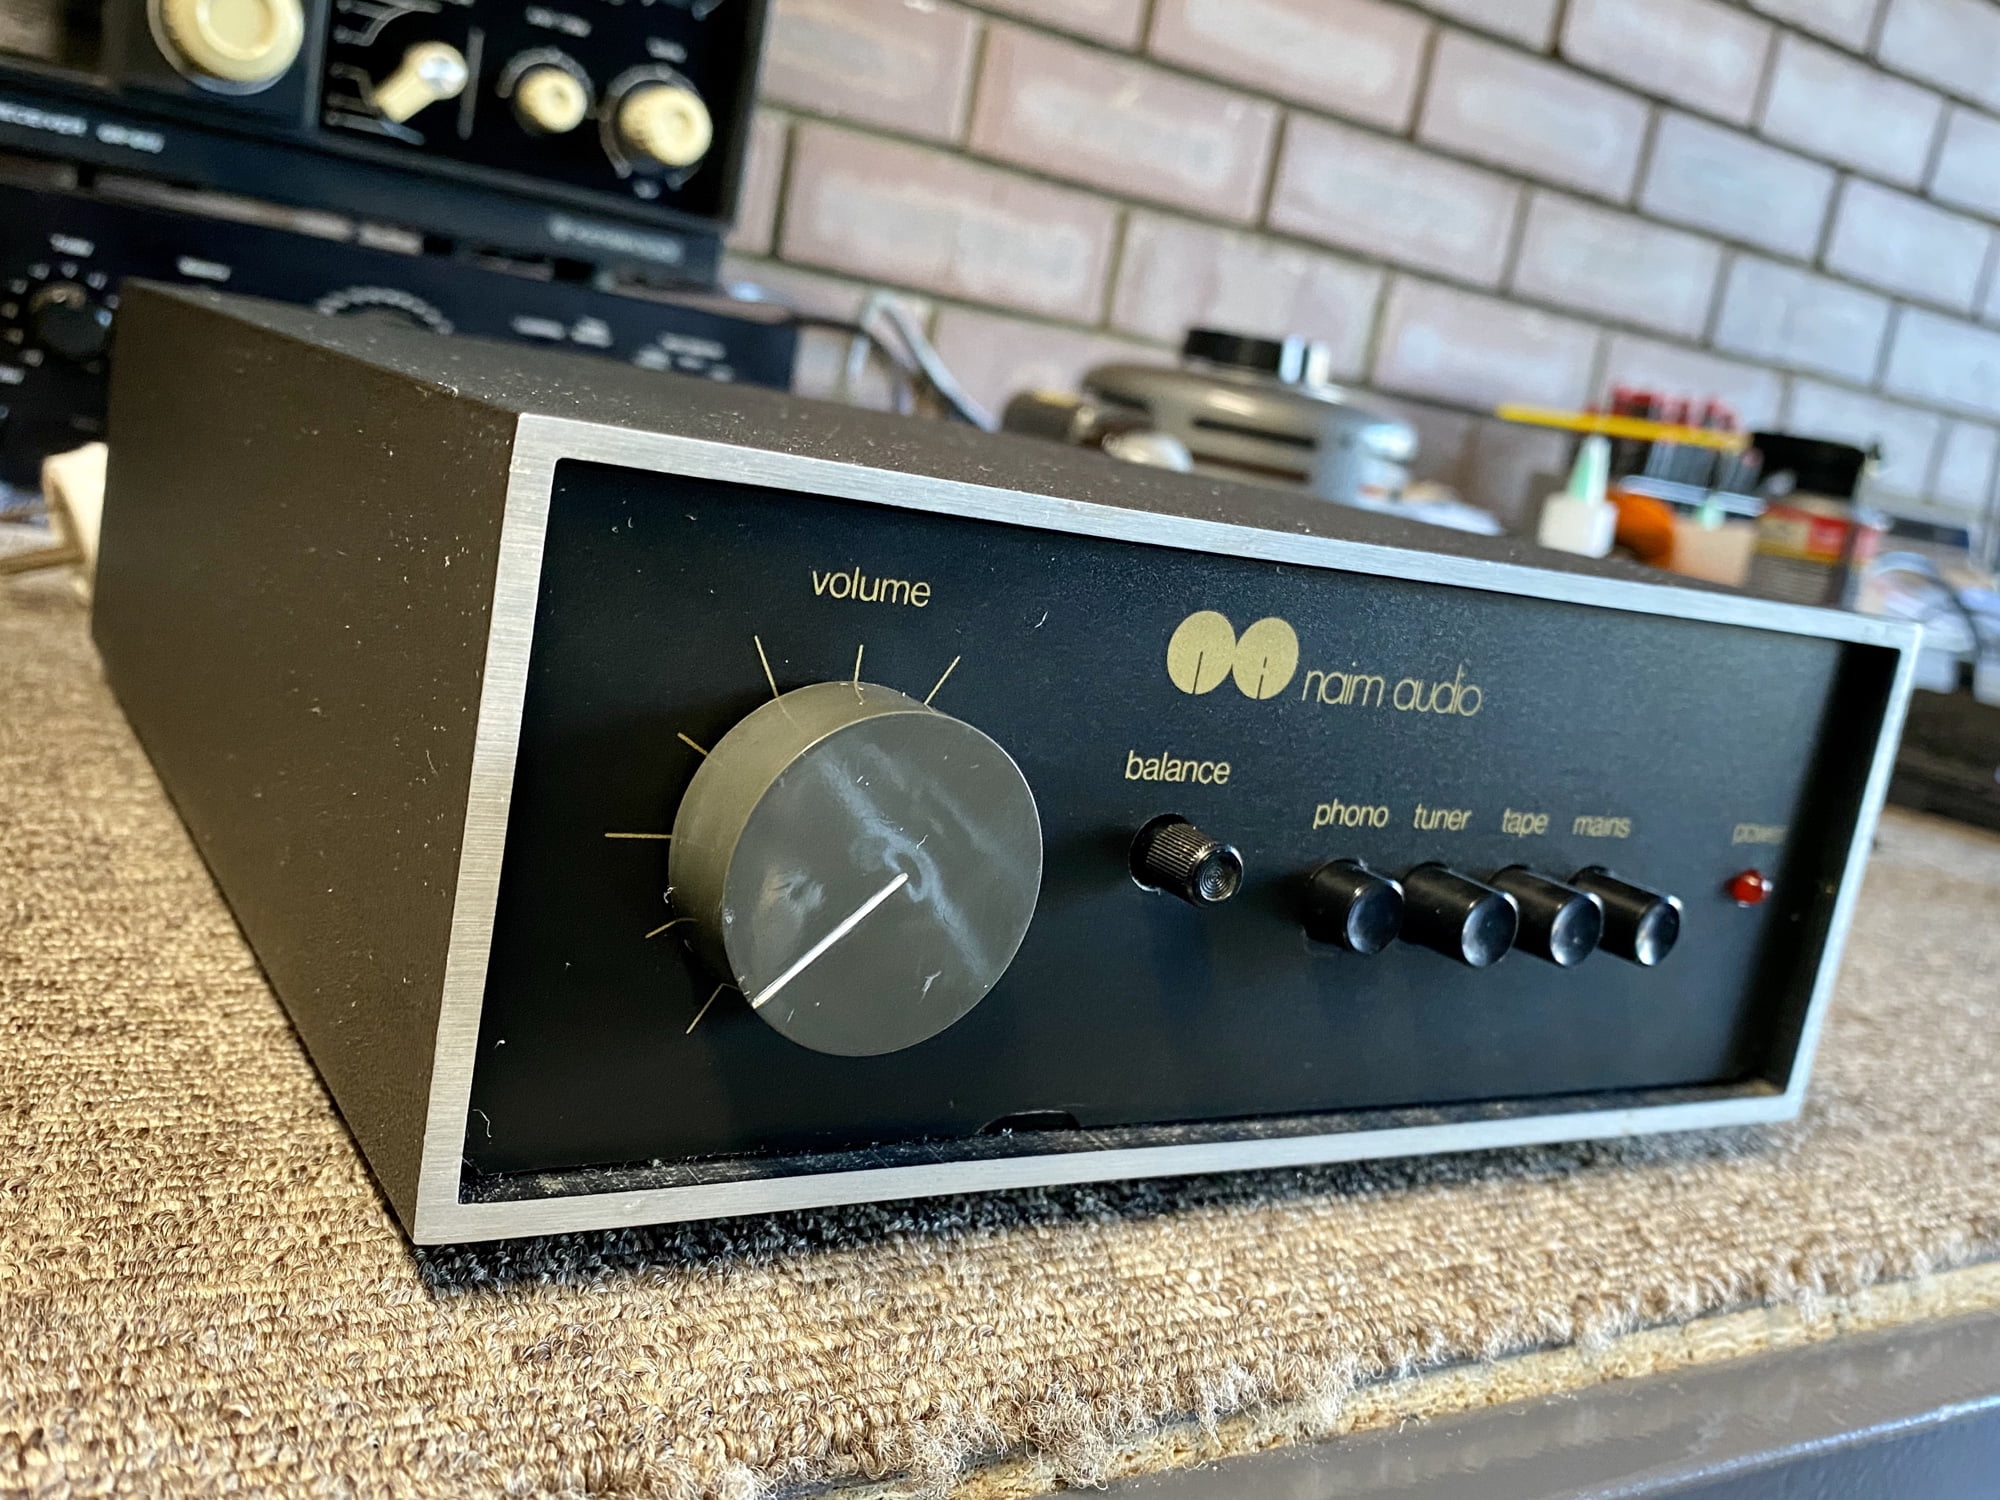
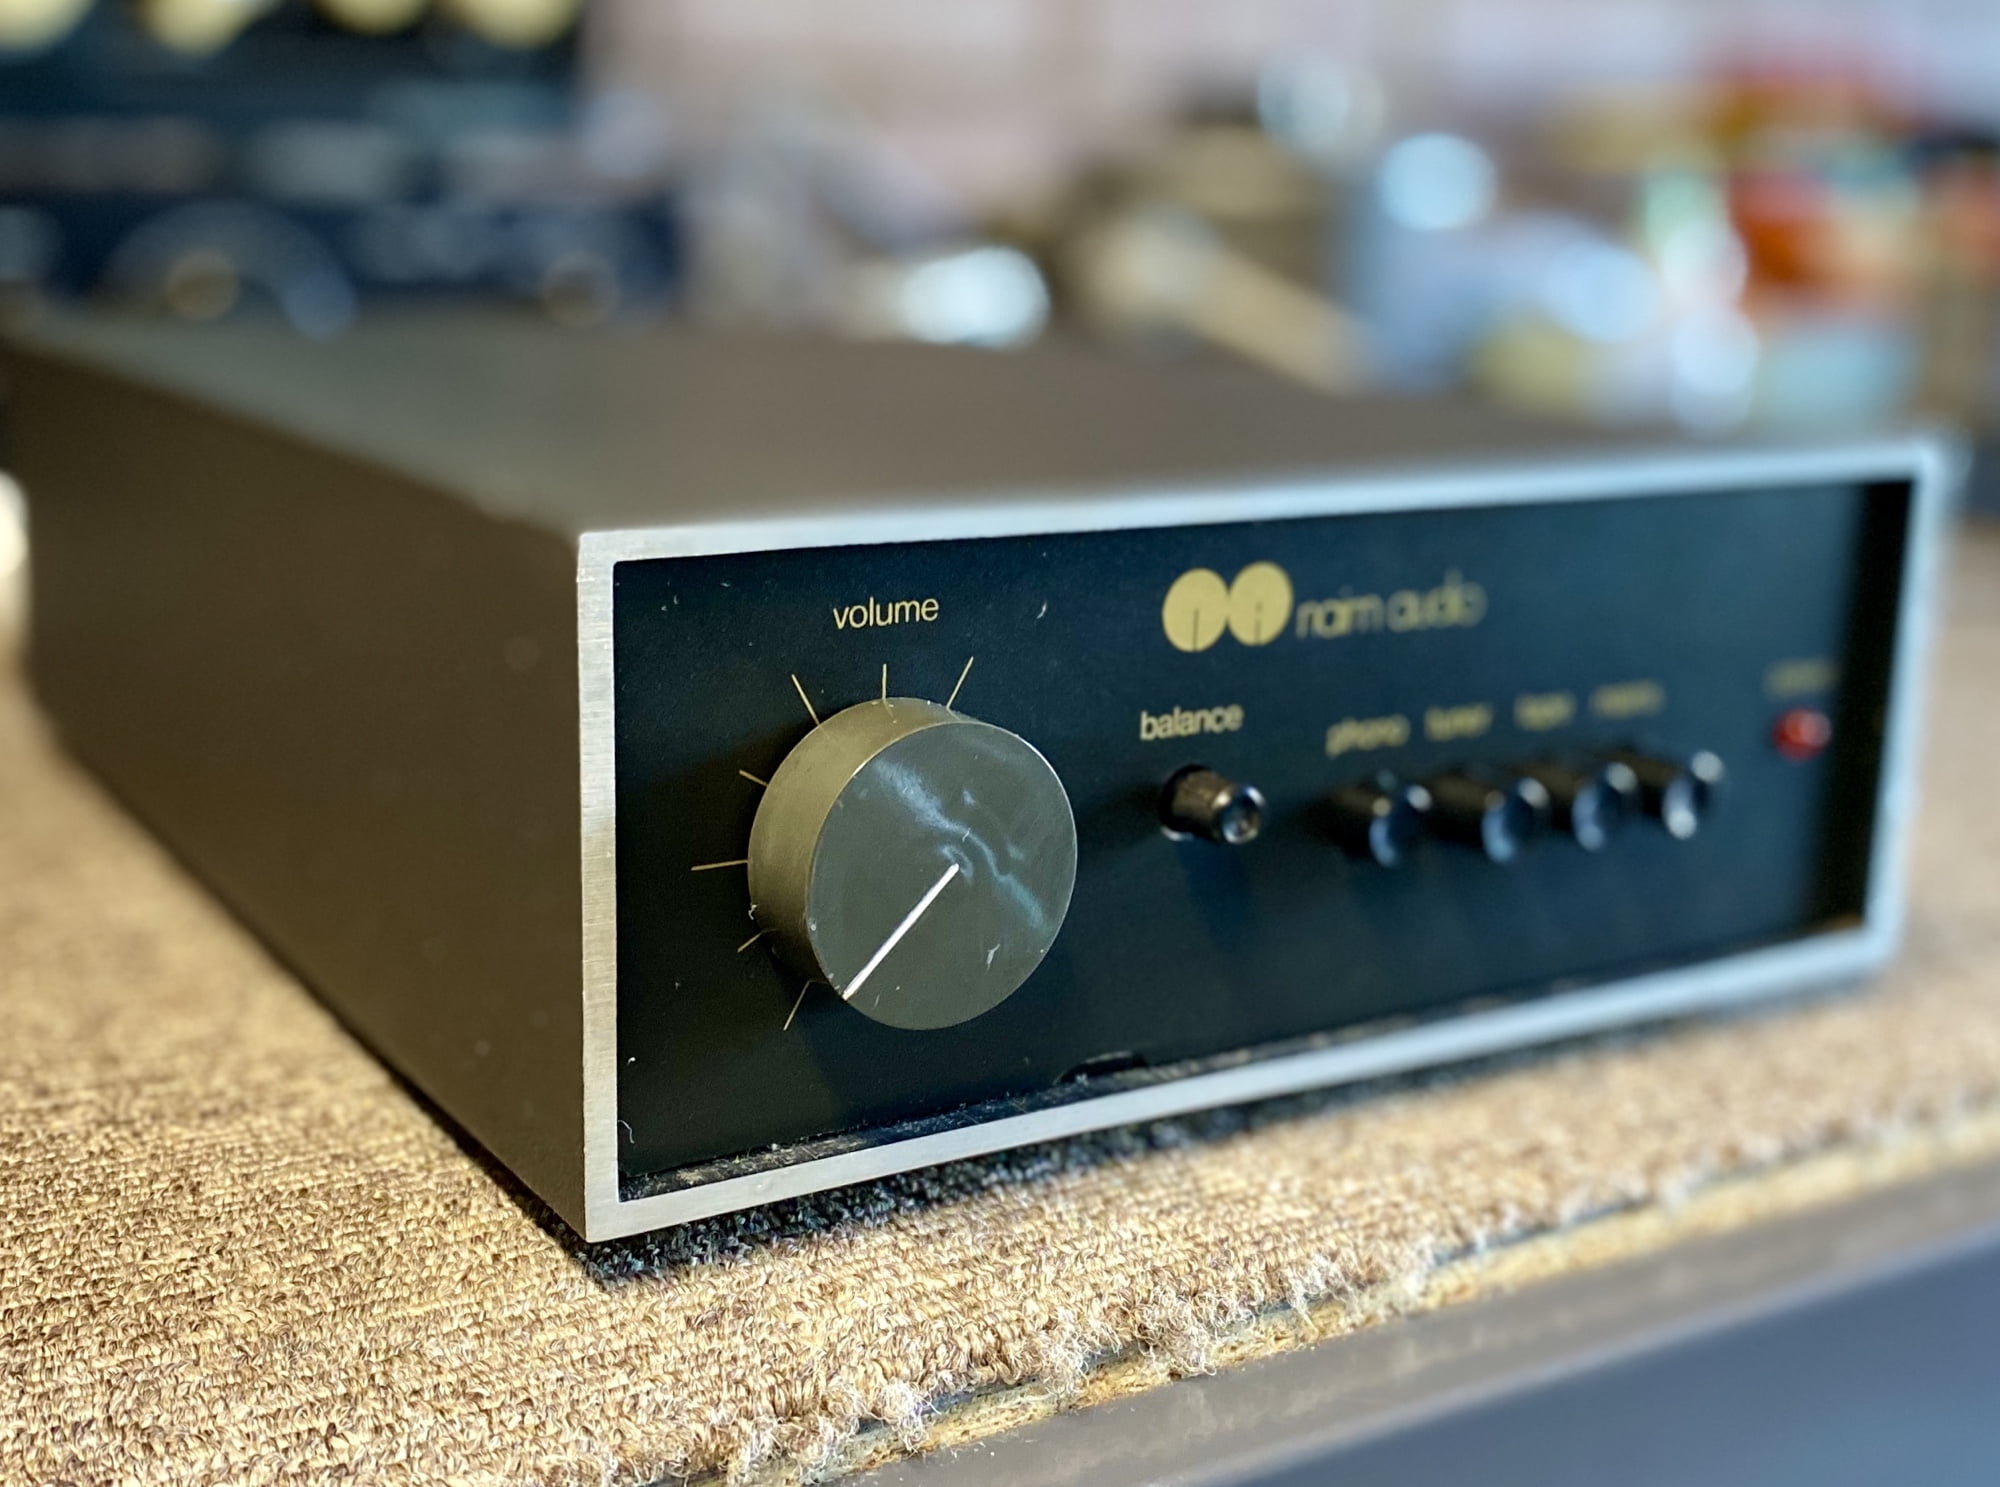
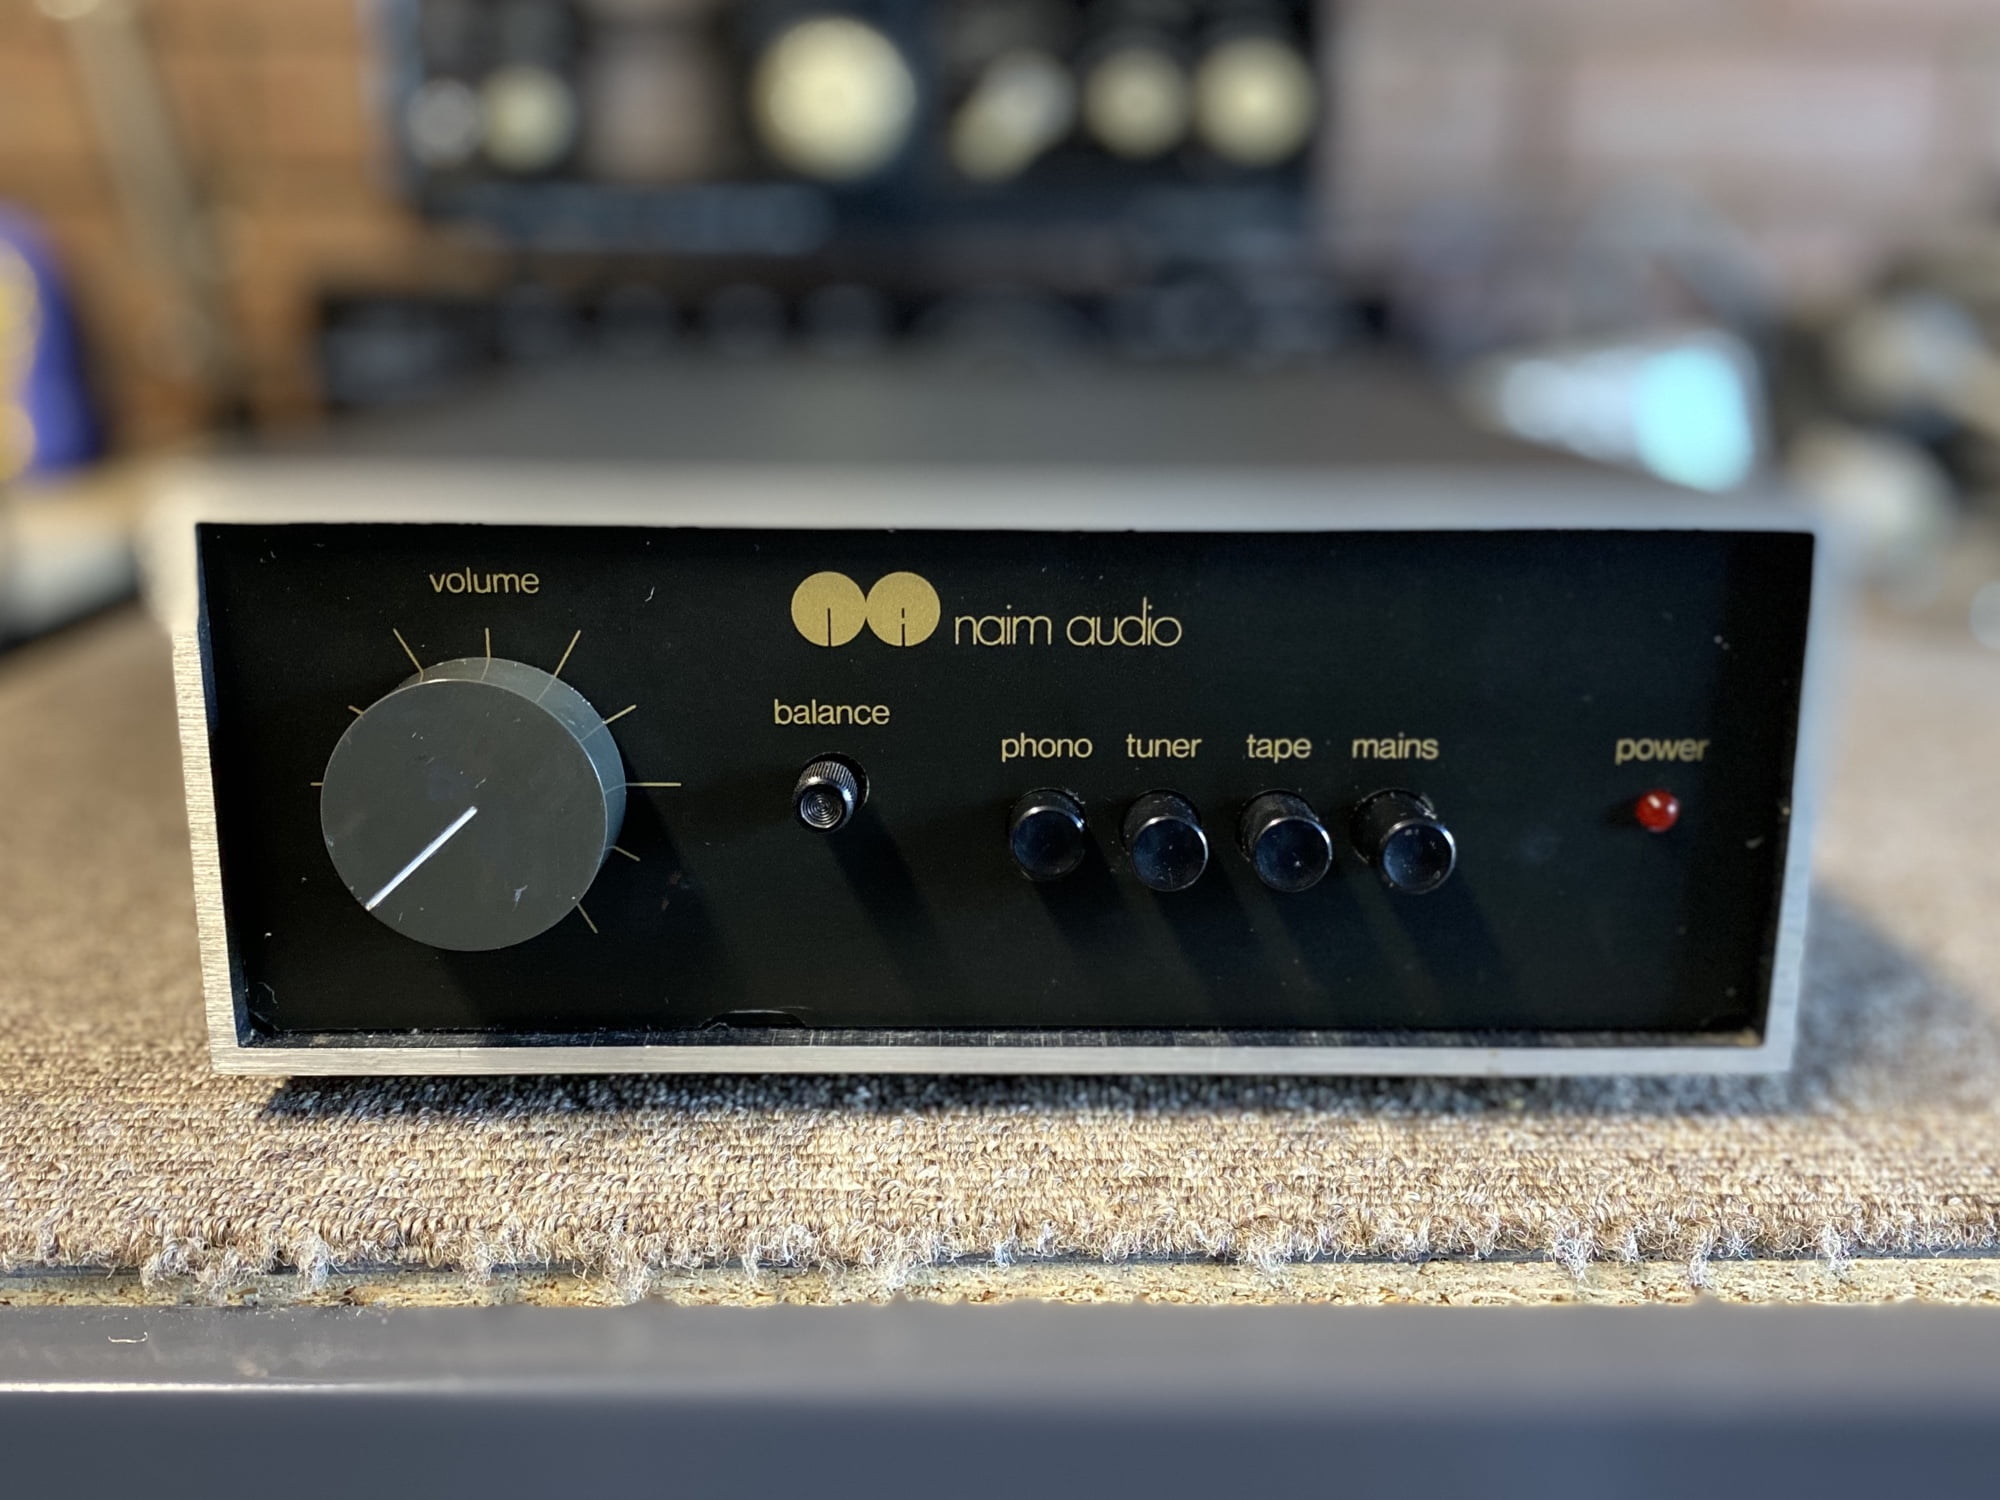
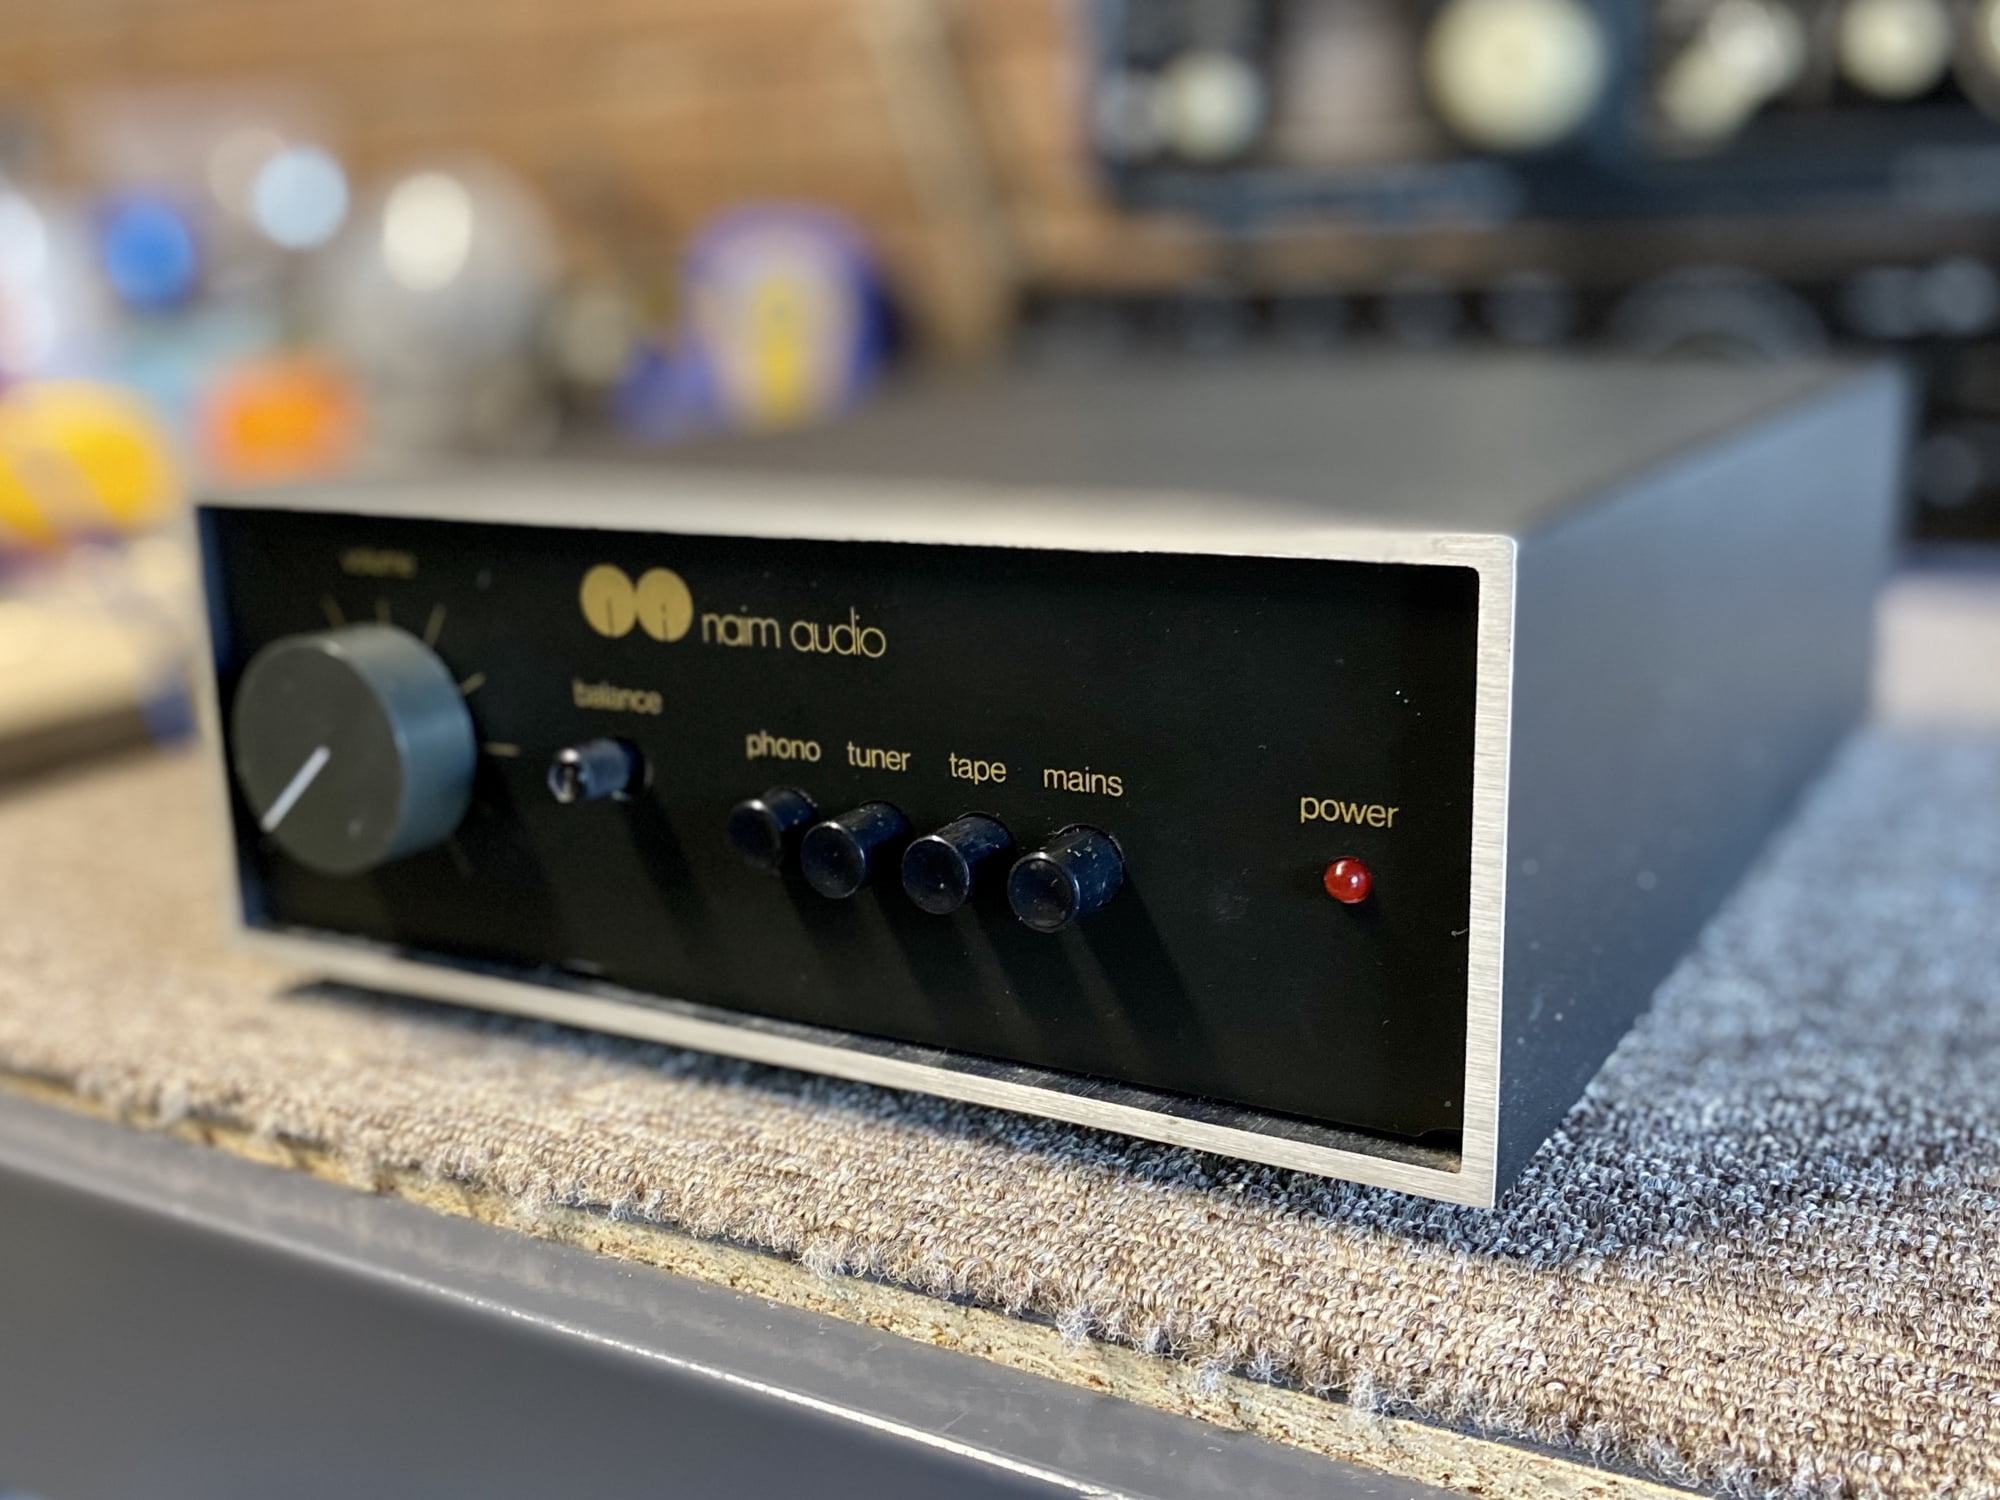
As always, I made the standard electronic adjustments as per factory service data and tested the amplifier with my Yamaha NS-10 studio monitors. After that, some cleaning and reassembly into the lovely metal case. Have a look at how she turned out.
Performance
As I alluded to earlier, this is a modest, low power solid-state amplifier. It’s also a charming, sweet, clean and snappy sounding amplifier. Pair it up with some sensitive speakers and it will have a relatively easy time. That means no less than 89 or 90 dB/Watt, and really, you’ve been warned. It will clip with a tough or less sensitive load and this is always bad.
I drove my workshop Yamaha NS-10s and they sounded great on the end of this little Naim Nait. The baby Yammies are 90dB/Watt, and so right in the range I mentioned. I could get them moderately loud, but dynamics were lacking as one would expect of a 13 Watt amplifier. Still, sonically, this is a sweet combination and the amplifier sounds surprisingly good, very good after overhaul, much better than when she came in.
Could you drive Yamaha NS-1000s with this little Naim Nait? Yes, you certainly could, they also have a roughly 90dB/Watt sensitivity. What you can’t get is gravitas, scale and drama though. You need real power for that, or 98+dB/Watt sensitivity speakers!
Alternatives
This is tricky because it’s hard to find amplifiers with this little power these days. A sensible comparison must be with the current Naim Nait 5si, which sells for $2500. I’d say the newer amplifier is the better option. It’s certainly more powerful, but it lacks a phono preamp and you’ll need to spend $500+ to get something that sounds as nice as the discrete phono stage built into the baby Naim Nait. A secondhand Naim Nait for $500 is looking pretty good I reckon.
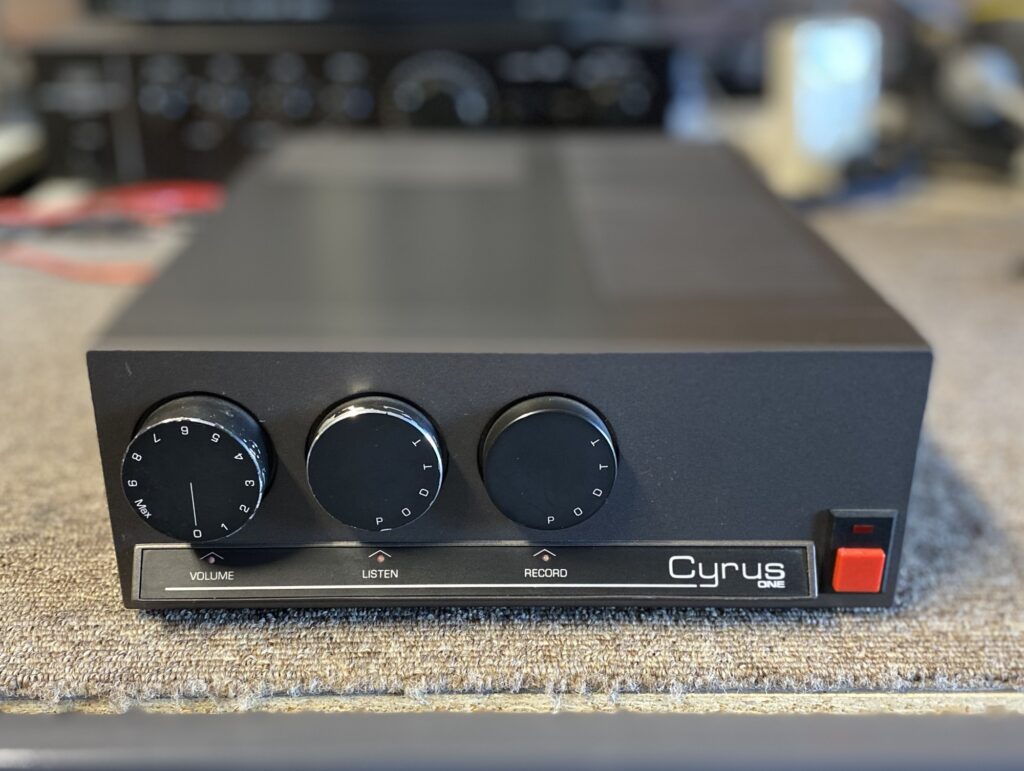
What the Nait does compare to is some of the earlier Cyrus amplifiers. How about we look at one of those next?
You could instead go for a modern Audiolab or Cyrus, but honestly, I wouldn’t bother. The Naim Nait 5si, or this original Naim Nait are the real deal. I reckon that for the money you can find these for on the secondhand market, they are a solid option, with that power/speaker caveat in mind. If you have sensitive speakers, the diminutive Naim Nait is a great option for a smaller system.
As always, thanks for reading and please don’t hesitate to let me know if you’d like me to look at any of your Naim gear.
Discover more from LiQUiD AUDiO
Subscribe to get the latest posts sent to your email.



Wonderful article. Your videos and articles are a terrific resource for people who love hi fi, but don’t know what is good and what is over-hyped and over-priced stuff.
I encourage people to support Mike and his business with a small donation, as I have recently done. He is truly independent and calls it as he sees it, which is difficult to find these days. Hi fi magazines are full of glowing reviews, from brands that also advertise with the magazine. Hard to know if that impacts their reviews or not.
That’s very kind of you Tony, I can’t thank readers like you enough for supporting the business and providing great feedback like this. Really pleased you enjoyed that article, plenty more coming!
“Hear, hear”to Tony’s comment.
Best wishes for your recovery, Mike.
Reading one of your articles always makes my day a better one.
Thanks Robert, much appreciated and really pleased to know people are enjoying the articles. Thanks for your support!
I agree wholeheartedly with Tony.
Spend $10 or $20 to get the best real advice you can find from Mike, and please, stop quoting forum posts as authorities.
Only the guys who actually work, live and breathe this stuff, really know what they are doing.
Trust them: not random strangers, shills and very biased (sometimes blind) owners.
Else you can end up with some very expensive mistakes that for a few dollars sent his way, Mike can save you from.
Thanks Jon, really appreciate the thoughts, feedback and sensible advice there. I look forward to hearing what happens with the B2/C2 scenario!
I am going to print this and take it to my dad’s grave, I know he will really enjoy reading this !!! Thanks for resurrecting his/my Accuphase E202 Mike!! Awesome read!!
Thanks John, that really makes my day. It was a real pleasure meeting you and working on your E-202. Don’t hesitate to let me know if that volume control plays up or if it needs any other TLC.
Loving this post mike, currently I have a full set of naim electronics and speaker from the 80s-90s. My first ever service work is my own naim gear, the nac62 preamp, Hicap power supply and the Nap180 poweramp. It really is simple and easy to work on, even my friends are willing to let me work on their naim gears. If you don’t mind my question, how much bias did you give to that little beast.
Hi Lok, glad you enjoyed the post and are also enjoying working on your Naim gear! My apologies for the delayed reply, I’ve just returned from a short break. You are welcome to request technical assistance via my contact page and we can go from there.
I’ve owned one from new and it’s still going strong
Good to hear Dennis and not surprising as they are generally reliable pieces of gear.