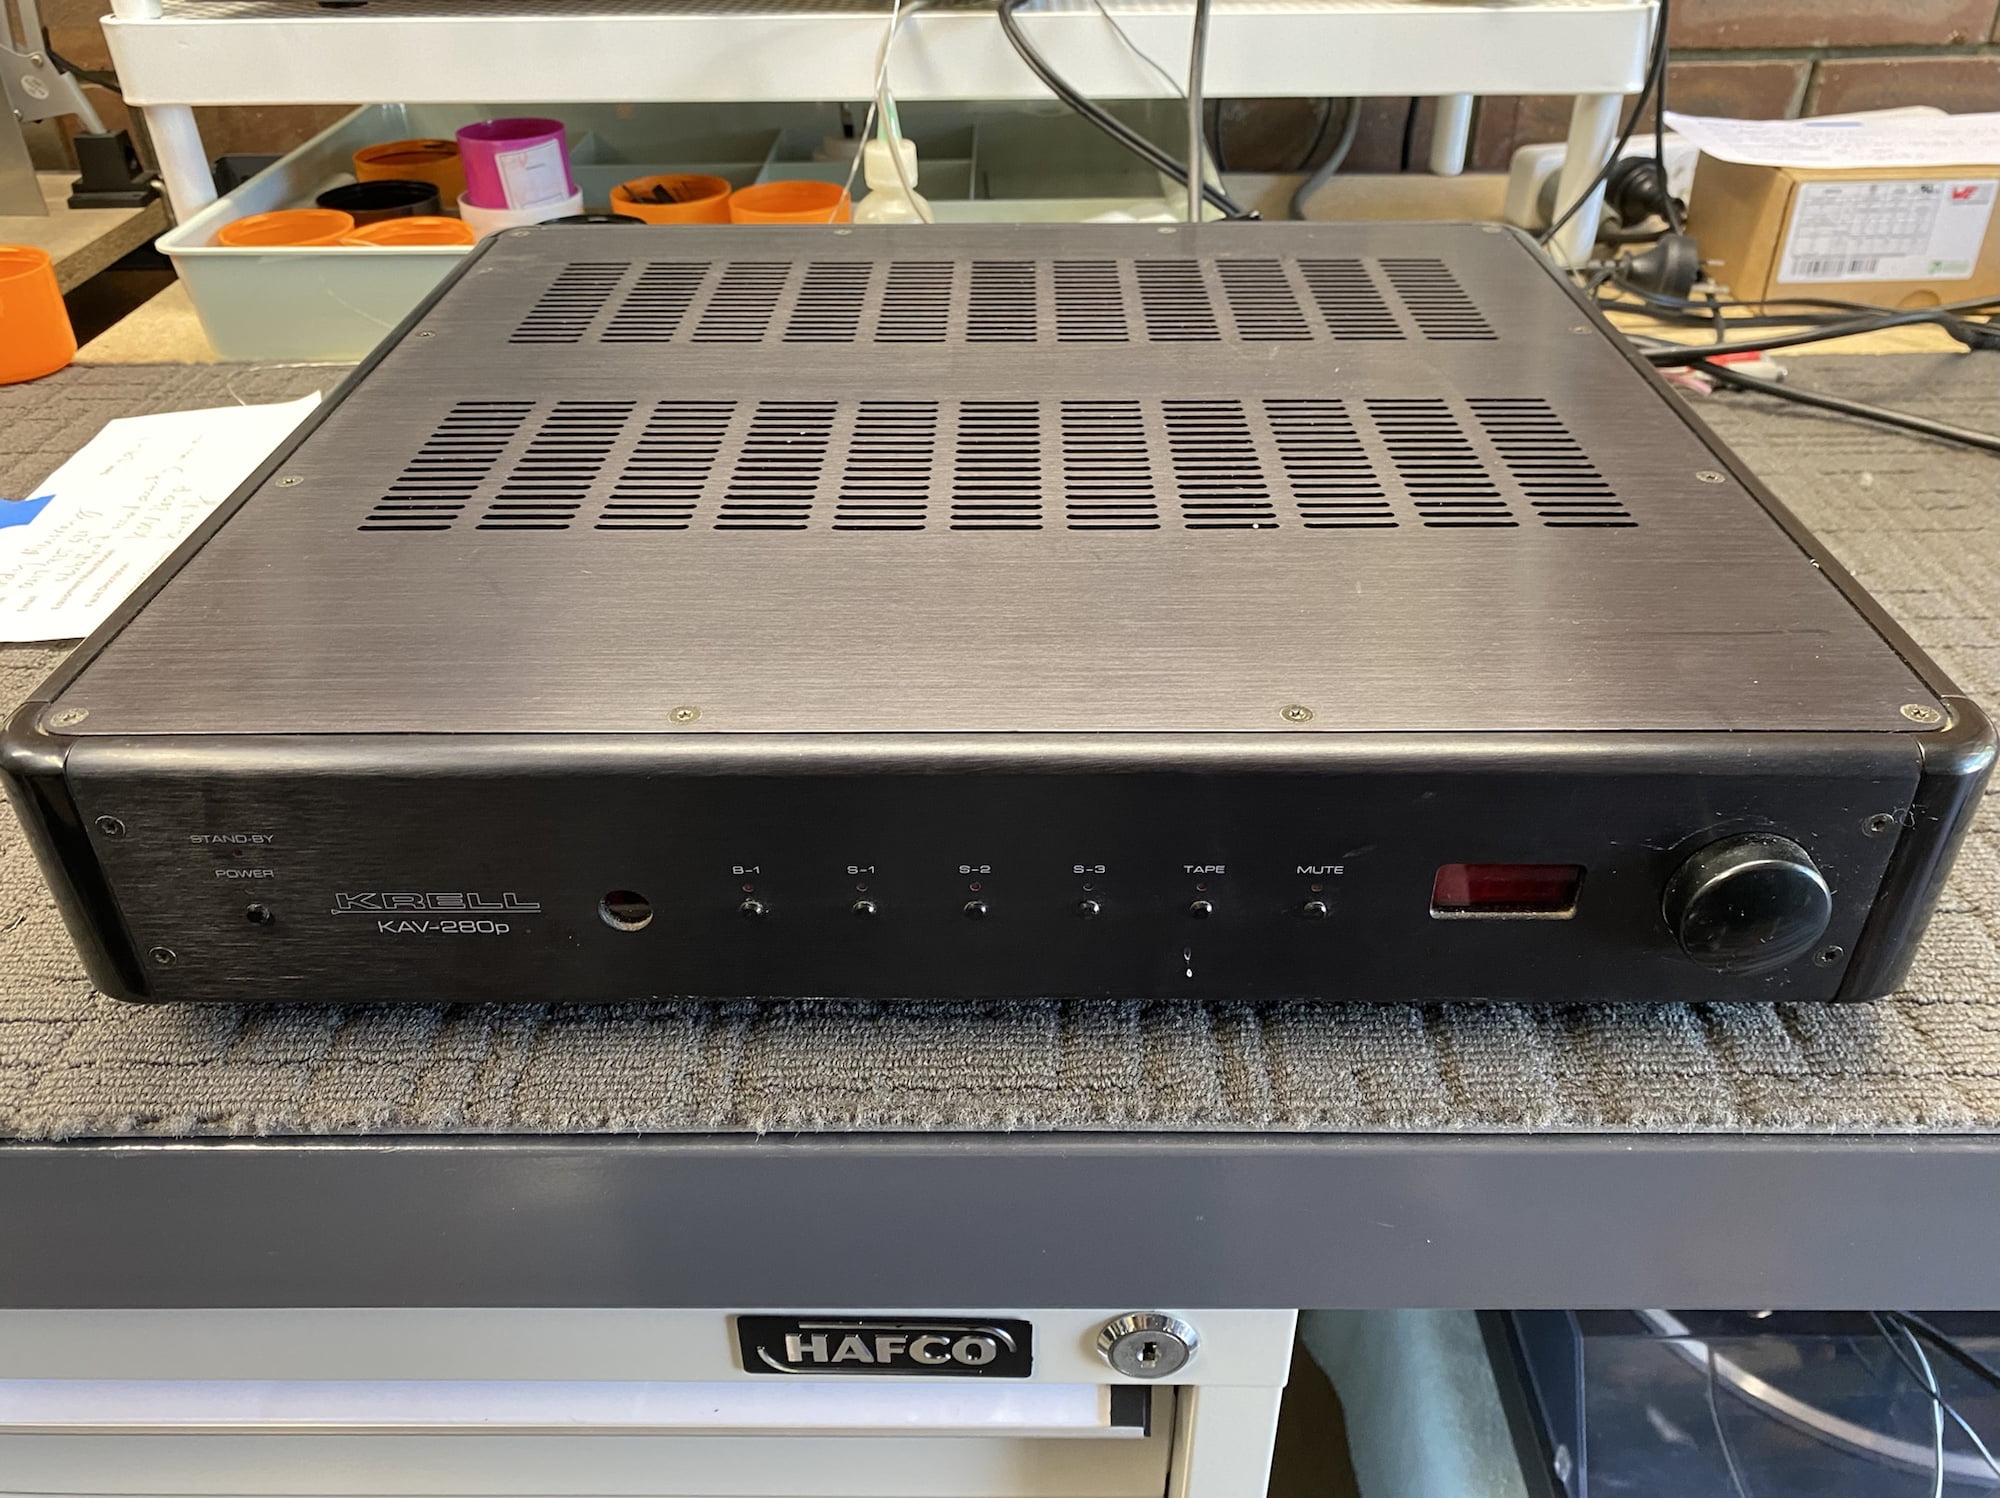
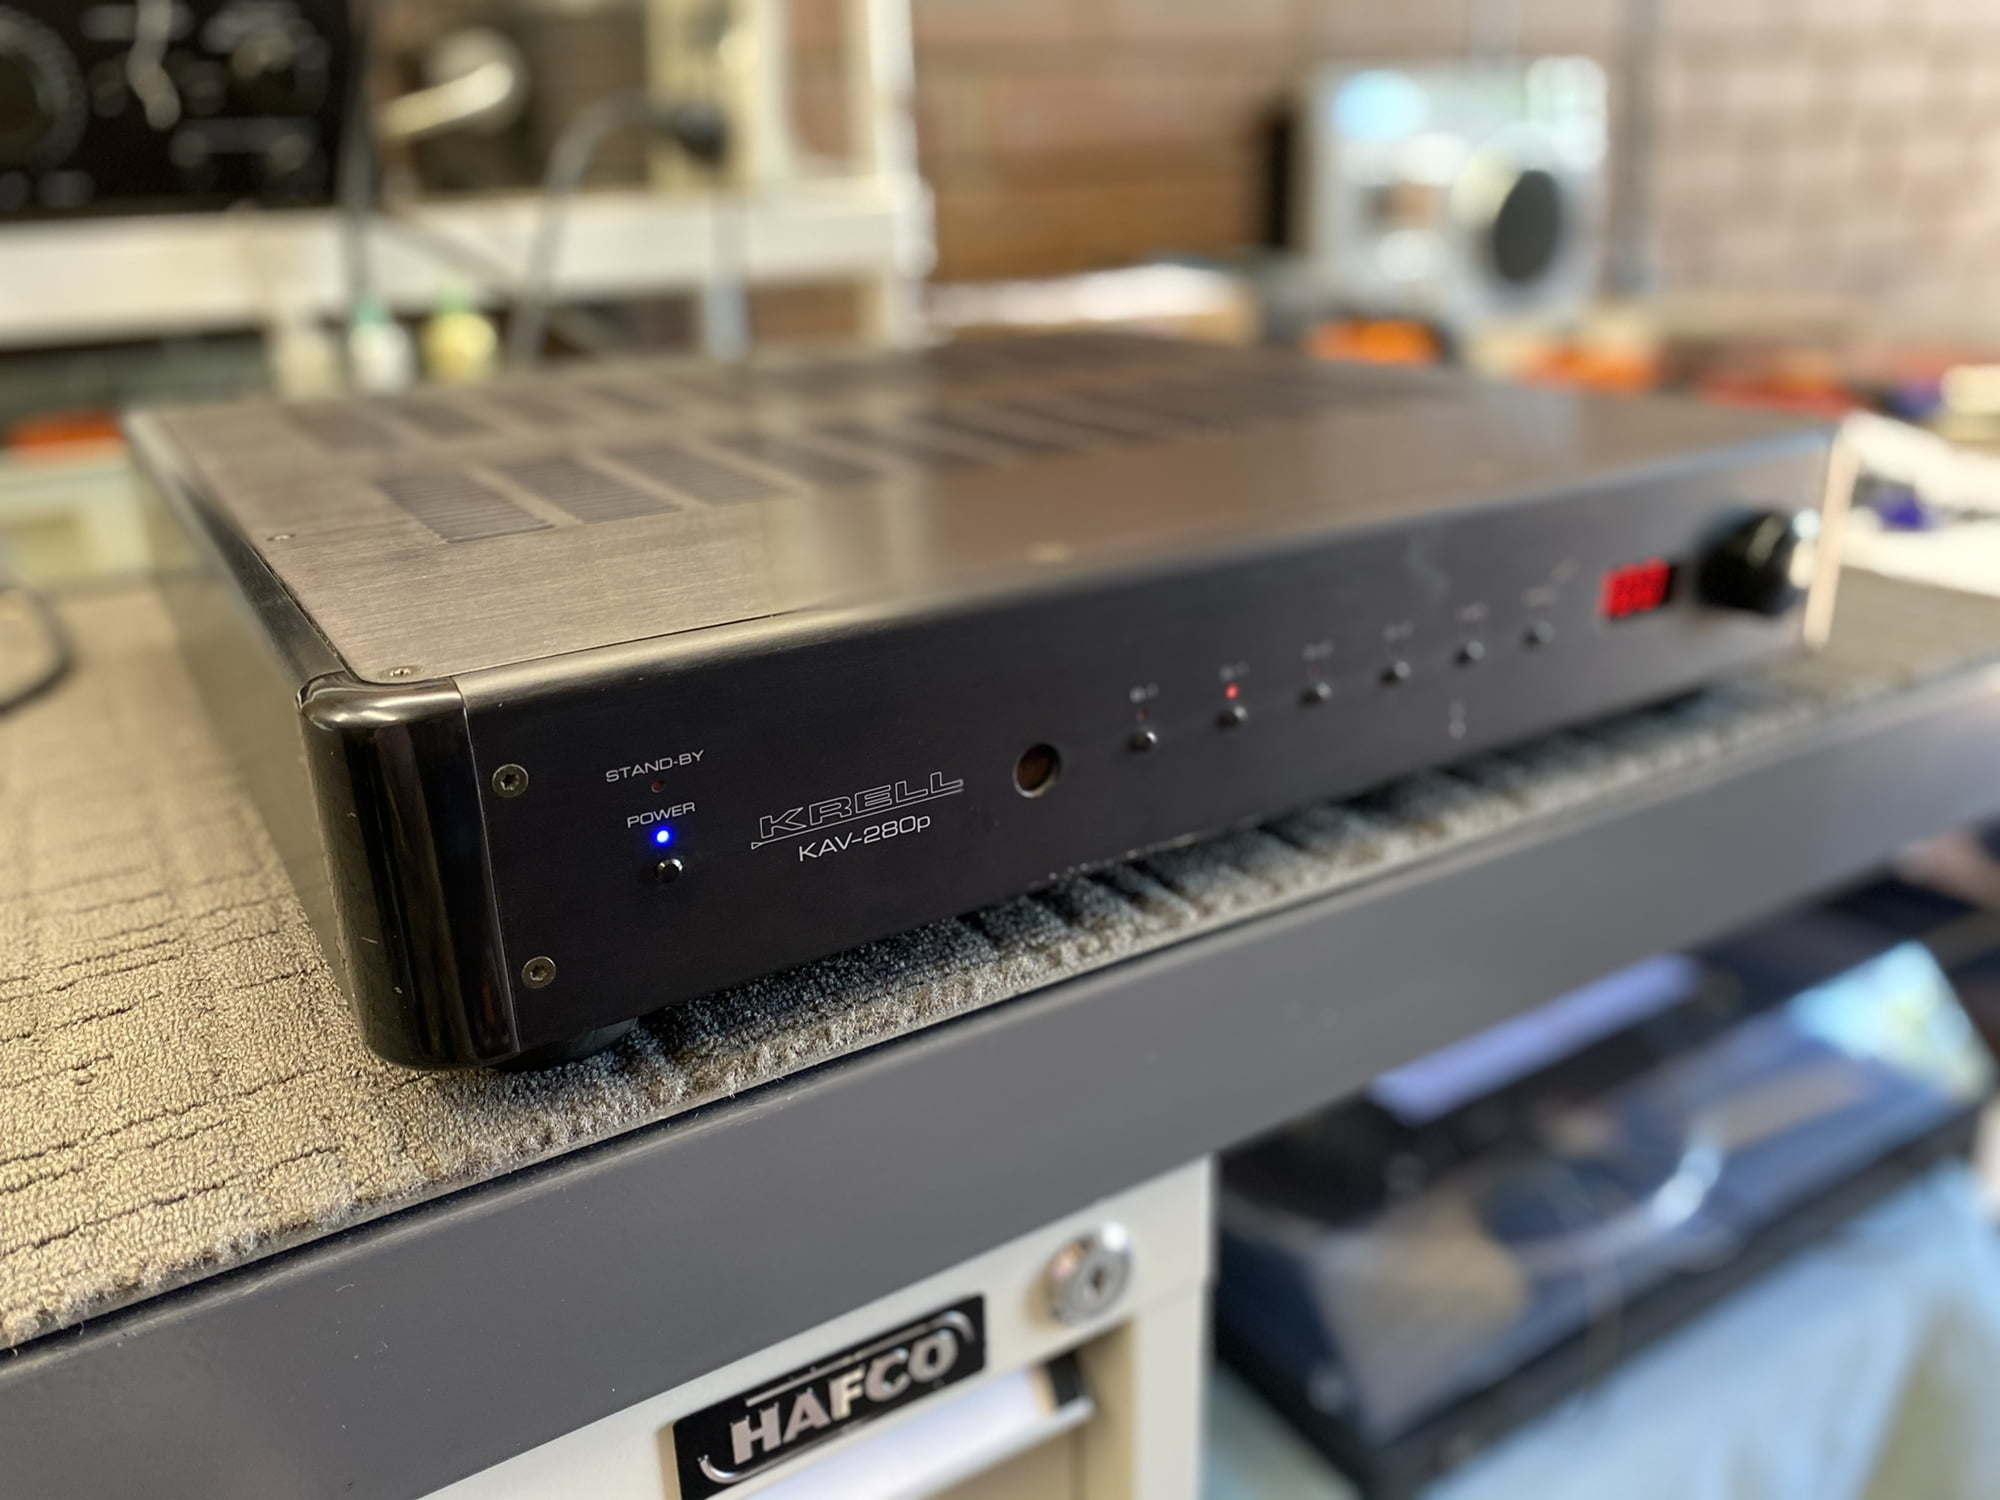
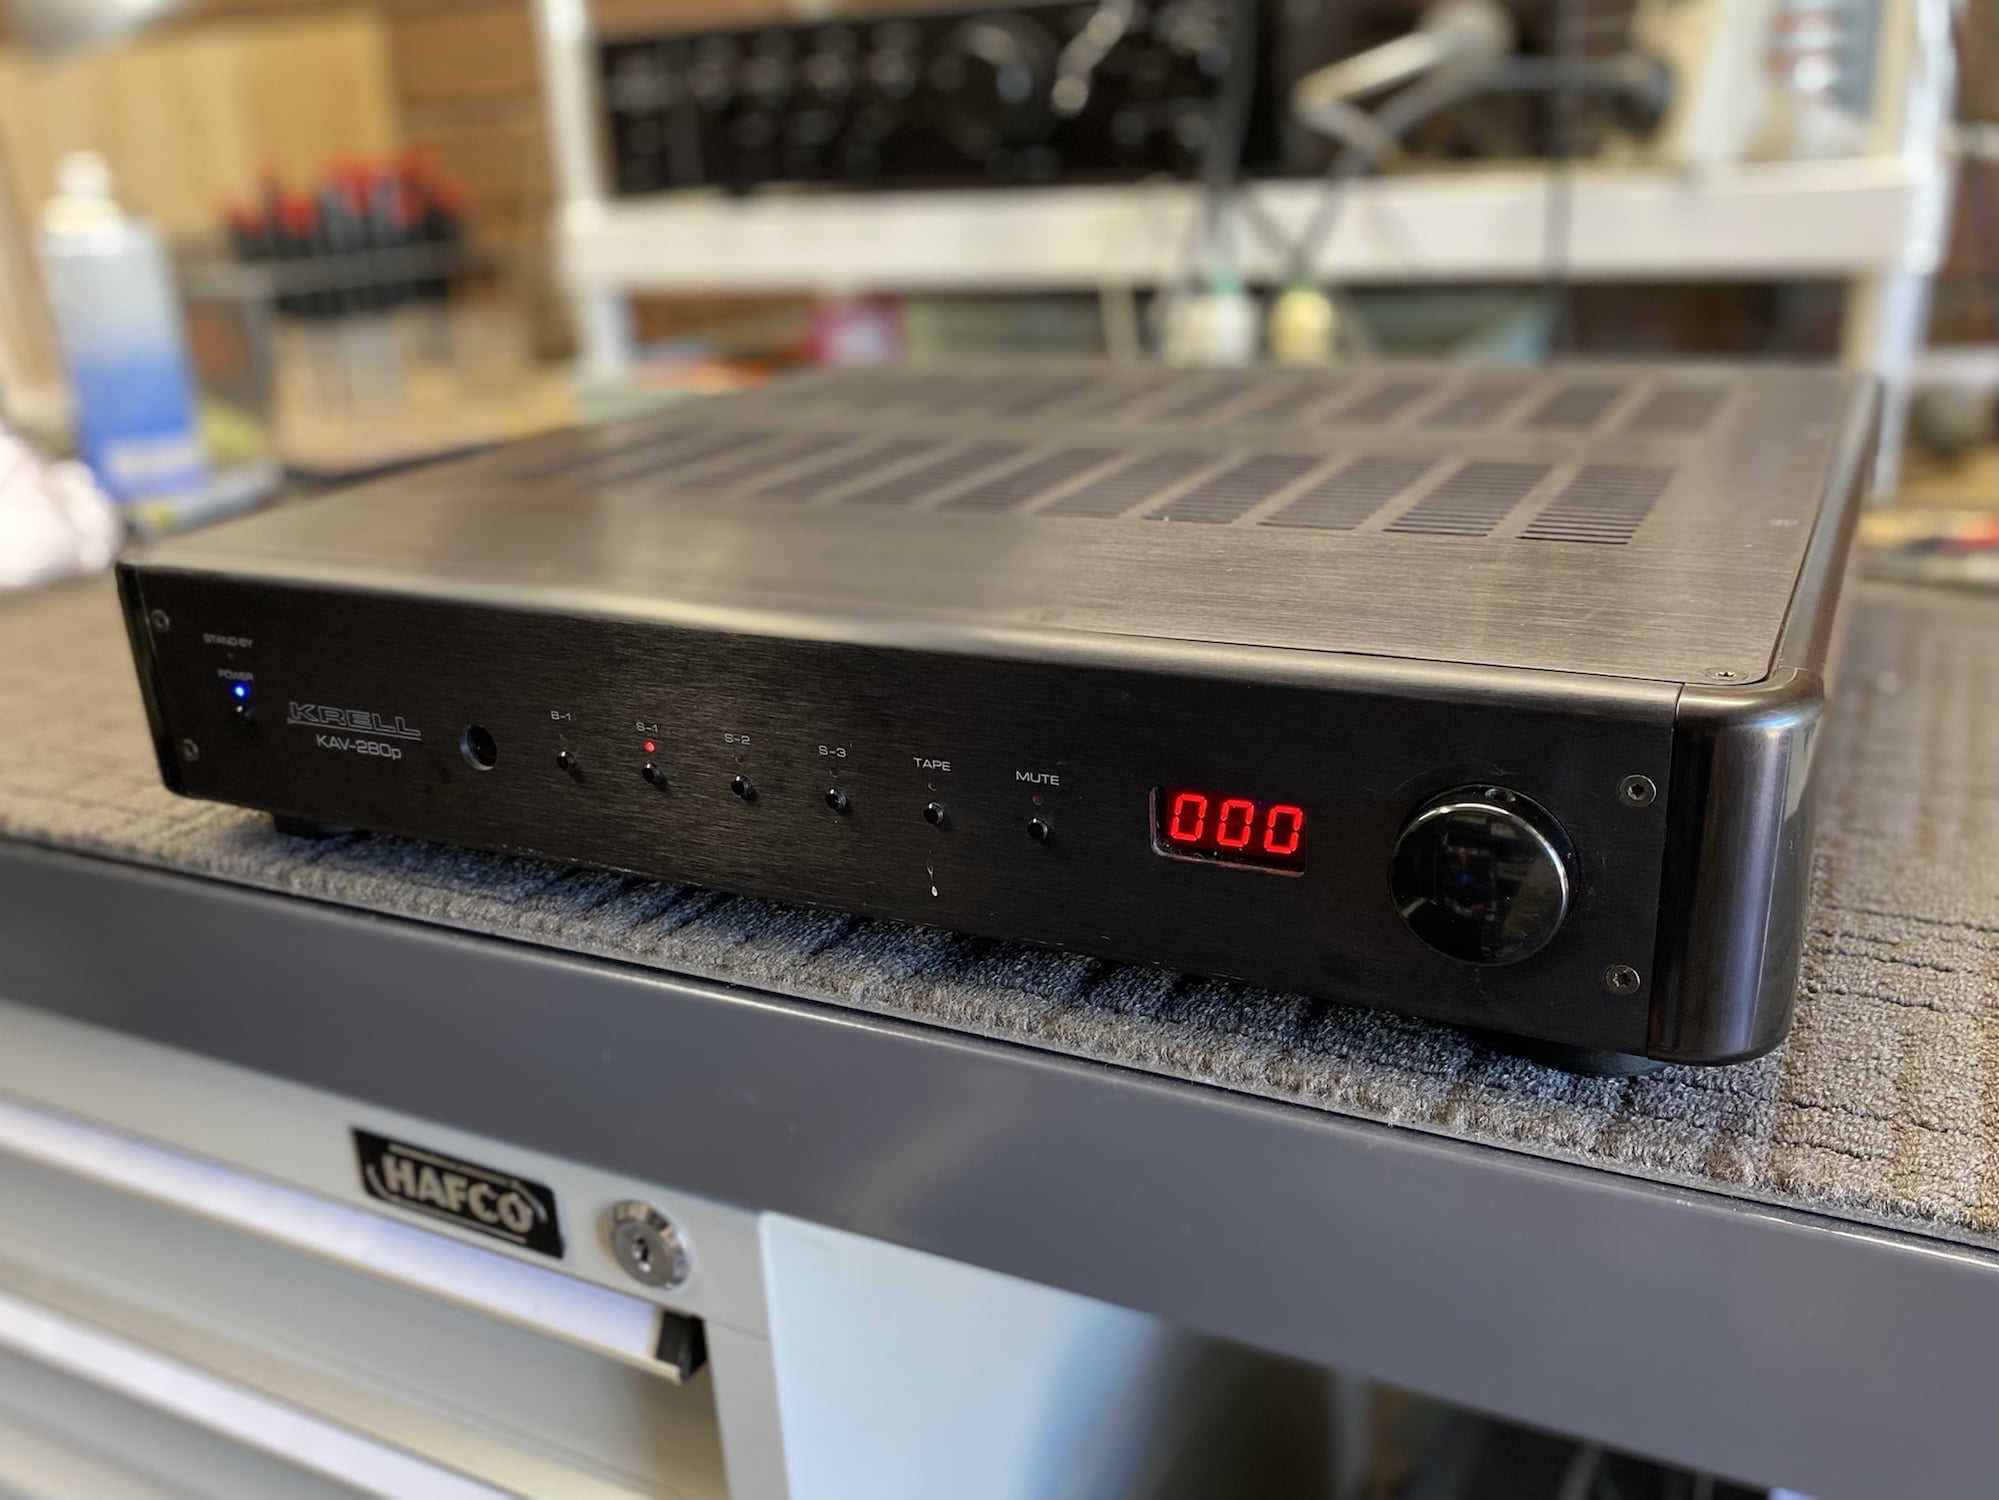
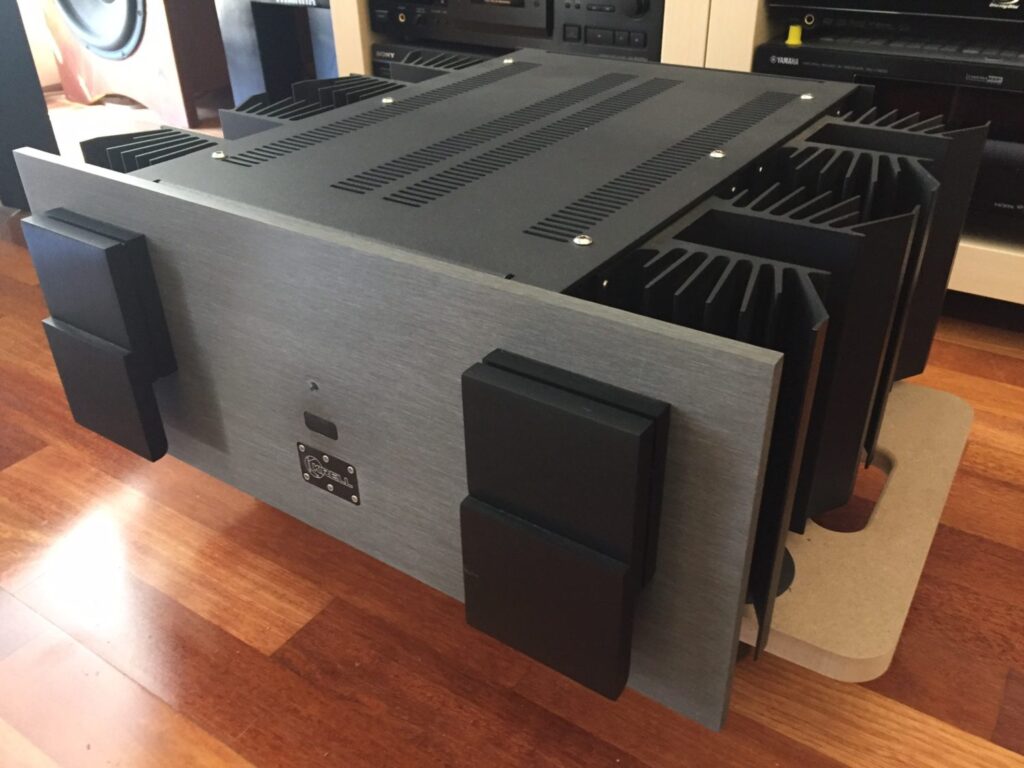
Here’s a nice little repair and overhaul I recently did on a lovely Krell KAV-280p preamplifier. Let’s call this the first article in #Krellmonth!
The modest Krell KAV-280p may not be a high-end preamplifier in Krell terms like the Krell KRC-HR or Krell PAM-7, but what it lacks in tech and high-end parts, it makes up for in solid build quality and the durability that older Krell products are known for. And before you ask, no, I don’t know exactly what #Krellmonth is, but let’s just say I hope to figure that out and write a couple more articles as part of it.
I’ve been so under the pump with customer work that I thought I’d create this relatively brief article on my repair of this lovely little KAV-280p. I chose the KAV-280p because it’s just a good preamp, well-made and unassuming. Because of that, my work on her was relatively straightforward compared to some of the jobs I see here, as is writing about this little beauty.
If you’d like to watch my accompanying video, view it here:
Krell KAV-280p Specifications
FREQUENCY RESPONSE: 20 Hz-20 kHz +0 dB, -0.04 dB; 0.2 Hz-300 kHz +0, -3 dB
SIGNAL TO NOISE RATIO: >98 dB “A” weighted, >90 dB wideband
TOTAL HARMONIC DISTORTION: 20 Hz-20 kHz <0.004%
GAIN: 6.2 dB single-ended output, 12.3 dB balanced output
OUTPUT: 9 Vrms single-ended output, 18 Vrms balanced output
INPUT IMPEDANCE: 43 kOhms single-ended, 86 kOhms balanced
OUTPUT IMPEDANCE: 120 Ohms single-ended, 240 Ohms balanced
POWER CONSUMPTION: 22 W standby, 25W on (wow..!)
INPUTS & OUTPUTS: RCA and XLR
DIMENSIONS: 17.3w x 3.5h x 17.3d in; 43.8w x 8.9h x 43.8d cm
WEIGHT: Shipping 22.0 lb., 10.0 kg; Unit only 16.0 lb., 7.3 kg
Note the impressive specs such as the low output impedance, RCA and XLR connectors, excellent signal-to-noise ratio and wide bandwidth. Also, note the stupidly high standby power consumption figure; more on that shortly.
This isn’t a KRC-HR or PAM-7 as I’ve said, but it’s not trying to be and that’s something I like about it. More can be found about the KAV-280p and its partner KAV-2250 amplifier in this great review from the Absolute Sound.
Issues
This Krell KAV-280p presented with one curious issue. The owner would power it up, and it would mysteriously turn itself off after 15 – 20 minutes, for no apparent reason. The preamp had been looked at by a tech who said there was nothing wrong with it, and it went home and continued doing the same thing.
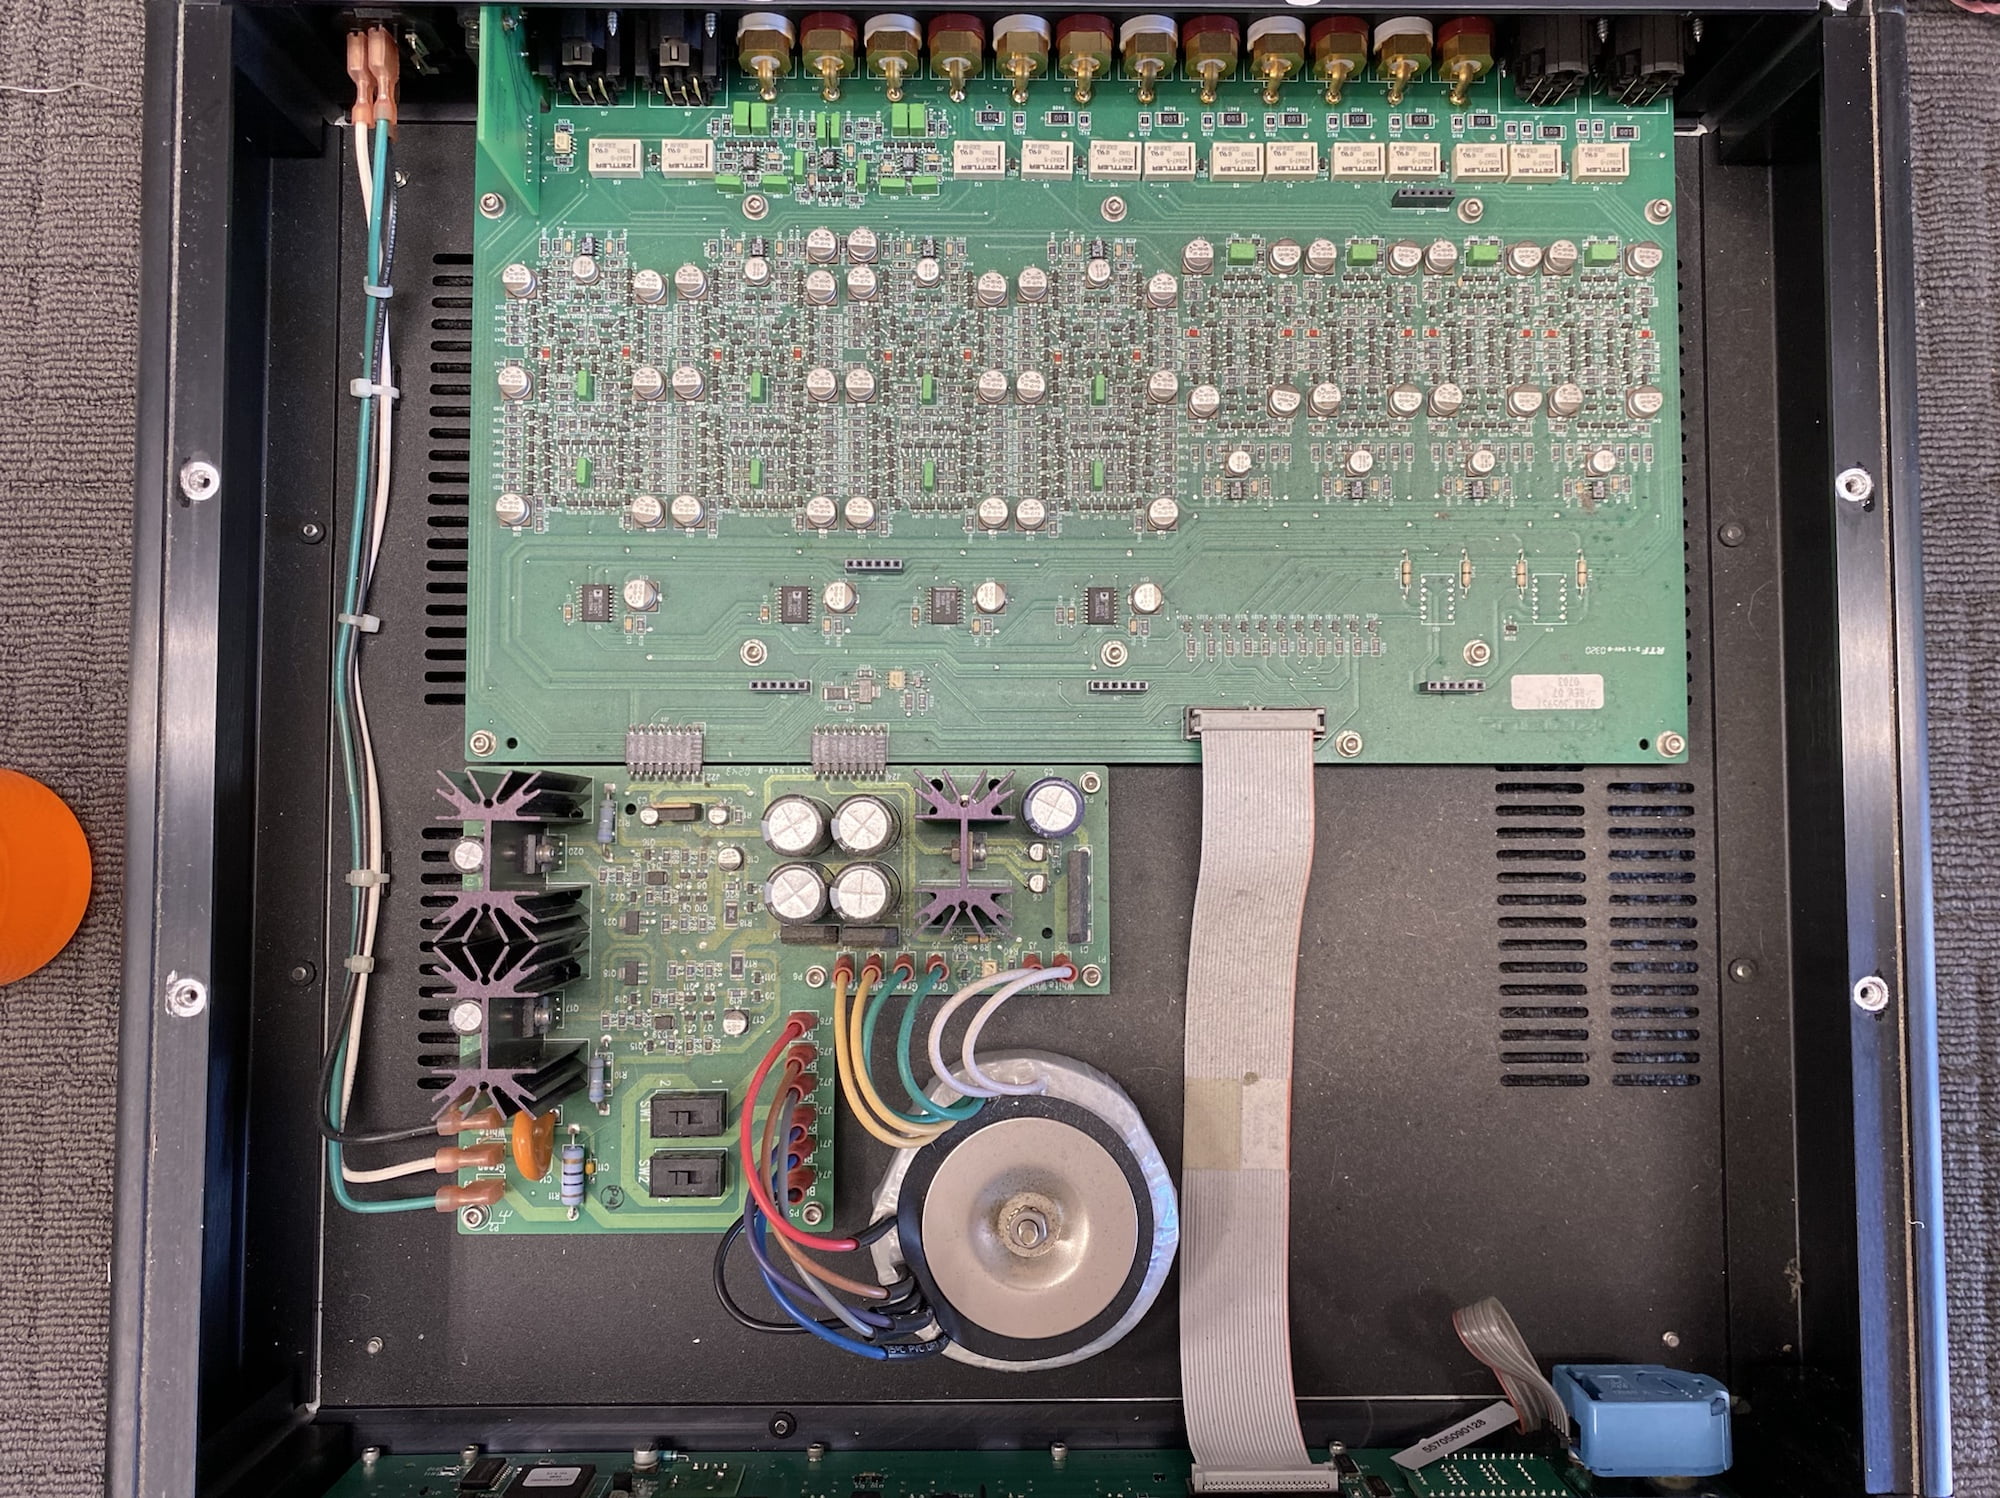
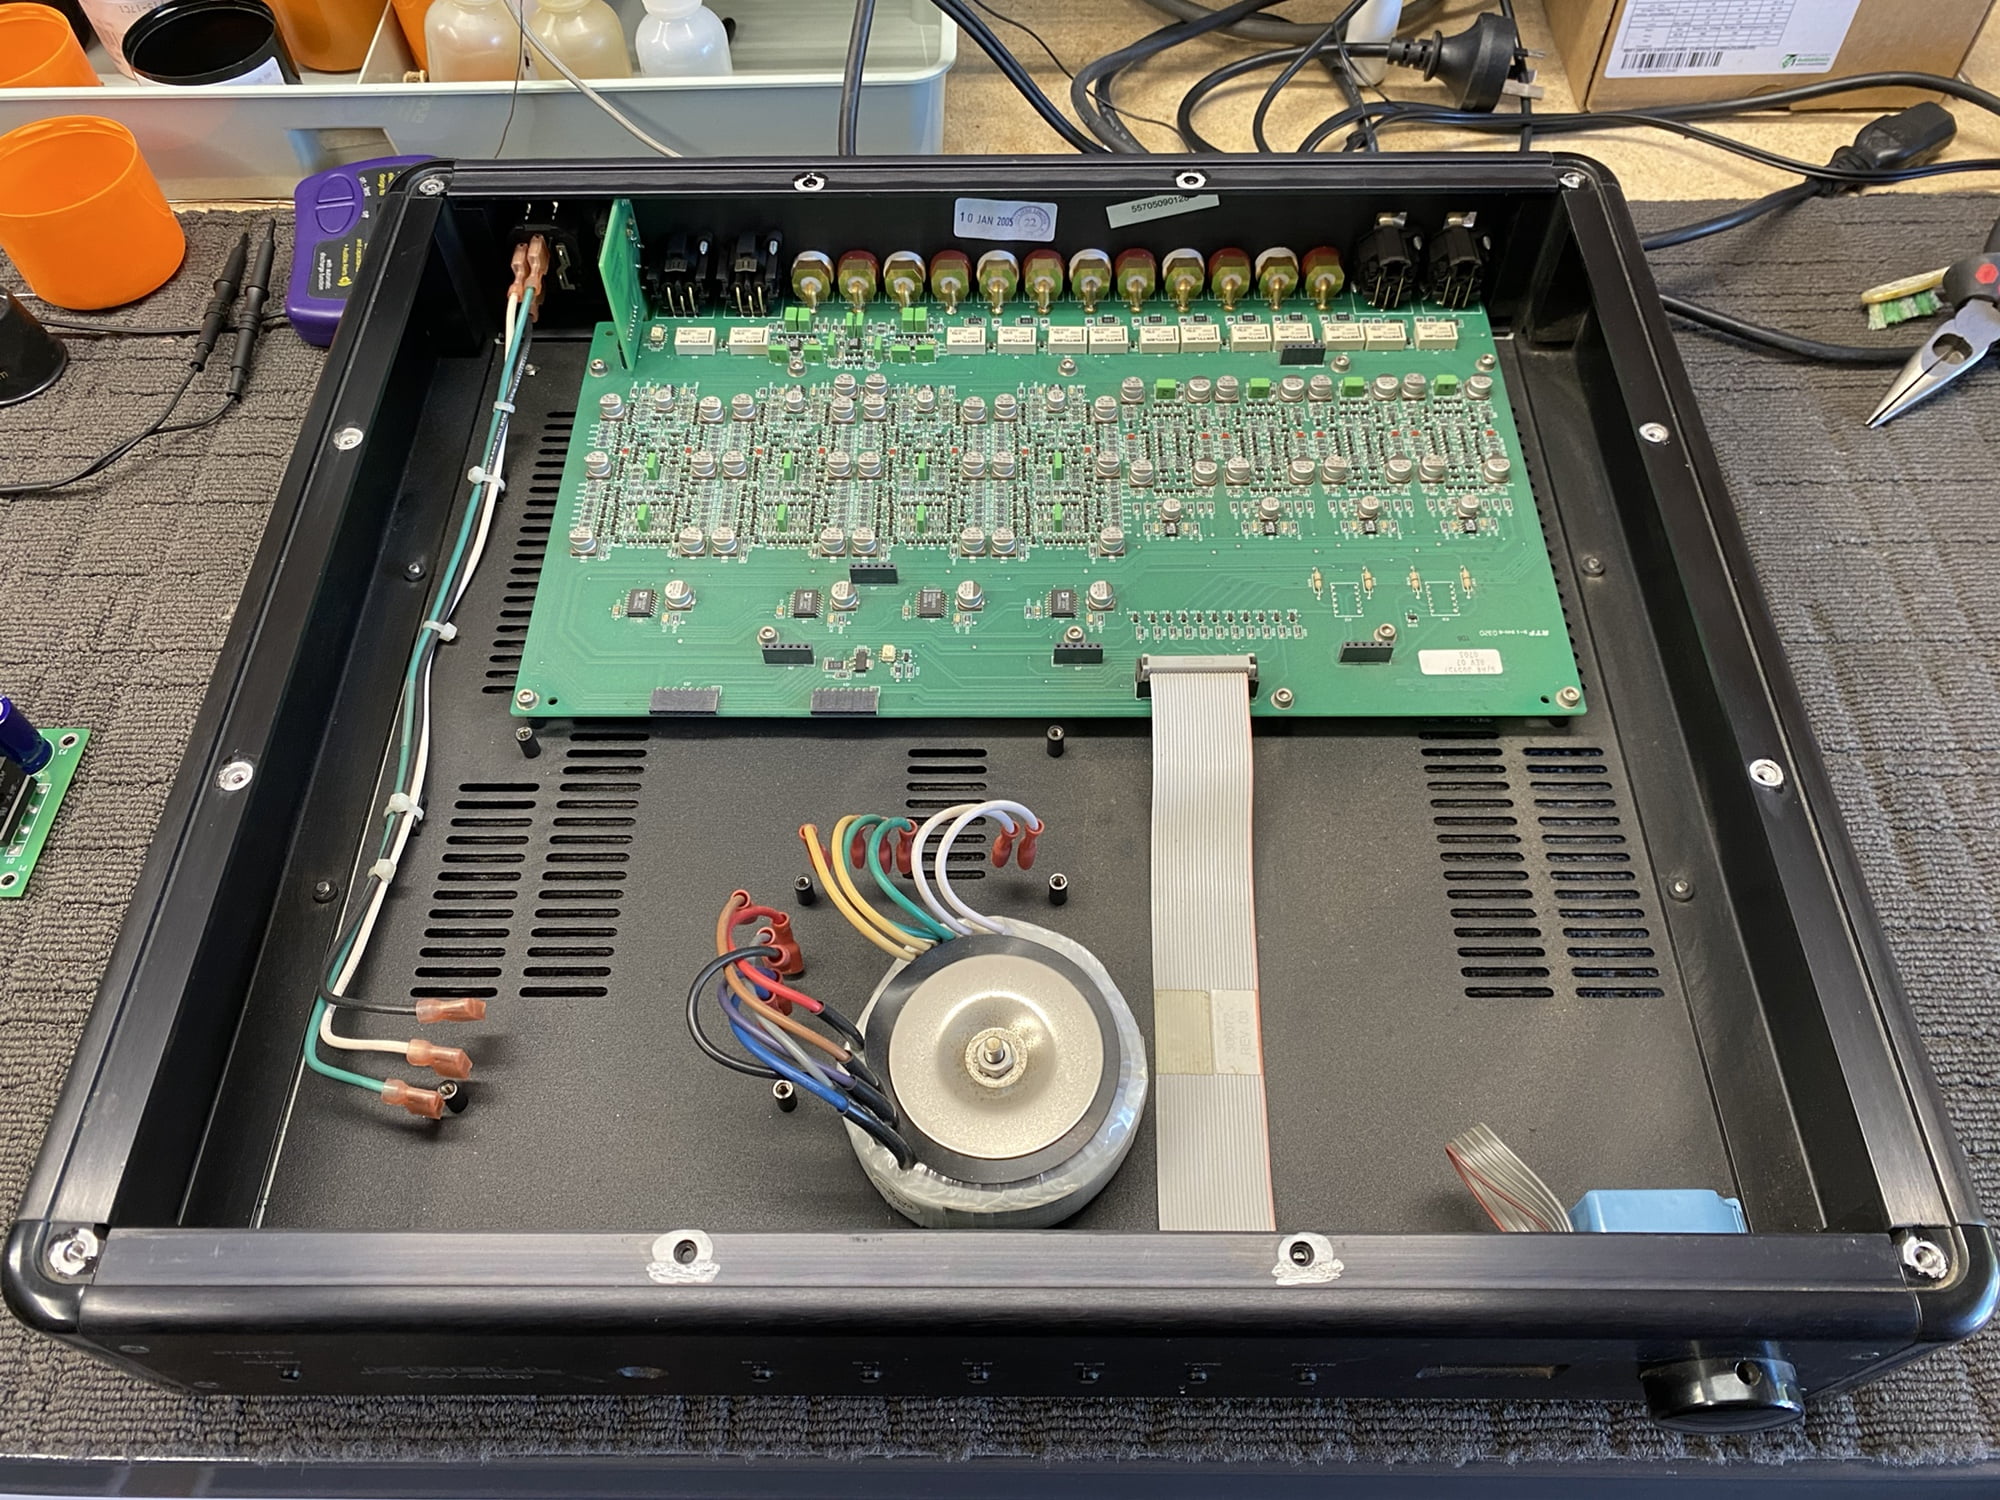
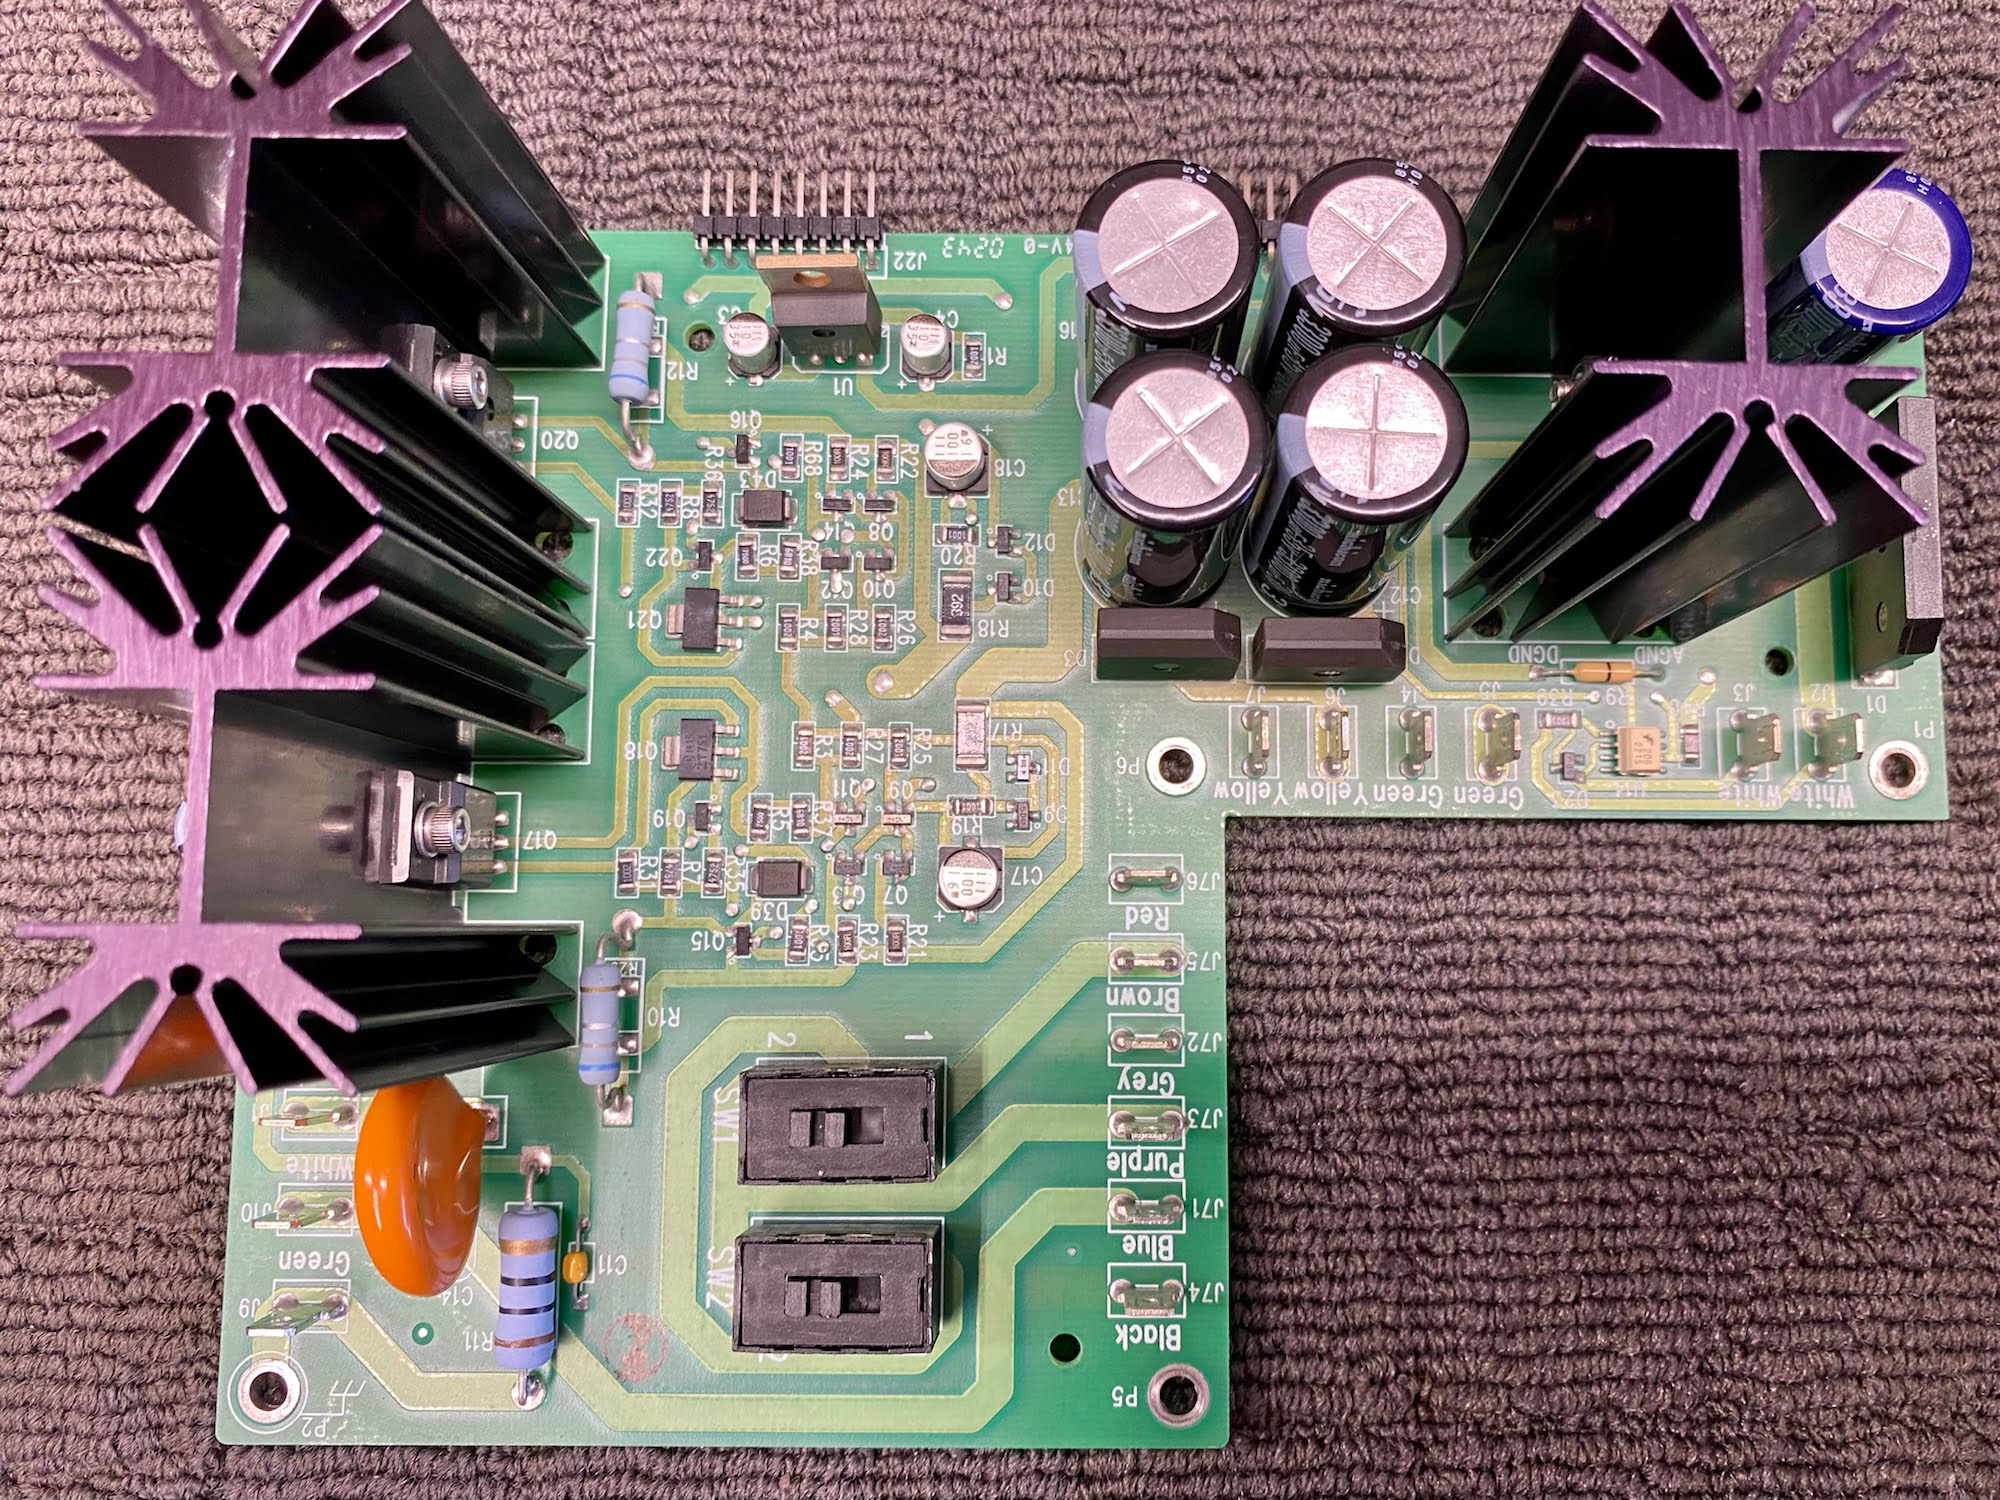
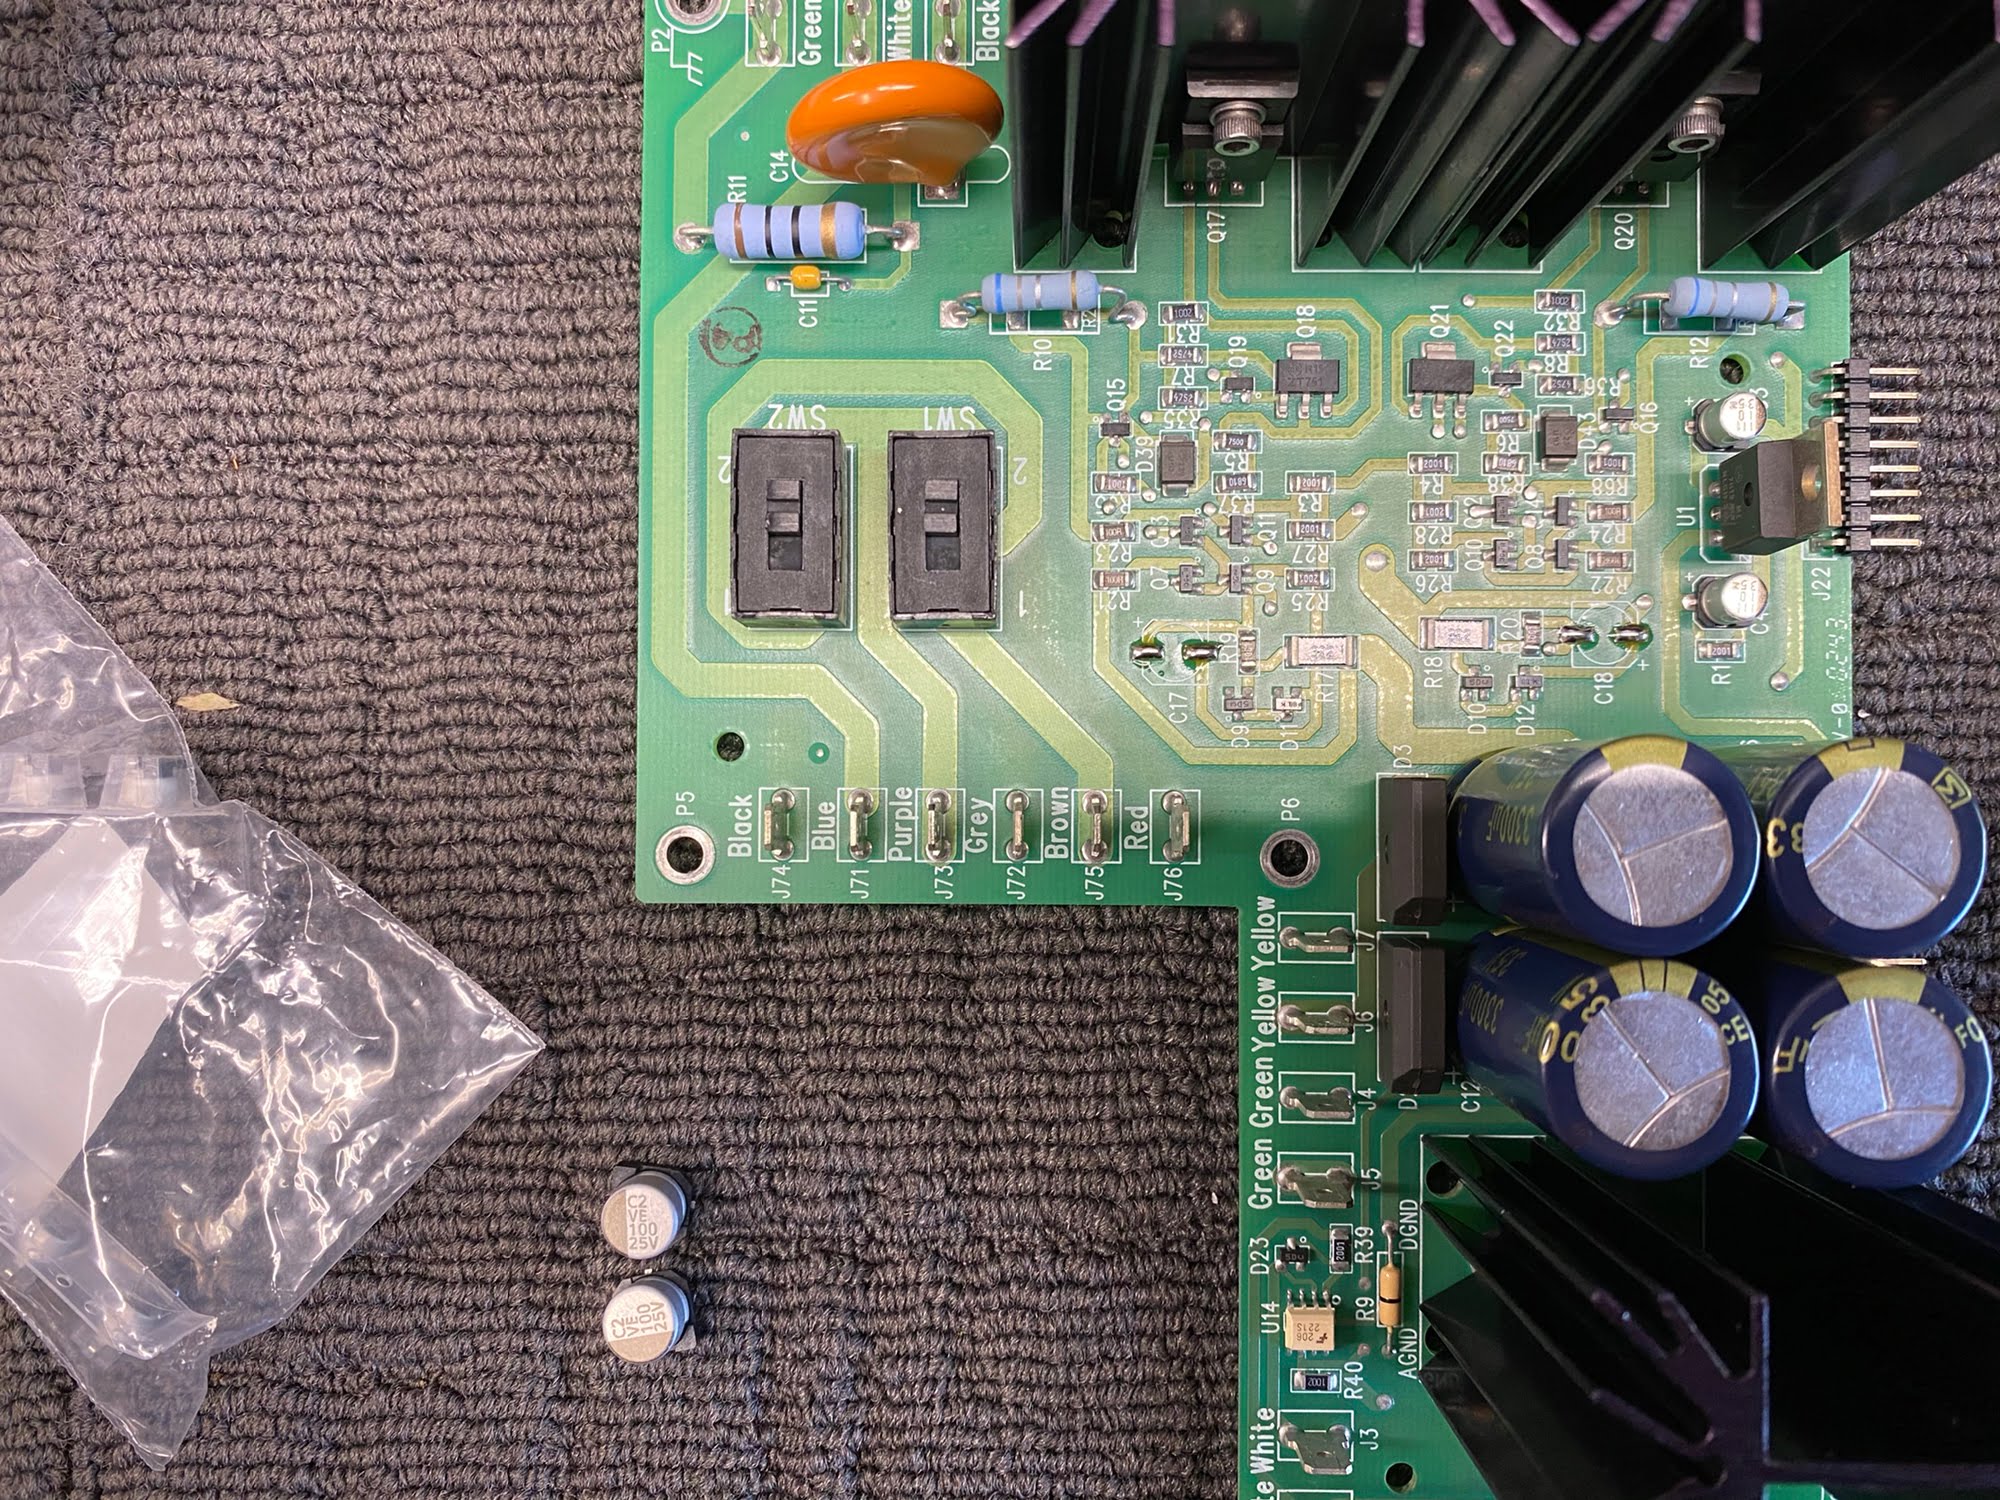
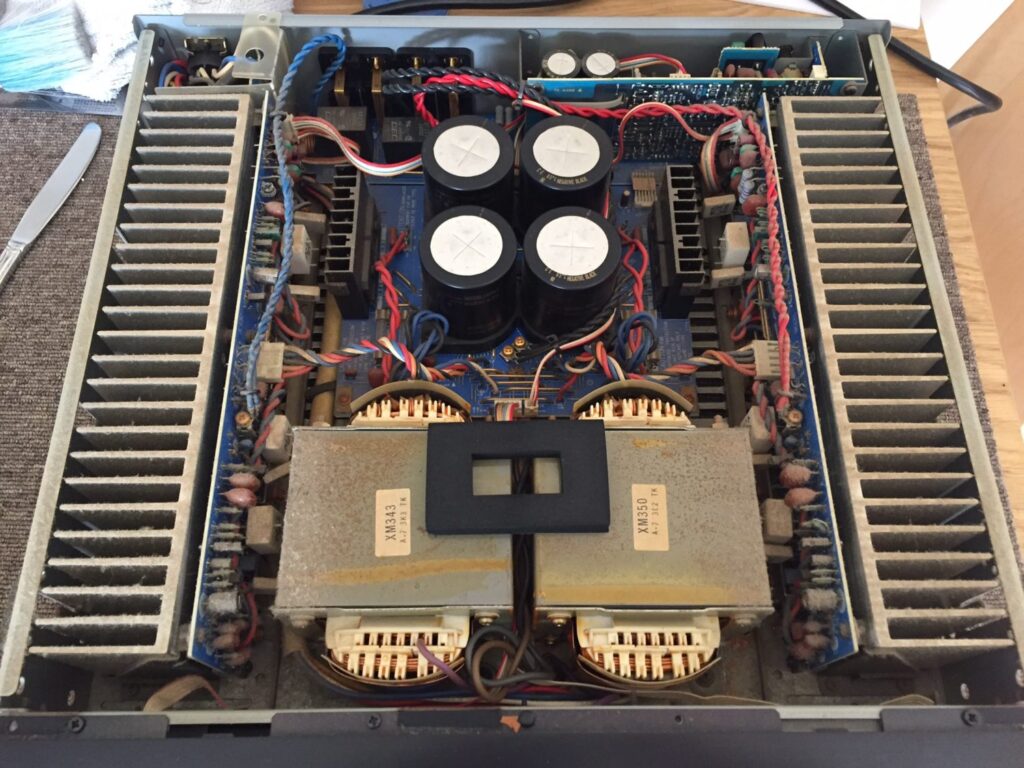
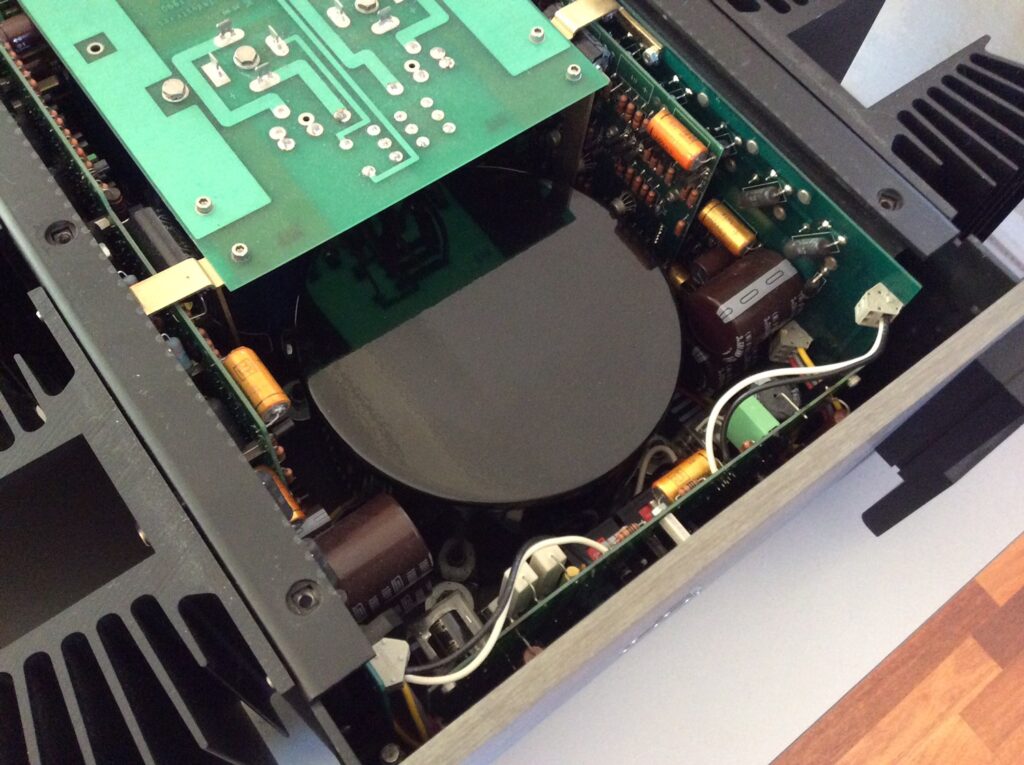
I found a few issues here, the main ones being the deterioration of the early generation surface mount capacitors in the power supply and front panel board, and the resultant need for overhaul and rectification of issues in these areas. Dust and dirt inside the case, corrosion of pin headers and connectors were incidental and also needed attention.
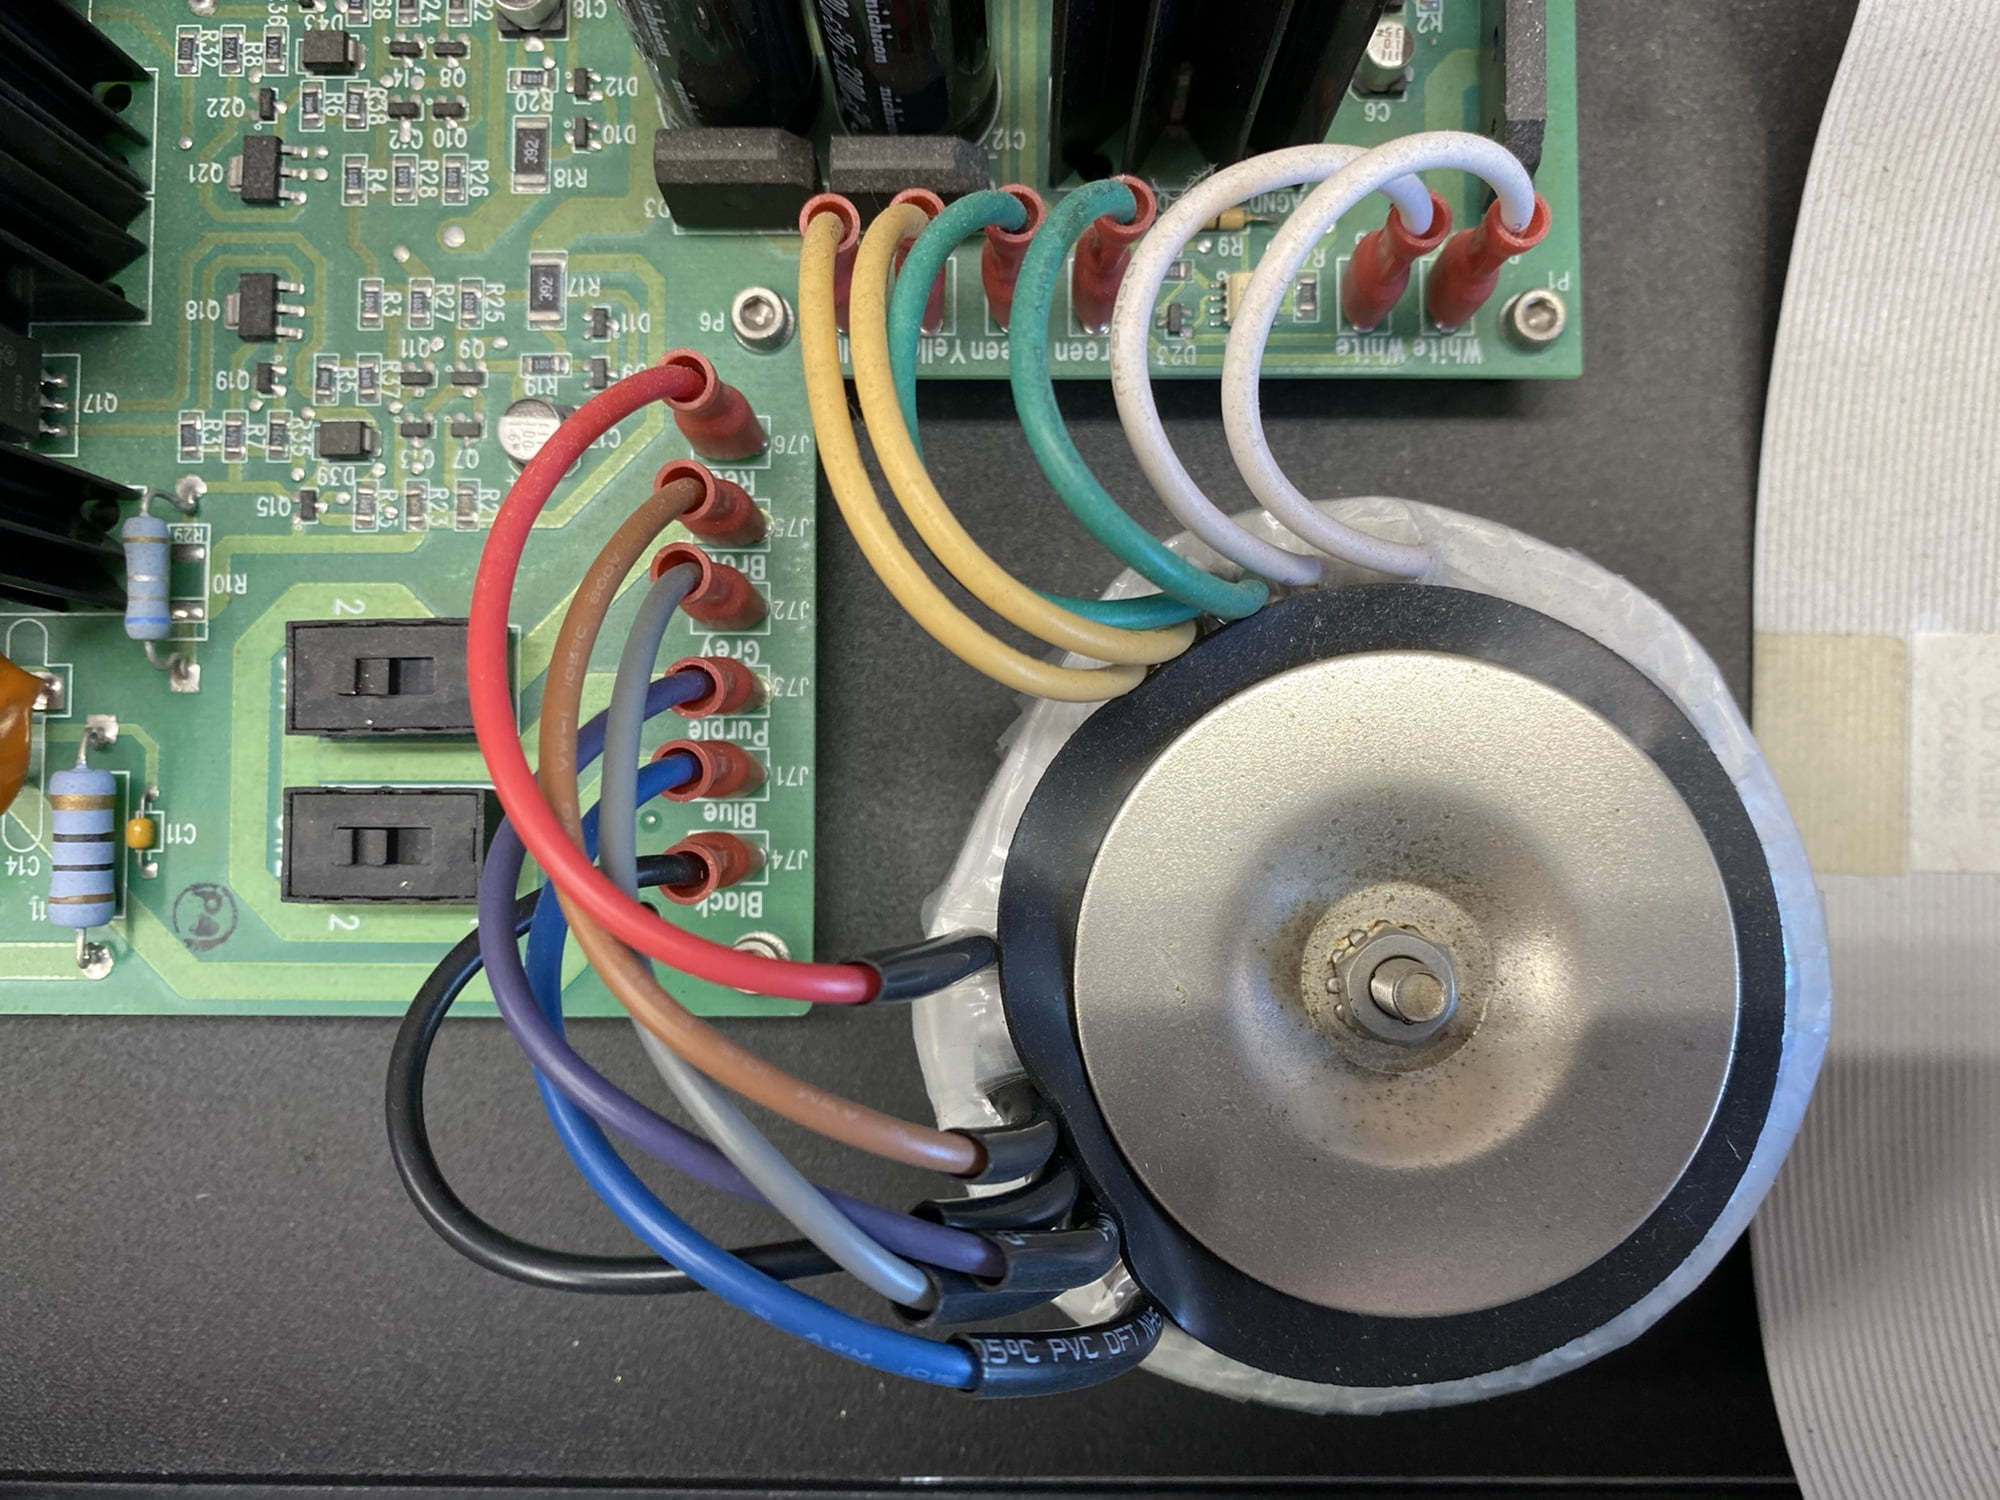
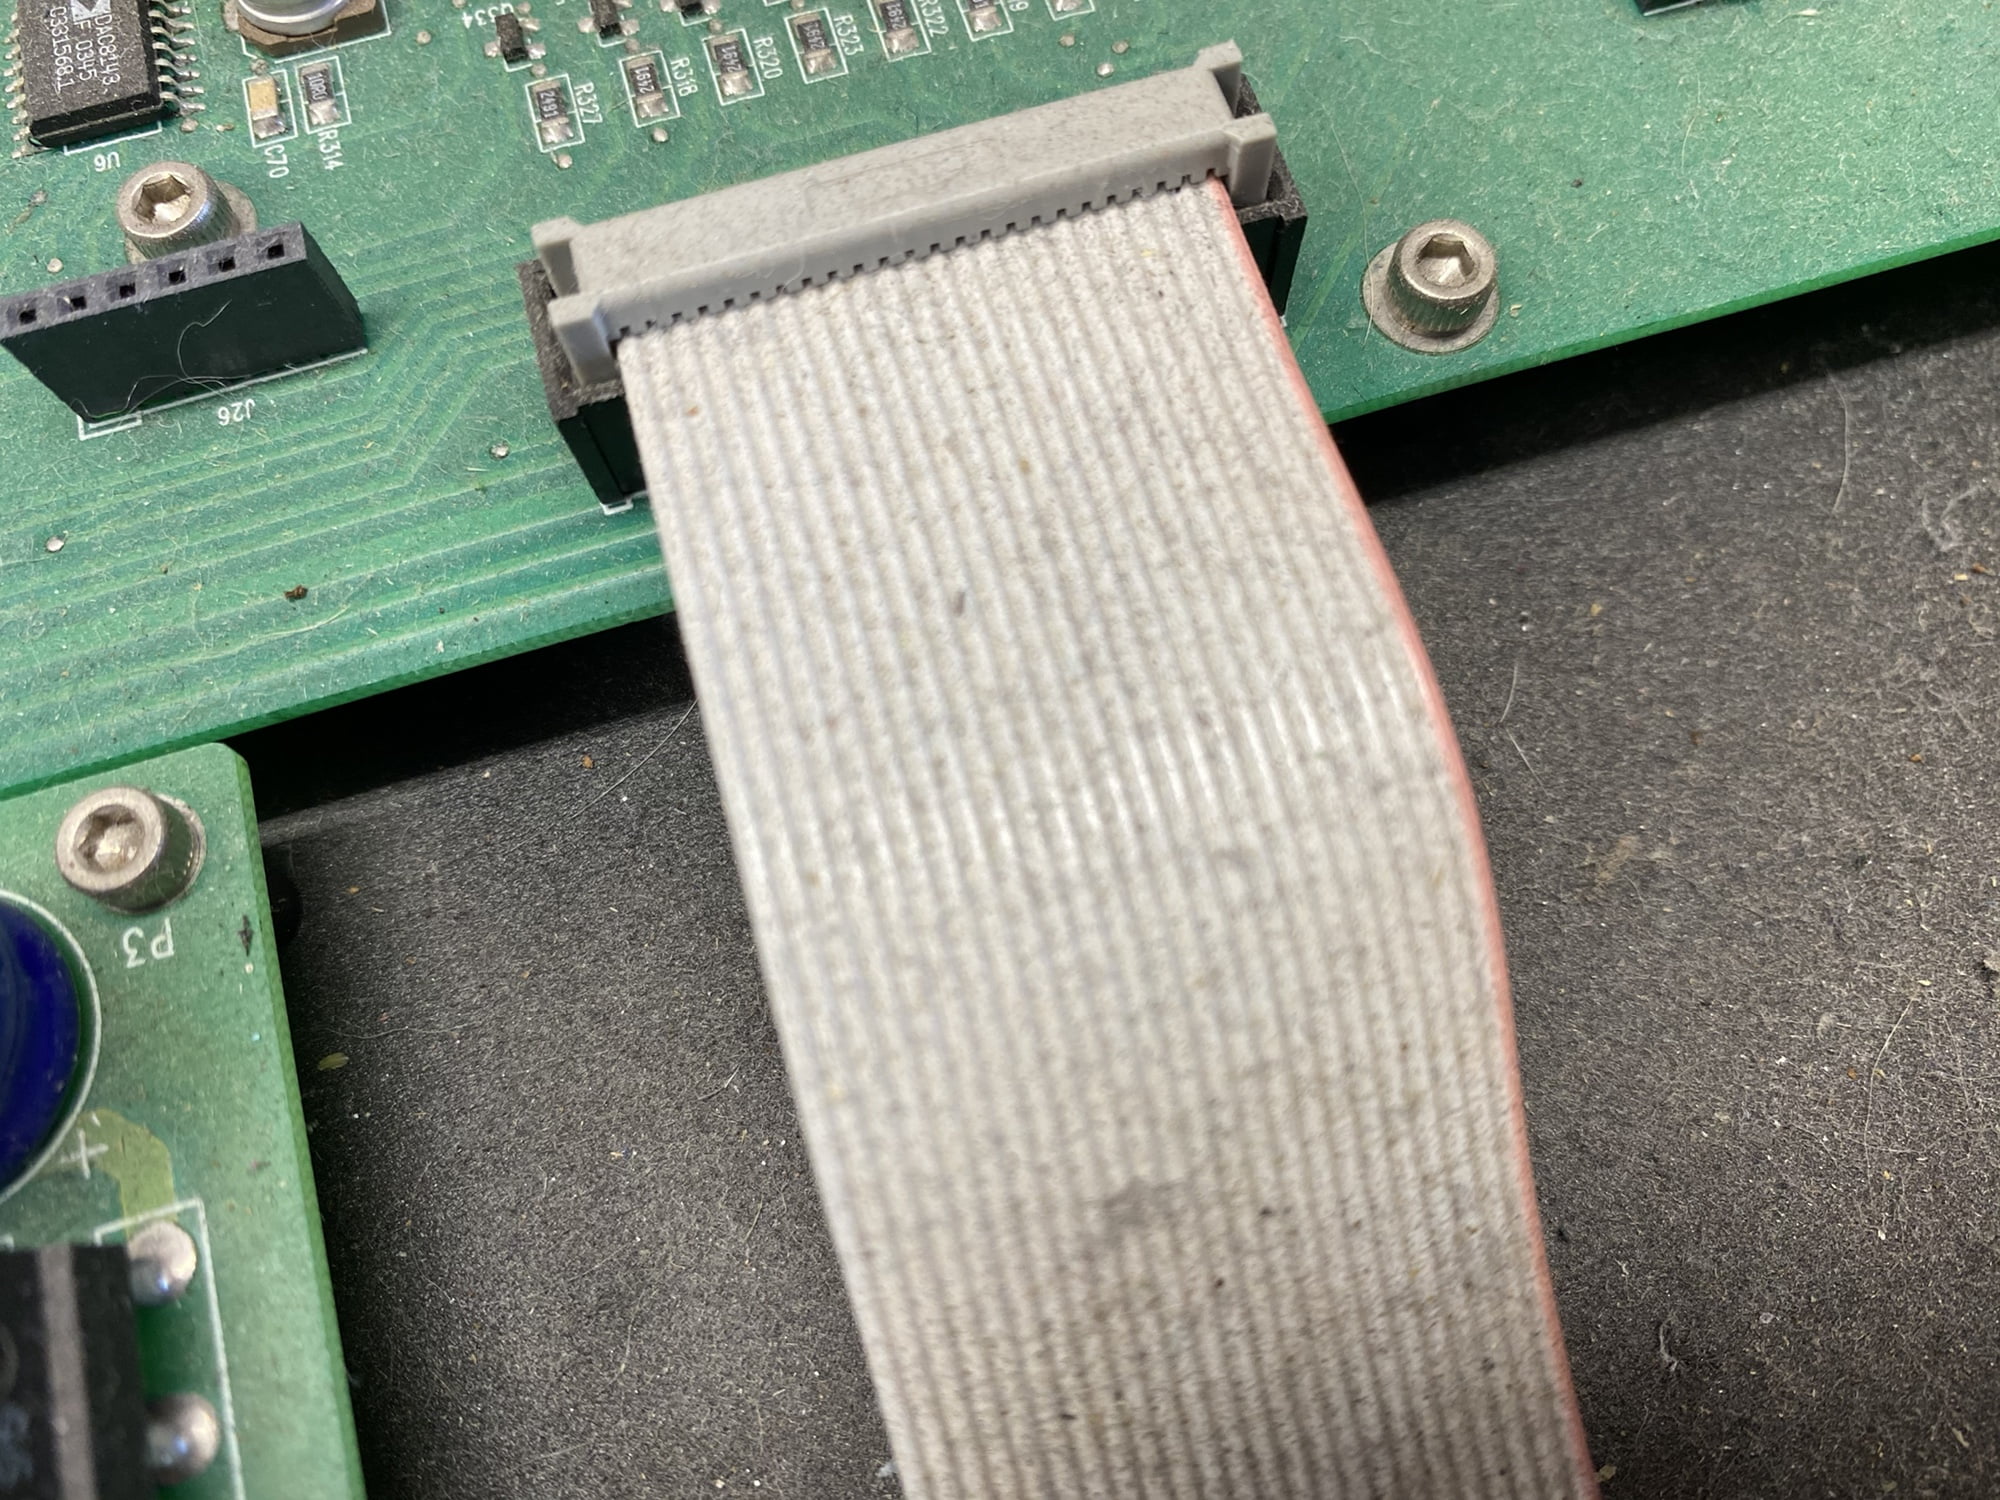
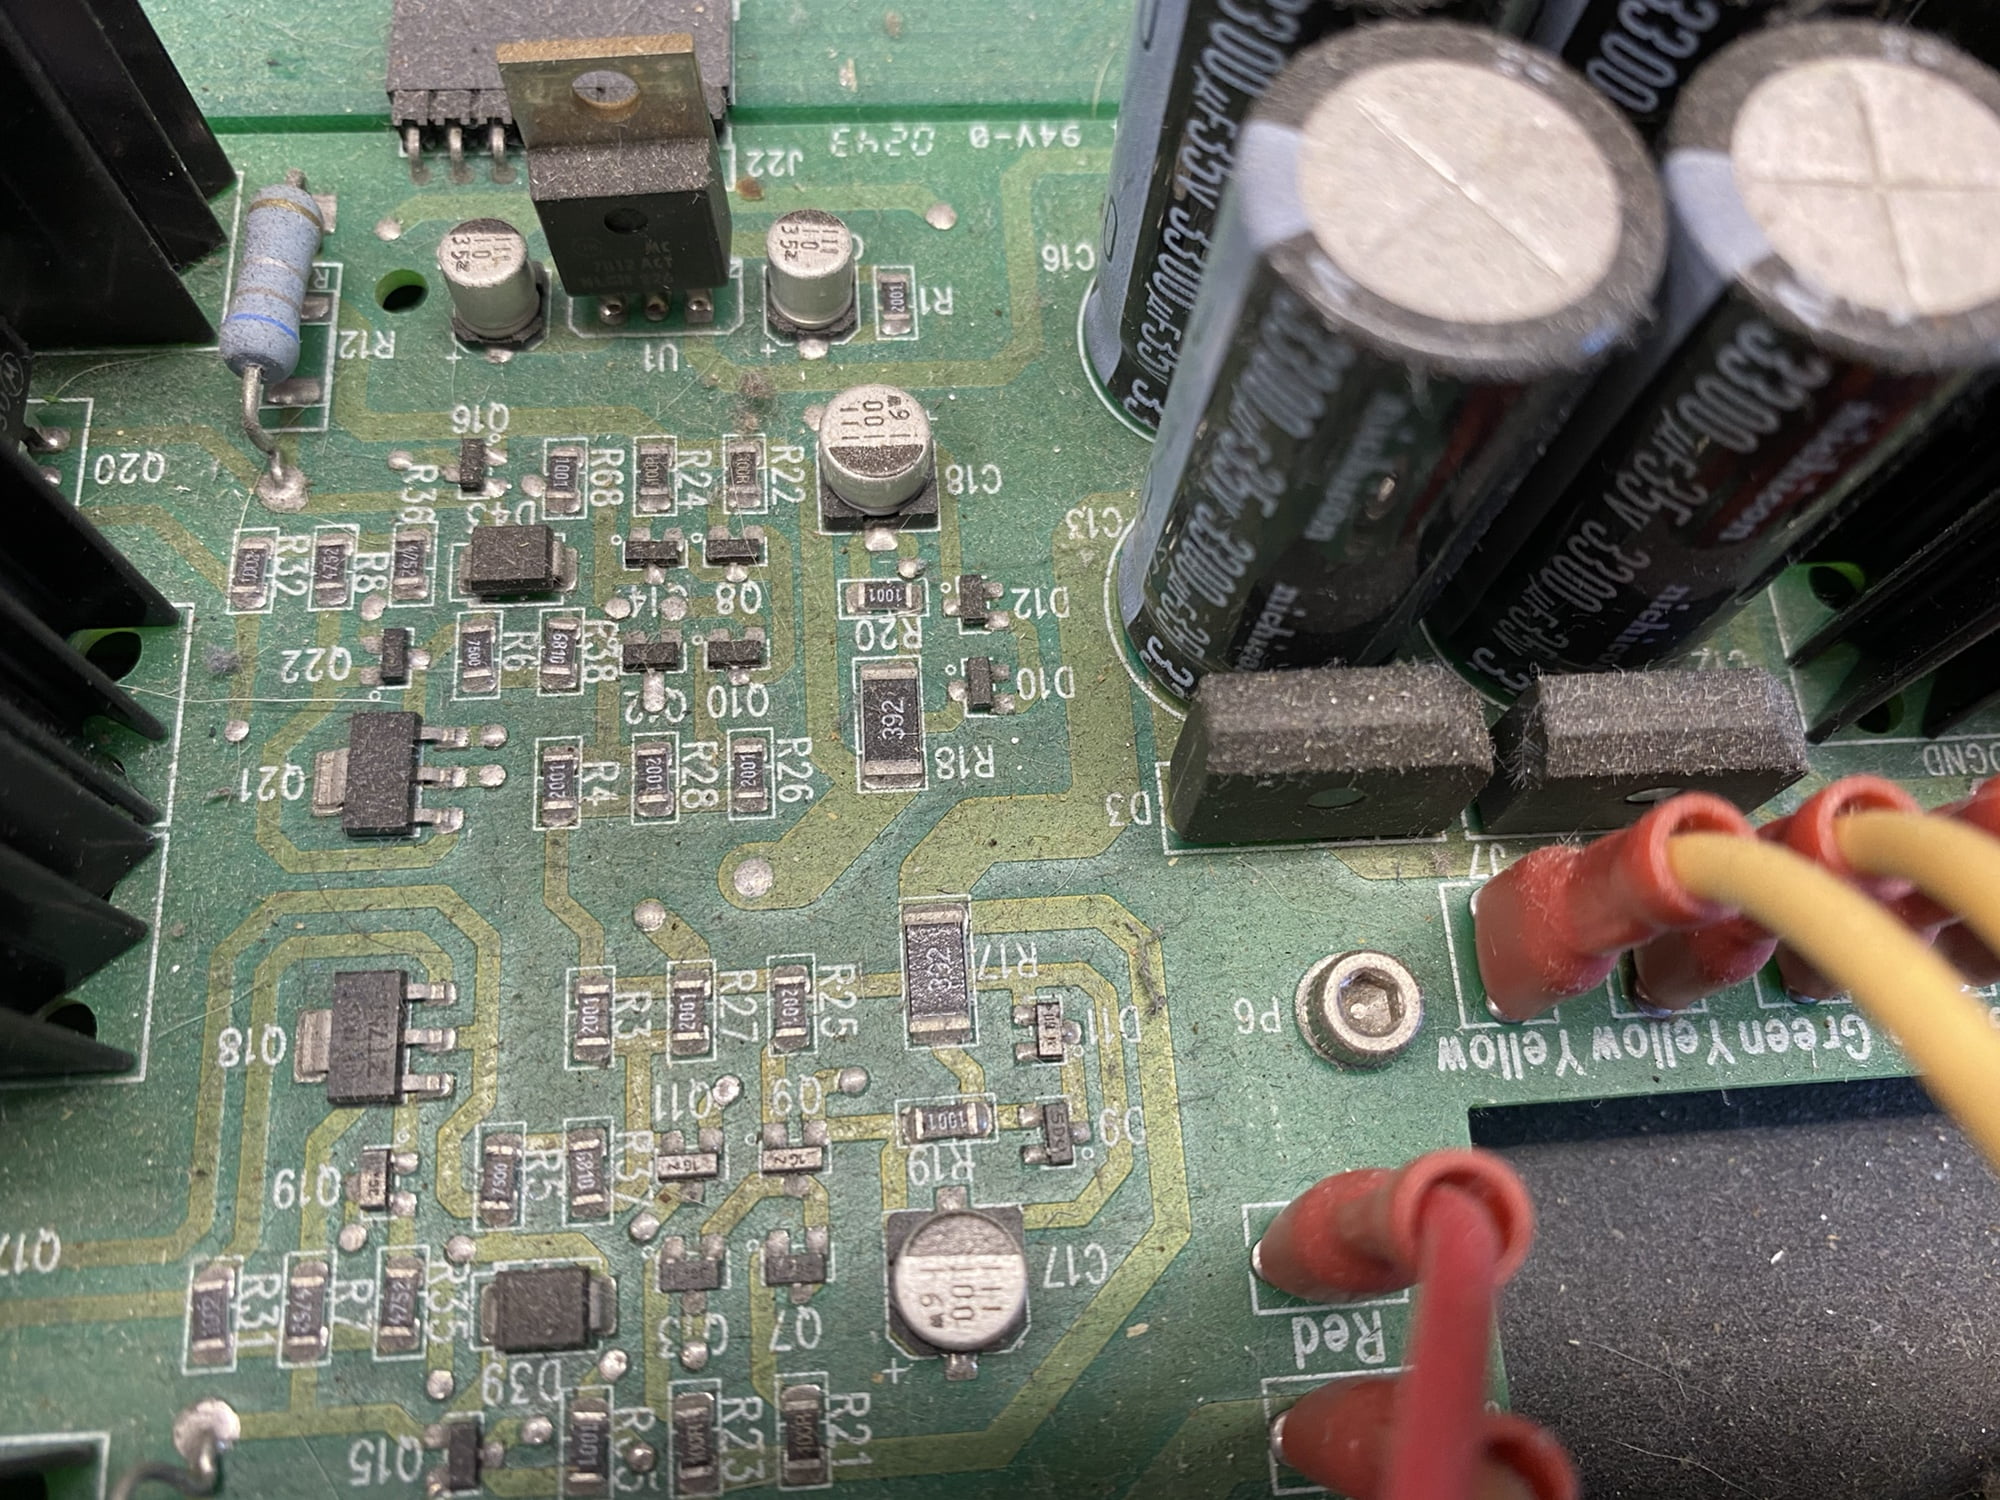
SMD caps, especially early ones, hate heat. Actually, they hate LIFE! Without a doubt, early SMD caps are just terrible and cause so many problems it’s not funny. When you add heat into the mix, it just cannot be a good story.
The KAV-280p has a standby mode where it uses – wait for it – 23 Watts continuously, vs 25 Watts when powered on… Really, Krell? It’s great that we can save 2 W by turning this off, but that’s really only great if the preamp uses 2 W when turned on!
I don’t know about you, but I really like my equipment not to use energy and generate heat when I turn it off. It’s a small point, but I like off to mean OFF. Going from 25 W to 23 W power consumption by turning this off is ridiculous, at best. Why even have a power switch?!
So, the 280p runs warm all the time, even in standby. This wastes a ton of power and kills the crappy early SMD capacitors.
The Shotgun…
One final point. I’ve had the inevitable armchair experts’ questions like:
“Why didn’t you just replace all the SMD capacitors in this preamp?”
Well, each capacitor takes a few minutes to remove, and there are dozens more to remove on the mainboard. They weren’t leaking, thankfully, so I provided that information to my customer, rather than doing many hundreds of dollars’ worth of work he didn’t ask me to do. From there, it’s the customer’s decision, not mine, and my customers prefer to have the option to decide, rather than me deciding for them.
A customer’s budget determines how far I go with a repair vs overhaul, vs full restoration. In this case, the owner didn’t want to spend many more hundreds of dollars replacing capacitors that tested well and weren’t involved in the problem with his preamp. You’ll see why not doing work that isn’t required is a sensible business policy.
Ridiculous Standby Mode
So the Krell KAV-280p uses almost exactly the same amount of power when turned off as it does when turned on, I kid you not. It basically makes the ‘off’ feature redundant. Just accept that turning it off is essentially the same as leaving it turned on, minus 2 watts. It’s therefore on 24/7.
I calculated that leaving this preamp in standby for a year will cost you exactly $57.91 AUD, here in Perth. That’s with it turned off, sitting in standby! Over the 20 years since the owner bought this, that’s $1158 AUD at today’s tariff, with the preamp switched off!!!
This is just silly. High power consumption in ‘soft-off’ standby modes was common back in the day and manufacturers gave all sorts of reasons like “It will sound better when warm” etc. TVs, coffee machines and loads of other things are sipping power in your home right now when ‘turned off’.
I agree, hi-fi equipment will sound better when warm and there’s a really simple way around this for any concerned owner. If you want the benefits of your equipment sounding better when warm, simply turn it on an hour or two before seriously listening to it! That’s what I do, it works well and saves a ton of power.
Repairs
Working with surface mount or SMD capacitors can be tricky. You need some very fine soldering tools and good skills to remove the old parts and install the new ones. This has to be done without disturbing other parts nearby, especially other SMD parts. Get this wrong and you’ll damage the irreplaceable board faster than you can say “damn”!
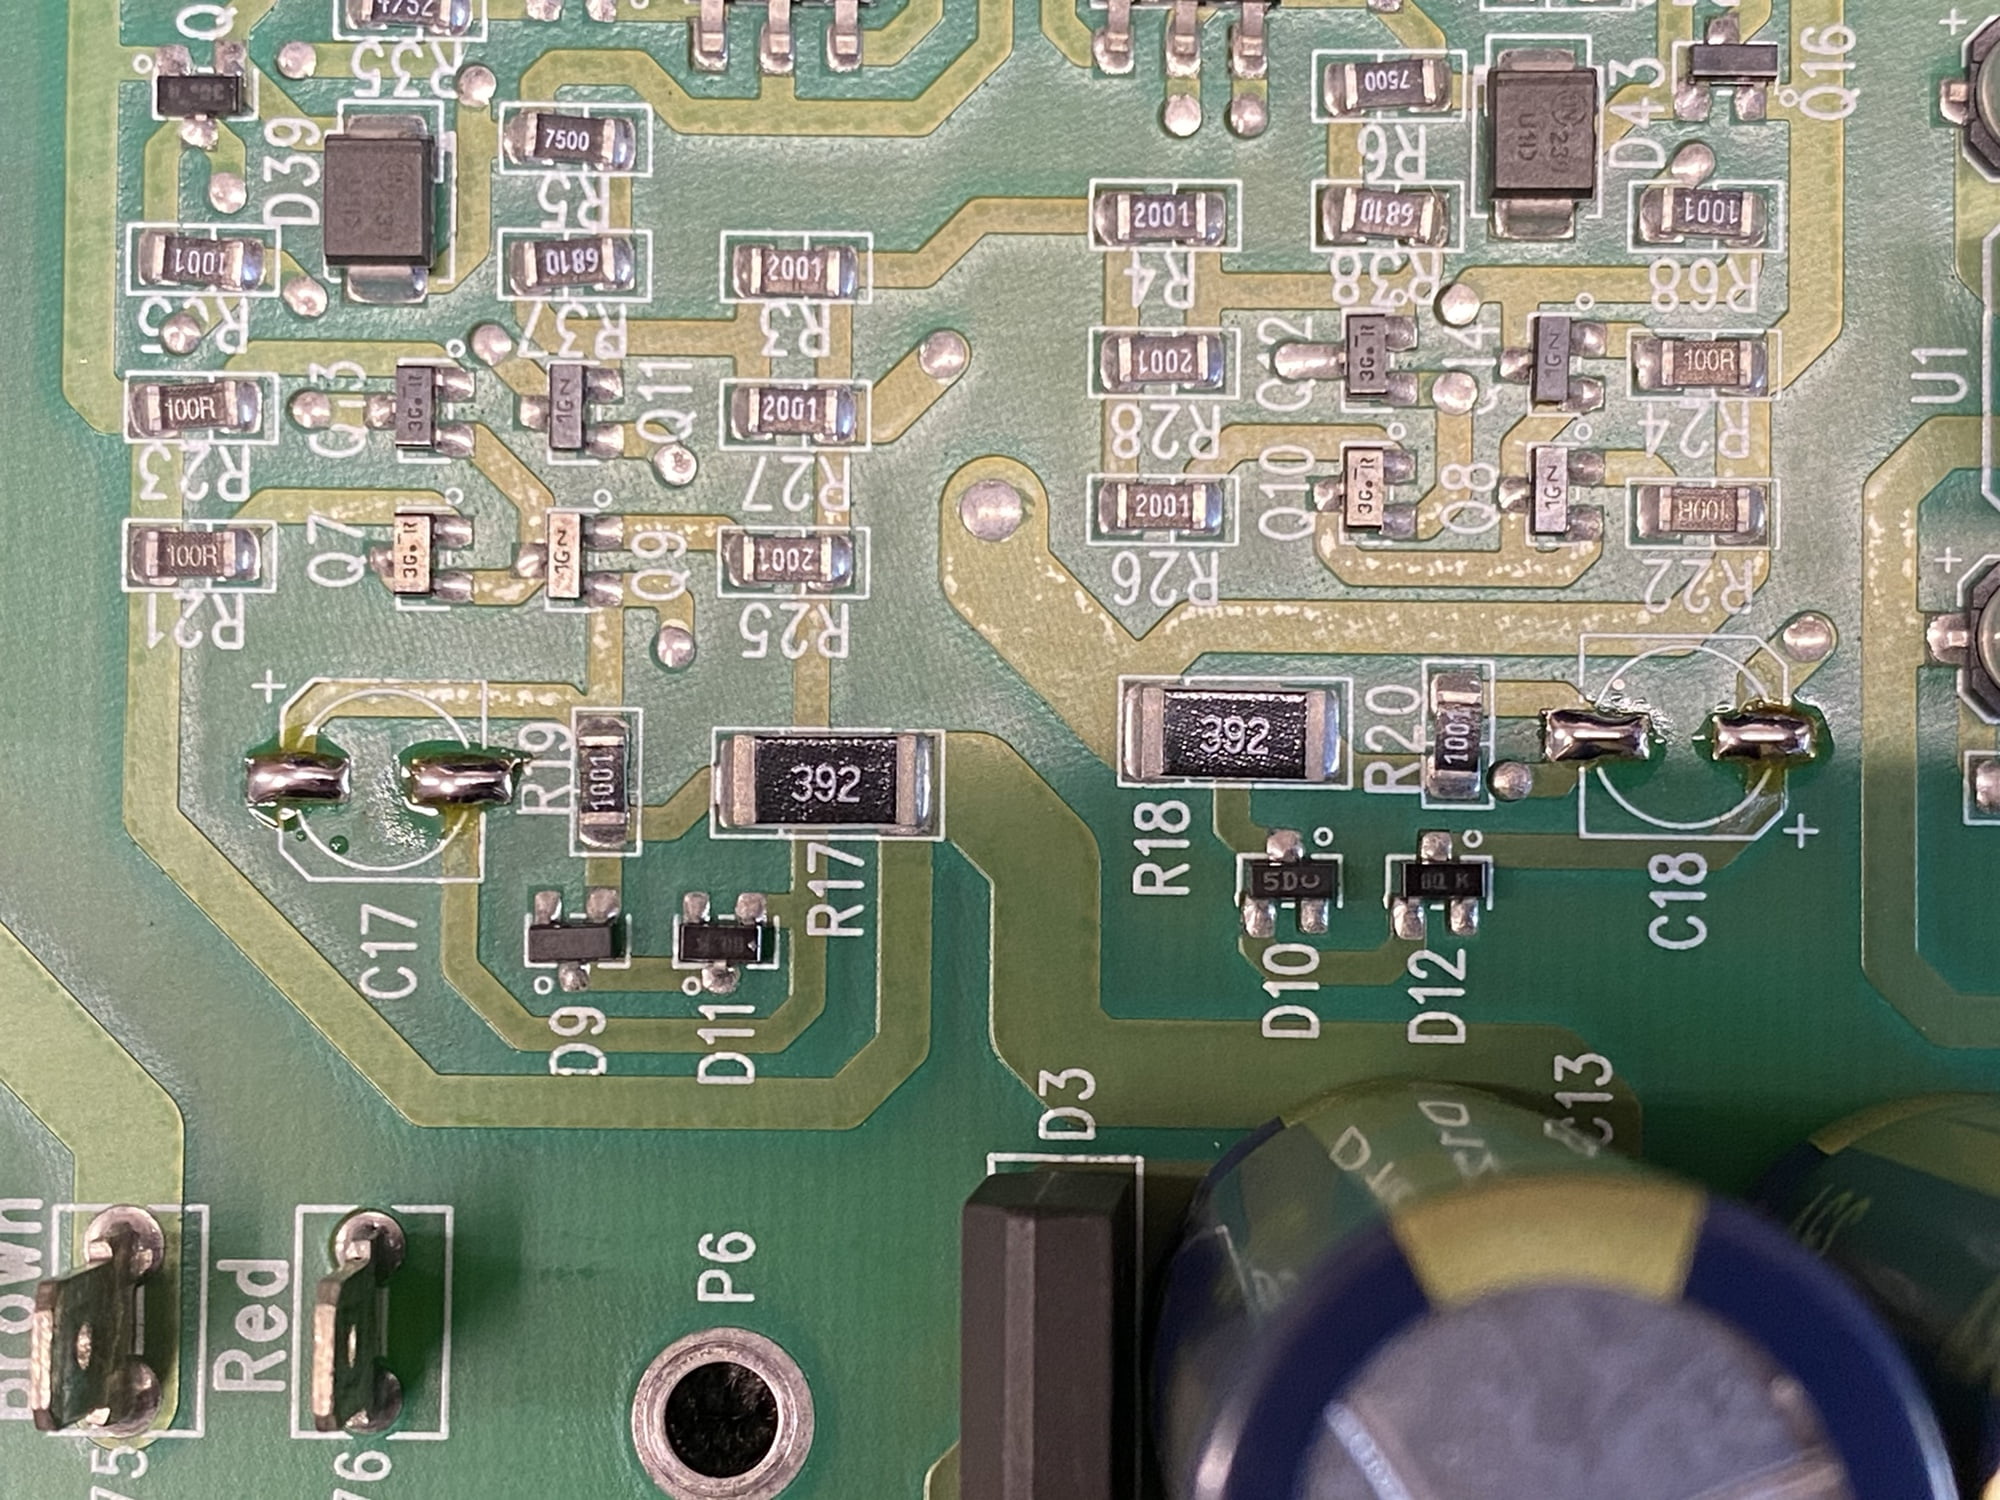
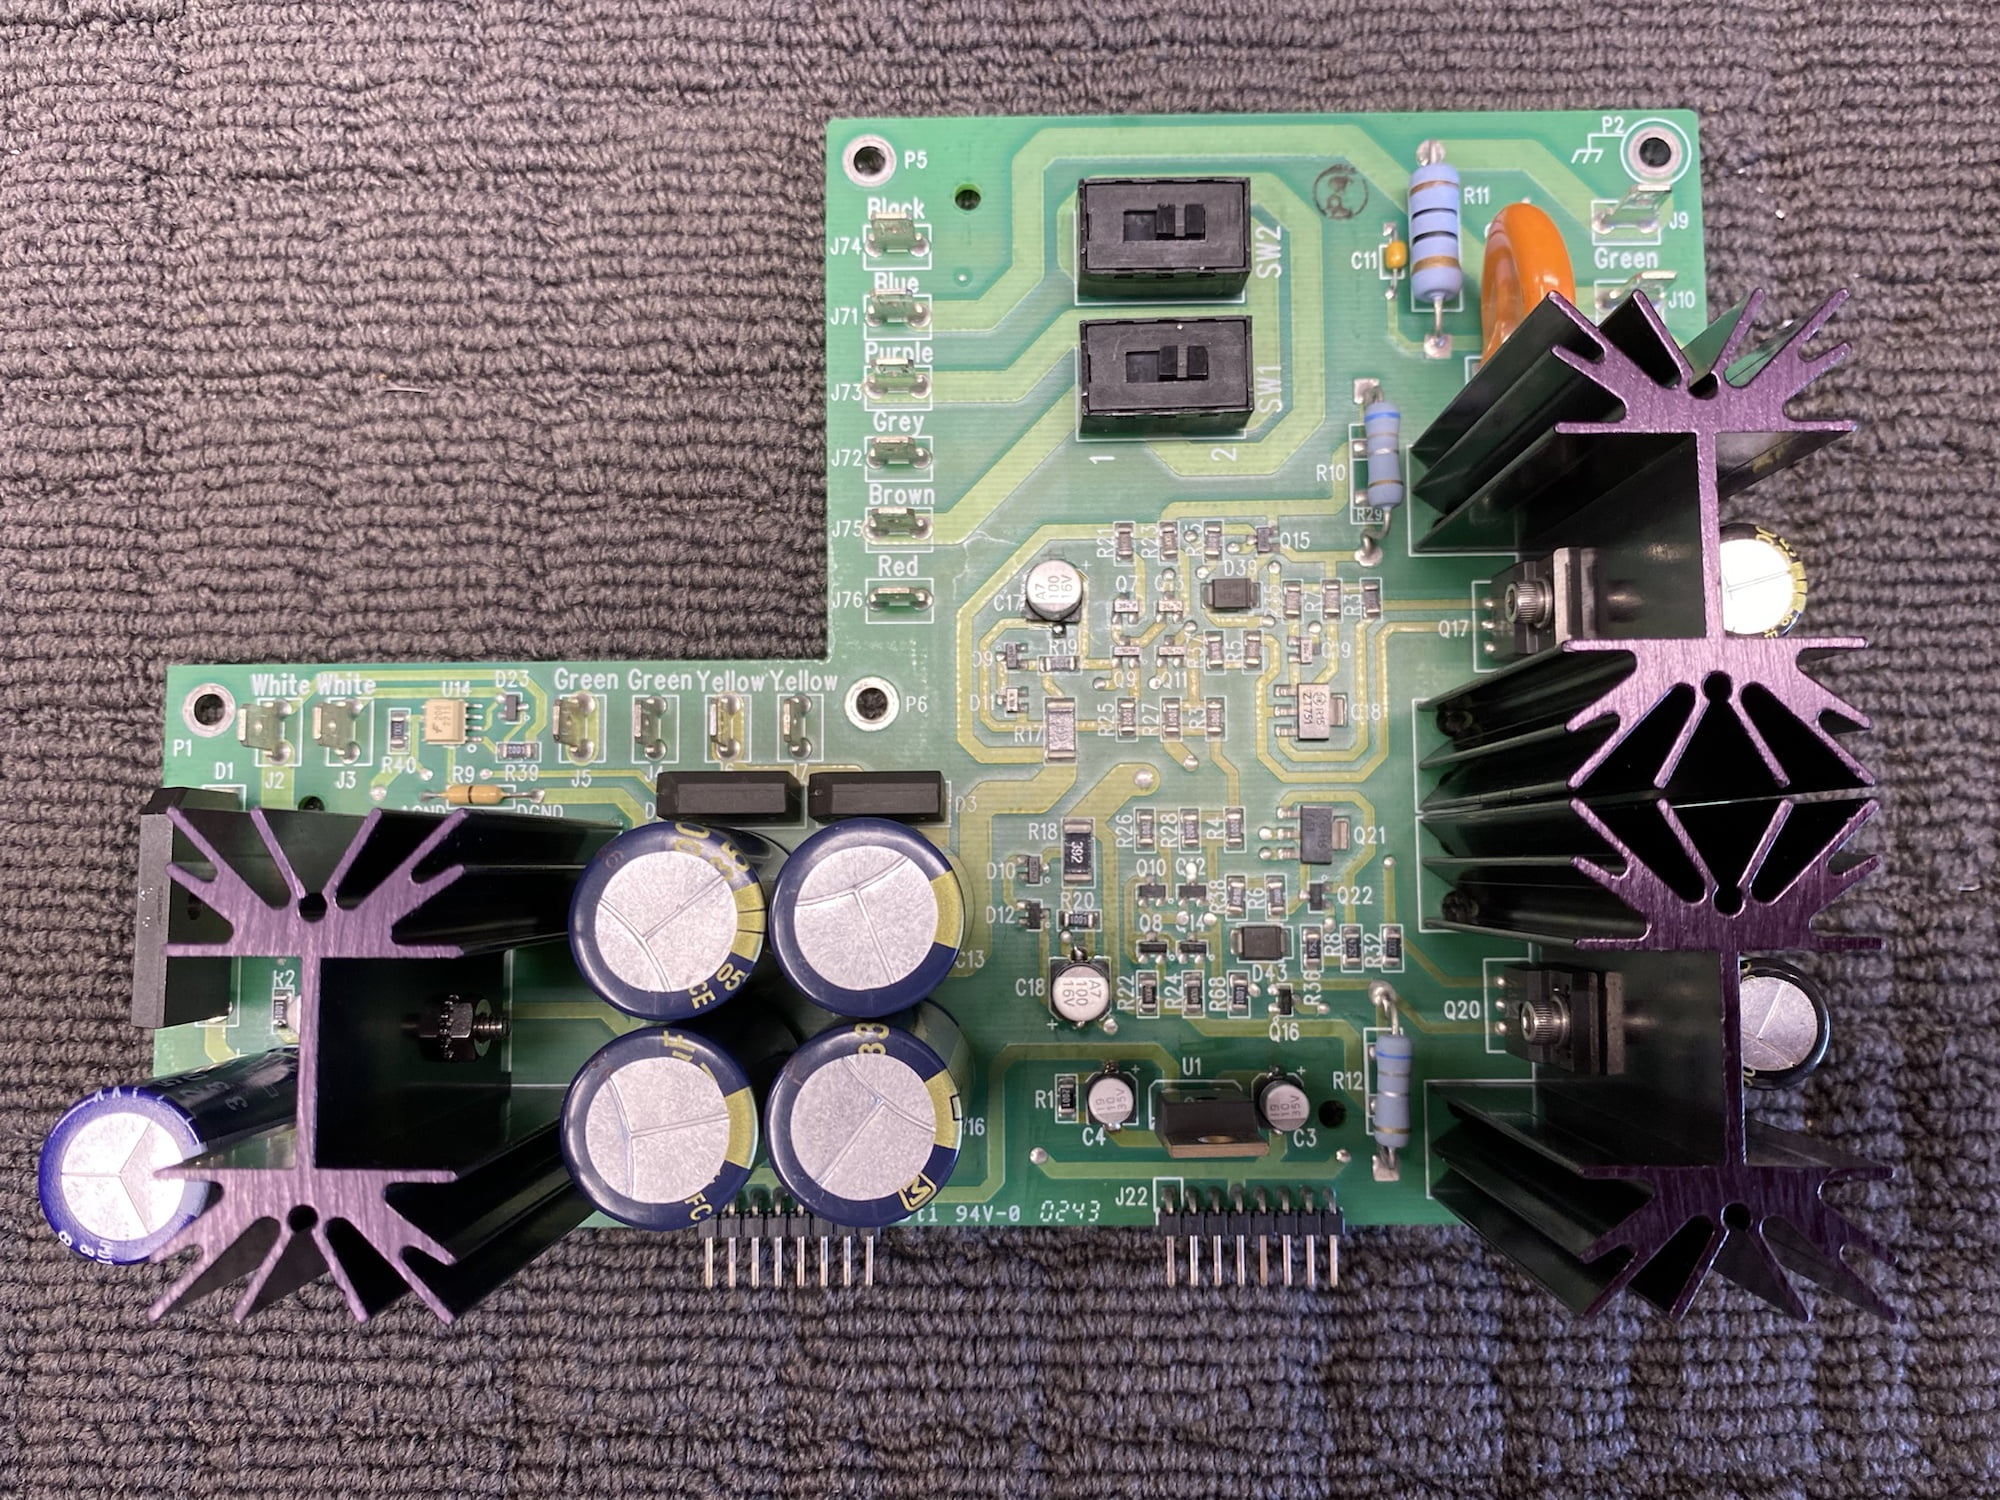
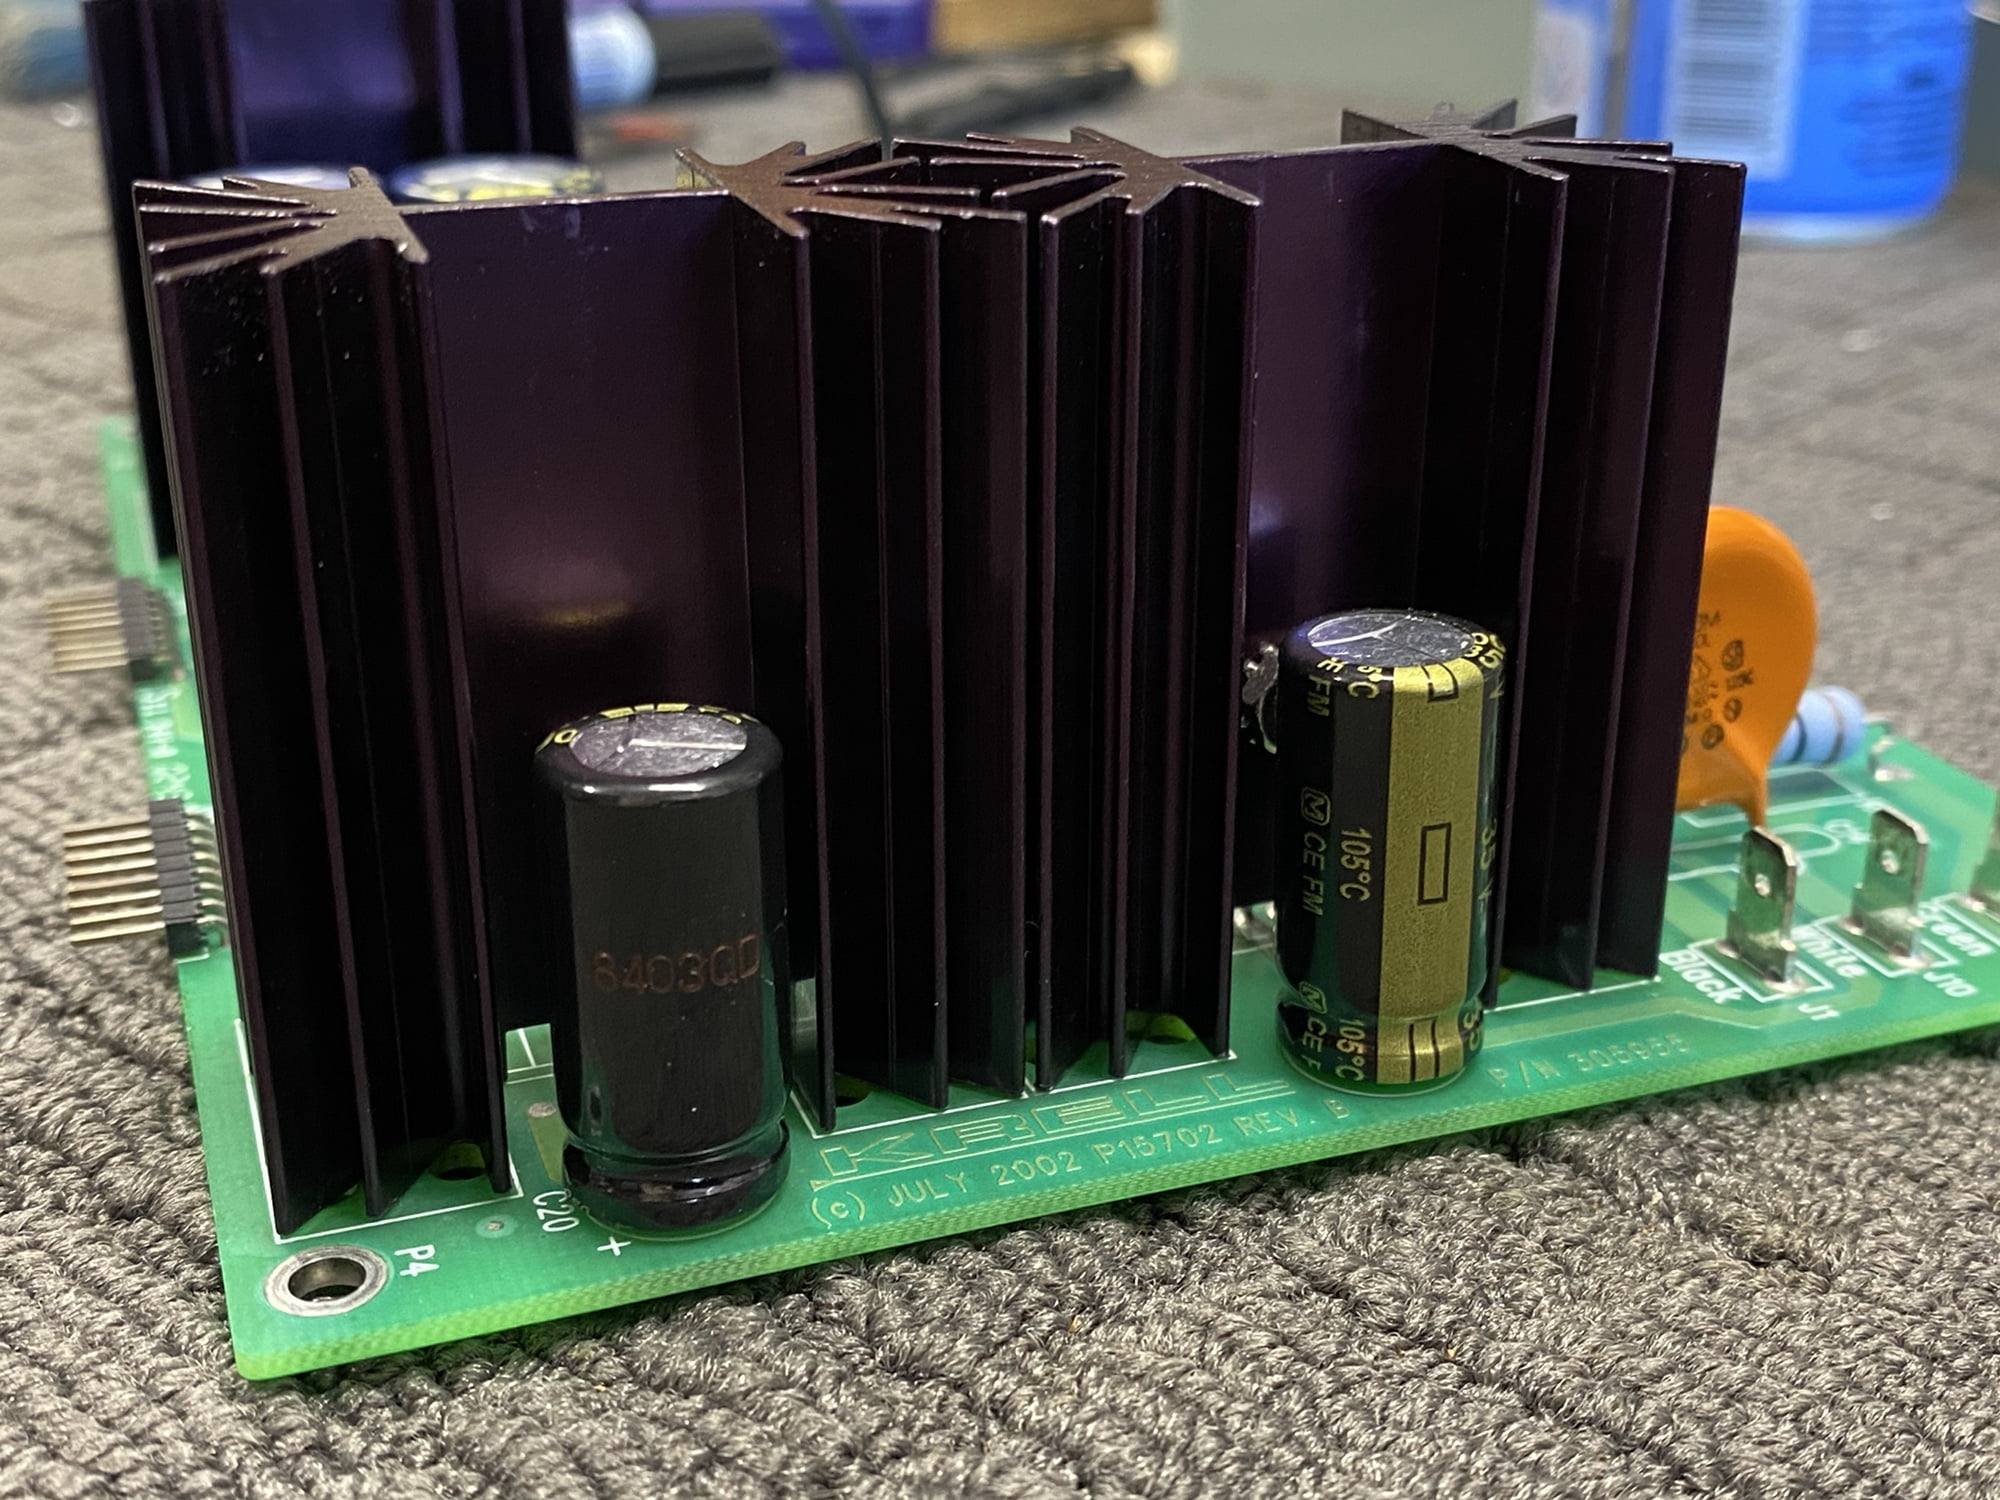
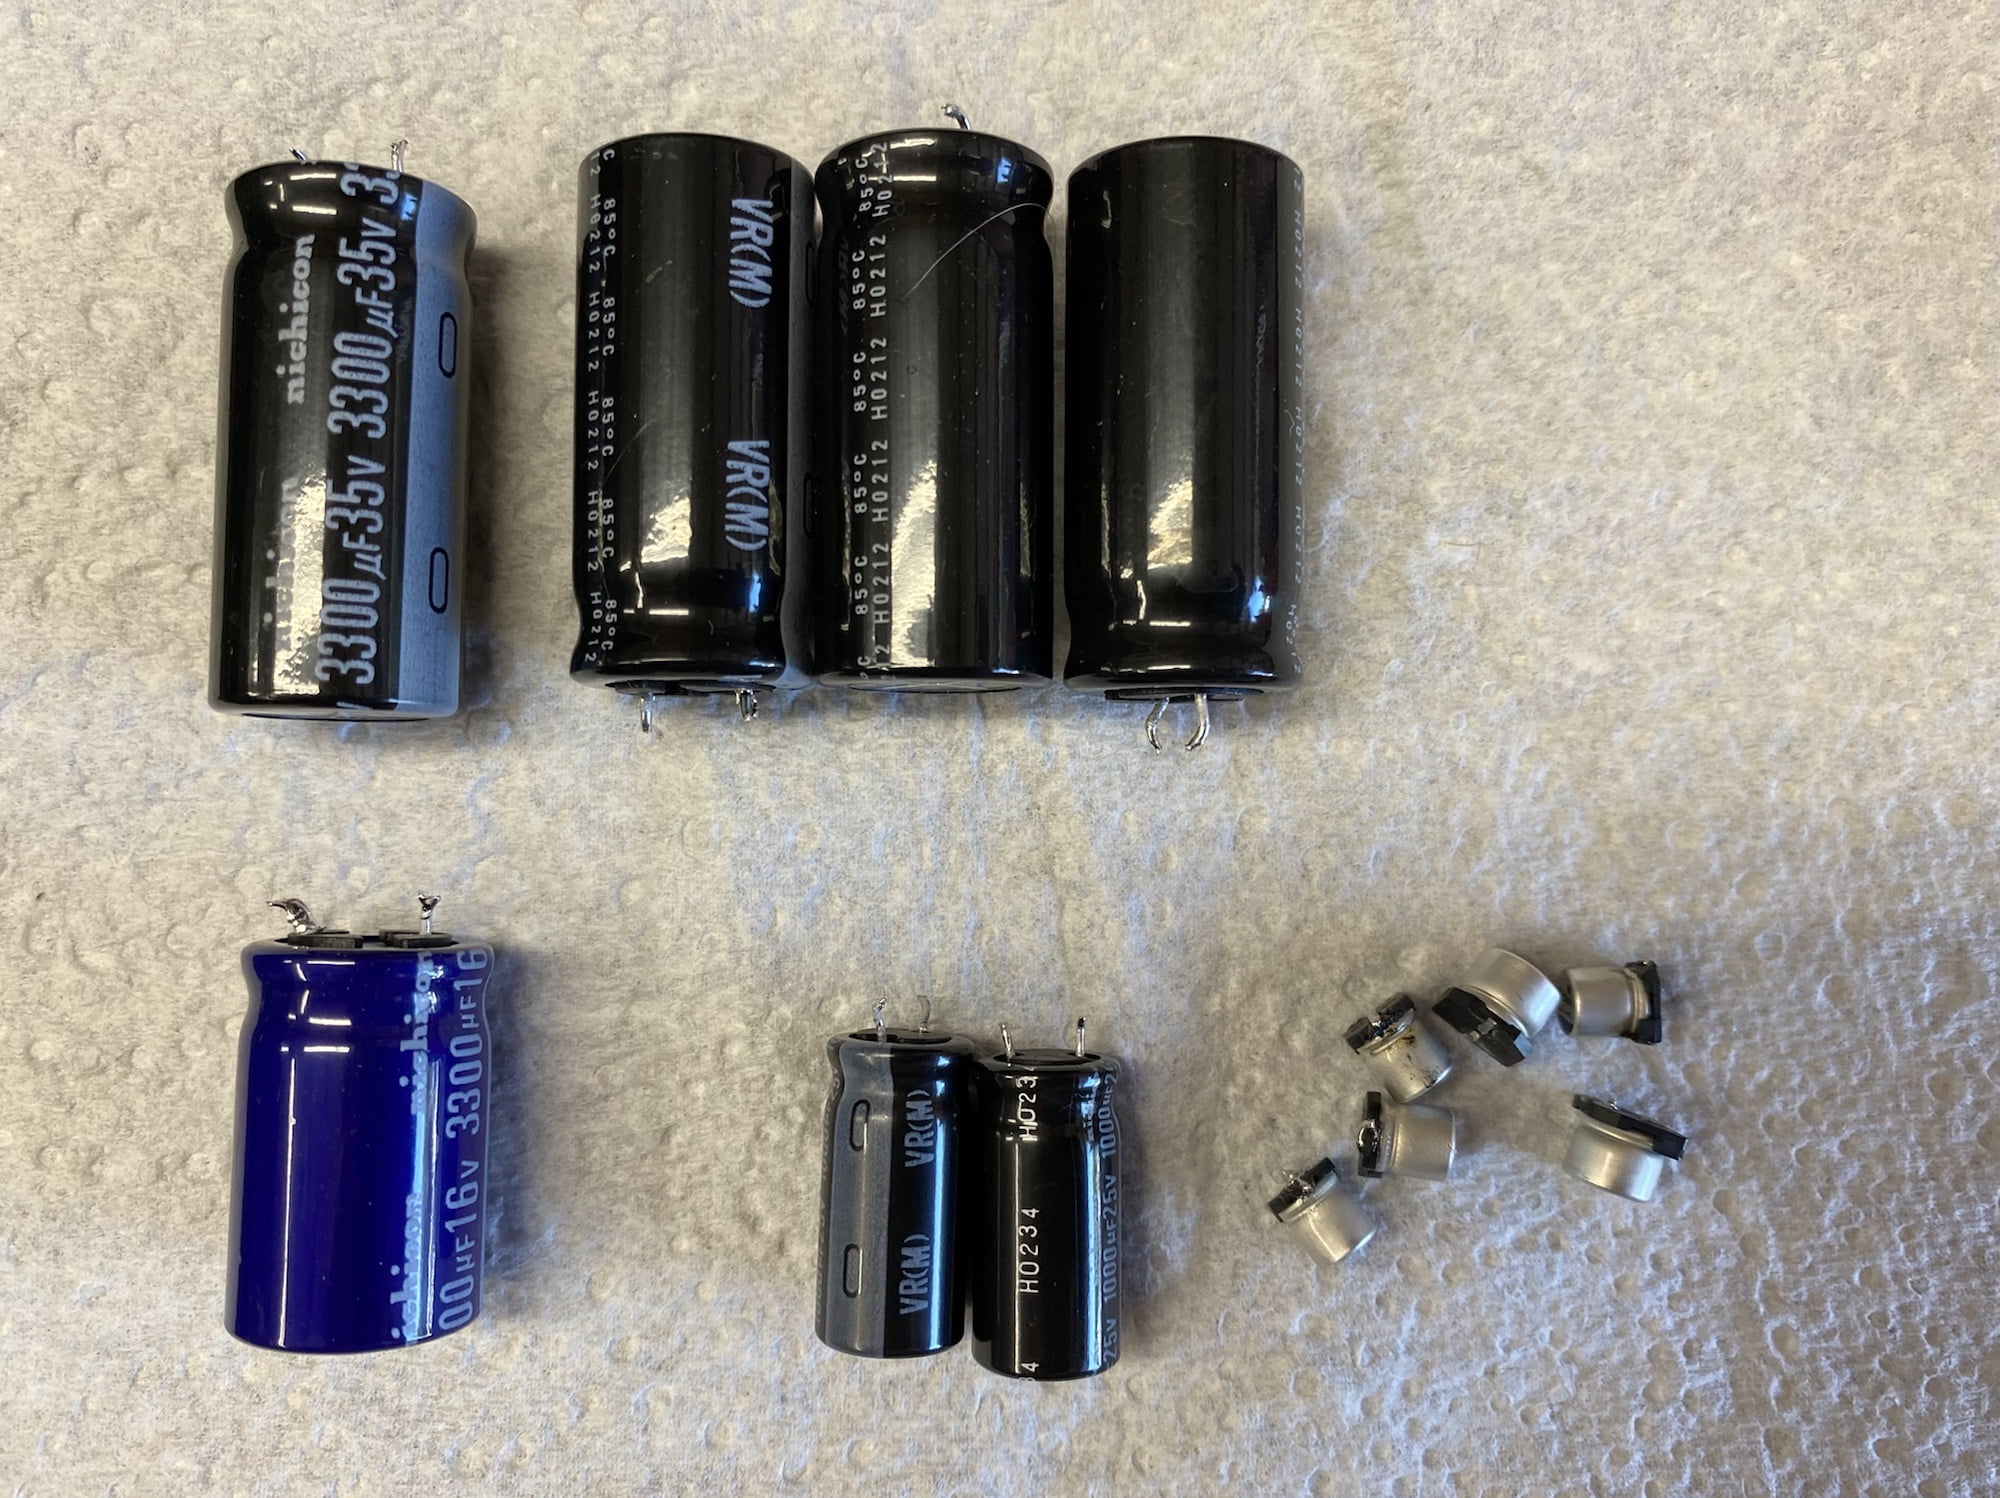
Front Panel Issues
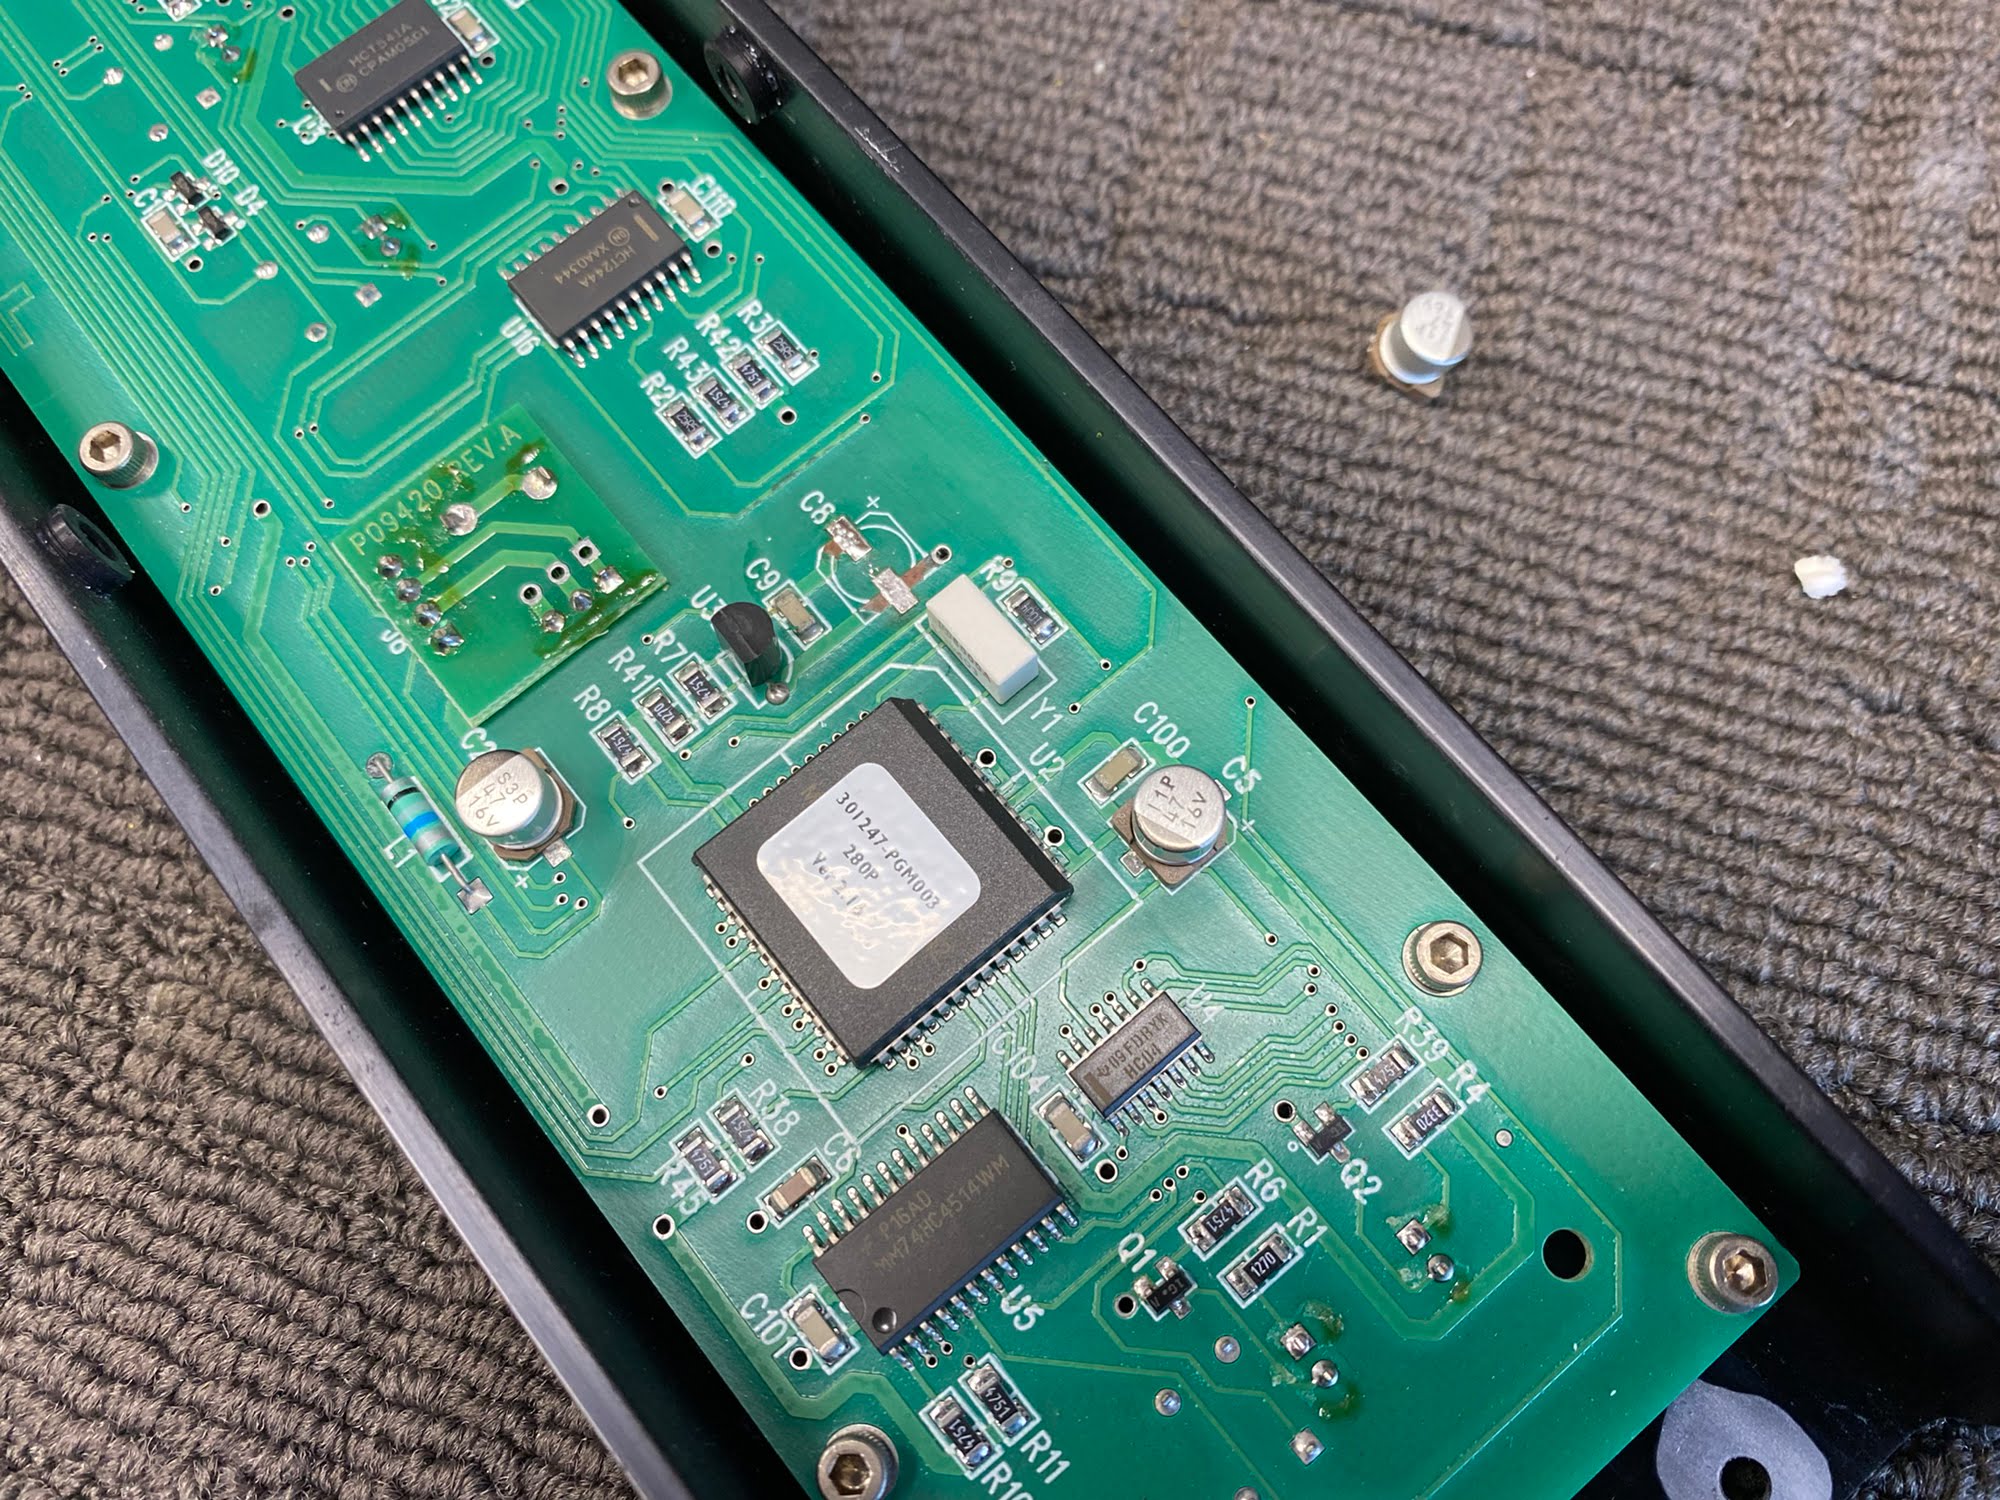
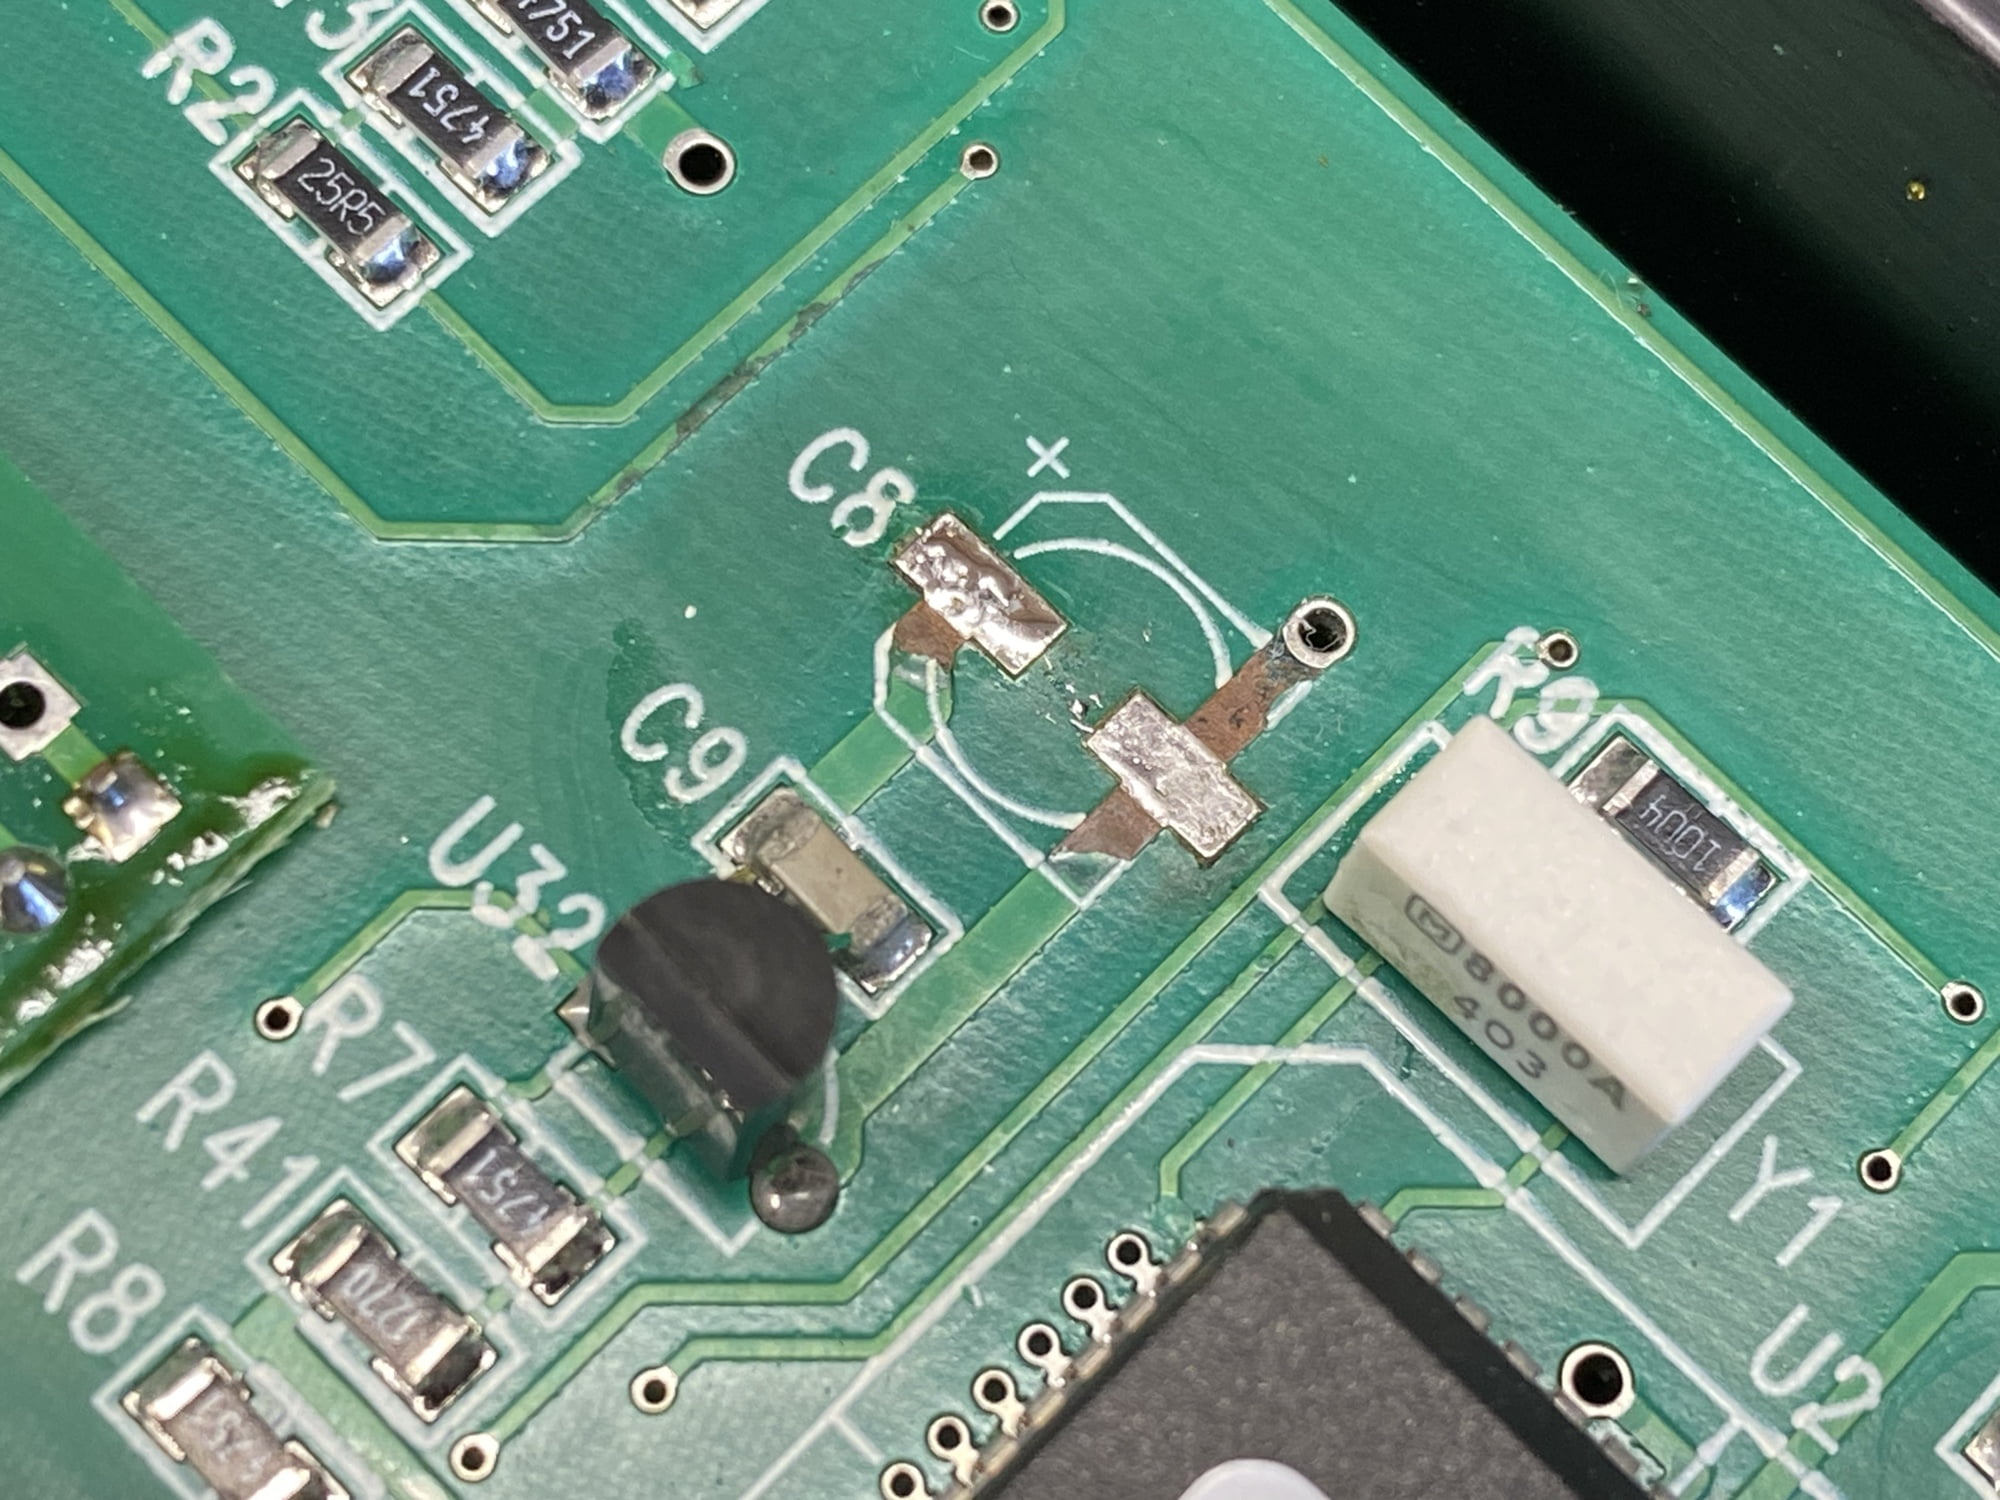
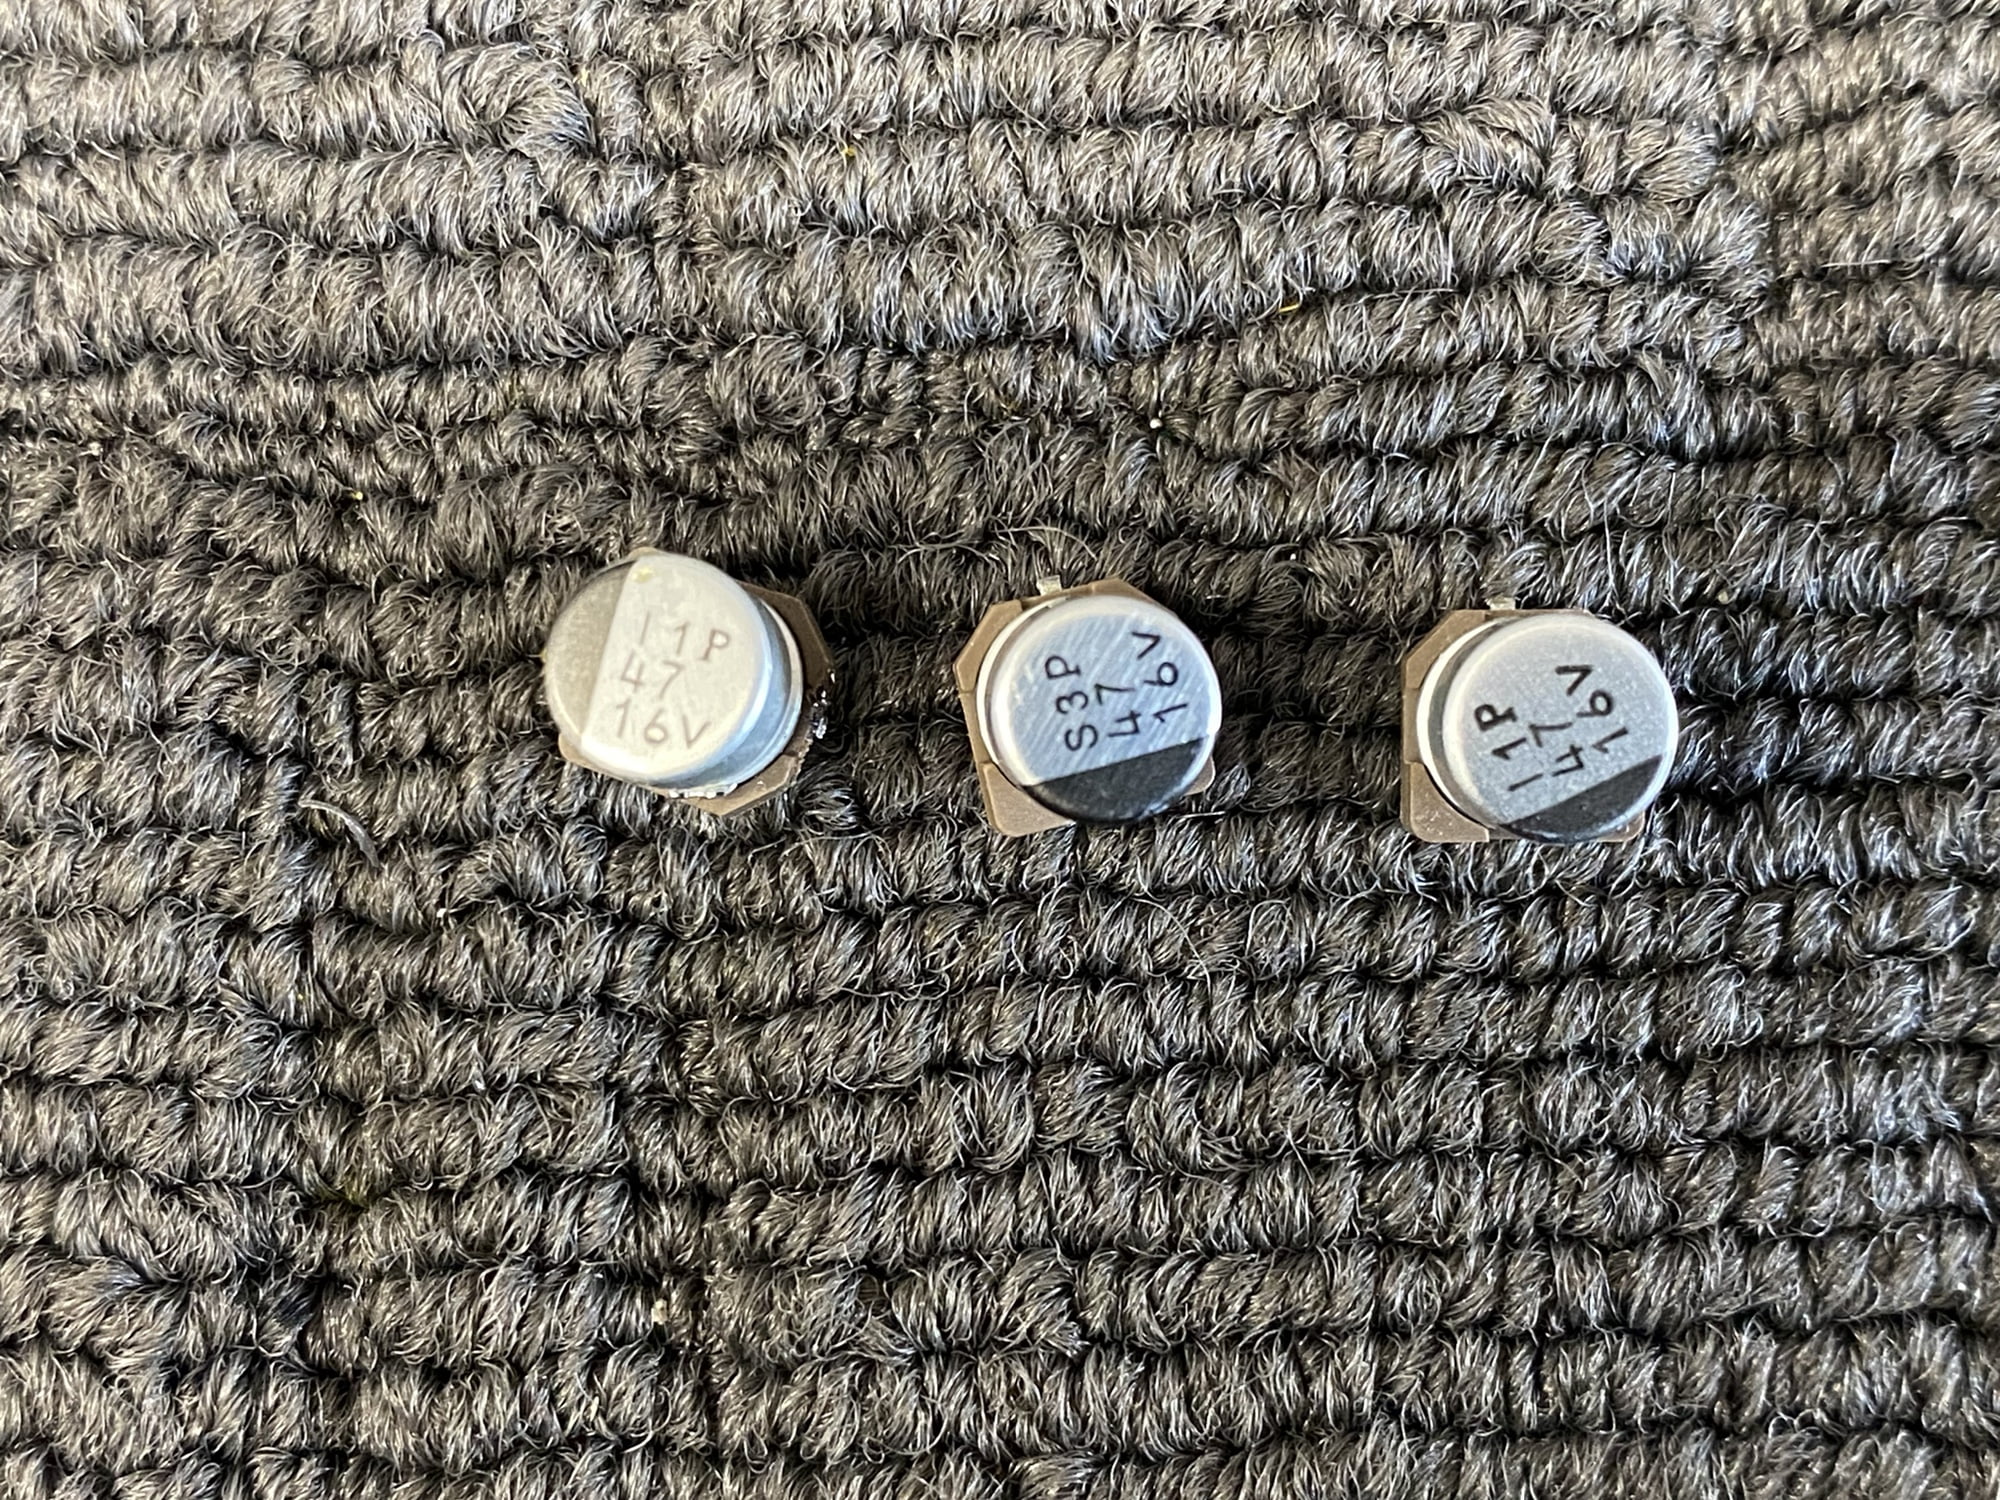
The same SMD capacitor problems were evident in the front control panel board. This also houses the CPU which controls everything, so attention here is sensible. I found leaking electrolyte had damaged pads and traces and worked to neutralise this and replace parts as needed.
Results
This was another great result, I’m very pleased to say. The preamp ran for hours on my bench and didn’t once turn off, so good news there. She also sounded excellent, no doubt much better than before. The power supply is everything in a piece of audio gear, and in this case, the control board also played an important part, given that the same electrolyte leakage was evident there.
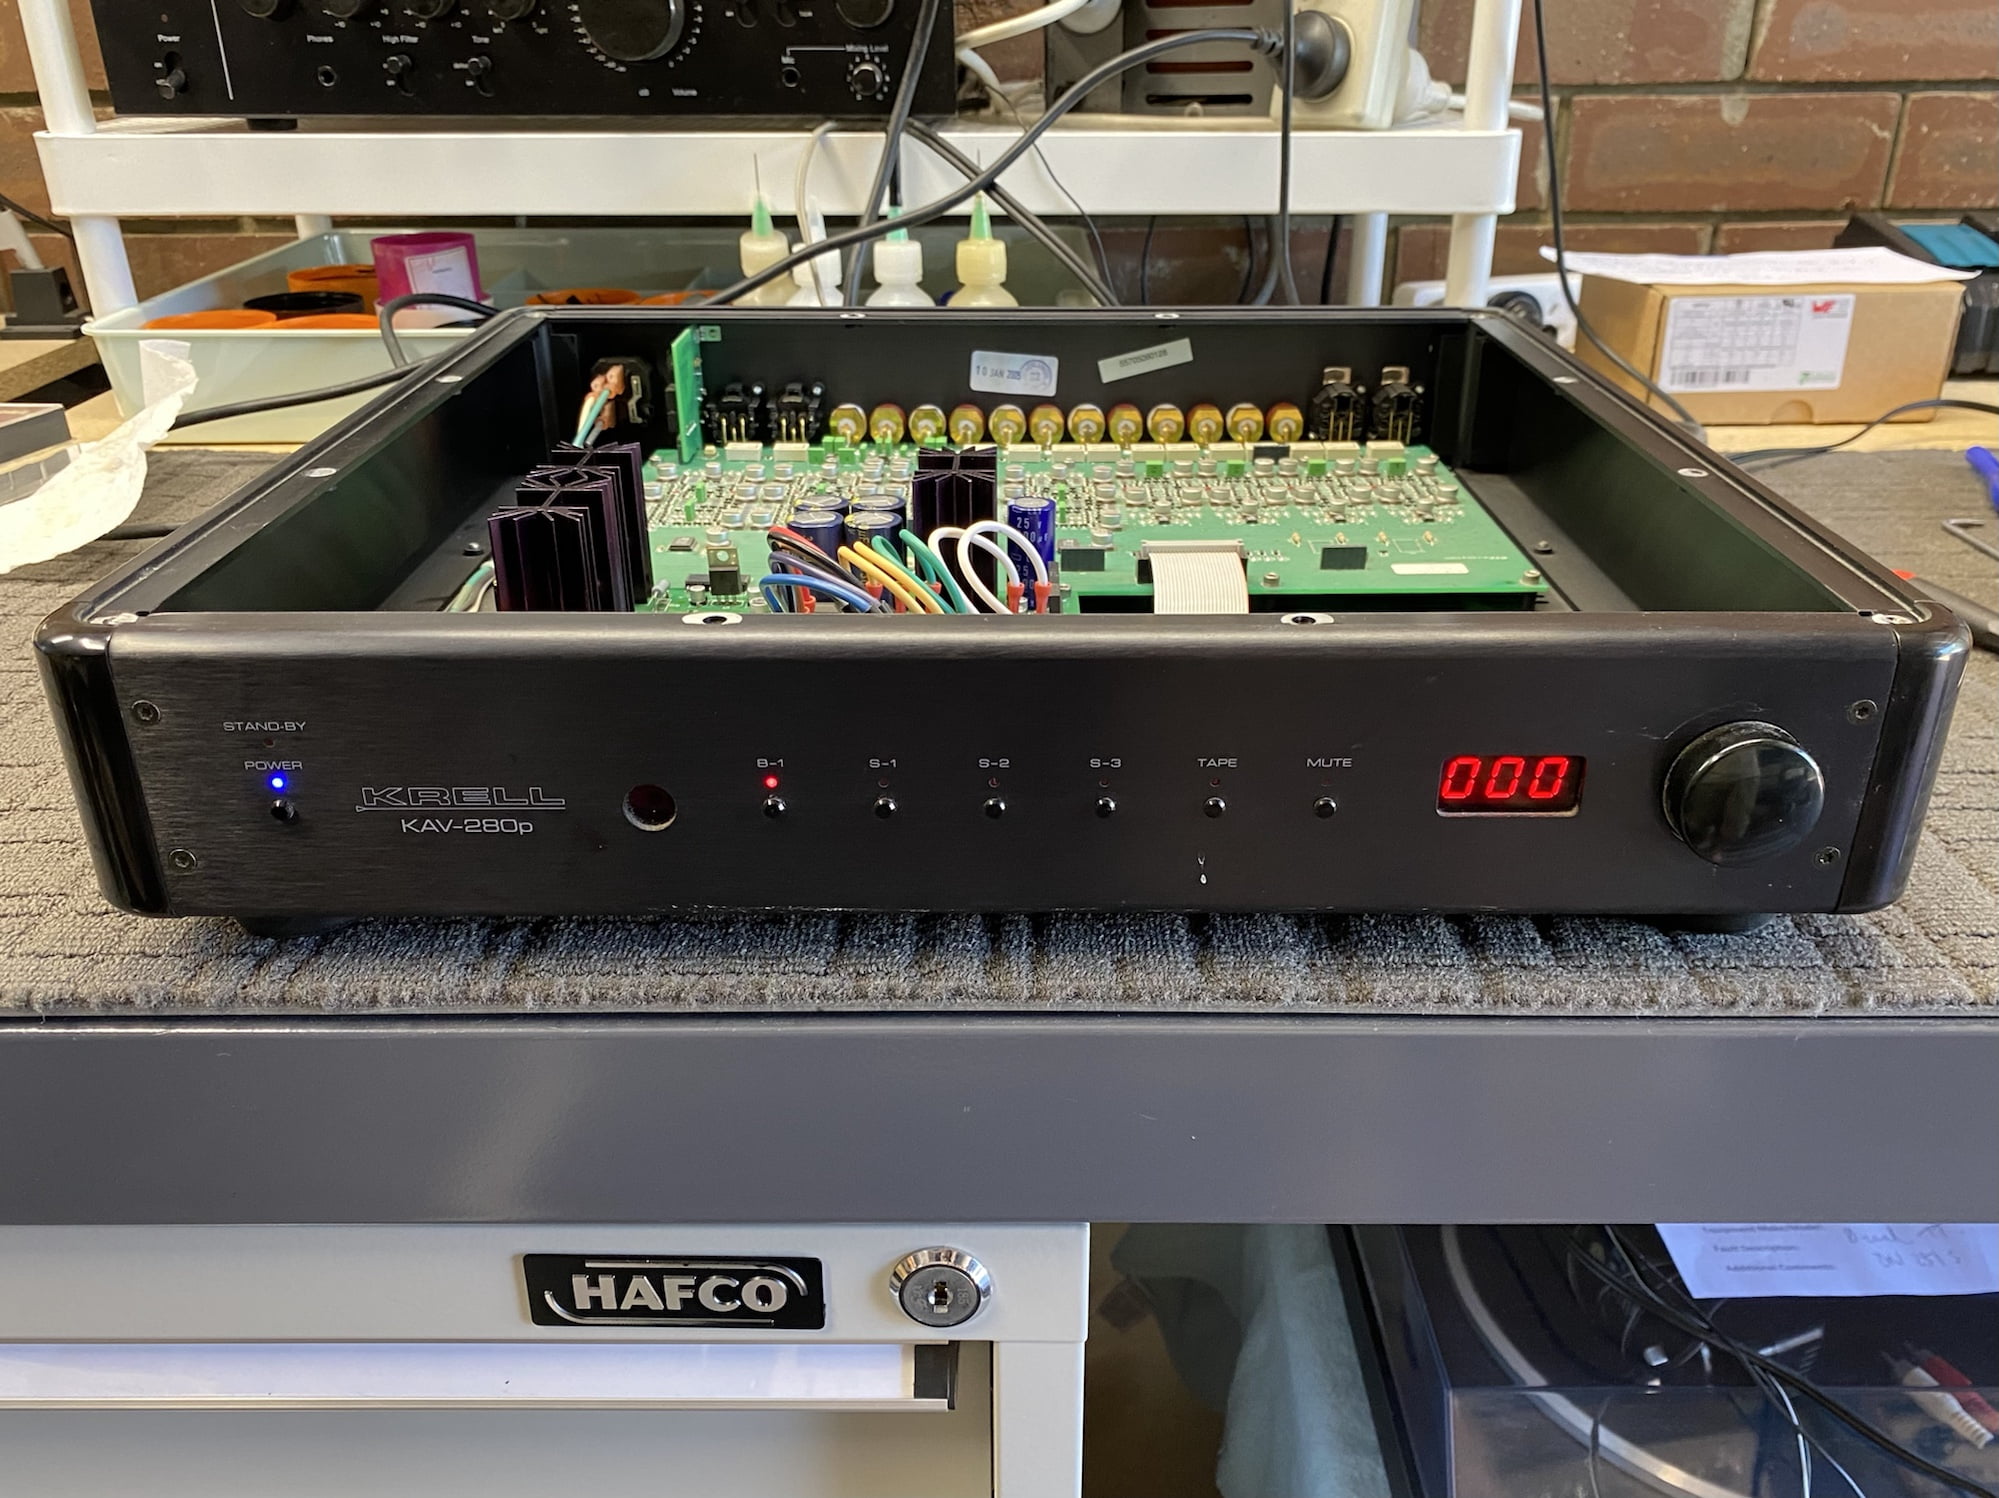
The question one might ask if one didn’t know much about gear like this is “Is a repair like this worth doing?” Well, to answer that we need to know a little more about what something like this might cost to replace. I don’t know if you’ve looked for a decent stereo preamplifier recently, but they are not easy to find.
There are a ton of horrible Bluetooth, integrated digital things you might not like very much if you love two-channel analog gear. Let’s just say that good stereo preamplifiers aren’t easy to find and expensive when you do. You’d pay many thousands to replace this KAV-280p balanced preamplifier with something similar new, so repairing it for a small fraction of that really is a genuine bargain.
As always, I hope you enjoyed this article, and if you’d like me to look at your KAV-280p, get in touch!
Discover more from LiQUiD AUDiO
Subscribe to get the latest posts sent to your email.



Great work, as always ¡¡¡¡¡¡¡ A pleasure to read and see your work.
Thanks Dario!
Great piece! I especially loved the term “blue-toothy”!
Thanks Tim, always looking for ways to entertain my regular viewers!
Did the previous tech not even blow off the dust ??? How pathetic is that !
Also surprising to see such an expensive component use garbage SMD caps !
Correct, I doubt they even took the lid off! SMD caps are prevalent across a huge range of gear, some of the most expensive test and measurement gear from this era was filled with them and they failed miserably. SMD caps have improved over time though and modern ones are OK.
For $3500 I would expect high end audio caps not cheap SMD
I hear you, though Krell did use really good caps in the critical parts of this power supply. Like many manufacturers, they jumped on the SMD bandwagon for many good design reasons, but the parts themselves let manufacturers and owners down. There’s a bit to this and I haven’t gone into all of it but the big issue with this design is that it never turns off, the standby power consumption is just too high and that kills these guys.
I wonder if this kind of refurbishment also would take care of another problem I have: the remote control part is not working while the remote control itself is validated using a digital camera? Could the voltage be wrong at the receiving side?
Hi Jan, thanks for your question. I cannot say and would need to get her in for further testing and diagnosis, but this sounds like something else to me.
The lid is on backwards – perhaps before and after. The vents are supposed to be above the power supply, where it gets warm – a likely partial cause of the problems in the first place. Great site, videos and reviews – they’ve helped me with the same units. I replaced my SMD with modified radial can.
Hi Ricardo, I disagree and believe the lid orientation is correct as shown. The lid venting is only mildly asymmetrical so air will flow convectively through the unit no matter which way around the lid is. You’ll note though that the most heavily vented part of the bottom panel is towards the back, under the main board where the vast majority of transistors reside, operating in class A of course, not the power supply. This is important because the lid should have the same orientation. These units fail for a variety of reasons, mostly related to the poor surface mount capacitors available at this time and their tendency to leak, not the lid orientation. Glad you’ve found my site and work helpful, thanks for visiting.
I have found it helpful Mike, particularly referencing your pics for the values. I am taking mine a step further and replacing all SMD across the preamp board as well as control – I think in this case, just a bad part selection on the part of Krell – that, or as you point out, early generation SMD.
QTY-50 68uF 25v (few extra), QTY-6 10uF 35v (Nichicon makes an audio cap), I plan to replace the green wima polyester 33pF with silver mica x8, and already replaced 100pF (QTY-4)/47pF (QTY-8) output caps from green polyester to Charcroft silver mica. The modified radial can capacitors I modded to SMD were Vishay, and I think those electrolytics are excellent and likely last way longer than any SMD new or old. Thanks again.