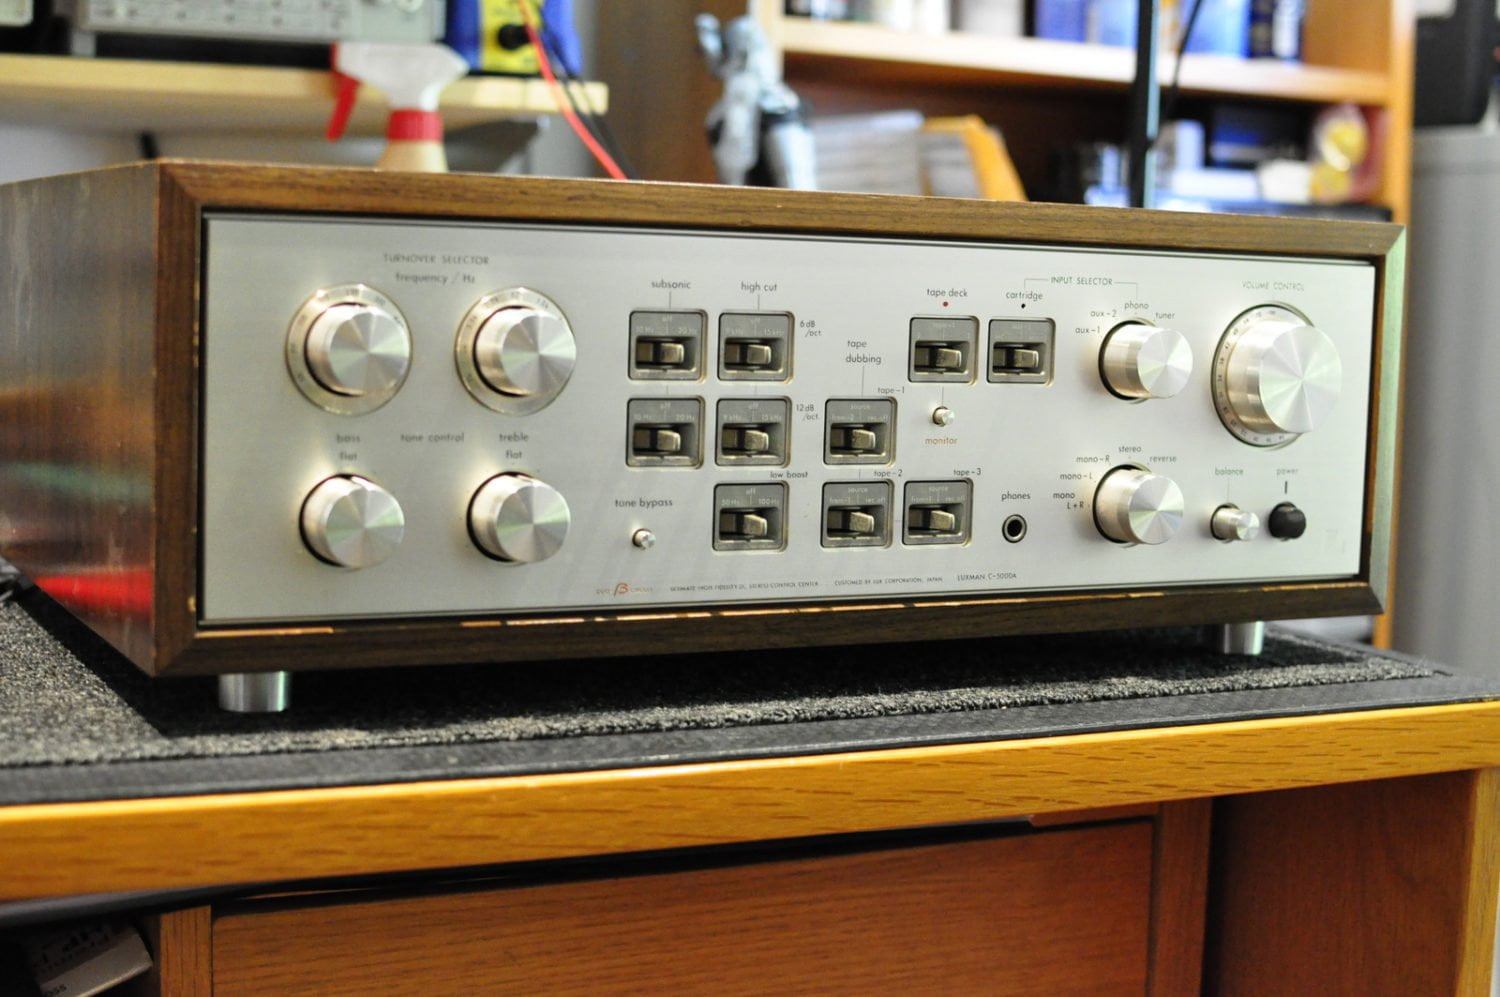
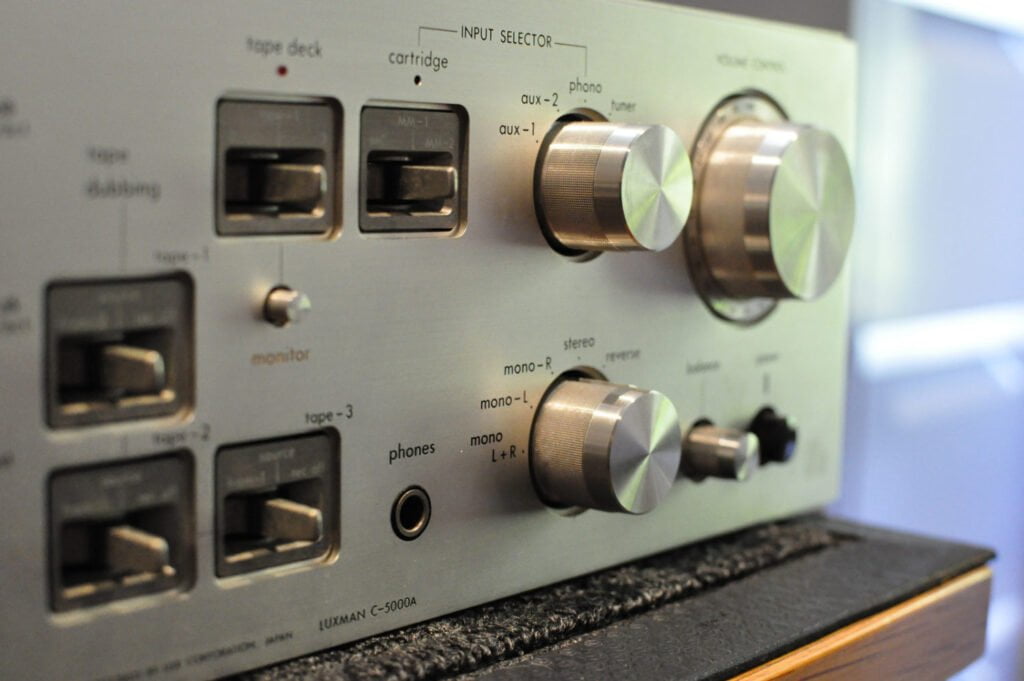
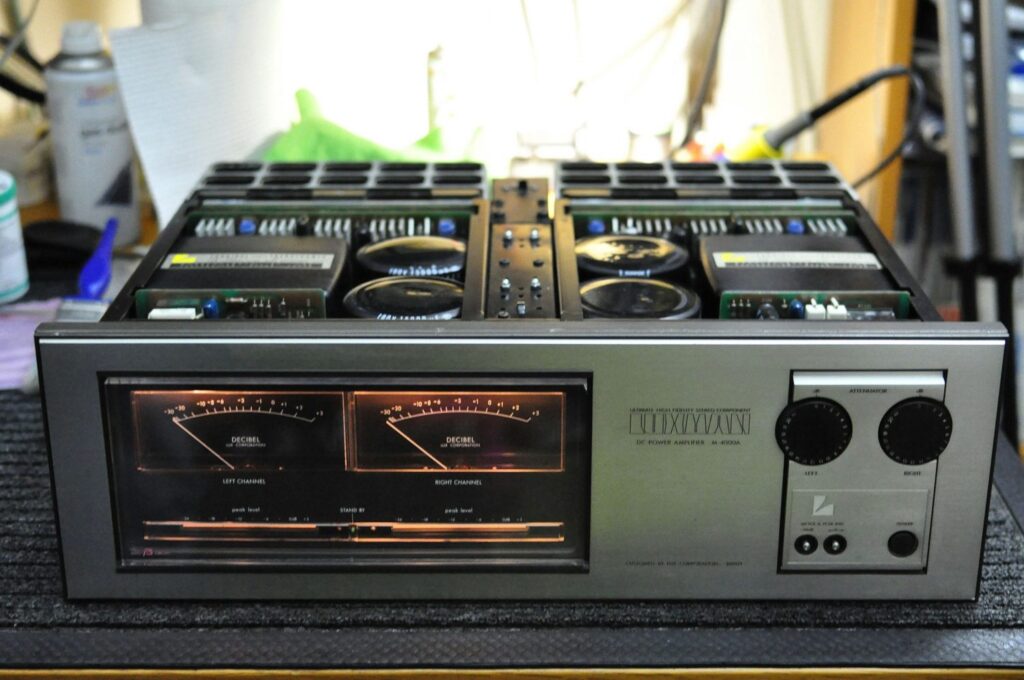
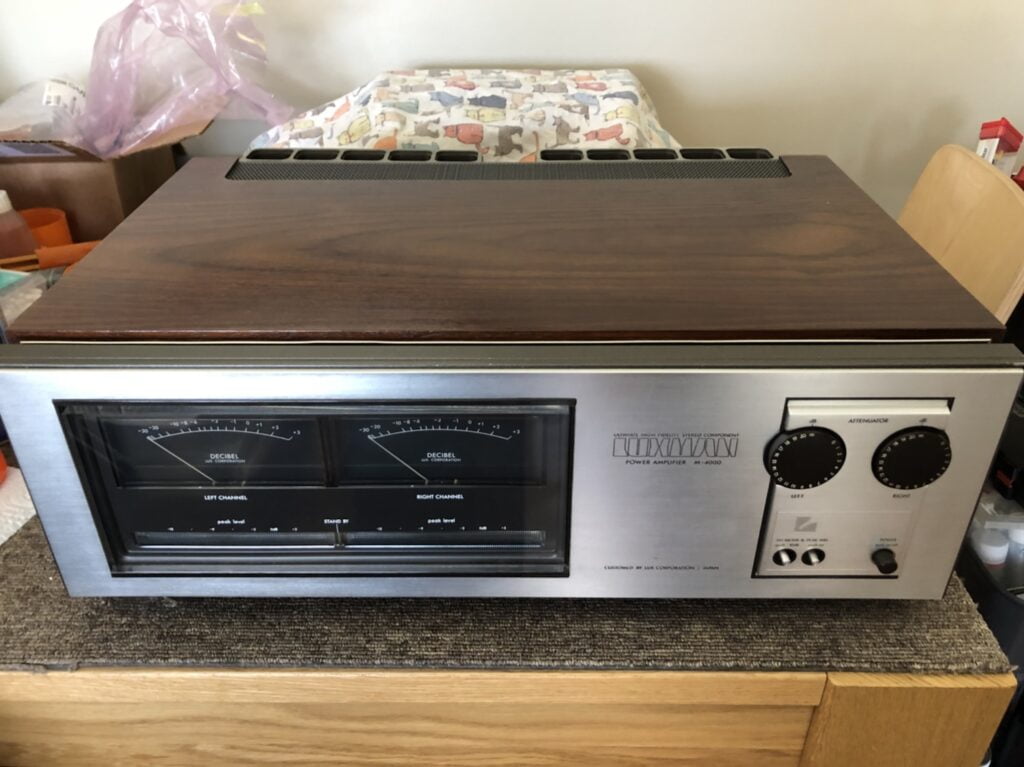
I recently restored a gorgeous Luxman M-4000A power amplifier and this stunning matching Luxman C-5000A preamplifier.
You can read about my M-4000A restoration here. This post looks at the C-5000A, a rare and beautifully built preamplifier, from the somewhat enigmatic manufacturer, Luxman.
Service Data
The Luxman C-5000A is so rare that, despite searches and contact with the Luxman Yahoo group and the Luxman Vintage Audio website, no service manuals are available for the ‘A’ series models. There is service data available for the M-4000 and C-5000, but these are quite different so that data is not much help.
The only thing anyone found was a sketchy hand-drawn M-4000A schematic. Unfortunately, no information identifying the functions or settings of the various trimmers in either unit was ever located. This meant I had to proceed blindly with the Luxman C-5000A.
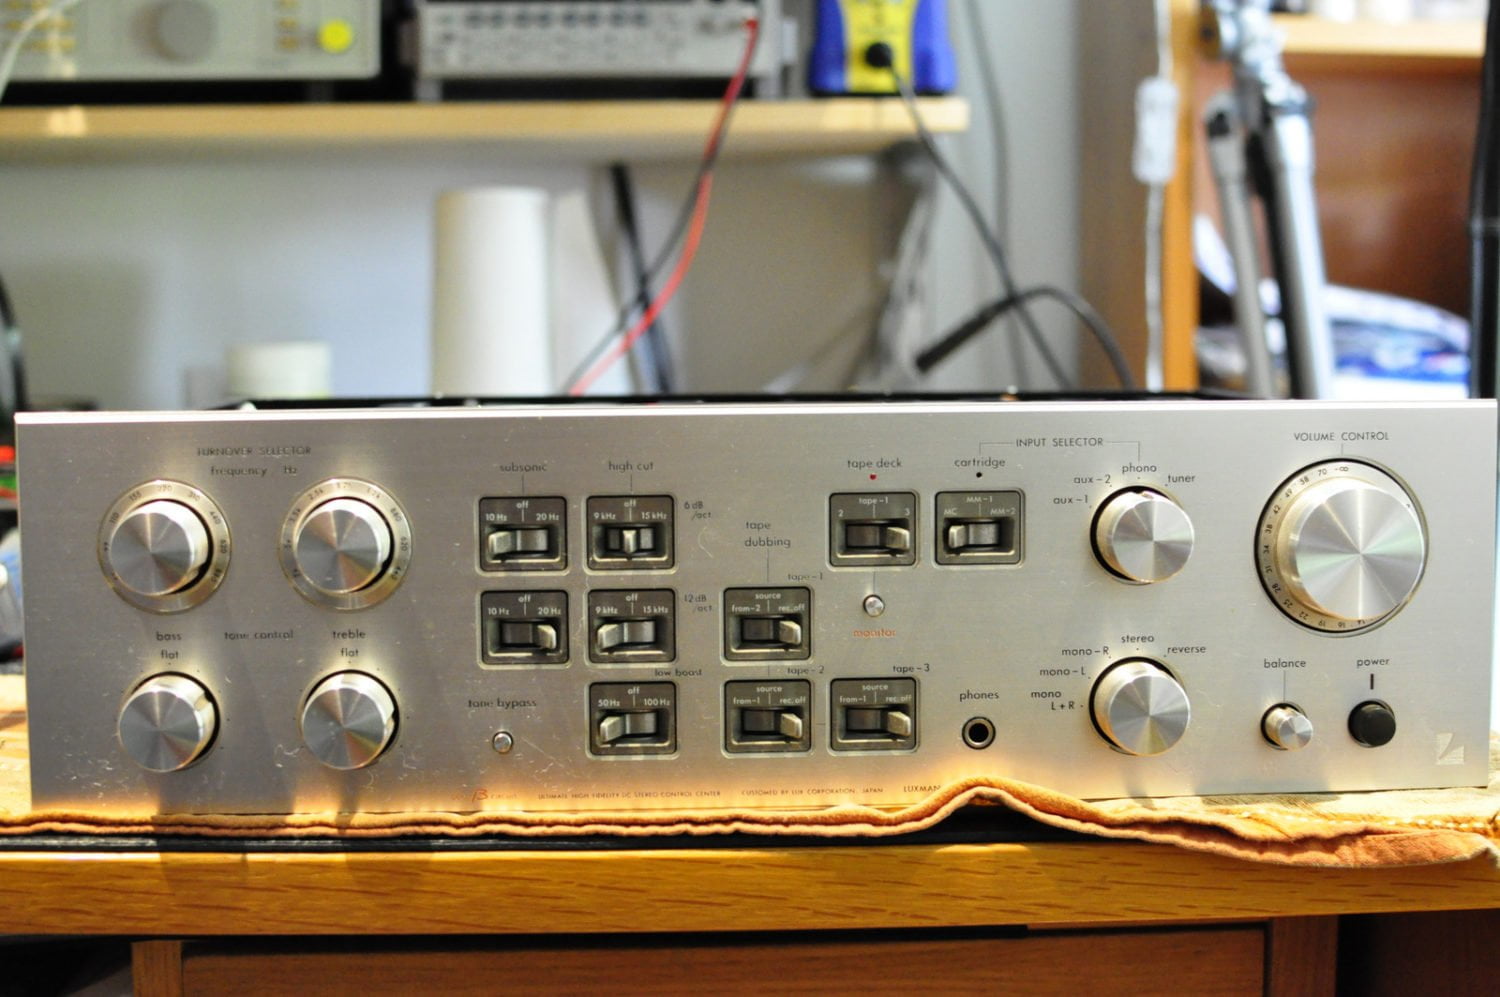
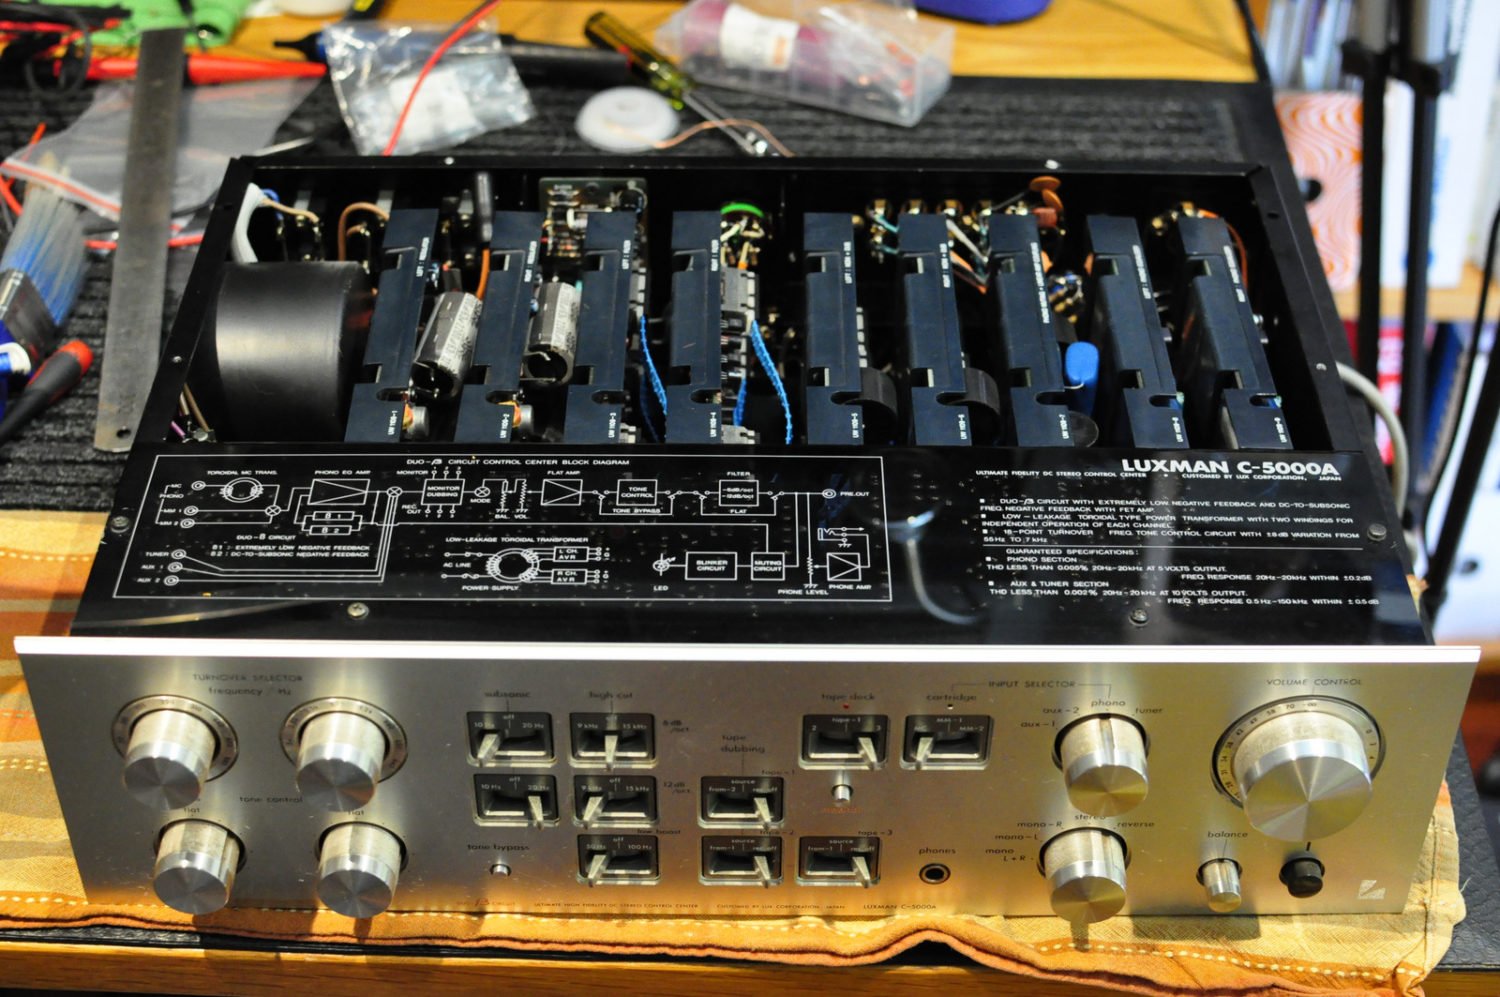
Someone had worked on both pieces previously, replacing various parts and creating the problem of not being sure the new parts were of the same spec as the originals. Experience tells me that in many cases they are not. Without factory service data, one can never really be sure. The other issue is that, without factory service data, setting the equipment up correctly after working on it can be difficult.
Modularity
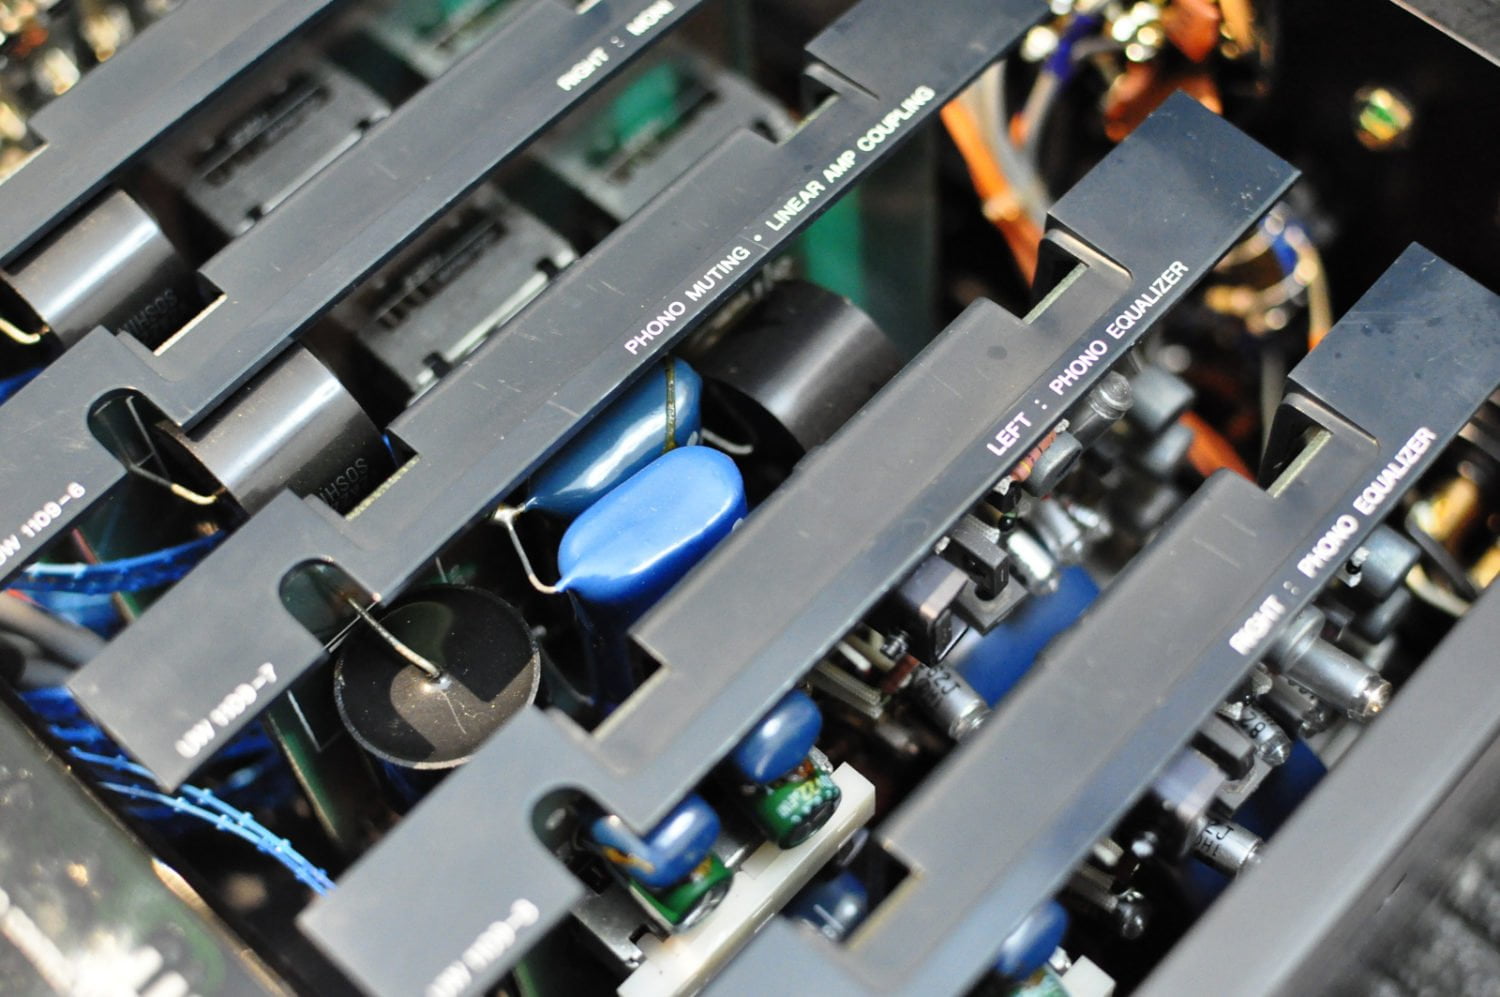
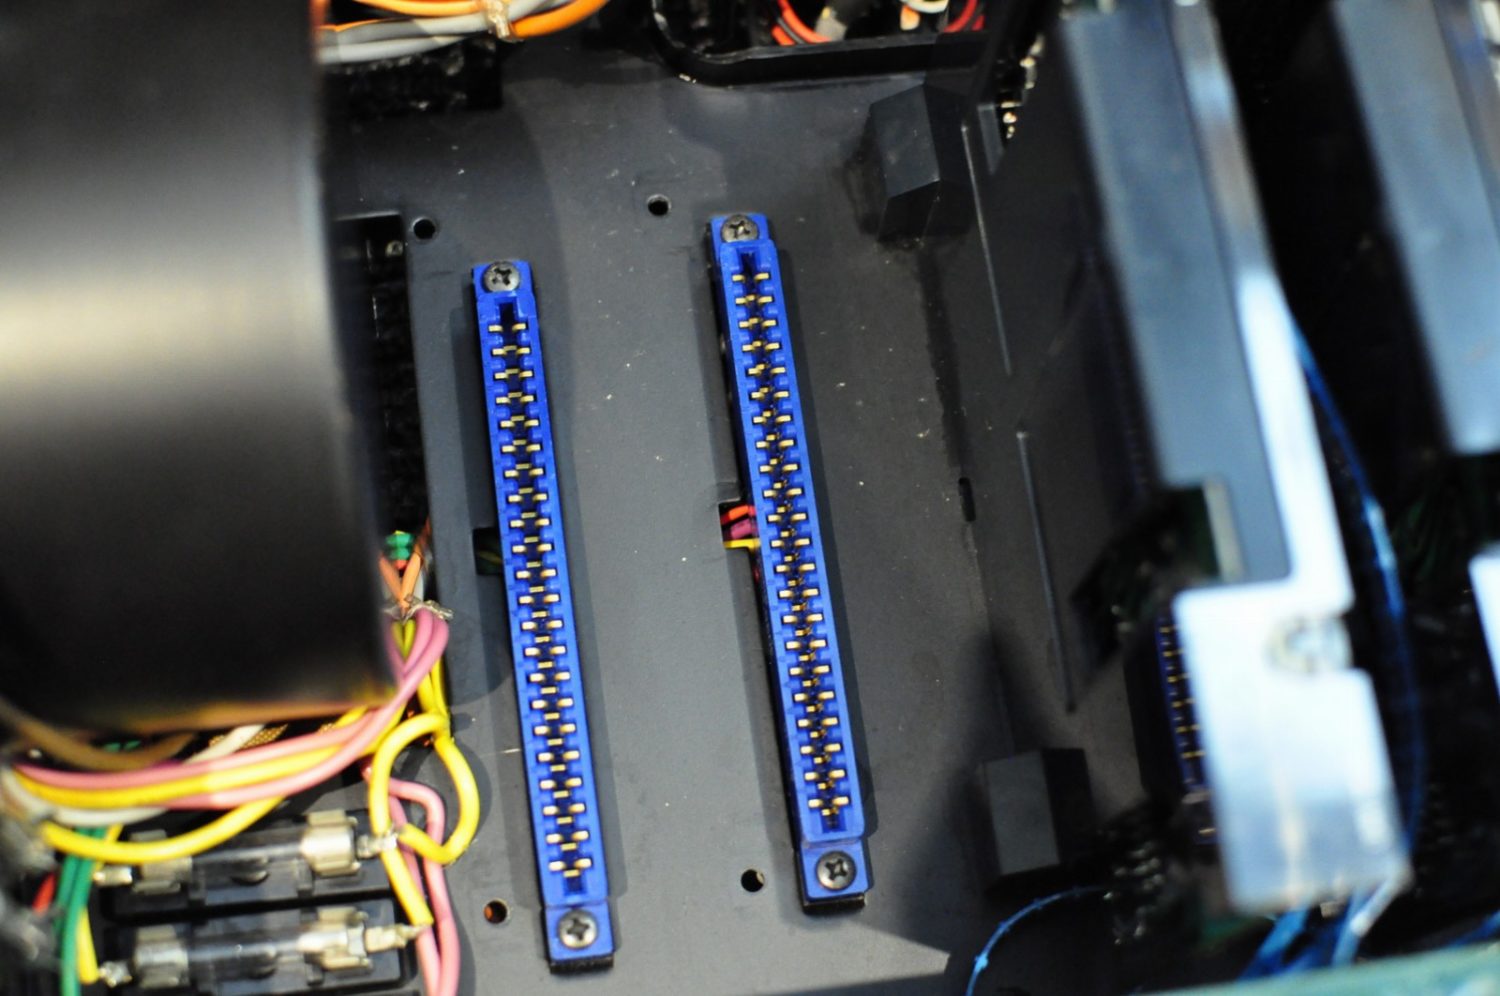
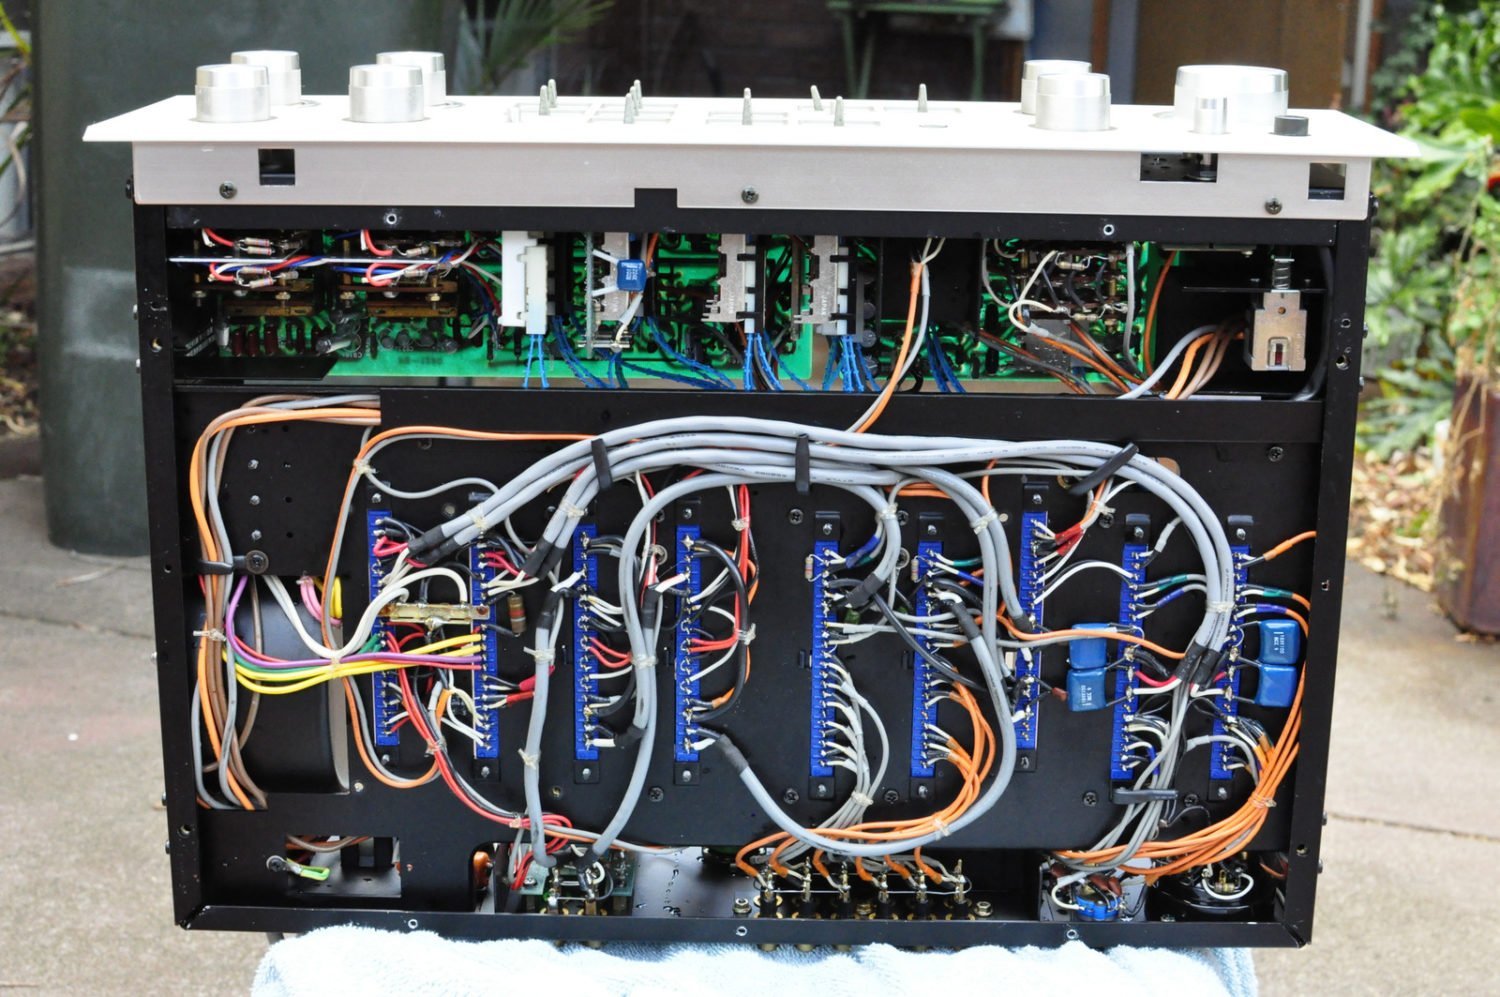
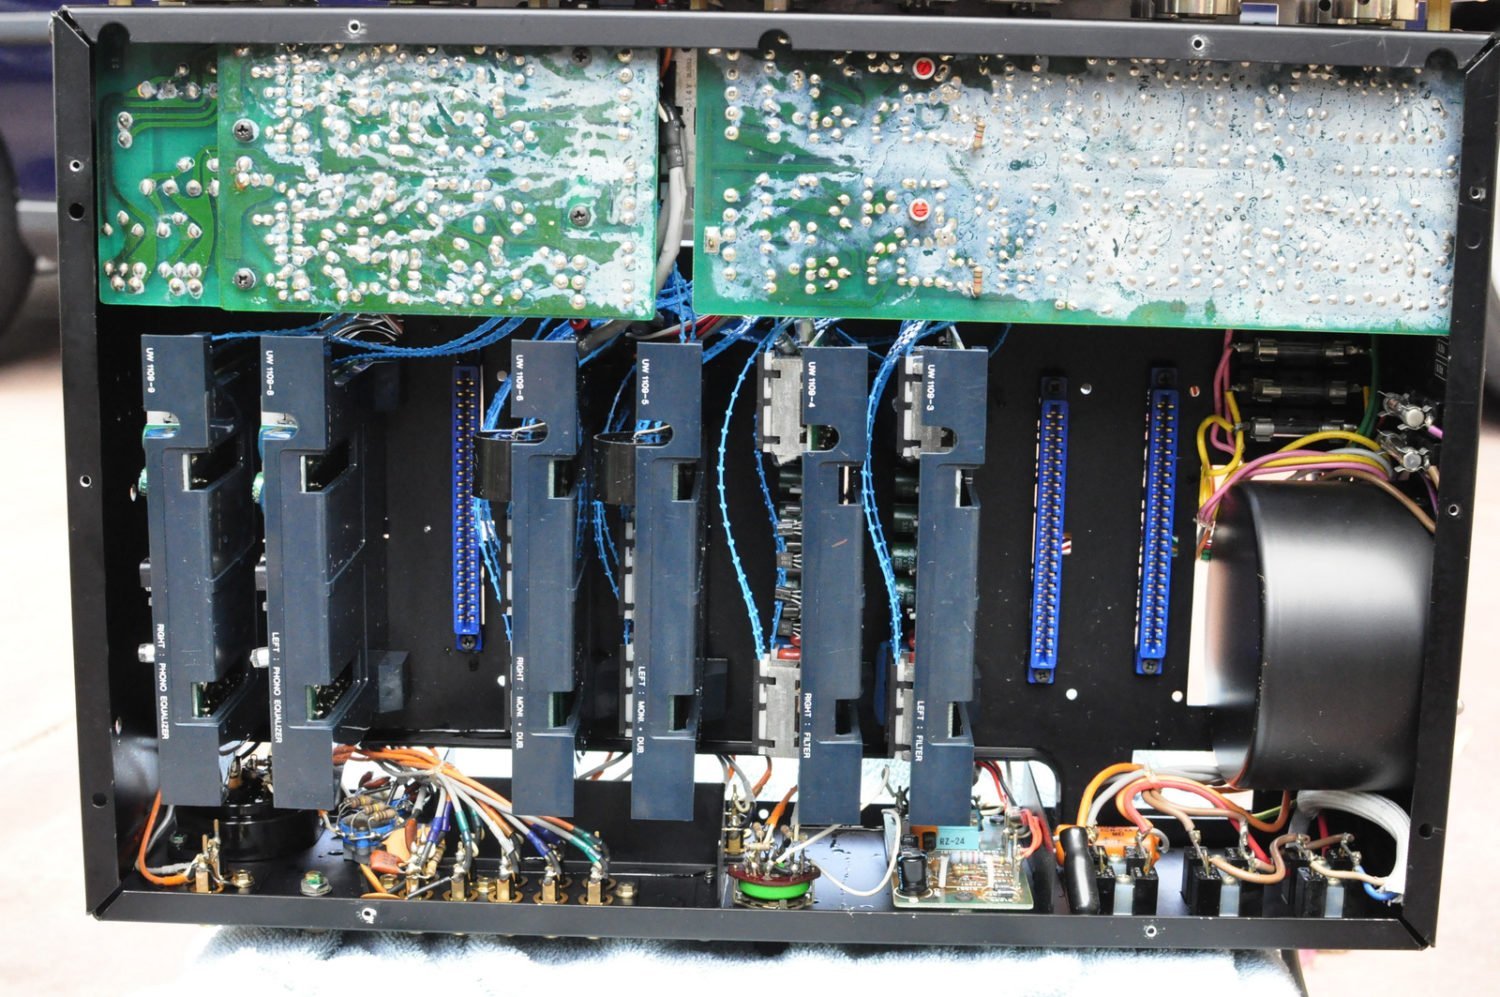
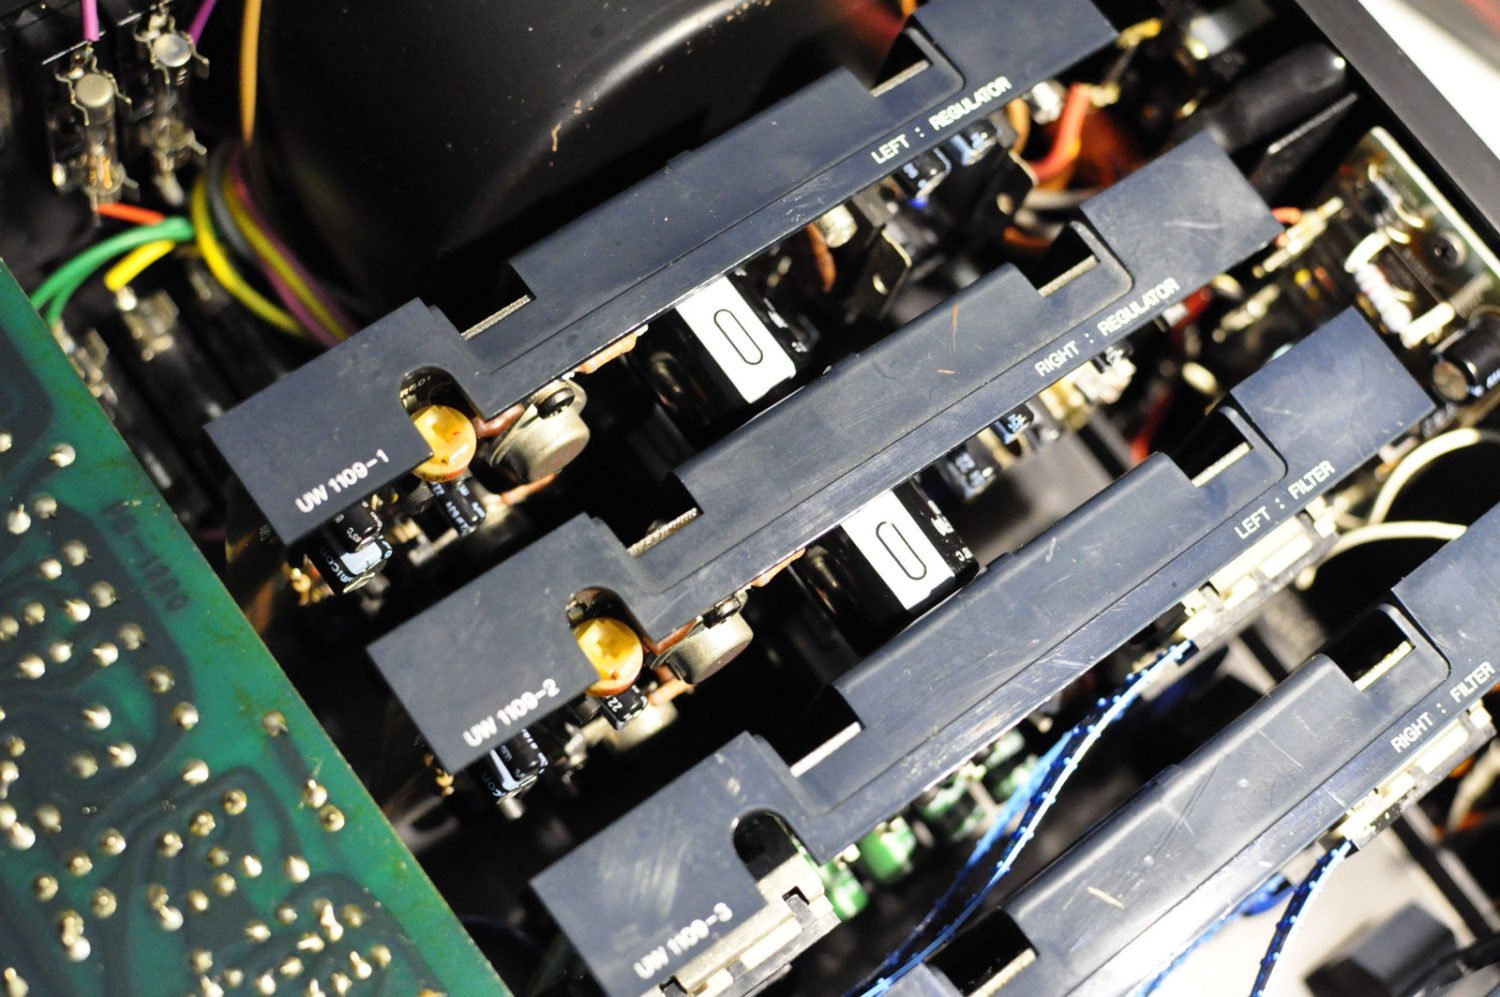
The C-5000A is built in a way that most modern gear is not. The preamp is completely modular, with a chassis, in which the various modules reside, as plug-in cards. This approach is more akin to that found in test and measurement gear and is only rarely found in consumer audio equipment.
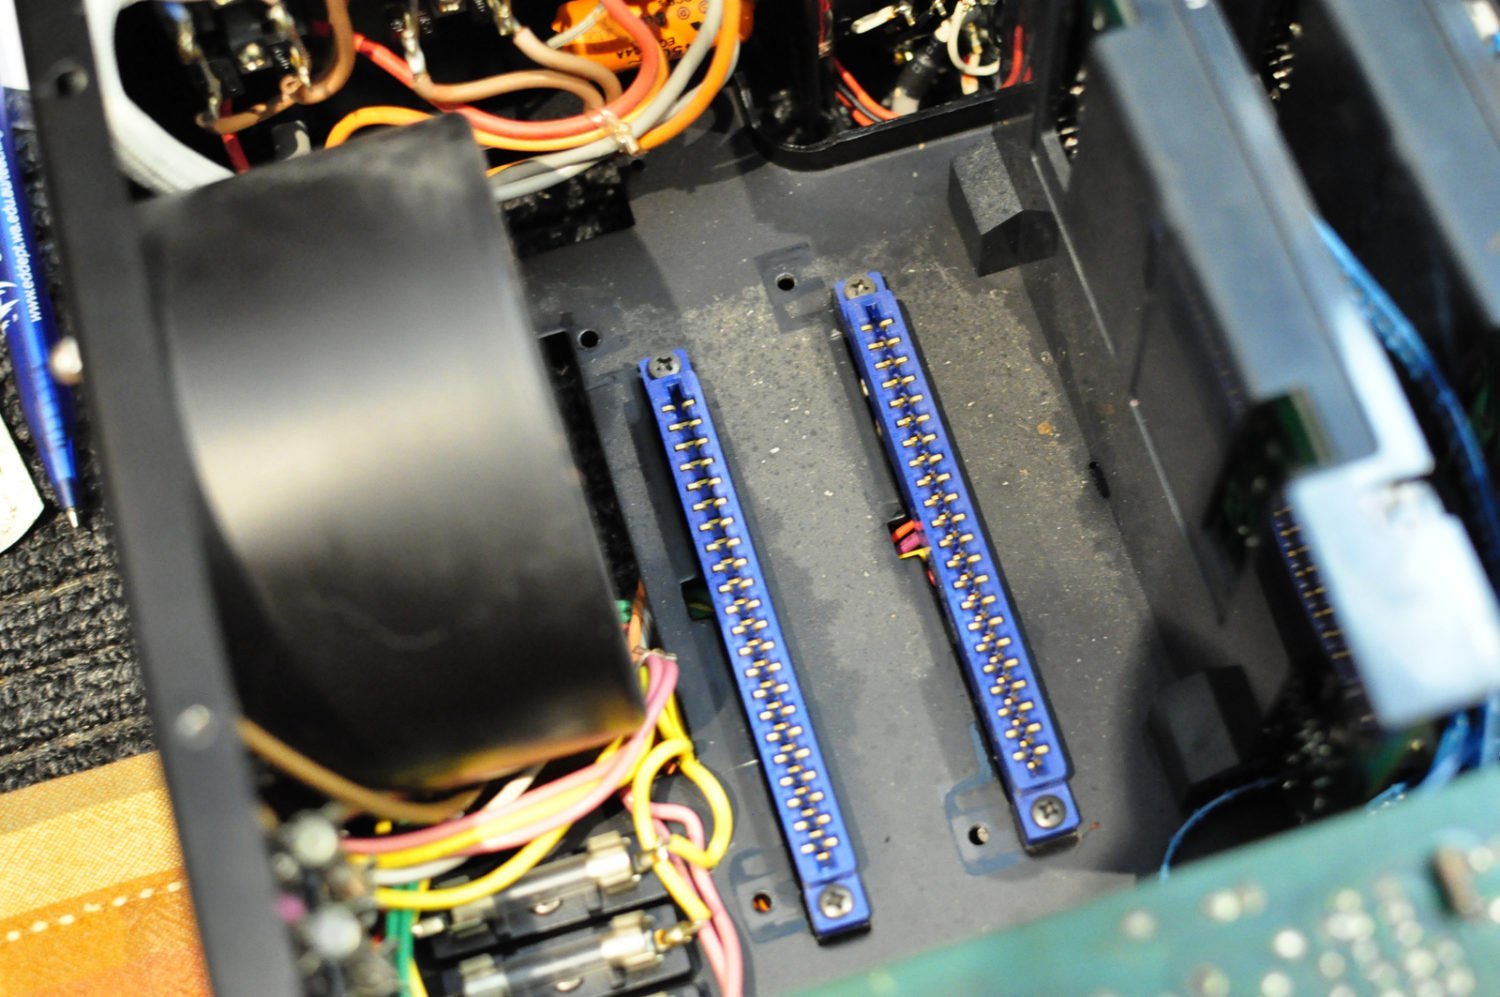
Accuphase is one other such manufacturer which has always used this form of modular construction. This form of construction makes servicing and repairs both easy and hard – easy because the boards just unplug from the backplane inside the chassis; and bad because you need extender cards to allow you to make measurements and adjustments.
Restoration
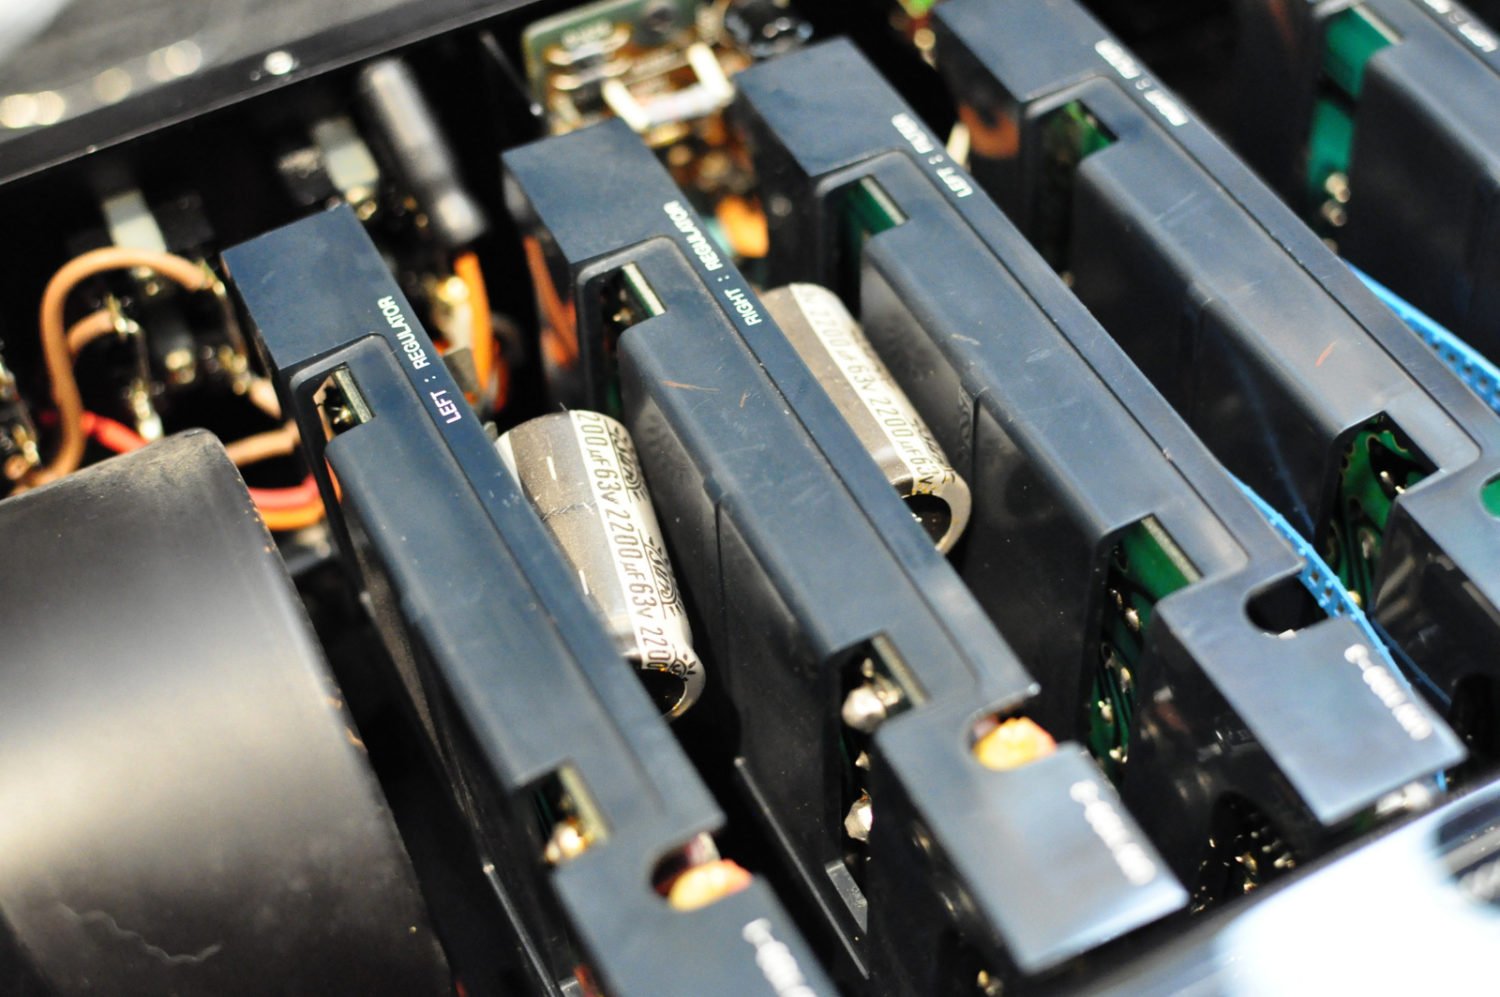
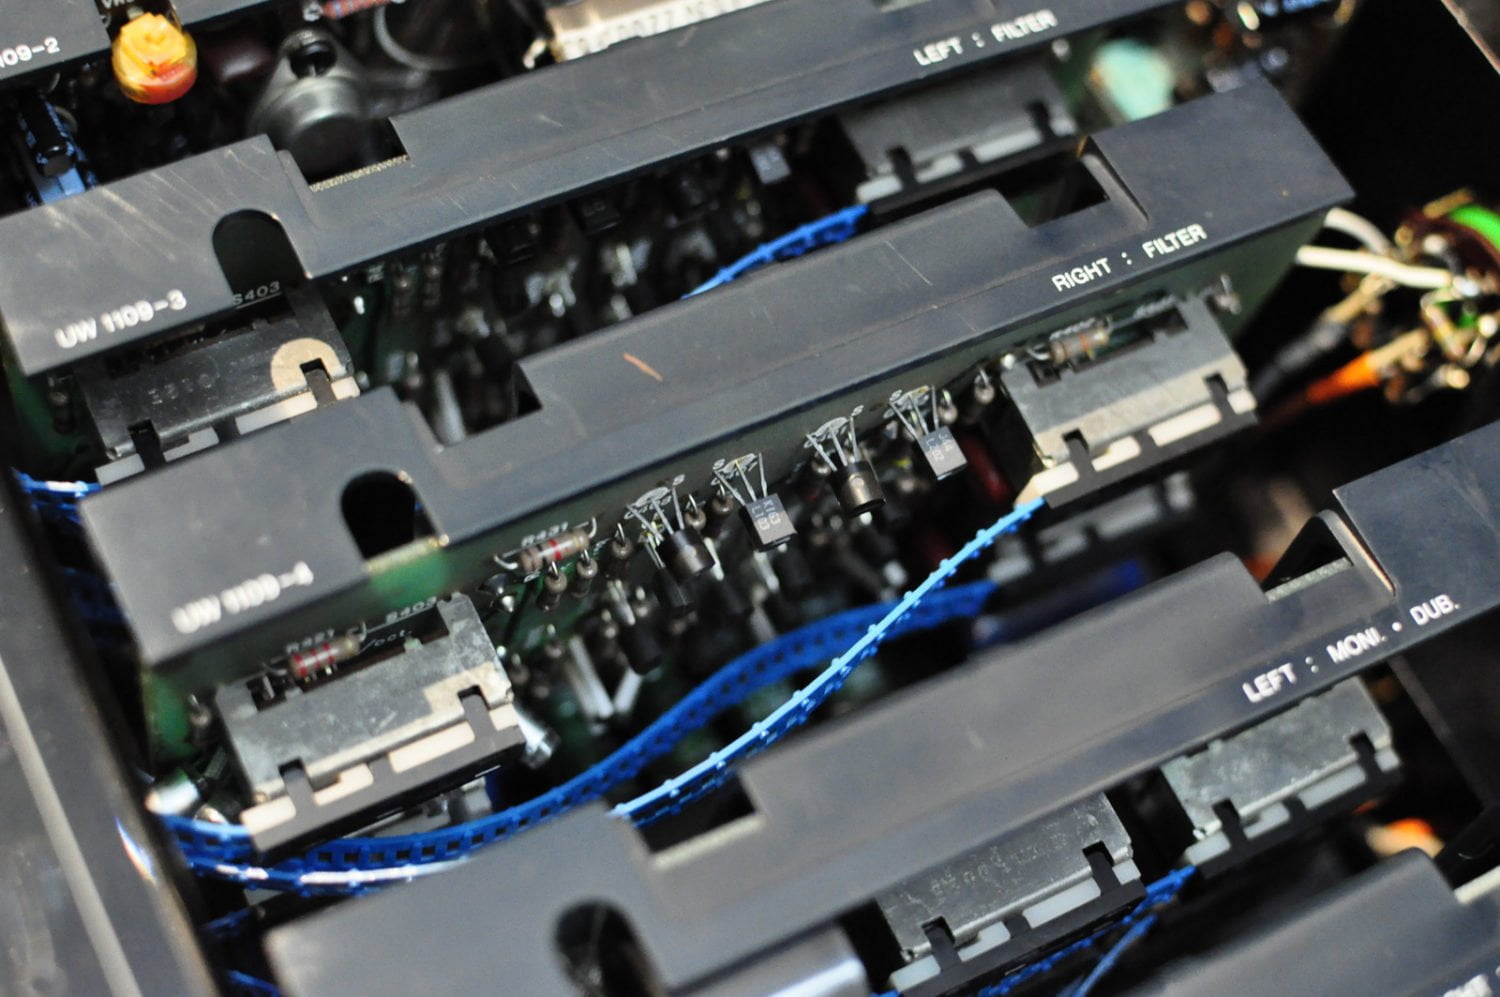
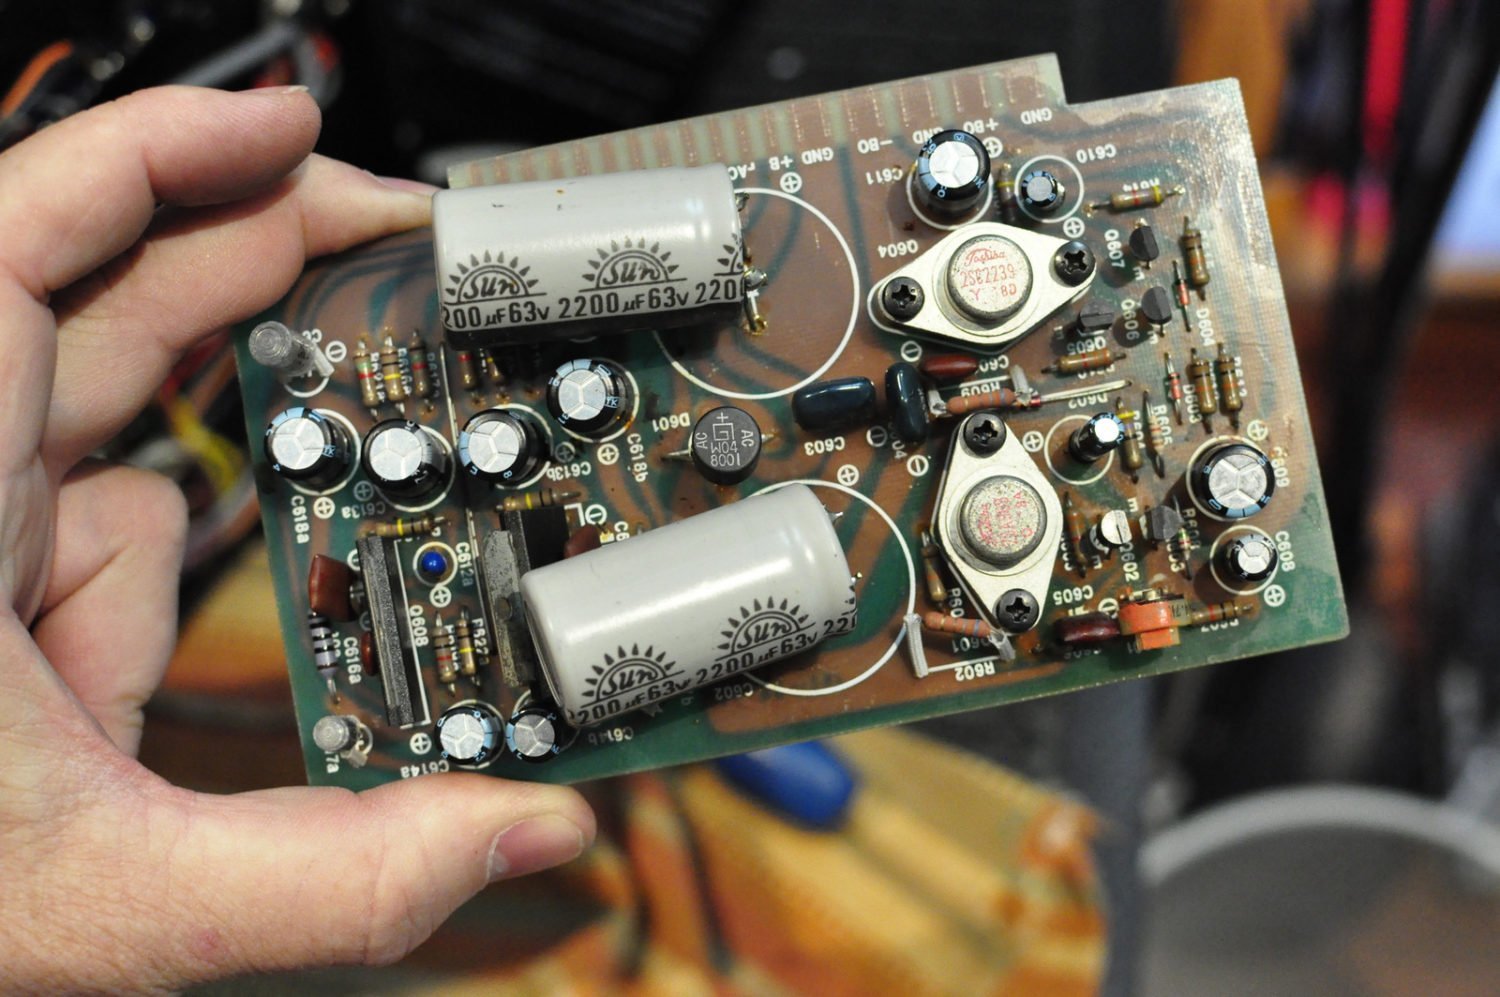
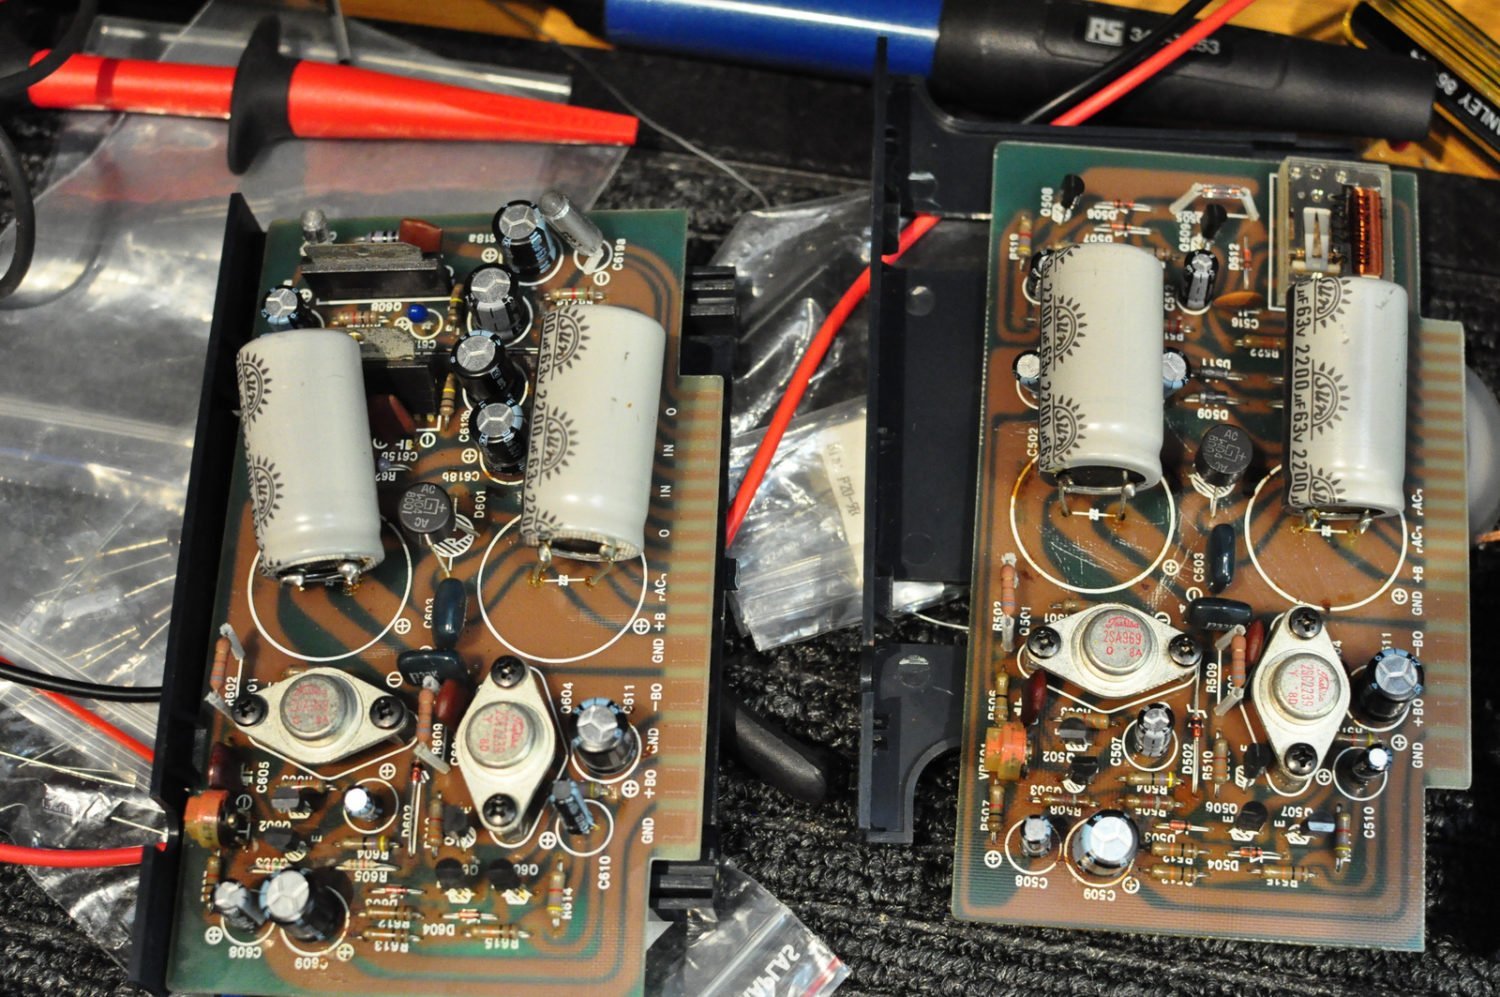
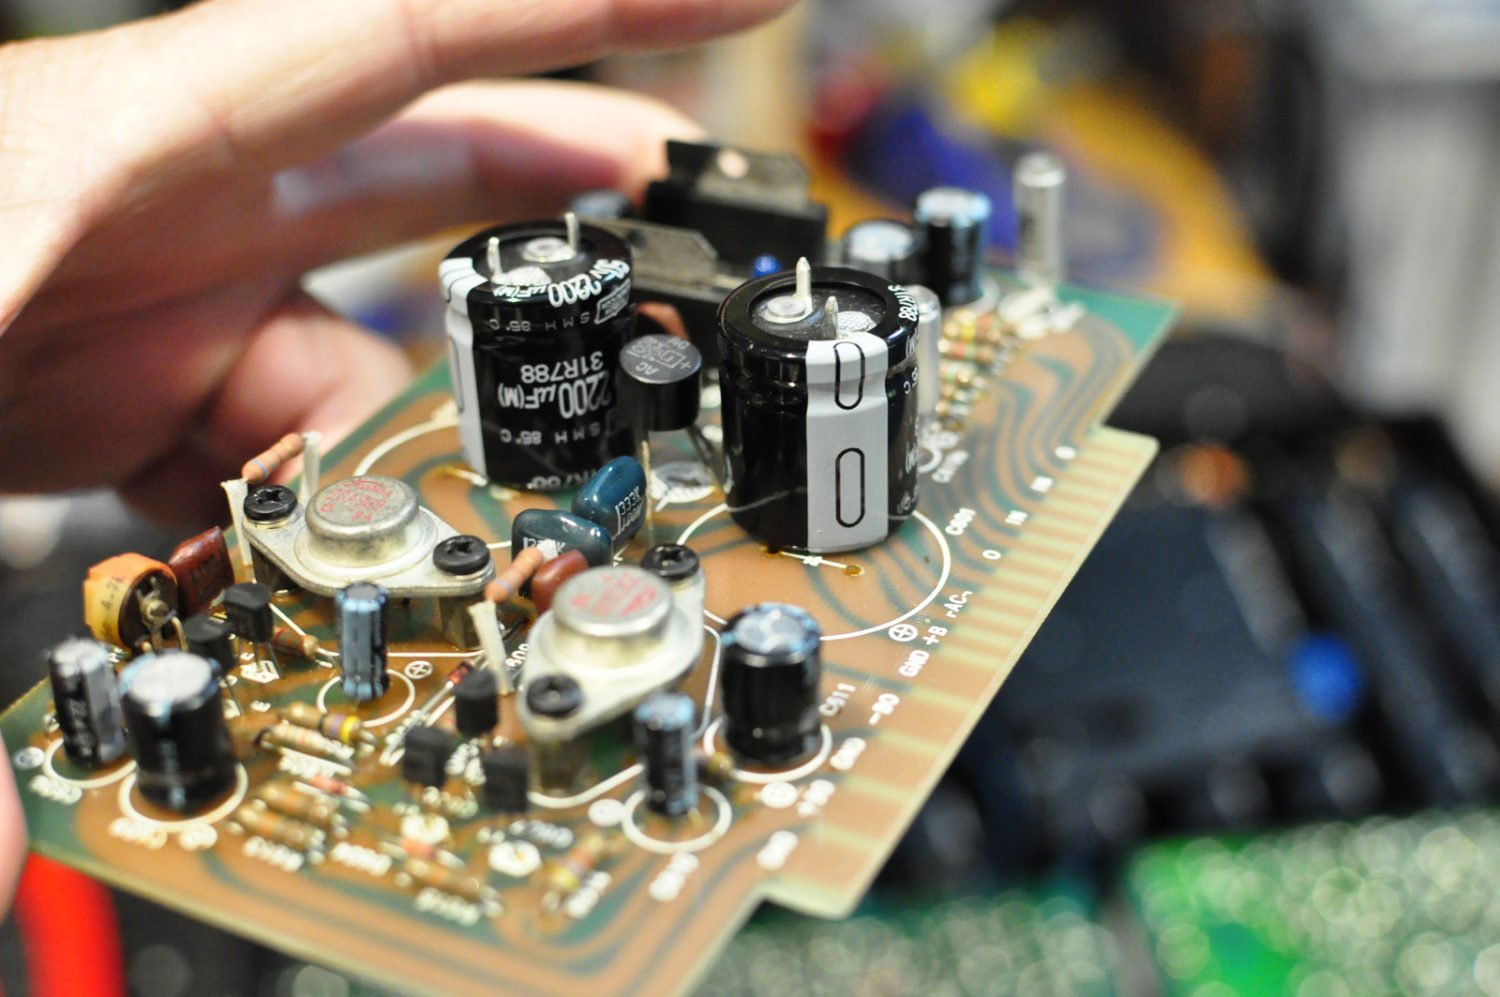
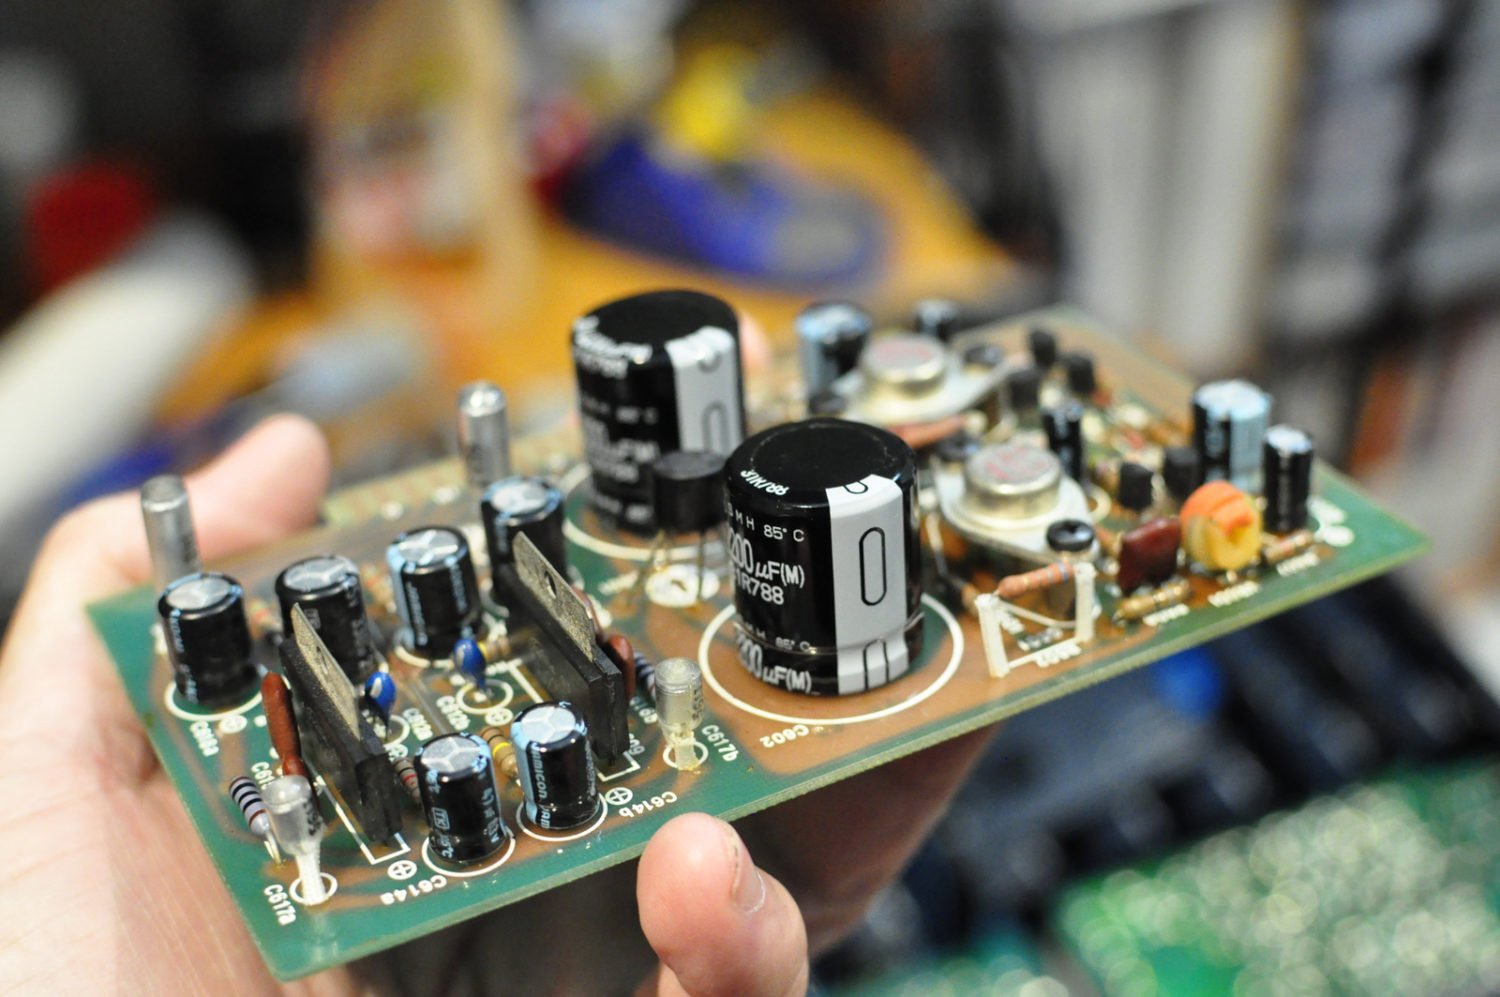
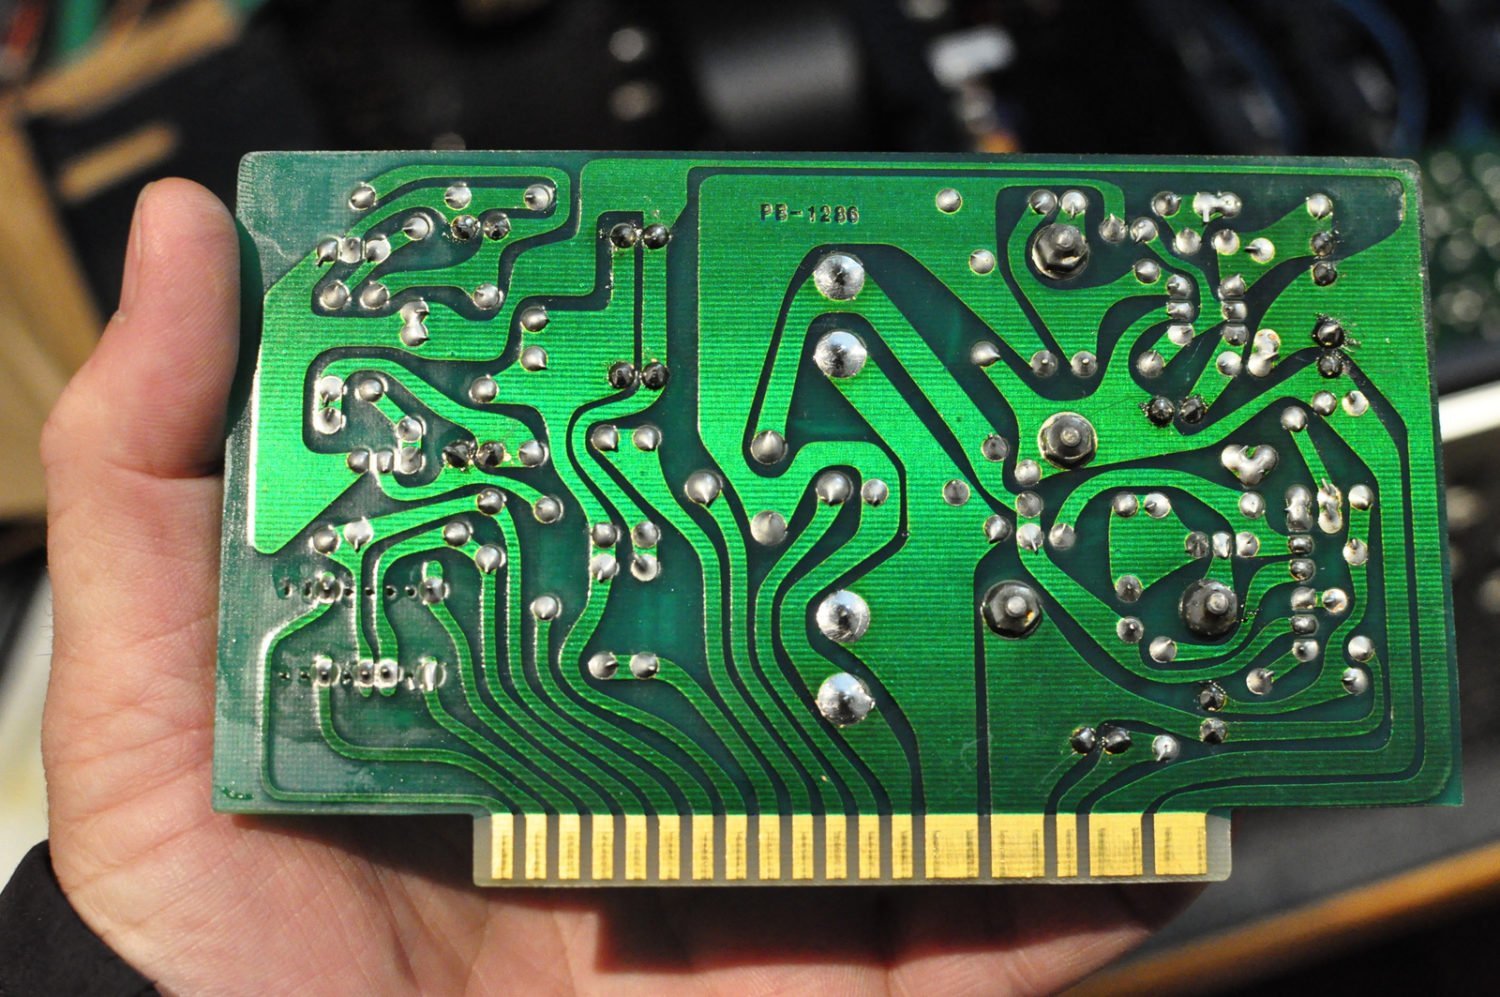
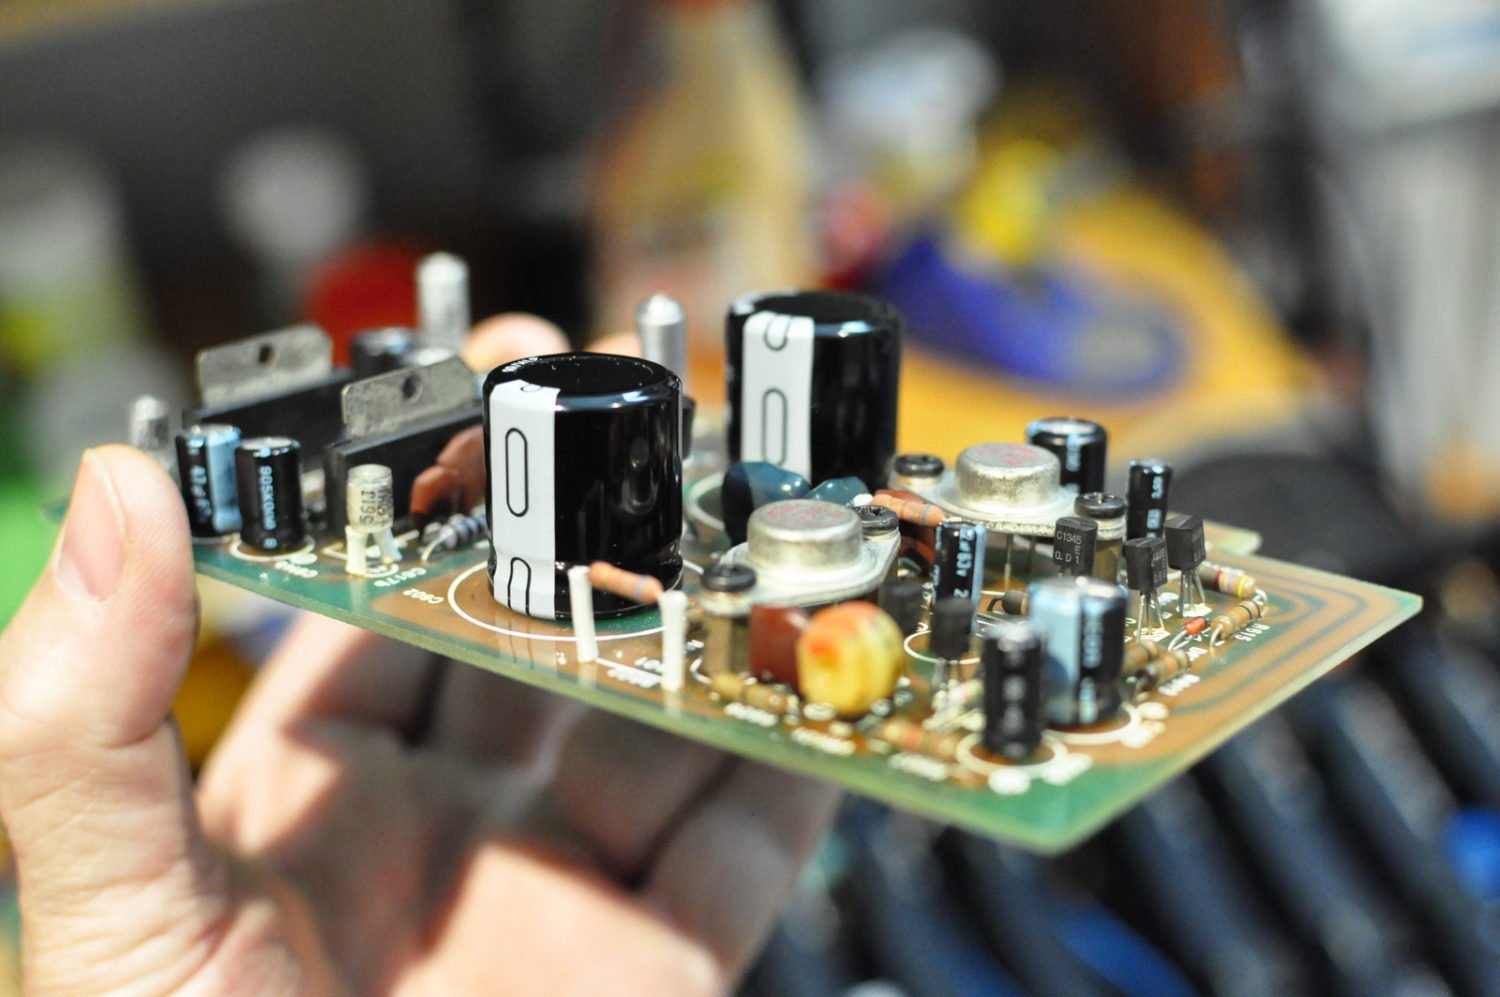
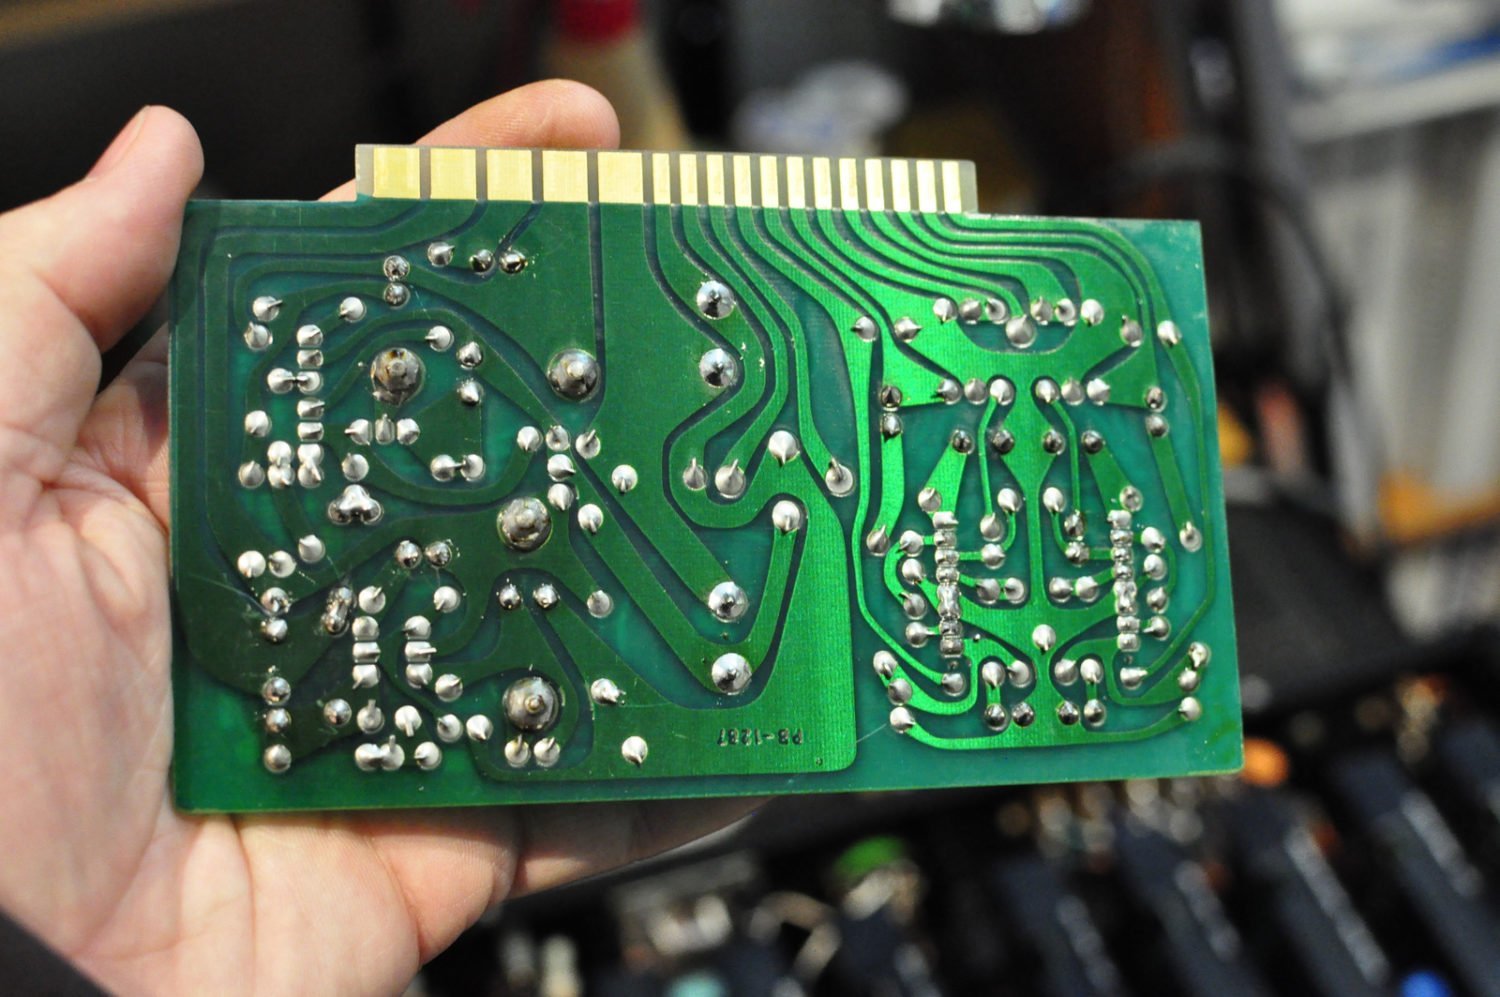
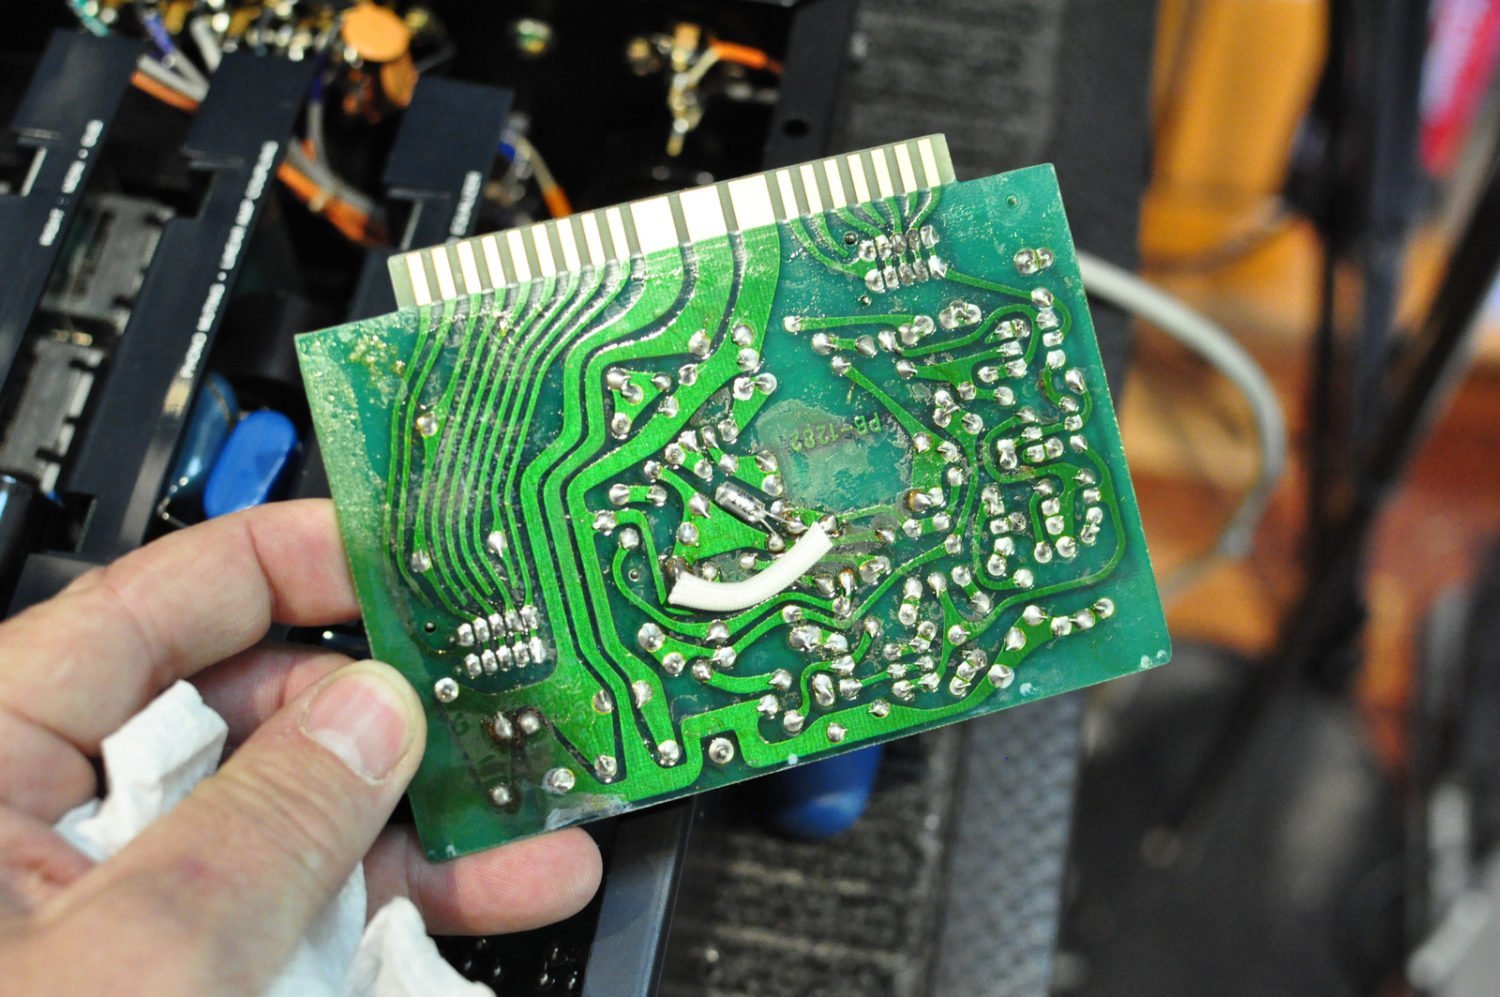
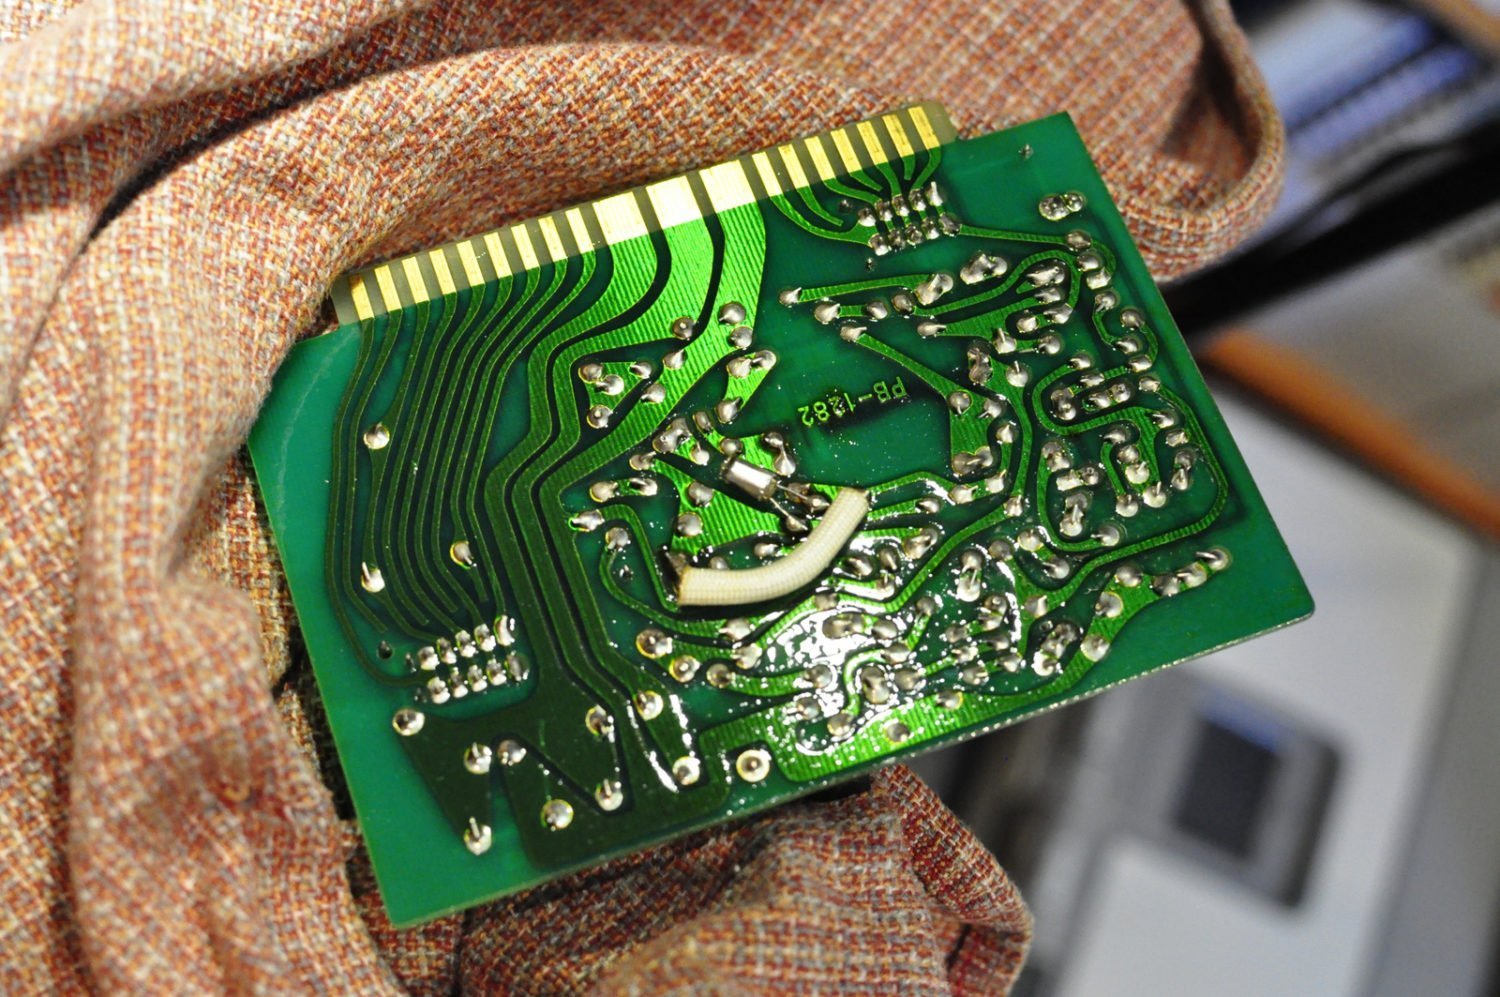
This particular C-5000A was much like the M-4000A in that it was dirty, had poor-quality replacement capacitors in places and needed some TLC. The following images document my service and restoration of this lovely old piece of equipment. You can of course find more about the C-5000A at The Vintage Knob.
Cleaning
Refurbishment
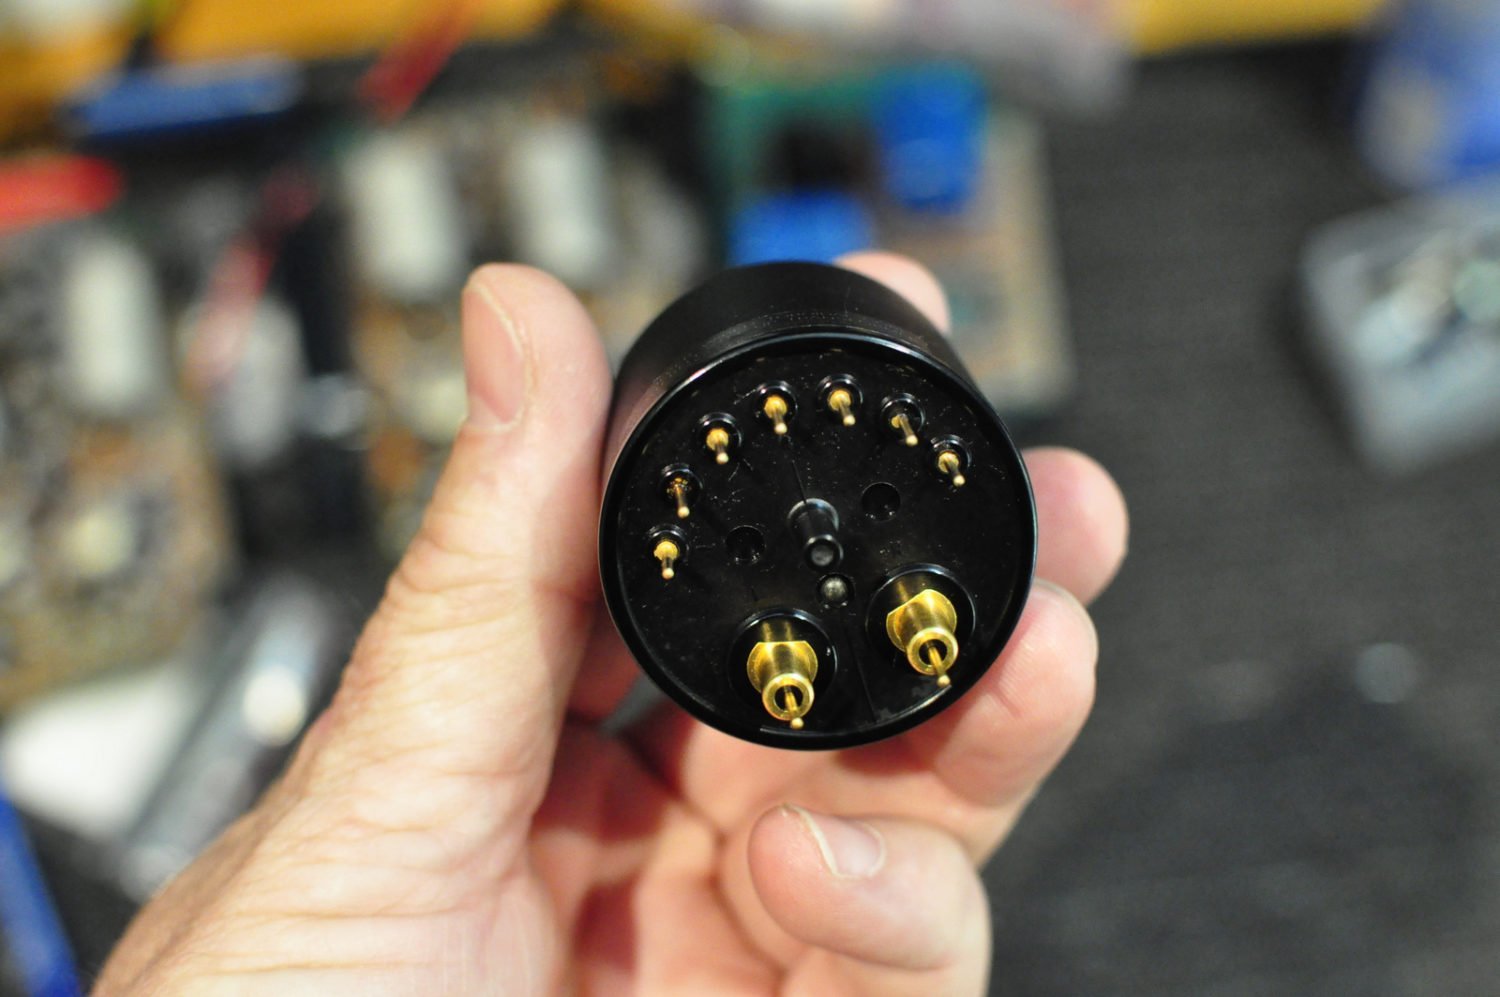
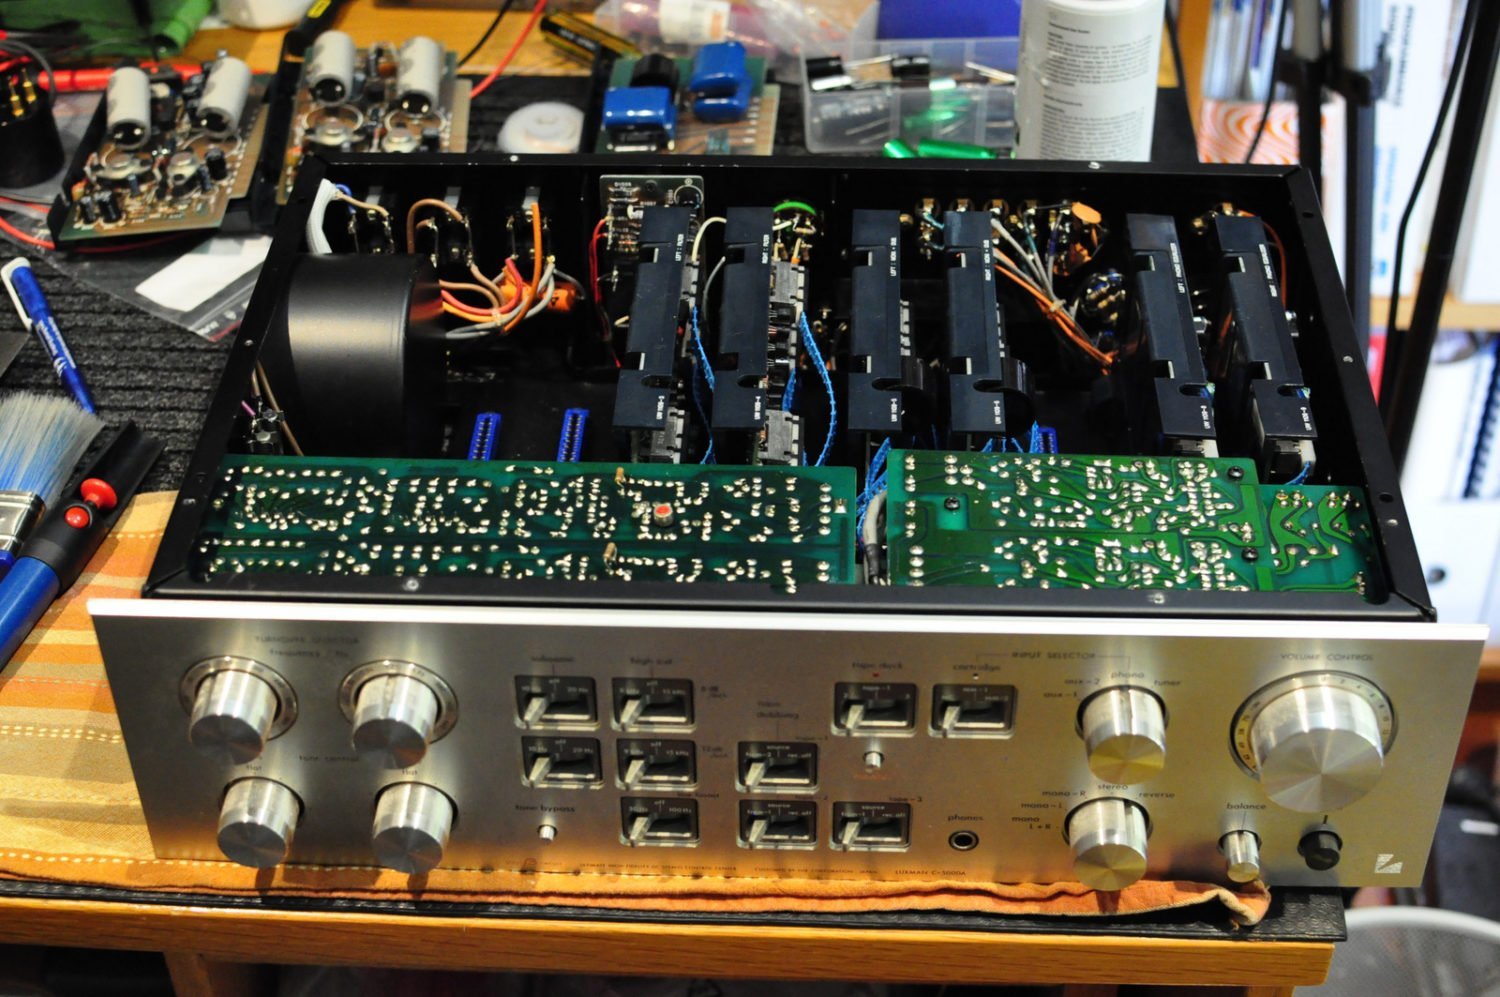
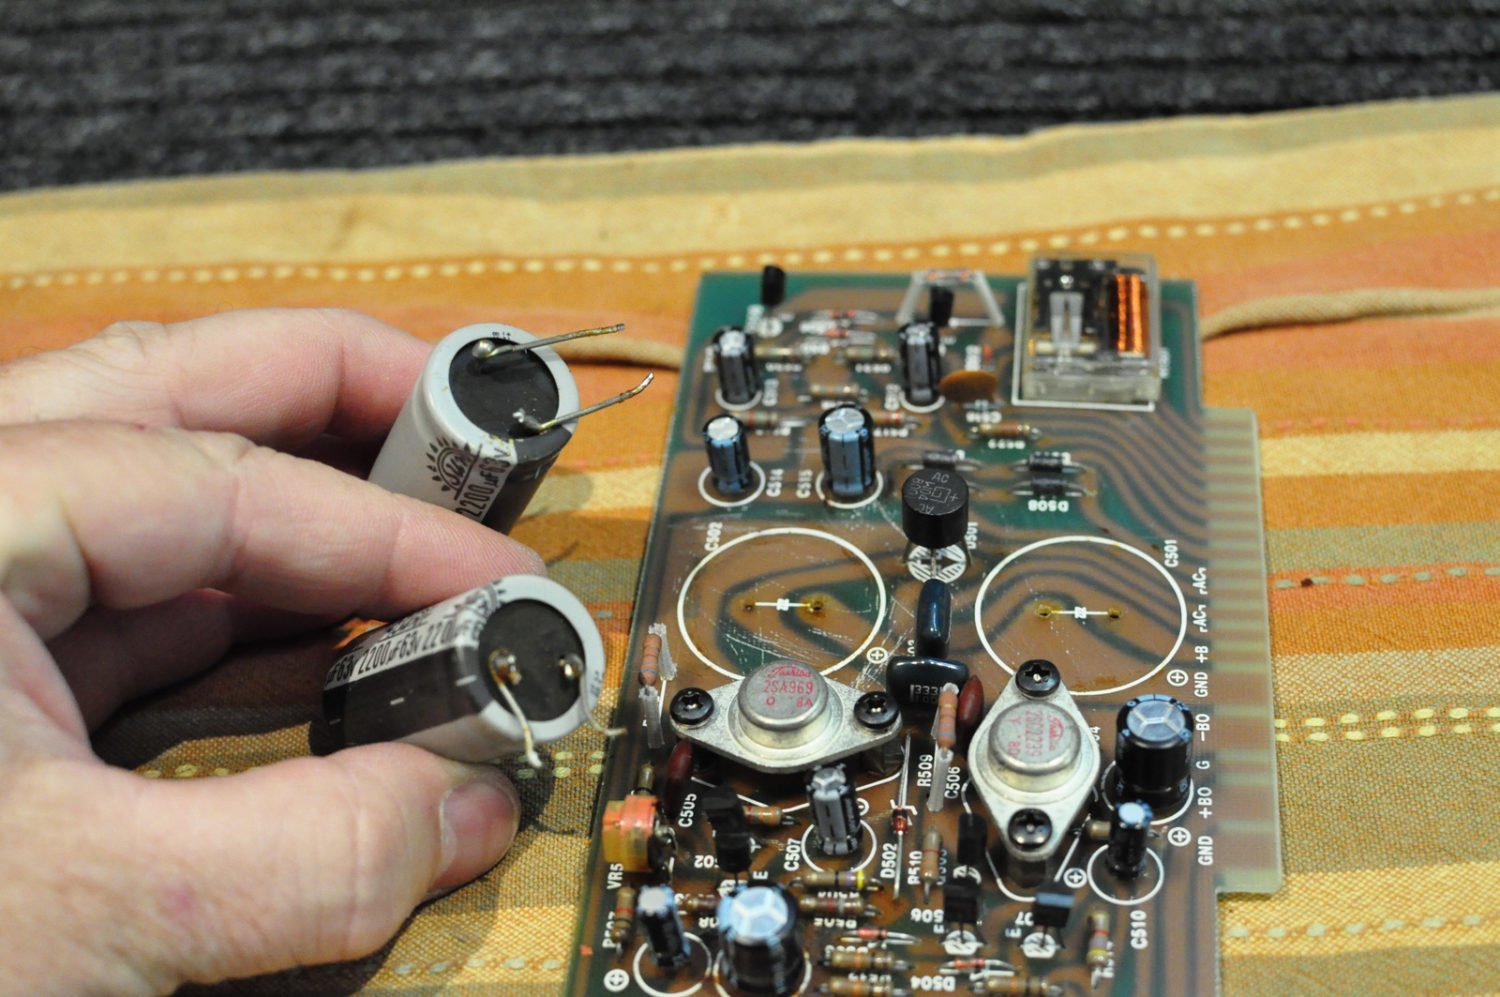
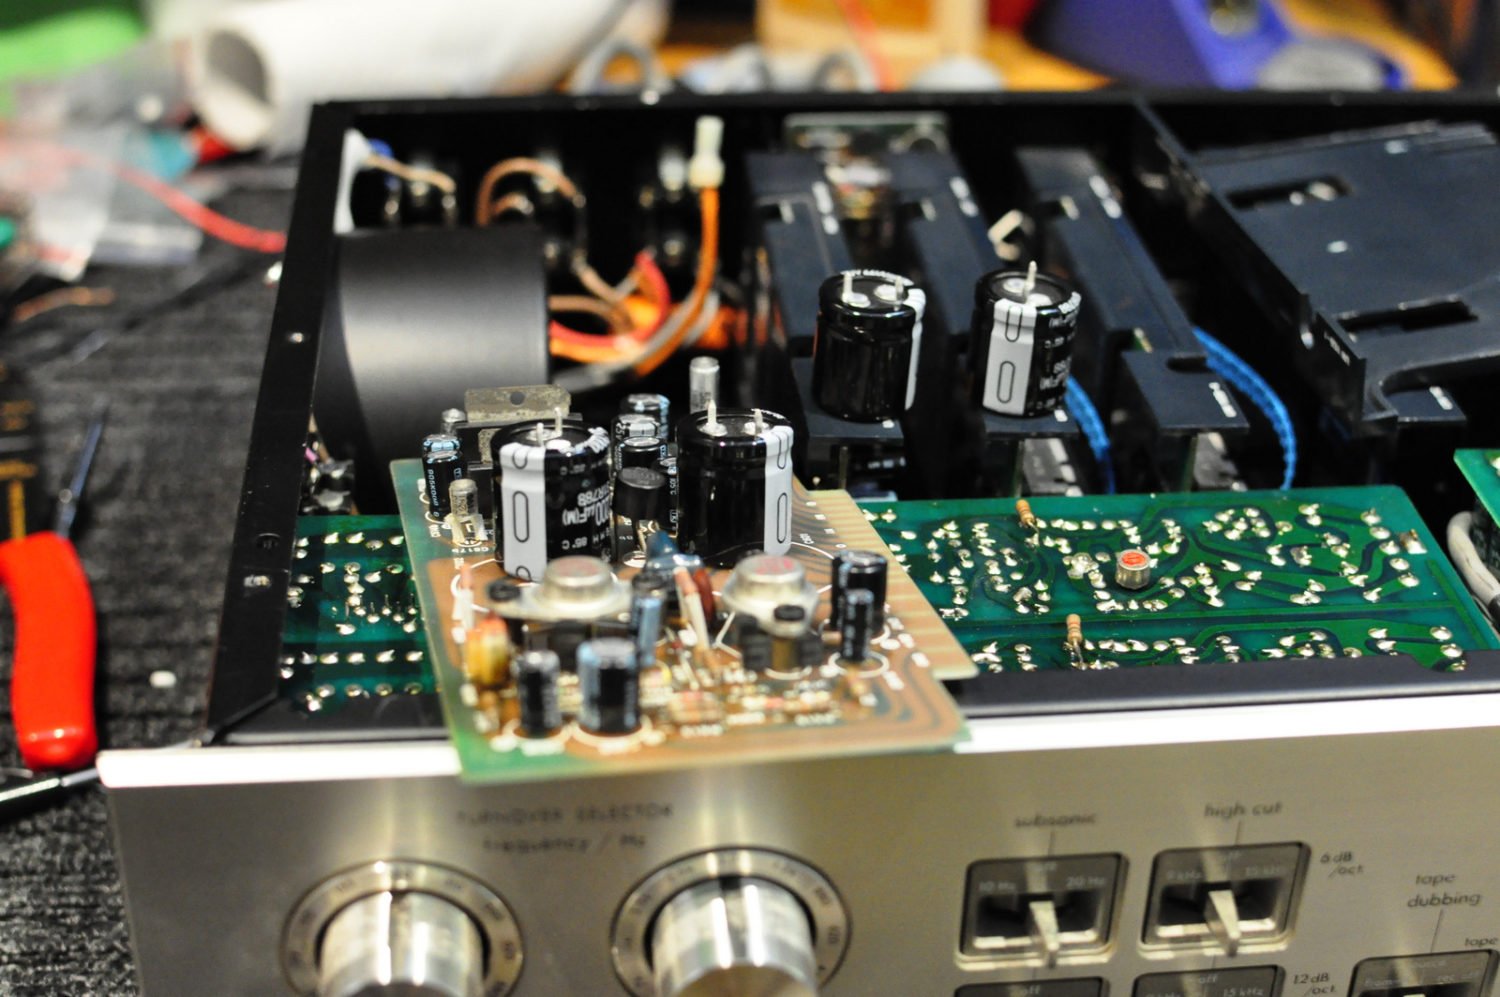
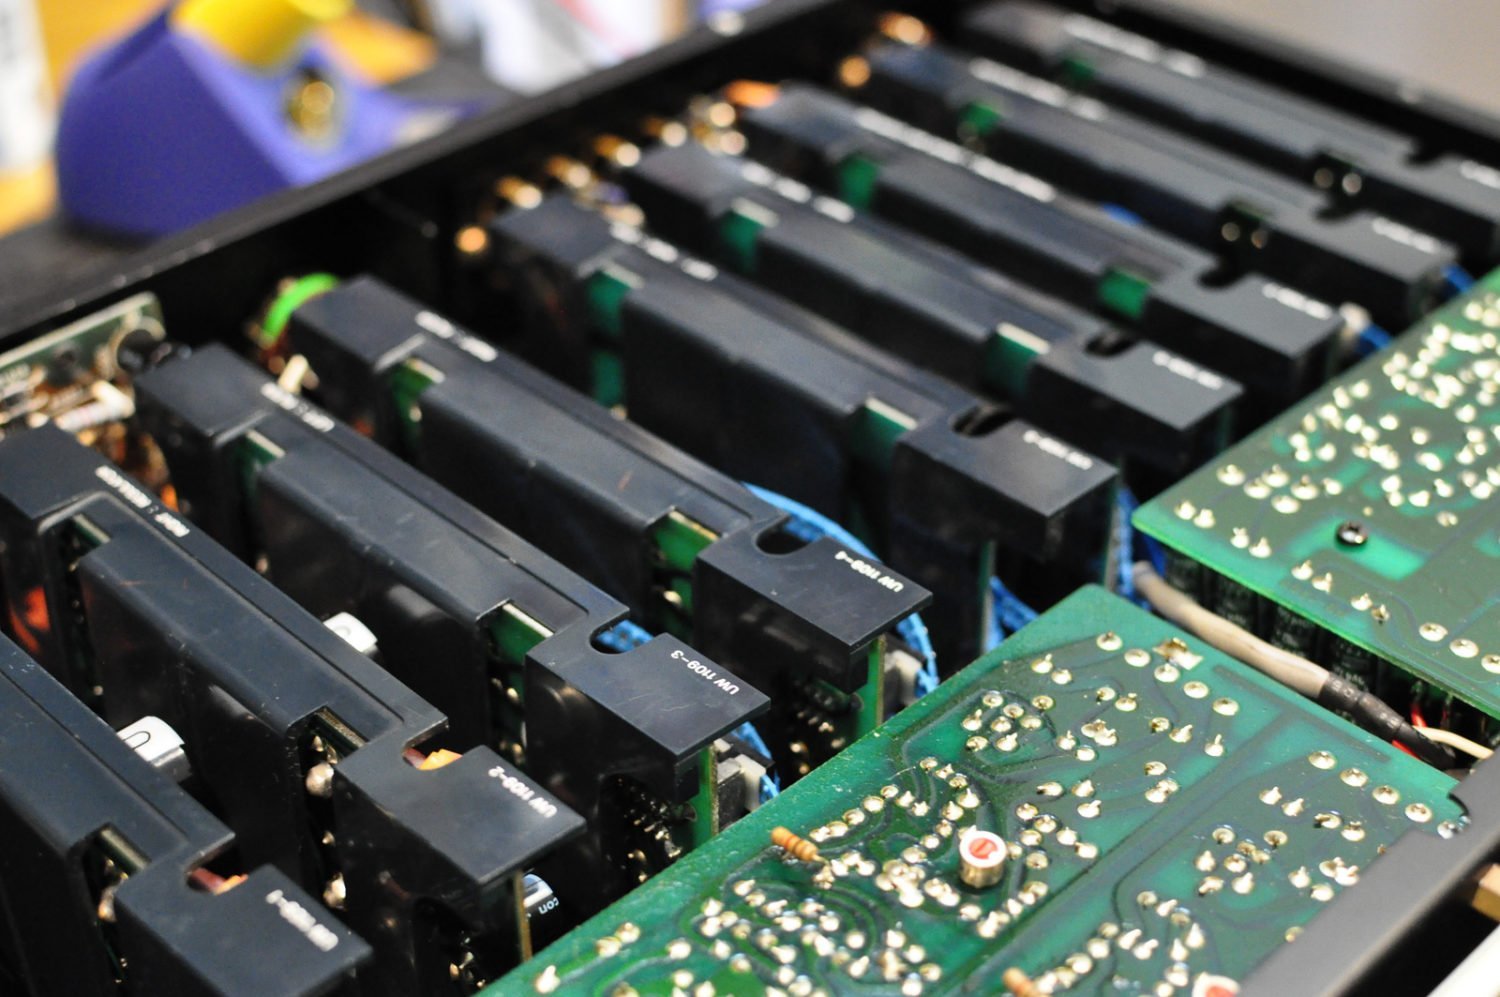
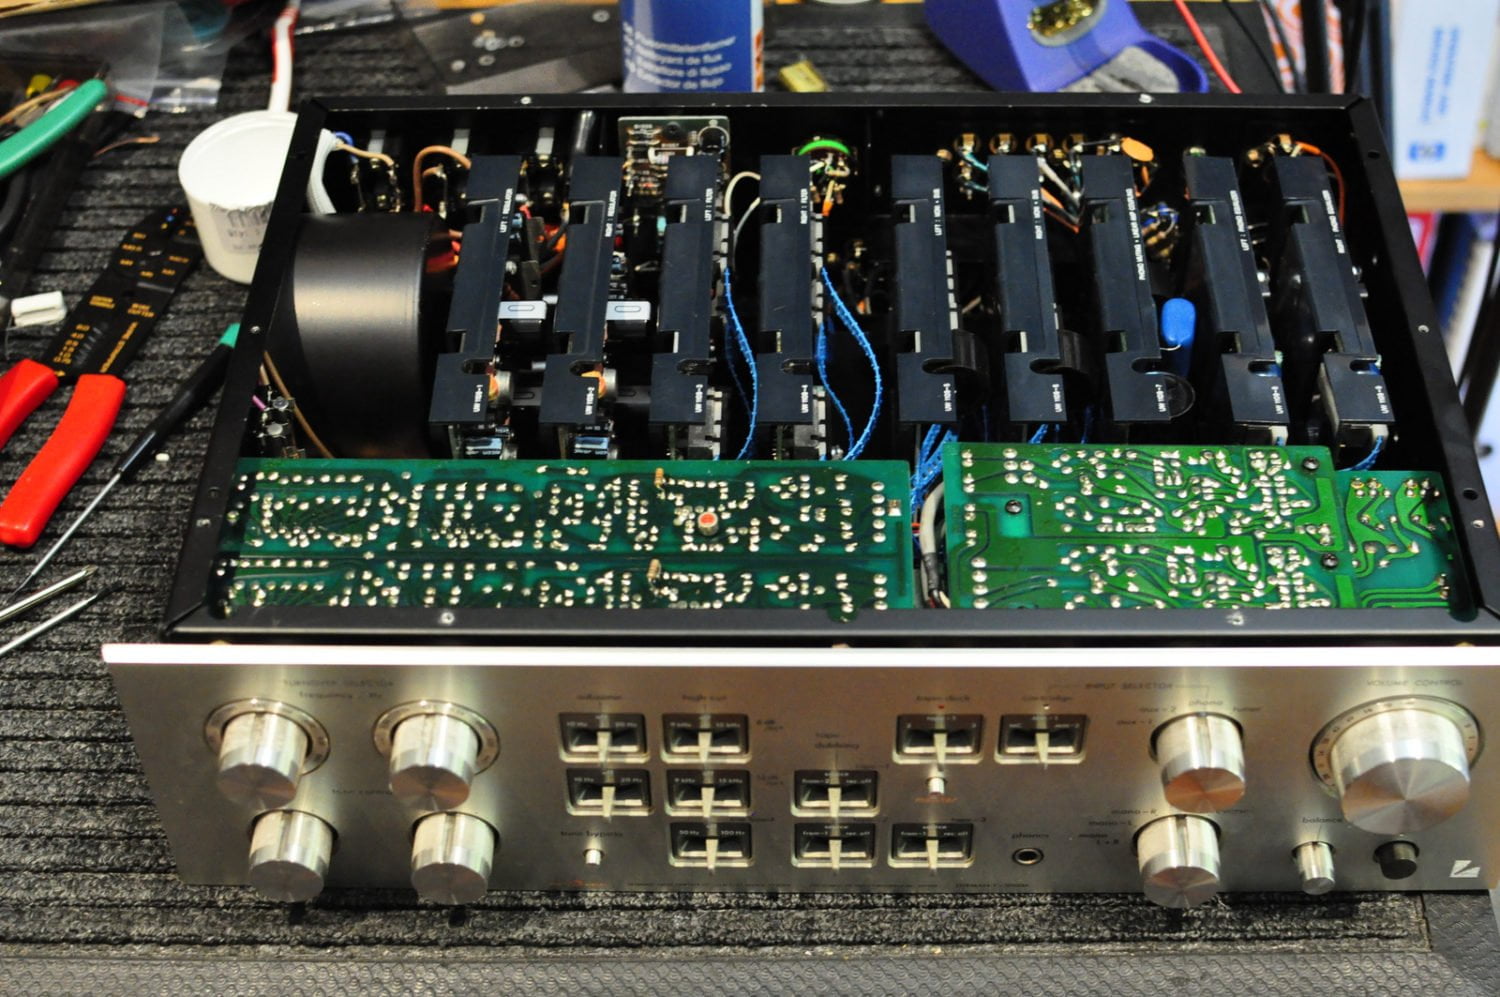
Adjustment
This part was hardest because of the lack of any schematics and service data. Experience helps here though and with enough time spent measuring, adjusting, thinking and measuring, I was able to reverse-engineer most of the critical adjustments in this preamp.
It’s not that hard to do, but you have to have a sound grasp of the general adjustments audio amplifiers and preamplifiers need. There are power supply voltages, biasing and DC symmetry and these make up the bulk of the adjustment process here, and elsewhere.
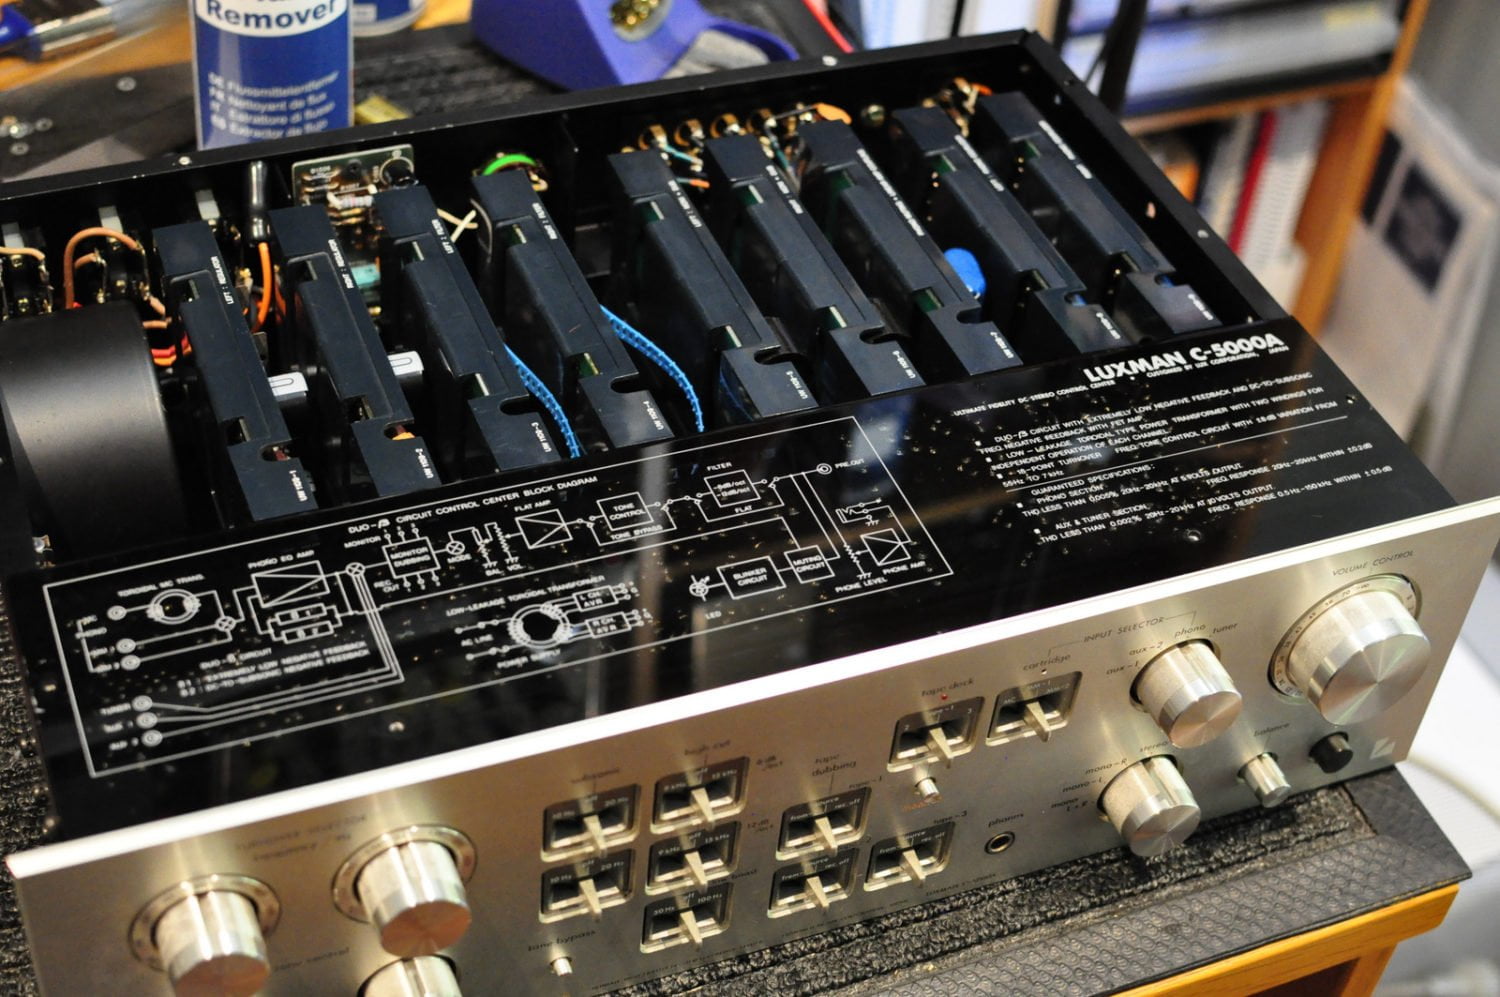
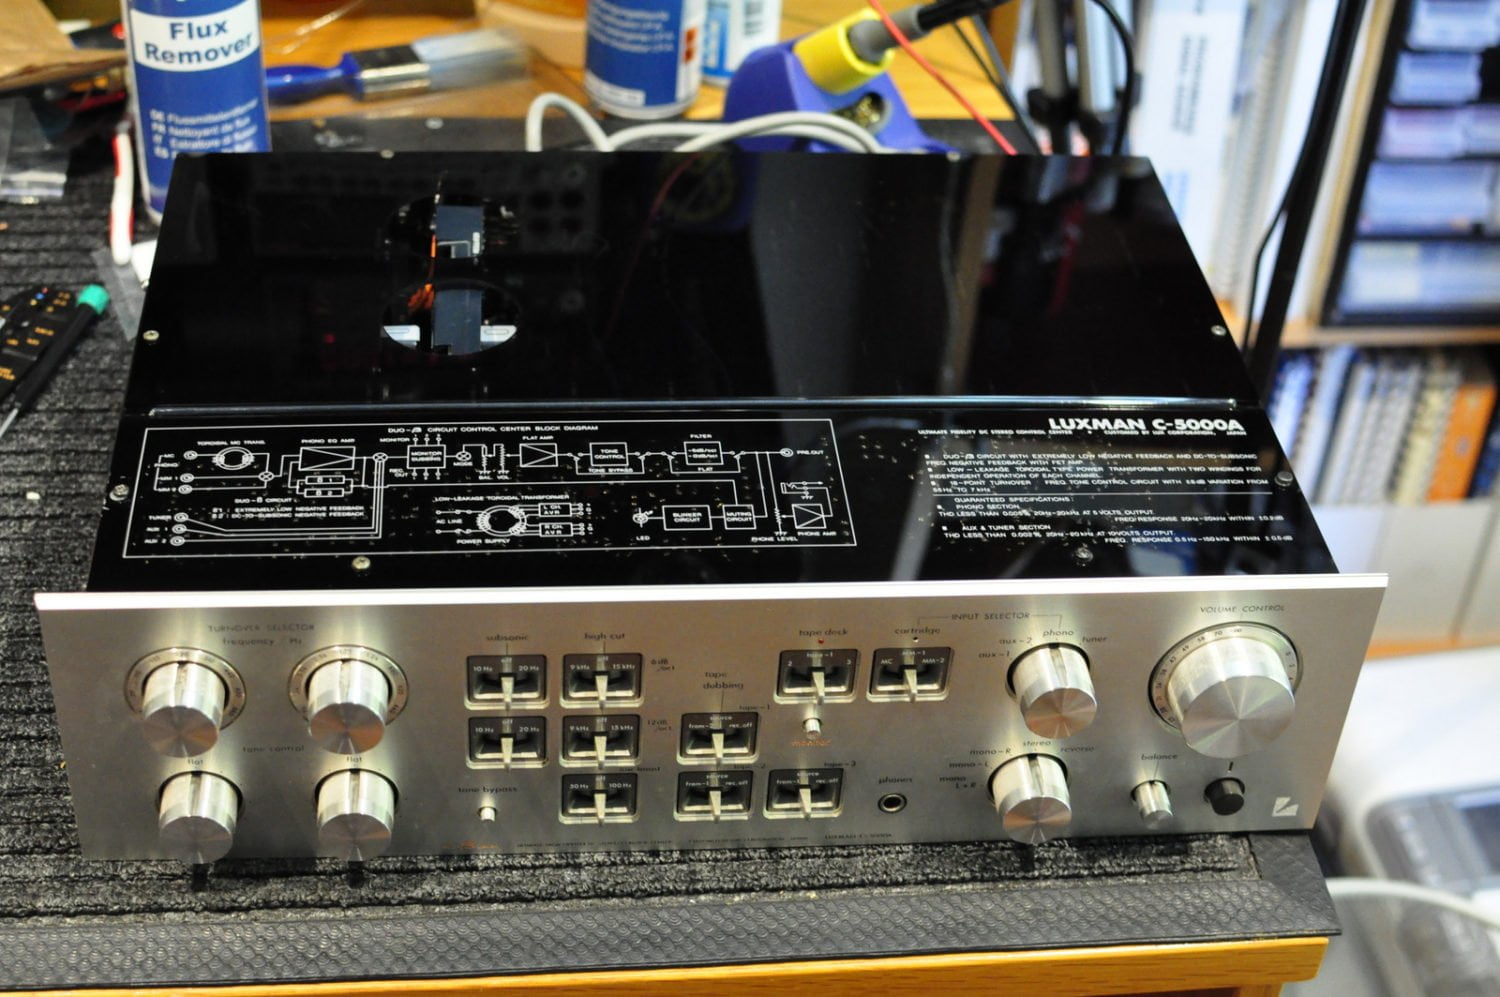
Results
With all the cleaning, attention to card edge connectors, careful adjustment and those god-awful Suntan and other ridiculous capacitors removed and everything replaced with premium parts, this Luxman C-5000A has a new lease on life.
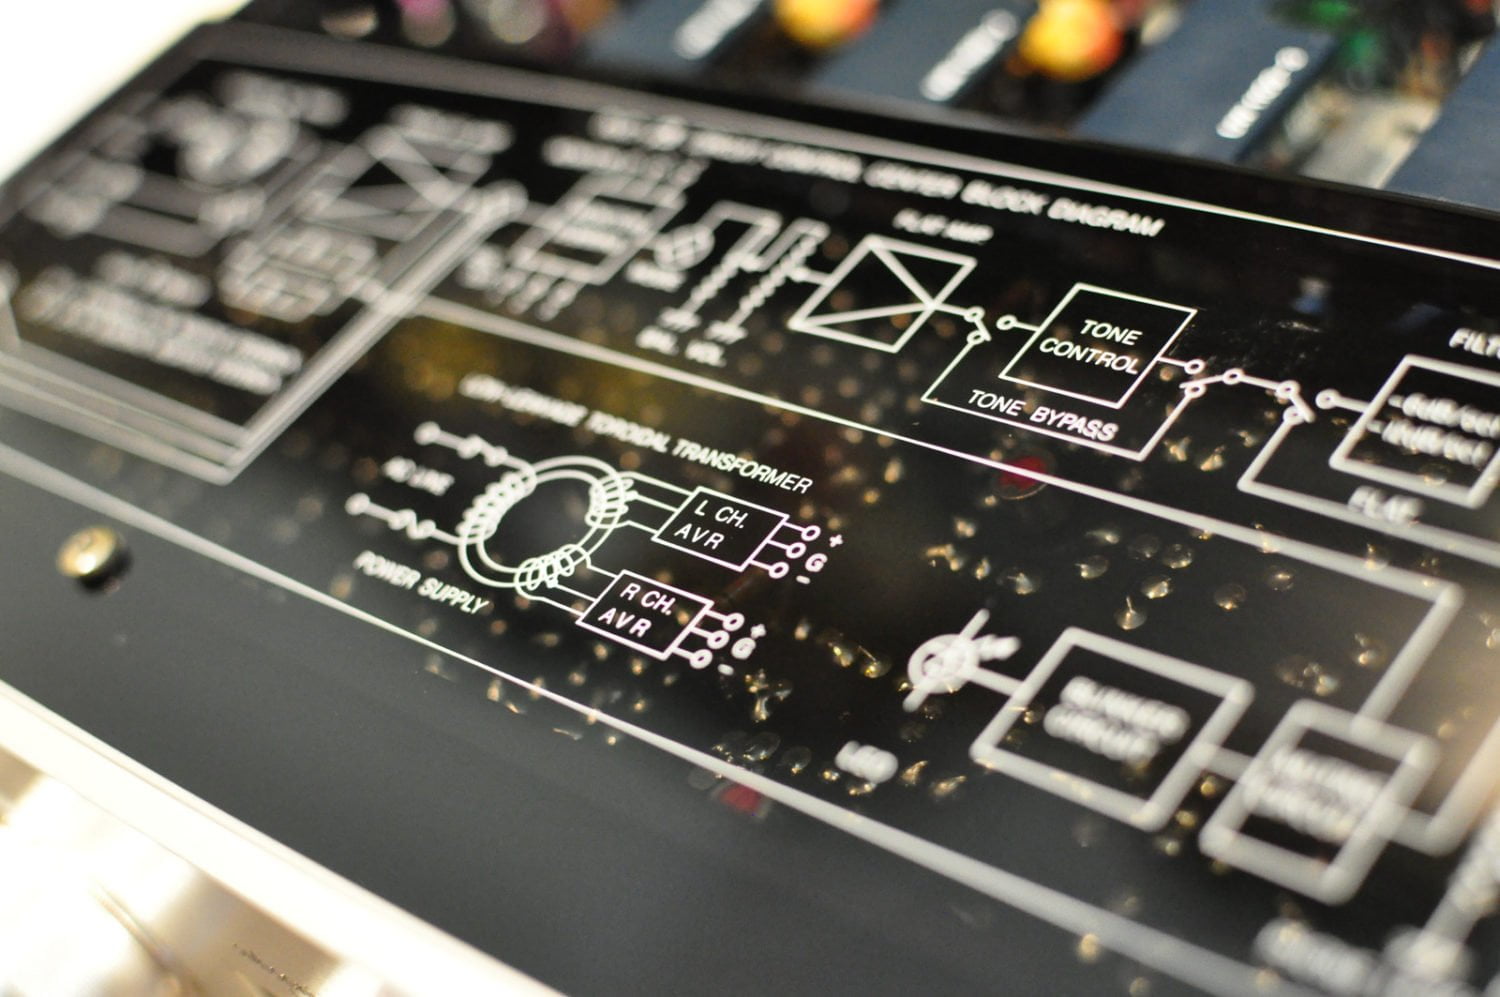
Her owner was very pleased of course and really, what a great result. The Luxman C-5000A preamp is a serious unit, make no mistake. Transformers in the phono preamp tell you just how serious, try to find a transformer-based phono preamp today and check out how expensive they are and you’ll have a better understanding of why equipment like this simply must be saved.
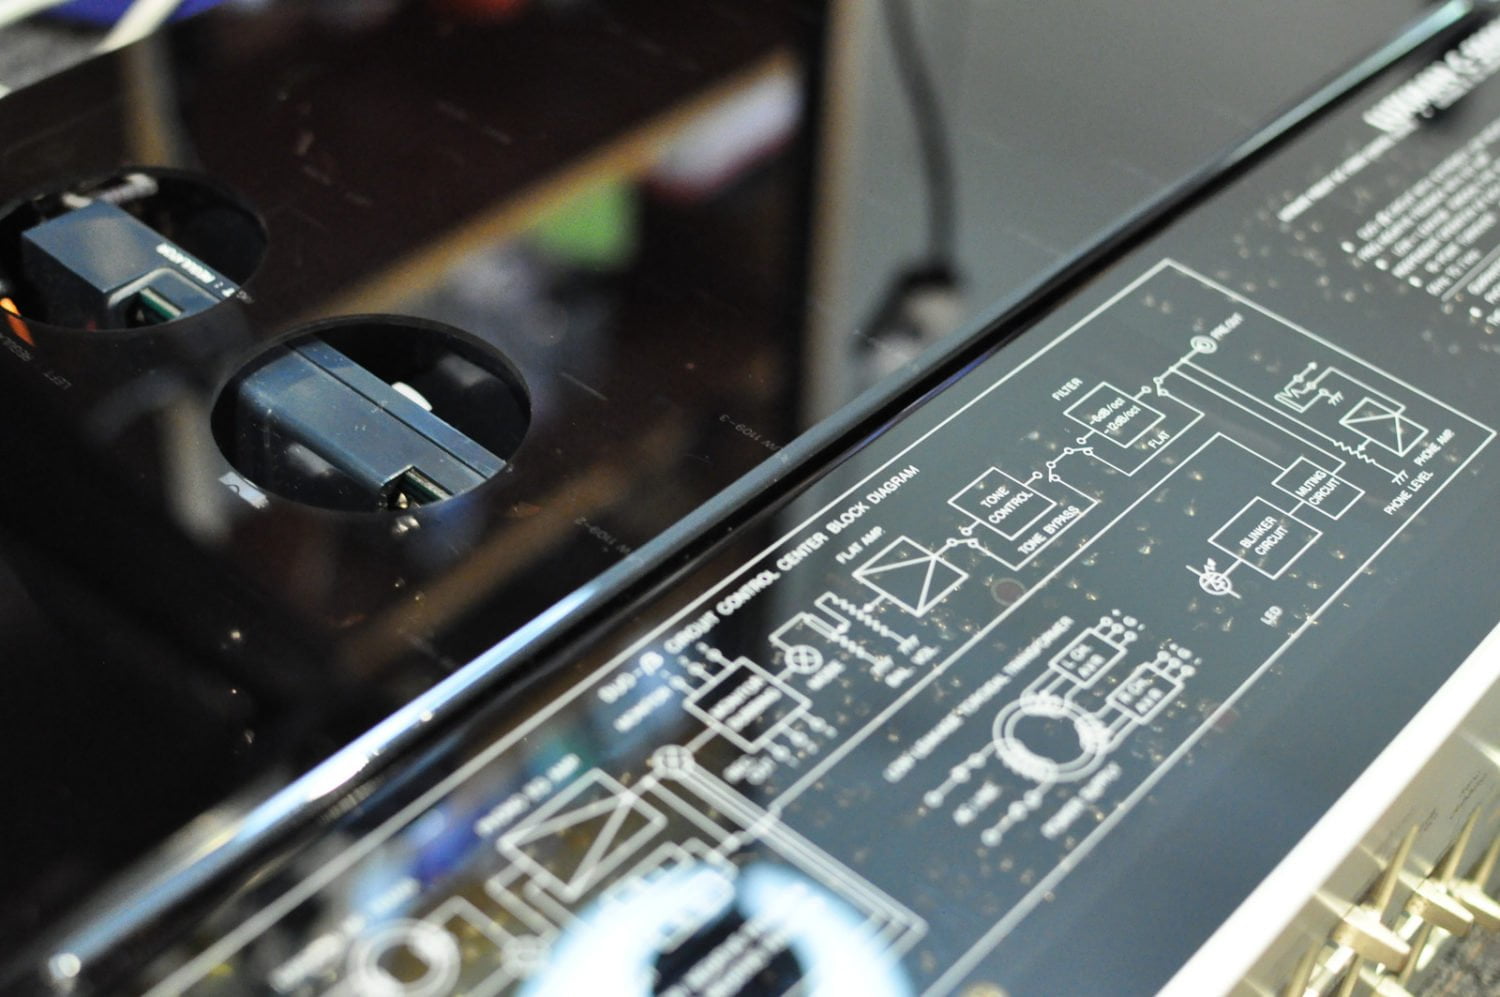
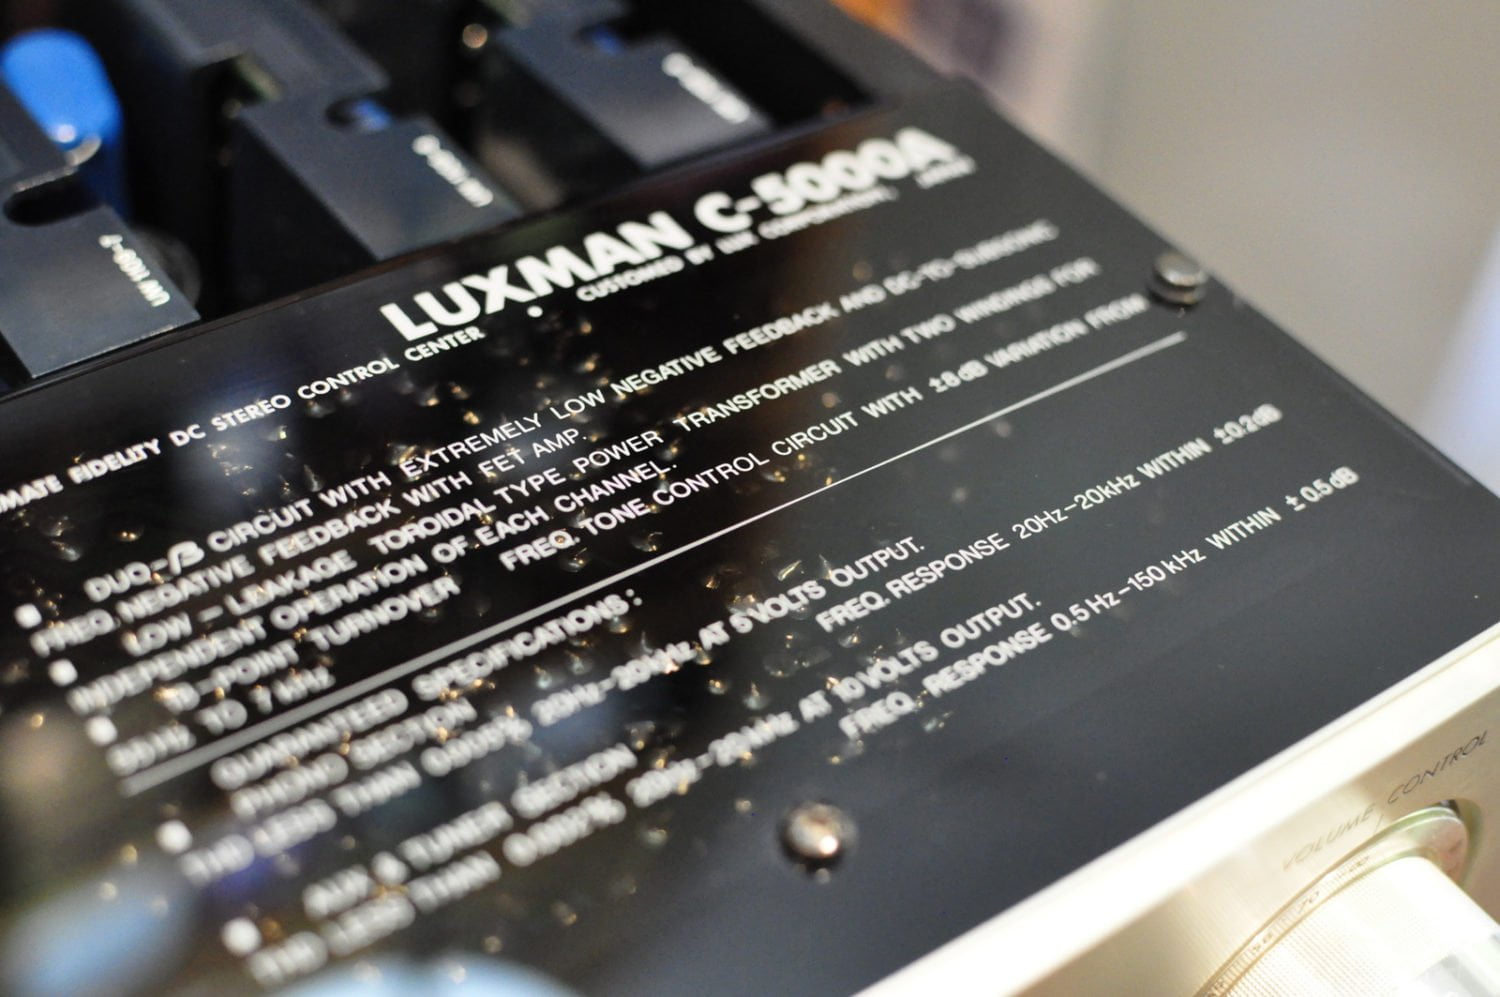
If this is your type of thing, by all means, grab a Luxman C-5000A if you can find one. Just be prepared to take her to someone good for the inevitable service and overhaul work needed at this age.
Discover more from LiQUiD AUDiO
Subscribe to get the latest posts sent to your email.

Hey, Mike, fascinating pics of your restoration process. What causes the flux contamination? Excessive heat build up overtime? Heavy dust and dirt probably interfere with heat dissipation.
Hey Chris! Been meaning to send you a Christmas email, hope you received my last one OK 🙂
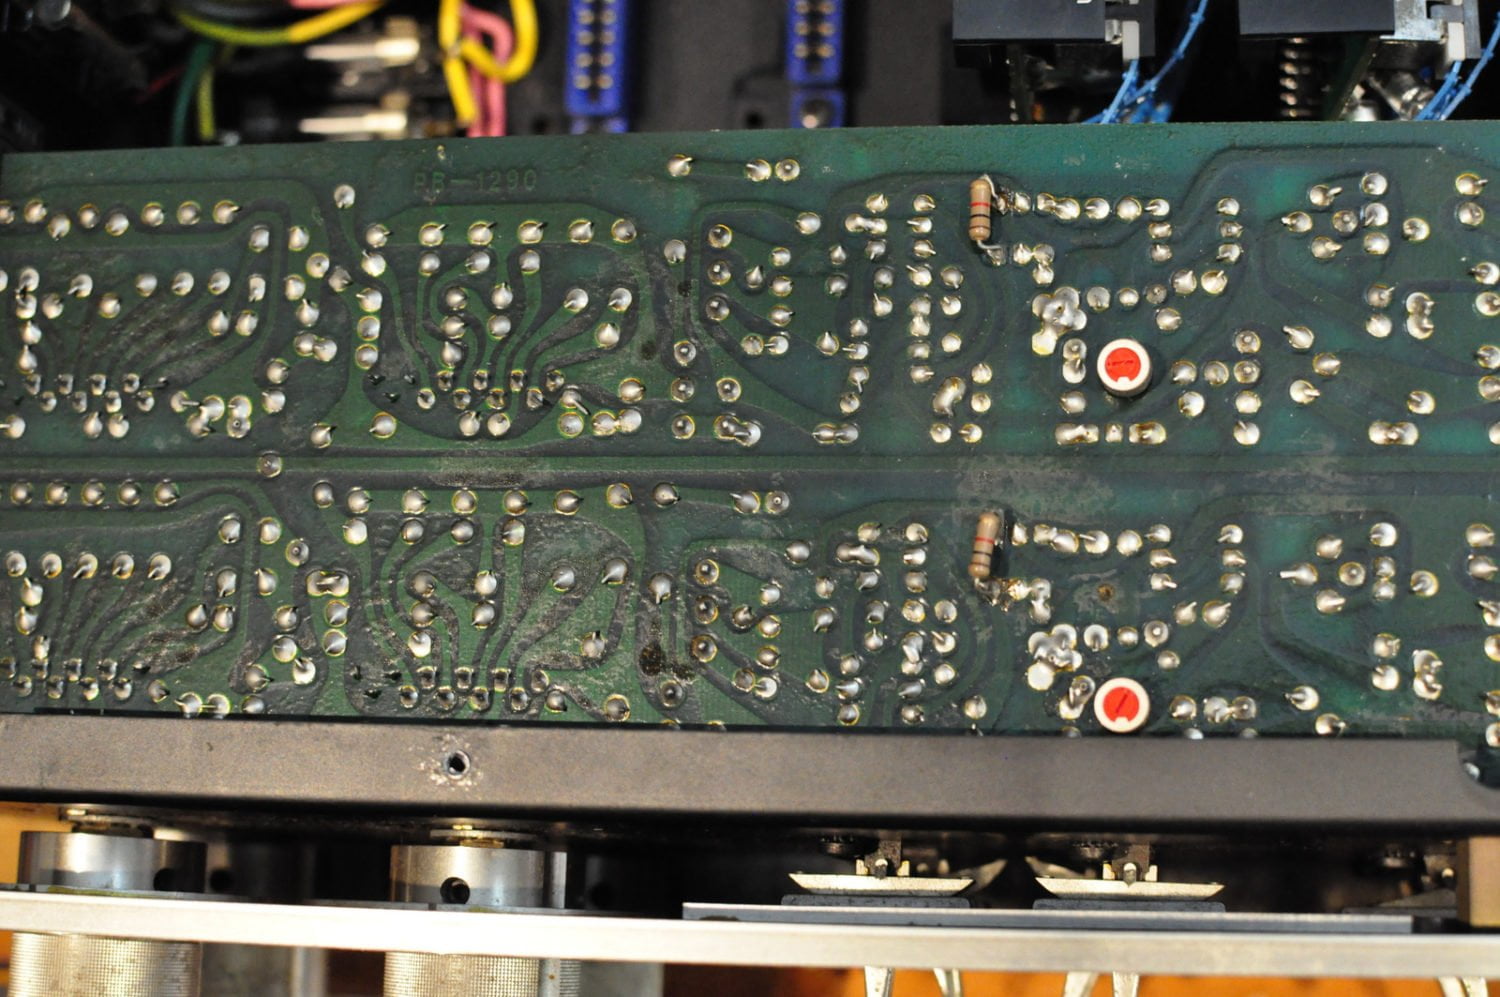
The flux contamination is a result of the board preparation and assembly processes. Automated and manual soldering can leave flux residue on boards. The flux helps the solder ‘take’ to the metal components but can be corrosive and is rarely removed, except in the best audio and test gear. On its own, the flux is not necessarily an issue, but it is sticky and attracts dust, moisture and other contaminants, which can then cause corrosion and alter board resistance. This can be significant in high impedance circuits, so I always remove it from boards when I work on them.
Nice description on your work. Attempting one of these as We speak The glue got to the components on the Regulator board and also failing caps. But one of the nices examples of a Preamp that I have had the joy of repairing
Beautiful work, Mike. Fine images of the fools work too..
I own a C-5000a and a C-05. I replaced many caps on the C-5000a almost 17 years ago. Last year I put in 59 Nichicon FG in the C-05 with fantastic results after burning in.
All the best and greetings from the Netherlands
Thanks Leon and fantastic result there with your preamps. Stay safe over there, greetings from Perth!
Hello and greetings! Wonderful job Mike, really detailed and professional. I happen to have the same unit (actually 2) simply because I like them so much.. 🙂
Would you be able to share some information about the trim pots in the power regulator board? What do they do and how to set them correctly..
It sounds just fine without adjustment but would like to know if you have any advice.
Thanks a million.
TJ
Hi TJ, glad you enjoyed the article and well done on having two of these beauties! The service data for this and the M-4000A are AWOL and unlikely to be found. I reverse-engineered adjustment procedures and other data for these pieces some years ago, but I keep this and other service data in-house because of the commercial nature of my work and the fondness of my competitors for copying. If your C-5000As run well, sound good and have been well-maintained and serviced, it’s probably best to leave everything as is. On the other hand, if these preamps haven’t been overhauled at this age, a complete overhaul and full service would be a very sensible idea.