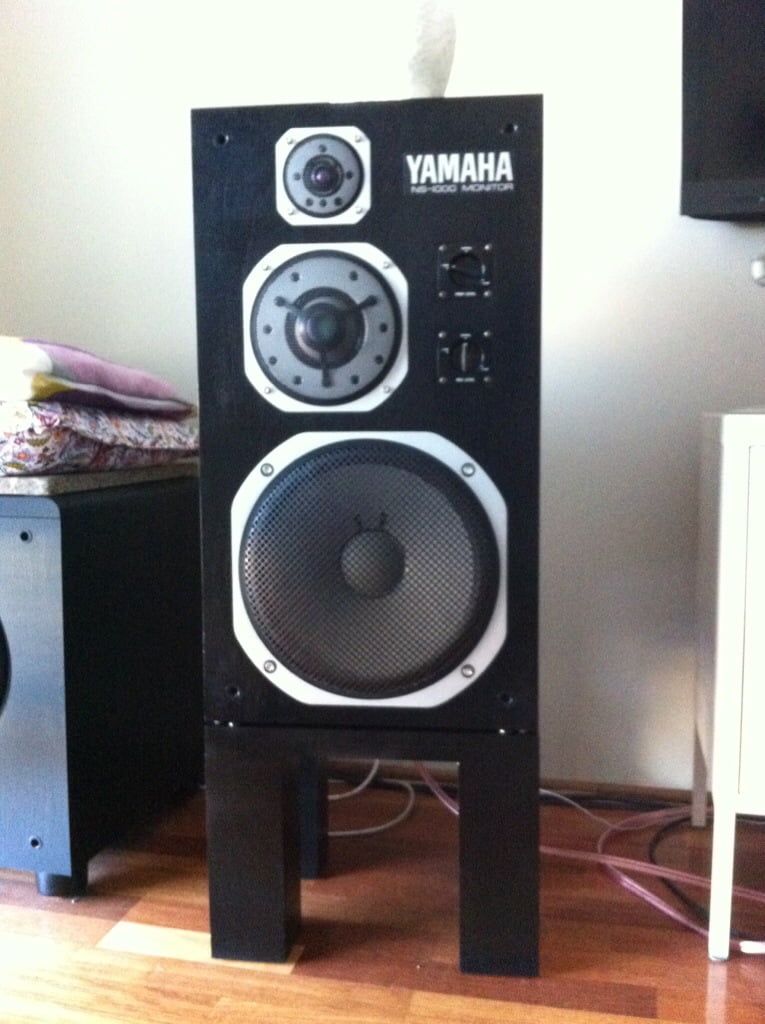
I recently created a set of DIY NS-1000M speaker stands for my Yamaha NS-1000M studio monitors.
DIY Yamaha NS-1000M speaker stands might seem like a strange thing to talk about until you try to find a suitable pair of stands for your own NS-1000s. One thing you will absolutely need to get the most out of the great Yamaha NS-1000 is a good pair of stands.
Yamaha’s original SPS-500 stands for the NS-1000 are not easy to find. There are other designs out there but the SPS-500 are really nice as you can see from the pics below.


So, whilst it’s difficult to get a pair of the original Yamaha stands, I decided to design and build a pair that would be easy for the average DIY’er to replicate.
I recommend this DIY NS-1000M speaker stands project for anyone looking to put their own Yamaha NS-1000M speakers on stands and this article describes the basic construction process and results.
Wood
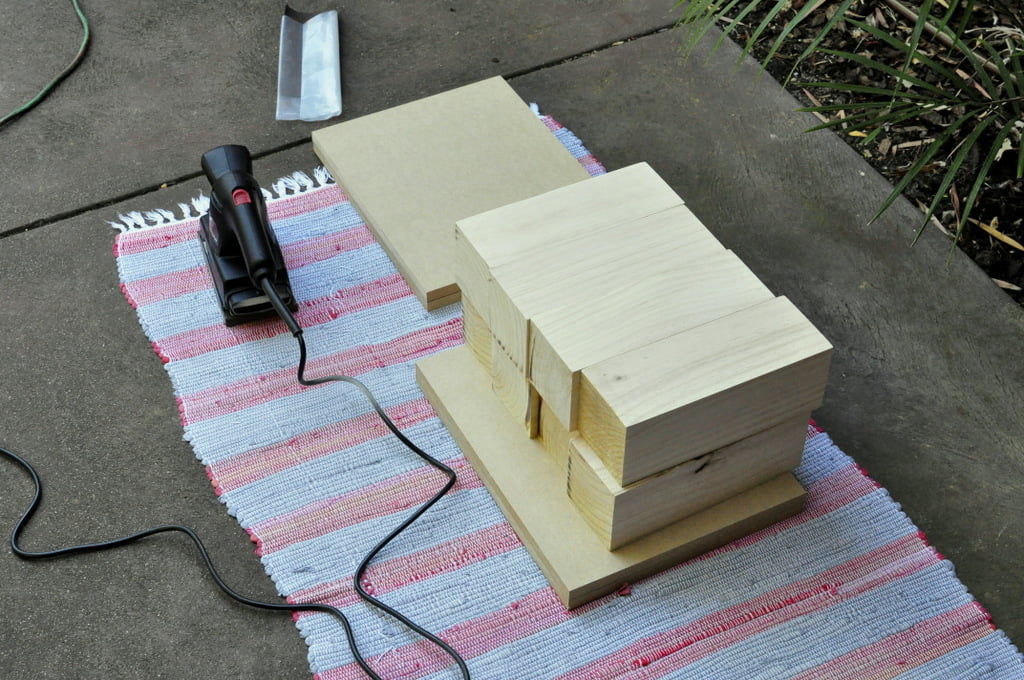
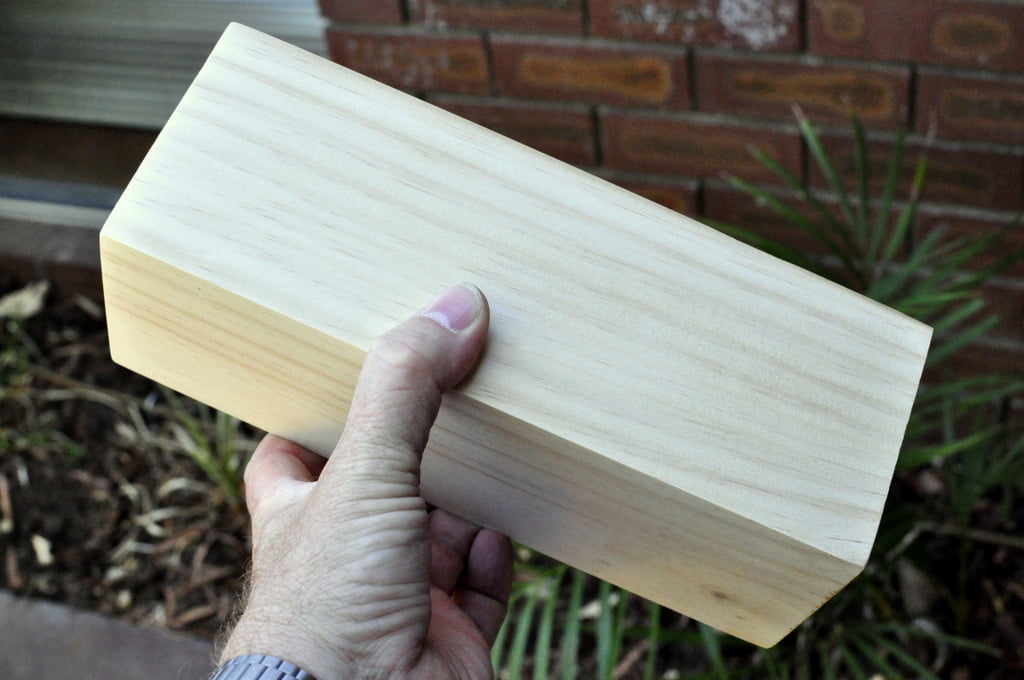
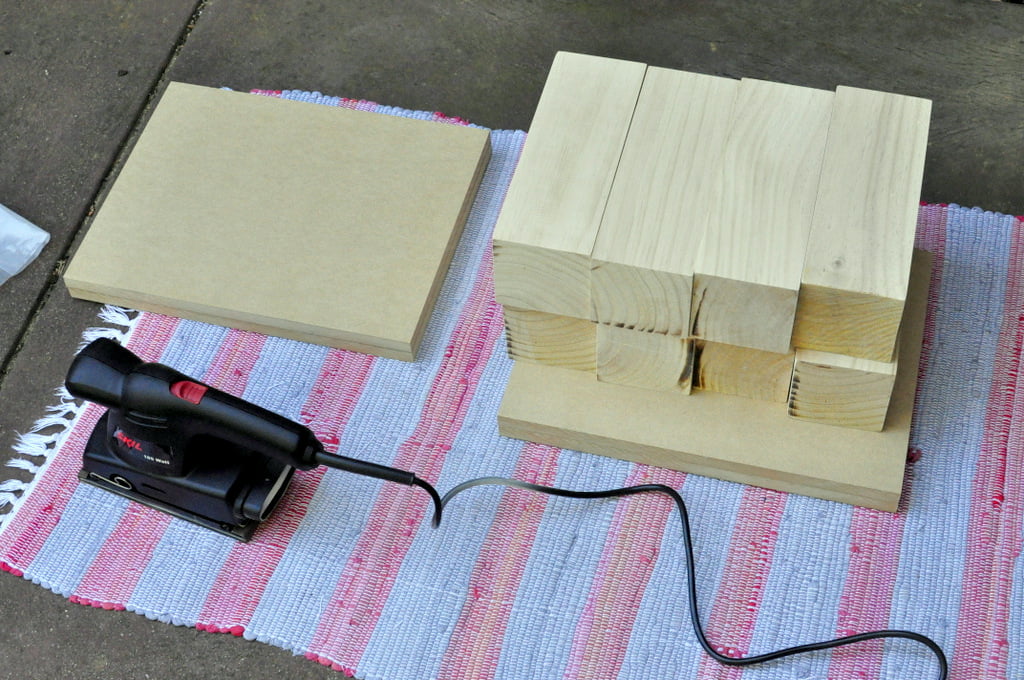
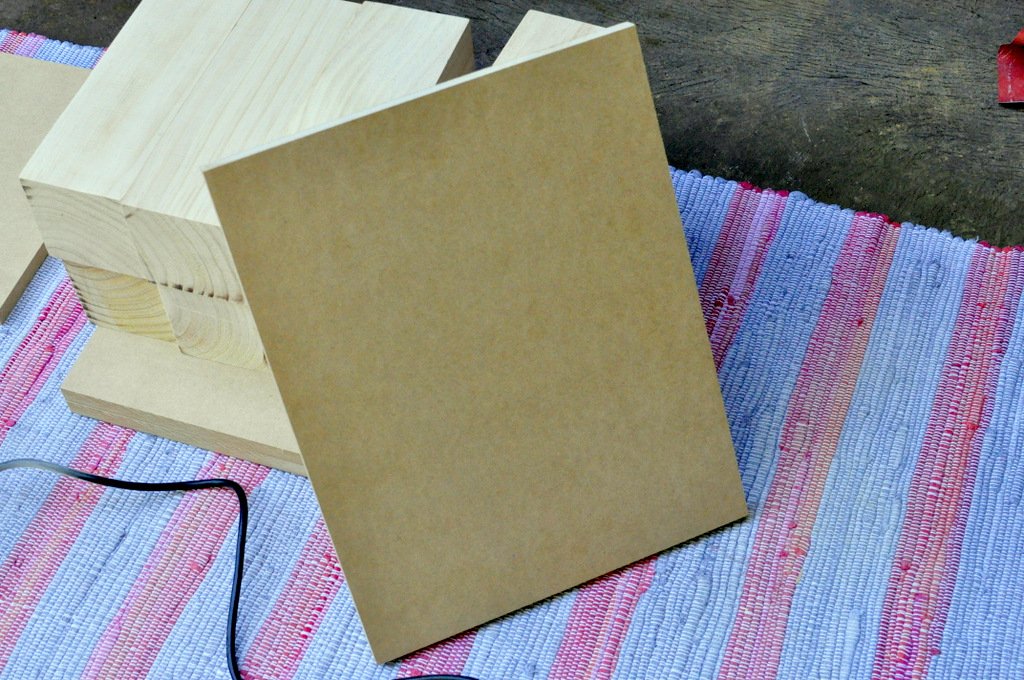
First, get the wood. I used square-section pine for the legs and had 8 x 300mm lengths cut at my local hardware store. I also had 4 x 18mm MDF panels cut to the same dimensions as the NS-1000M top and bottom panels – 295mm x 375mm.
You can give the leg sections a light sanding at this stage to take any rough edges off. Do the same with the four MDF panels.
Build
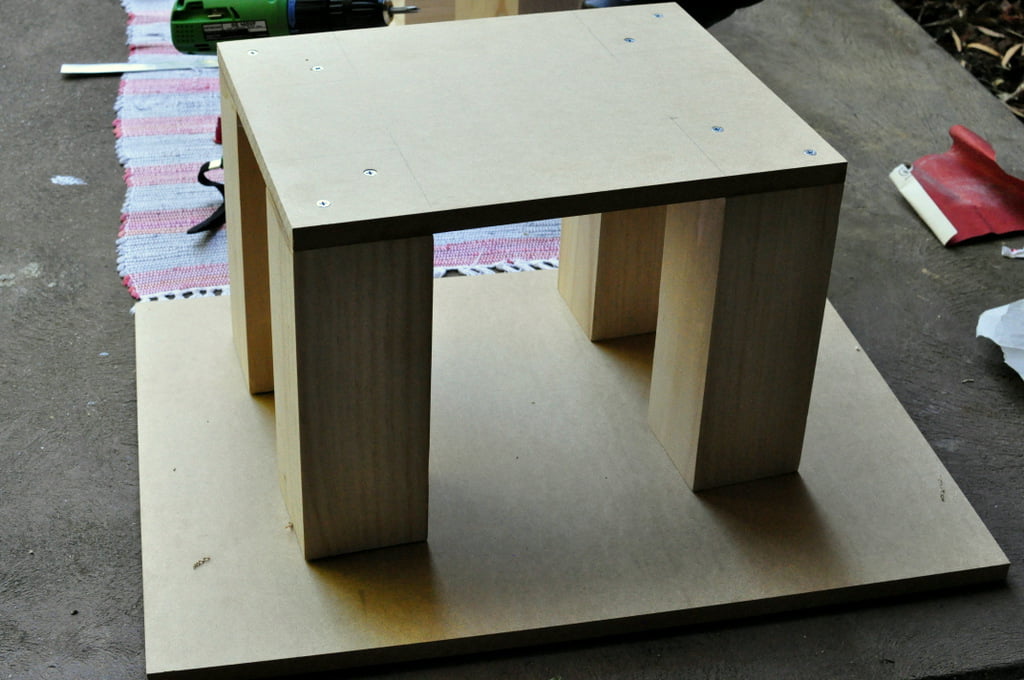
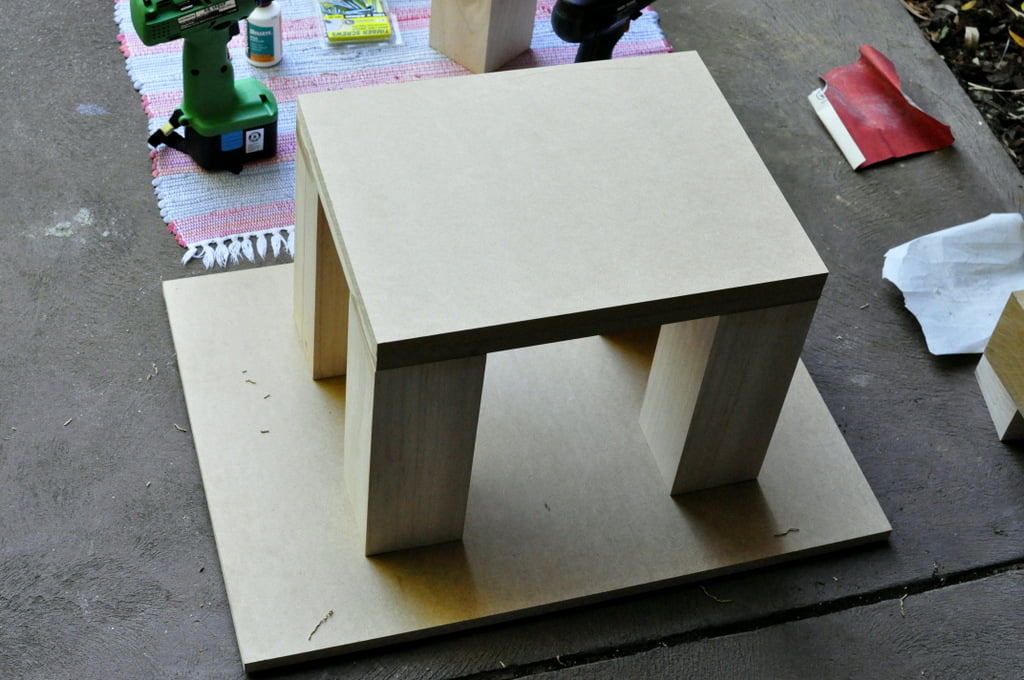
Next, you’ll need to place a top panel on top of the four legs and drill a pilot hole straight through, into each leg section. These will take the initial 50 – 60mm countersunk wood screws.
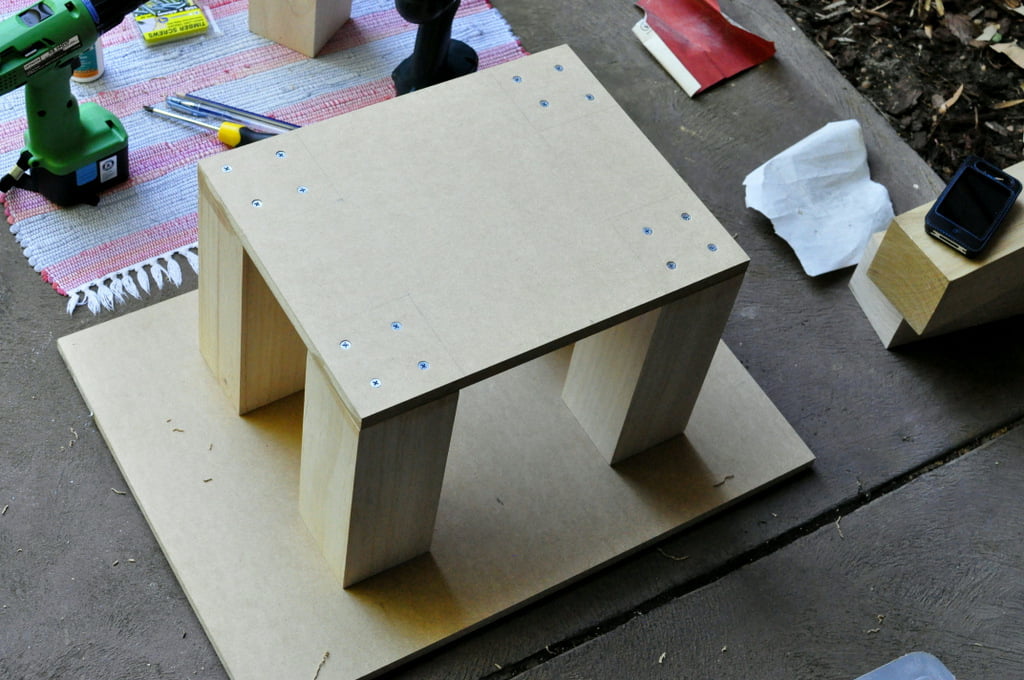
Partly screw in these first screws, then drill a second pilot hole and add the second screws to each leg. I ended up using four screws per leg for the first of the top panels, spaced equally around the leg, leaving the centre area free for the last screws which will go through the two top panels, into the middle of the leg.
You now need to disassemble the legs from the top, add plenty of PVA glue to the joint surfaces, then reassemble, screwing the first screws in to clamp the legs to the top MDF piece.
Then drill and screw the remaining two screws per leg. You will now have each leg attached to one top section, with four screws.
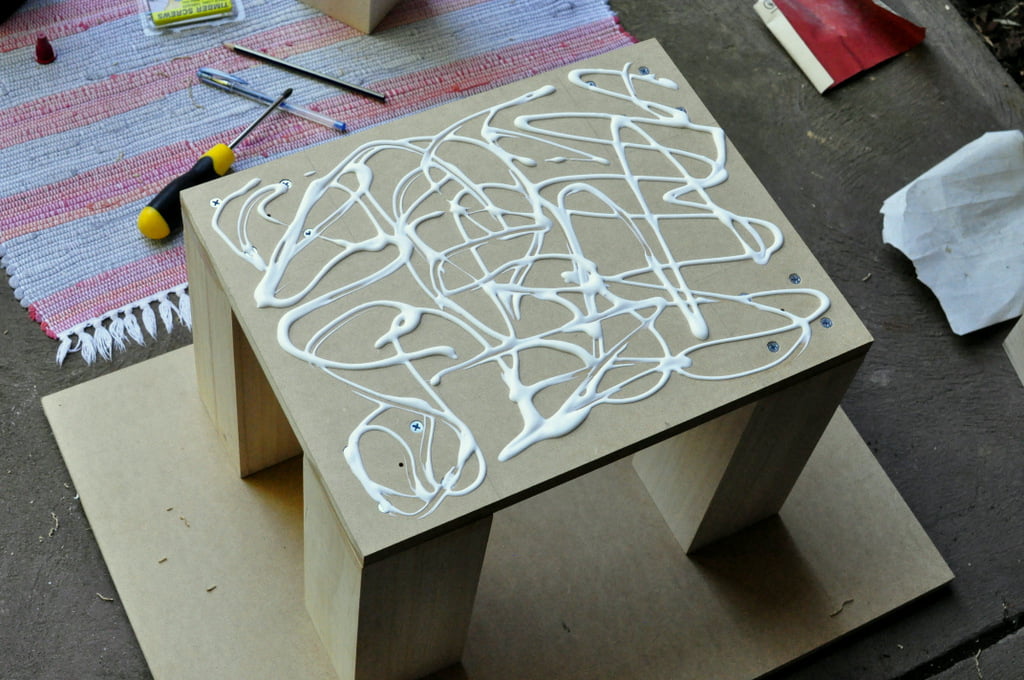
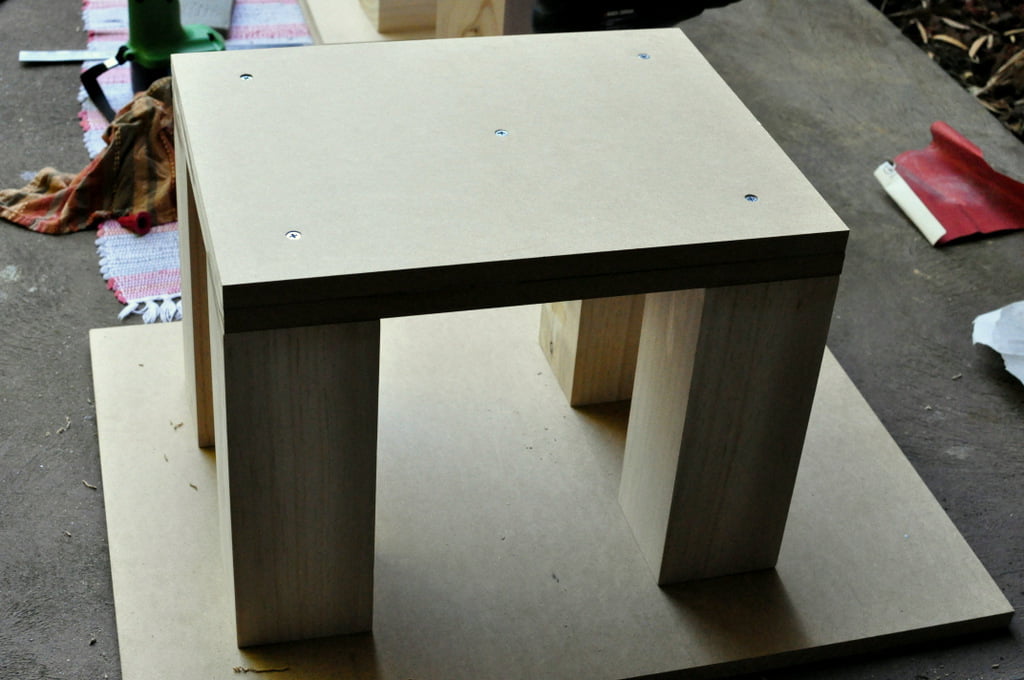
Now we add the final top section. This is going to be secured with 5 extra 50mm wood screws. Four will go into the legs, through the existing top section and one will go through the middle, to help clamp the whole thing together. Before you do this, add a heap of PVA across the top of the attached MDF panel…
You might notice that I already mocked up the fit of the second top panel, and drilled pilot holes to guide the remaining four leg screws.
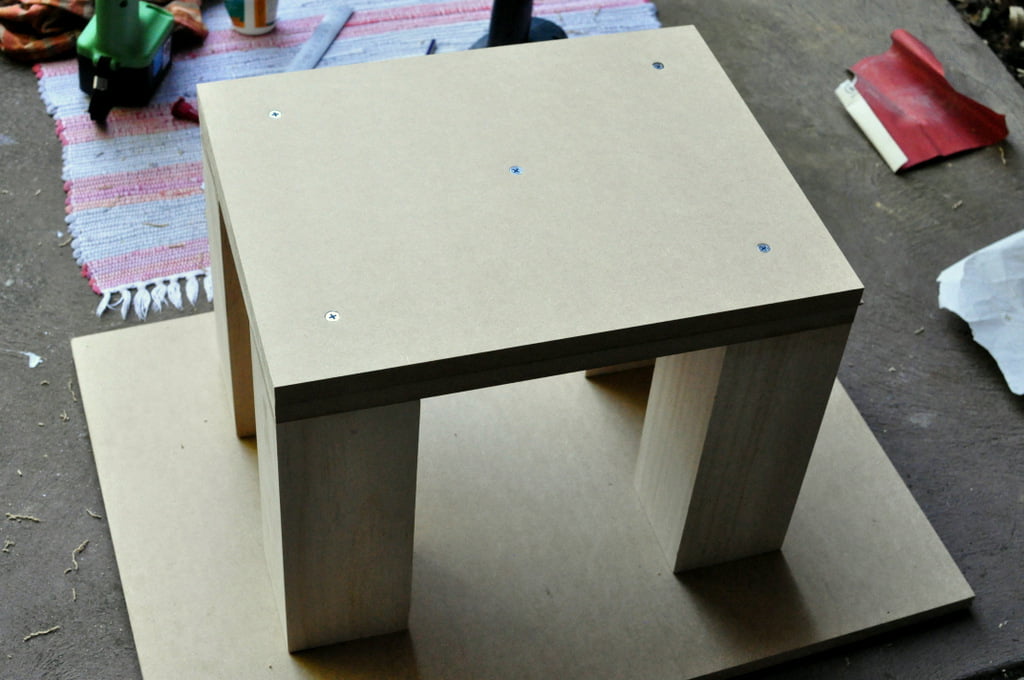
Then the second top piece can be added. Now screw the remaining four leg screws into place, and drill a pilot hole for the middle screw, then screw that one into place also.
The middle screw will protrude out the bottom of the MDF top piece if you use 50mm screws, I took the extra off with my Dremel tool.
Finishing
That’s really all there is to it. Your stands can be sanded at this point if you like and you should take some time to check that they are level and sit squarely on the floor.
Small adjustments can be made here if you have an electric sander or plane, but it really pays off to get the legs as close to identical as possible before you put all the pieces together. The finished stands look really nice, even before you decide how to finish them off.
Discover more from LiQUiD AUDiO
Subscribe to get the latest posts sent to your email.

These stands are really cool! I dig the elegant simplicity of the design a lot. I’m gonna build a pair myself for my next speaker project. I’m gonna try a red oak stain finish however.
Thanks Tim, really glad the article has inspired you to build a pair! They work really well with the NS1000 and your red oak stain idea sounds good!
Nice work Mike and thanks for taking the time to share. I’ve been looking for a simple design and this looks like it would be the perfect little project – looks quite simple too… what size Pine did you use for the legs? Looks like 100×100?
Cheers,
Skender.
Hi Skender, thanks for the kind words and my pleasure! The square section pine is 90 x 90mm. The MDF was 19mm from memory, with two layers of it glued and screwed together. Very easy stands to make and quite solid overall. I still use these to this day!
You’re welcome mate. I haven’t made them yet but reckon I’ll get onto this soon… good winter shed project and will make the wife very happy to see my current “stands” out of the house… a couple of bricks!! hahaha
Made a set for my NS-1000m’s. Thanks for posting.