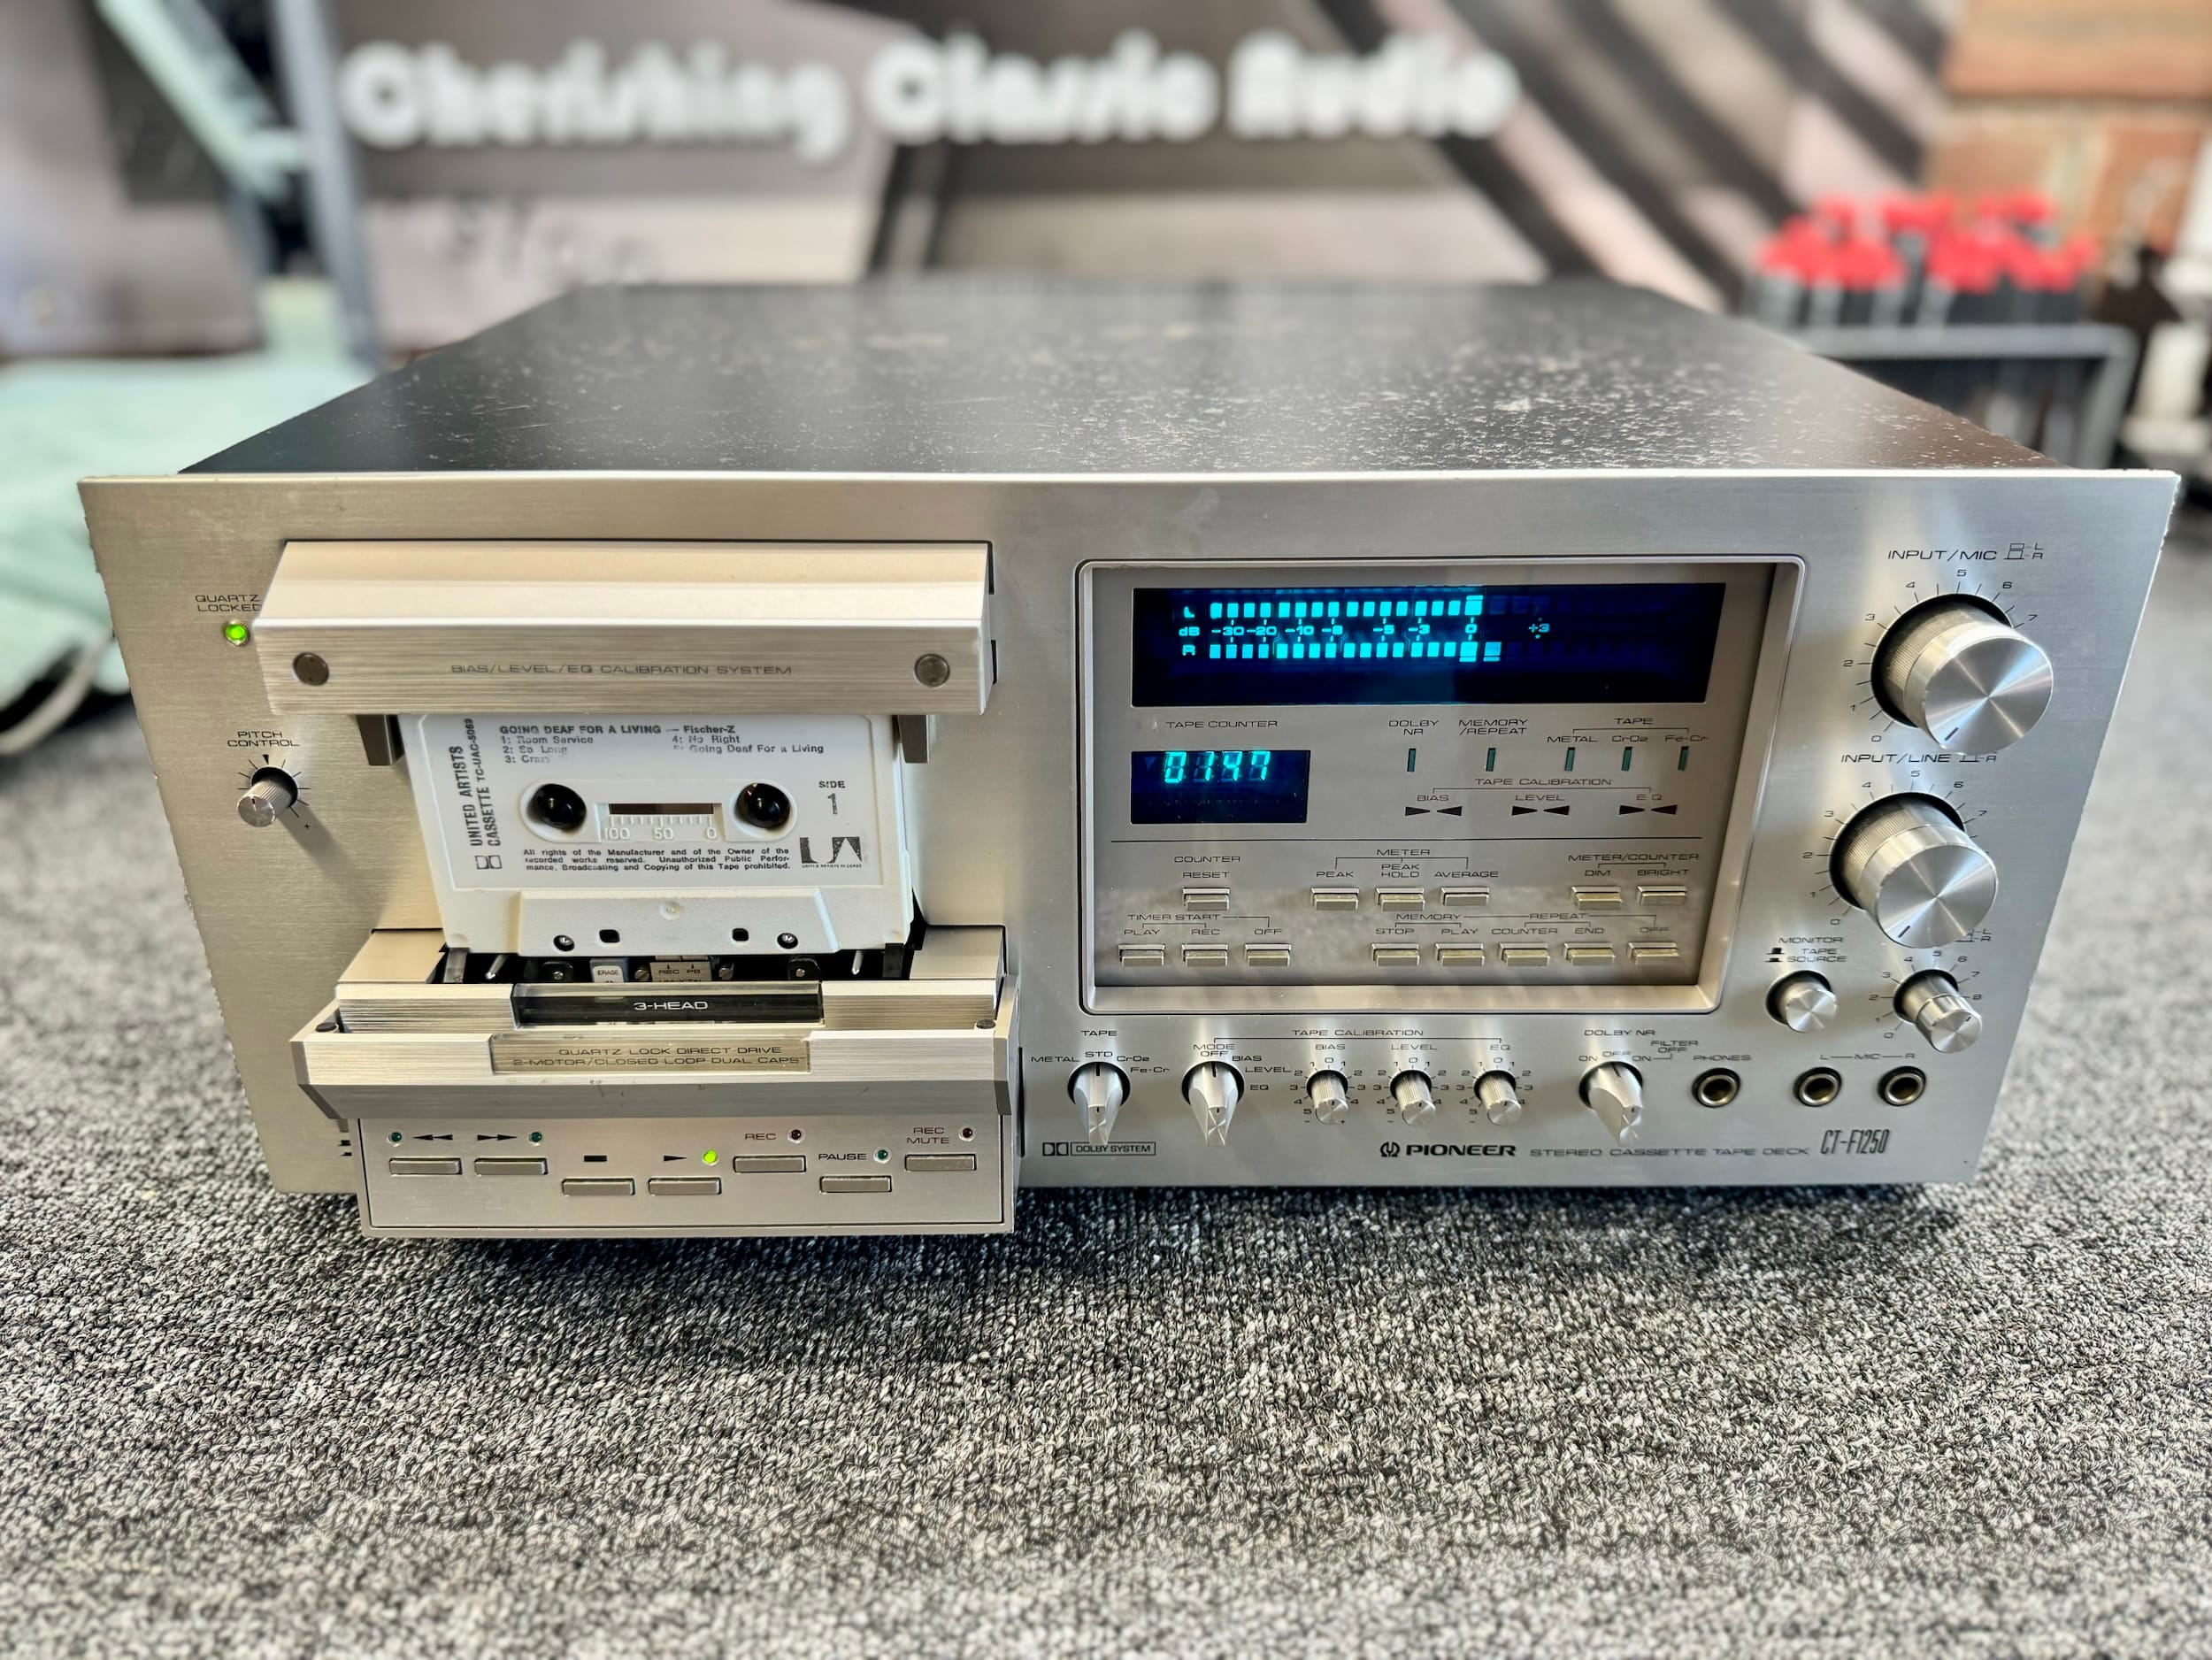
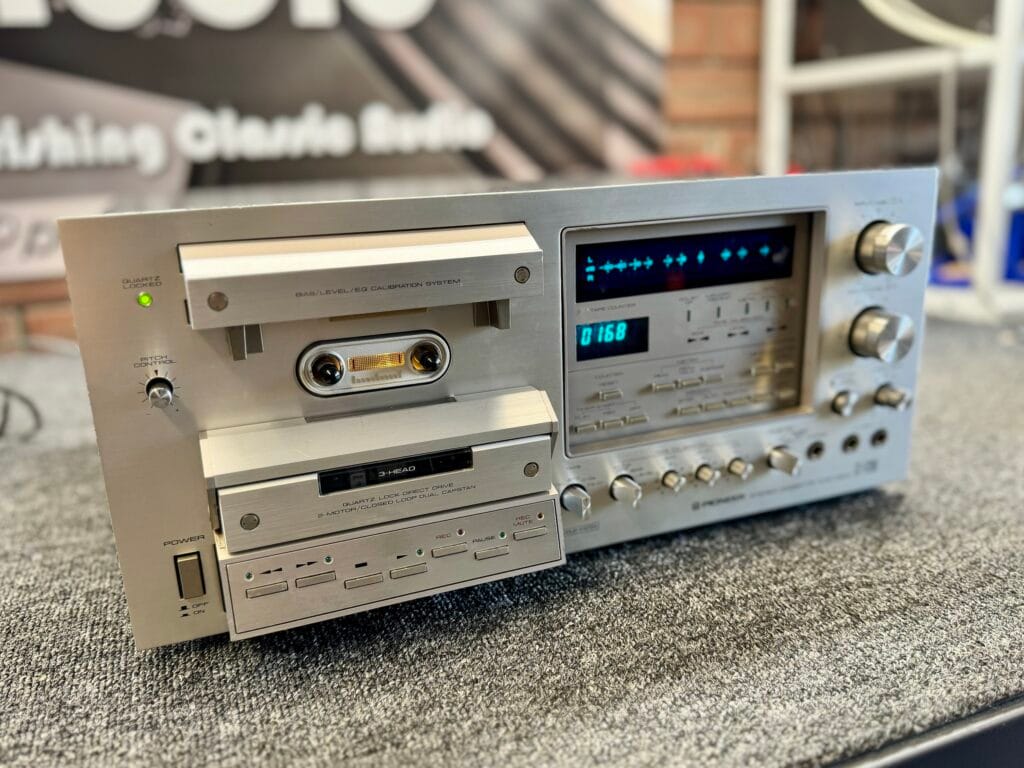
Come with me this time as I repair, service and partially overhaul this stunning end-game Pioneer CT-F1250 cassette deck from the golden era of cassette.
Happy Monday folks, I hope this story adds a little vintage audio goodness to your day 😉
I love proper 3-head cassette decks as many regulars will know and I own a number of them, probably too many, five at last count! I also own a range of cassette-specific test and measurement gear, calibration tapes, demagnetisers and other equipment.
Some will recall my beloved Pioneer CT-A9X, donated to me some years ago by my friend and Accuphase importer, Pierre. I resurrected that unit and it remains my main cassette deck to this day, a superb piece of gear from one of my favourite periods for Pioneer.
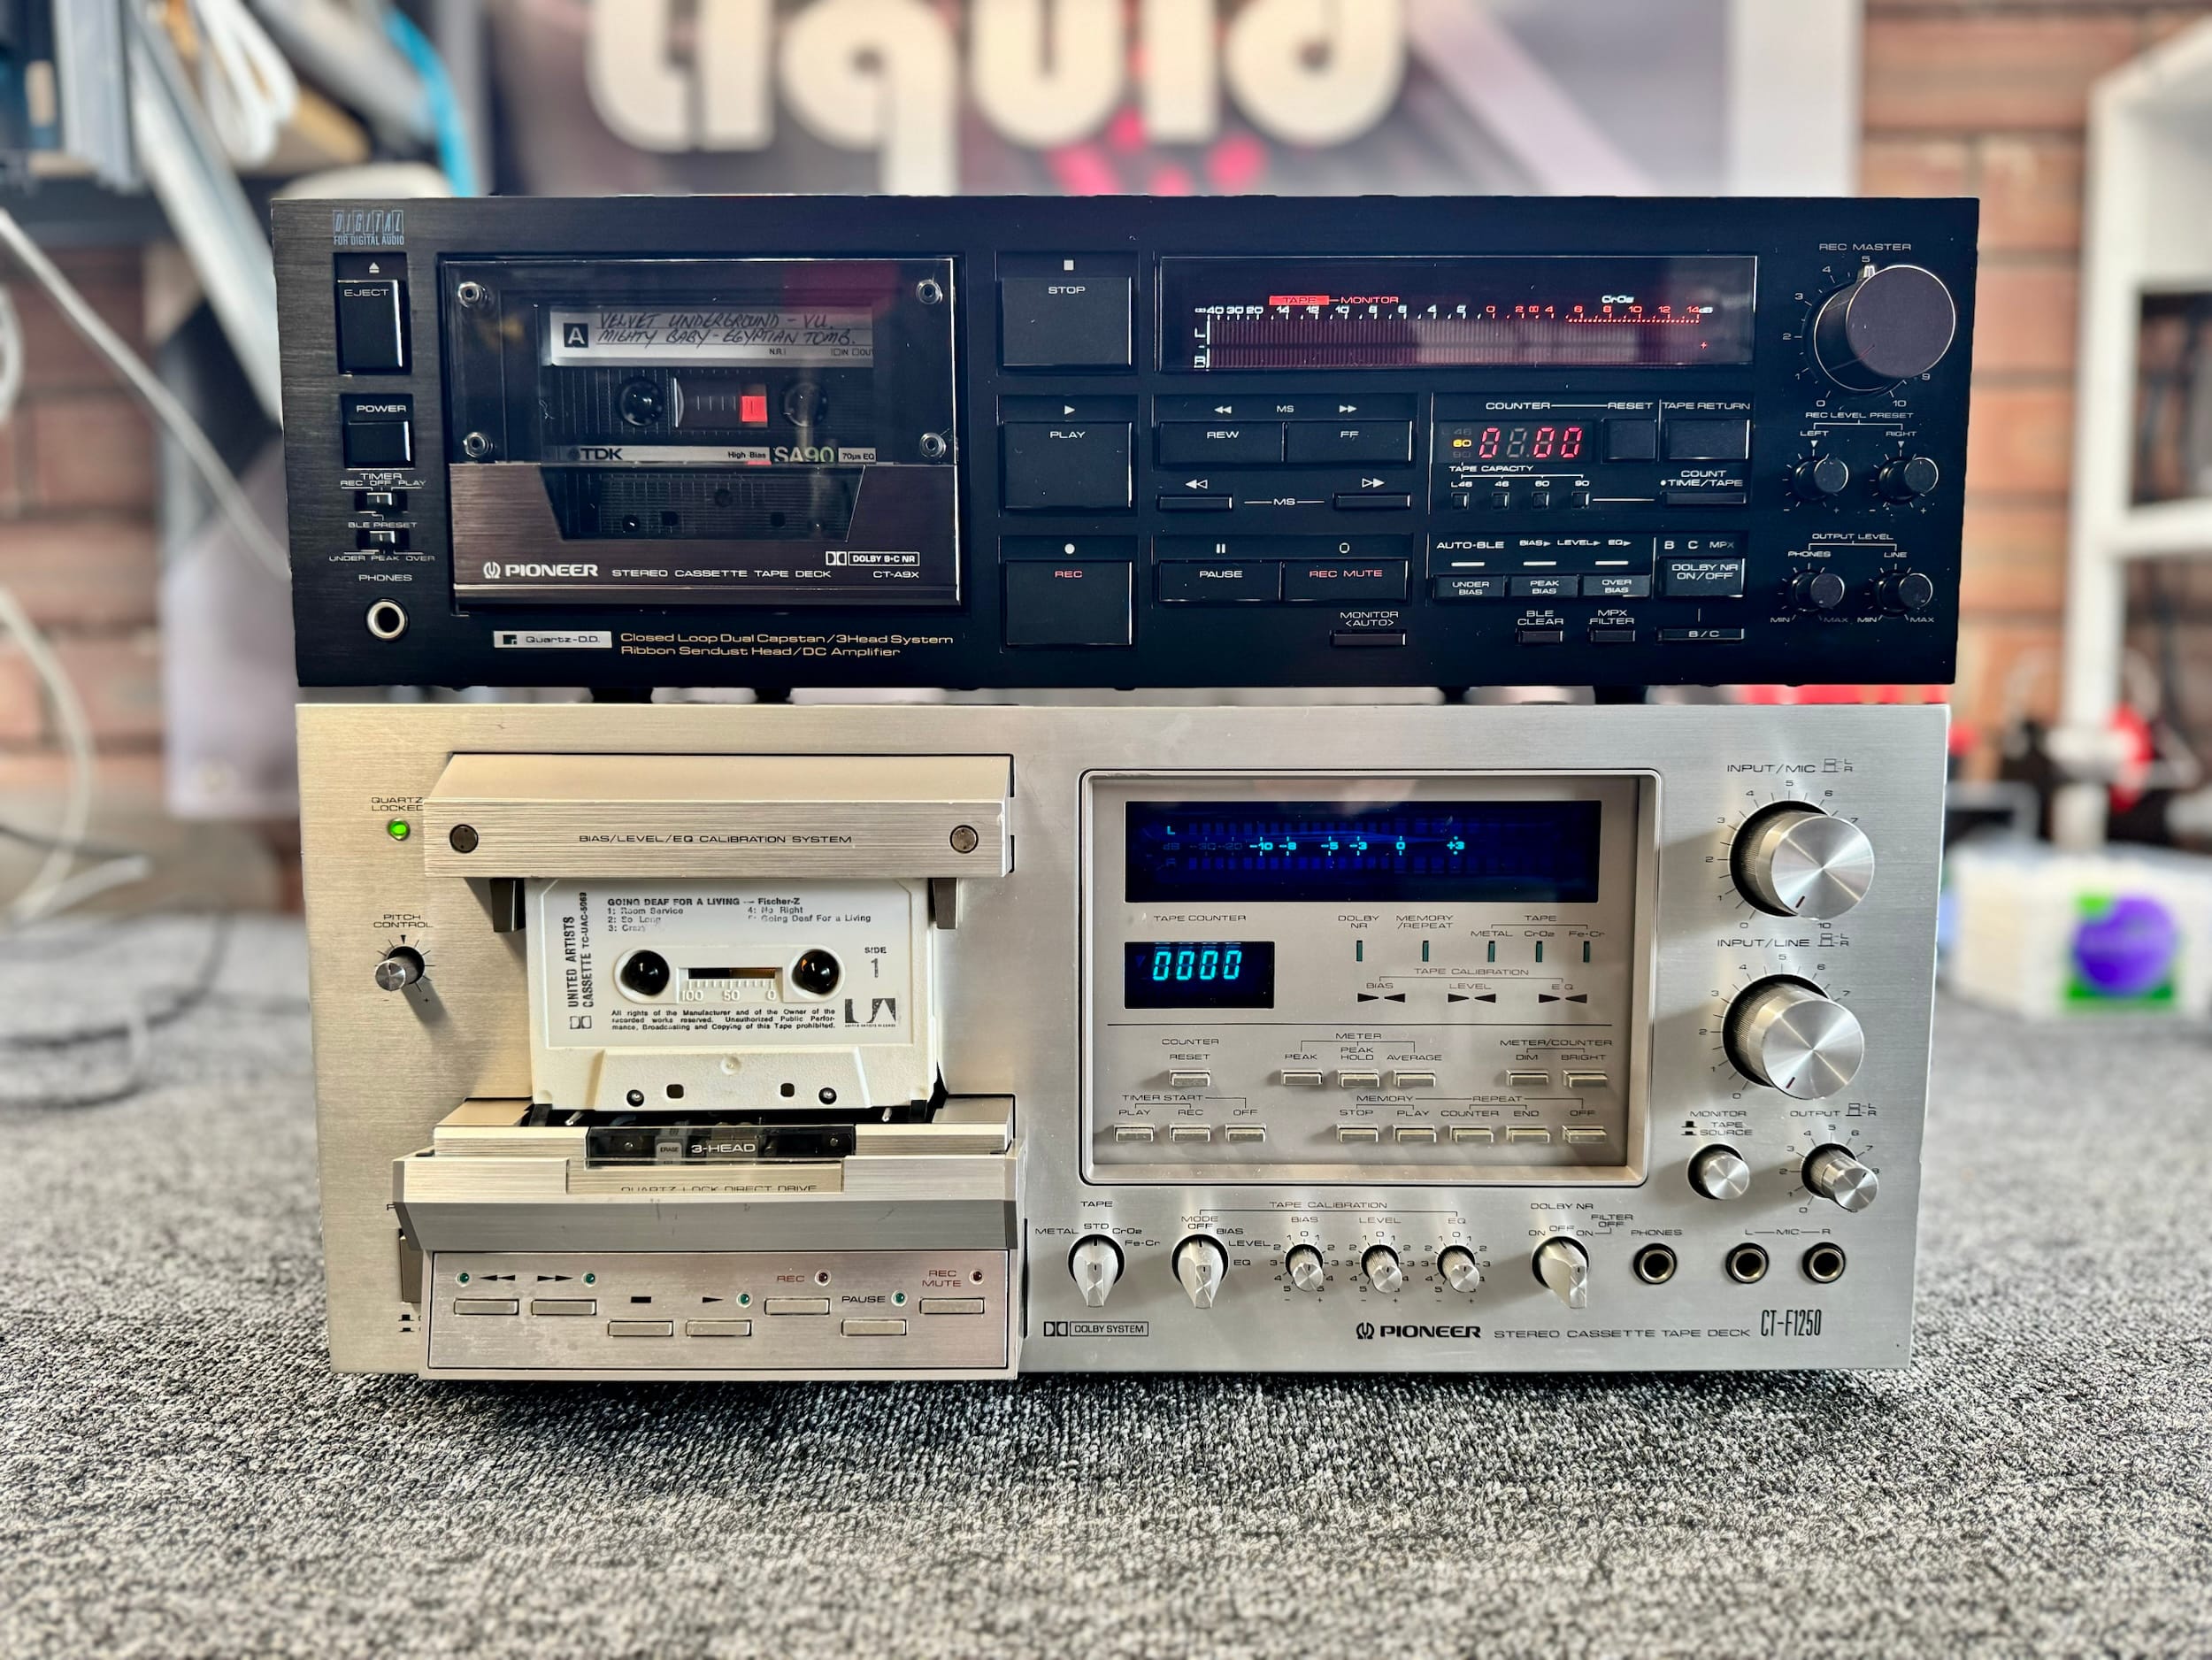
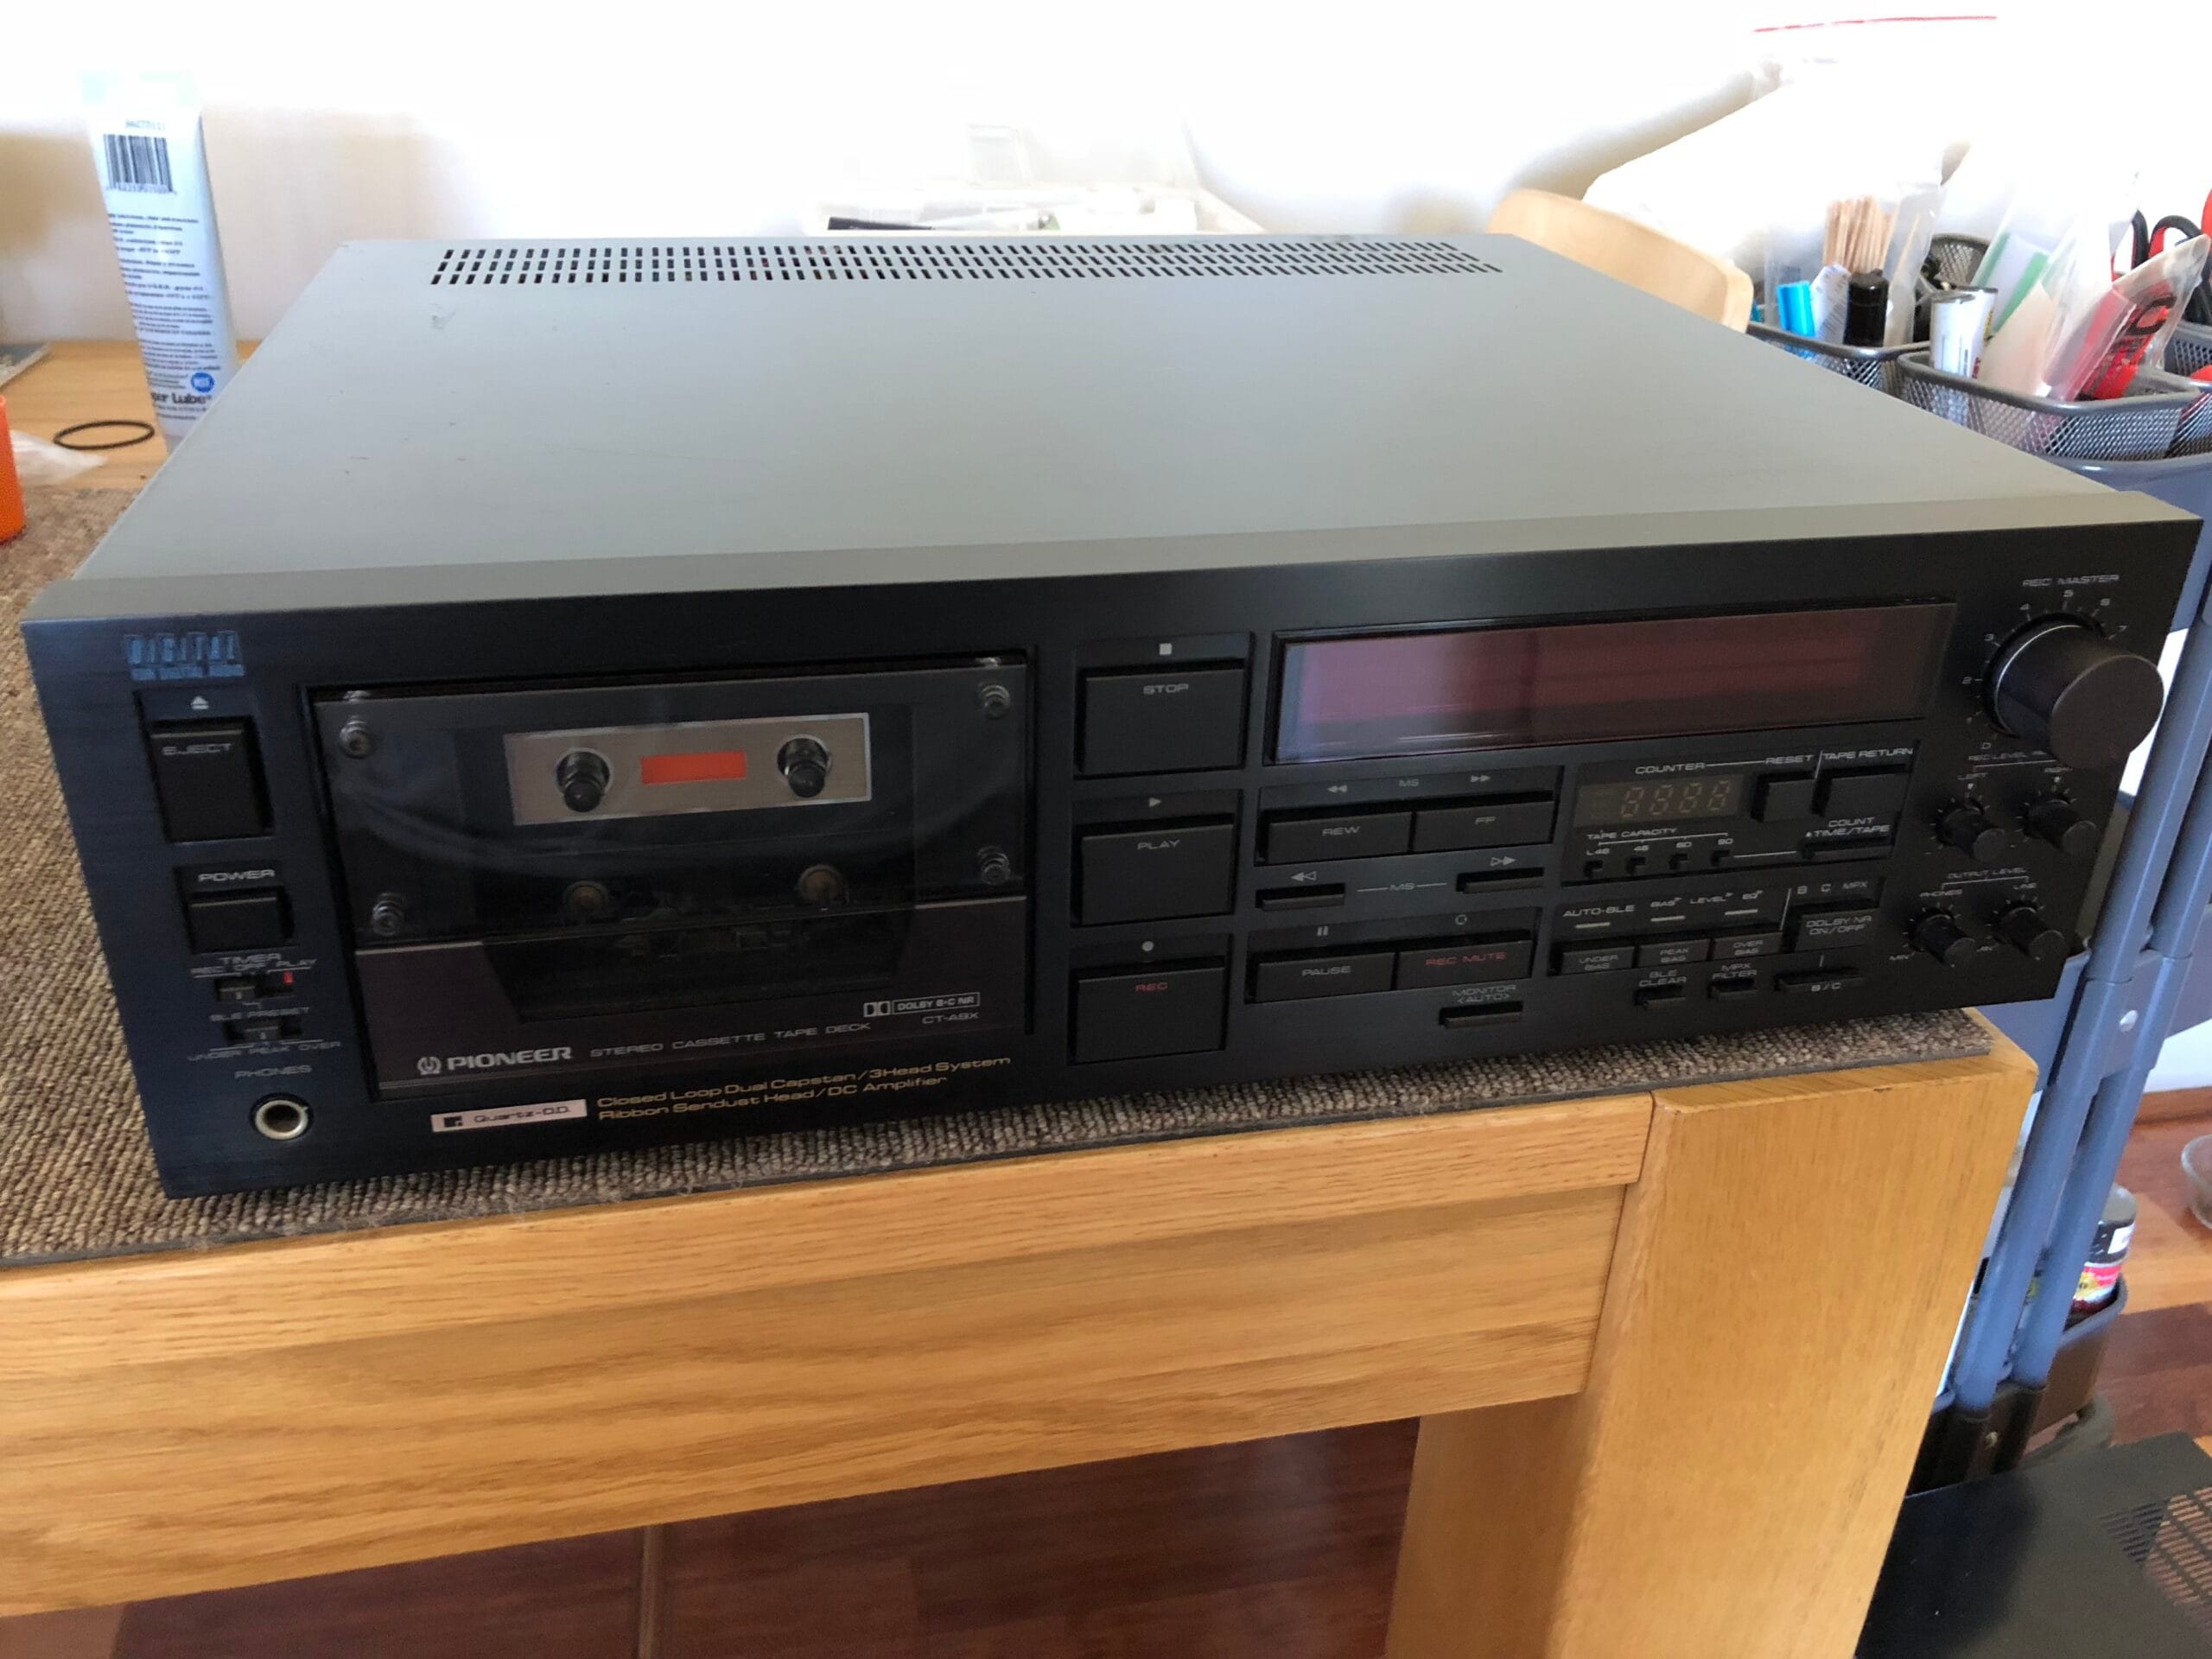
I have a deep fondness for Pioneer cassette decks from this era, so when a customer told me he was going to donate his dead Pioneer CT-F1250 3-head direct drive deck to me, the only proviso being that I had to collect it and fix it of course, I couldn’t pass the opportunity up.
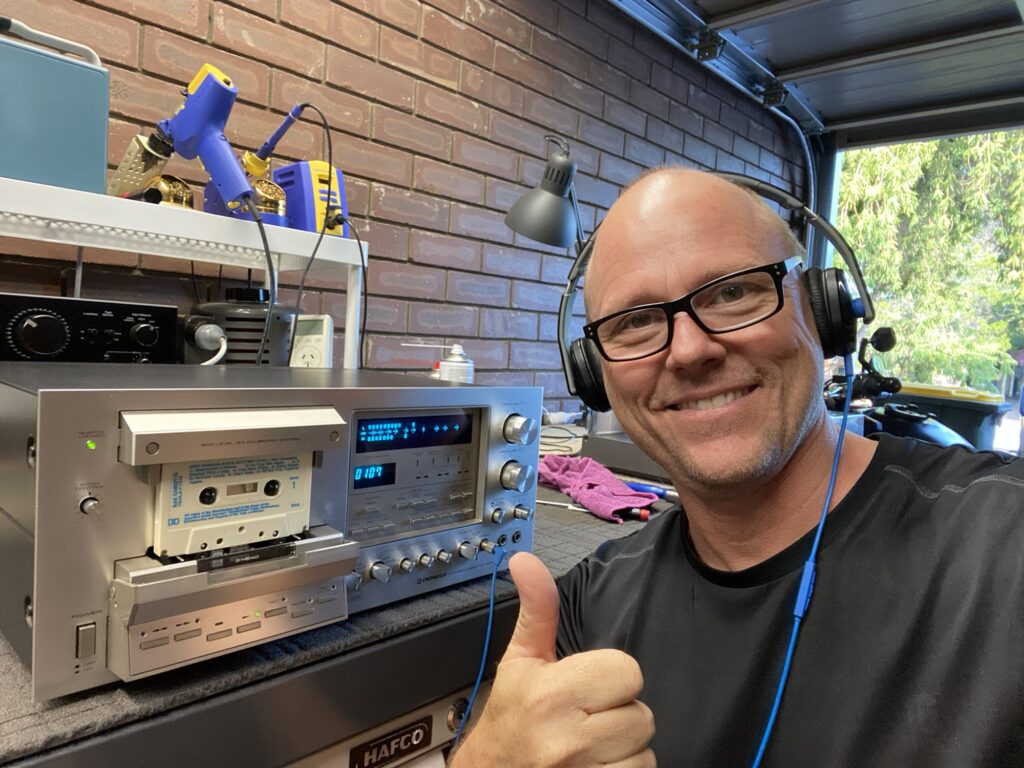
I’ve repaired several of these incredible cassette decks over the years for lucky owners, and you’ll find images of these elsewhere on this site. For my first article on the Pioneer CT-F1250 though, I wanted it to be about a deck I have a more personal connection with – MY CT-F1250!
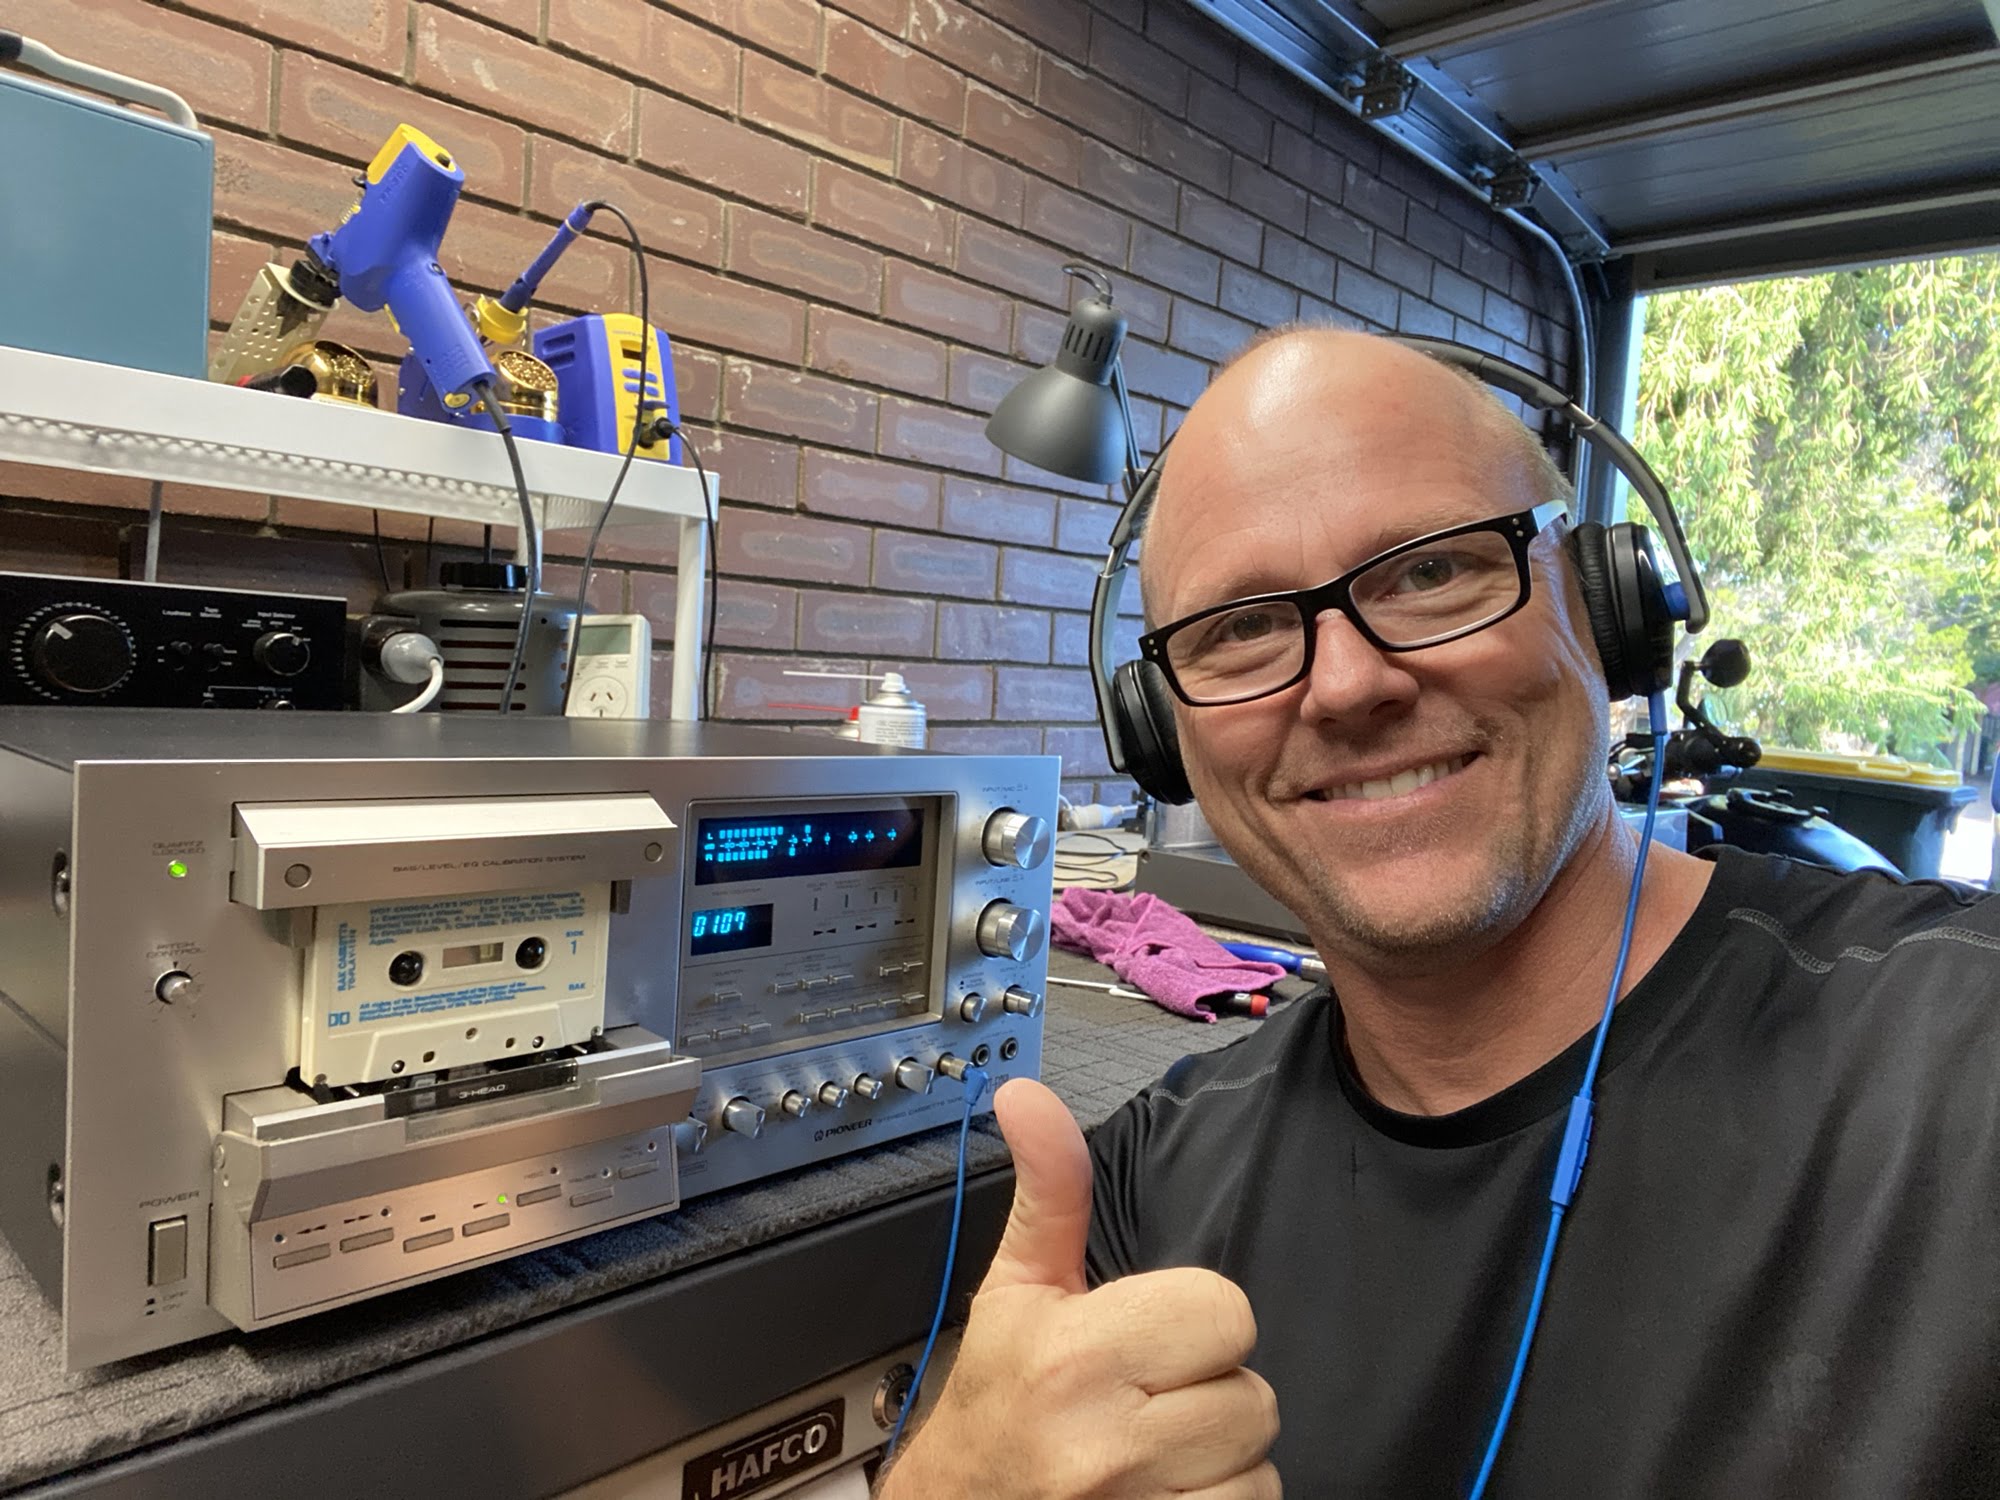
Like so many other pieces, I may need to let this stunning cassette deck go, for the same reason I’ve sold so much great hi-fi gear over the years – I simply cannot keep it all. Do I NEED a Pioneer CT-A9X AND a Pioneer CT-F1250..? I dunno. I haven’t decided to sell it yet though and I will live with it before making that decision. The more I use it, the less likely I am to sell it I’ve gotta say. This thing is a dream!
Features
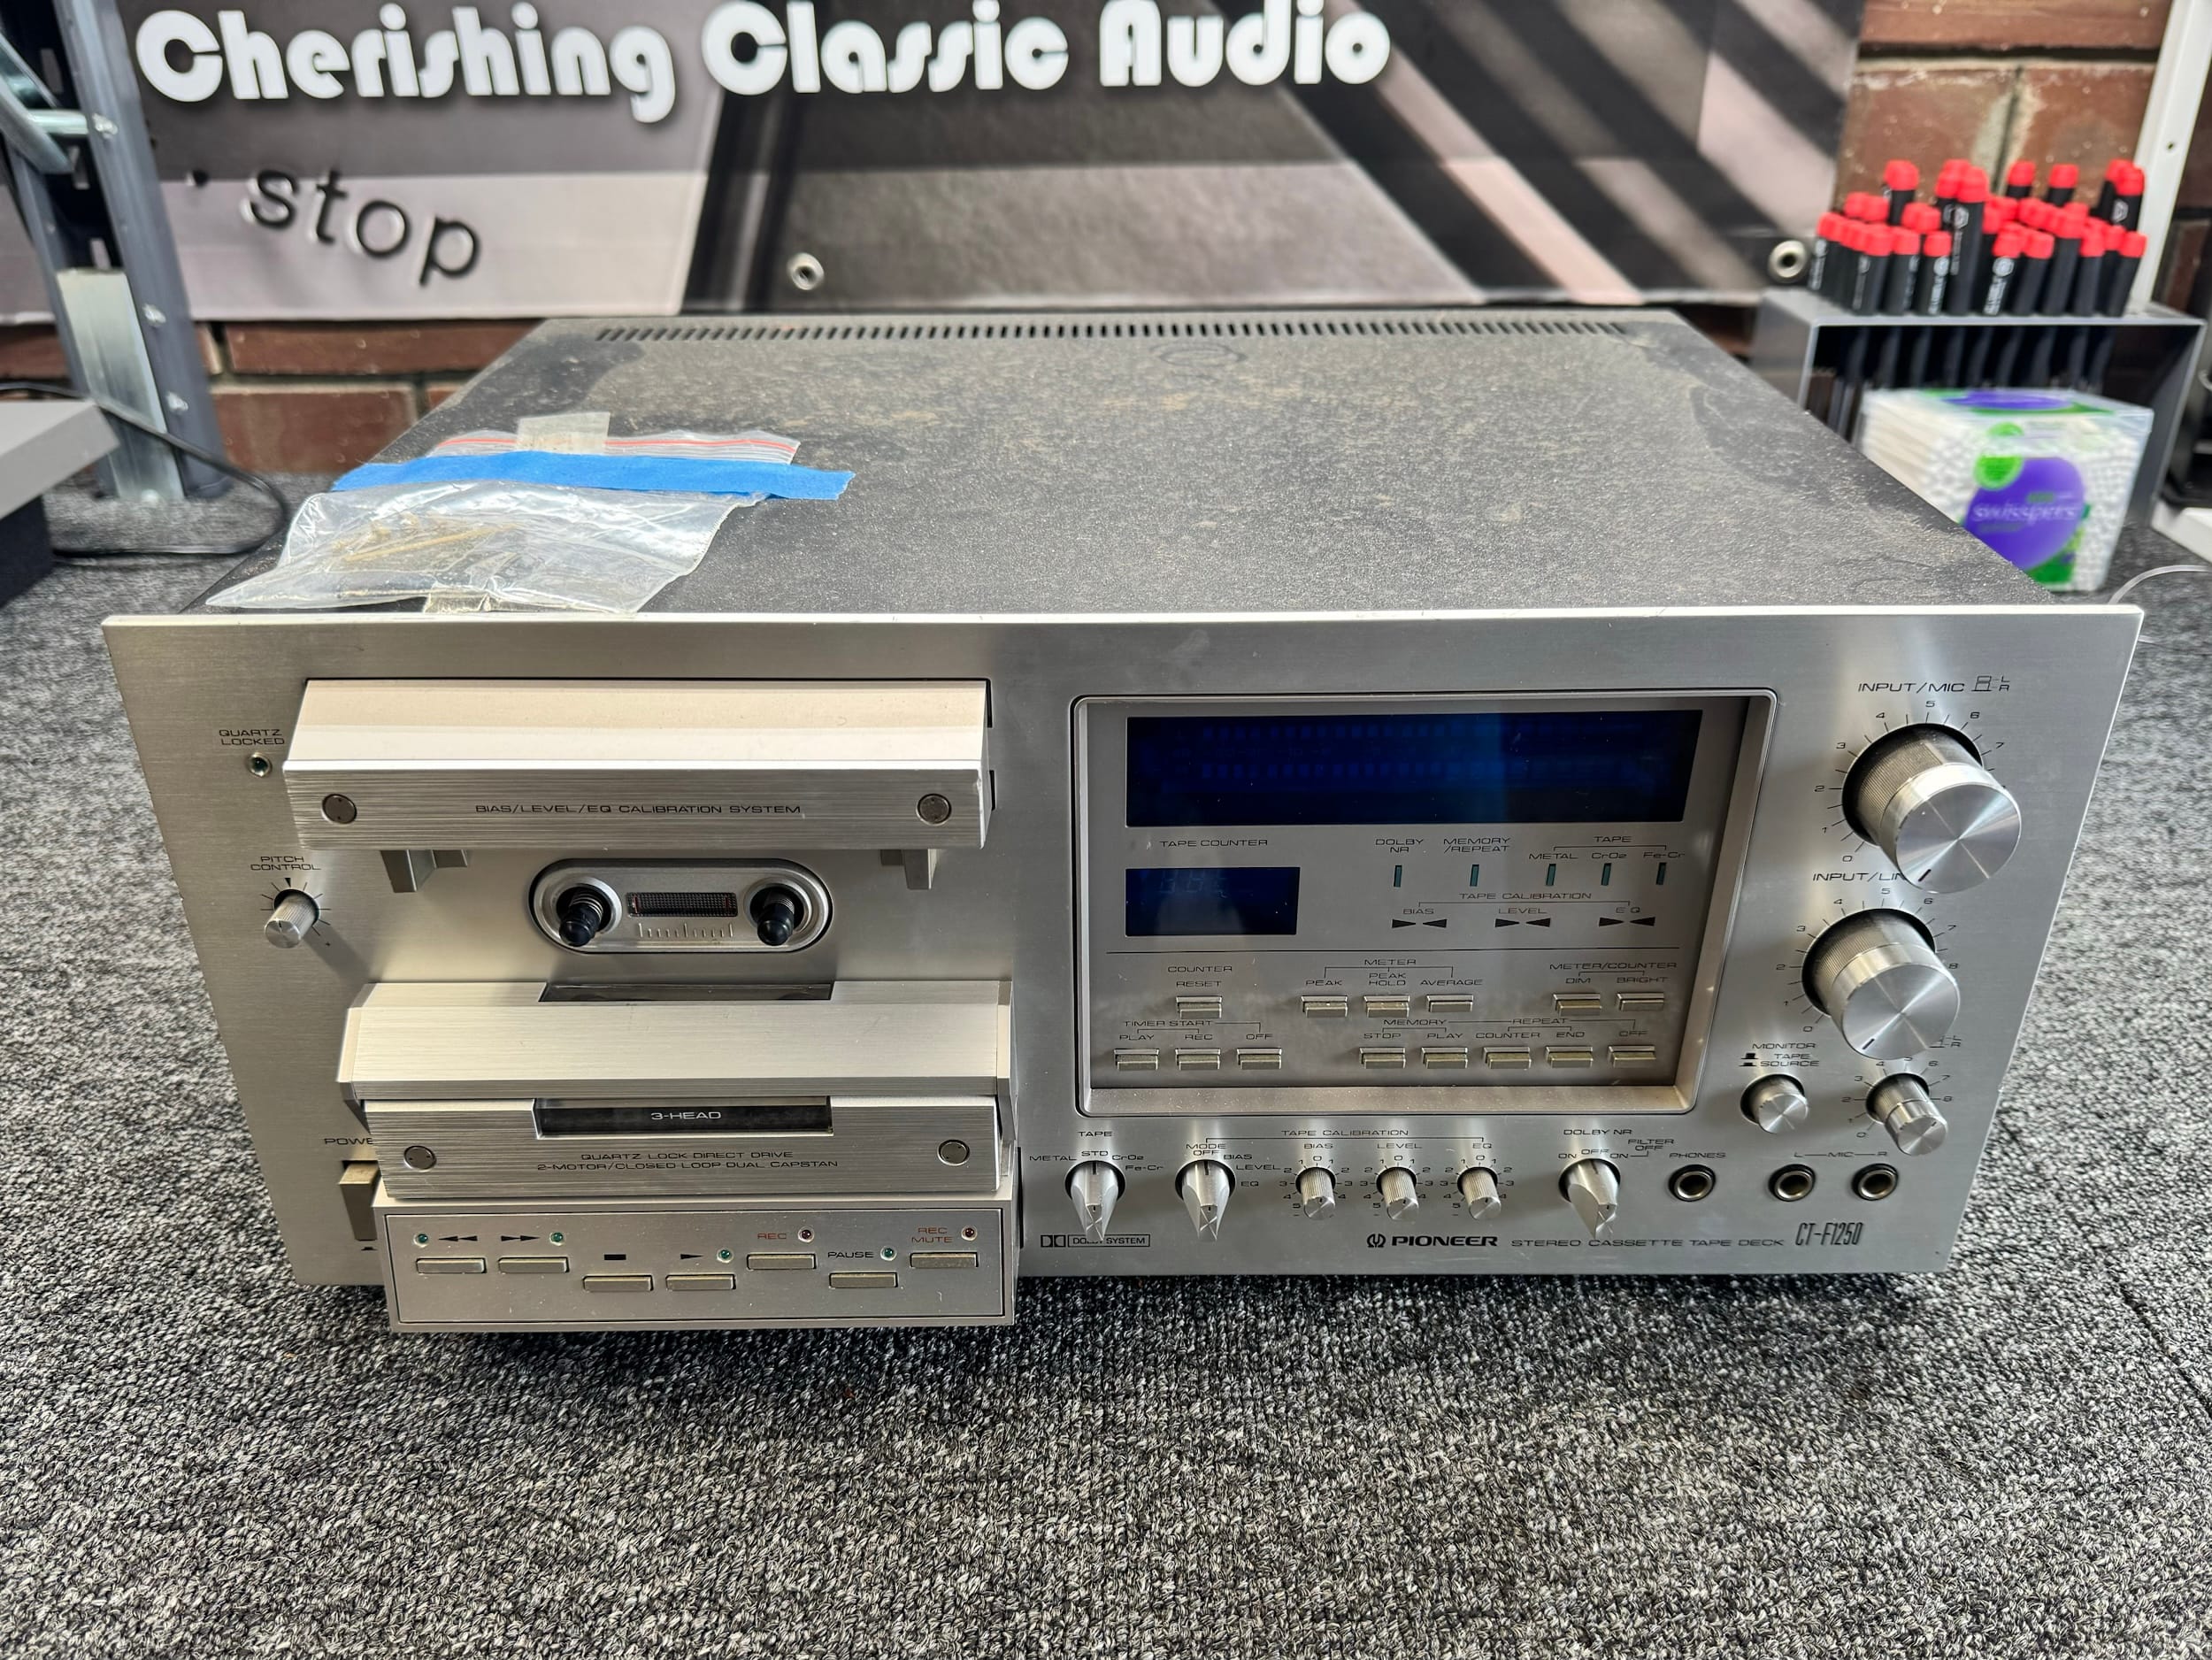
The second from the top-of-the-line Pioneer CT-F1250 preceded my CT-A9X by about 5 years. It has a similar build quality and a superb 3-head, dual capstan, and direct drive mechanism. With the CT-F1250, the mechanism is solenoid-driven and precise but slightly clunky as solenoid mechs are. In my CT-A9X, the revised ‘reference’ mech is motor-driven and is easily the smoothest mechanism I’ve experienced.
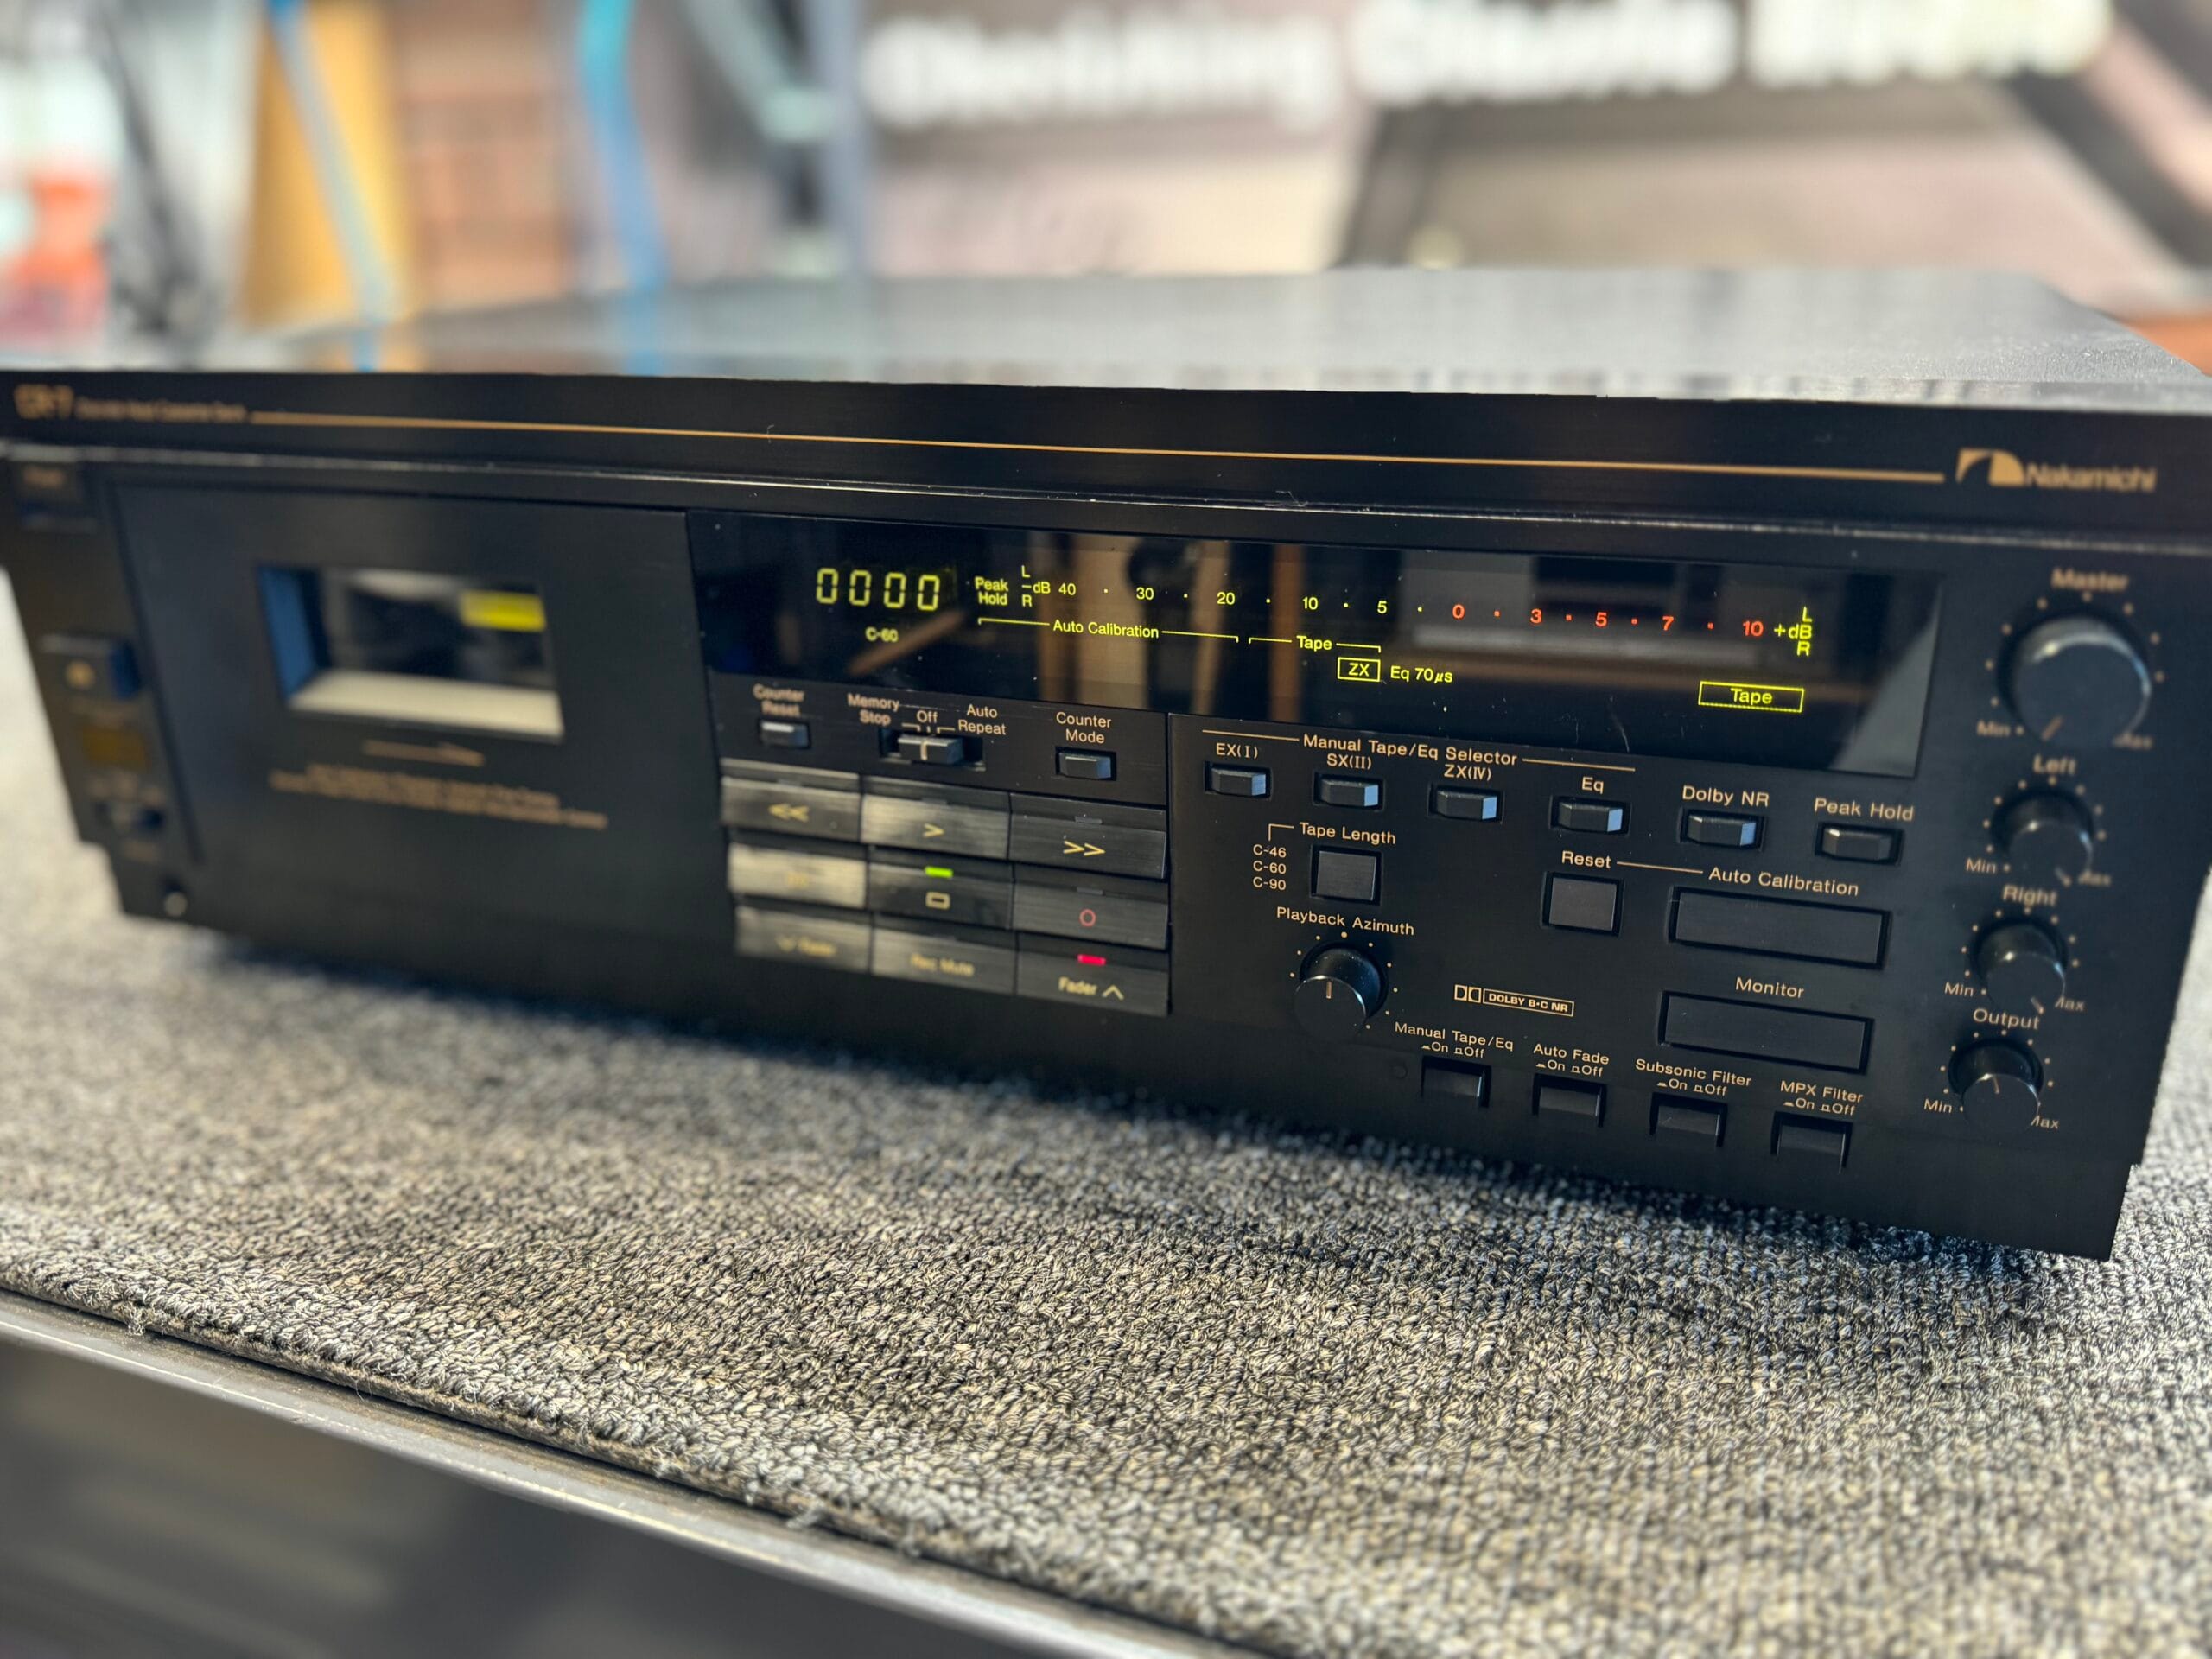
I’m including various Nakamichi machines I’m familiar with in that category BTW. I serviced a Nakamichi CR-7 just the other day and I also own a pristine Nakamichi 670ZX. They are smooth and incredible-sounding machines, no doubt, but the CT-A9X is smoother and I enjoy the more robust ‘olde-worlde’ clunky charm of the CT-F1250. It feels immensely solid, and solenoid-actuated decks are generally more reliable in my experience than motor-actuated ones as there are fewer gears, motors, belts etc to wear out, as a general rule.
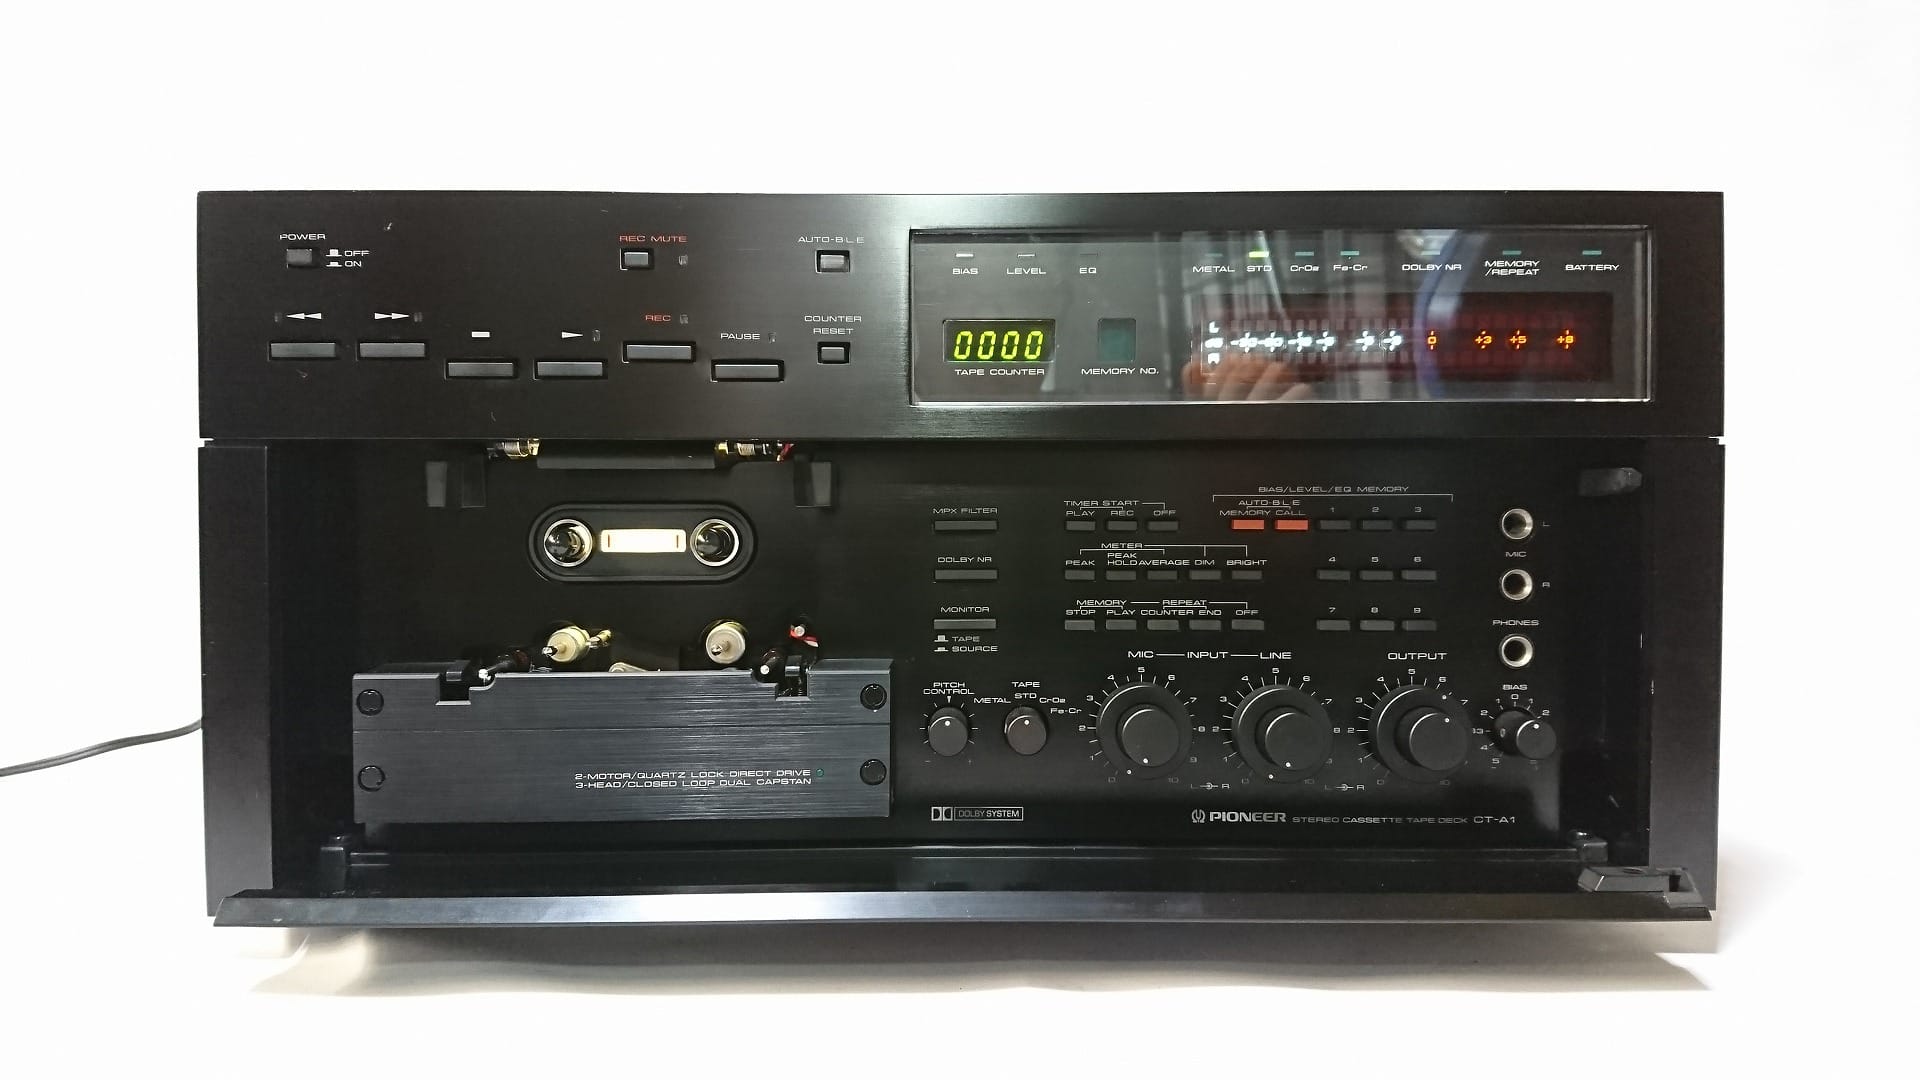
I know what some of you are wondering: “Mike if the CT-F1250 is second from the top of the range, what was at the top?” Ah, well that was the extraordinary Pioneer CT-A1, Pioneer’s 1000ZXL killer! Does it kill the 1000ZXL..? No, but it’s a bloody good machine and has a similar quality of build.
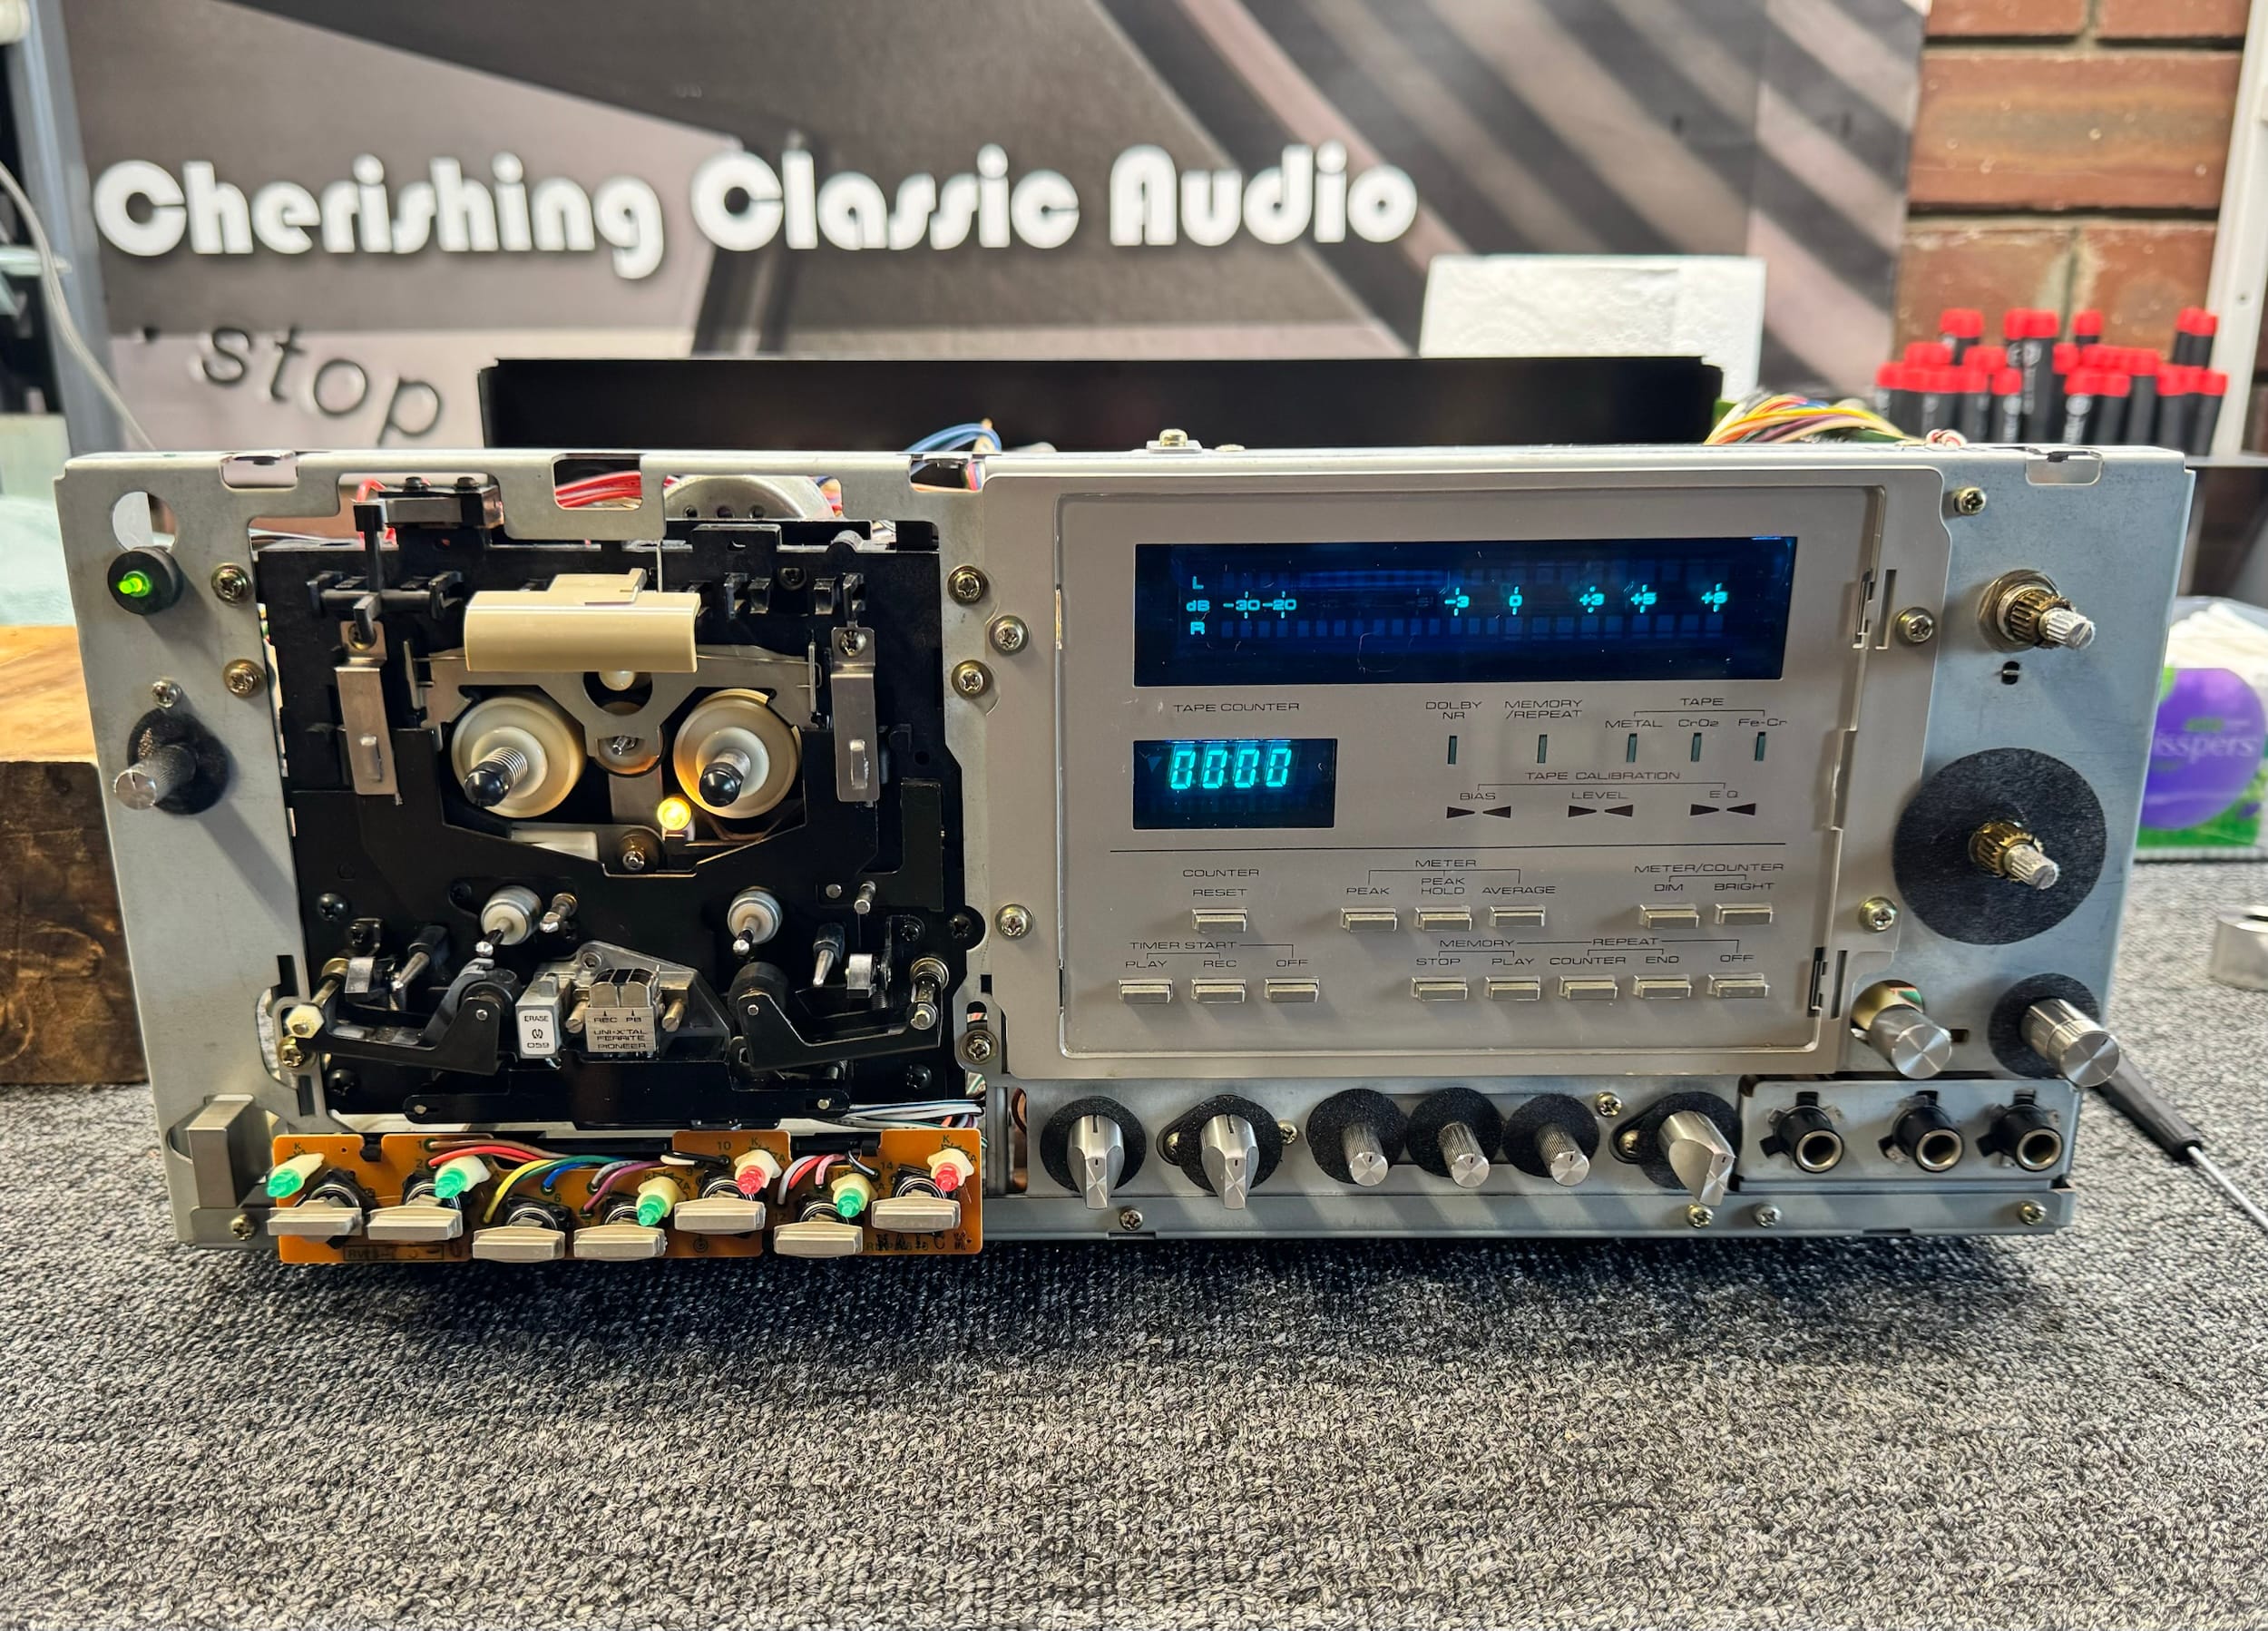
So what else makes the Pioneer CT-F1250 special? Well, the 11kg build, mostly metal and high-quality plastic ie no nylon mechanism, 24-segment ‘fluoroscan’ meters, electronic counter and another Pioneer exclusive, the ‘EqLB Tuning System’. Why is nylon bad? Ask any Nakamichi owner with a broken eject button…
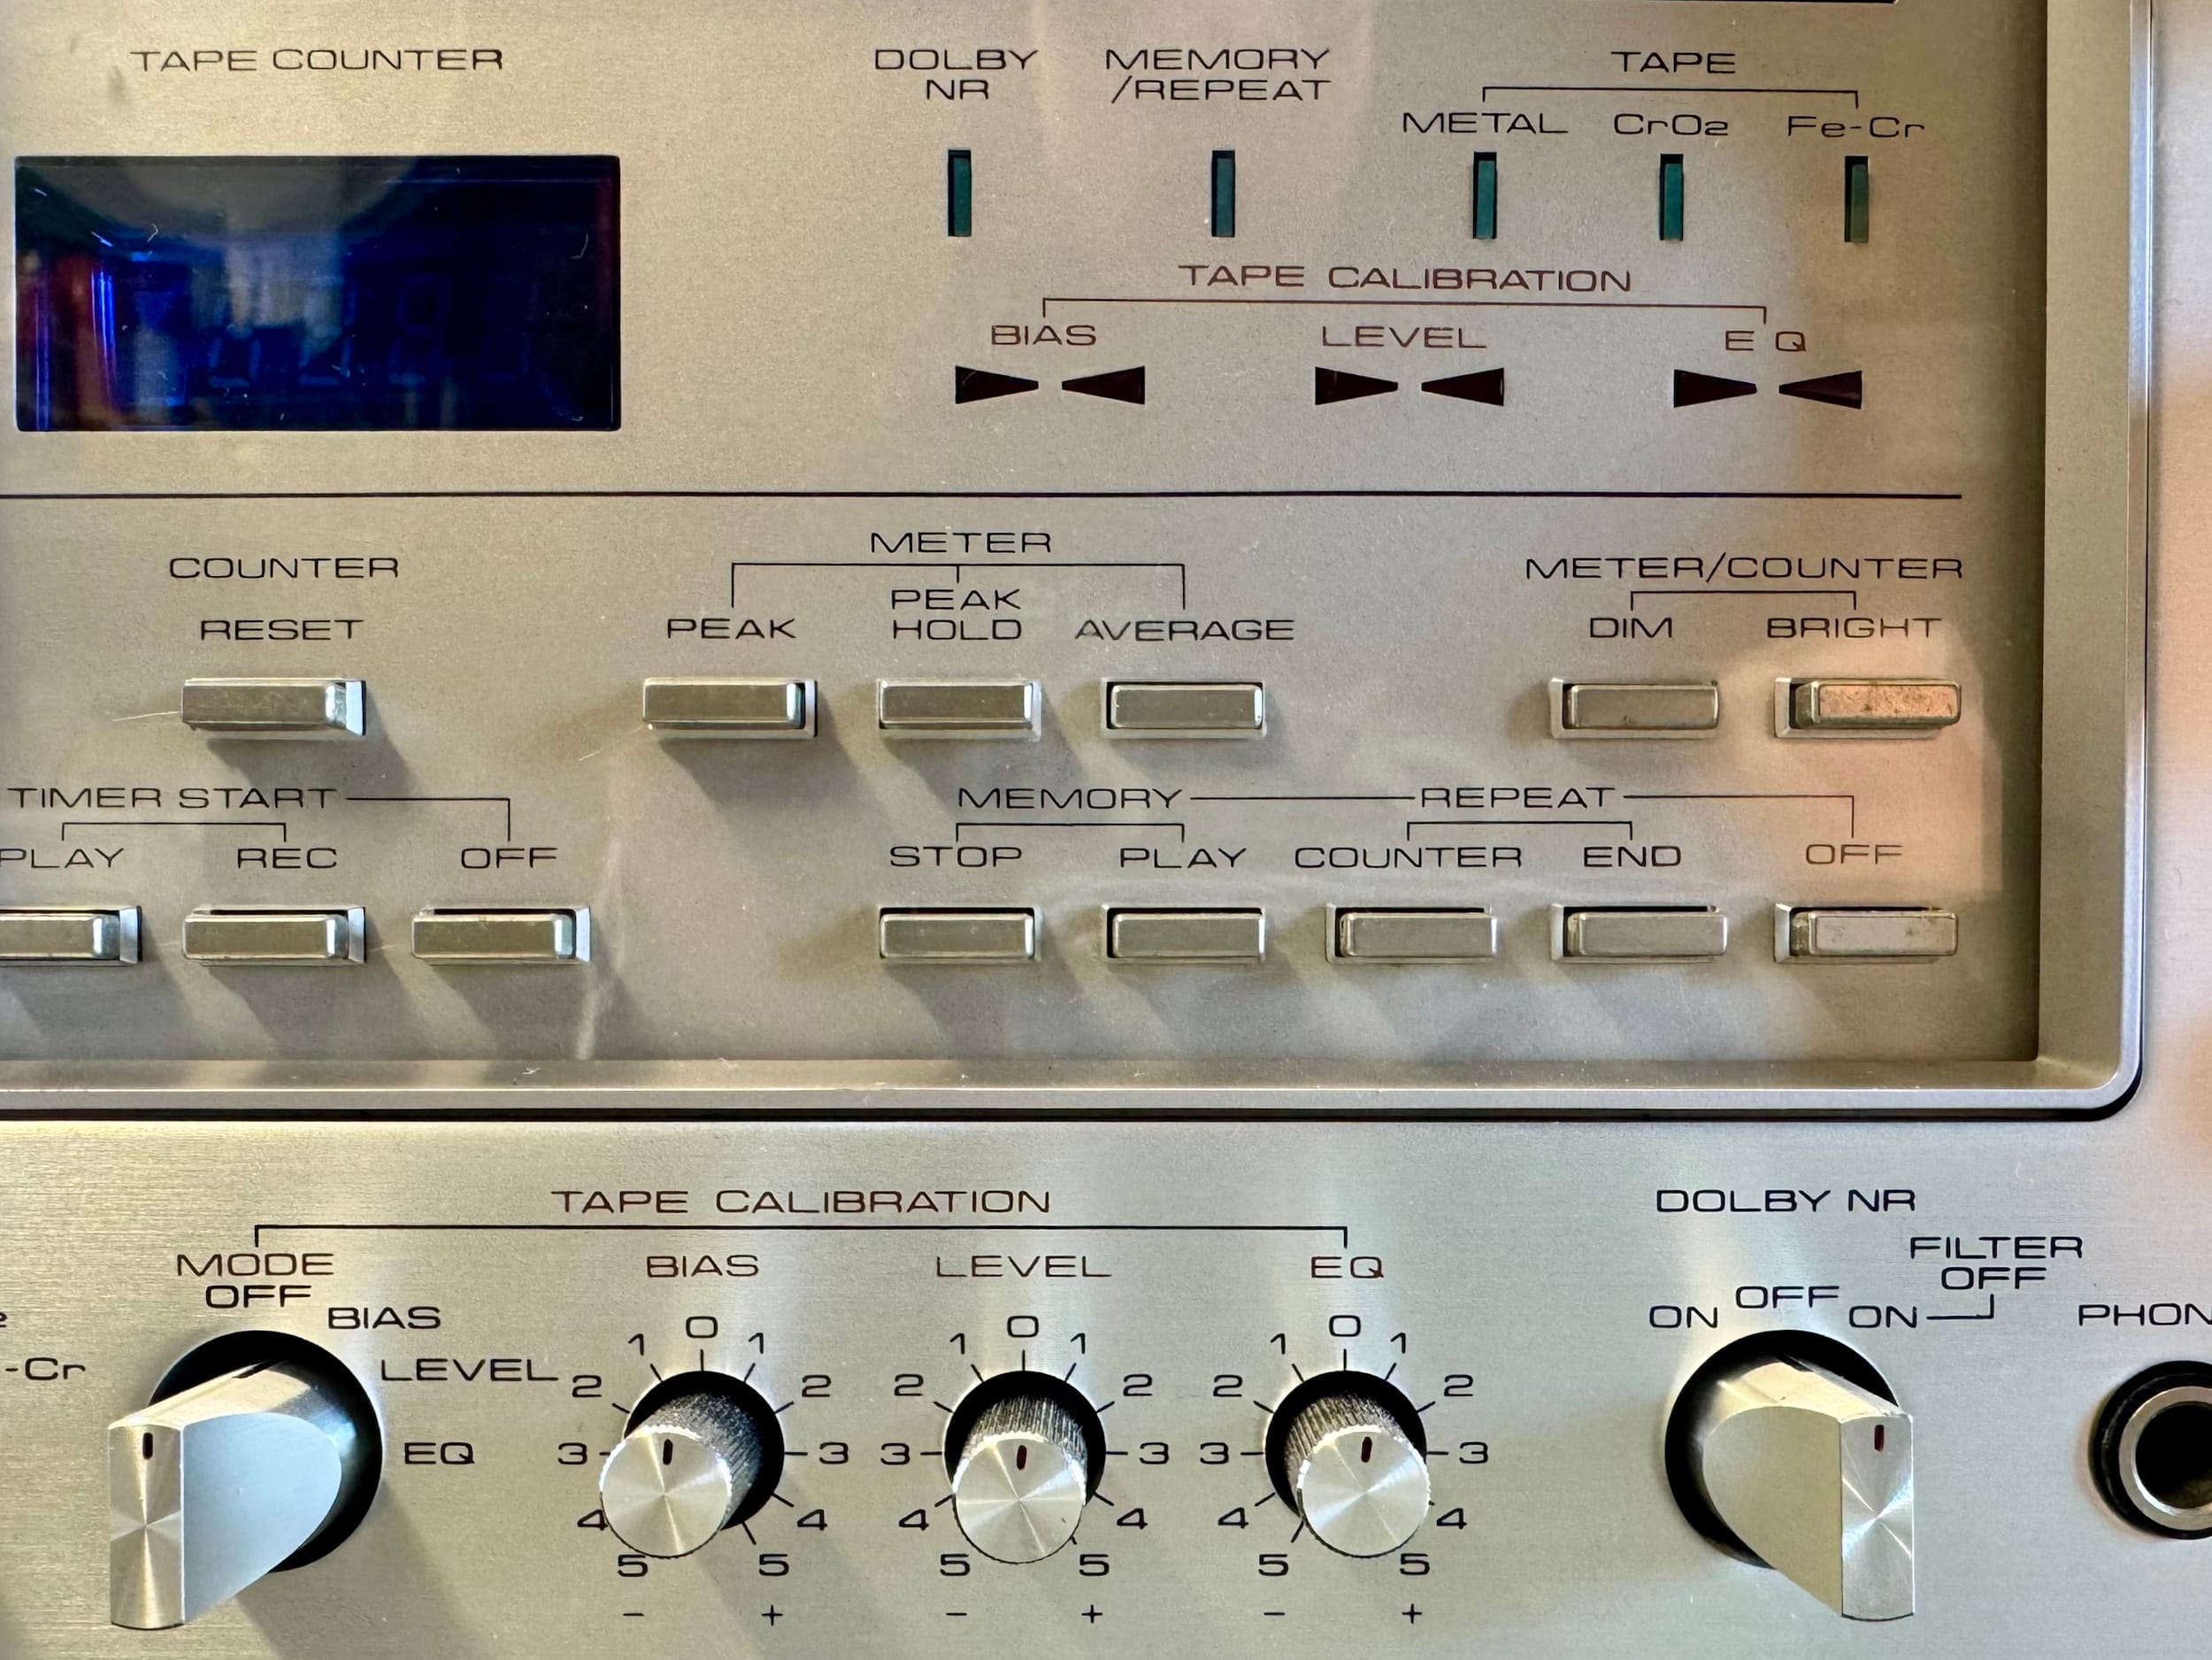
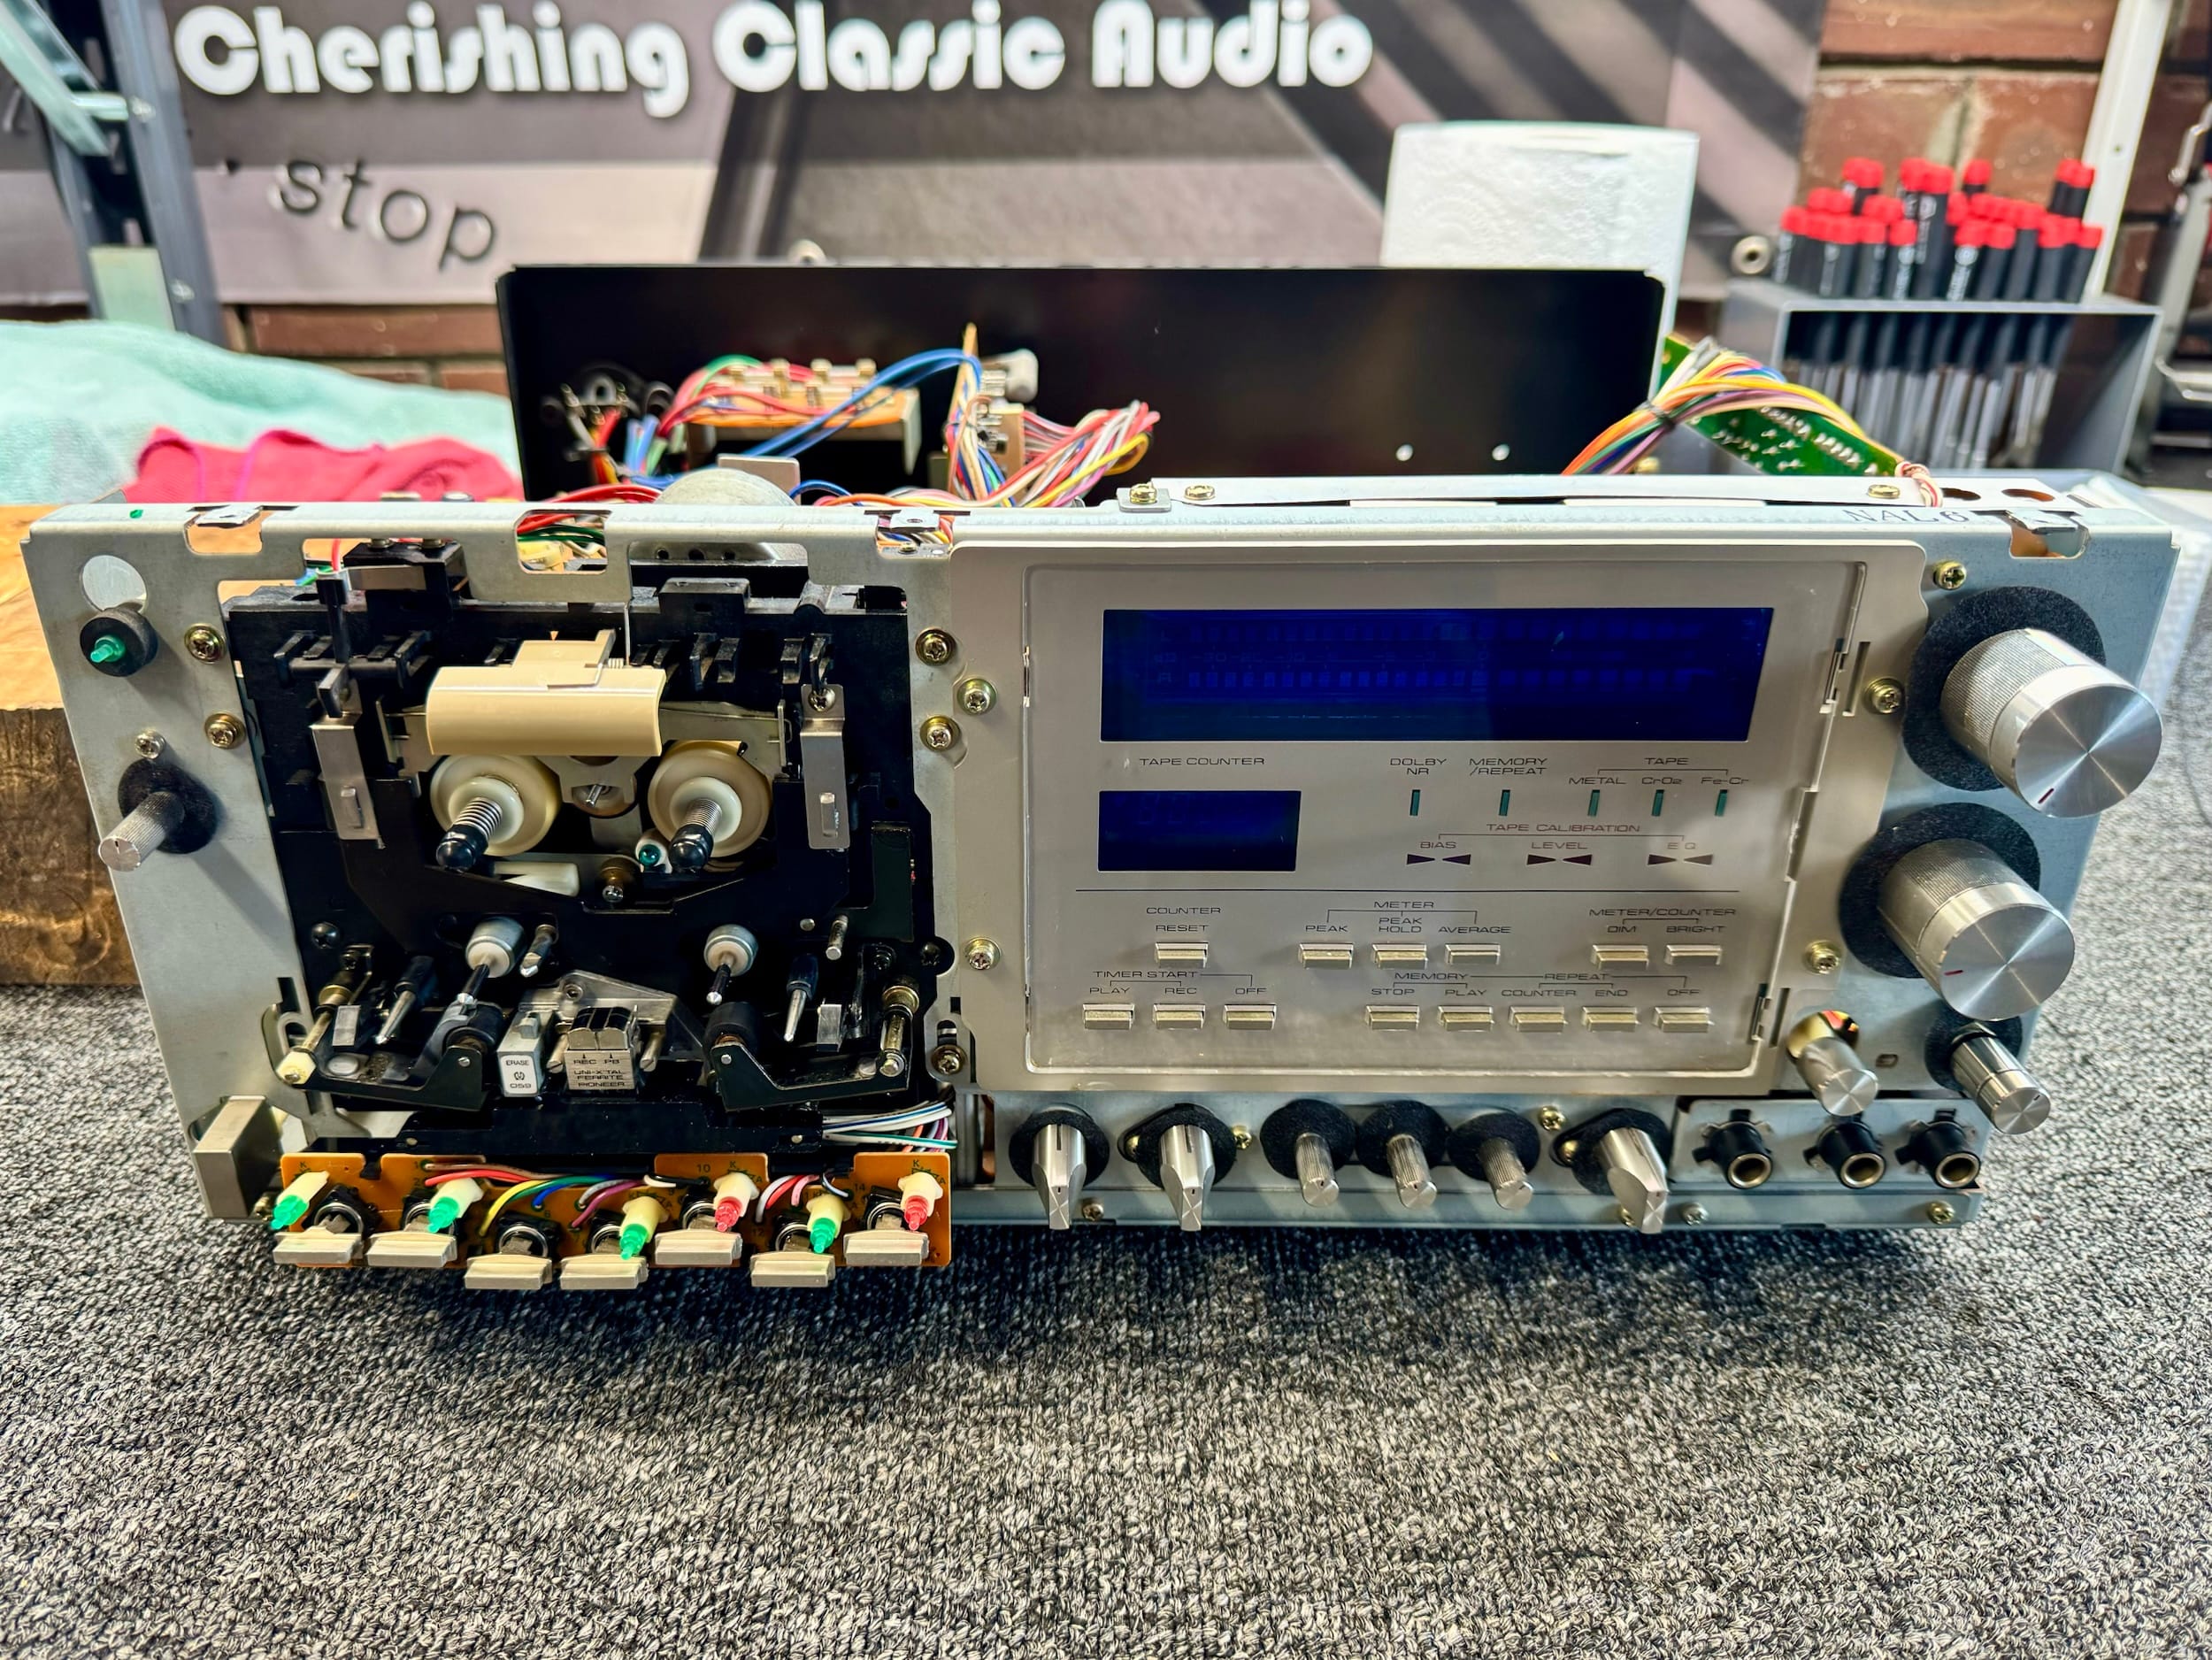
The EqLB Tuning System is a real beauty, a system that evolved into the fully automated ABLE system in later decks like mu CT-A9X. With the EqLB system, you activate it, and a tone is recorded to the tape in the machine. You then tweak the bias, level and equalisation controls until the LEDs point to the exact right spot for each parameter. You’ve then calibrated the recording circuits to perfectly suit the tape you are about to record onto.
This was brilliant stuff from Pioneer at a time when manufacturers were trying to wring every last ounce of performance from the various cassette tape formulations available. The CT-F1250 will, of course, utilise any tape type, including the then-new metal formulations.
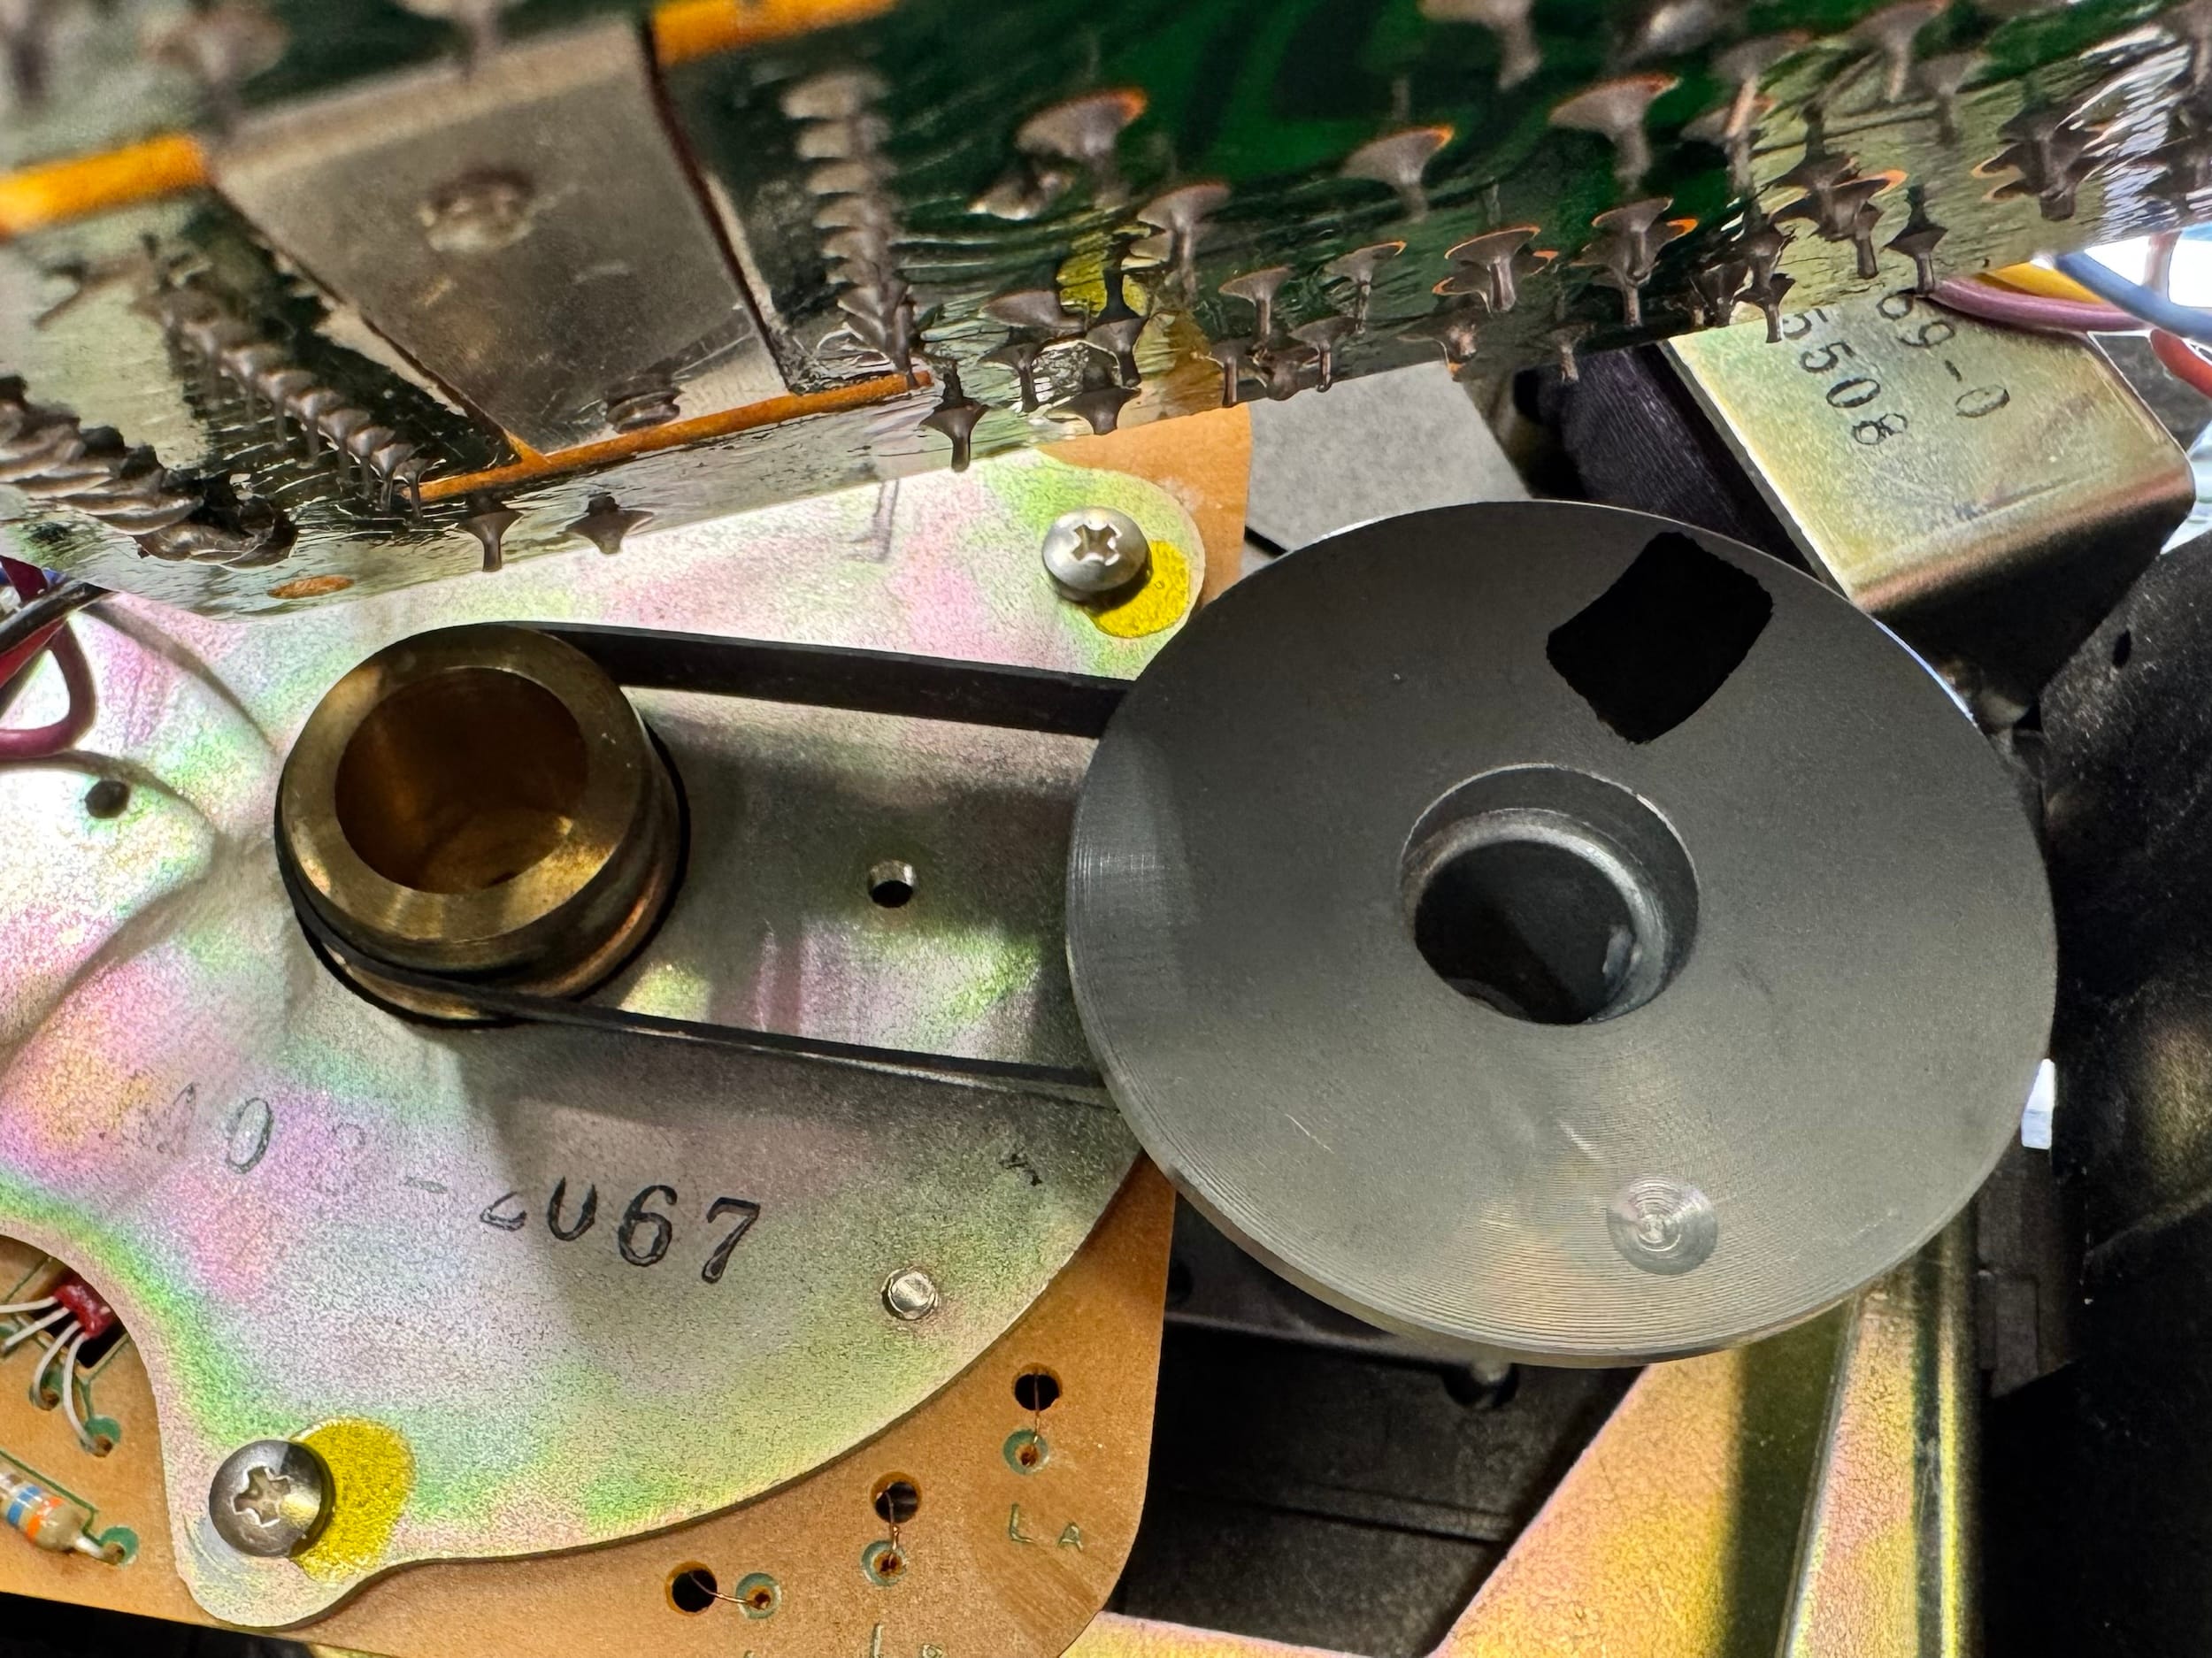
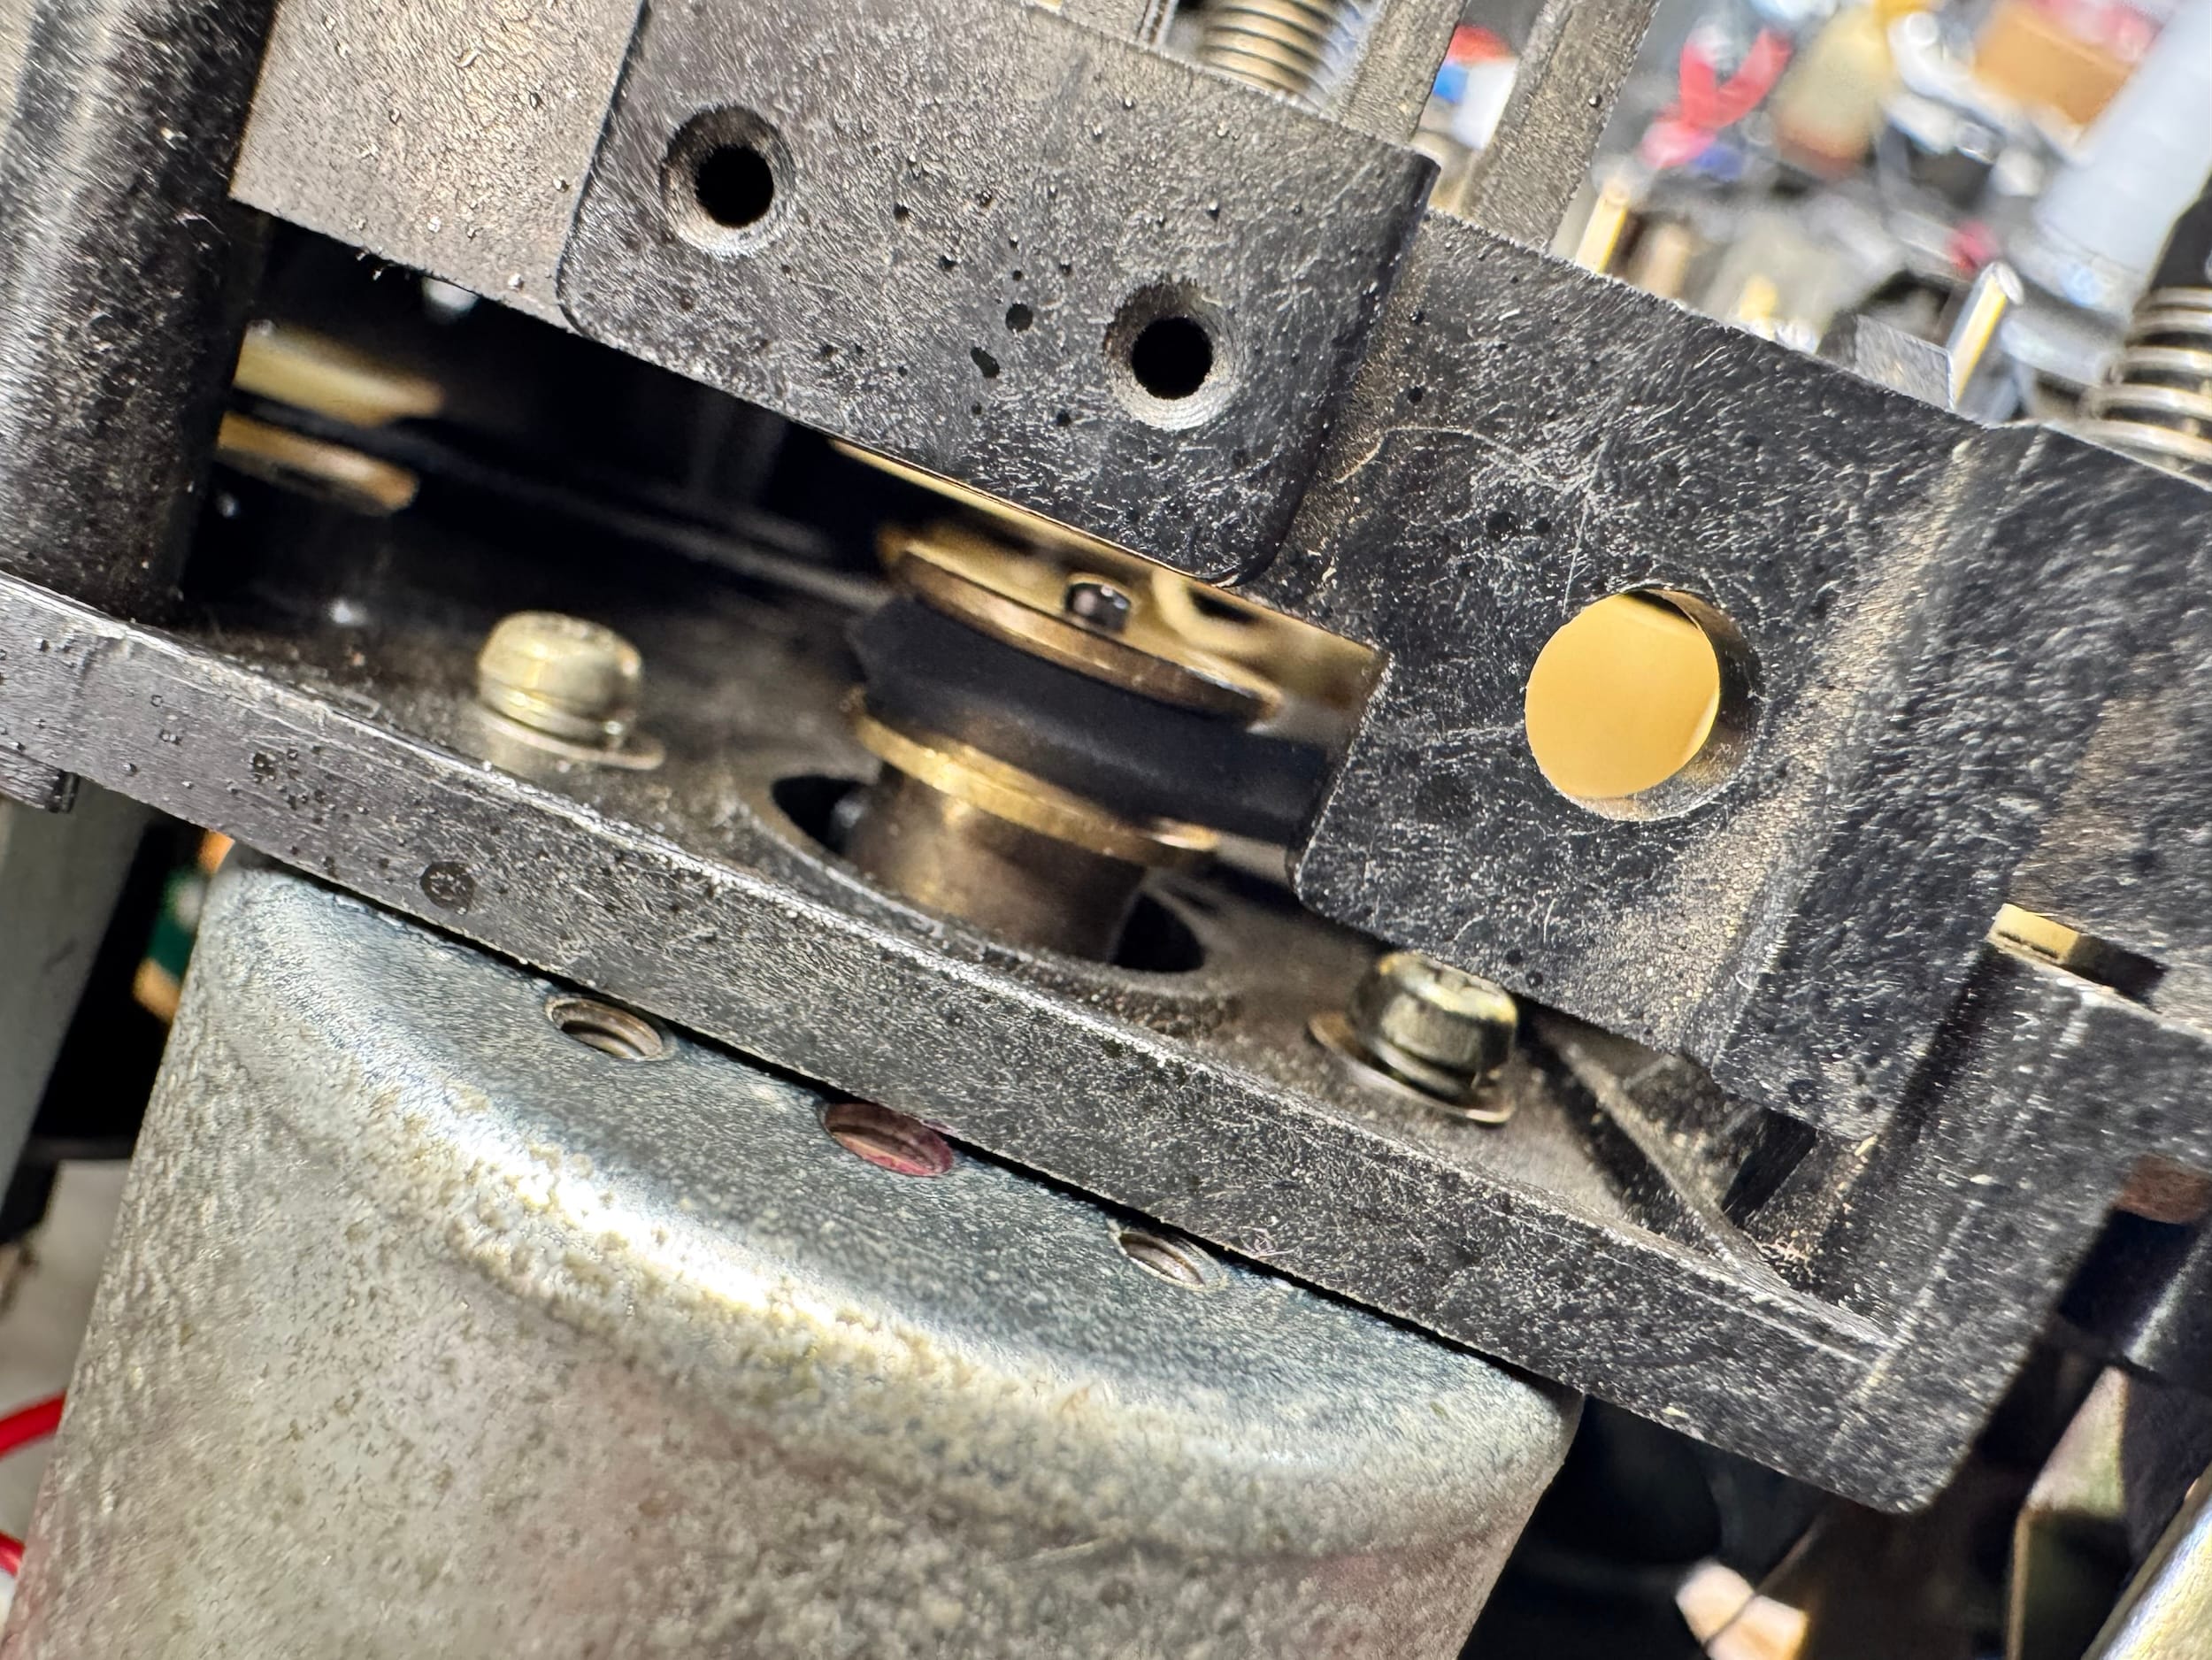
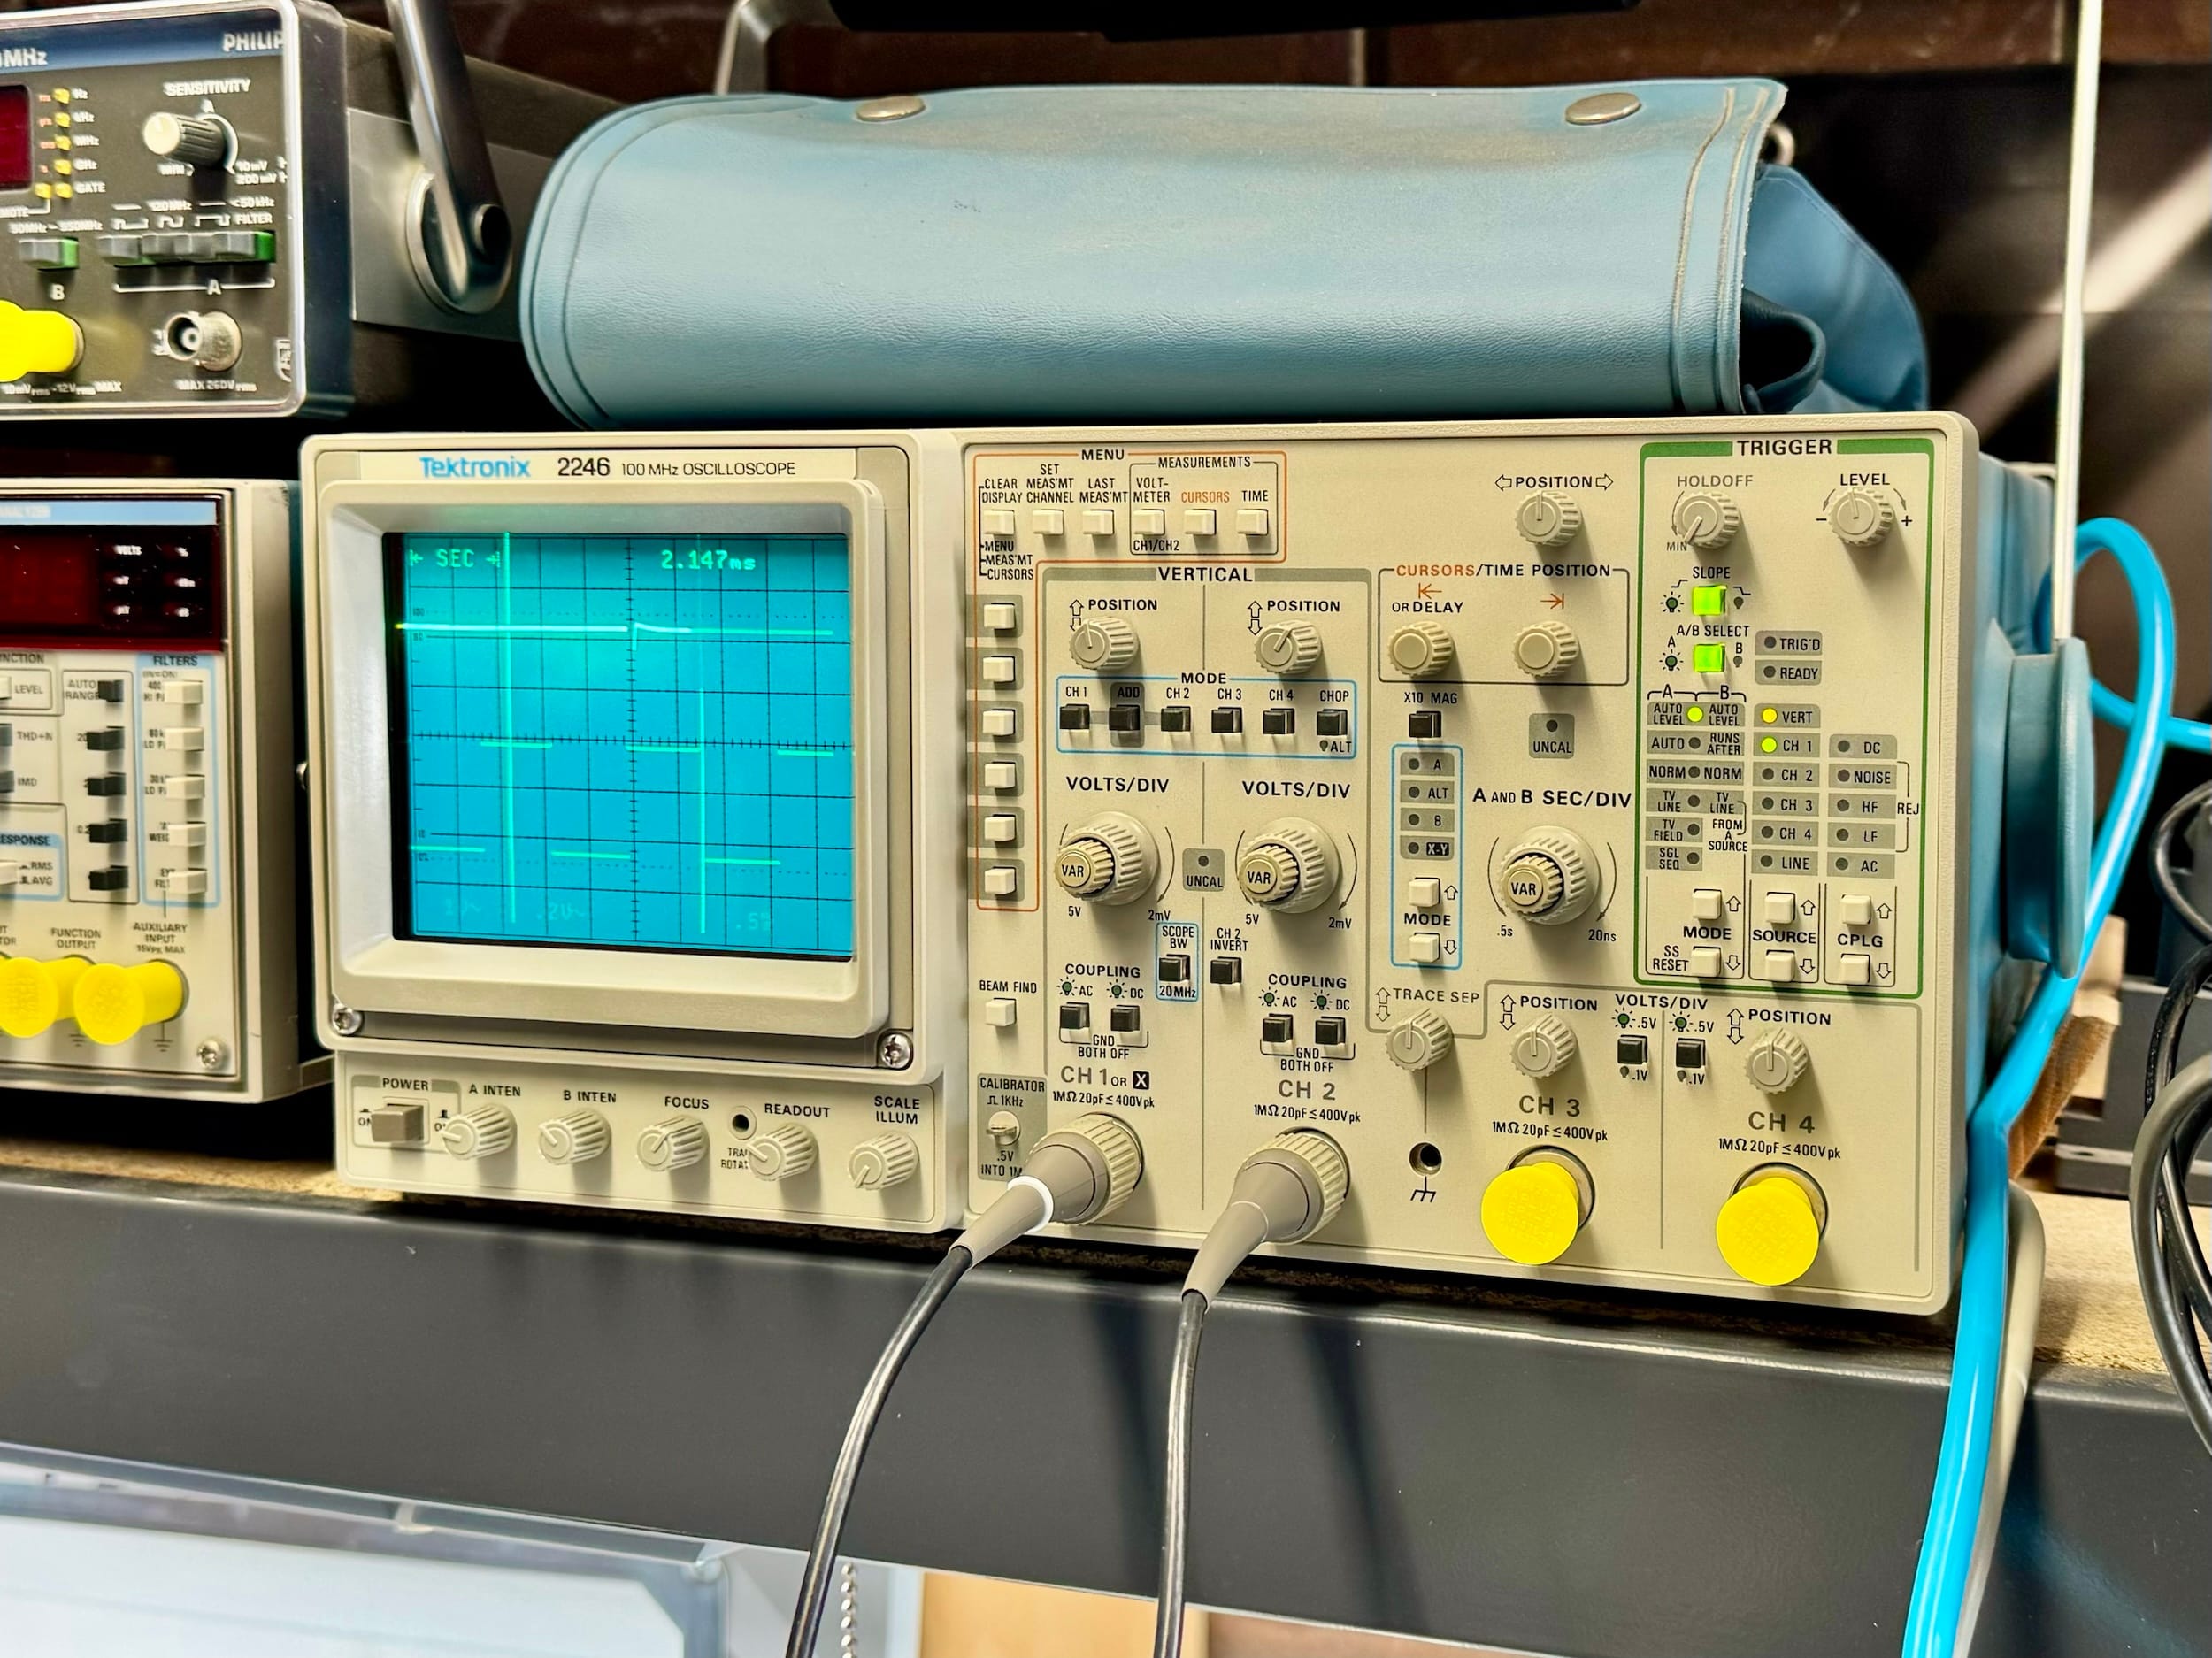
Direct drive is another killer feature, we mustn’t forget and is almost unheard of in the cassette world. The main capstan is driven directly, it IS the rotor of the direct drive motor. That then drives the second capstan via a belt, but the speed of the main capstan is quartz-locked via a phase-locked loop or PLL. This ensures perfect pitch – it literally cannot be out once correctly adjusted – and very low wow and flutter.
Pioneer CT-F1250 Specifications
Courtesy of HiFi Engine, adapted by Liquid Mike
Type: 3-head, single compact cassette deck
Track System: 4-track, 2-channel stereo
Tape Speed: 4.75 cm/s, pitch variable
Heads: 1 x combination record/playback, 1 x erase
Motor: 1 x reel (brushed), 1 x capstan (PLL direct-drive)
Tape Types: type I (standard ferric), type II (CrO2), type III (FeCr), type IV (Metal)
Noise Reduction: Dolby B, meh…
Frequency Response: 20Hz to 20kHz (Metal tape)
Signal to Noise Ratio: 69dB (Dolby B)
Wow and Flutter: 0.03%
Total Harmonic Distortion: 1.0%
Input: 60mV (line), 0.3mV (mic)
Output: 0.45V (line)
Semiconductors: 139 x transistors, 125 x diodes, 22 x IC
Dimensions: 420 x 187 x 369.5mm
Weight: 10.9kg
Year: 1980
Issues
Ever wondered why so many cassette decks are sold not working and “just needing a few belts”? Well, this example illustrates why. The “just needing a few belts” thing is a bit like saying your car’s gearbox “just needs a rebuild!” This work very often involves intricate remedial maintenance taking many hours to complete and this can be true whether the deck is a basic or a premium model.
This gorgeous CT-F1250 came to me non-functional after a failed repair attempt by her owner. He did his best but should have taken it to a specialist, no question. I’ve often talked about the issues created by DIY attempts at servicing equipment like this and this failed attempt highlights the validity of my advice on this.
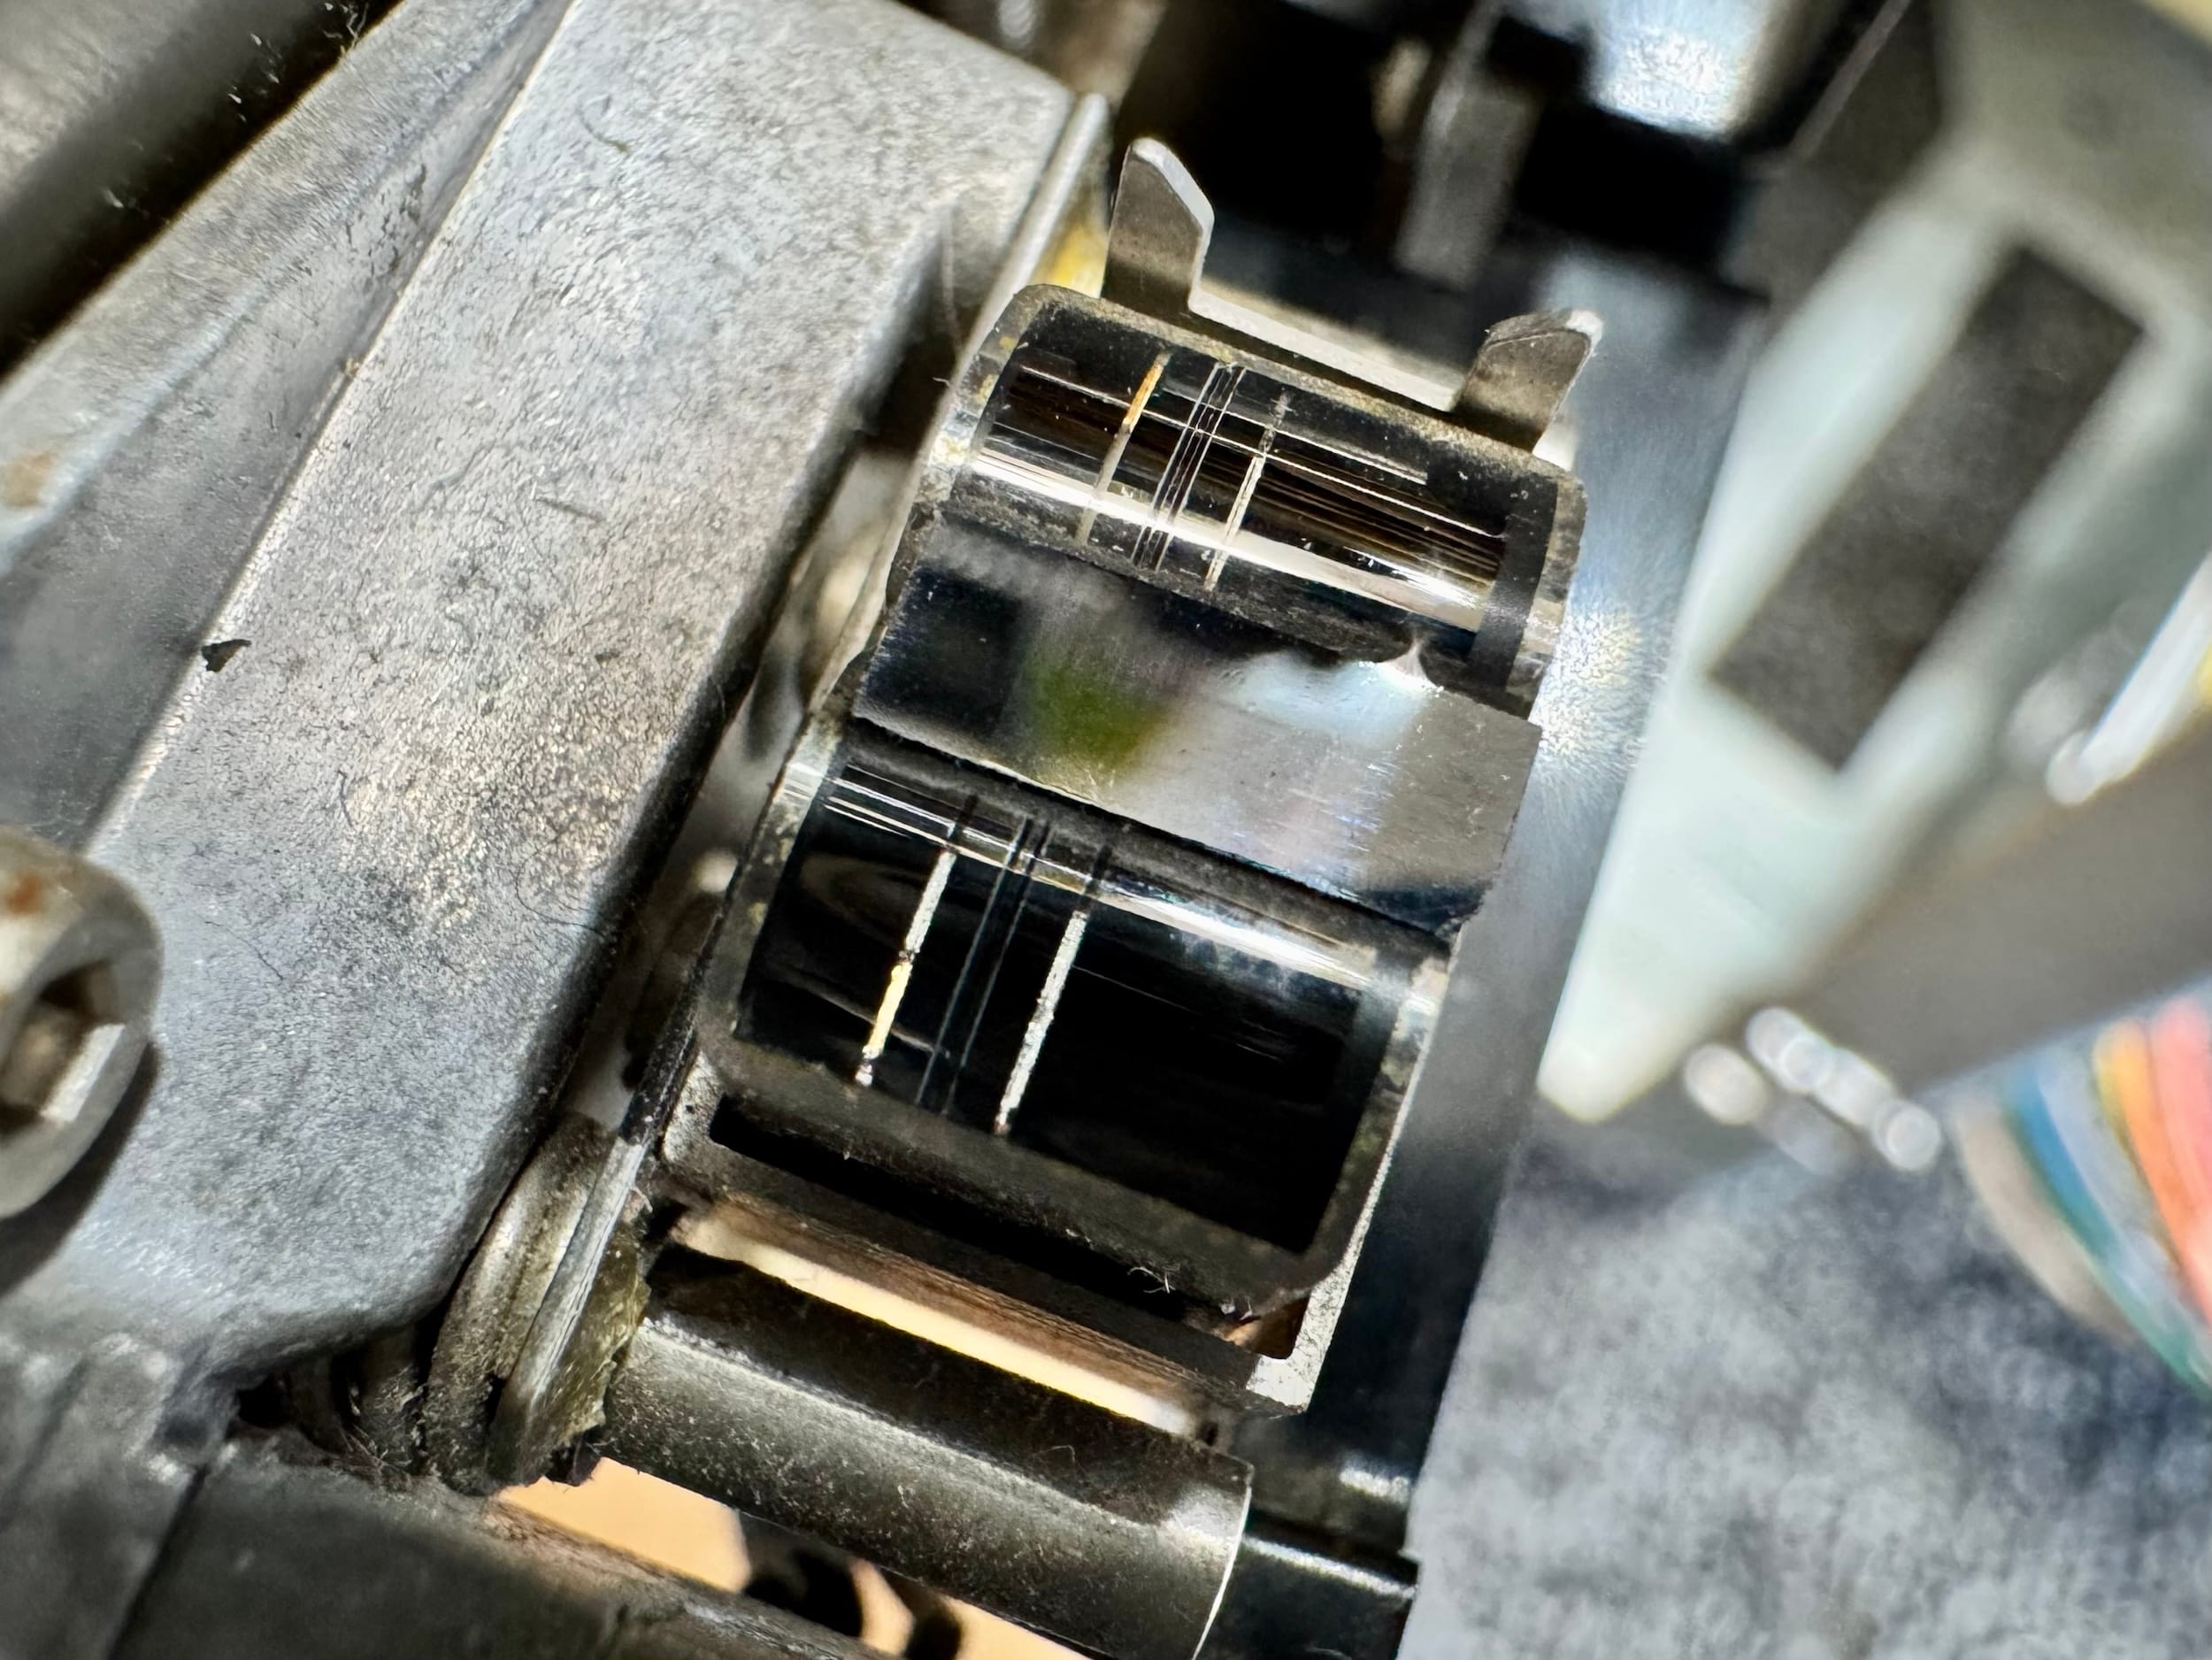
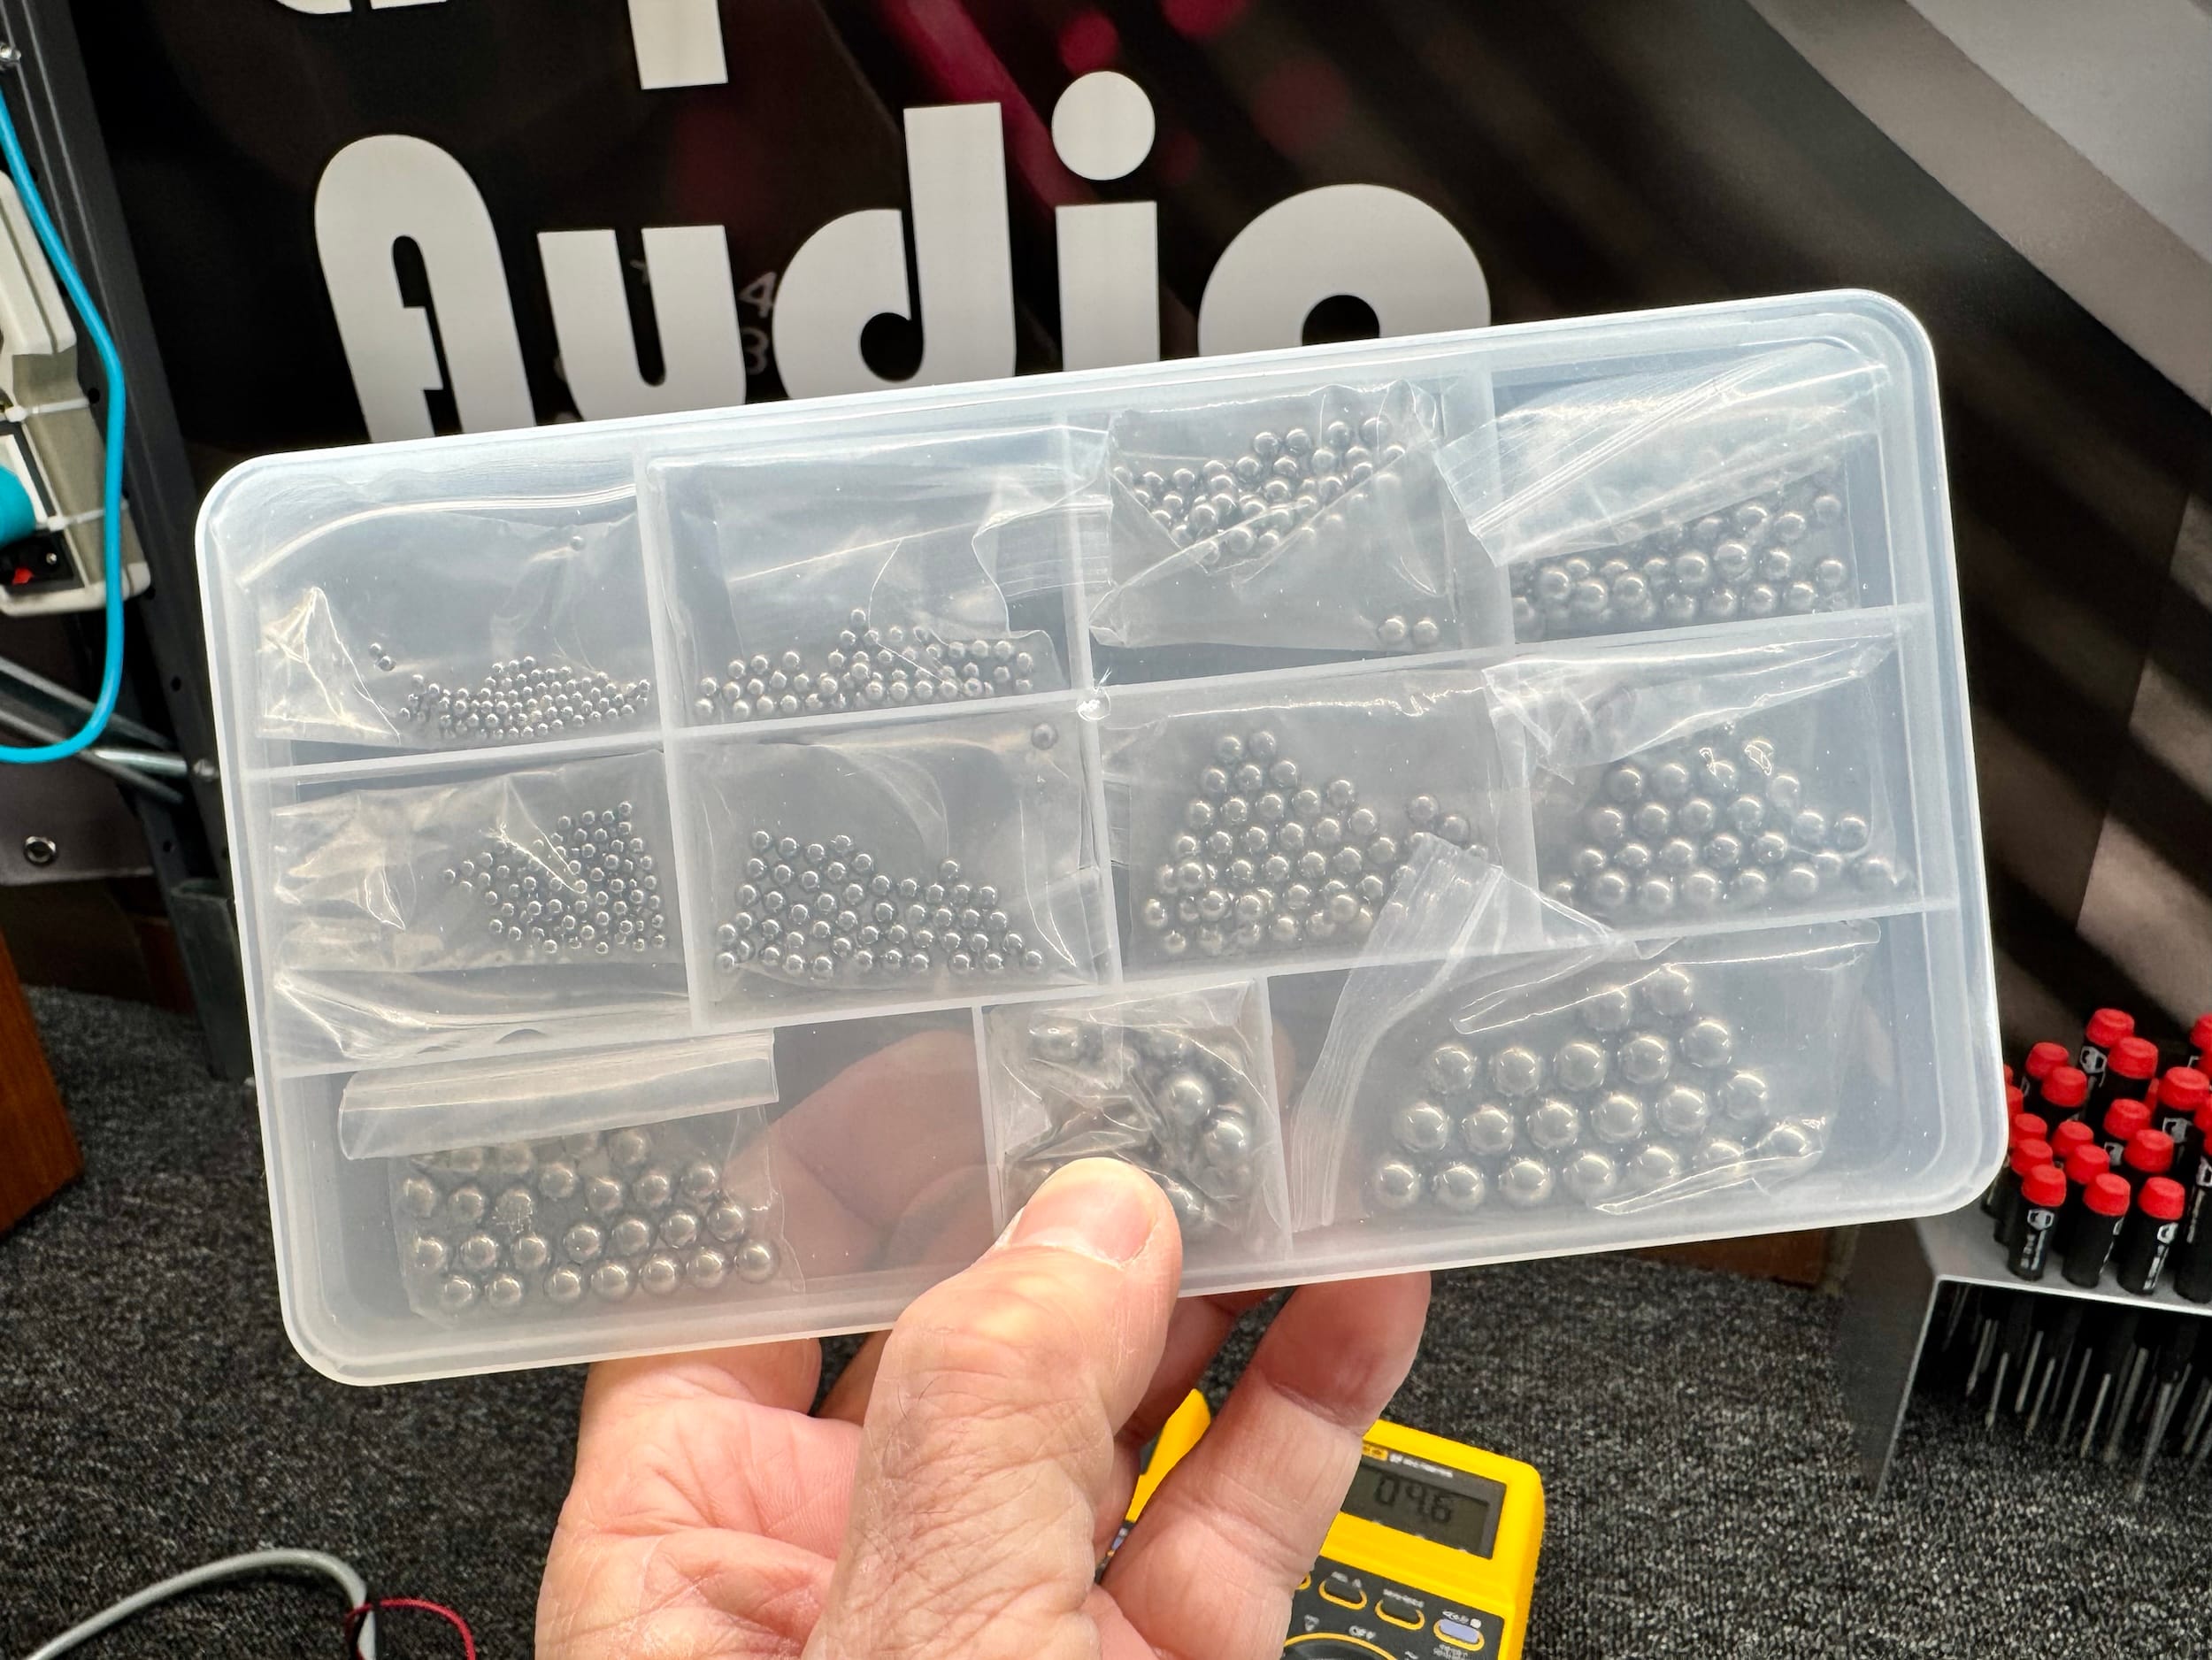
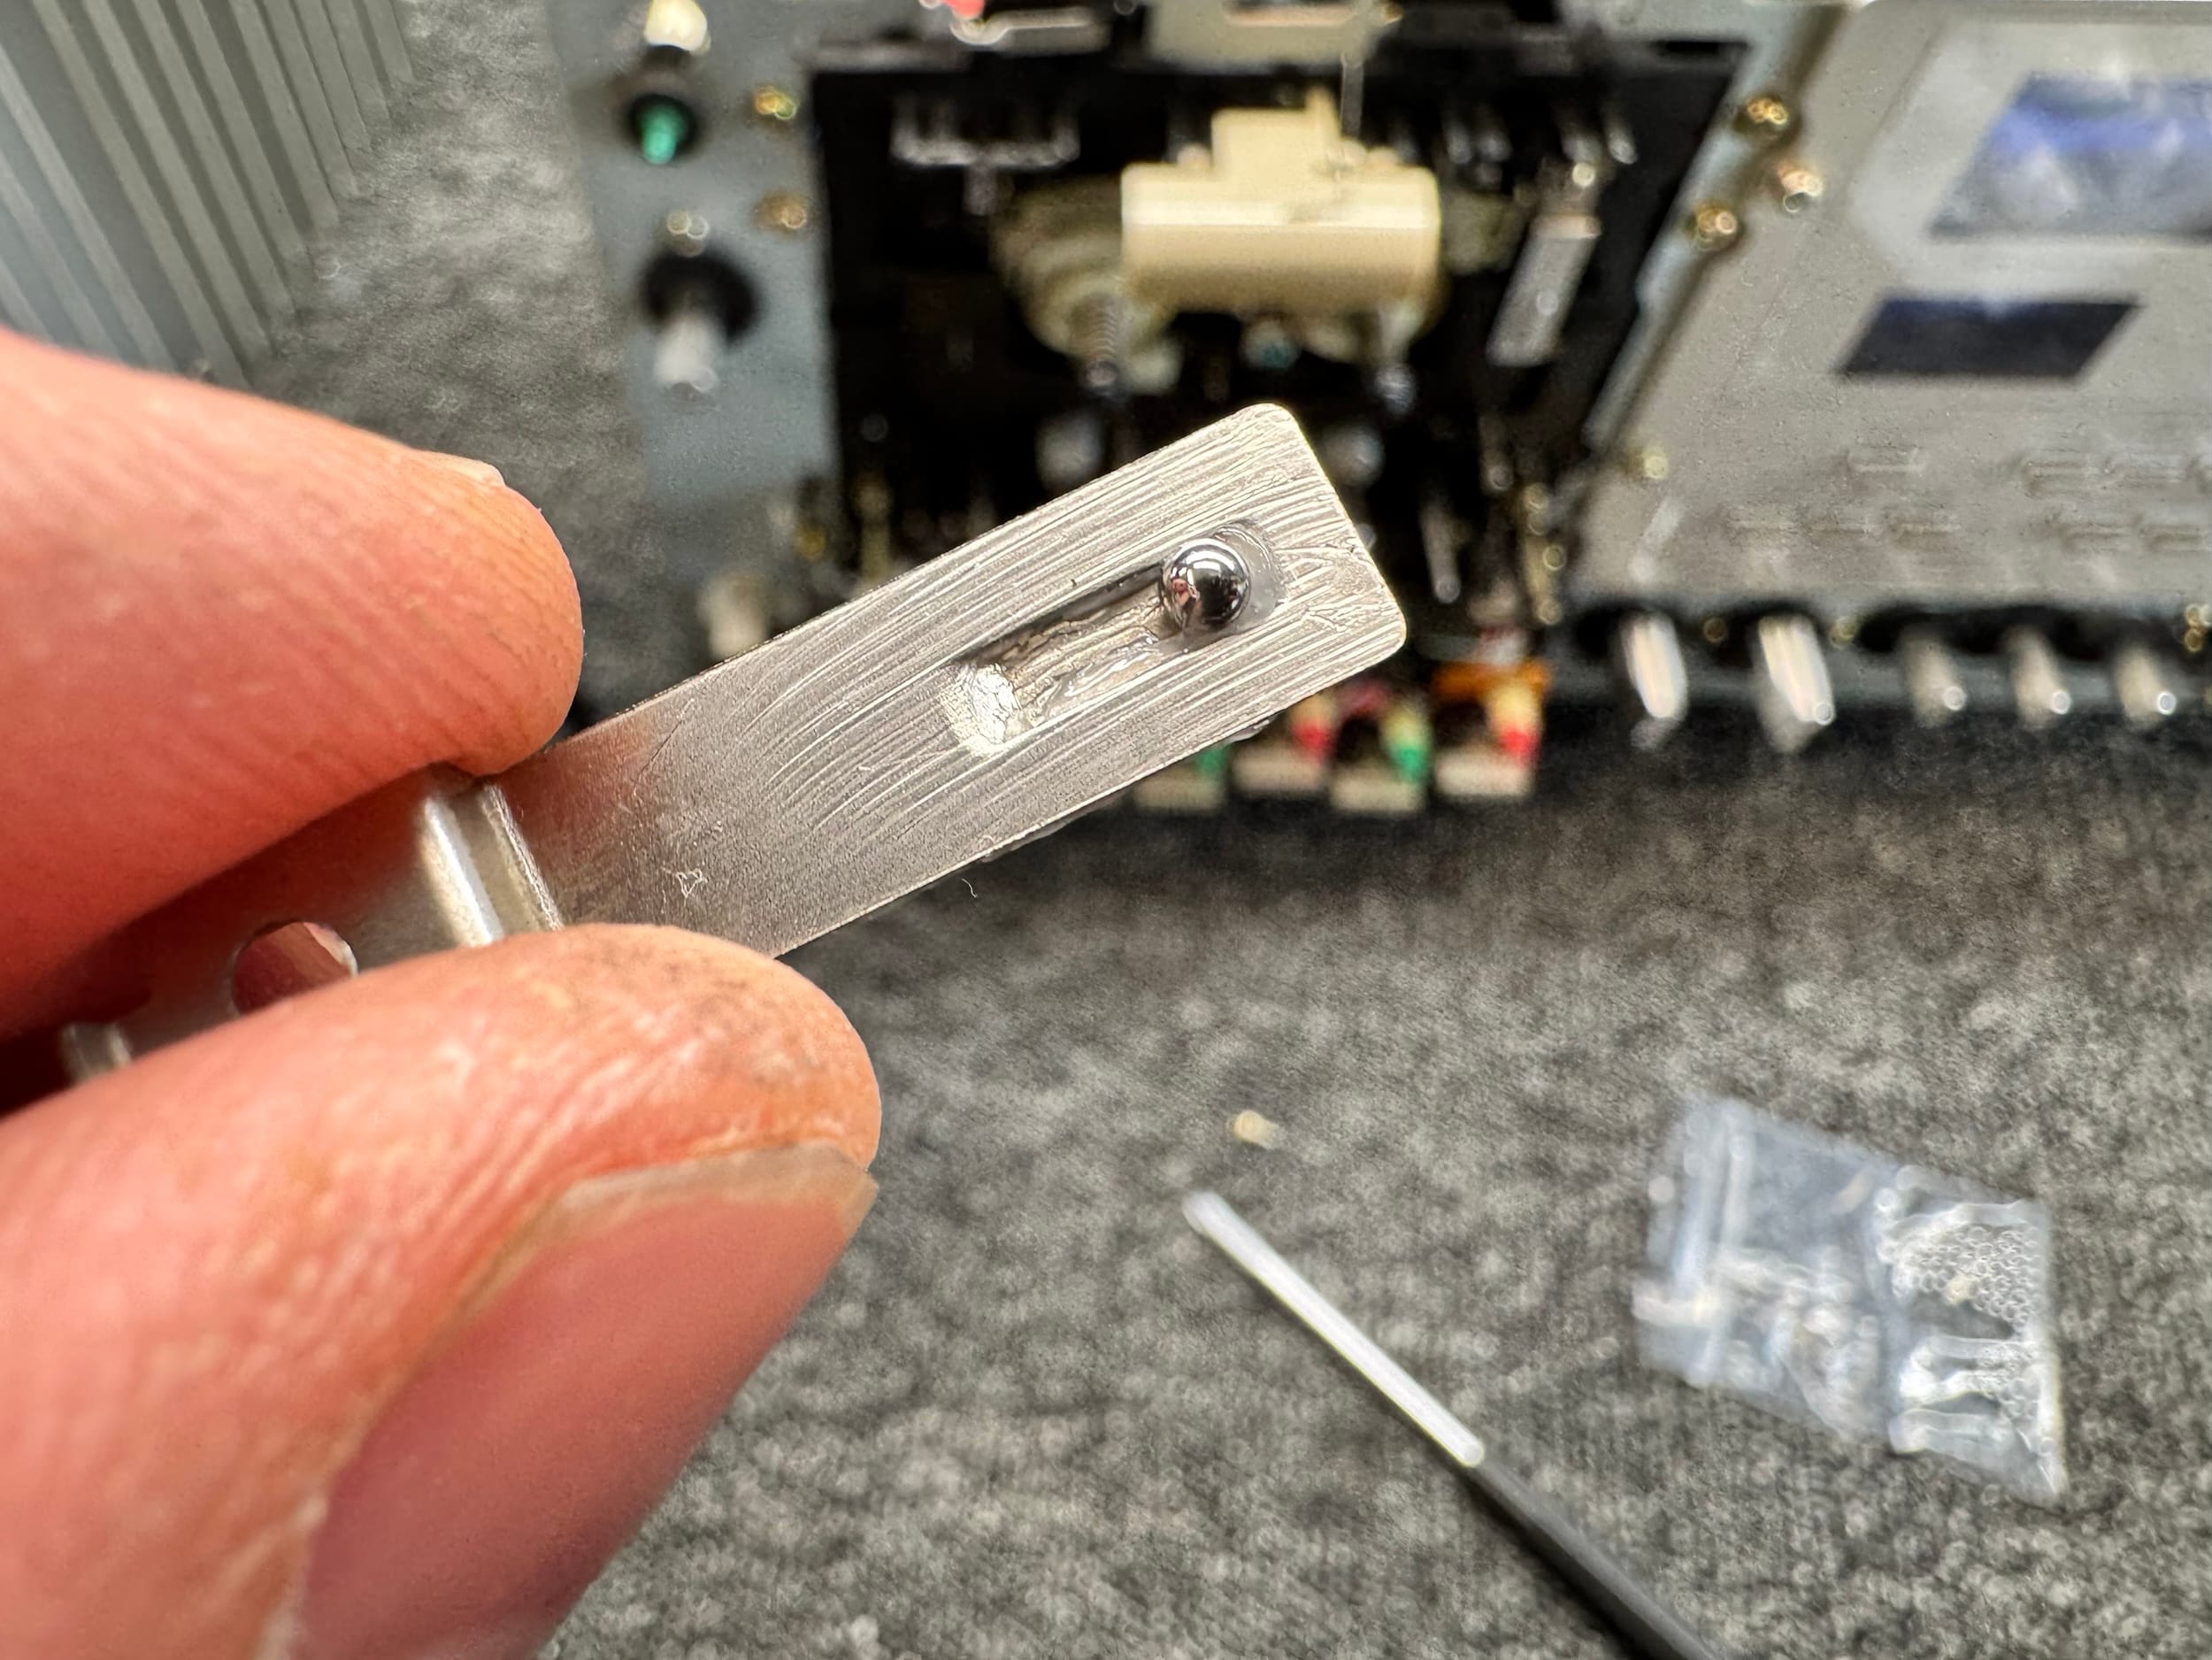
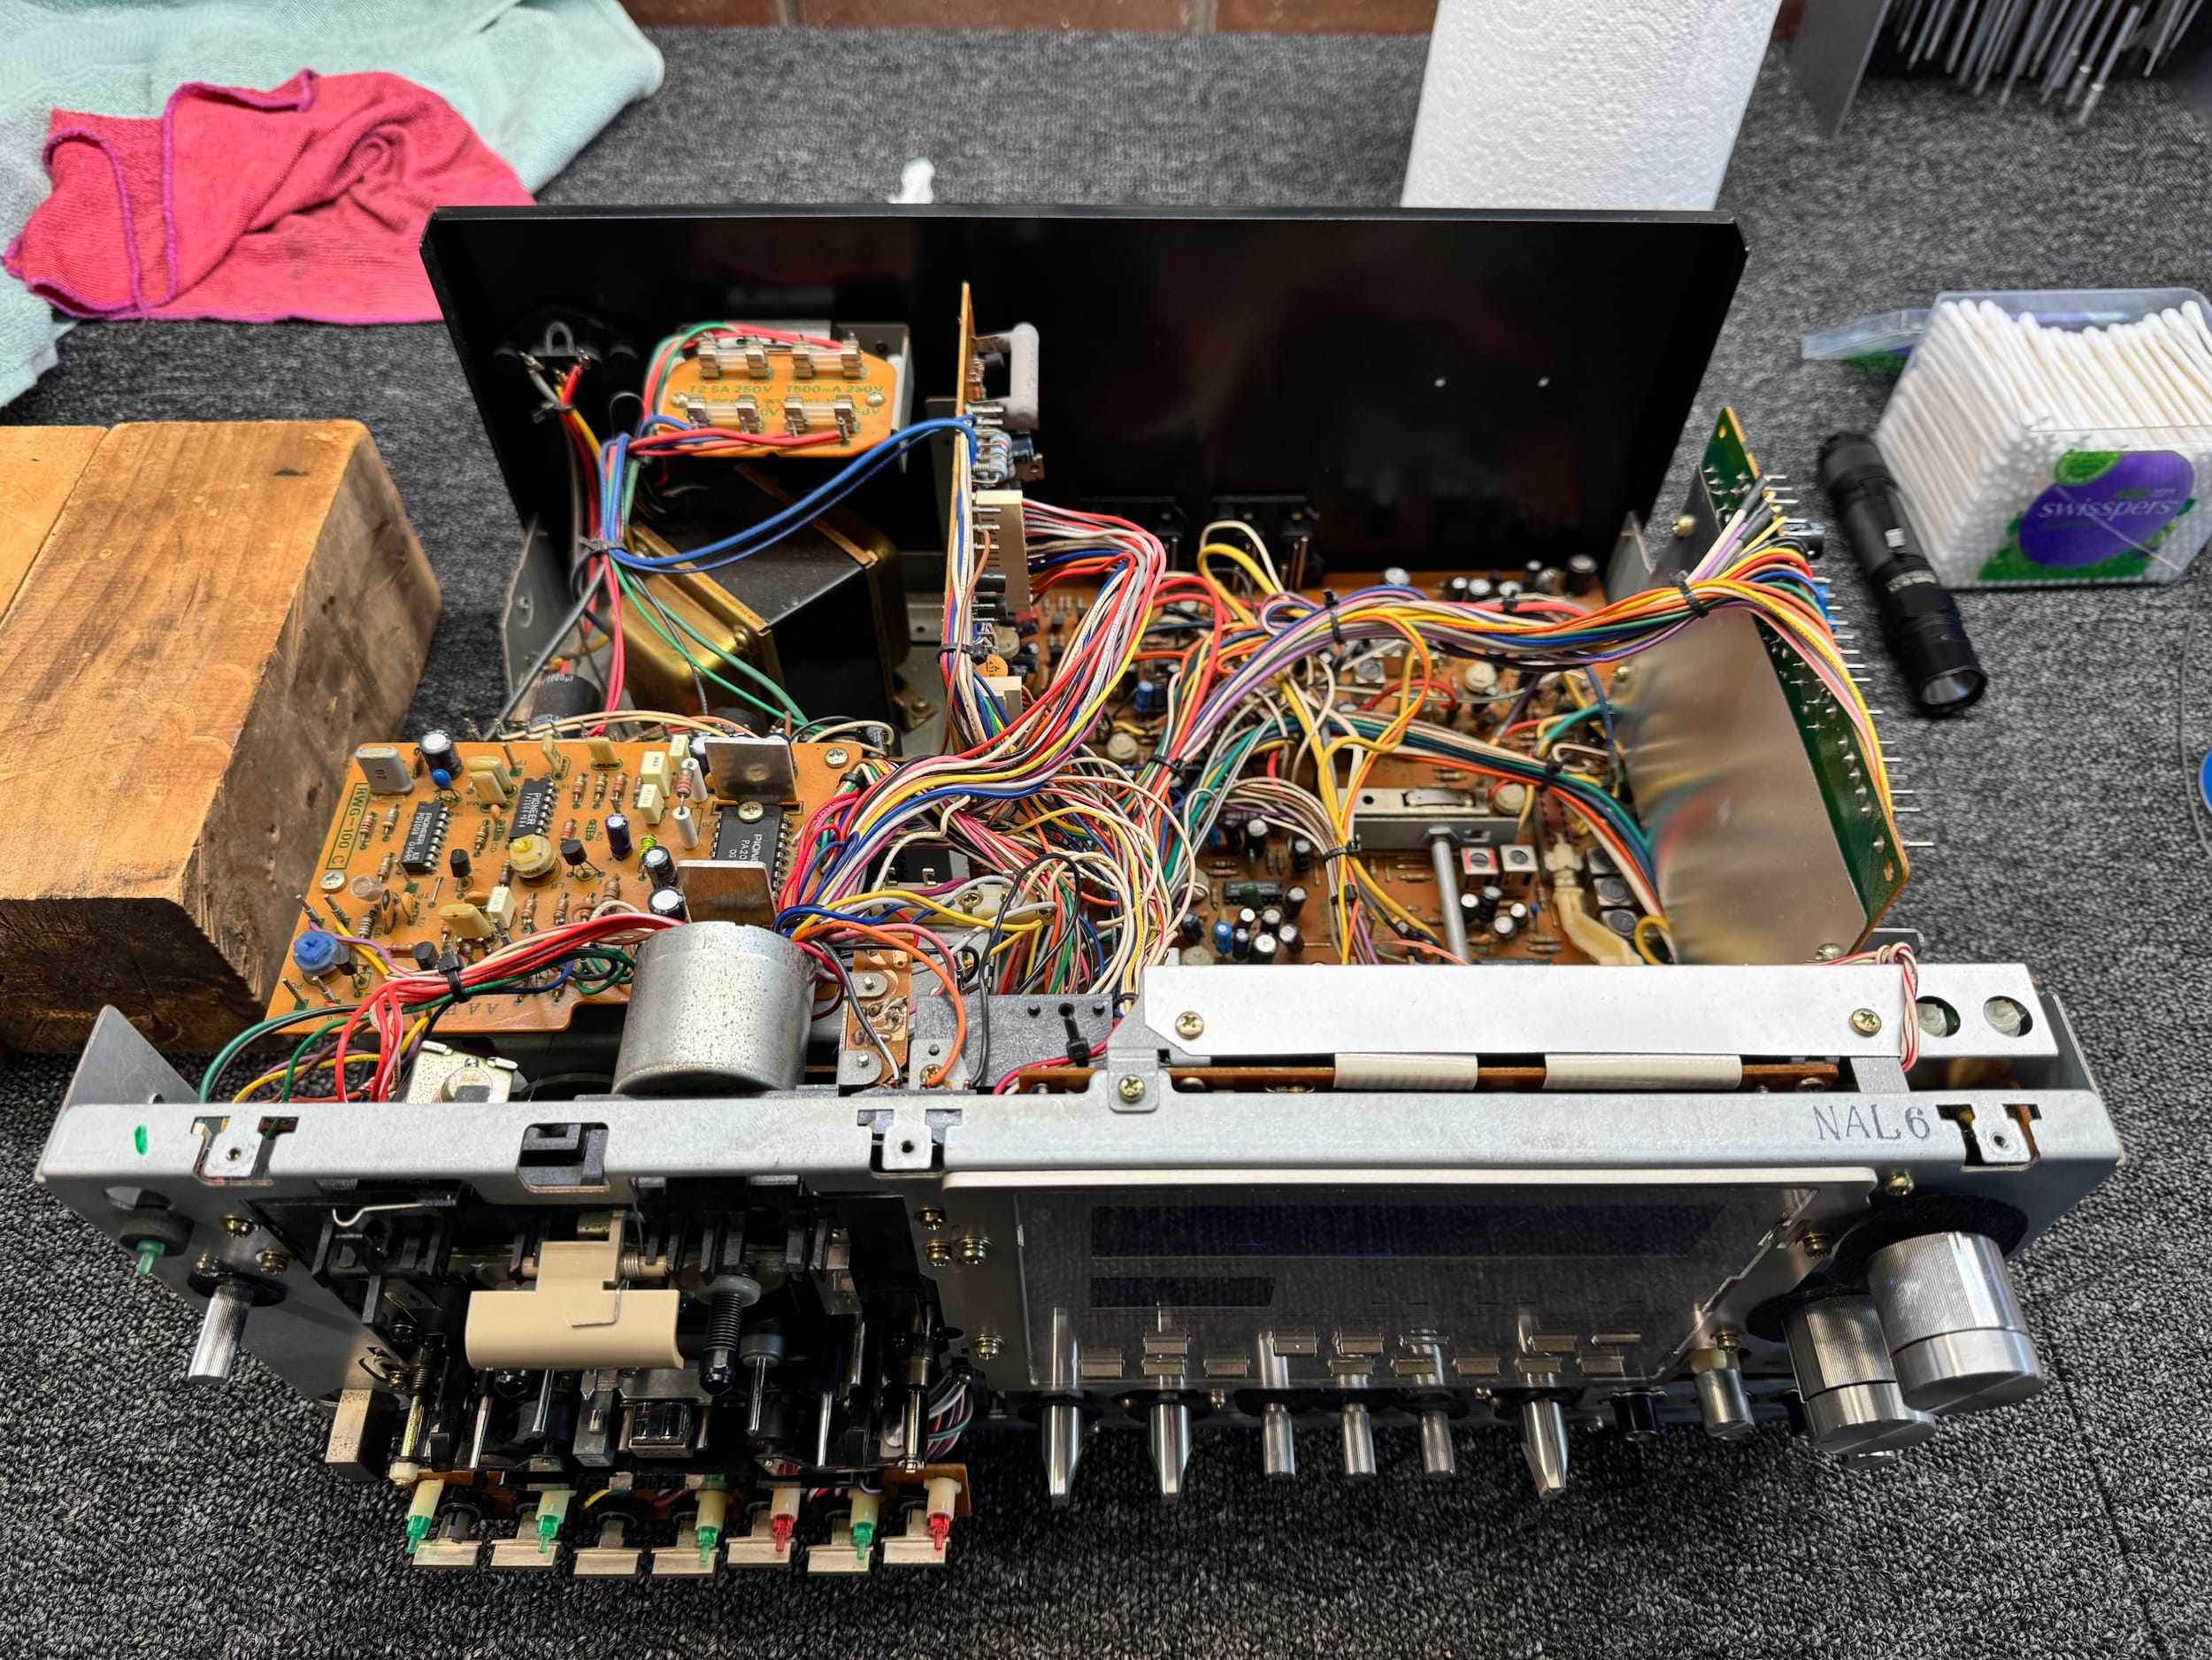
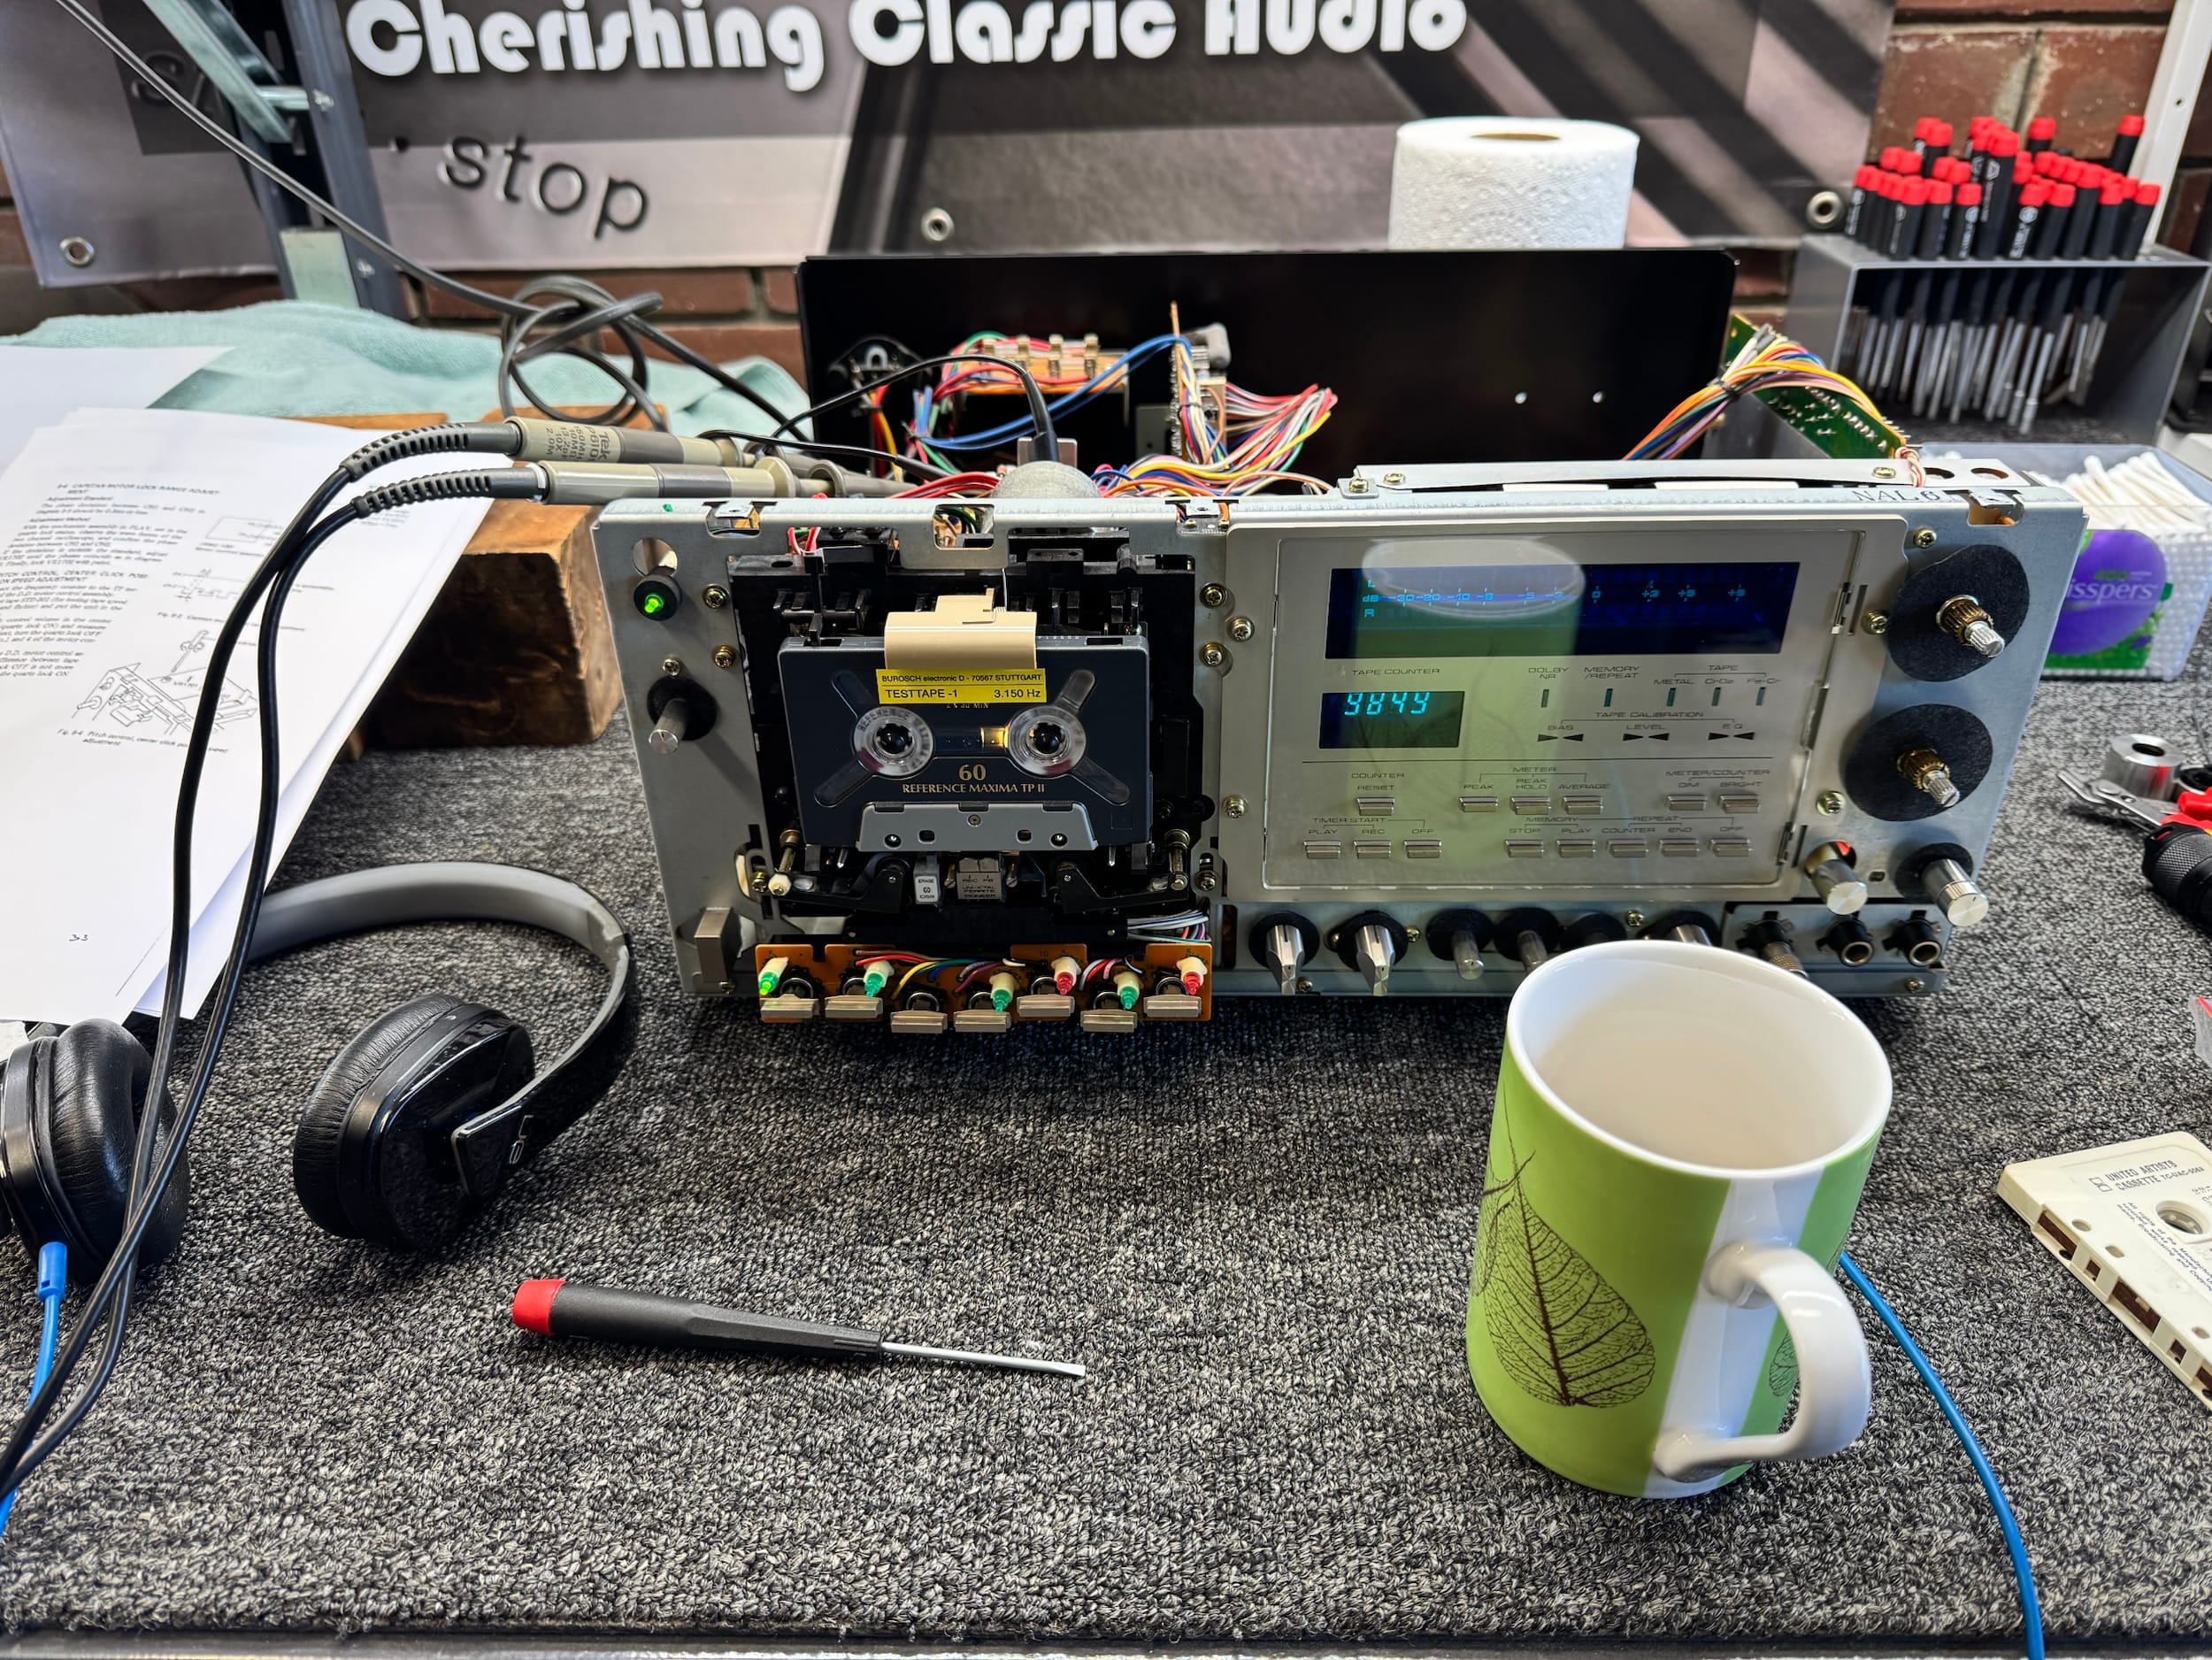
In this case, the repair failed, leaving the deck non-functional. Several critical small components were lost in the process, including the small steel ball bearings used to retain the head slide mechanism. I found one ball bearing loose inside the cabinet, the other one I never found and had to replace. All the degenerated belt residue was there waiting for me, and the mech needed deep cleaning, lubrication, belts, alignment and calibration.
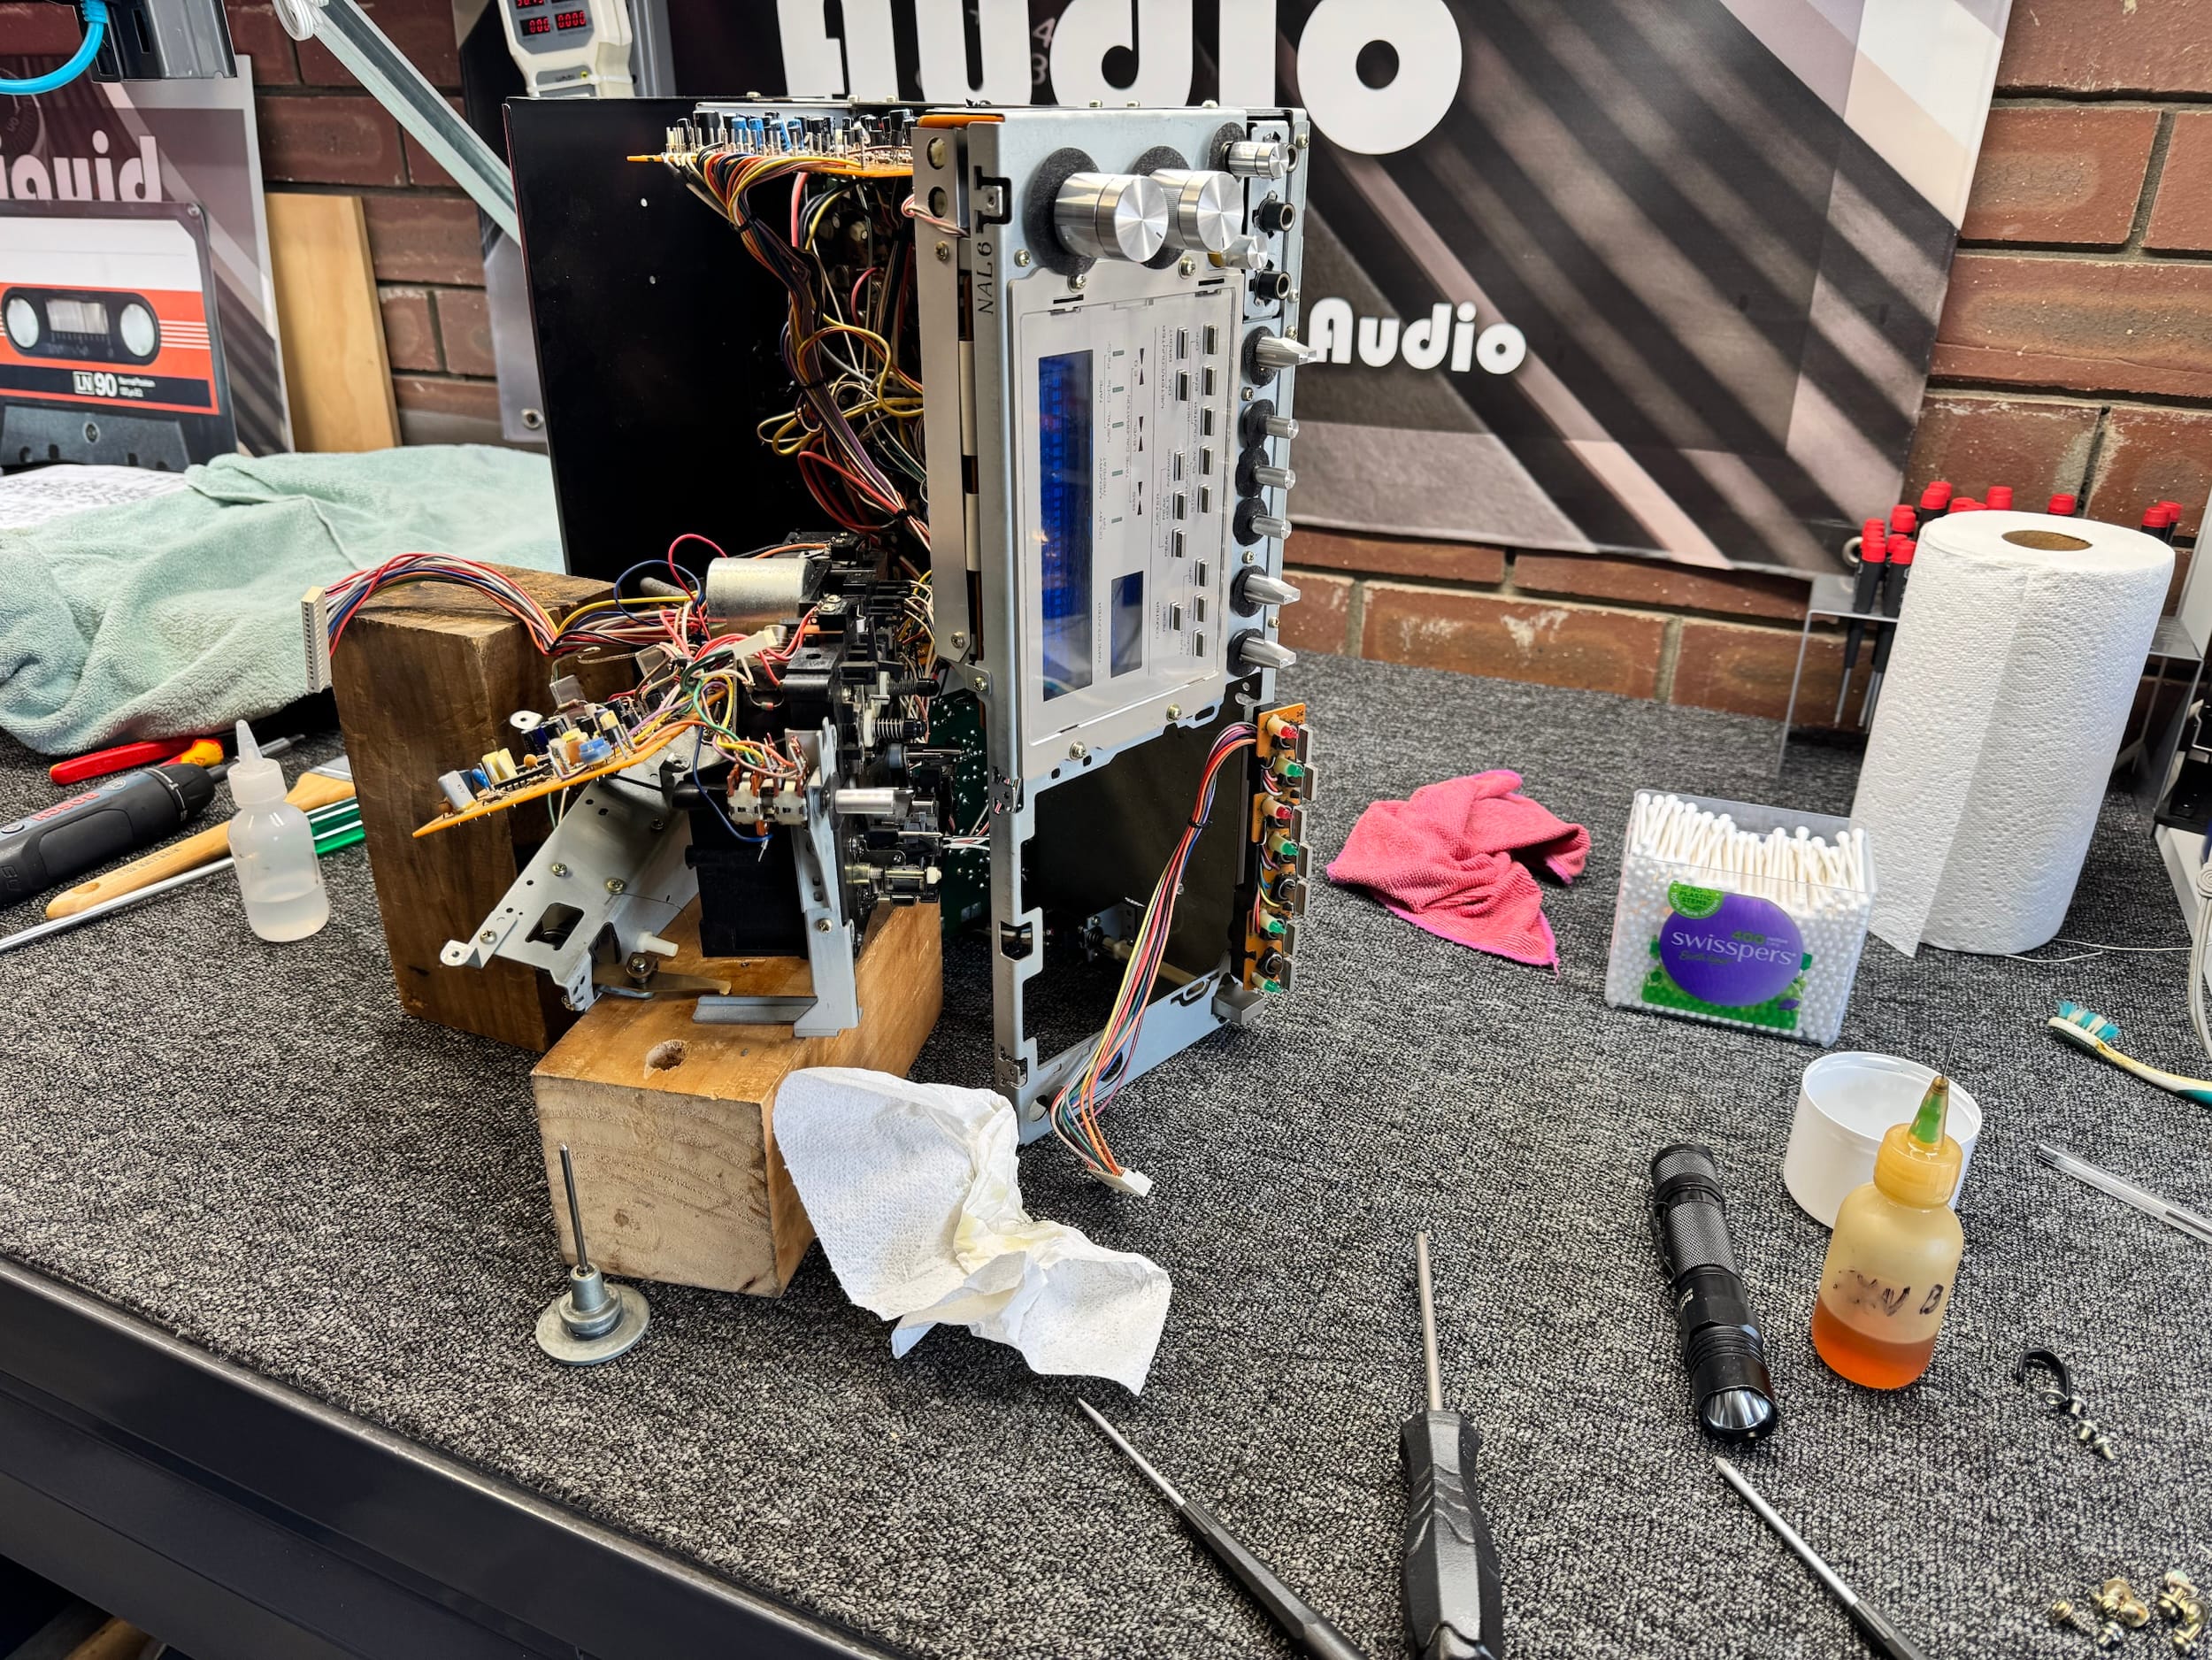
It would have been better to do nothing, though I am not complaining, the owner was kind enough to donate the deck, something I’m very grateful for. This job was an entire day’s work for me though, and I’ve done a few of these! Certainly not for the faint-hearted or anyone without all the necessary tools and test and measurement equipment, nothing like this ever is.
Without labouring the point, if you own a deck like this and it needs maintenance, just take it to someone who understands machines like this. It will save a lot of pain and possibly even killing the deck.
Repair and Overhaul
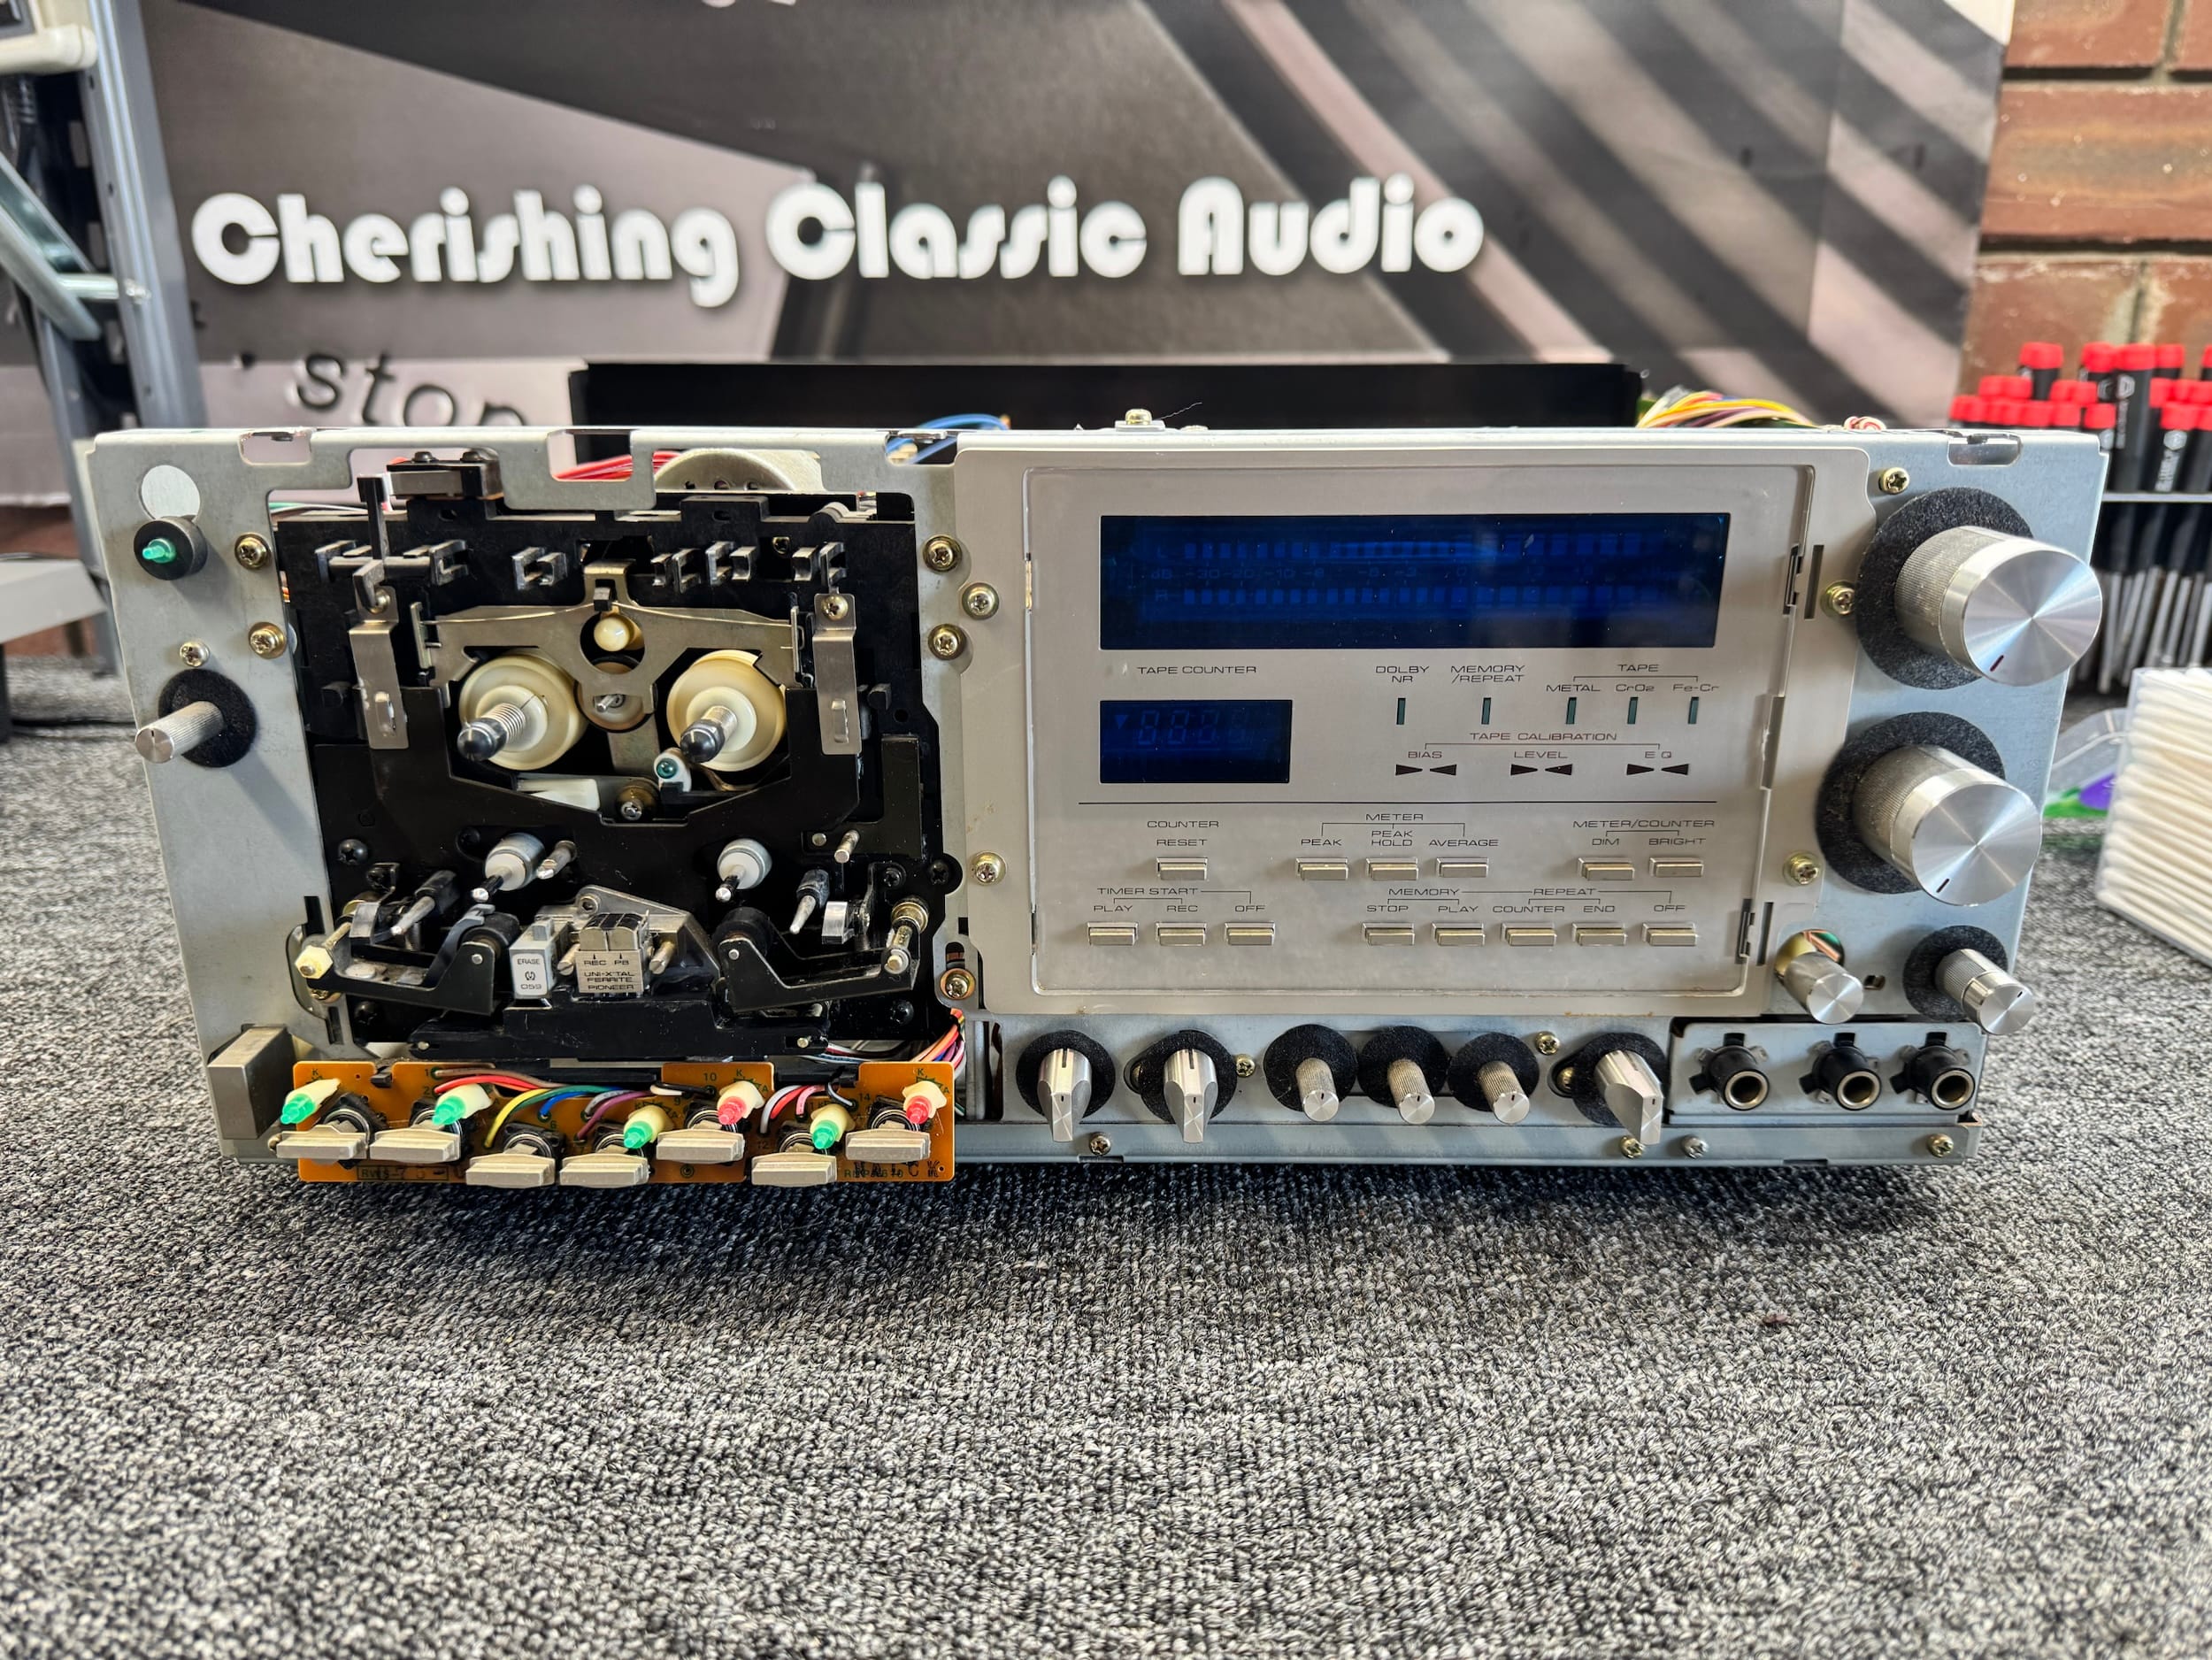
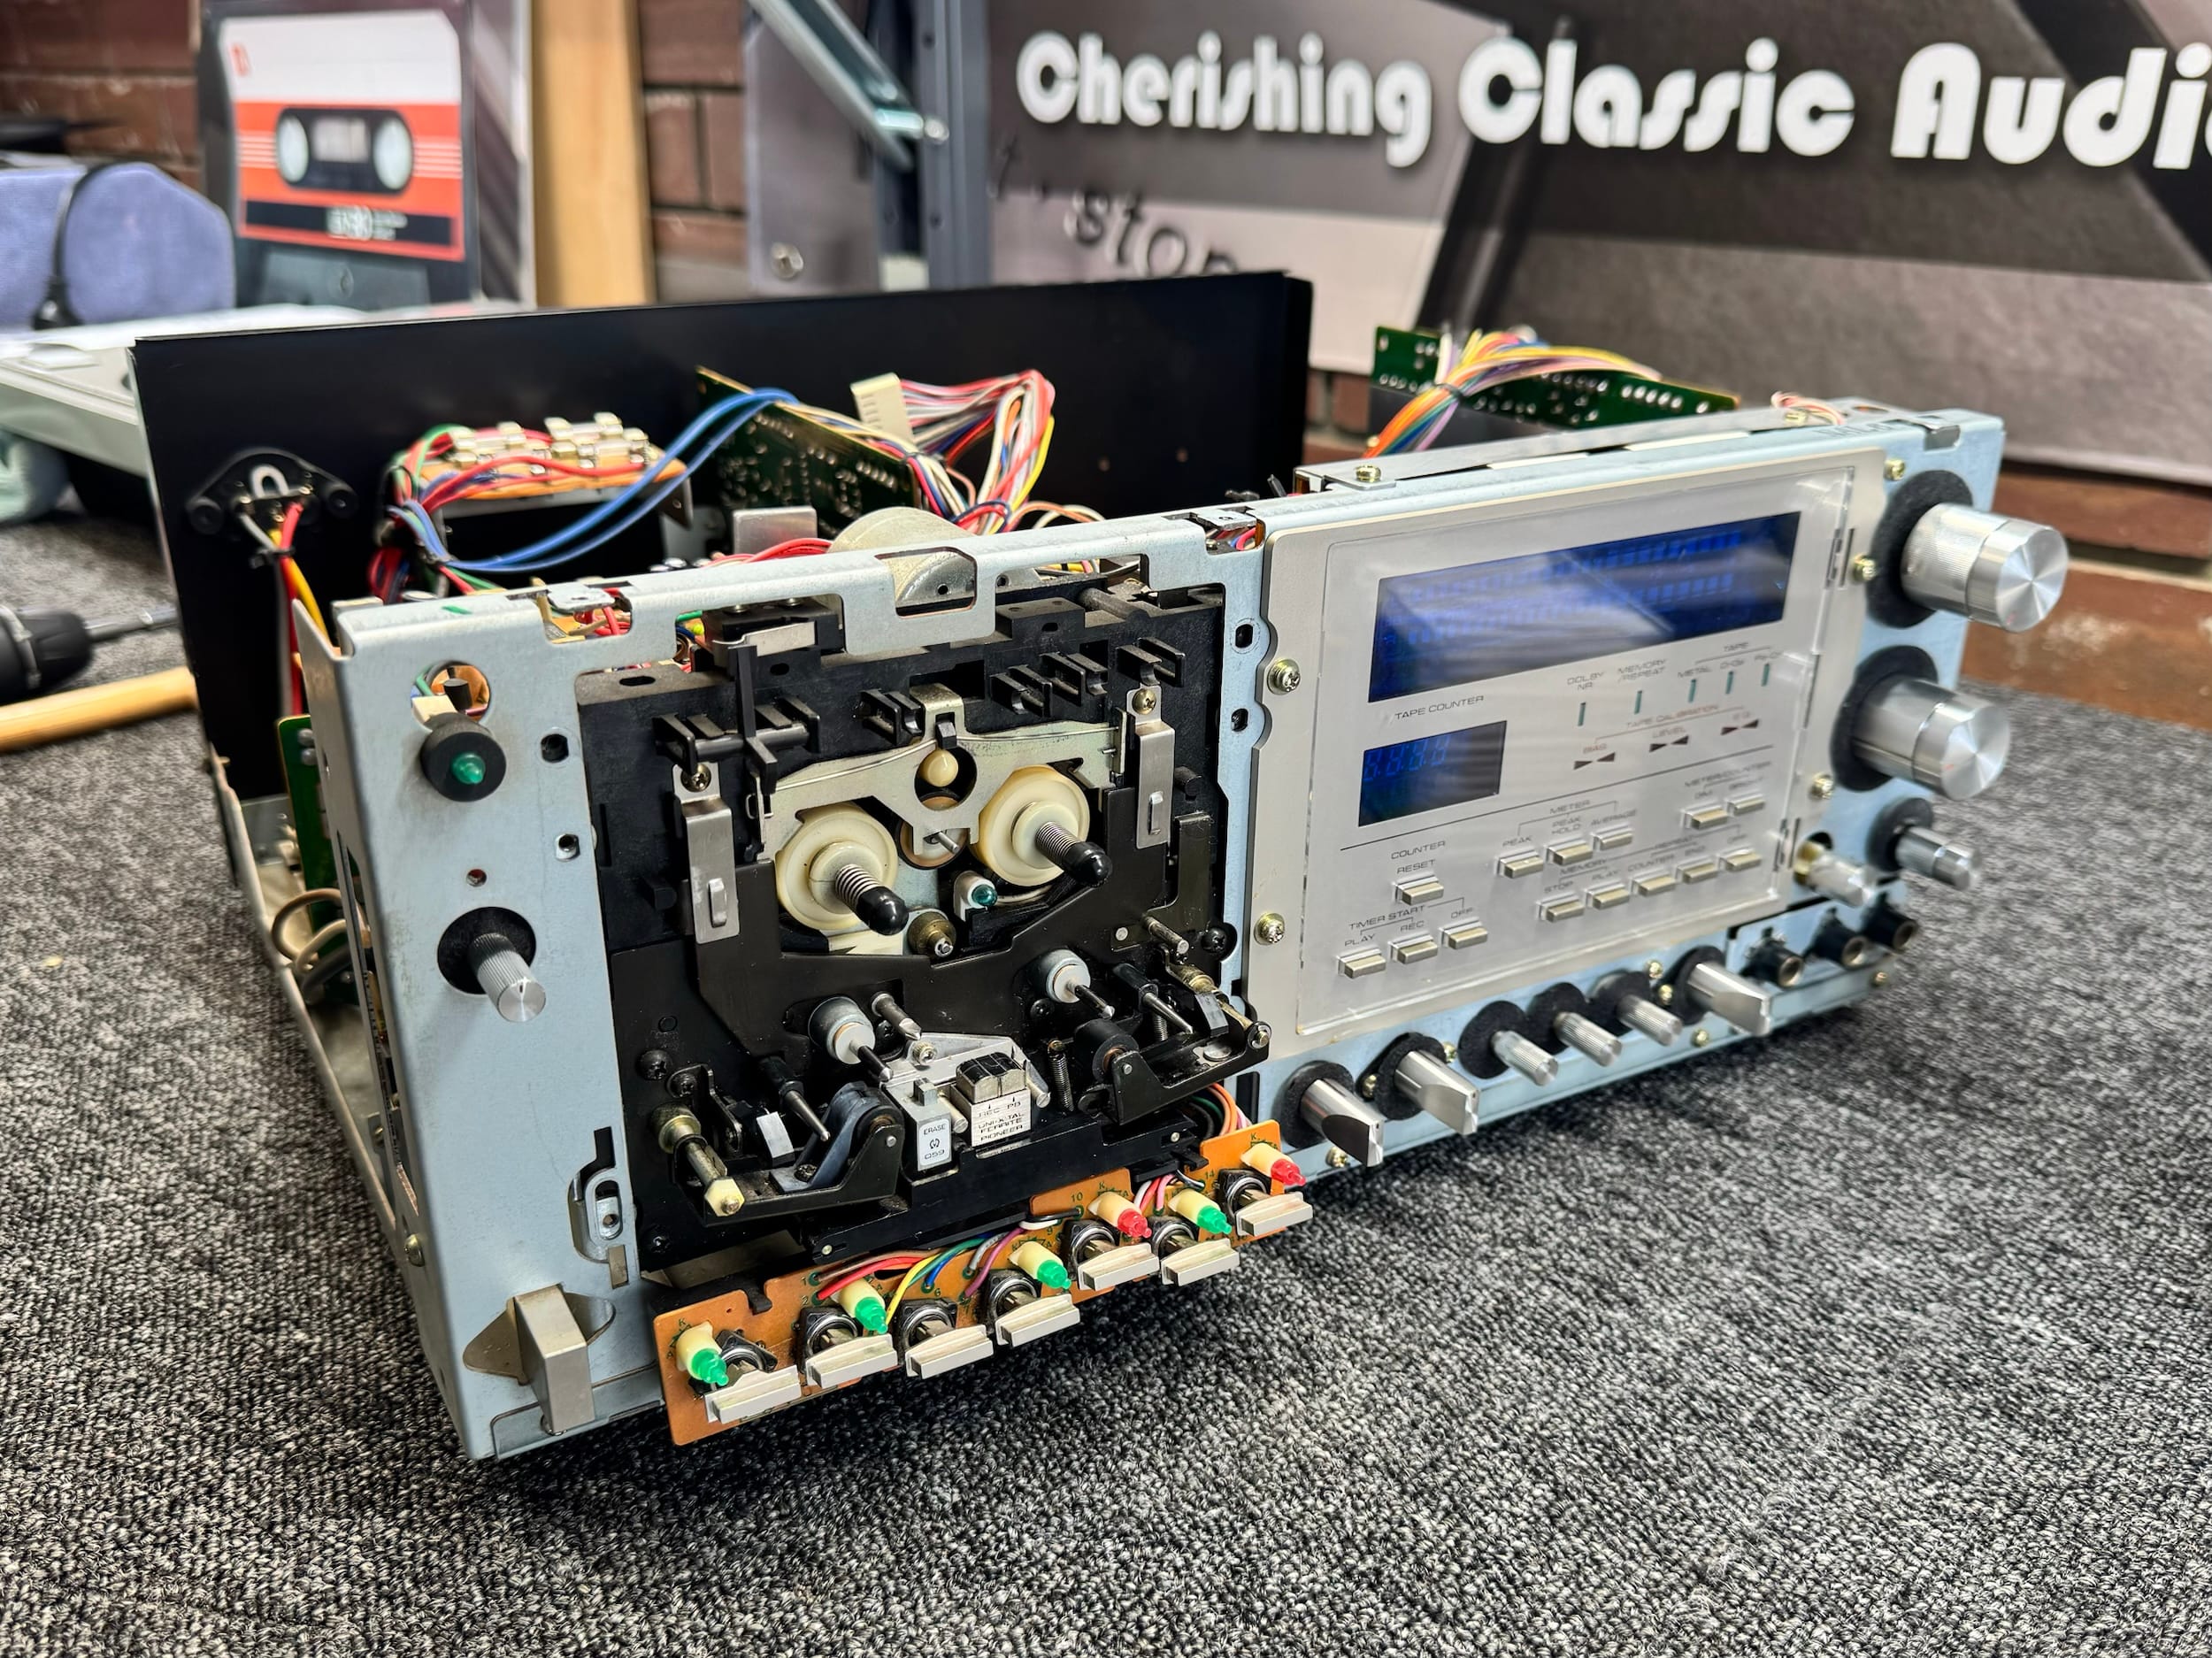
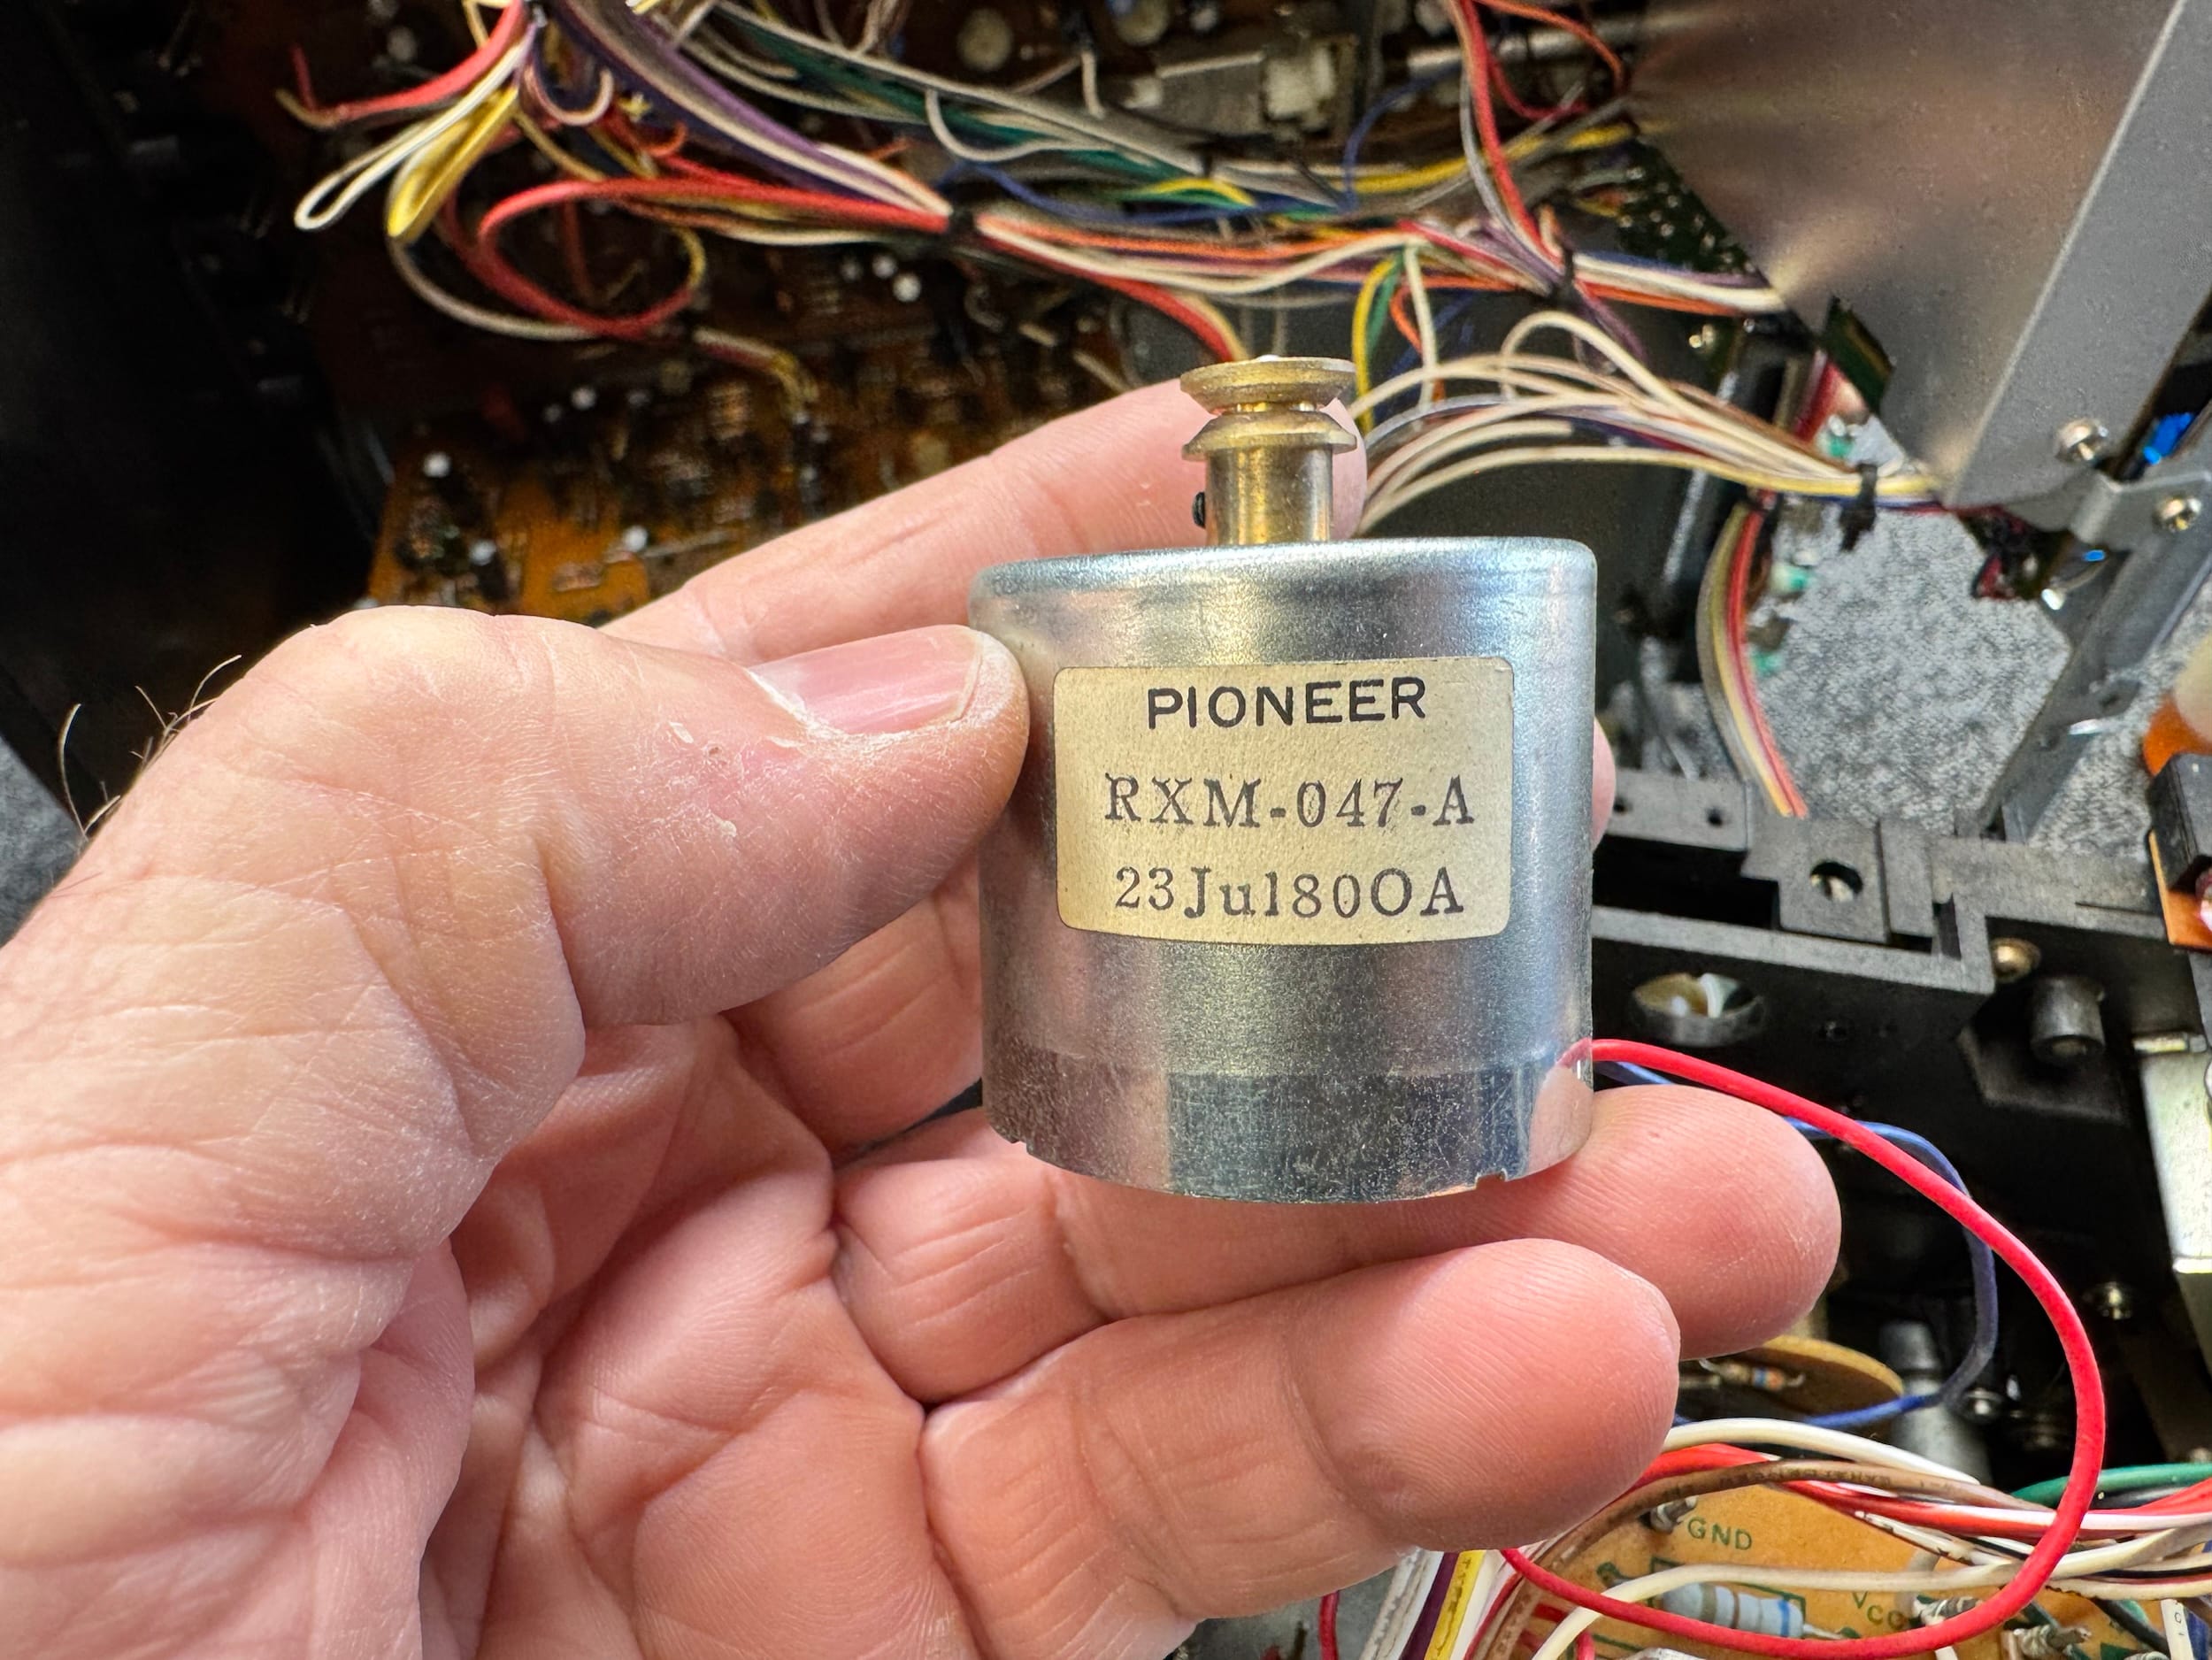
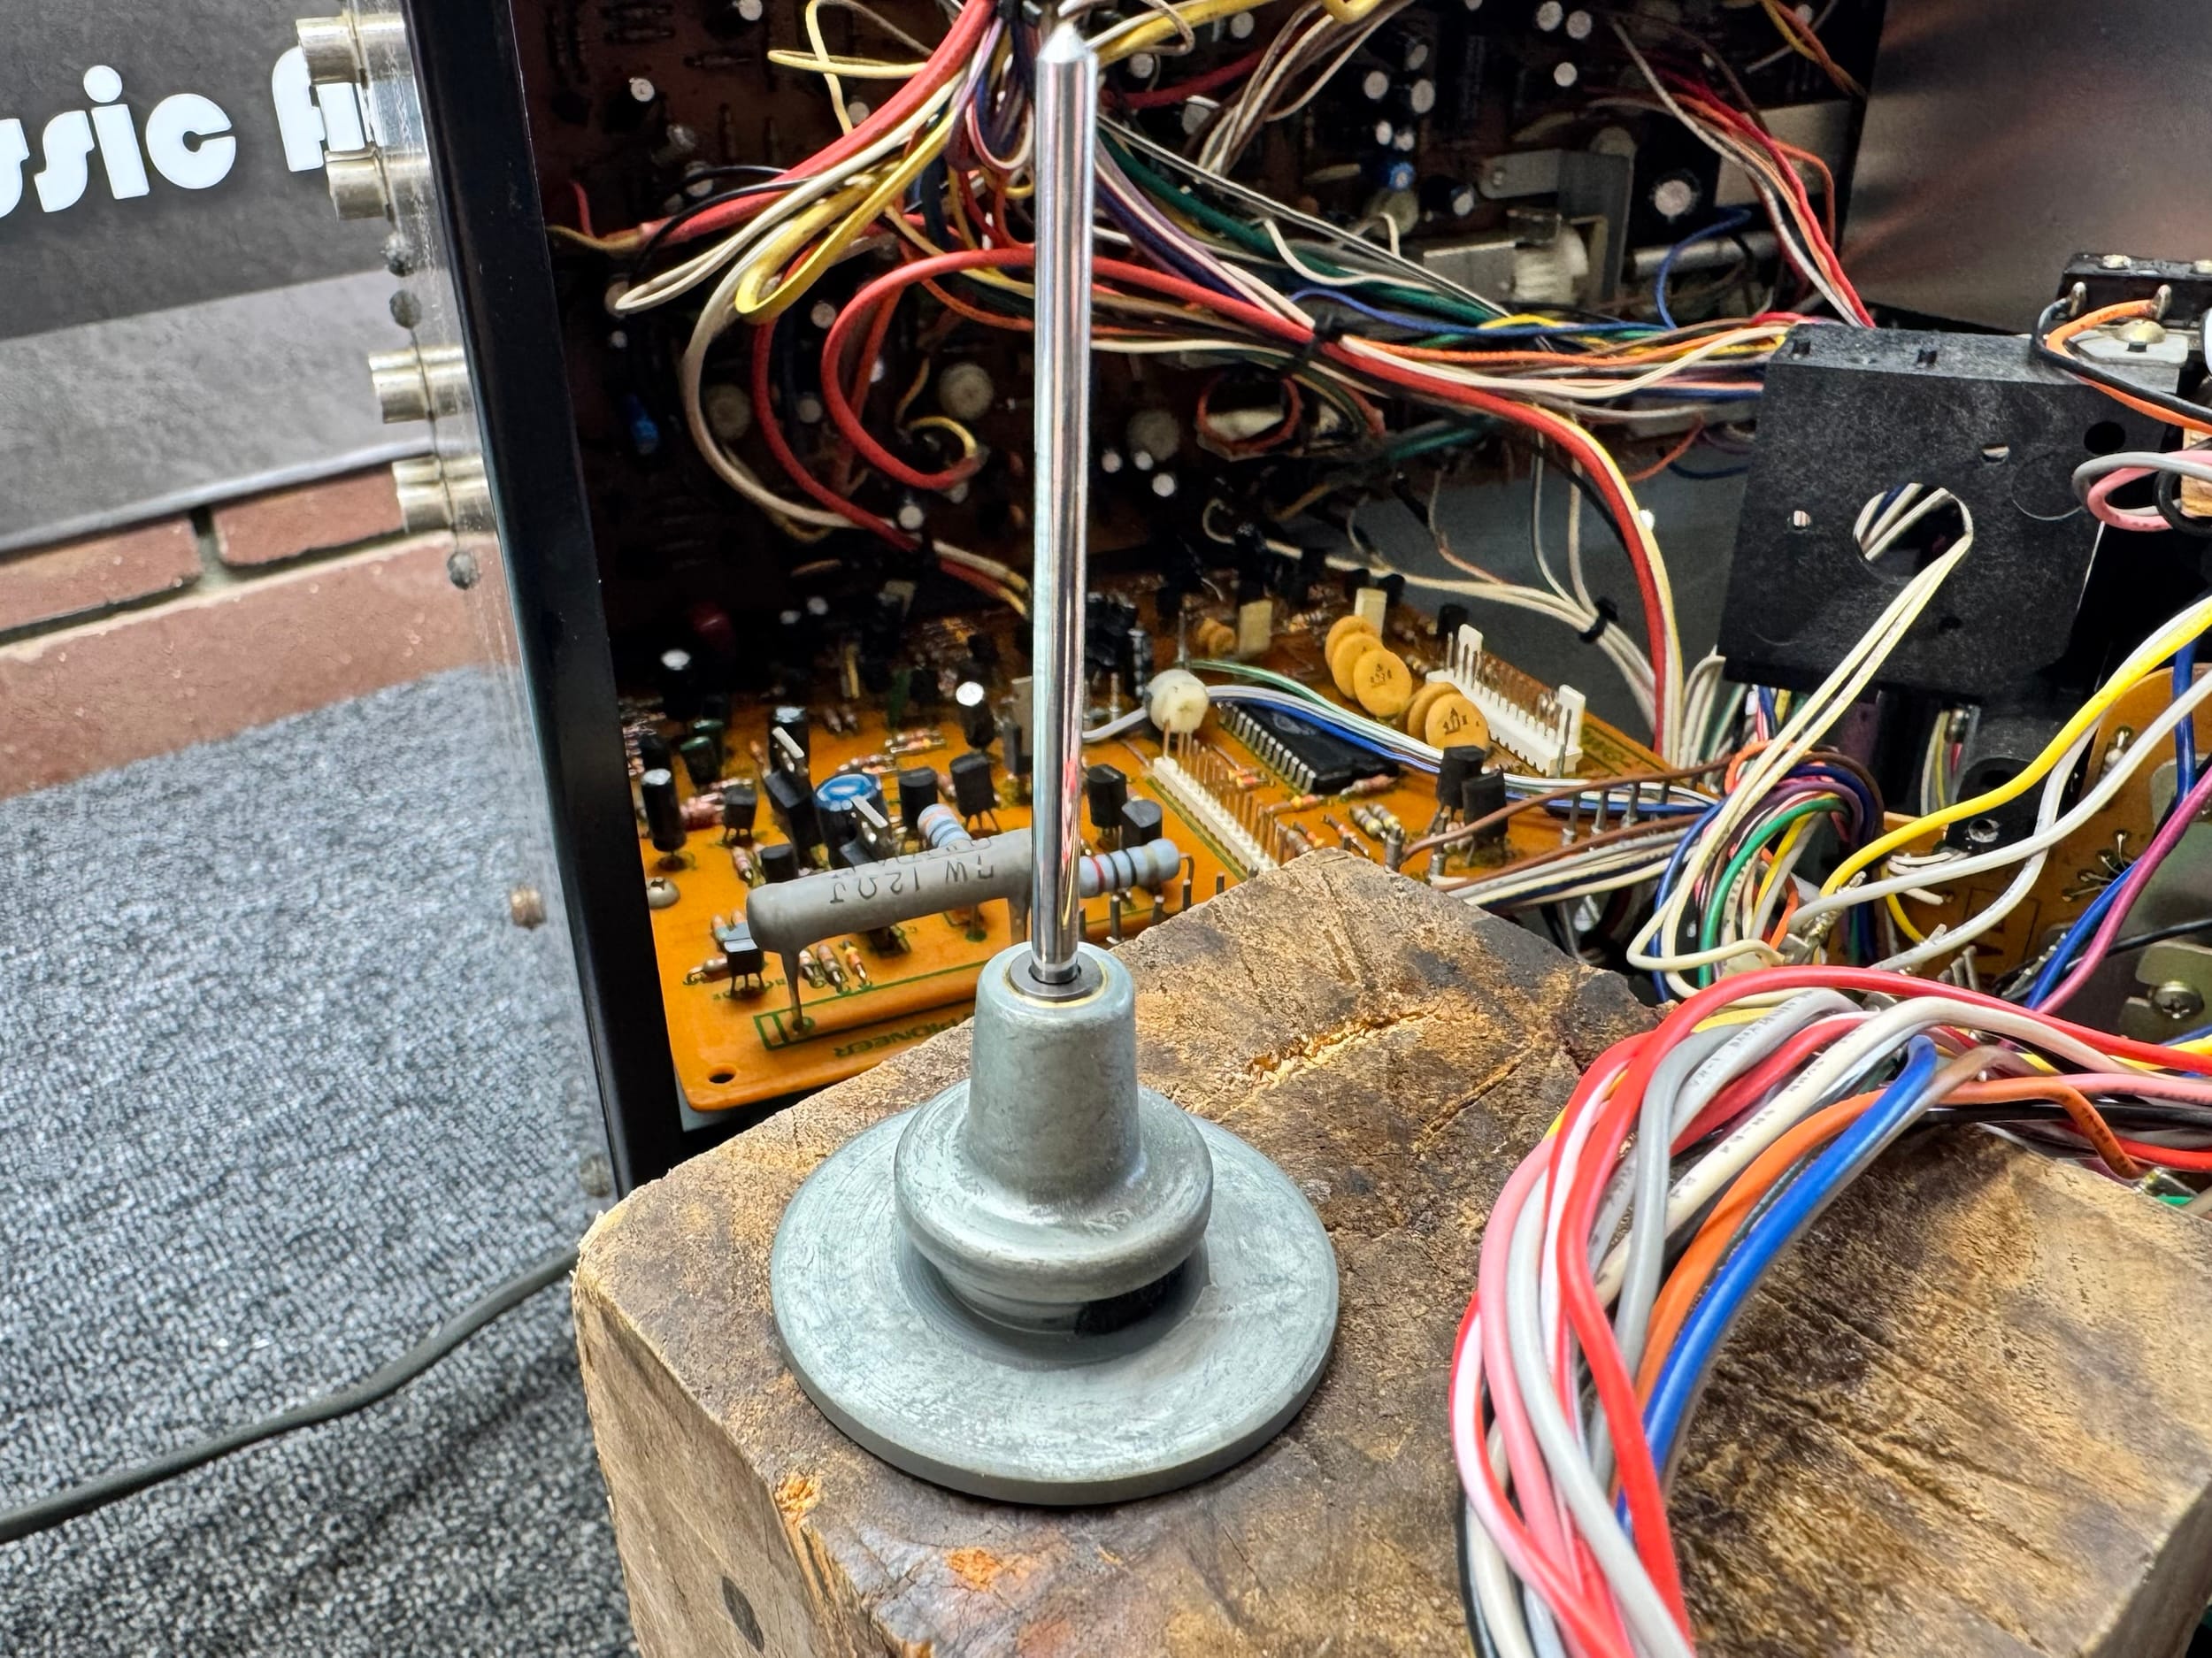
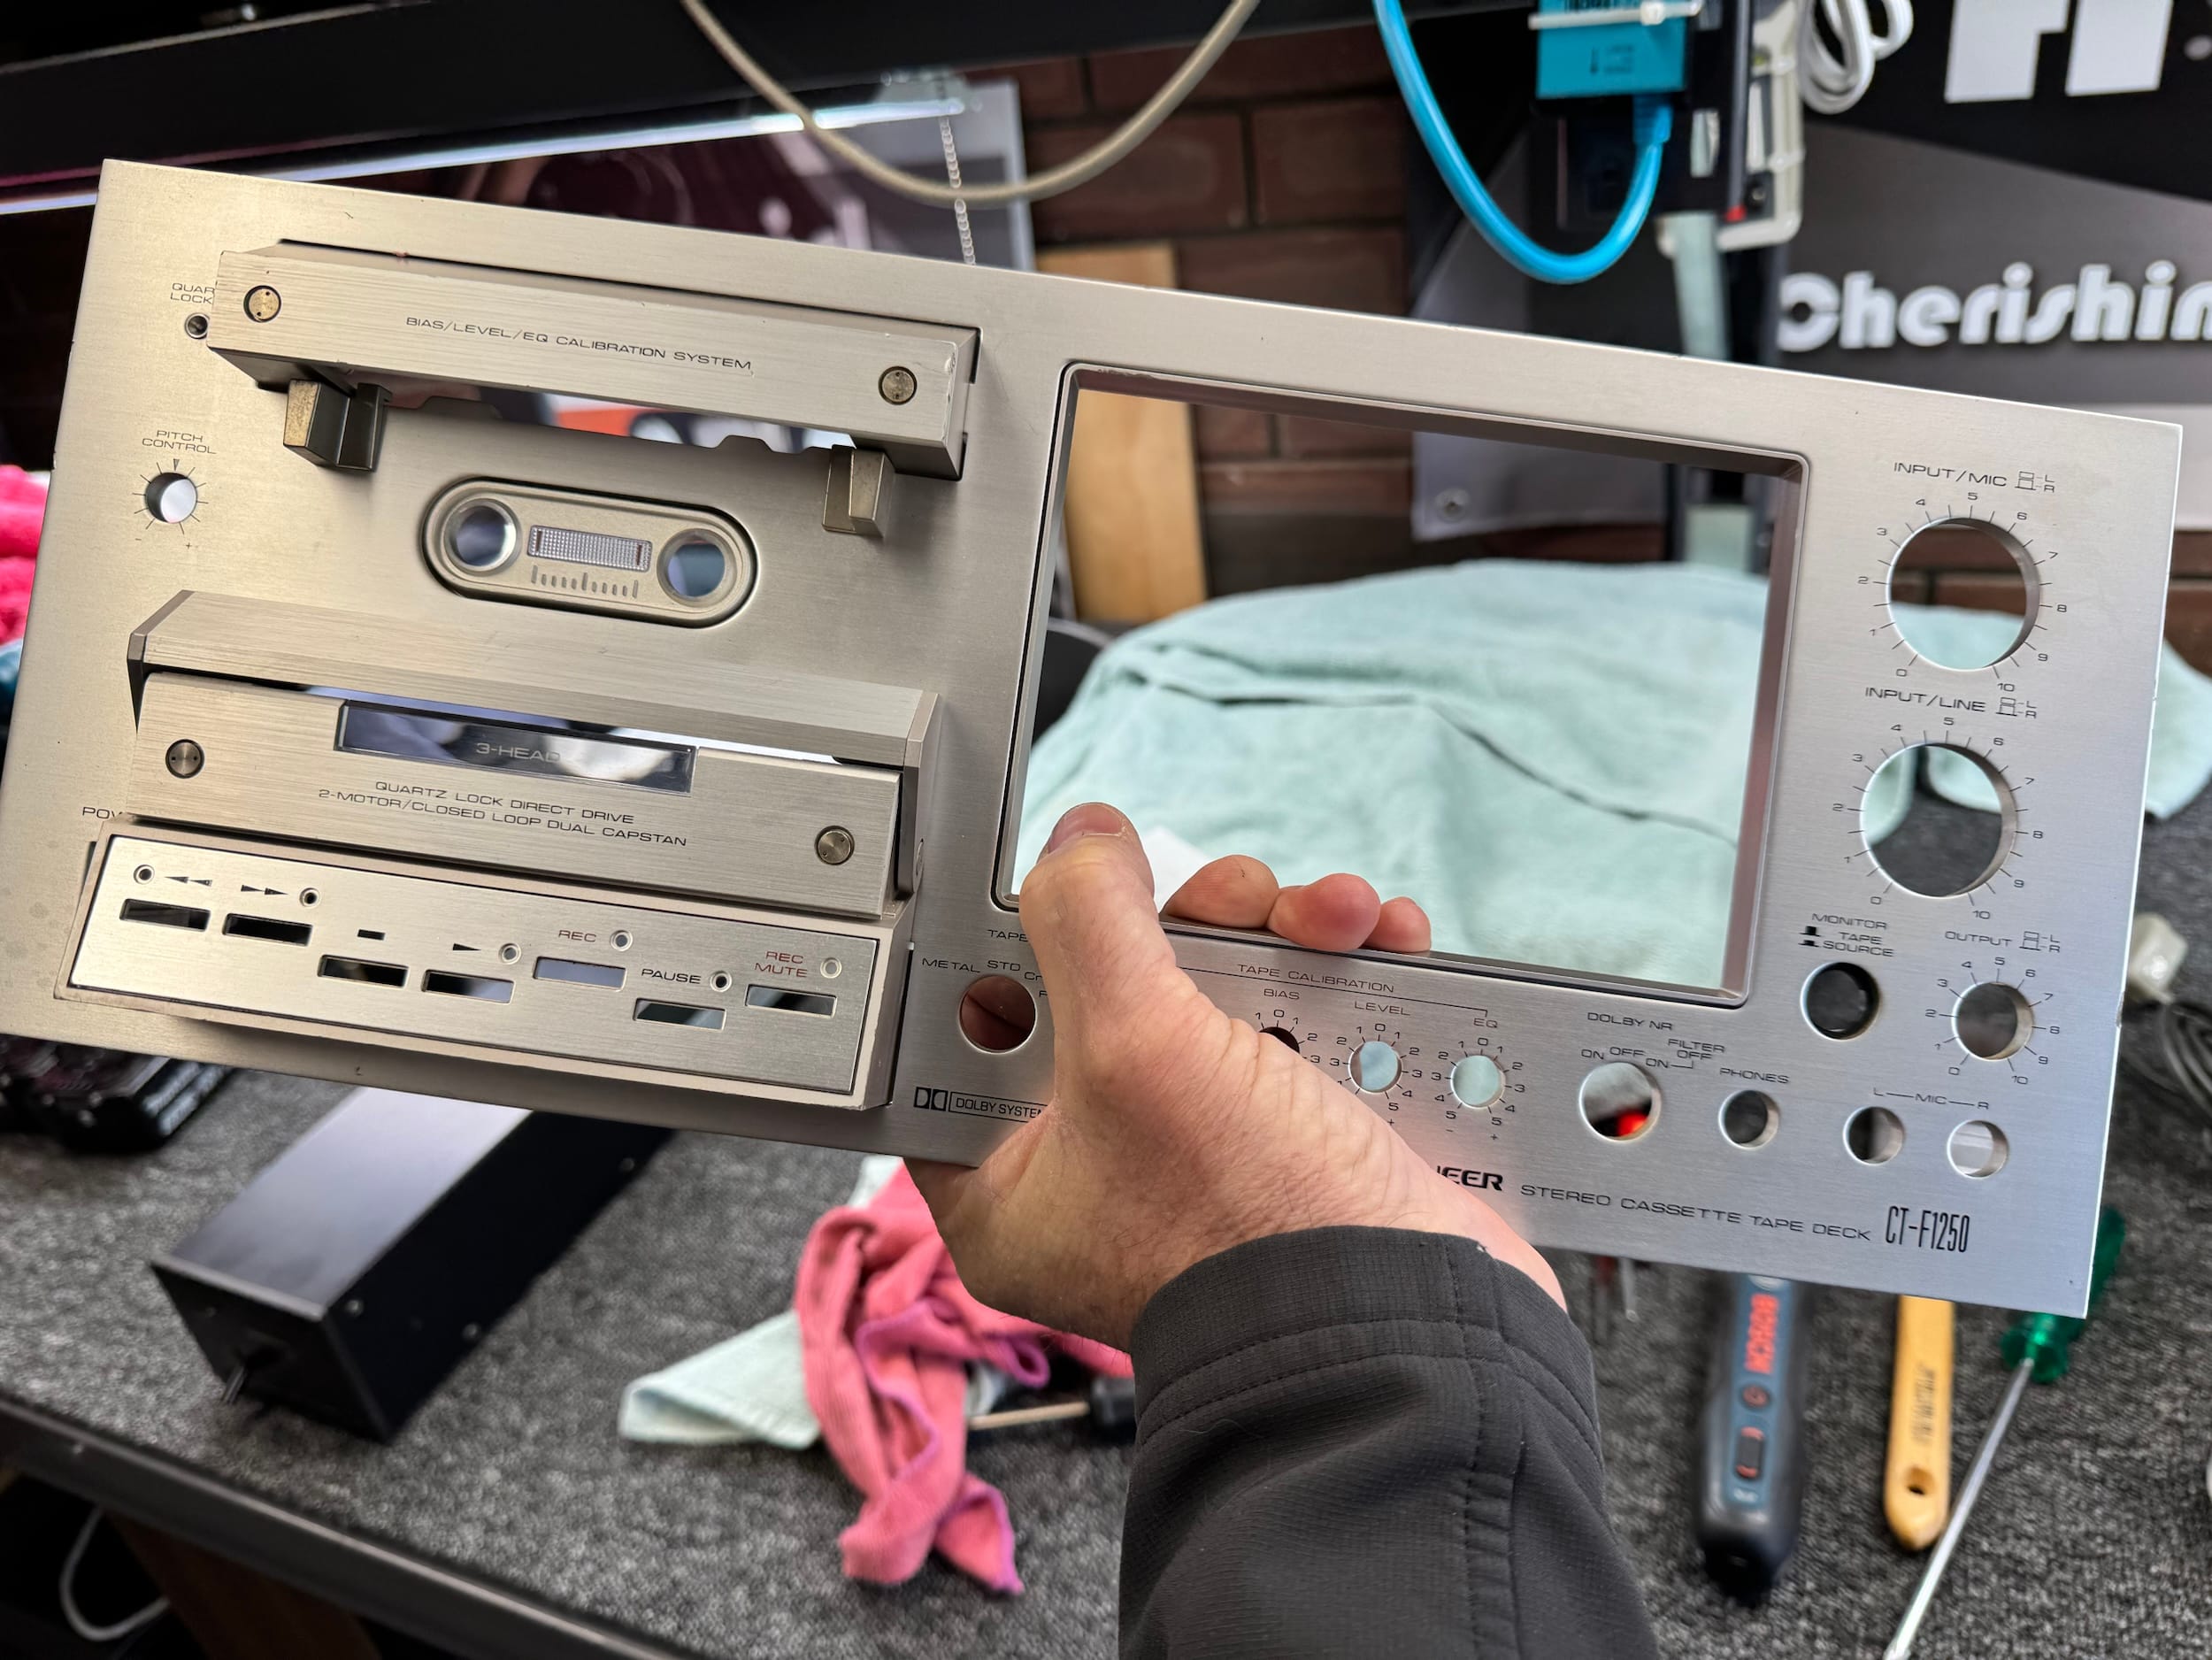
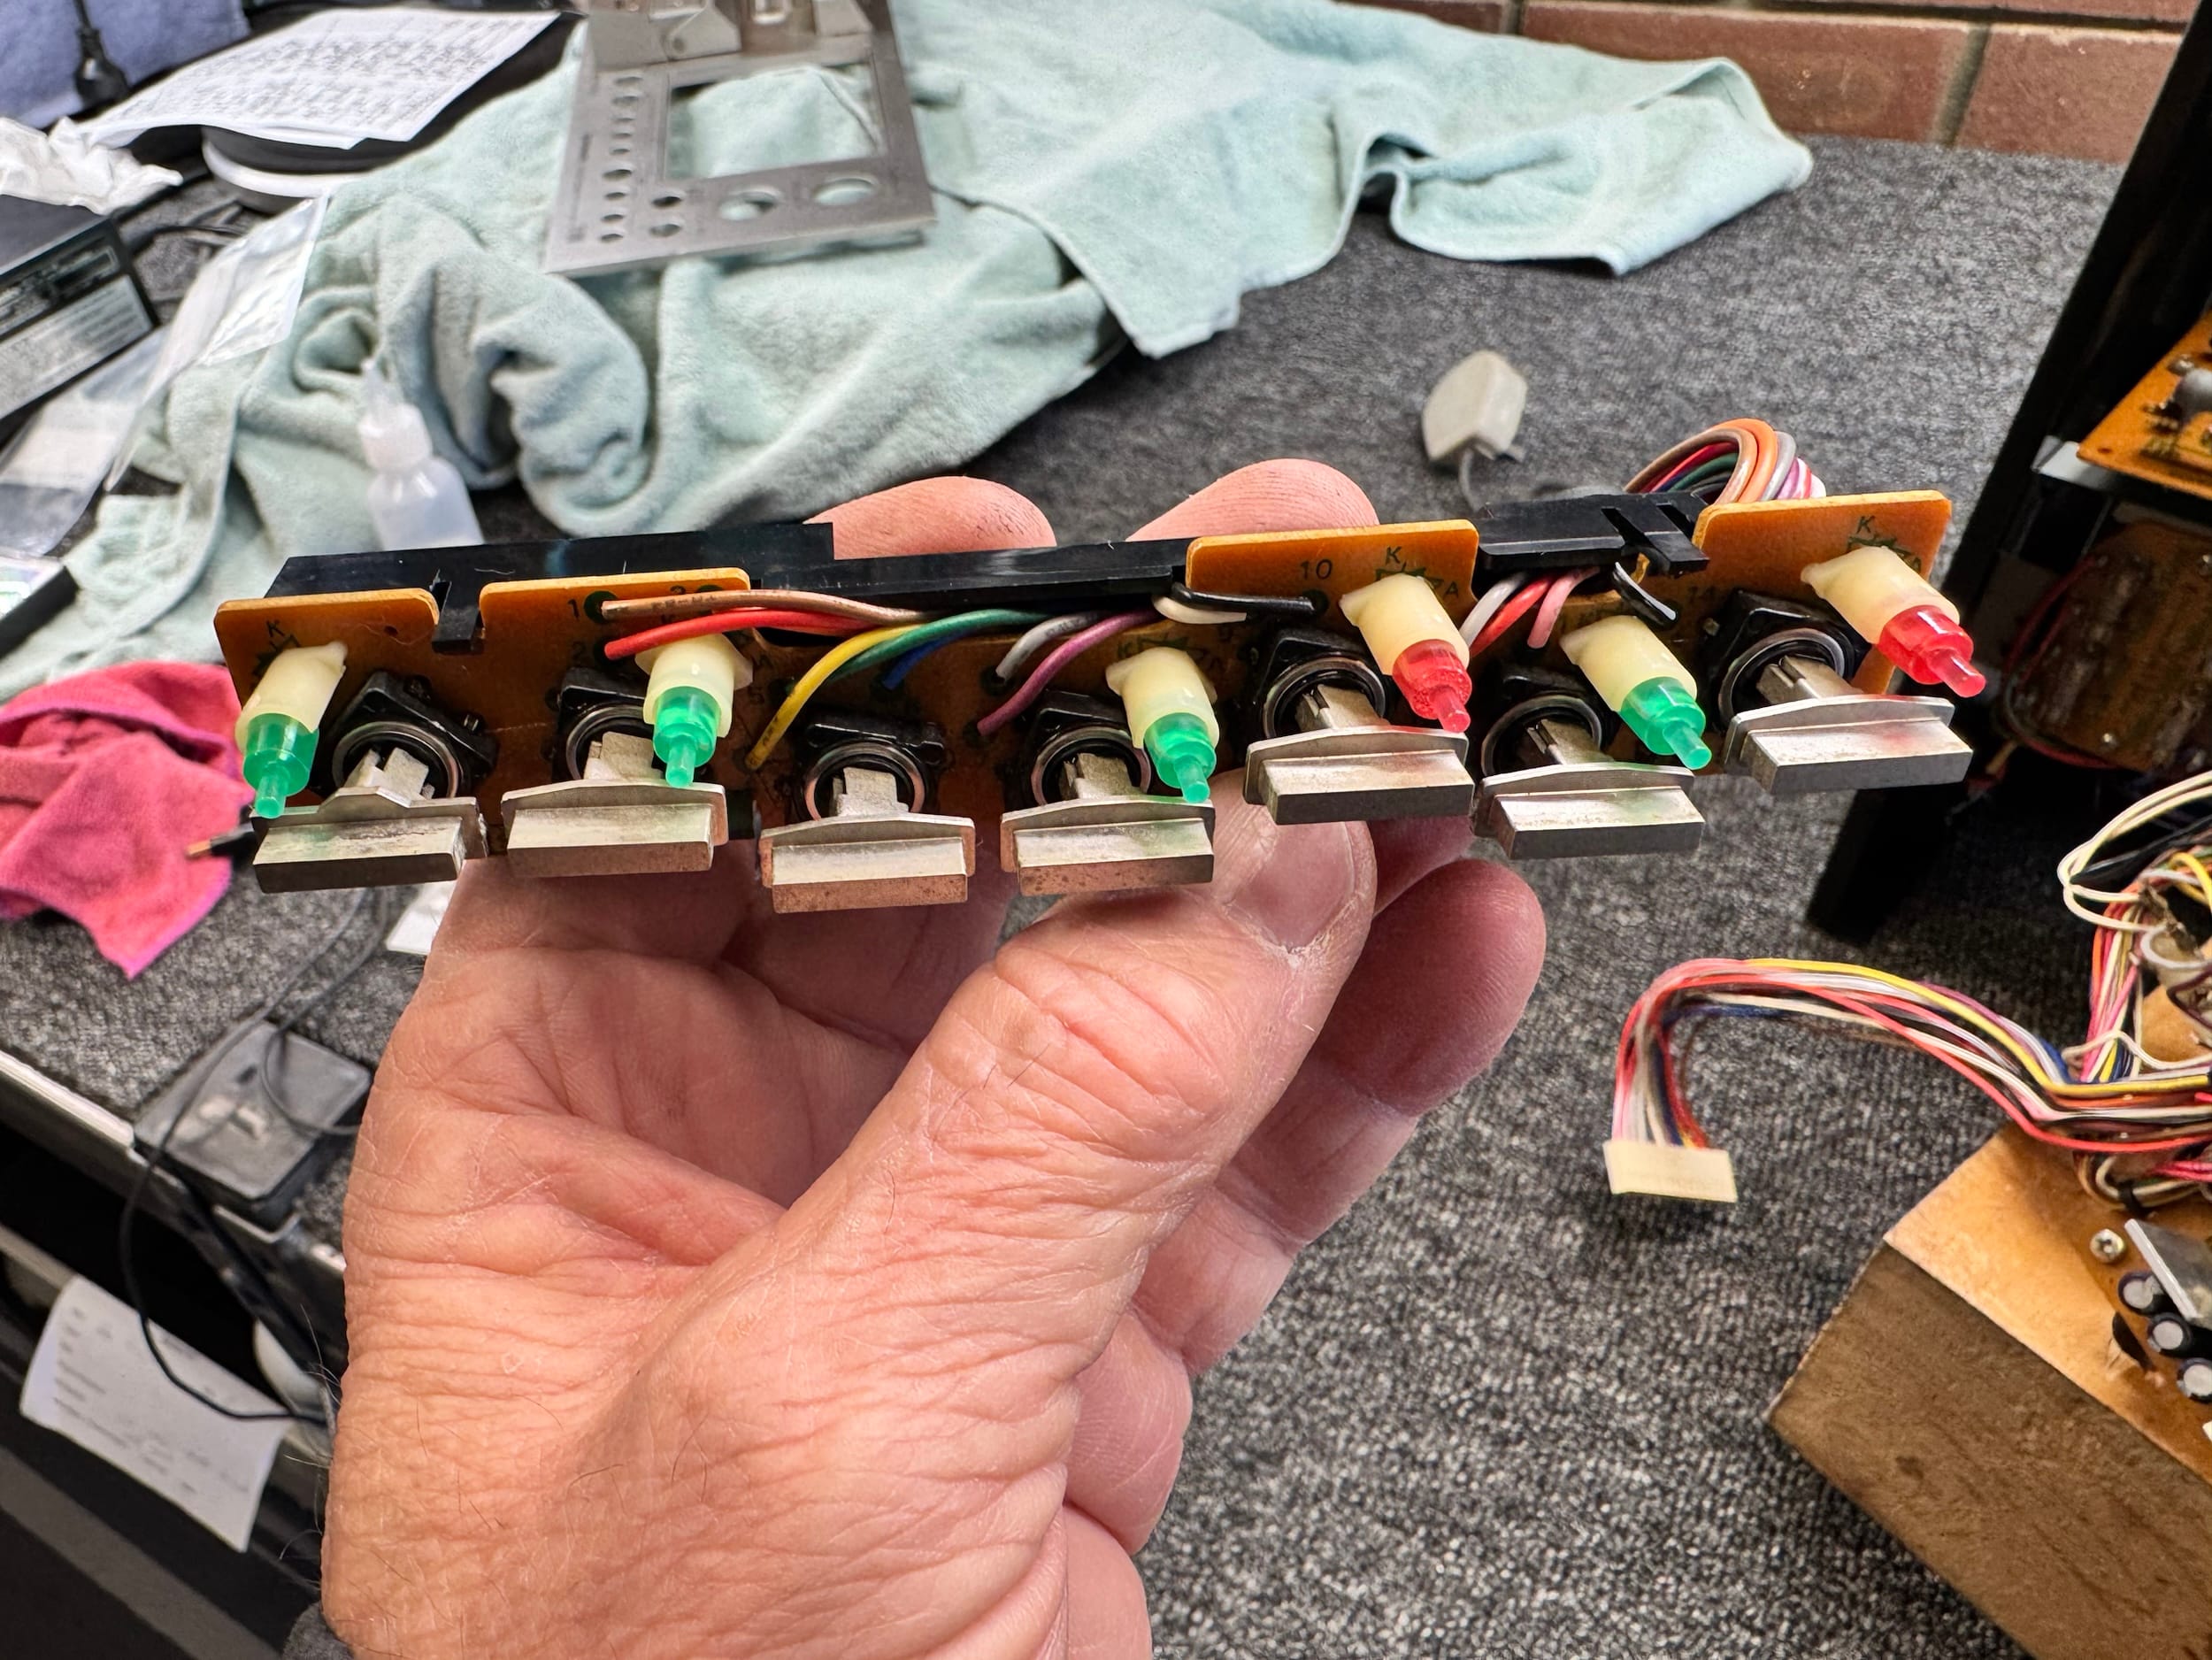
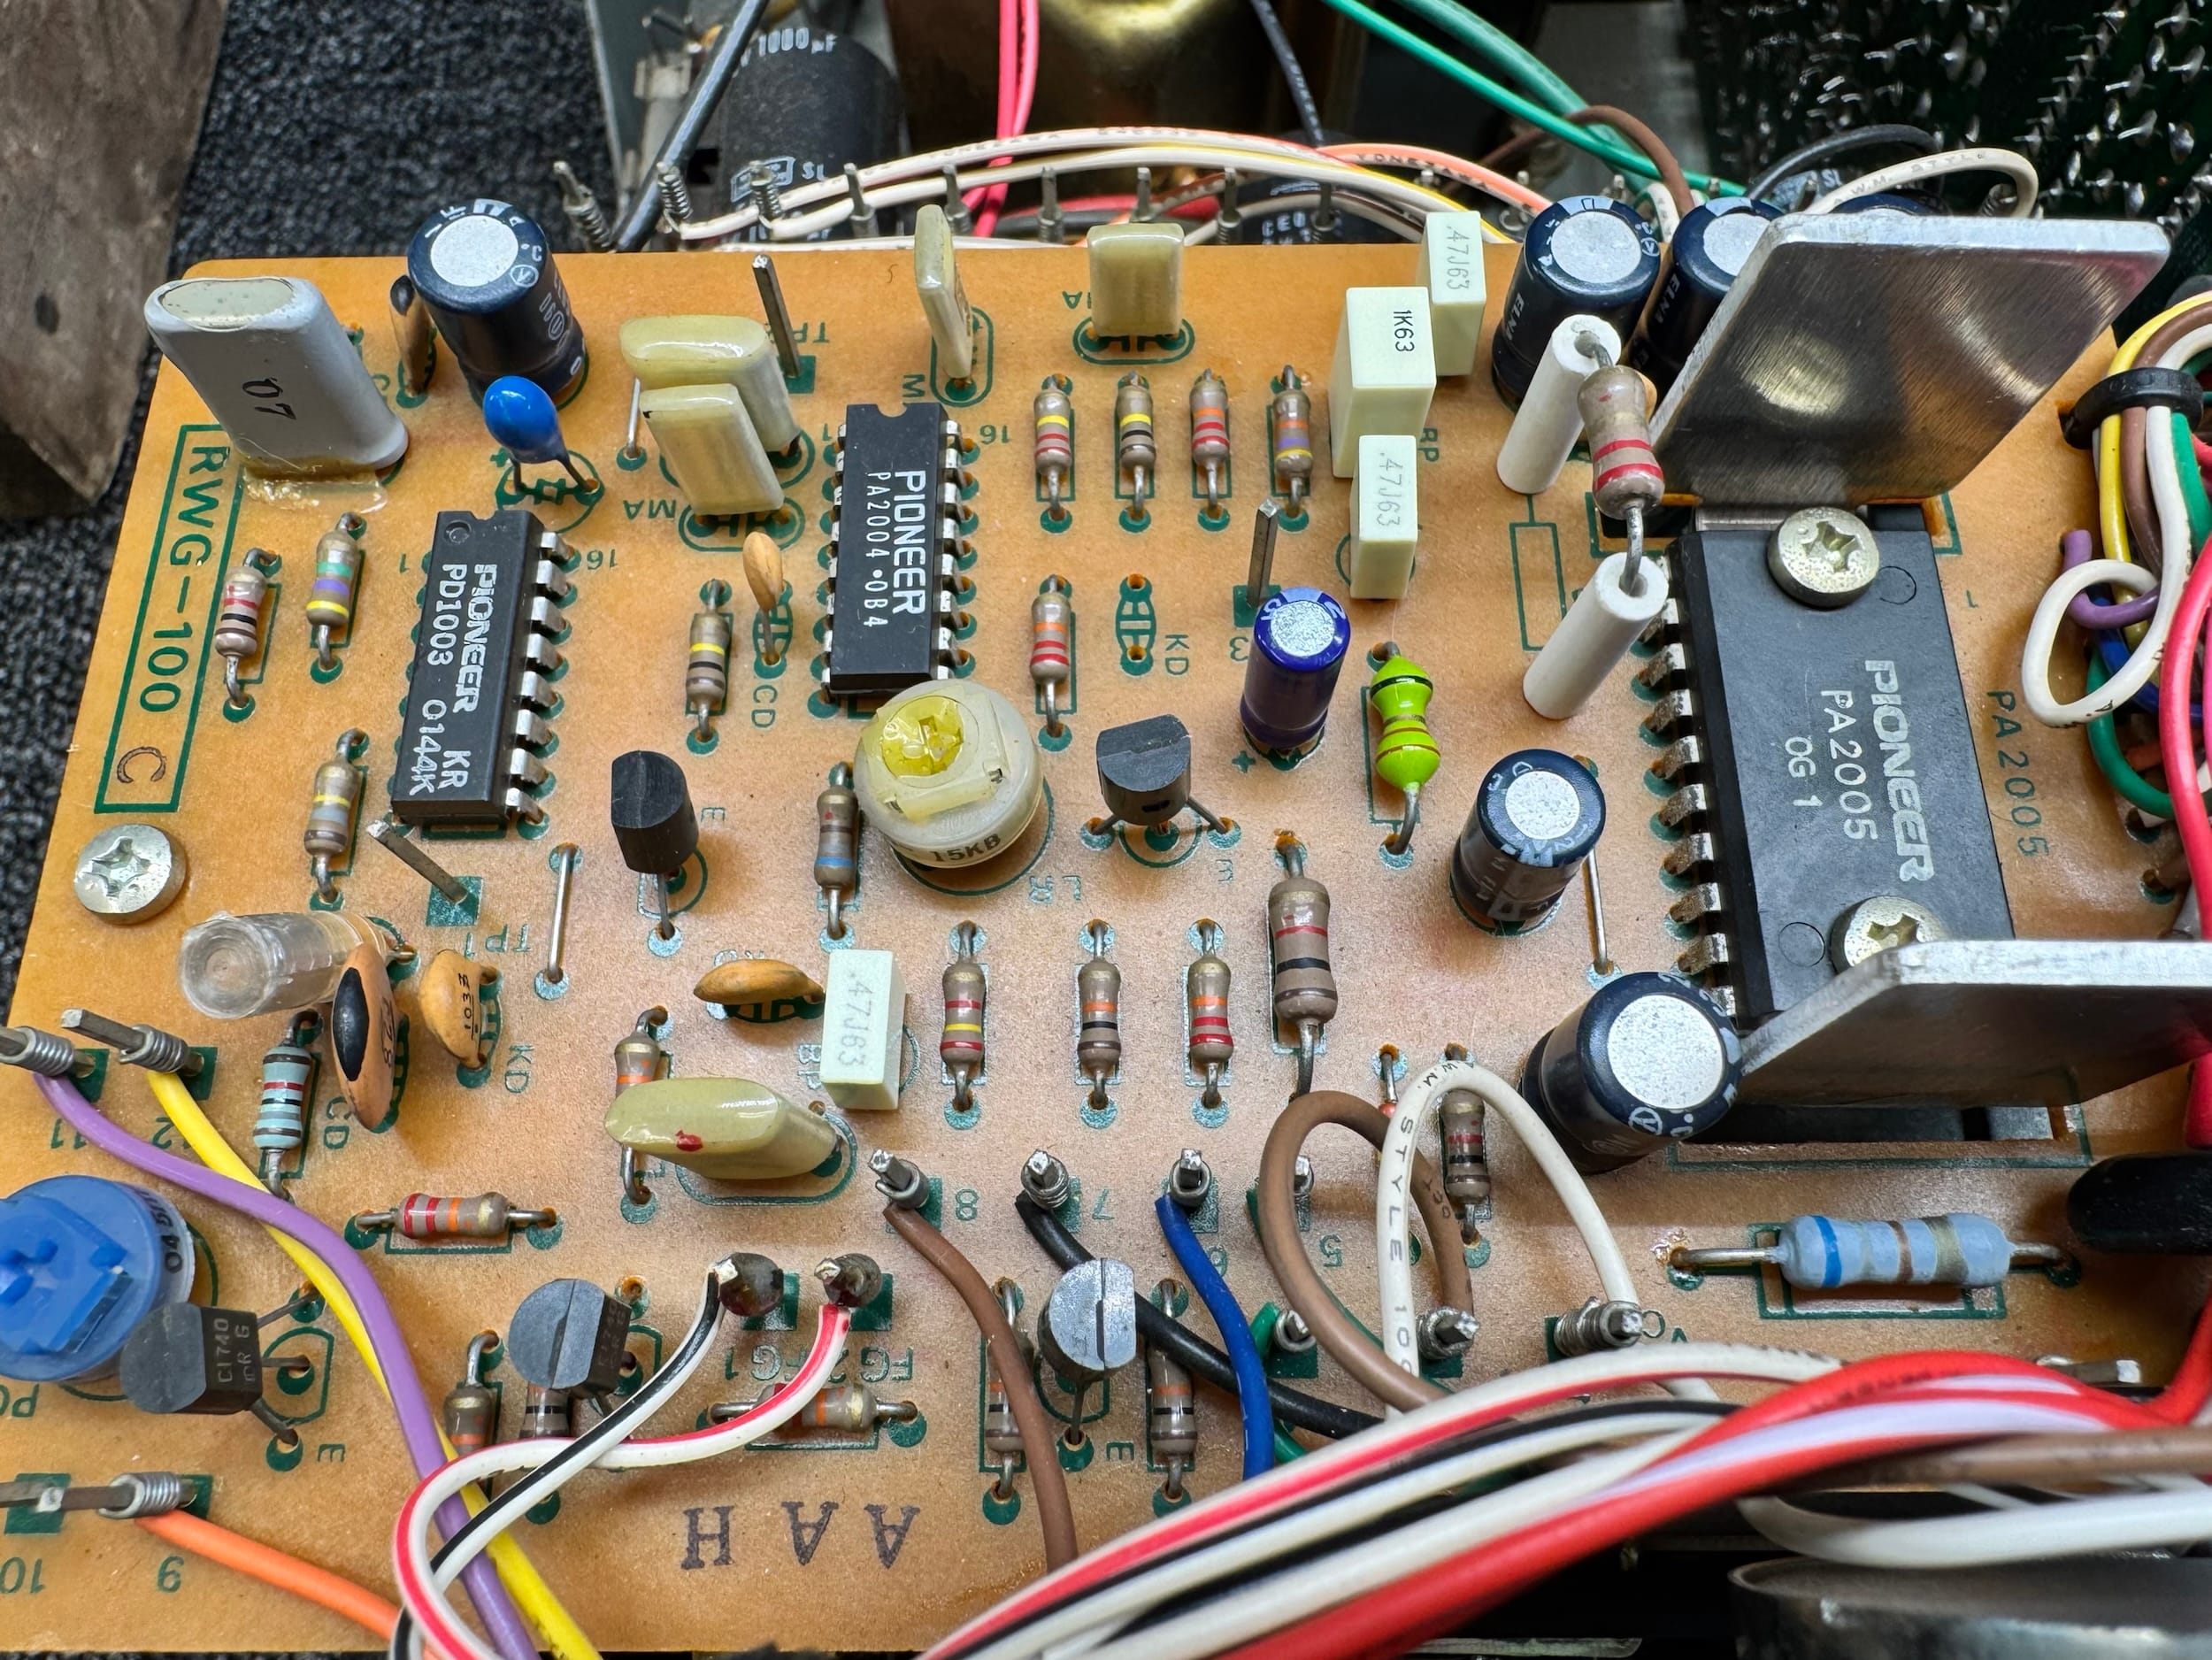
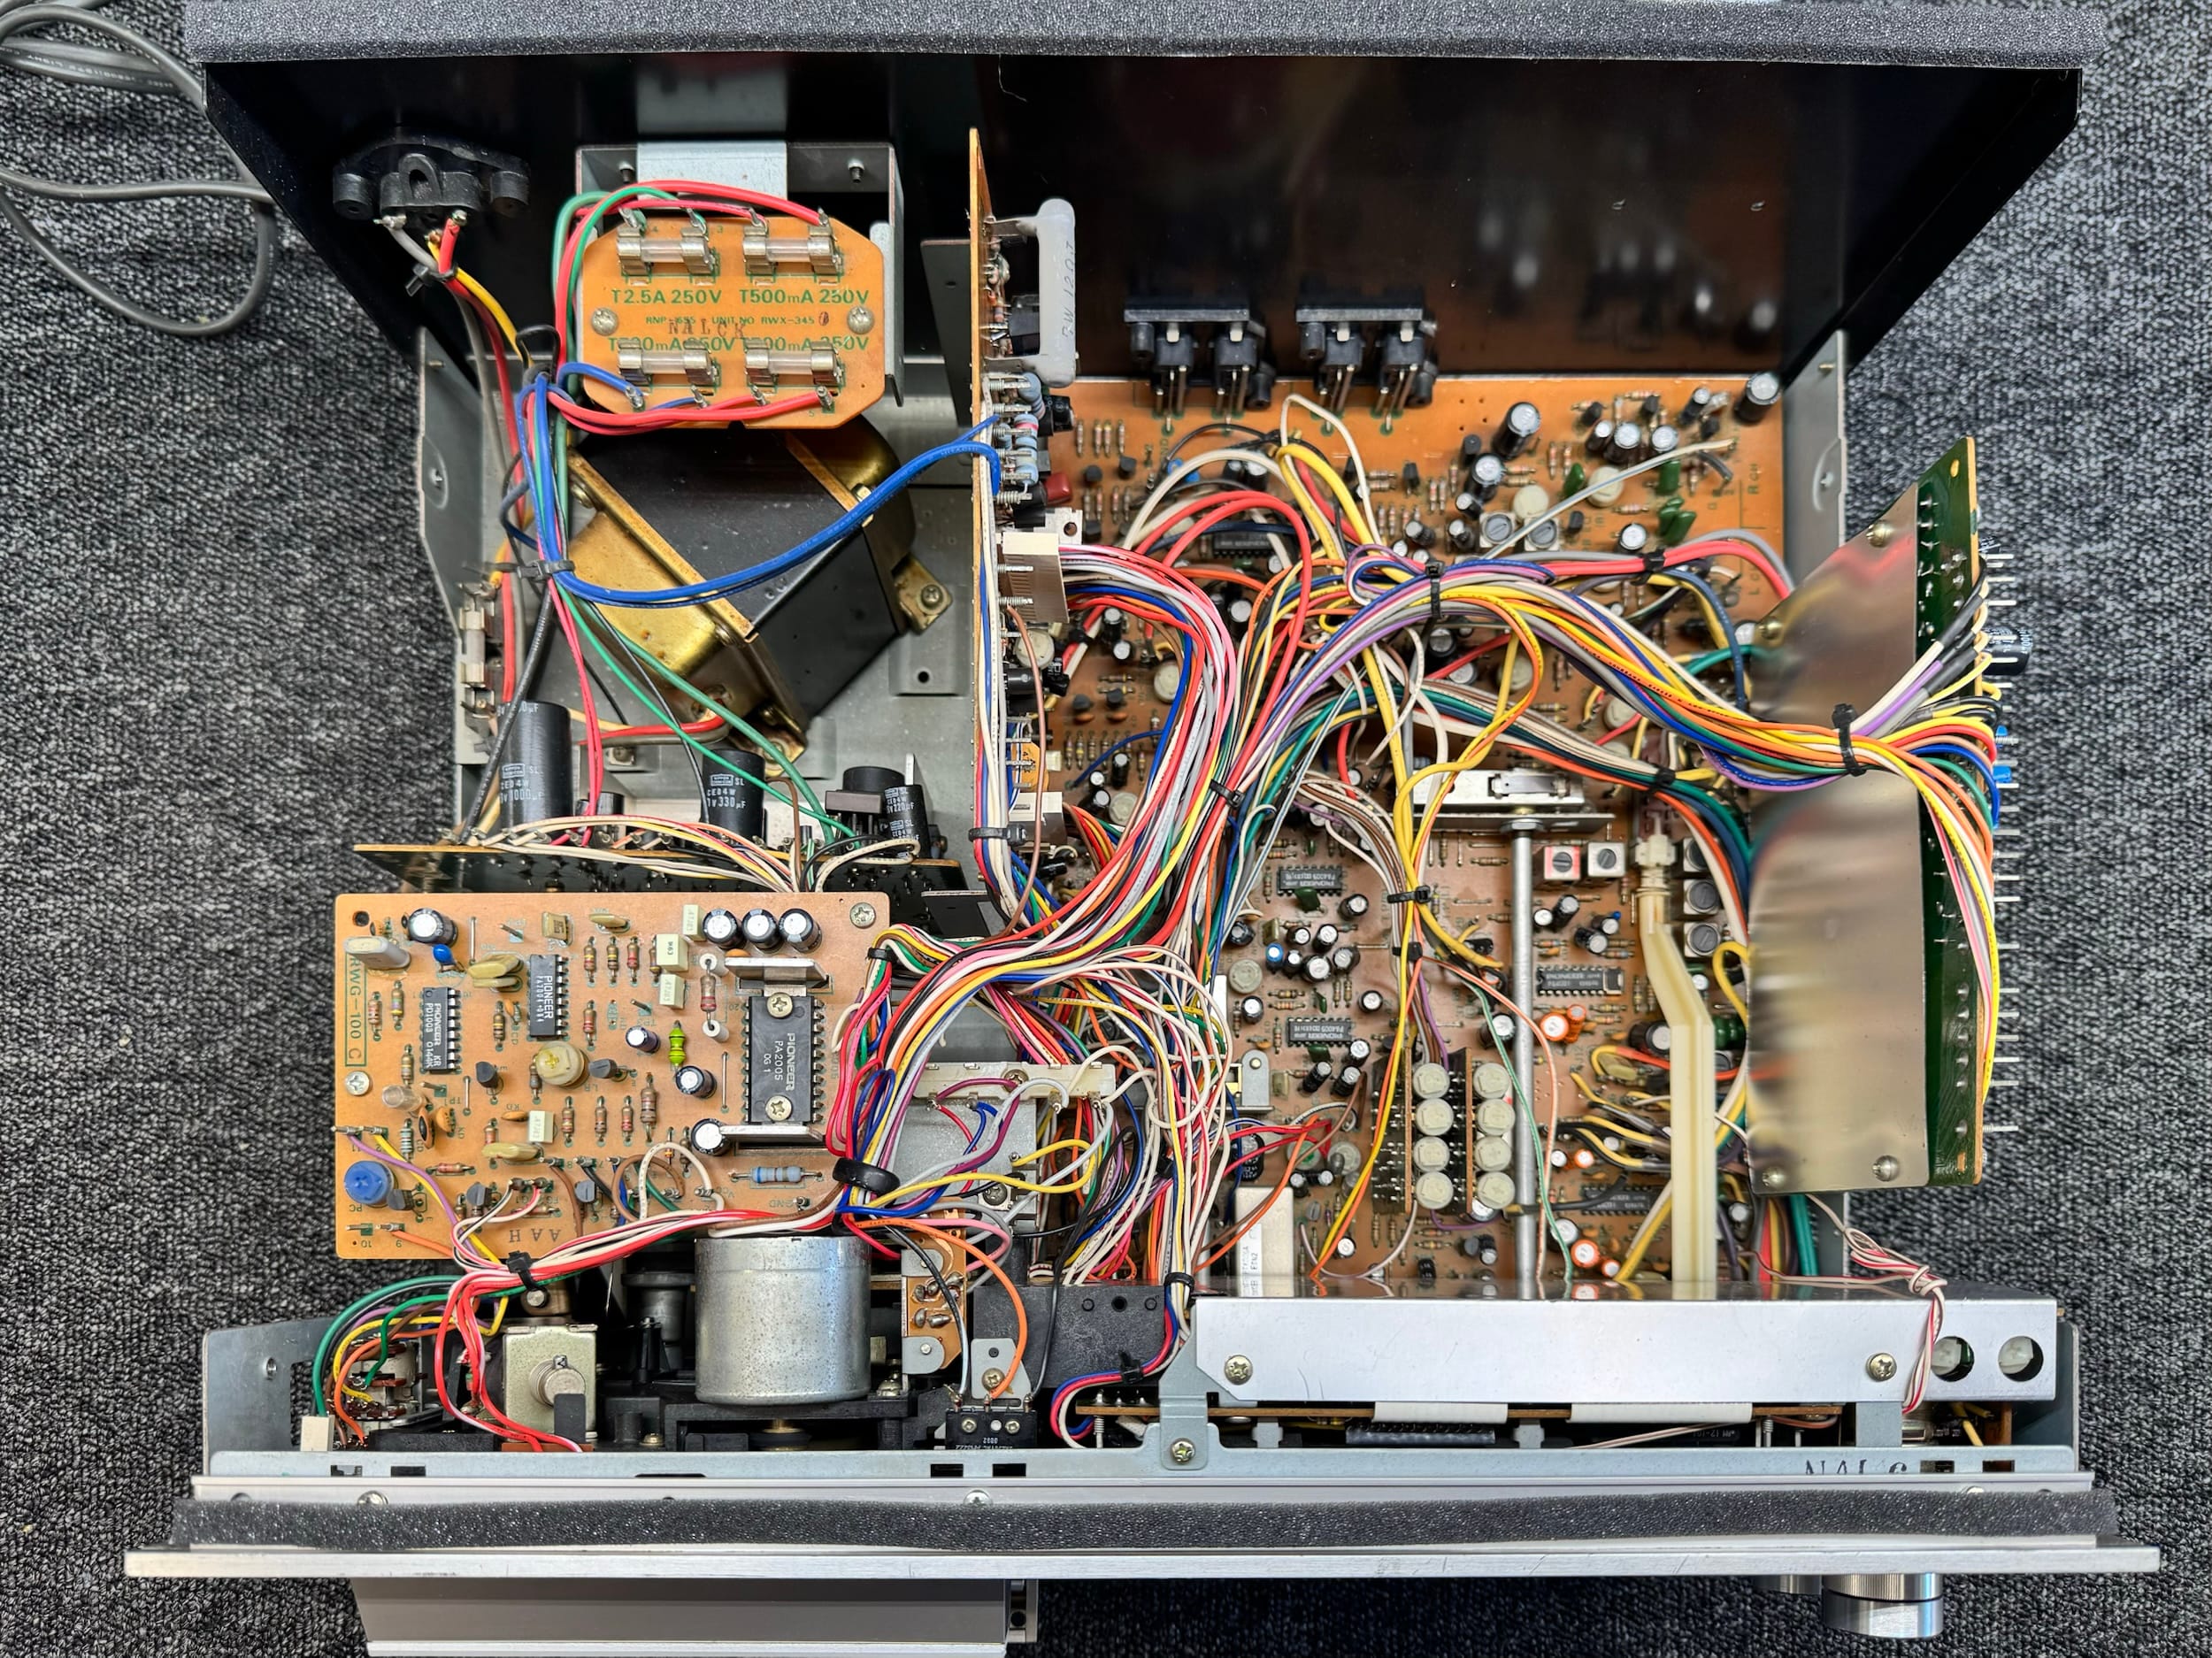
Without further ado, let’s delve into the repair and partial overhaul of this gorgeous Pioneer CT-F1250. There are various stages here including mechanical disassembly, cleaning of modules and assemblies, replacement of parts, reassembly, testing and adjustment/calibration.
Results
So, with all that hard work completed, was it worth it? Well, she didn’t work and was essentially a doorstop, so to now have a fully functional and great-sounding CT-F1250 for less than a day’s work is a huge win in my book! I now have yet another almost perfect, high-end cassette deck from the golden era of home recording that works flawlessly and sounds fabulous. That’s not a common statement to be able to make about cassette decks.
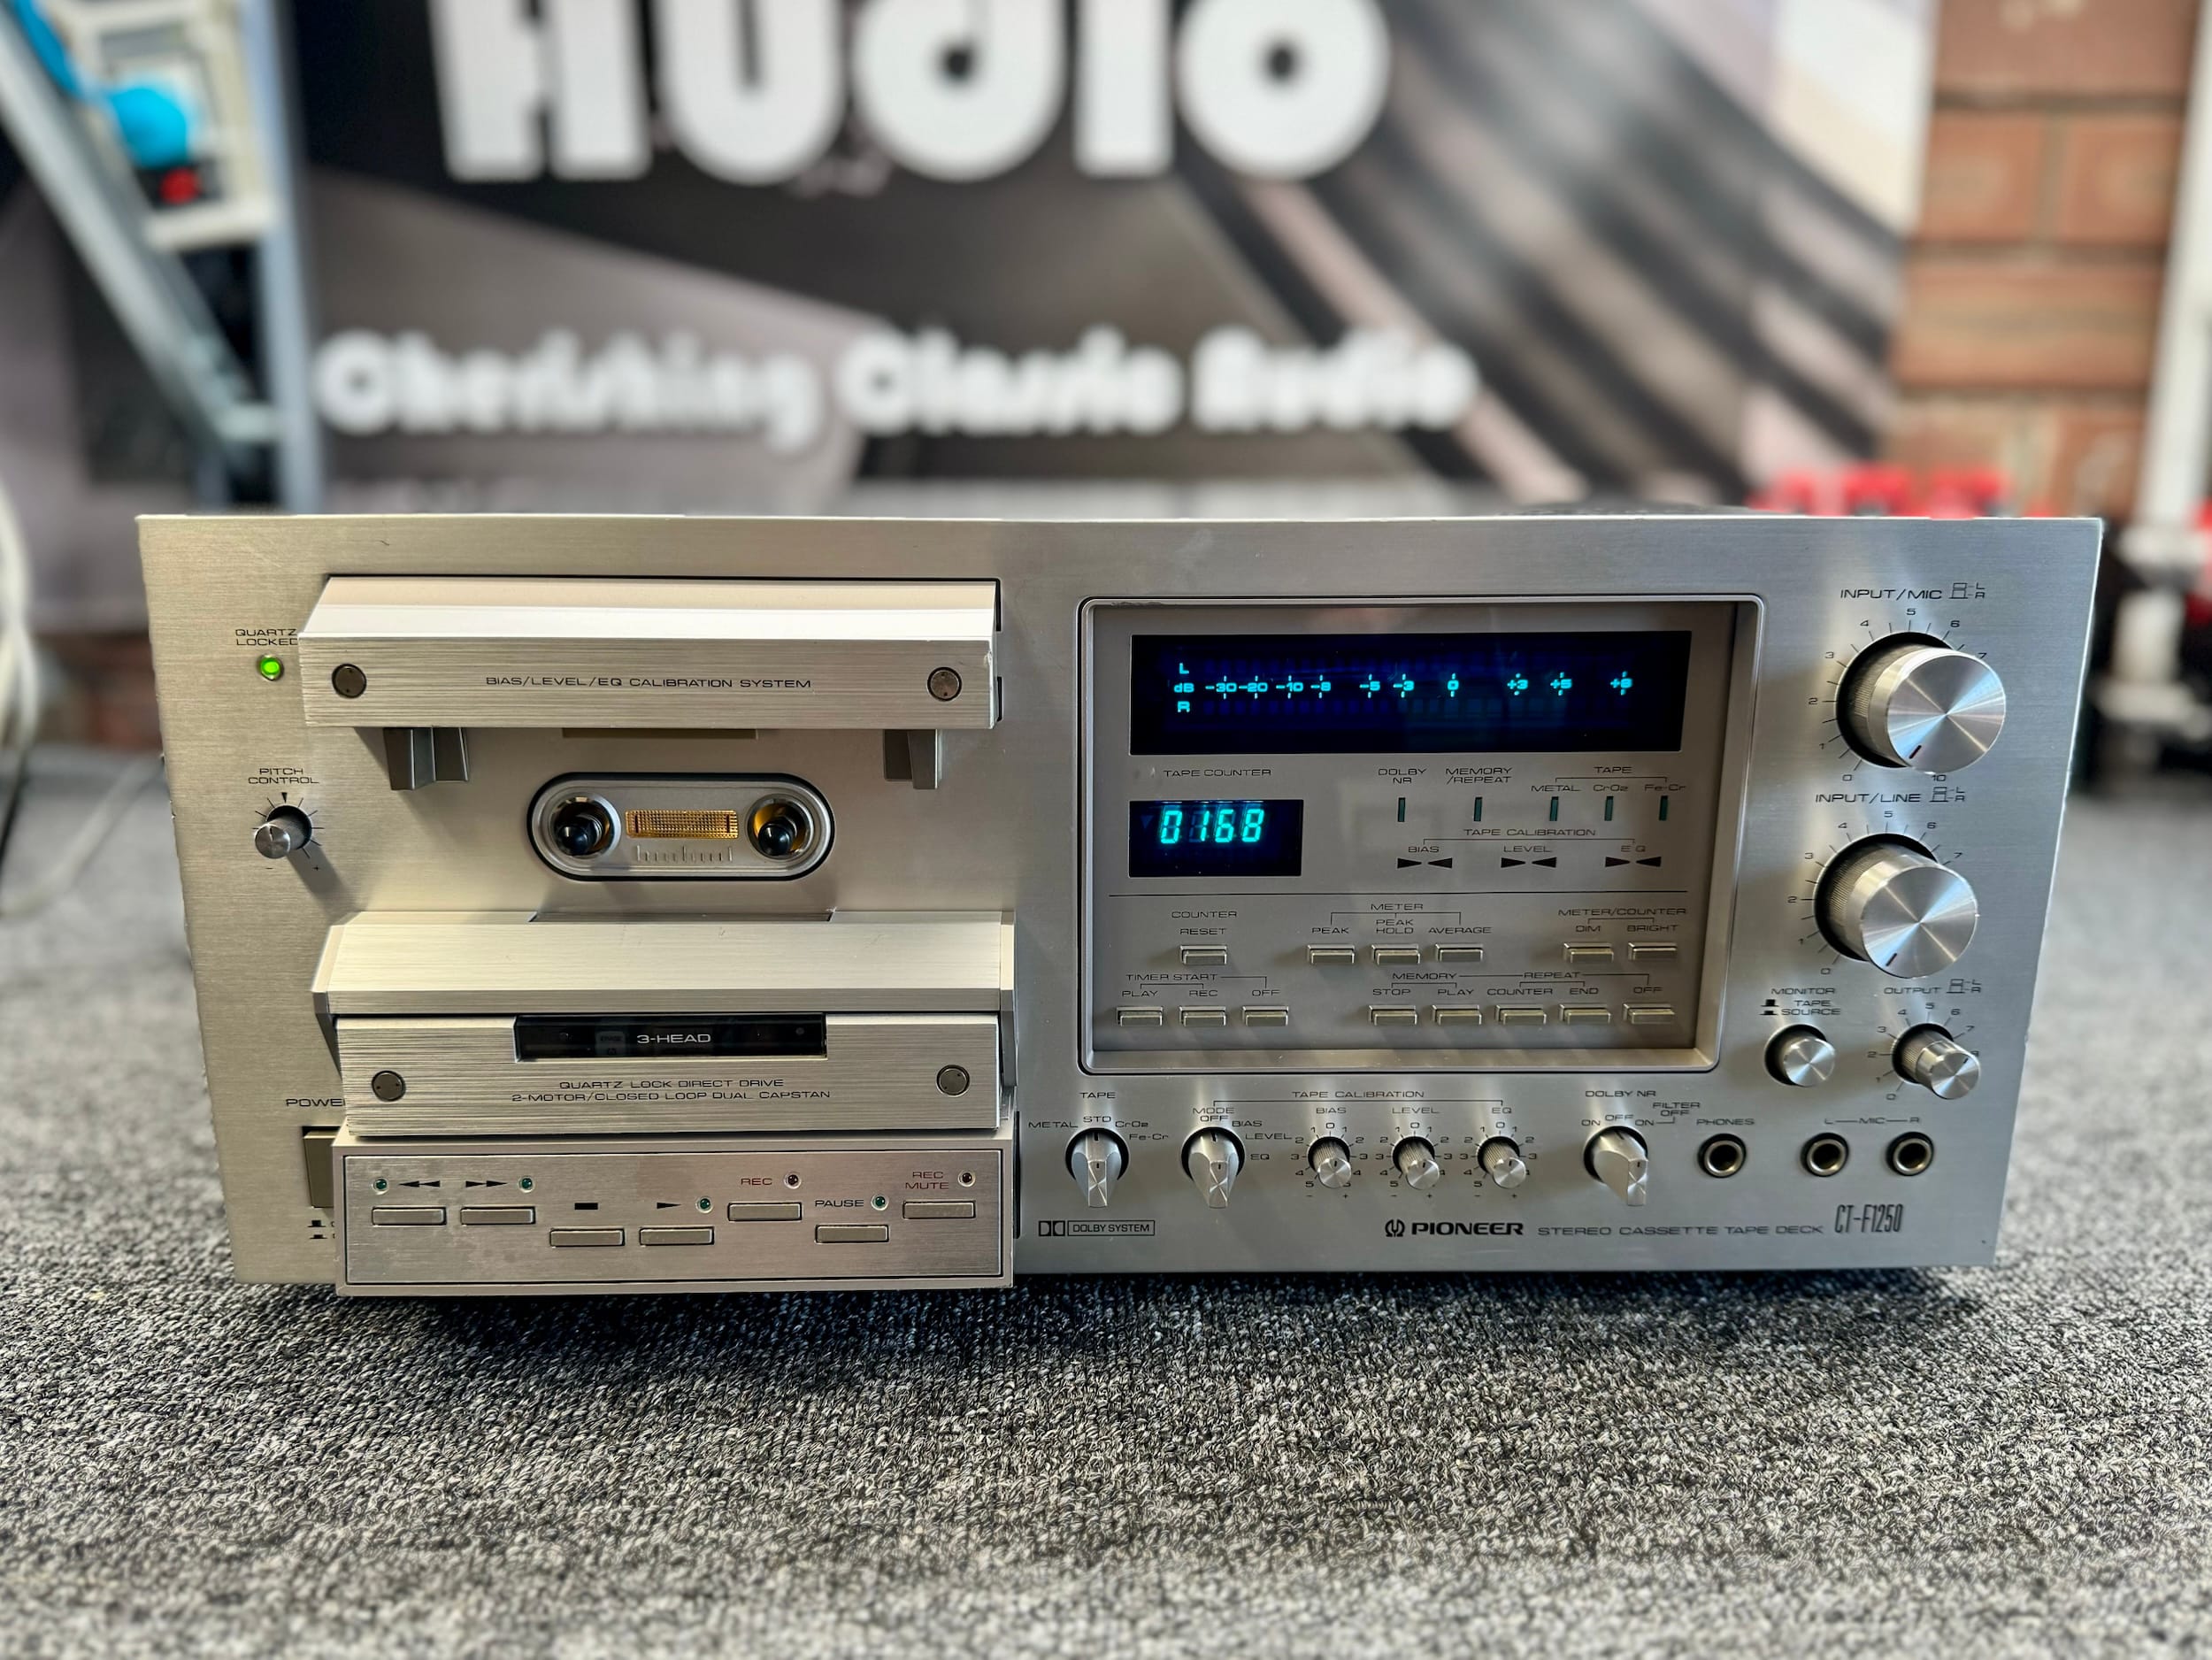
I love Pioneer cassette decks, in much the same way I love Kenwood shortwave receivers and turntables, and Accuphase CD players. There is something about these machines that aesthetically, functionally and technically appeals to me. There are many options when it comes to cassette decks and we all have our favourites, but I particularly like the Pioneer CT-F1250, the CT-A1 and my beautiful CT-A9X.
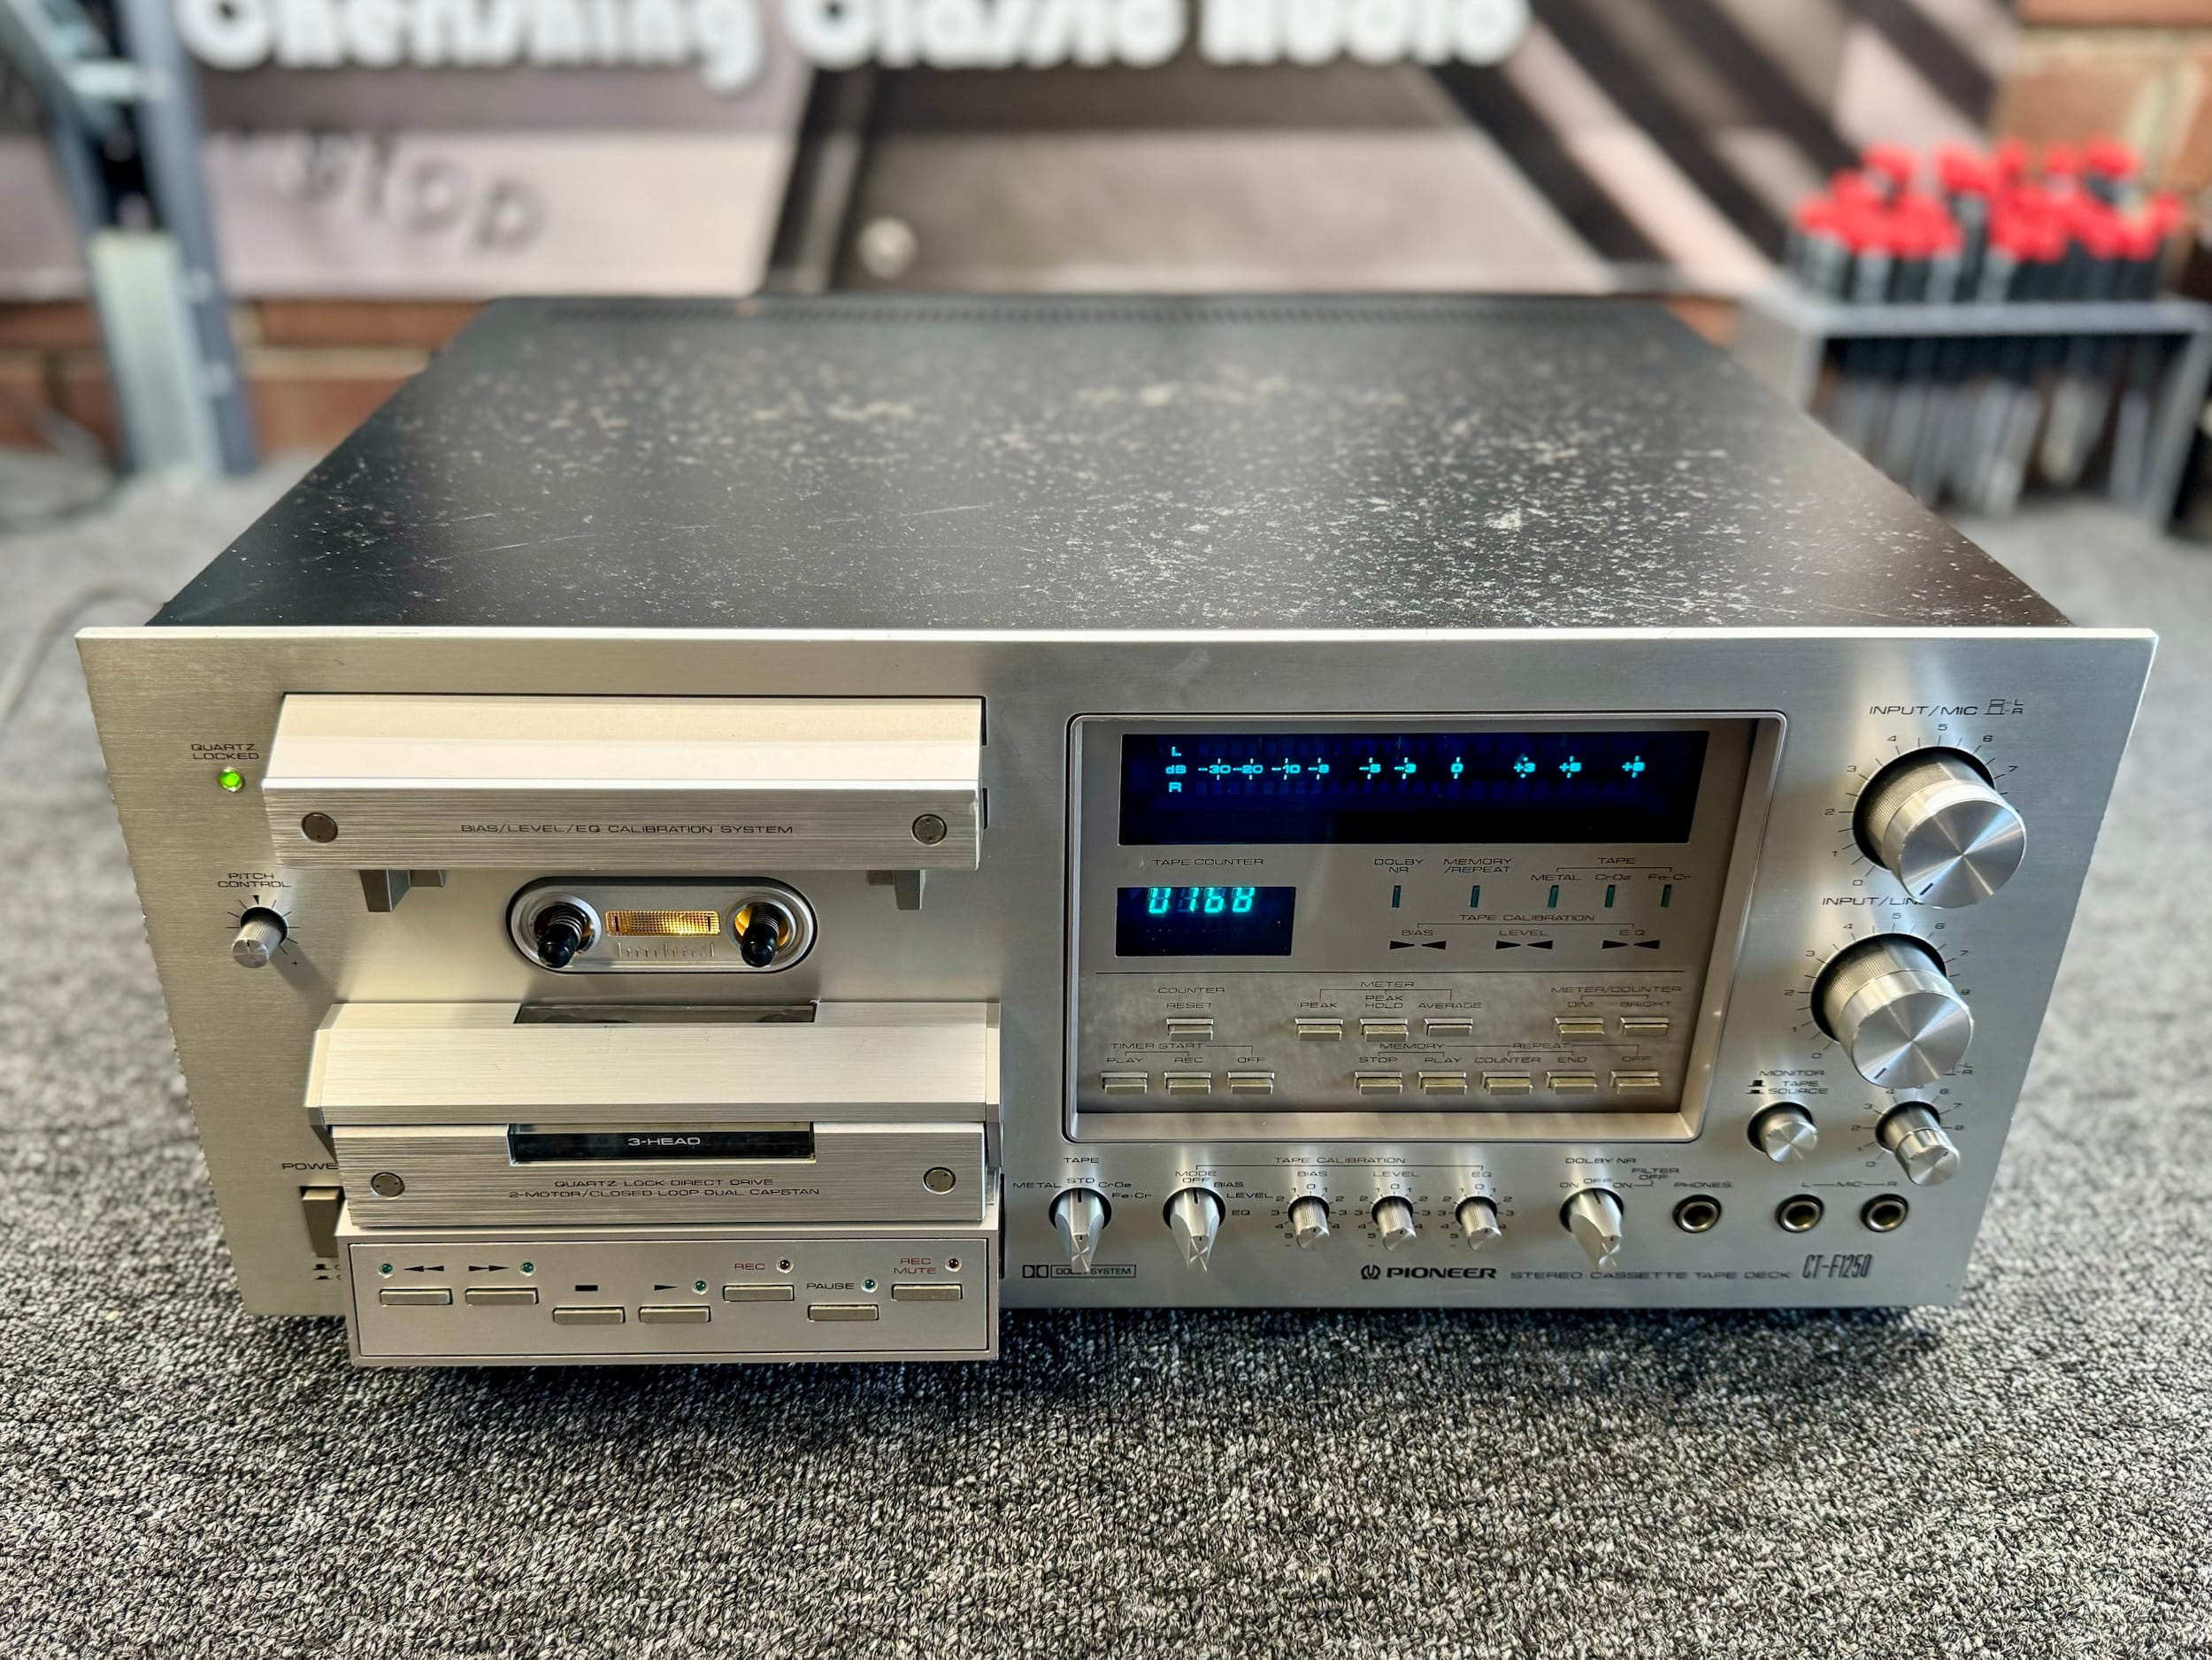
Now, the real question is, should YOU own one of these?! That depends. It’s more about the fun of making and playing tapes for me. These are powerful, punchy and warm-sounding machines, no doubt about it, but cassette tape will never be a reference quality source. That said, I find it tremendously satisfying to ‘keep my hand in’ when it comes to making and playing tapes, and using, servicing and repairing gorgeous cassette decks like these. They are audio time capsules from another era.
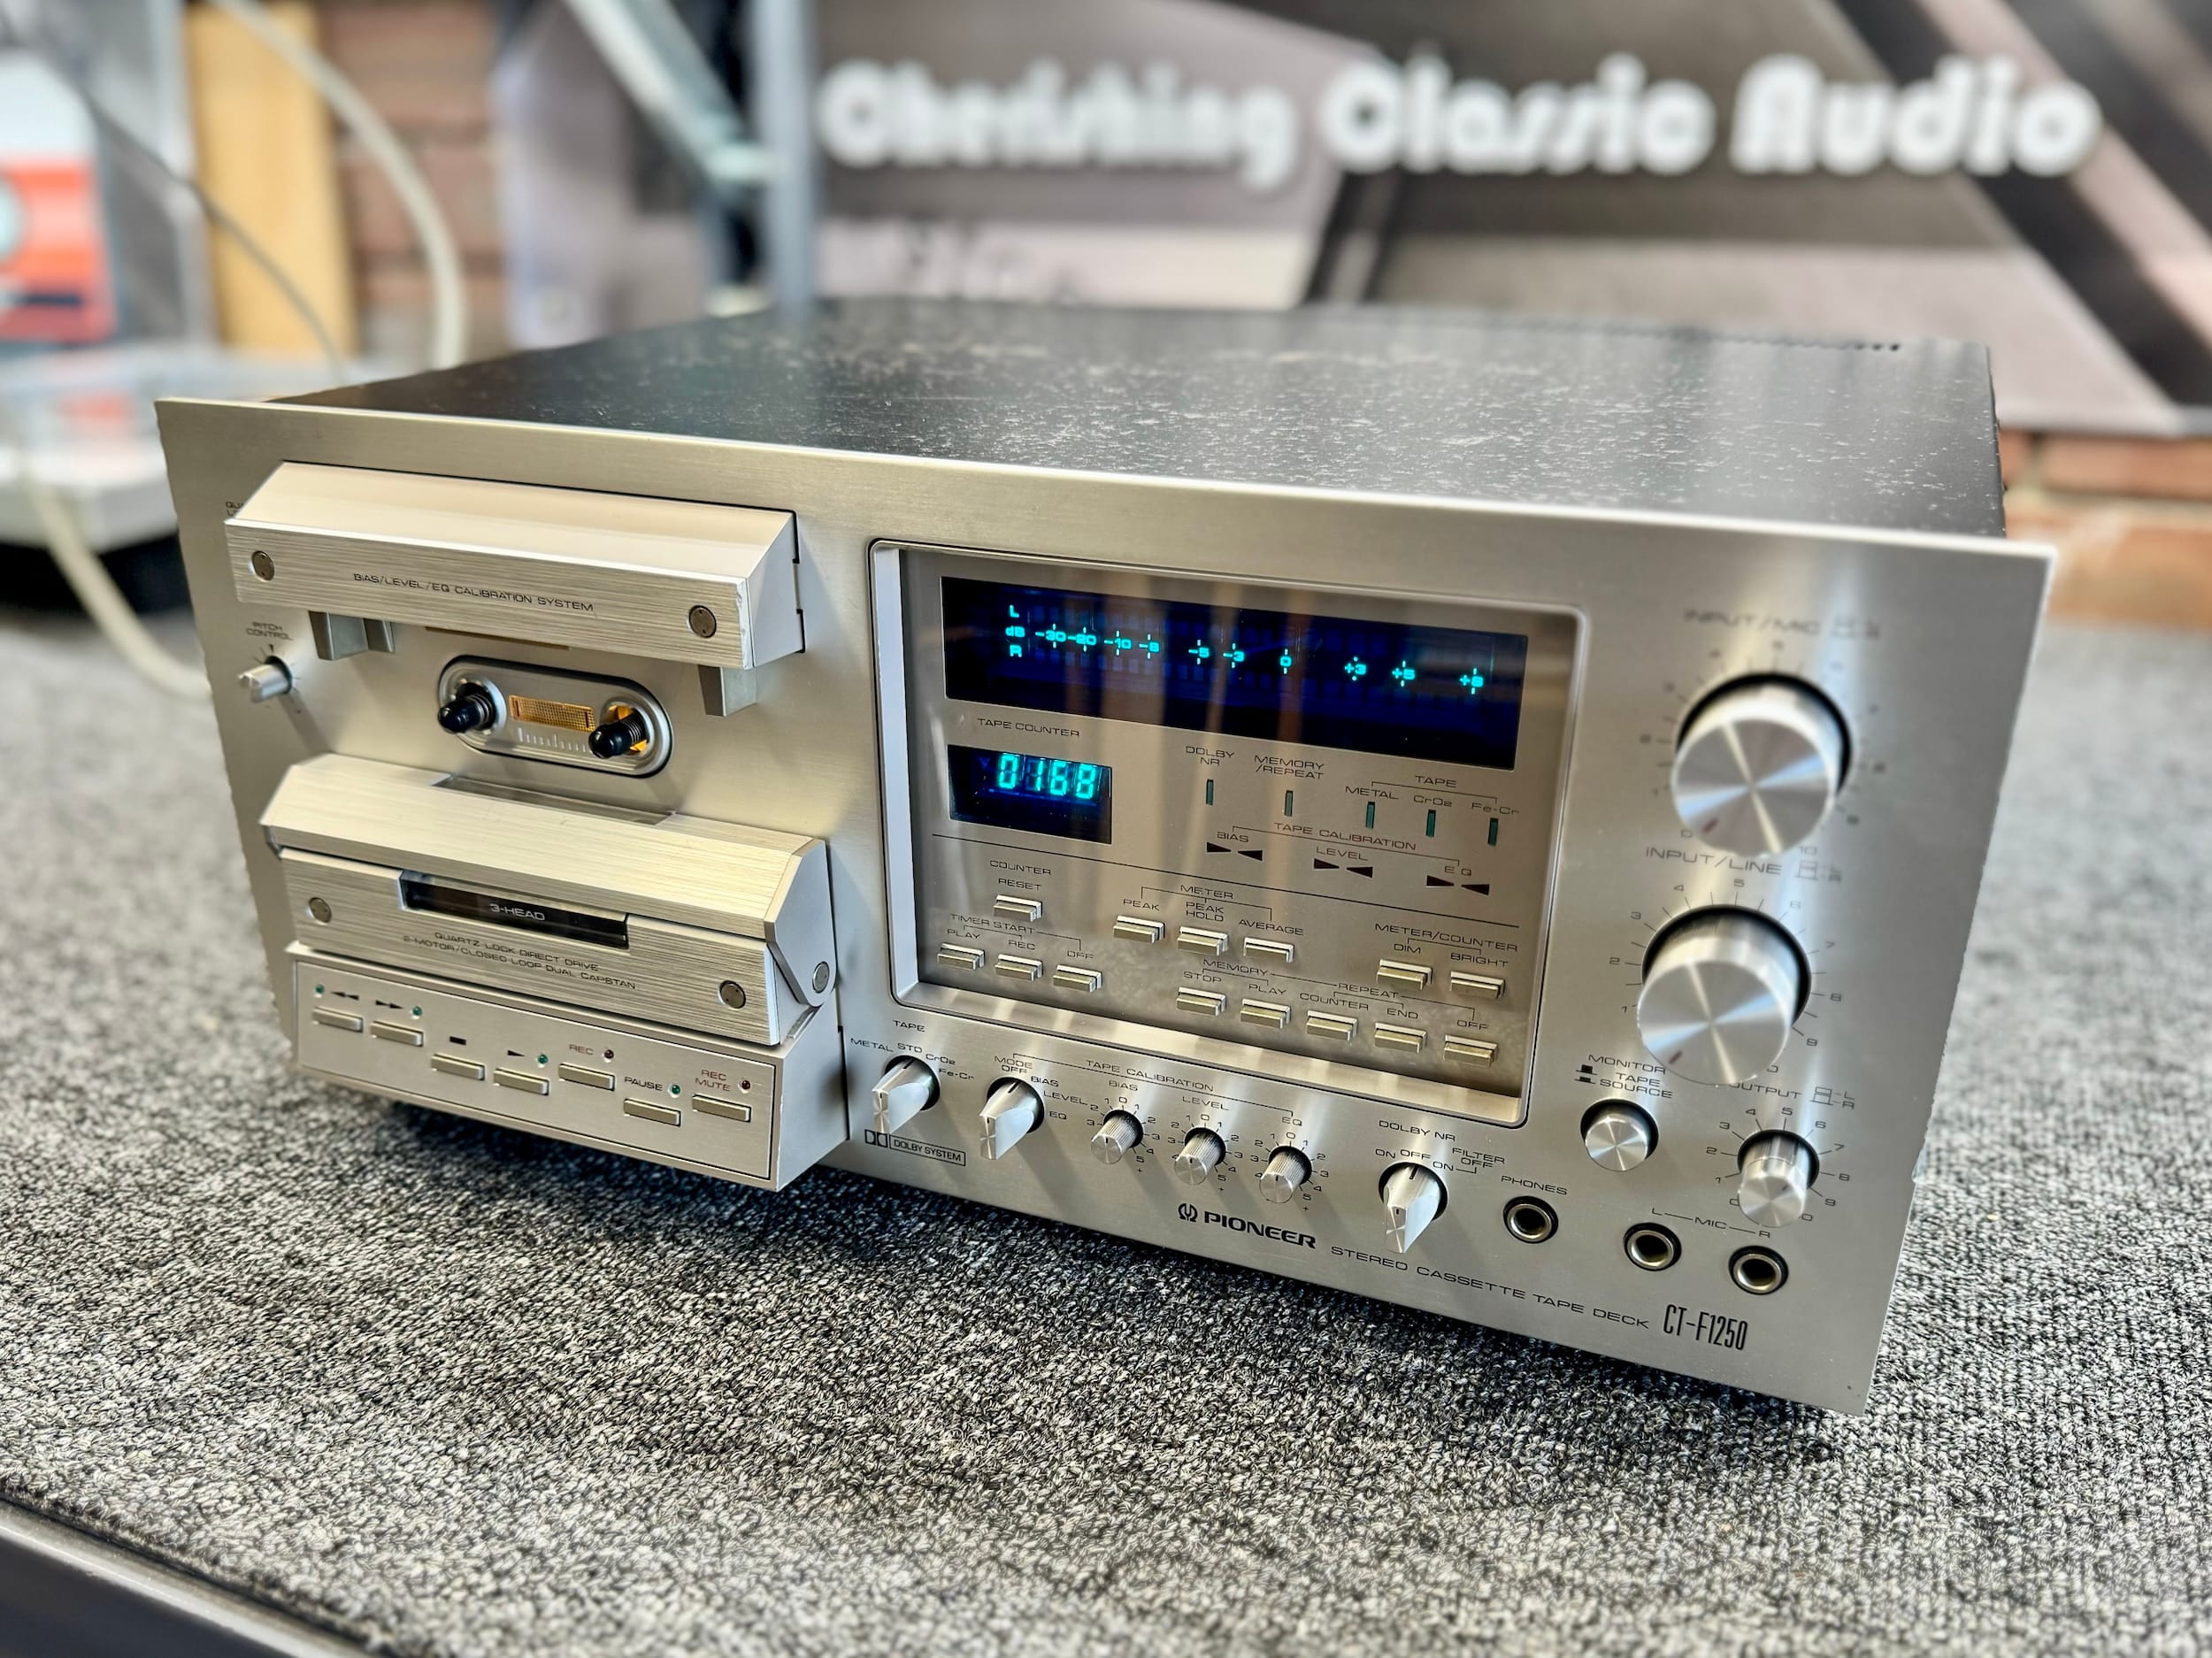
There are few more enjoyable pieces of hi-fi equipment to own and operate, but cassette decks are a hi-fi niche and they do require periodic, specialist maintenance, which can be expensive. All of this must be kept in mind as cassette tapes and cassette decks like this see a minor resurgence in popularity. Perhaps now is as good a time as any to sample the pleasures of a classic heavy-hitter like the Pioneer CT-F1250. I recommend owning at least one deck like this, at some point on your hi-fi journey.
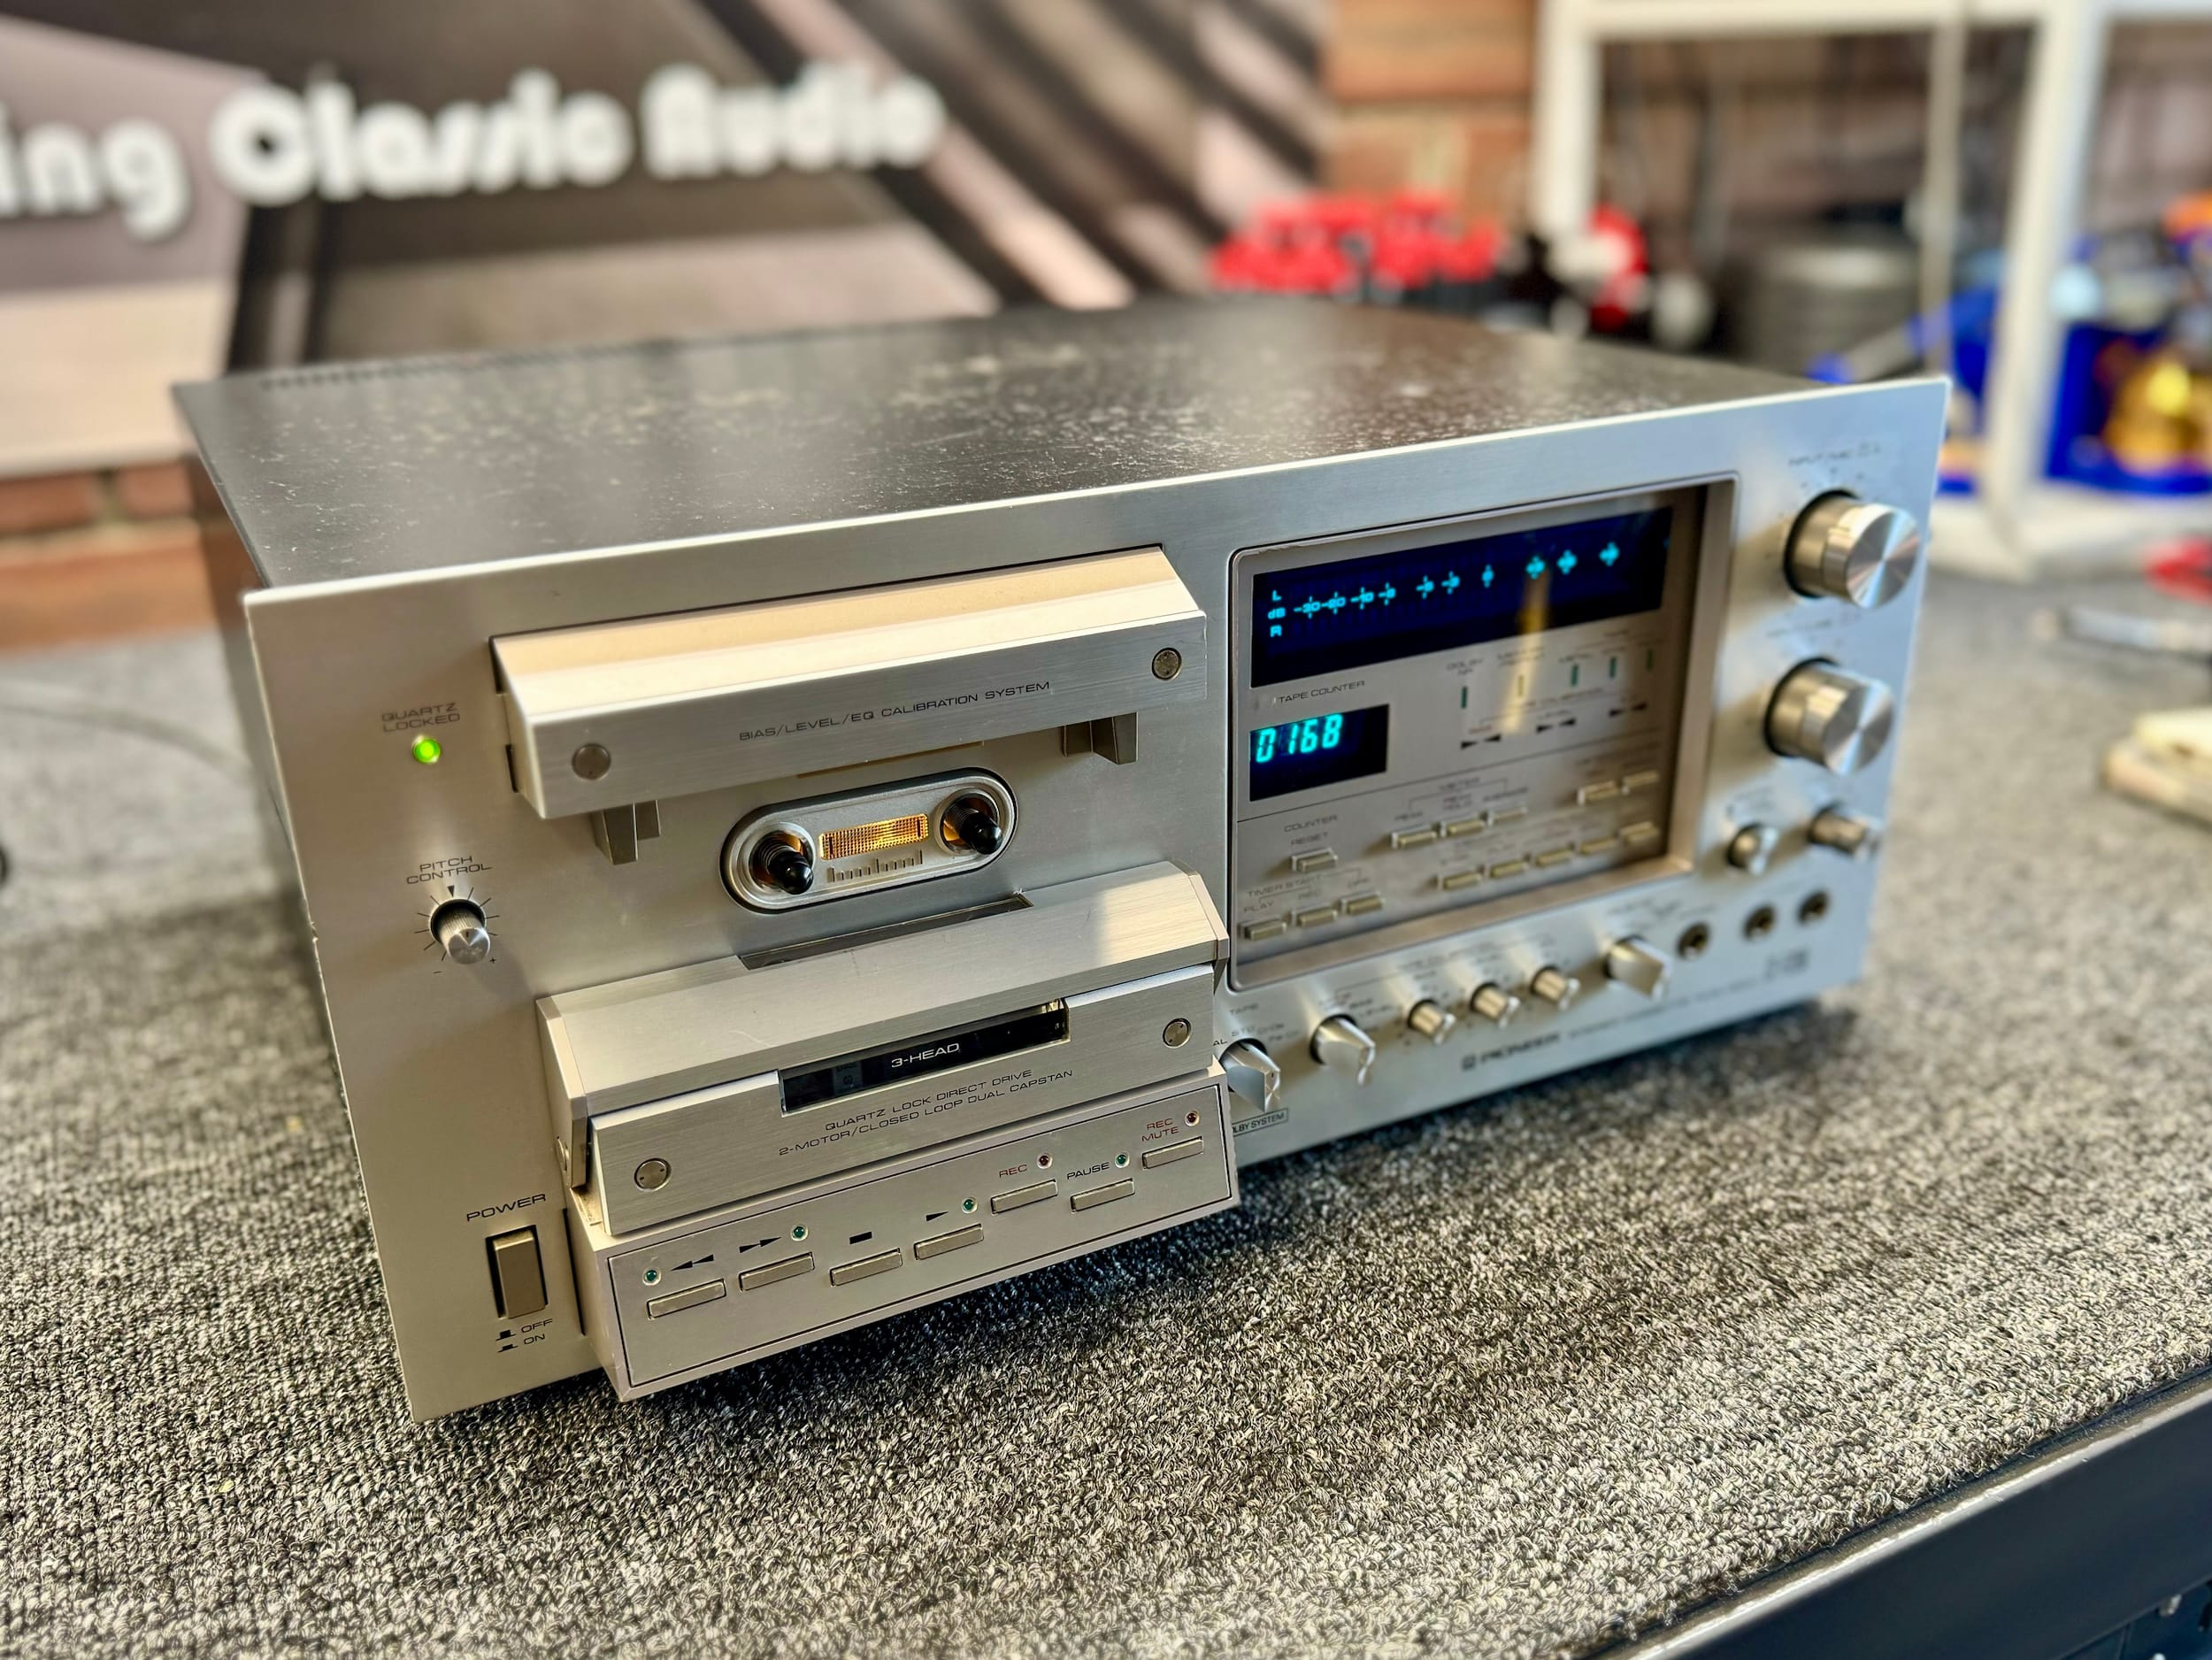
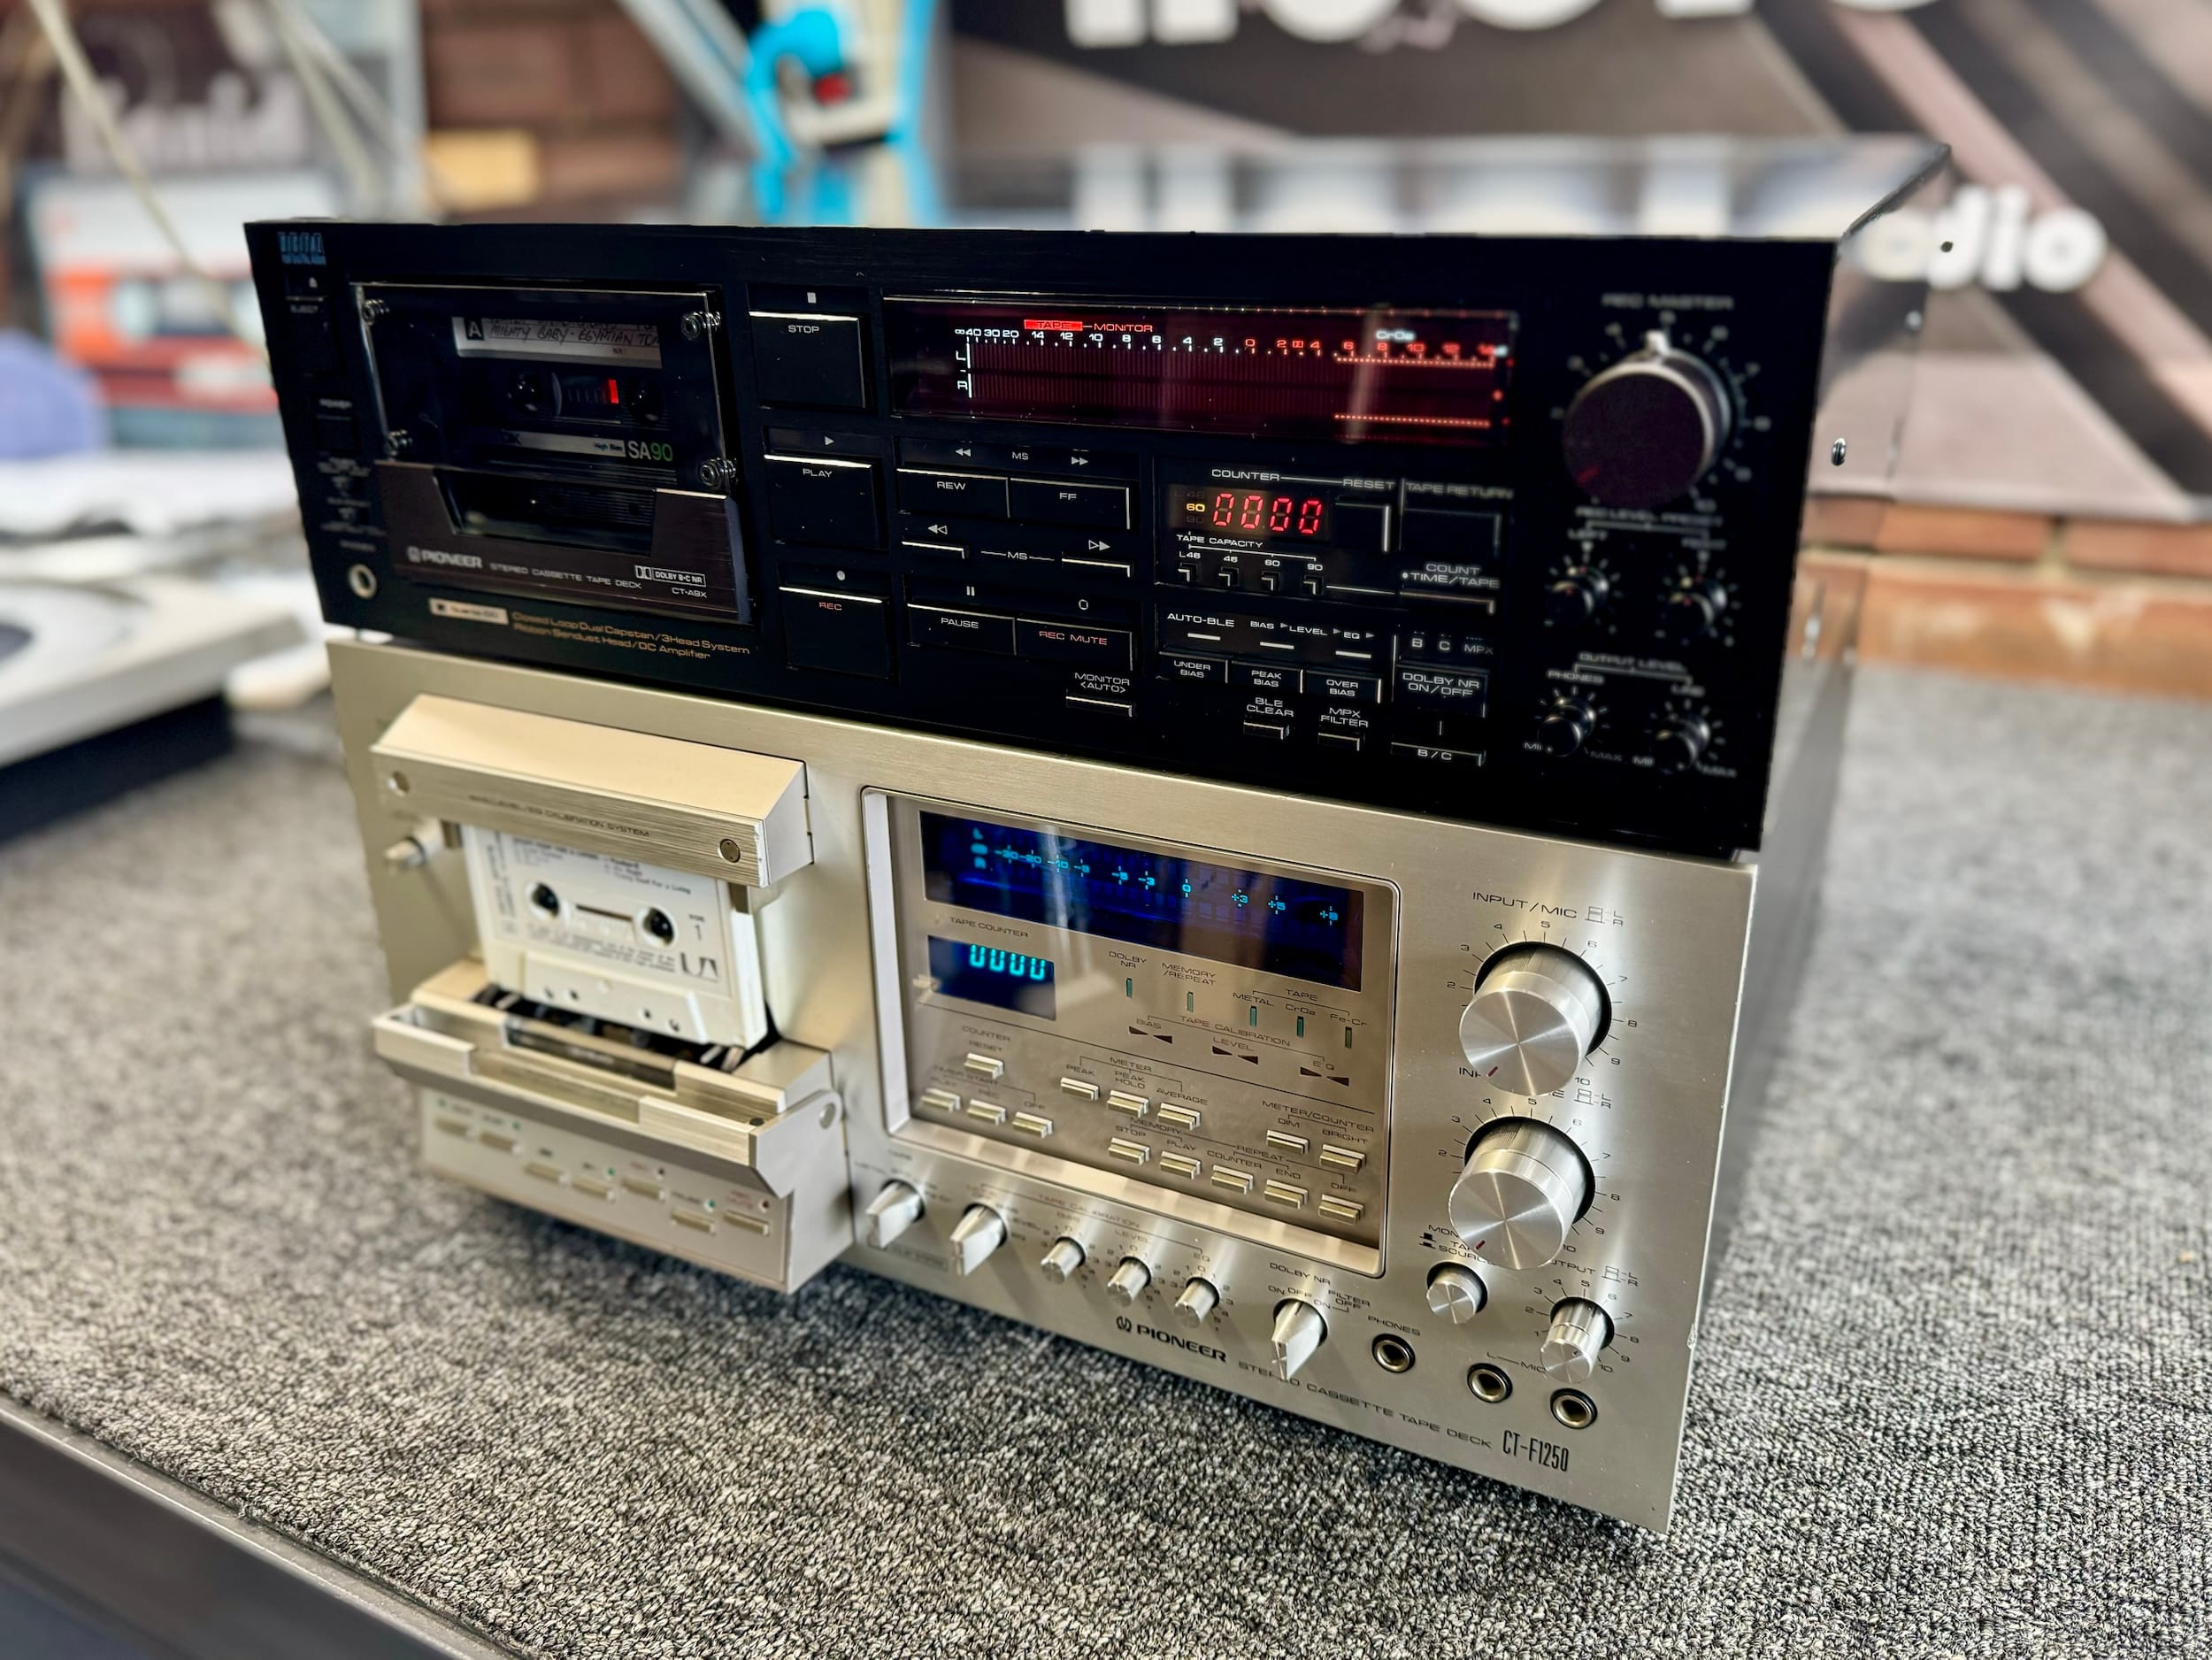
As always, thank you for visiting and taking the time to read my article, written with love, right here in sunny Perth, Western Australia.
If you have a Pioneer CT-F1250, CT-A9X, CT-A1 or any other quality two or three-head single cassette deck that needs a little TLC, know that I genuinely enjoy working on them, but in limited numbers compared to the other equipment I work on. I take a handful of cassette deck jobs like this each year and if I can fit you in I will. Just don’t be disappointed if I can’t fit in an overhaul of your Nakamichi 1000ZXL!
Feel free to contact me to discuss your cassette deck needs.
Discover more from LiQUiD AUDiO
Subscribe to get the latest posts sent to your email.

Thanks for taking us with you on the fantastic journeys to deliver classic hi-fi equipment as it was, and sometimes as it should have been. Cheers David
Thank you David for visiting!
Thanks Mike, always fascinating and a little scary, seeing these being repaired. As you say, not for the faint of heart. I have the Pioneer CT-F1000 which will need some love one day but it’s at the bottom of the list. When I finally get back to Perth the Spec 2 and then the Spec 1 will need to be done before the cassette deck gets a look in.
Take care!
Thanks James, always happy to work on this beautiful equipment, look forward to assisting you again.
Great article, again. Thanks Mike. Younger readers who have grown up with digital media as their default format may find it hard to understand how such an inherently flawed and limited format as audio cassettes swallowed up so much R&D investment and buyers’ money in such complicated Heath Robinson machinery, especially across the period 1975-85. The keys to that success were portability (taking your music from home to your car, your friends’ cars and homes, etc) and customising your music selections via mix tapes. Those things were taken for granted after CD-R, MP3 and playlists, but they were massive breakthroughs at the time. It’s hard to believe just how much effort my teenage friends and I went to circa 1980 with cassettes, how we argued the merits of different tape types and brands, etc.! Somehow I don’t think many teenagers today would have earnest debates about different streaming formats!
Thanks for expanding on this really important concept Rob. You are quite right and it’s hard to quantify just how significant this portability of music was back at a time when it was otherwise just about impossible. Likewise being able to make recordings affordably. Cassette tape was really the only game in town in this regard!
I just love how these Cassette players look, big, bulky with lots of switches which is how vintage hi fi gear should be! Great to see it apart without the faceplate to see how much mechanism there really is. Didn’t realise how much work is involved on these to get them back to spec and running properly again. Keep up the great work and articles Mike
Thanks Rob and I agree, this era of silver gear from Pioneer looks amazing, down to the little details like fonts, knobs etc. Cassette decks are often tedious work but worthwhile in most cases.
Nice work on that CT-F1250, and the pictures too are excellent, crystal clear! Yes, it’s a very satisfying experience
to restore a machine, once the frustration and the work is finally done.
It’s no exaggeration to say that on some decks I have spent 30-40 hours on them, and some awkward machine even
more time. I guess if we were to work on the same machine day-in-day-out, that time would halve, but of course it
doesn’t always work out that way. 😉
Your website is really clear and easy to navigate. 10/10.
Thanks Eric, much appreciated and glad you enjoyed the article/photos. People often underestimate the scale of cassette deck work, the electronic calibration alone can take hours and hours. Thanks again for visiting!
Hi Mike,
At first, I didn’t realise that this machine allows a variable (between defined limits) level of pre-emphasis?
Have I got this right Mike?
I must confess, I have tweaked about with varying pre-emphasis on other machines, but not bothered to
look for it on any other ‘manual control’ deck.
Kind Wishes.
Hi Eric, if you referring to de-emphasis, like other decks, this is pre-set to one of two values – 70uS or 120uS, set by the tape type selector switch. Pre-emphasis though (a recording equalisation) you can think of as being set by the EQ calibration function, after the bulk setting is made by the tape type selector switch. So yes, this can be manually adjusted and monitored off the tape. A very cool deck indeed!
Hi Mike,
Yeah thanks Mike. BTW I know the difference, but at first I was in slight disbelief that this deck was offering a variable pre-emphasis (‘Rec EQ’) on-the-fly. Wow, now that’s impressive!
Many thanks again for the feedback. 🙂
No problem, I was pretty sure you meant pre-EQ and yes, it really is an interesting feature and one you can hear the results of tweaking as you monitor. I’d still love to find a CT-A1 but I’ll keep this one in the short term because of what a lovely deck it is 🙂
Hello Mike
Thank you again for another great article about an extraordinary piece of engineering and art. Cassette decks like this Pioneer are such amazing machines and nearly fifty years later in an era of 32bit/384kHz digital recording, those great cassette decks like the Pioneer CT-1250, the Technics (especially RS-M85 and RS-M95) and, of course, the Nakamichi (582, 680ZX, CR-7, etc) still hold their own.
I quite like the solenoid controlled transports. There is something very nice about that very solid click each time the transport is activated.
I look forward to your next article.
Cheers
Marius
Hi Marius, my pleasure and thank you for those kind words and for stopping by. I agree wholeheartedly regarding this and the other great machines you mention. I’m going to service my Nakamichi 670ZX next and I need to write articles about a couple of the classic Technics and Sansui decks I’ve worked on in recent years. You’re right about the positive clunk of solenoids, fewer belts and motors to fail in these machines, too. The creamy smoothness of my 670ZX and CT-A9X are nice, but yes, the 1250 has a lovely positive user interface.