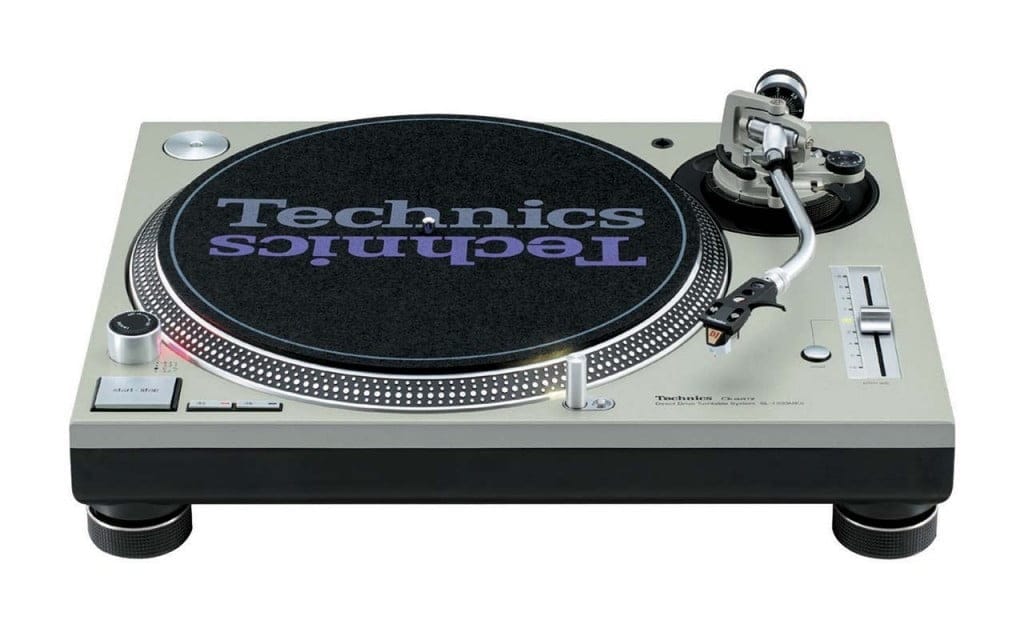
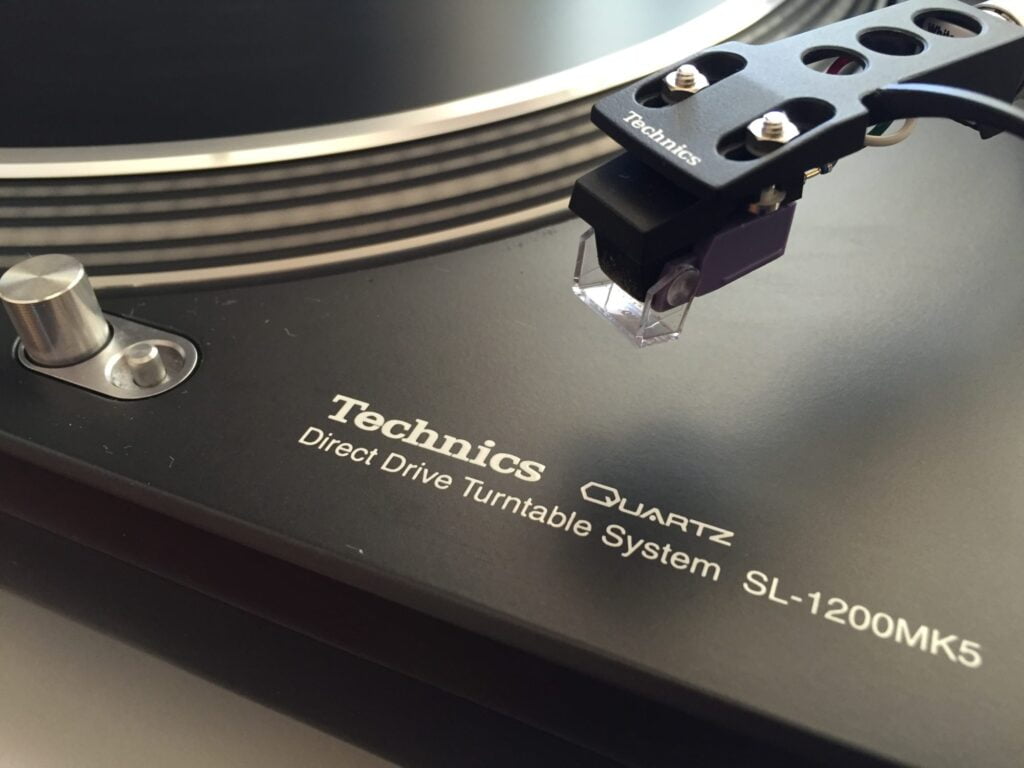
I’ve just finished servicing three Technics SL-1200 direct-drive turntables. It seemed like the perfect opportunity to discuss this legendary design and look at basic cleaning and servicing techniques.
The Technics SL-1200 hit the market in 1972 and there was nothing else like it when it was first released. It was so popular over the span of its production that over one million units were manufactured when production finally ended in 2010. With the resurgence in vinyl, thousands of people have actually petitioned Matsushita (Technics’ parent company) to try to have the deck re-released to market.
I’ve written a review of the Technics SL-1200 series which you should also take a look at.
UPDATE – They were successful! You can once again purchase these wonderful turntables.
History
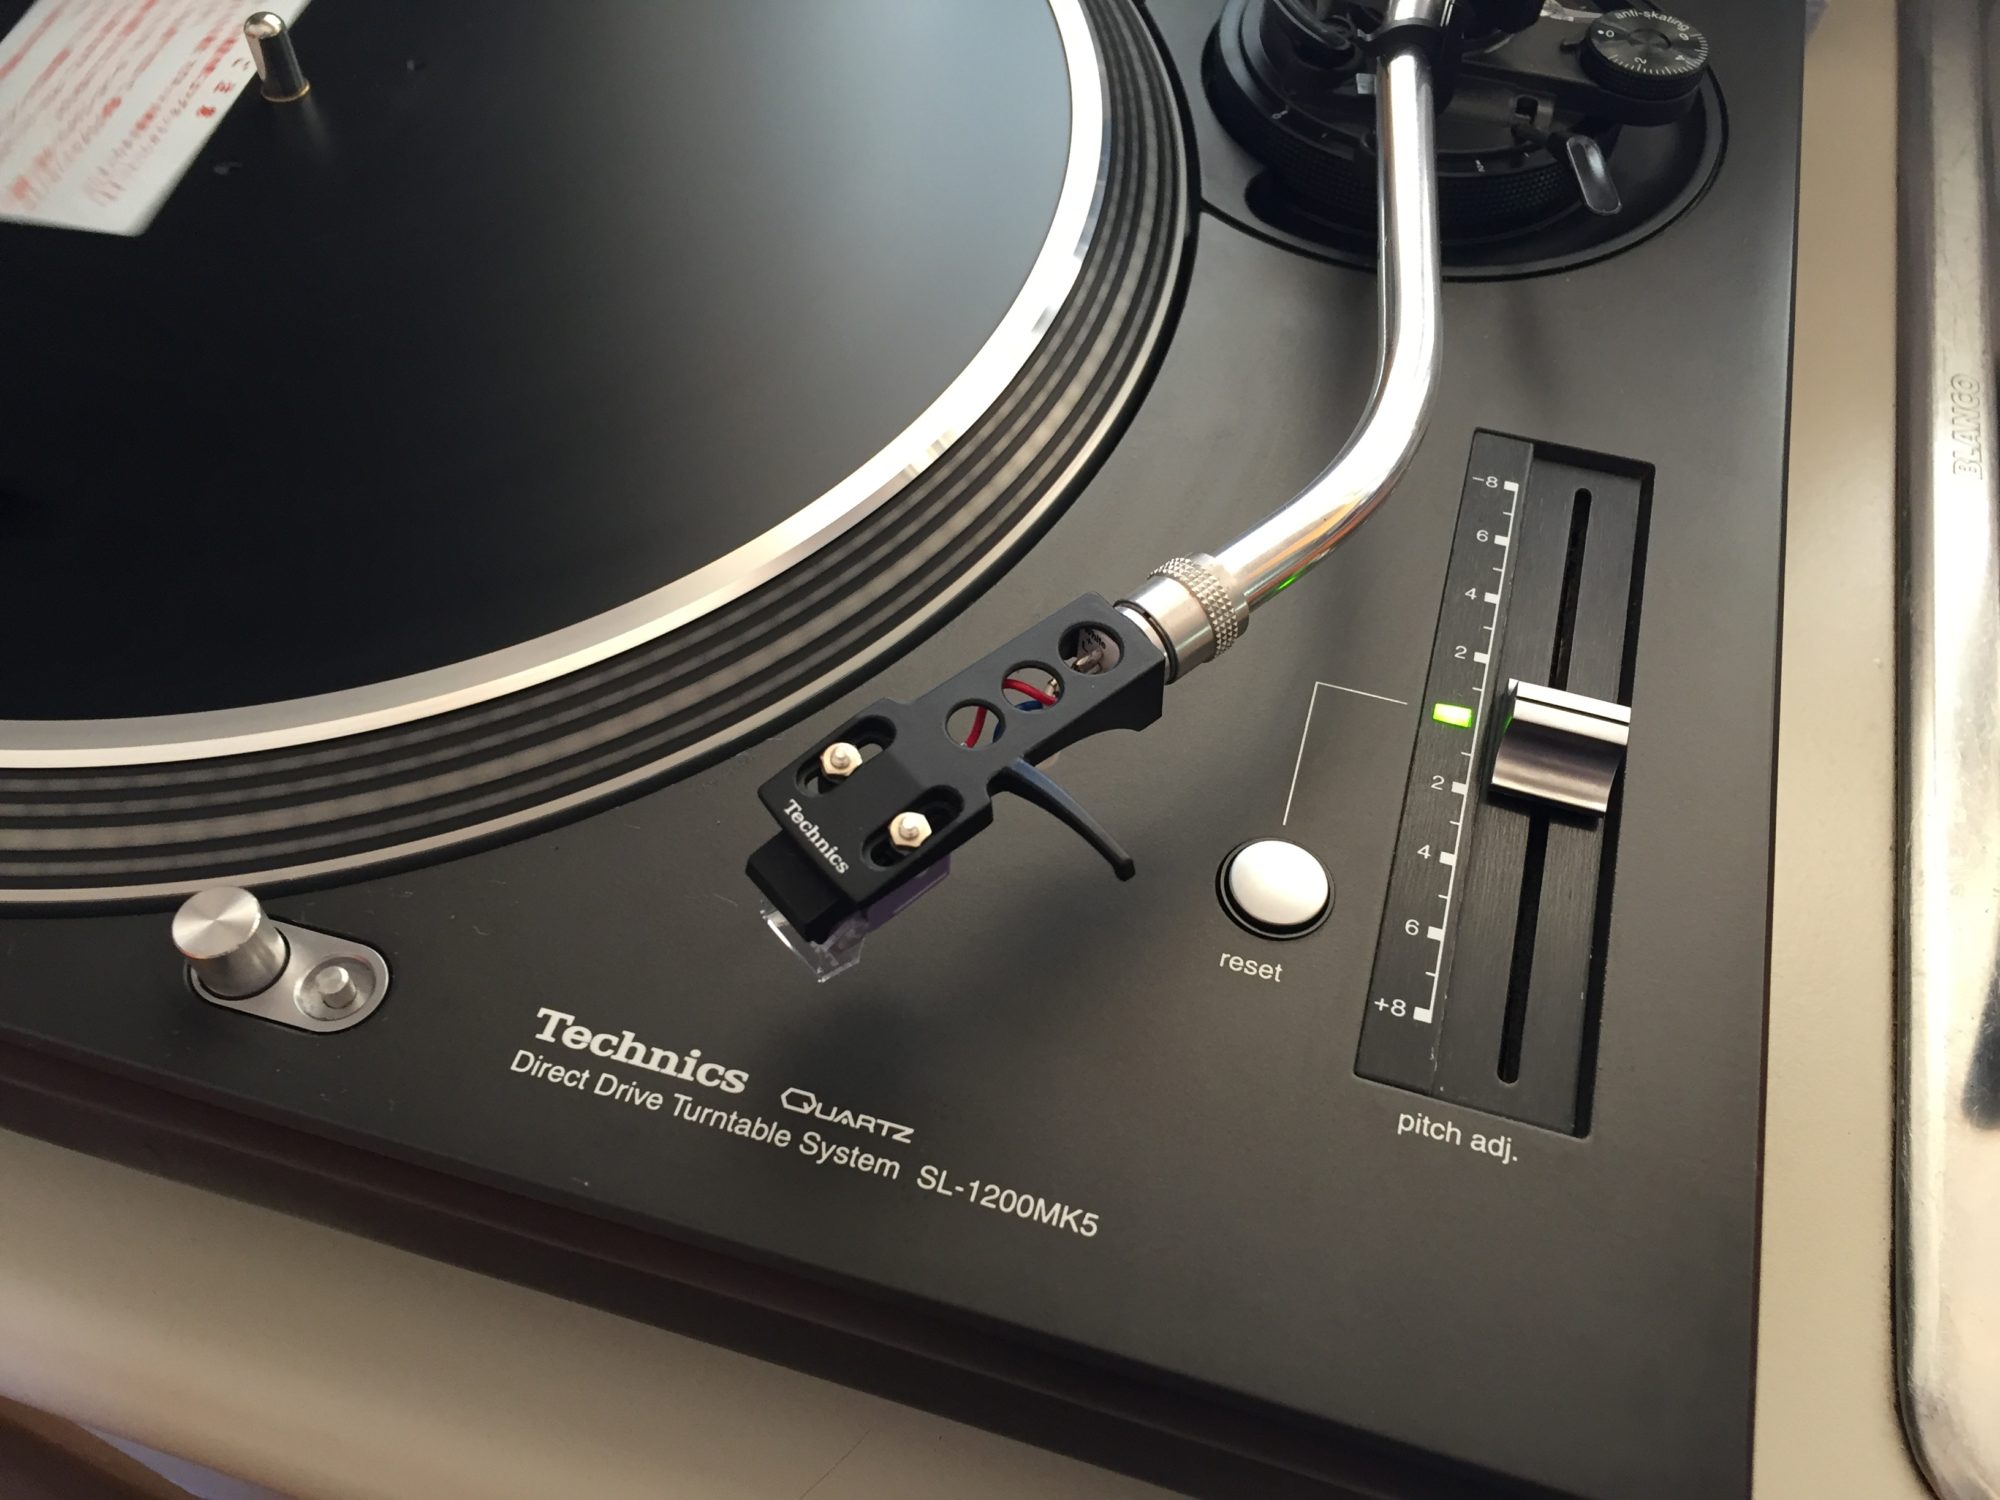
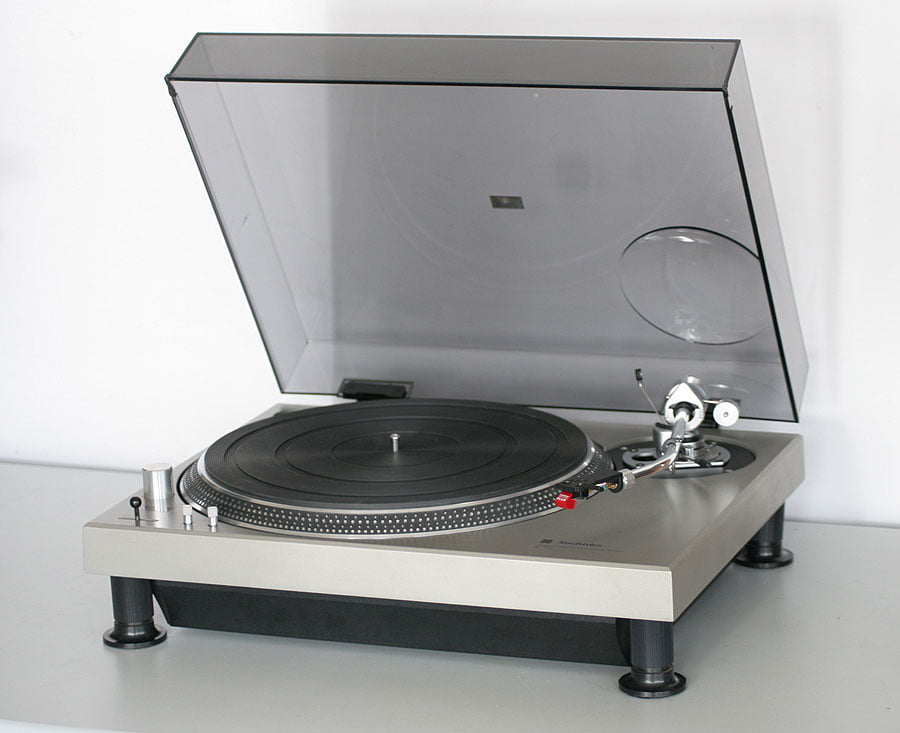
To briefly explain the nomenclature, the SL-1200 models are silver and the SL-1210 models are finished in gorgeous satin black. Various iterations were released over time. The mark 2 variant is very common but the deck went up to a mark 6 release, each successive mark having better tonearm wiring, fancy piano finishes and the like.
So what is, or was, so good about the Technics SL-1200? Easy, the SL-1200 was to wobbly belt-drive decks what a BMW is to a Lada. Yes, the Lada is simple and for some, that is the most important thing. But in performance, technology and engineering, the BMW walks away from it and so it was with the SL-1200 when it was released. Other manufacturers were scared and so they should have been.
You have to remember what the market looked like when the SL-1200 was released. Rumbly, wobbly suspended chassis belt drive decks were everywhere – Linn LP-12s, ARs, Sotas and so on. These decks were nice enough to look at but lacked the ultimate precision that only a Japanese manufacturer could build into the design. Critically, they also could never be used in the growing DJ market space, where a solid, non-wobbly deck that still had excellent environmental isolation was needed.
Servicing
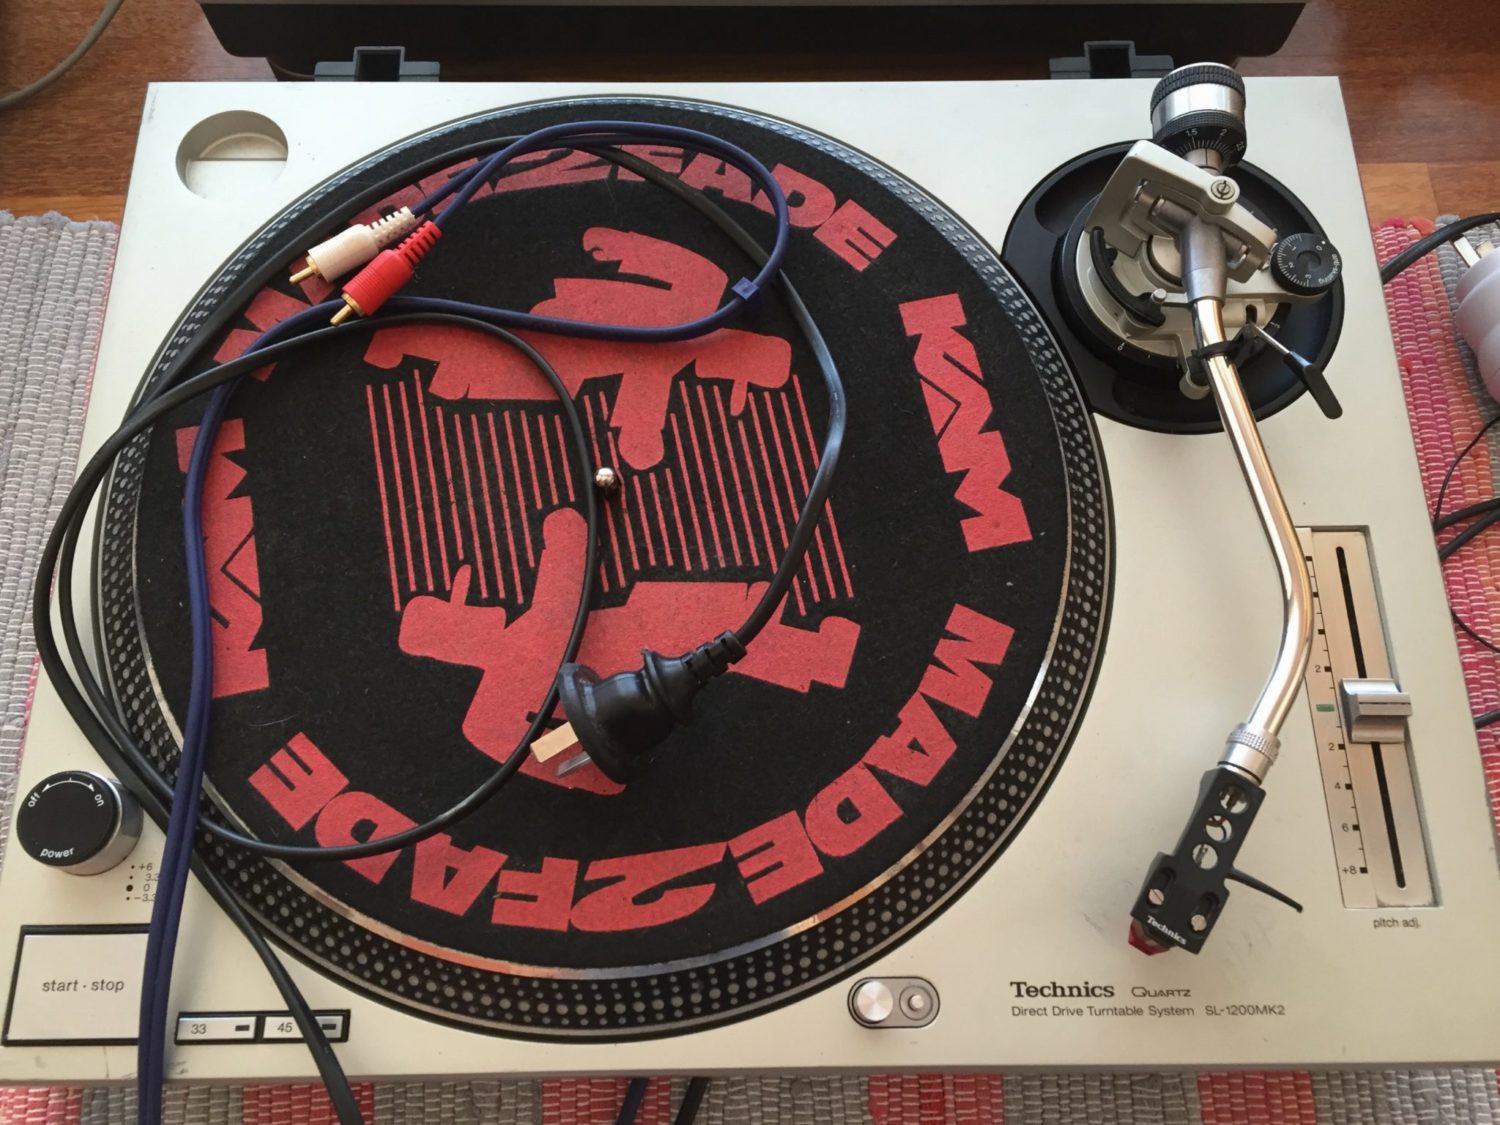
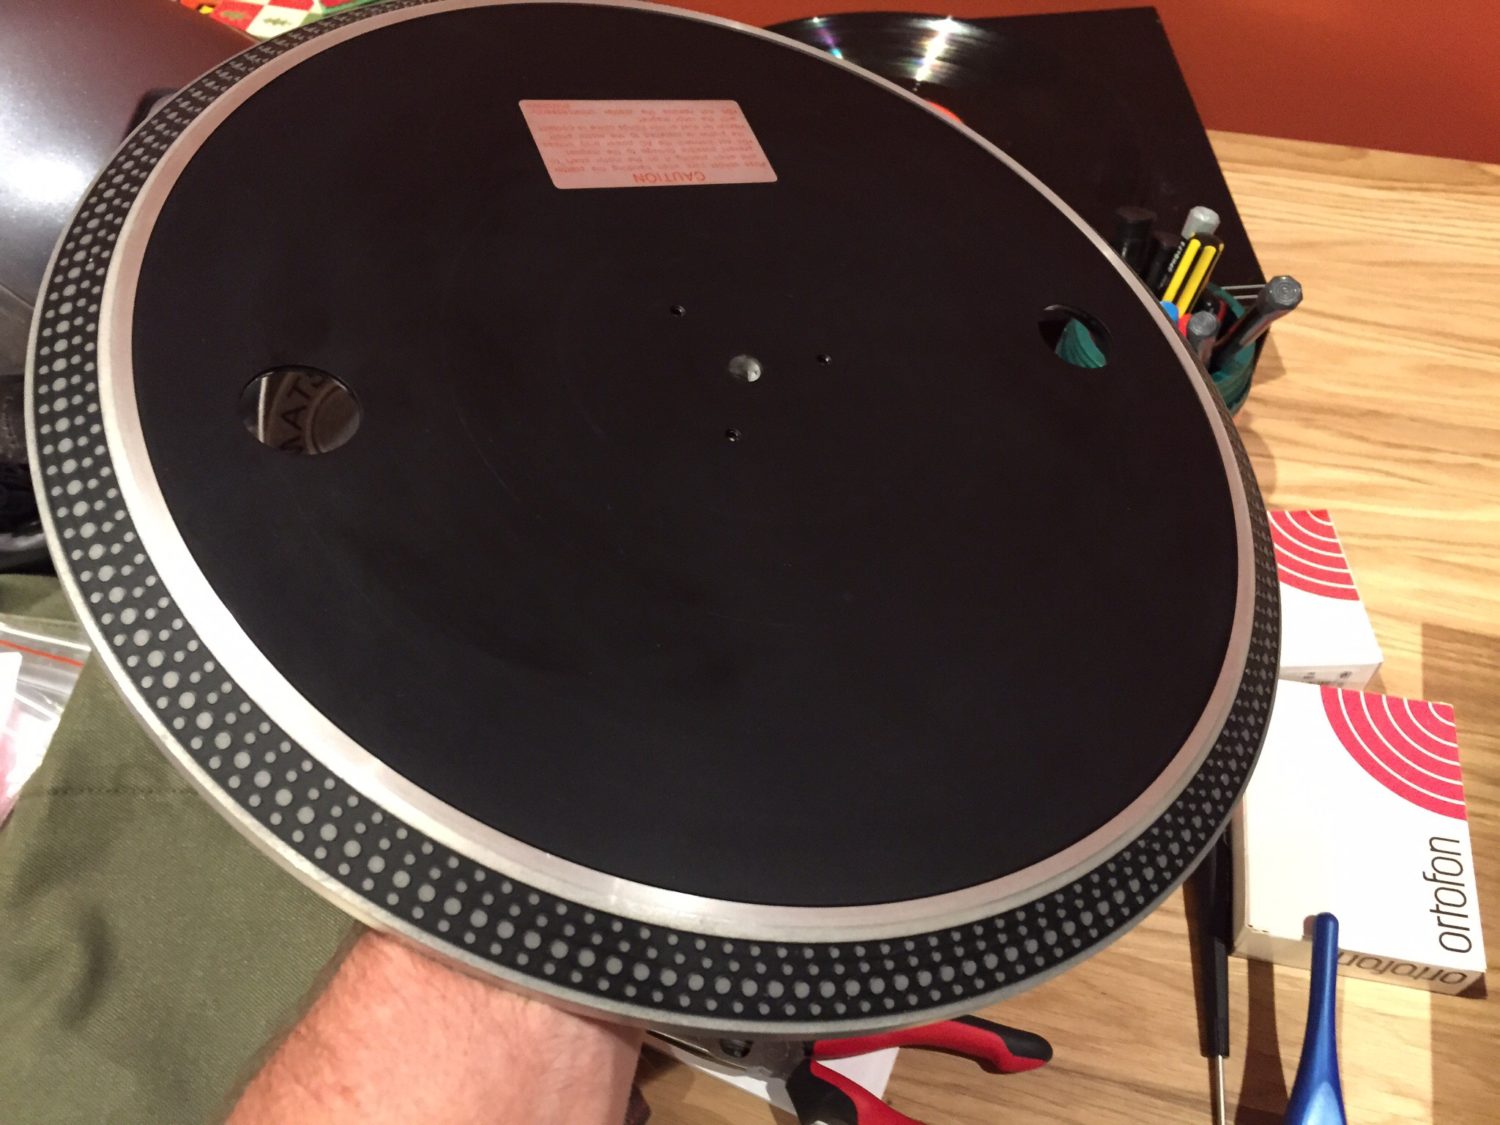
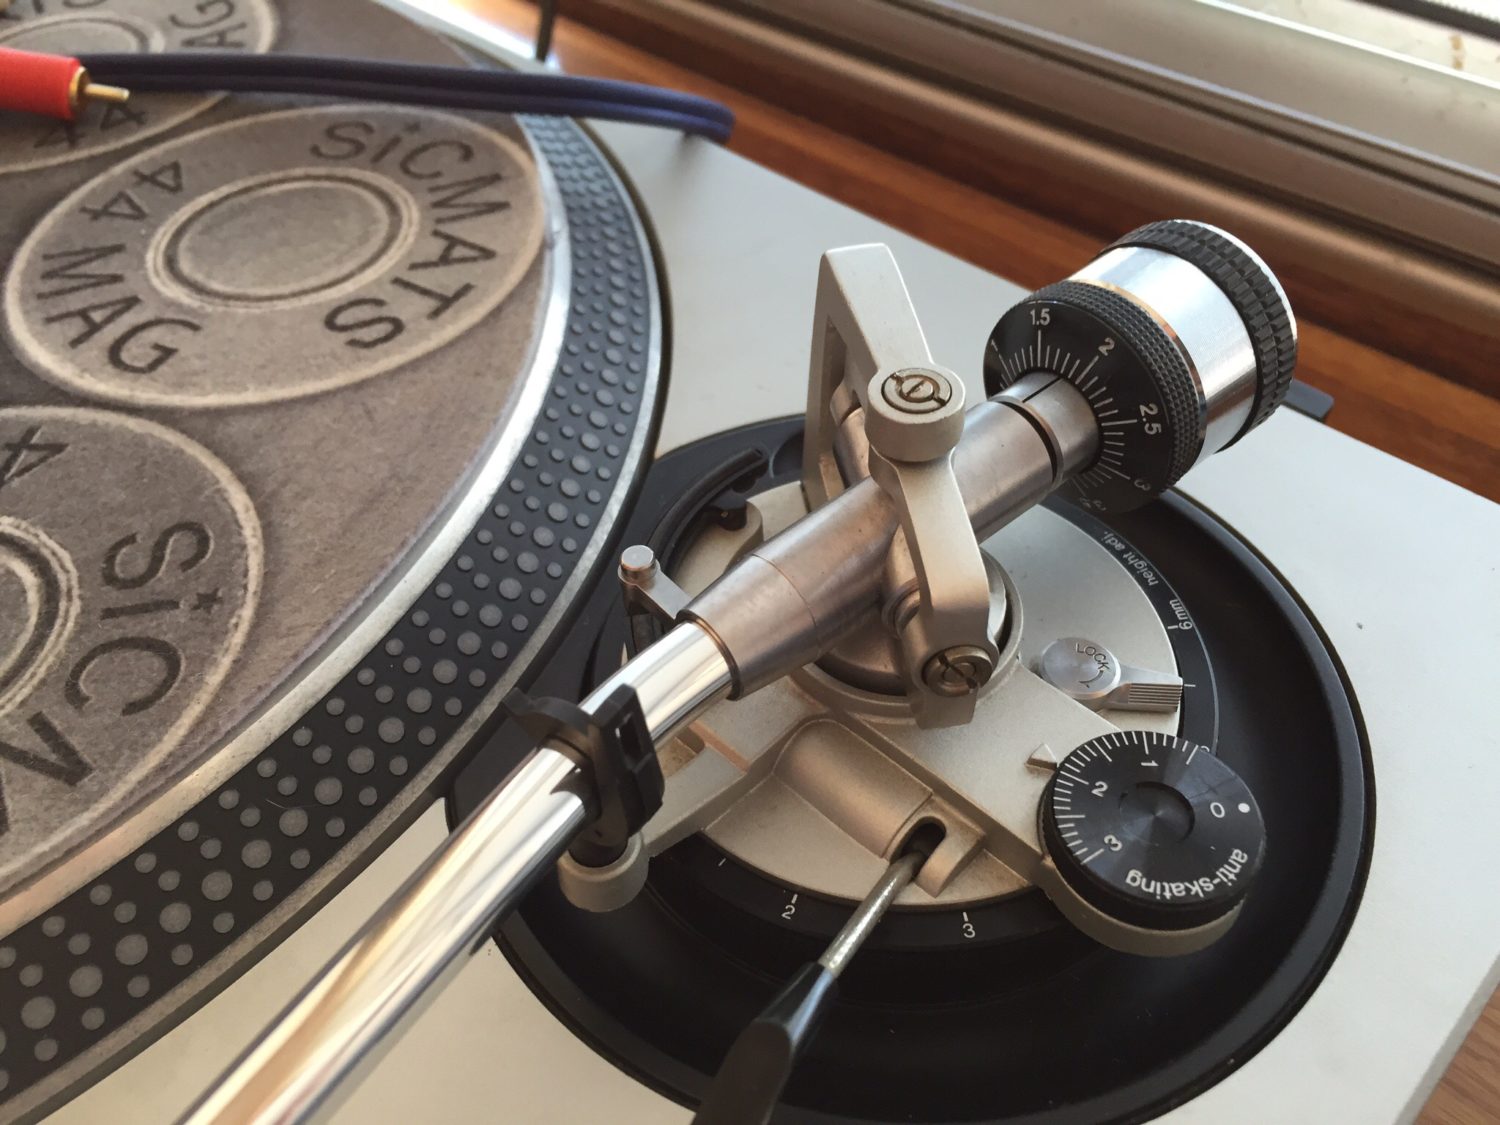
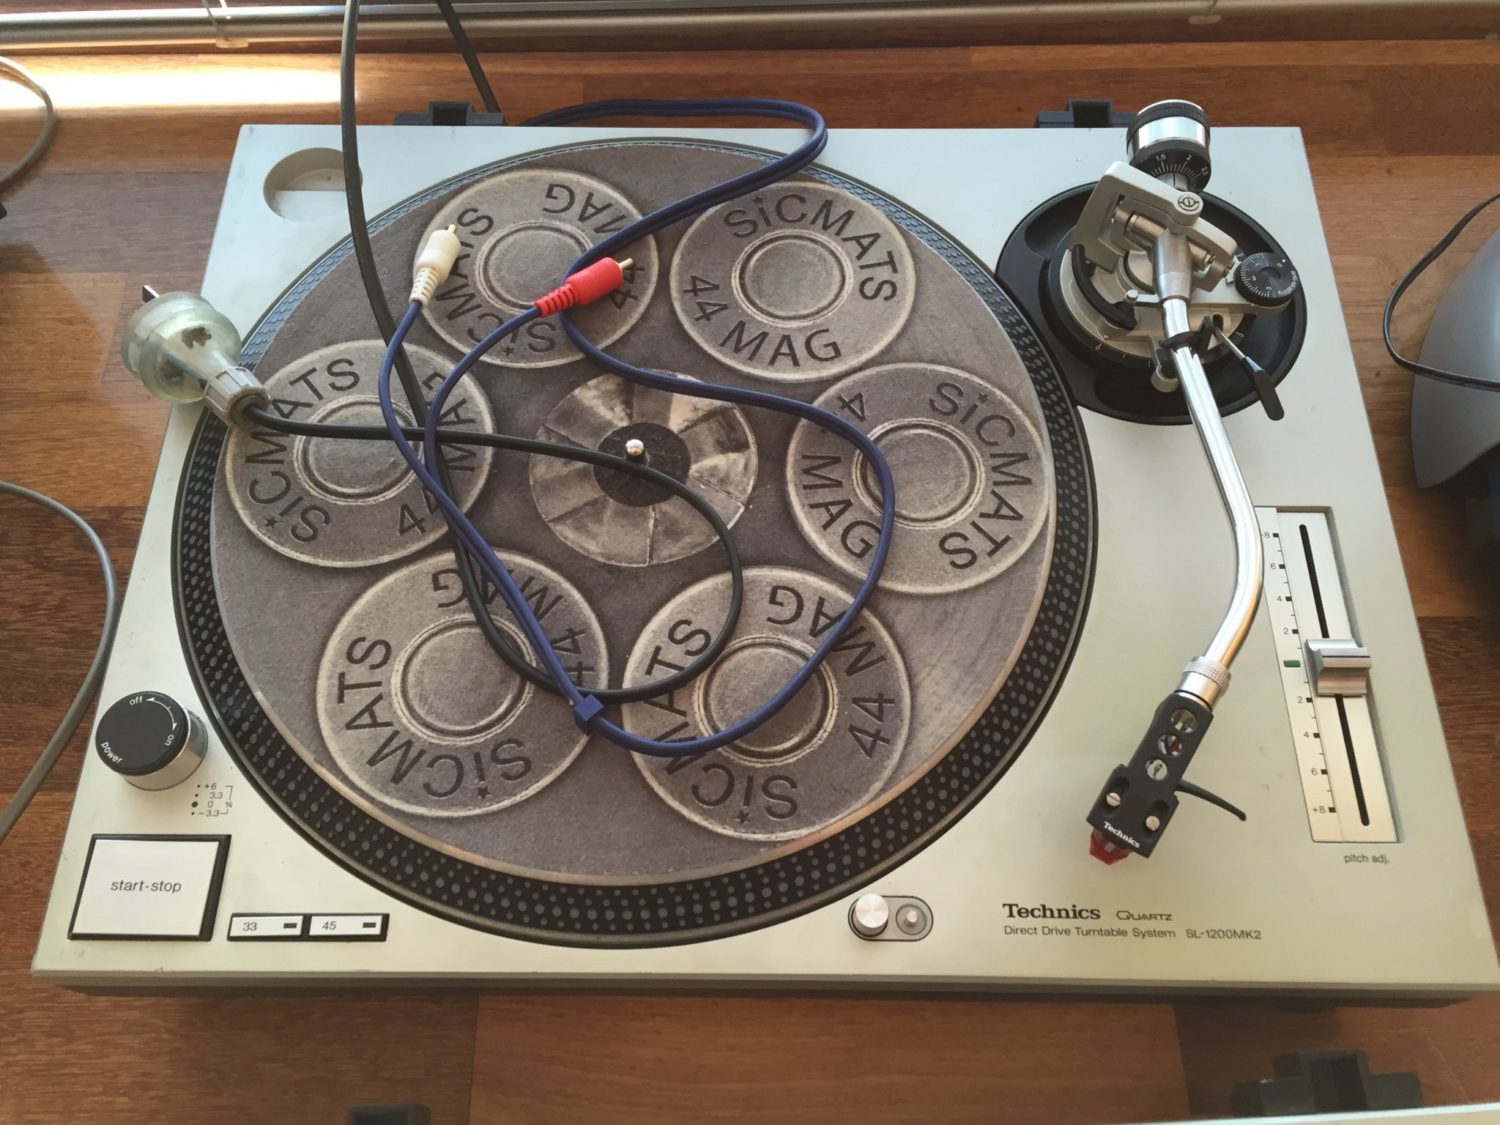
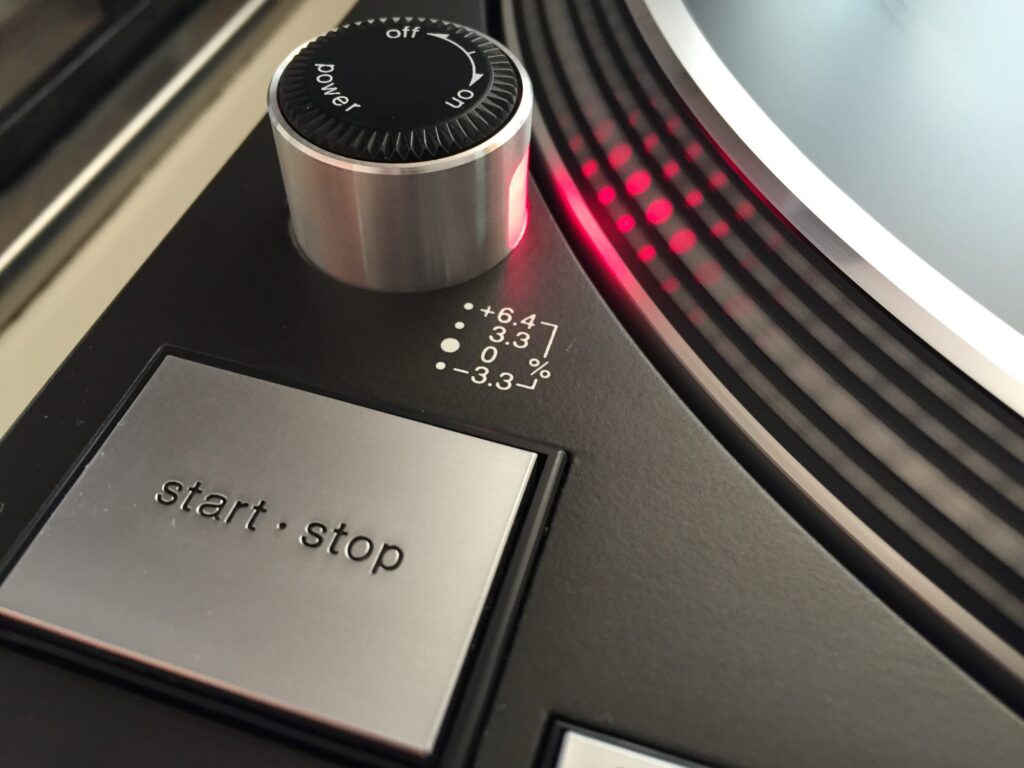
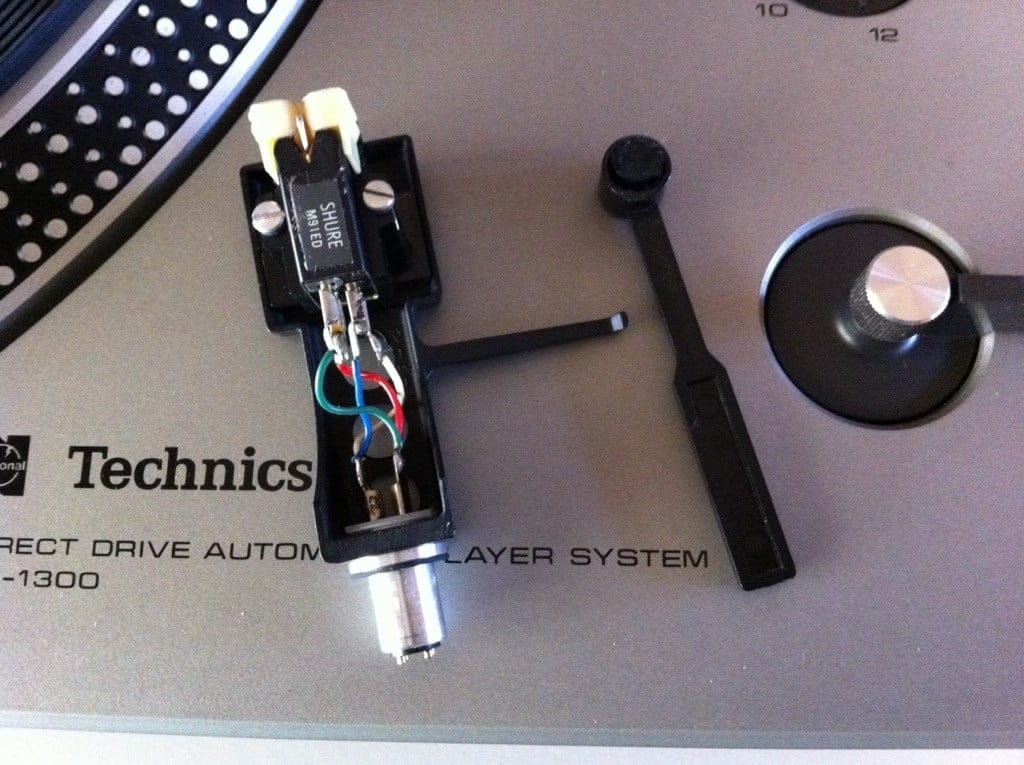
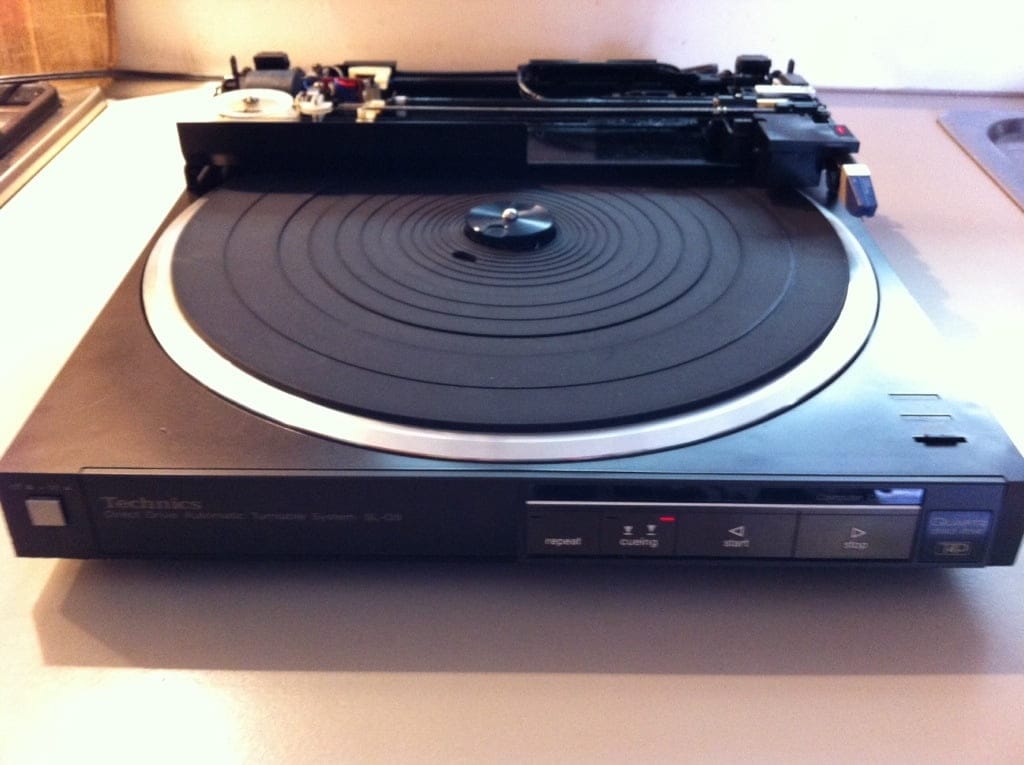
So let’s have a look at several decks being serviced here in pictures. I have annotated each image to explain what is going on. Note: I look only at basic maintenance here. This is not a complete guide, nor do I reveal all the work that goes into getting an SL-1200 running perfectly. That work should be left for a specialist to complete.
Cleaning
So what do I look out for when servicing these decks? I service a lot of them so I have certainly noted some trends. They are usually very dirty, so I clean dust the whole deck and arm assembly with a soft brush and then clean the platter and deck very thoroughly with a special foaming cleanser I use. This removes most of the grime that builds up over the years.


The Motor
The motor or spindle bearing certainly almost always needs lubrication. I find that I need to run decks for several hours whilst checking the bearing occasionally to see if the drop or two of oil I added initially has been drawn down into the bearing.
Most often, I need to add another drop or two and then leave the deck playing for another couple of hours. You can tell then the oil has finally worked its way through when the spindle itself turns much more freely when spun between your fingers.
You need to look out for loose spindle bearings on these decks. Guys lean on the platter, stack things on them, drop them, throw them in the back of car boots and so on. Any wobble or free-play in this bearing will require a replacement. Lids are often broken or missing completely. Again, they can be replaced.


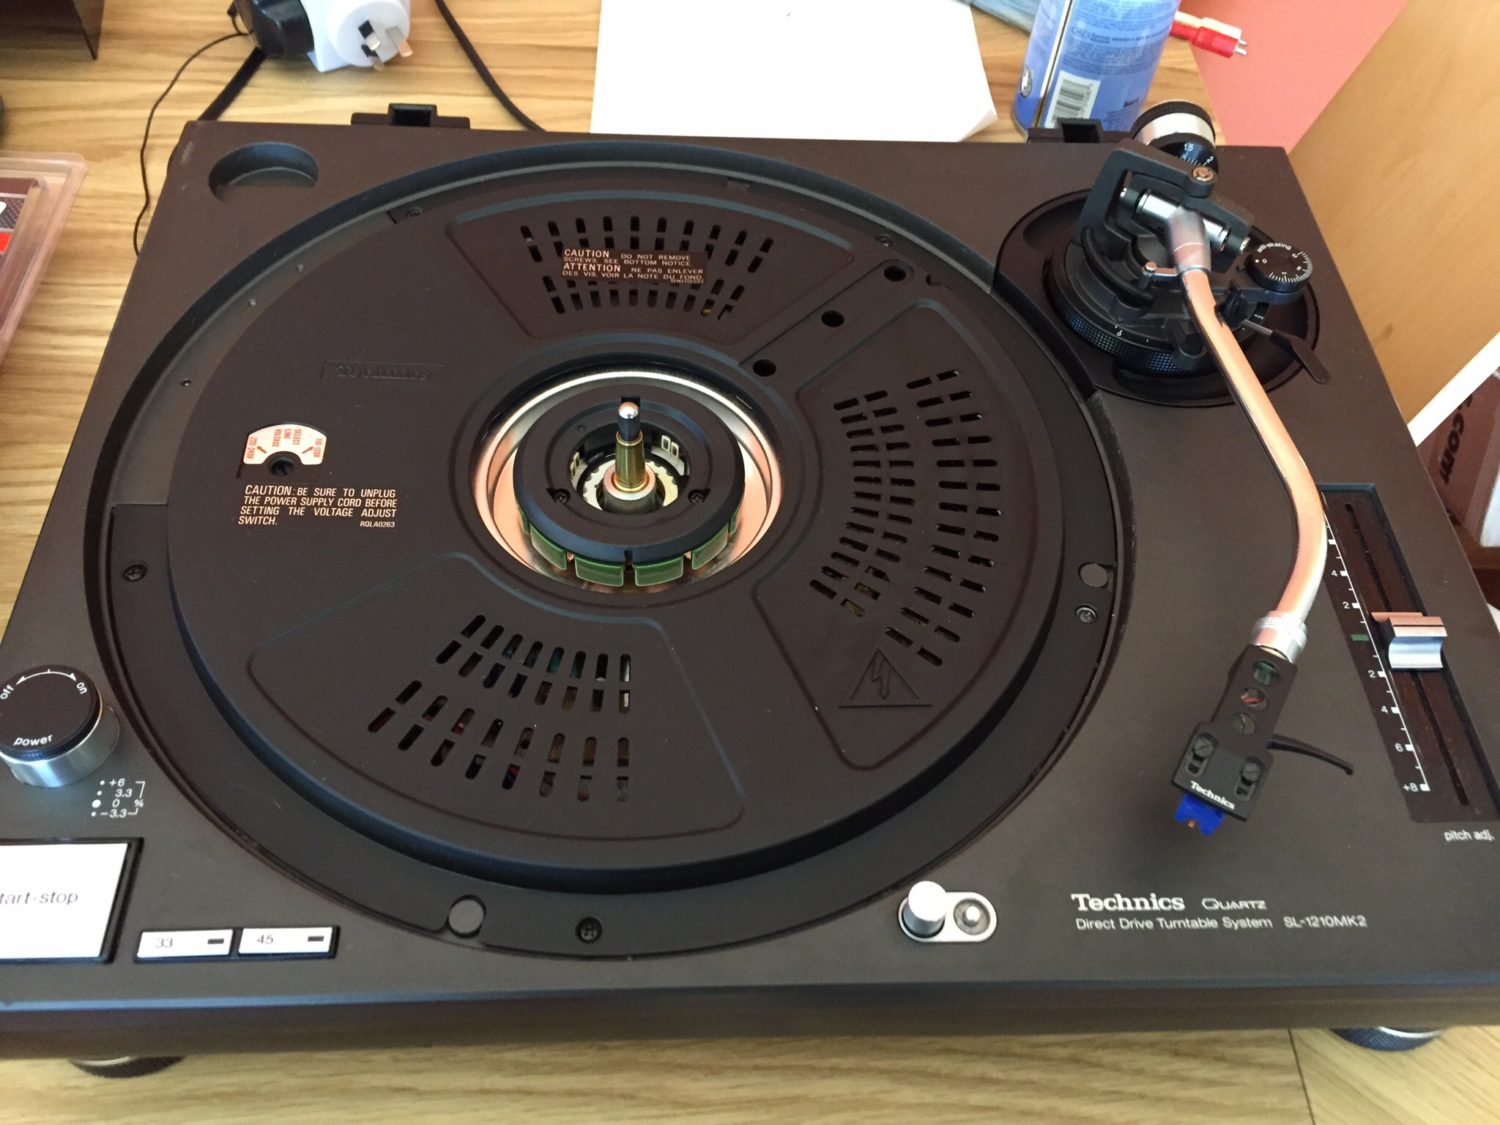
Deck Number two…


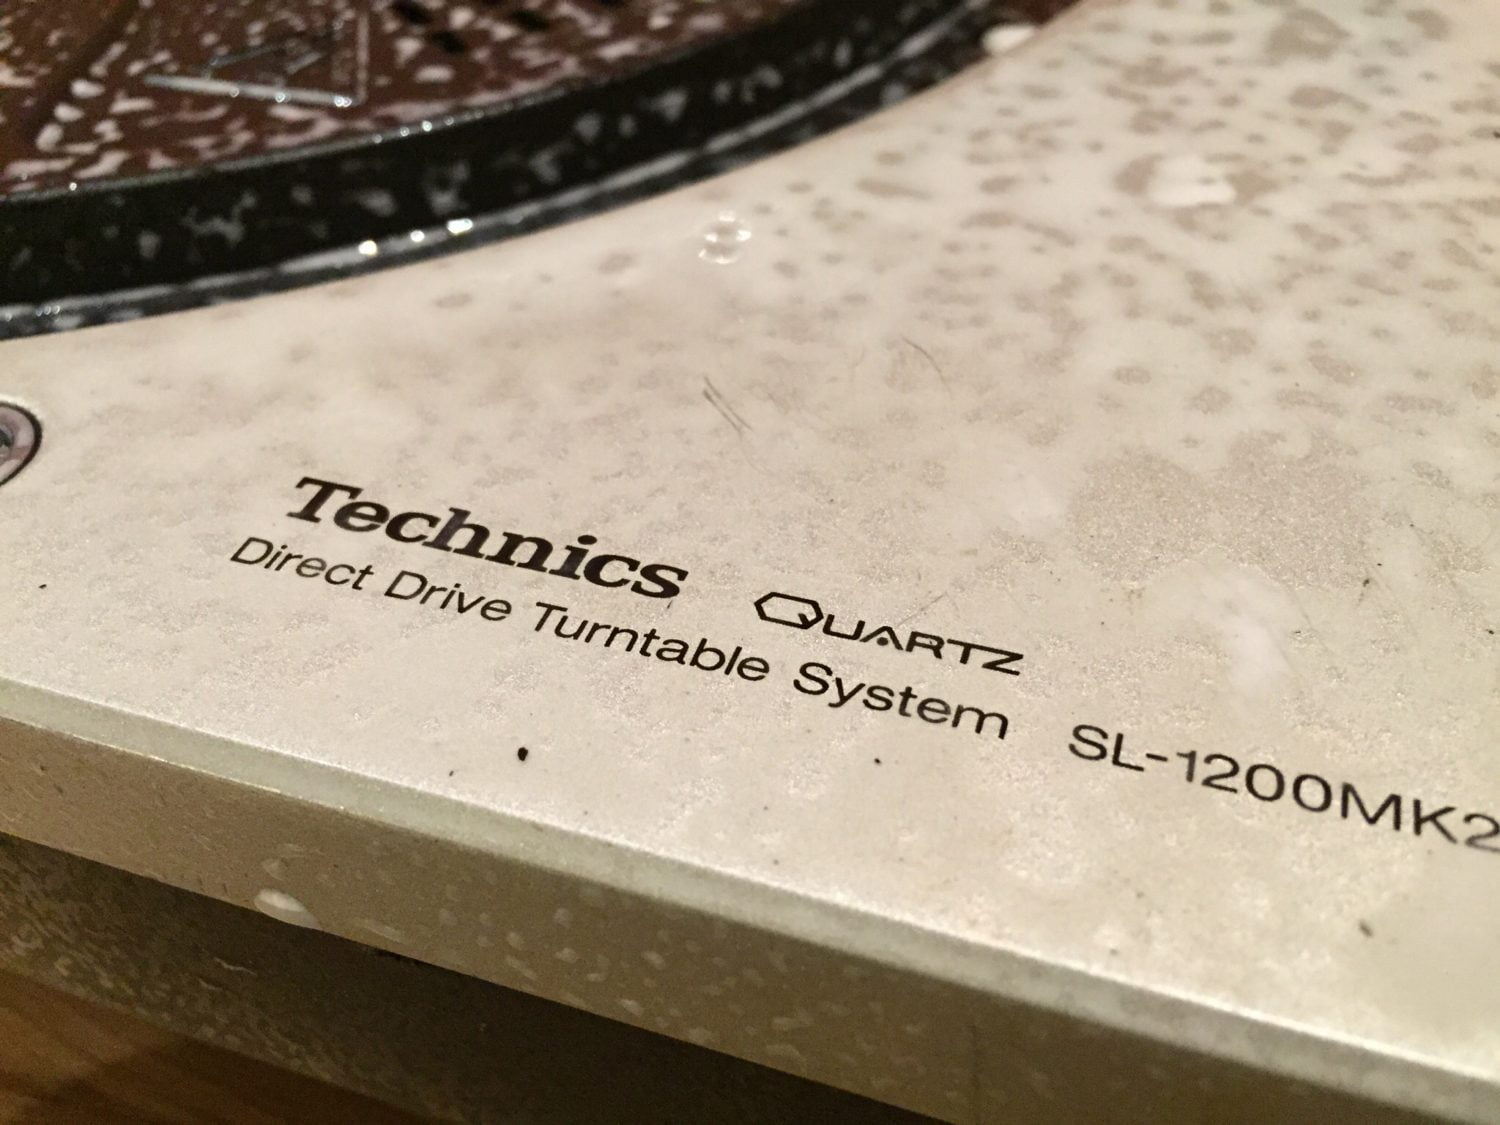

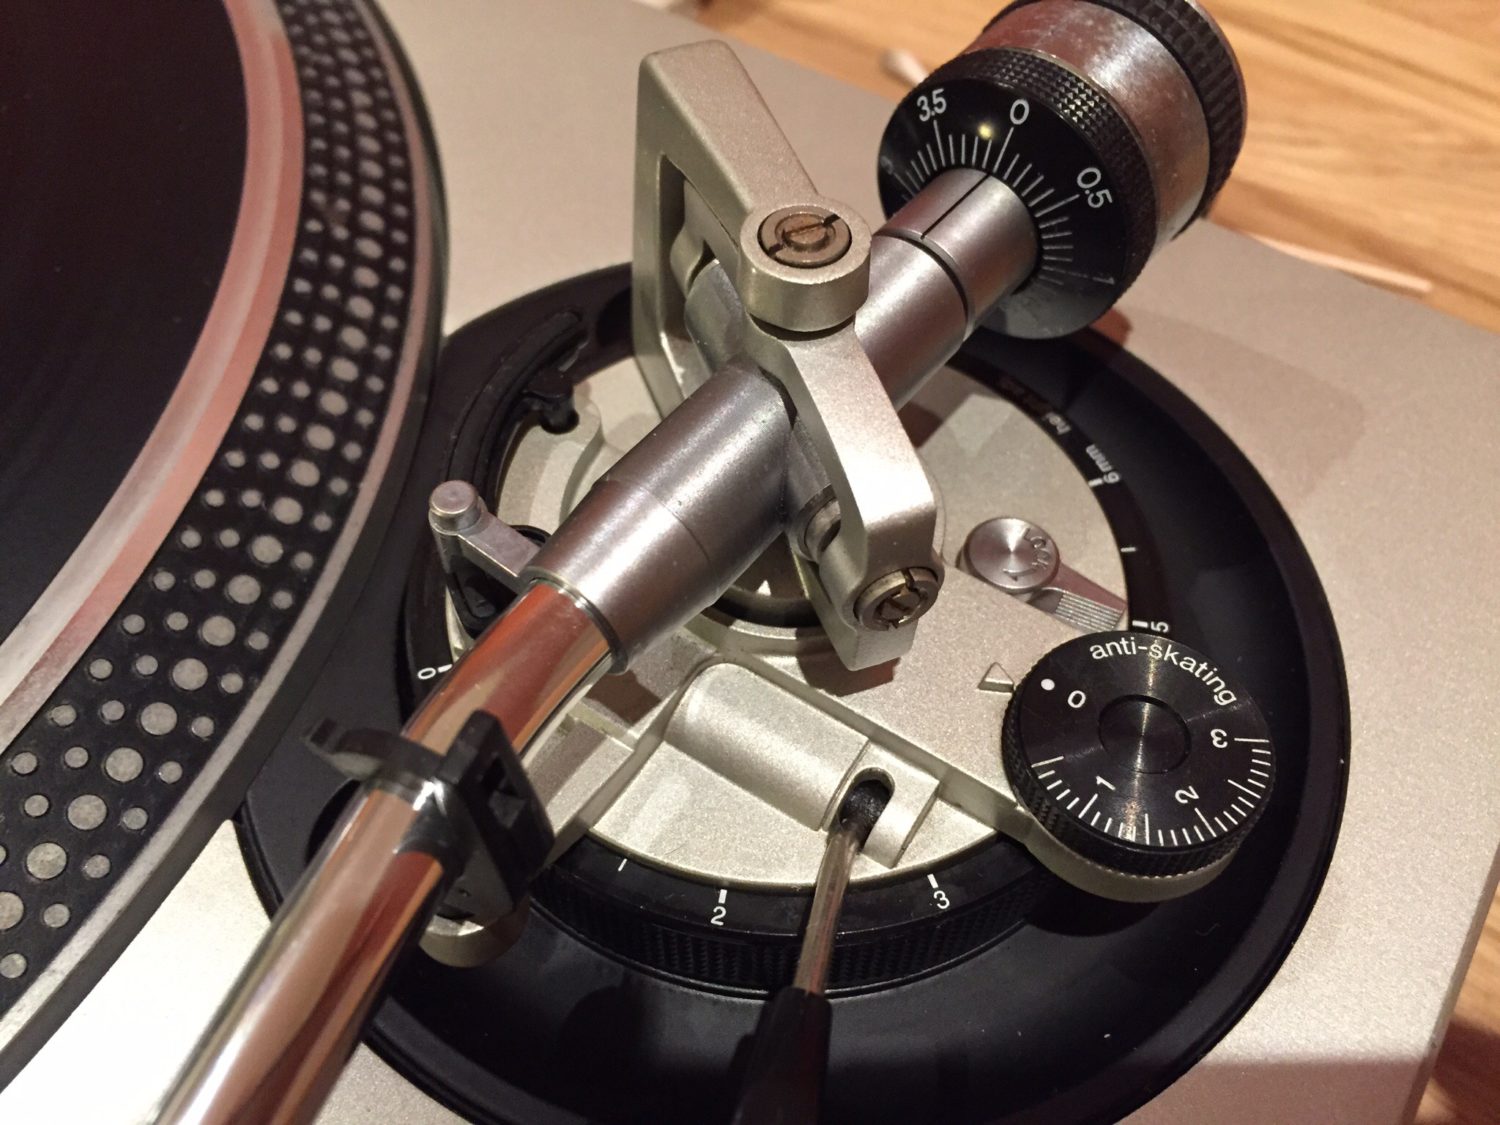


Deck Number Three!





Improvements
With all the servicing done, I often fit a new cartridge. This is because SL-1200s often come with cheap Stanton DJ-style carts that are just awful. I like to fit at least an Ortofon 2M Red, and then my customers can upgrade the stylus assembly as they need to, at a later time.
The 2M range is wonderful in that the body of the cartridge is common to all, but the critical stylus assembly is upgradable from Red, to Blue, through to Bronze and Black. Each time you get a better gem on the end of the cantilever, able to dig more detail out of the groove due to a finer profile and lower moving mass.
Finally, look out for all sorts of dodgy ‘added features’ that people with no idea about turntables or electronics seem to love to add to these decks, usually causing problems in the process. Things like added LEDs, ridiculous platter lighting etc all spell trouble. You want a nice original deck that hopefully has been well cared for if you are in the market for a Technics SL-1200.

Discover more from LiQUiD AUDiO
Subscribe to get the latest posts sent to your email.


hello mike. thank for the tutorial. what other cleaner can one use if you cant find the foam cleaner? thanks
Hi Sam, you can use a mild detergent and water mix if you can’t get the foaming cleanser. You’ll need Mouser, Digikey, RS etc to obtain the right products, but it’s worth it.
Hi, Where do you get it in australis , and what type of foaming cleanser do you use please
Thank you for your help
Kind regards
Mark
Hi Mark, when you ask where do you get ‘it’ – what exactly are you referring to? I use Ambersil foaming cleanser and many other Ambersil products. Regards, Mike.
Hi Mike, I meant the foaming cleanser sorry for the mistake , also just wondering where you can buy the cleanser and how much it is ..
Thank you for your help very good info
Kind Regards
Mark
Hi Mark, no worries and my pleasure re the articles and info. All of the products I use are available from industry/commercial suppliers like Element14, RS and Mouser. You can’t find these products in retail stores. Cheers, Mike.
Hi Mike, thanks for a great article.
I’ve found a source for the foaming cleaner. Can the spray potentially harm electronics? I assume you wouldn’t want to fill small crevices etc with it but would small amounts harm anything?
Cheers.
Hi Luke, yes it’s great stuff, use it sparingly and no you don’t want it getting in electronics, but for any chassis or plastics parts, it’s great.
Great tips Mike! My 1200 looks pretty shiny now!
I’m still trying to remove all the grime and dirt from the black rubber base. I tried soap and warm water but i’m not completely satisfied, i didn’t want to use alcohol. Any suggestion?
Thanks Zeno, I would go back to a foaming electronics cleanser, I use these sorts of products for much of the cleaning I do.
Hey Mike! Thanks for this amazing article and tips. I bought the Ambersil Amberclens, but before applying in the turntables, I wanted to ask you about the proper way of doing it. How long should I leave the spray reacting in the turntable? Also, to clean the residual liquid I use some paper towels? Thanks again!
Hi Pedro, glad you found this useful, just a quick application and wipe away will do it, paper towels work well.
Hi there, I’m in the US and it doesn’t seem ambersil is readily available here, Any other cleanser recommendations? Also, you say to be careful using it, but don’t elaborate, and show photos of it splattered all over, potentially getting into the electronics inside… Any more detail? Thanks. Any more photos or videos for cleaning connections, motor, fader. Do you use Deoxit? Faderlube? and how? Thanks! its hard to find a comprehensive write up for service, maintenance, and cleaning…
Hi Ryan, a microfibre cloth and dilute water/detergent mix also works well. A good foaming cleanser is great and, whilst you do have to be careful, there are ways of using them where foam gets onto, rather than into things, so no electronics were harmed here. Some of my electronics deep cleaning methodologies would be really shocking for you BTW! We don’t typically produce how-to content but any technical questions or advice required can be channelled through our contact page, happy to assist.
Hello. Is this seriously all you do to service a Technics 1200, or was it just what these particular tables happened to require? I was looking around for other people’s methods and procedures for servicing tables, which is how I happened upon your site. Interestingly enough, two of the things you said you almost ALWAYS have to do are things which I never have- oiling the bearing and watching out for a loose spindle. Much more frequent are the problems of a worn or incorrectly adjusted/assembled tonearm, a frozen/locked tonearm height adjustment, stuck tonearm lifter mechanism, broken or incorrectly assembled anti-skate, dirty, corroded (just lick the needle) or stuck headshell contacts, strobe light burnt out or physically stuck, etc. Not to mention calibration- brake adjust, 2 tempo zero points, wobble, etc and so forth. I feel like you must have run across some of these problems if the tables you’ve worked on we so used/dirty/beatup that the spindle is knocked loose or needs oil to rotate smoothly. 🙂
Hi Ronk. A good question and if you haven’t already, take a look at some of the hundreds of other articles, FAQs and videos here and on our YouTube channel that I’ve created as a specialist repairer over more than a decade, including the one about seized VTA adjusters. We’re known for our detail-focused, technically informed approach, frequently emulated I’m proud to say, and for pioneering new service techniques before many had worked on or seen equipment I’ve written about.
Each piece is unique and maintenance should be addressed as required, but bearing lubrication is fundamental, especially on older turntables that have often never been lubricated. I very rarely give too much away in articles like these because a) work should generally be undertaken by a specialist and b) competitors enjoy ’emulating’ my work, something I’ve addressed here: https://liquidaudio.com.au/faq/can-you-show-more-details-of-your-work/
As always, thanks for stopping by and I hope this provides a little more context!
Hi Mike, Wondering if you work on the SL-1500 MK2. Mine has suspension problem as in non-existent, also the que lever doesn’t work…
Hi Tim, yes I work on all the decks in this series and just about every other turntable for that matter! If you are somewhere near Perth, WA and can get your TT to me, I should be able to assist.