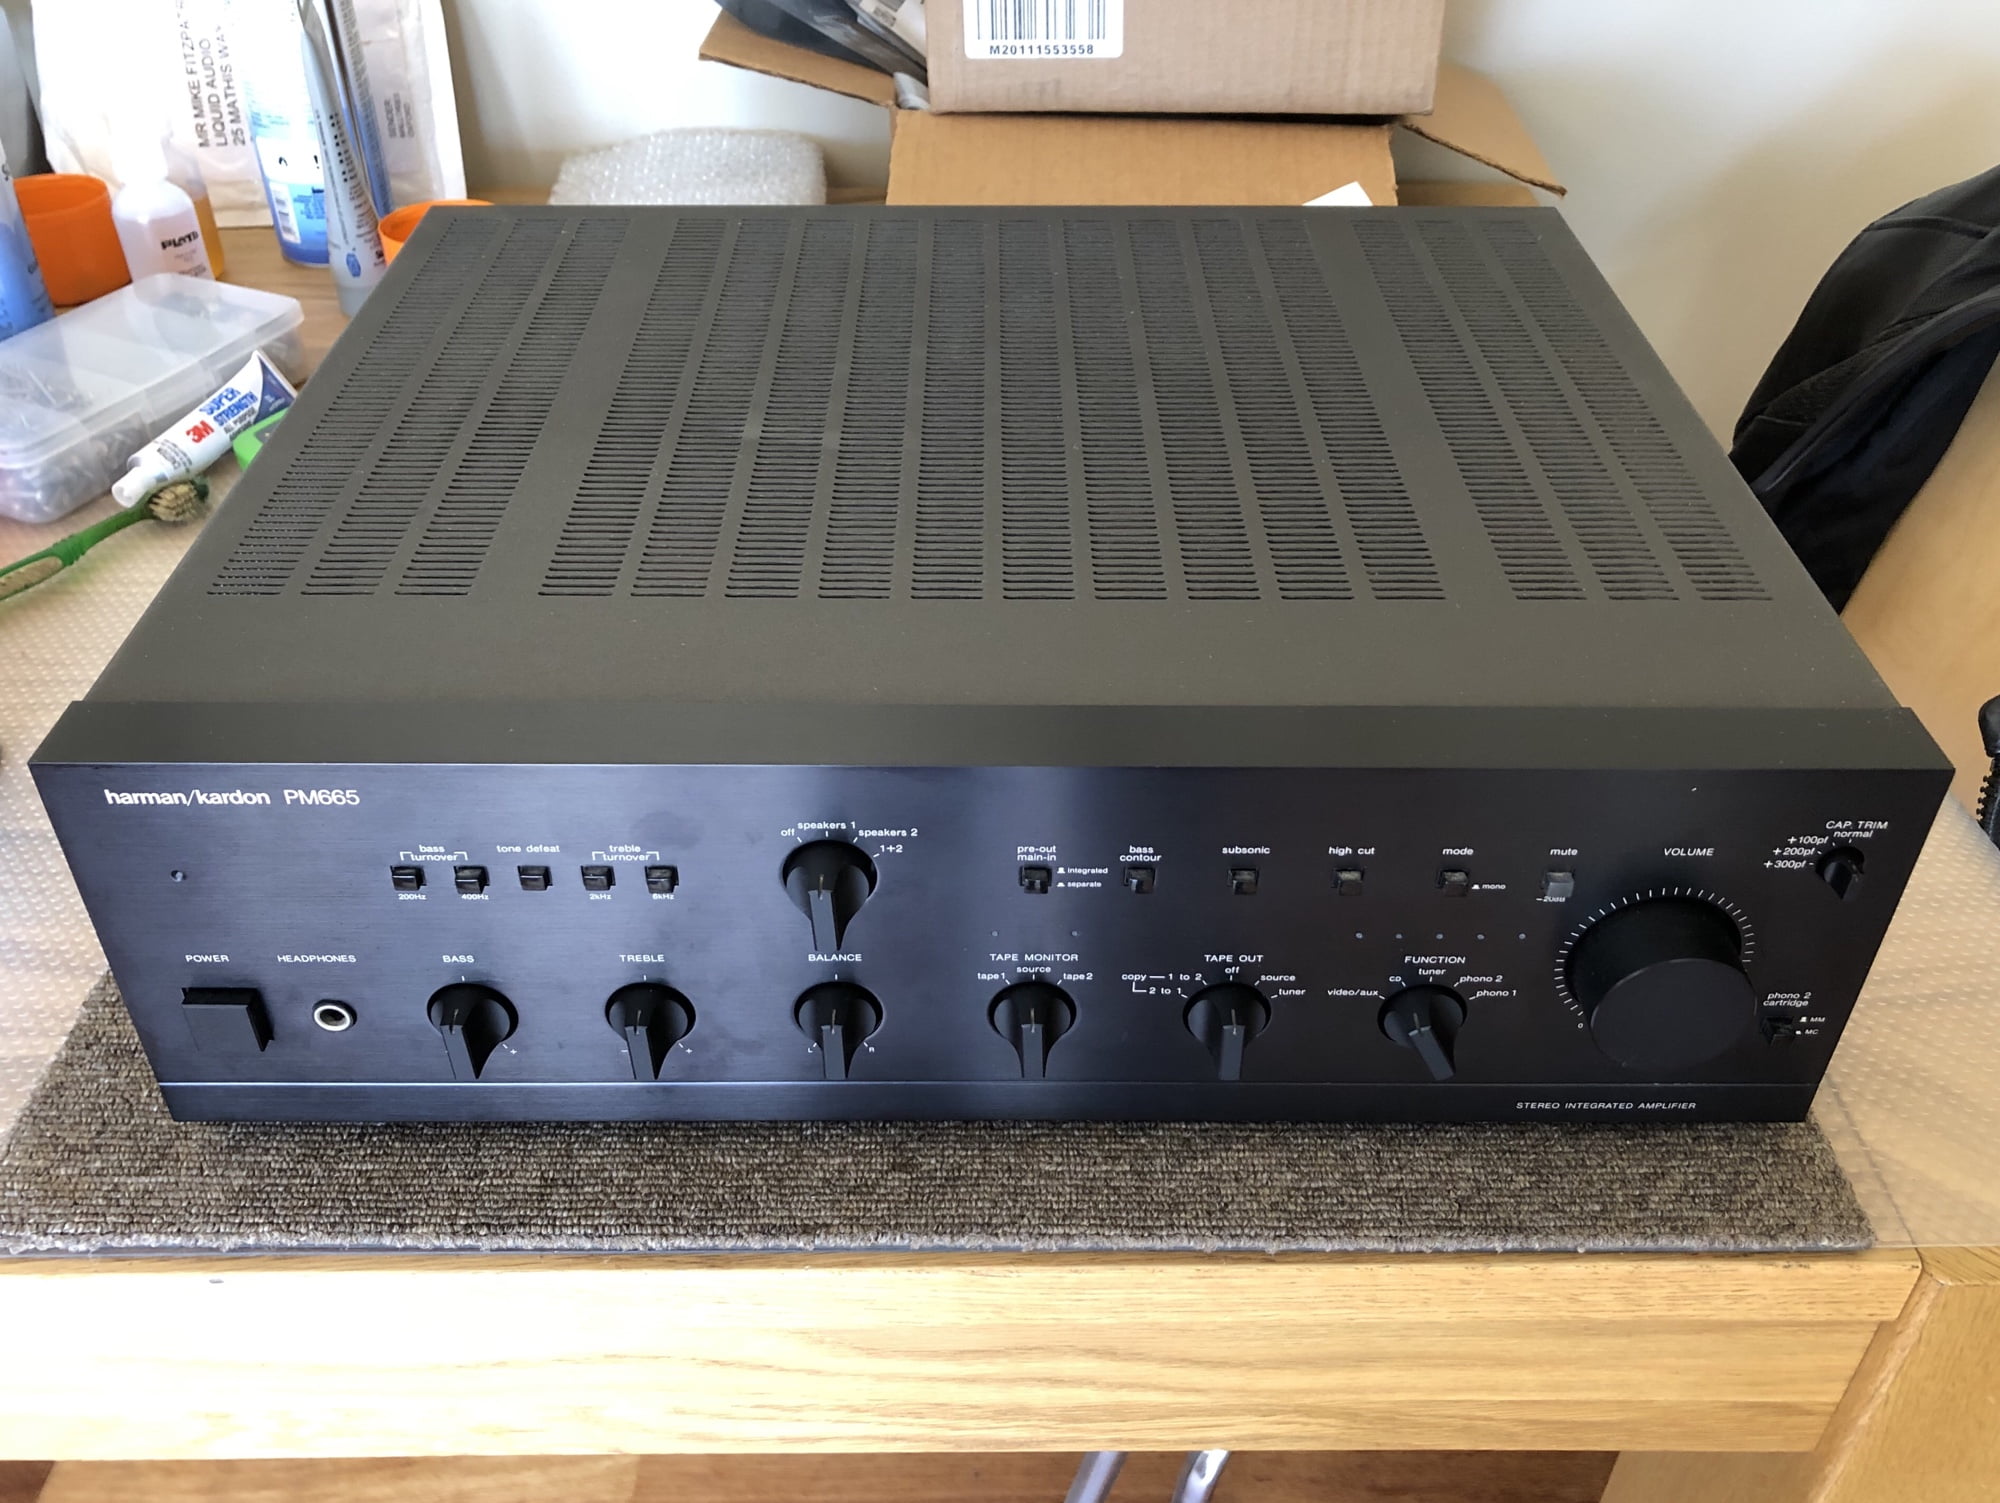
The Harman/Kardon PM665 is a classic amplifier. Like a lot of gear, this one had been messed with and needed some TLC.
The Harman/Kardon PM665 is a beast of an integrated amplifier. With a power output of 100 Watts per channel, plus a useful amount (maybe 3 Watts) of class-A power, this amplifier is black, hot and heavy. Indeed, the PM665’s power consumption, once correctly adjusted, is around 75 Watts at idle, so keep it well-ventilated and sitting in the open.
The lower damping factor and higher distortion indicate that this design uses less global feedback than common at the time. These factors no doubt contribute to the PM665’s excellent sound quality. The problem with these amplifiers is a few of the details that lead to them becoming unreliable over time, and the poor technical approaches often used to deal with these issues.
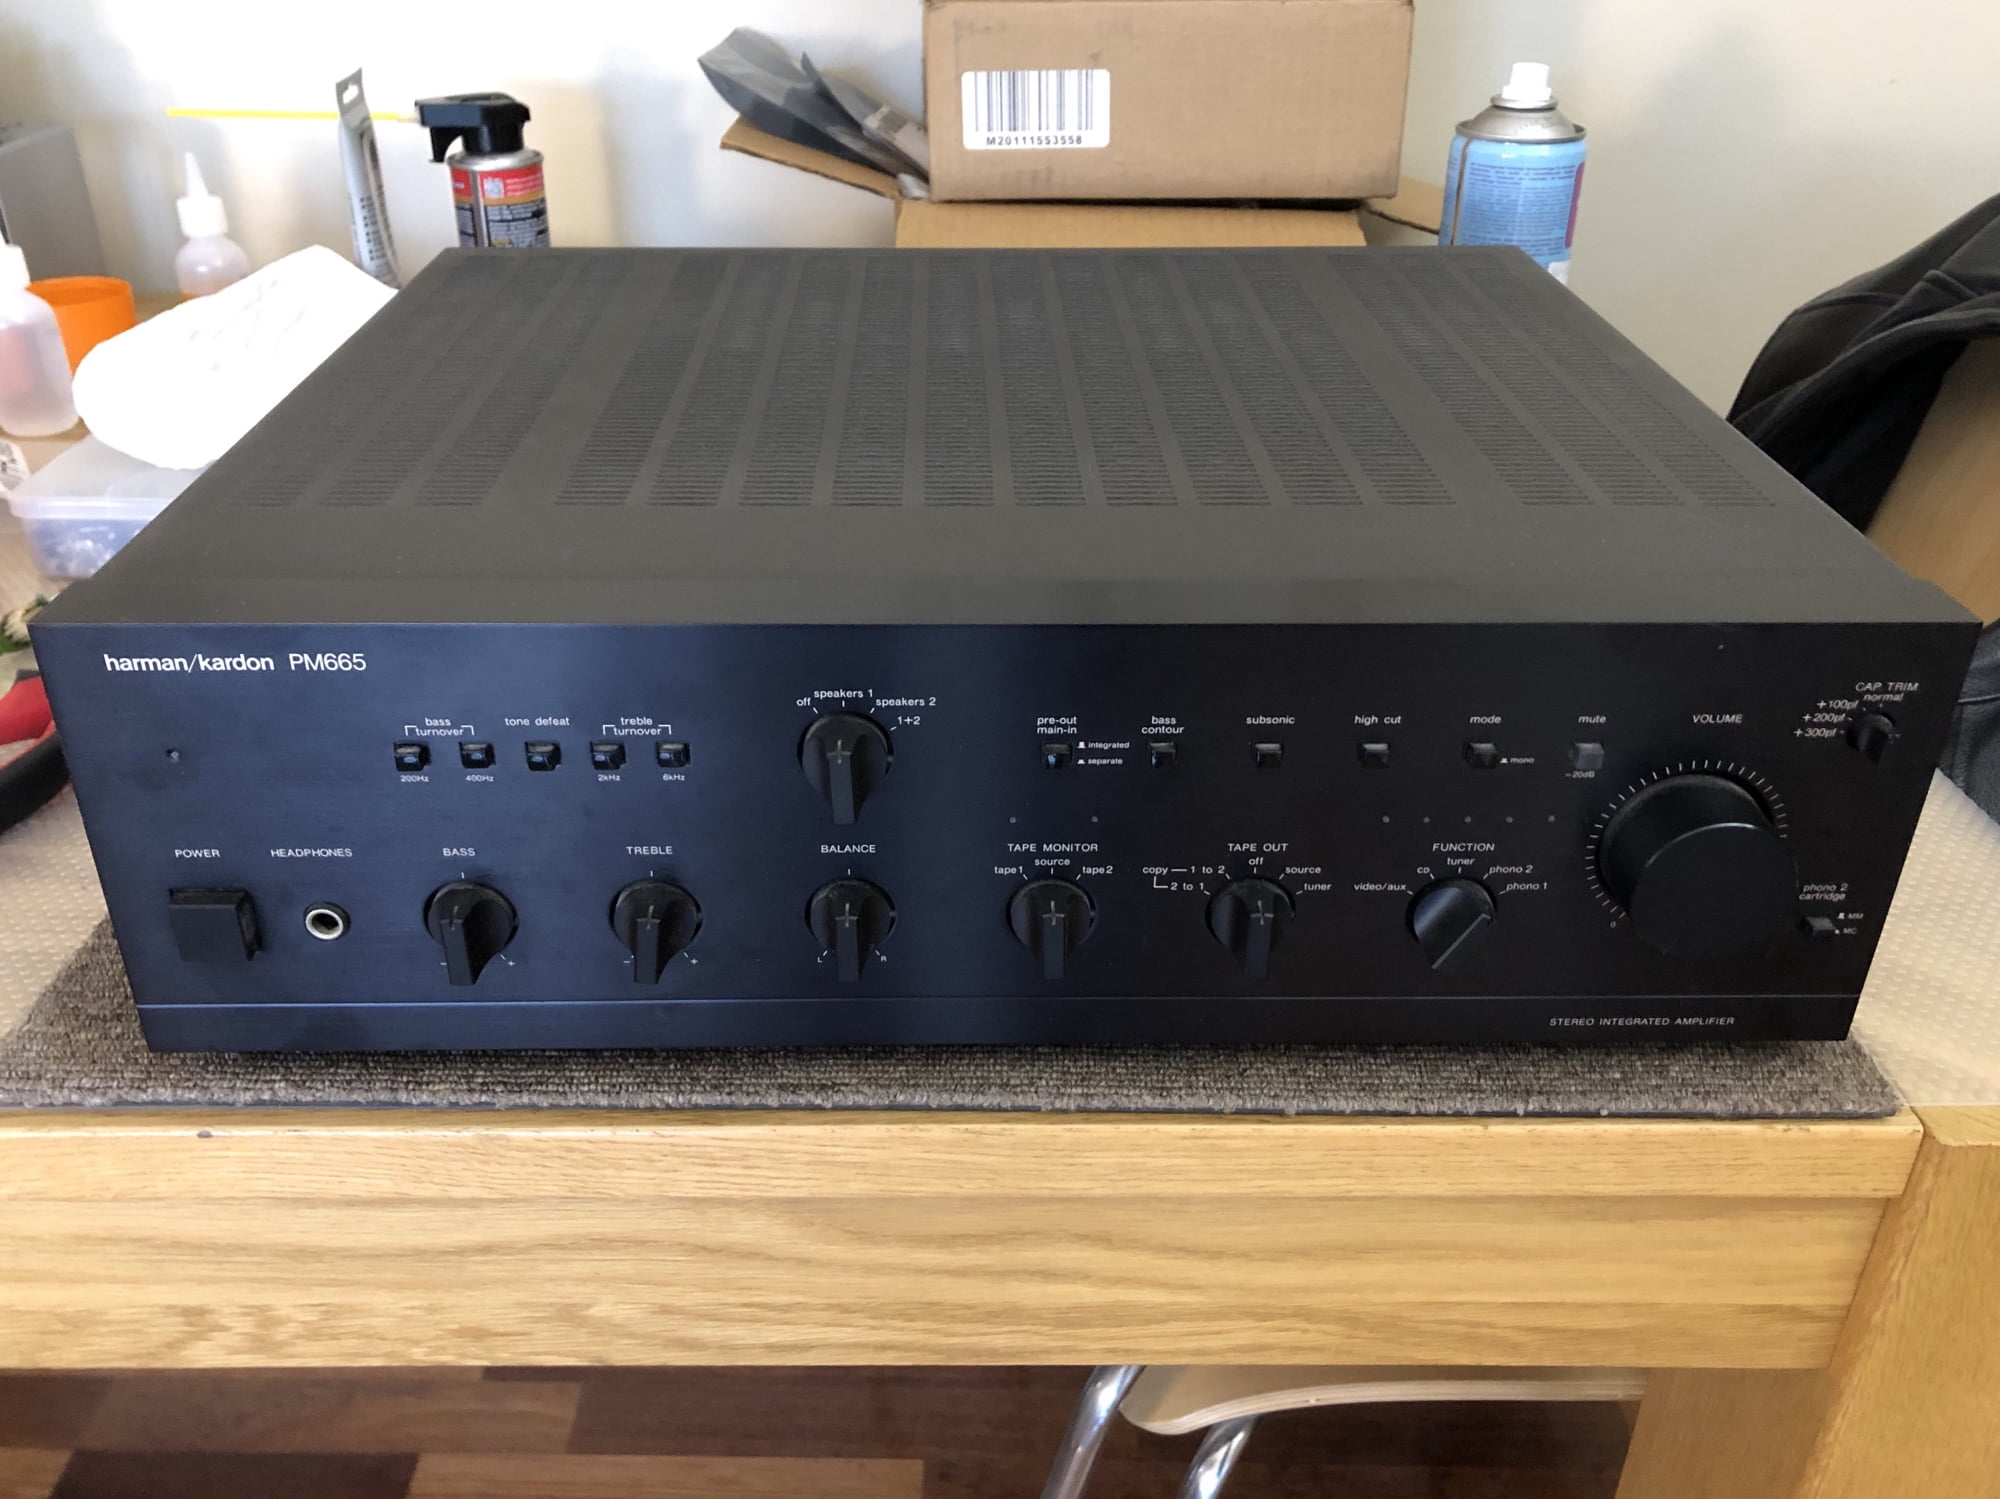
Harman/Kardon PM665 Specifications
Courtesy of HiFi Engine
Power output: 100 watts per channel into 8Ω (stereo)
Frequency response: 0.2Hz to 150kHz
Total harmonic distortion: 0.08%Damping factor: 65
Input sensitivity: 0.12mV (MC), 2.2mV (MM), 135mV (line)
Signal-to-noise ratio: 75dB (MC), 77dB (MM), 78dB (line)
Dimensions: 443 x 134 x 398mm
Weight: 13.5kg
Year: 1987
Problems
The Harman/Kardon PM665 hails from around 1987 and many years of hot running and an almost completely open case, create problems. Sadly, this one has also visited the German repairer in Claremont featured in my Hall of Shame who messed with the other Harman/Kardon amplifier you’ll read about there. More on that later…
Watch my video overview for more details of the butchered speaker terminals and the adjustment process.
This lovely amplifier exhibited several issues, the most significant of which was the lack of music signals at the speaker terminals. Nothing. There were also large DC offsets present at both channel’s speaker terminals, never good. Lastly, the amplifier had no bias current to the output devices. Zero.
This had been deliberately done, but likely by someone with not a great sense of what they were doing, because nobody with a clue would ever leave an amplifier like that. She was also very dusty, had numerous switch and control noise issues and really needed some TLC. Let’s go!
Cleaning
I always begin with careful inspection and cleaning.
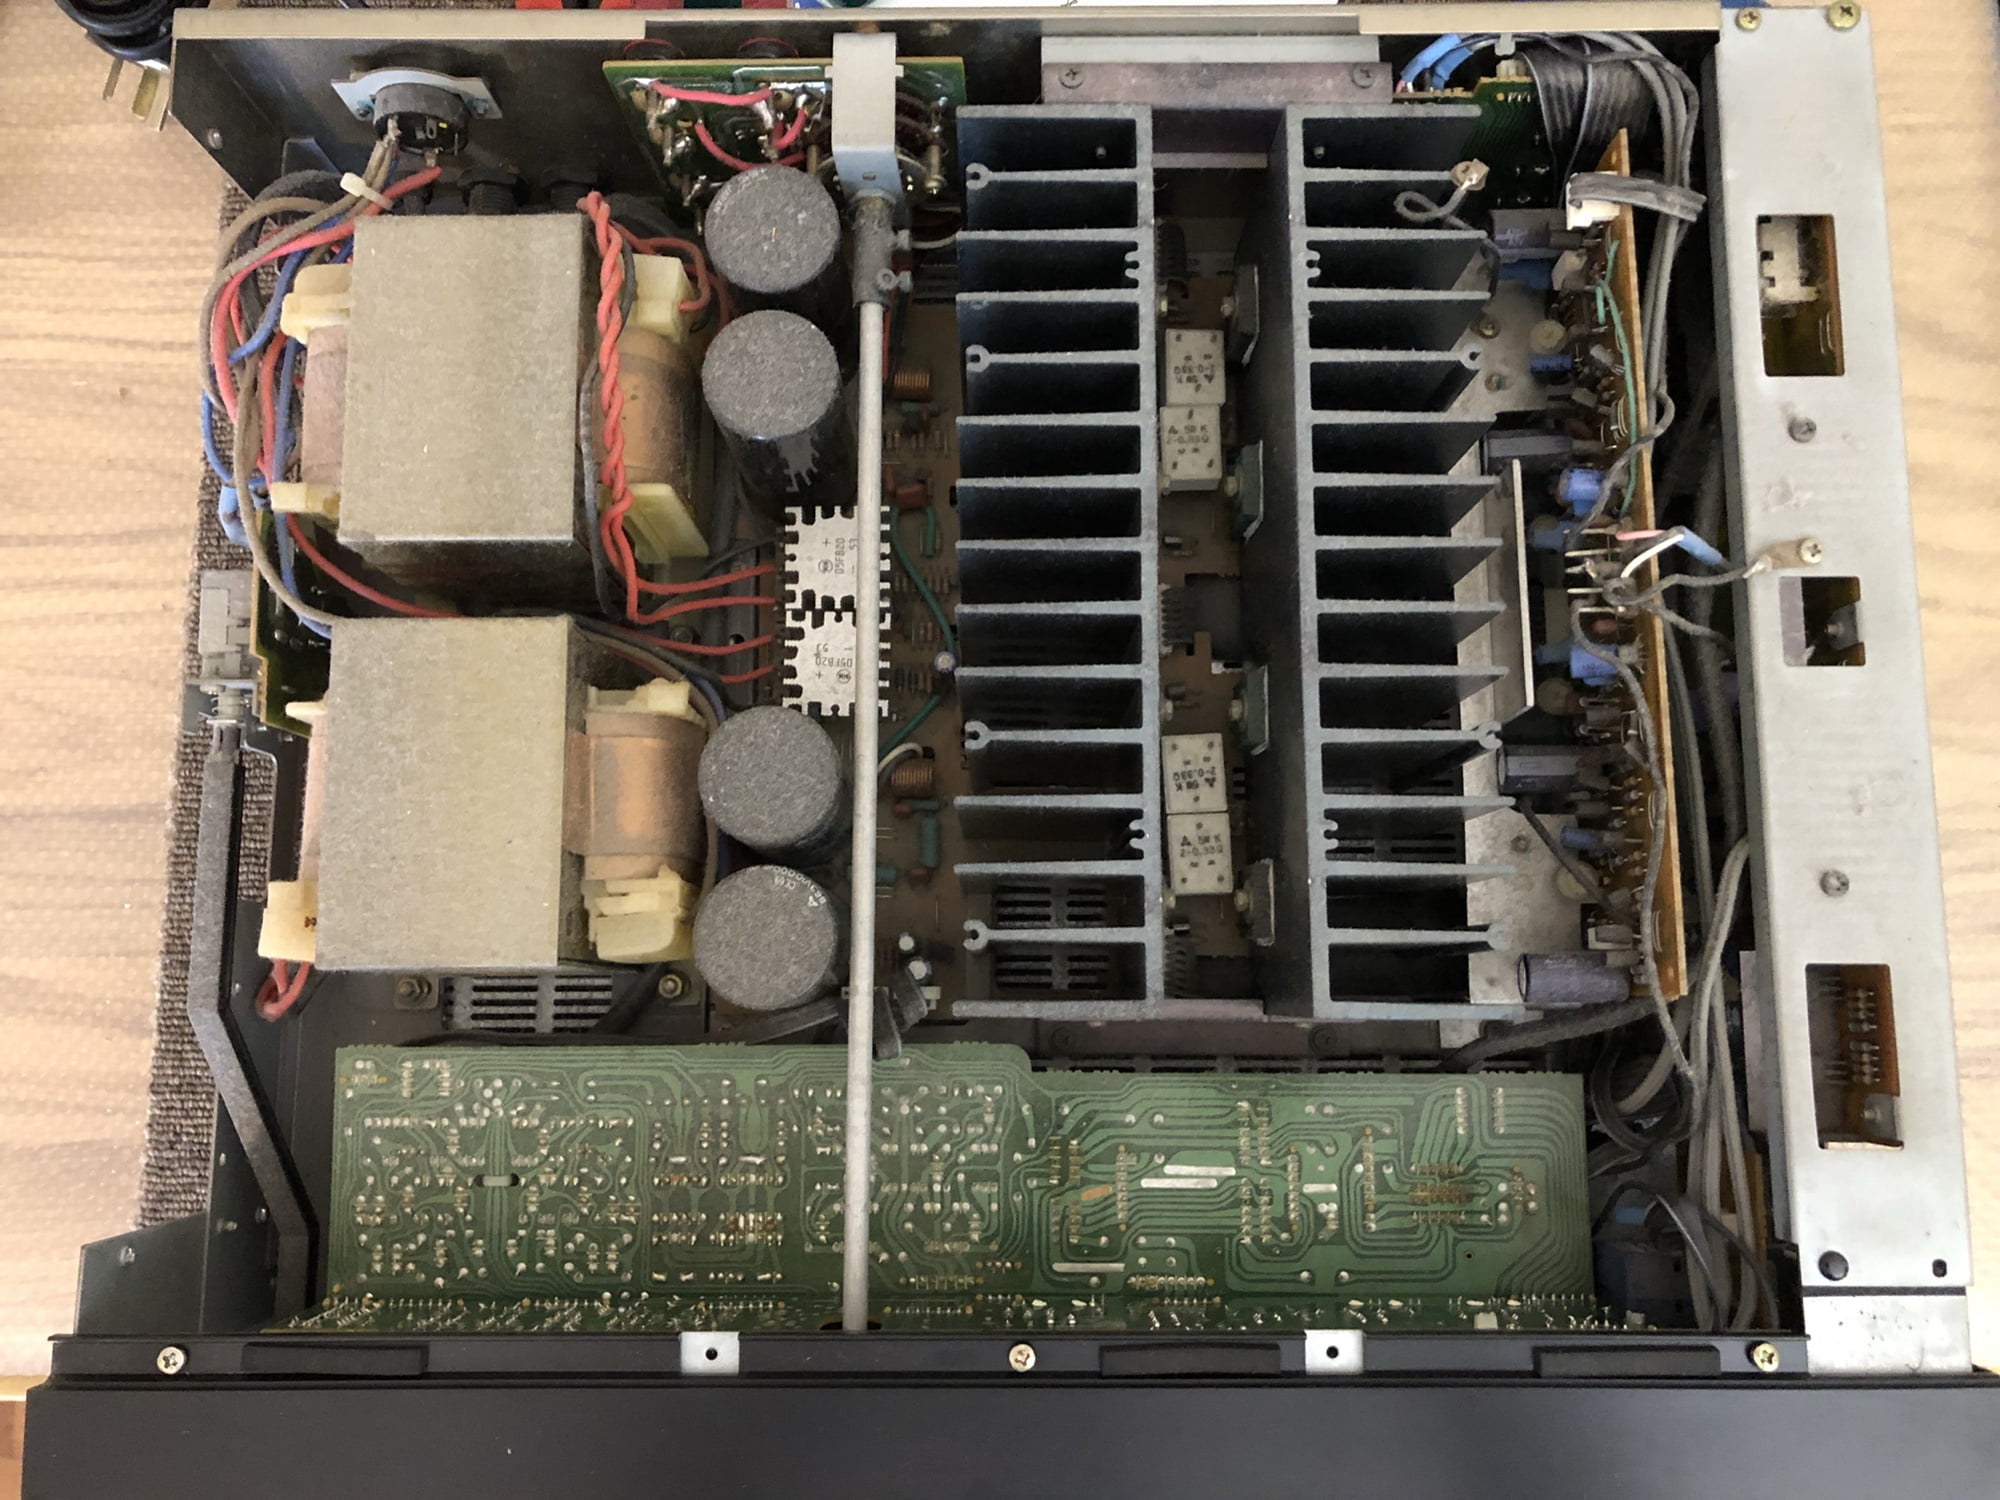
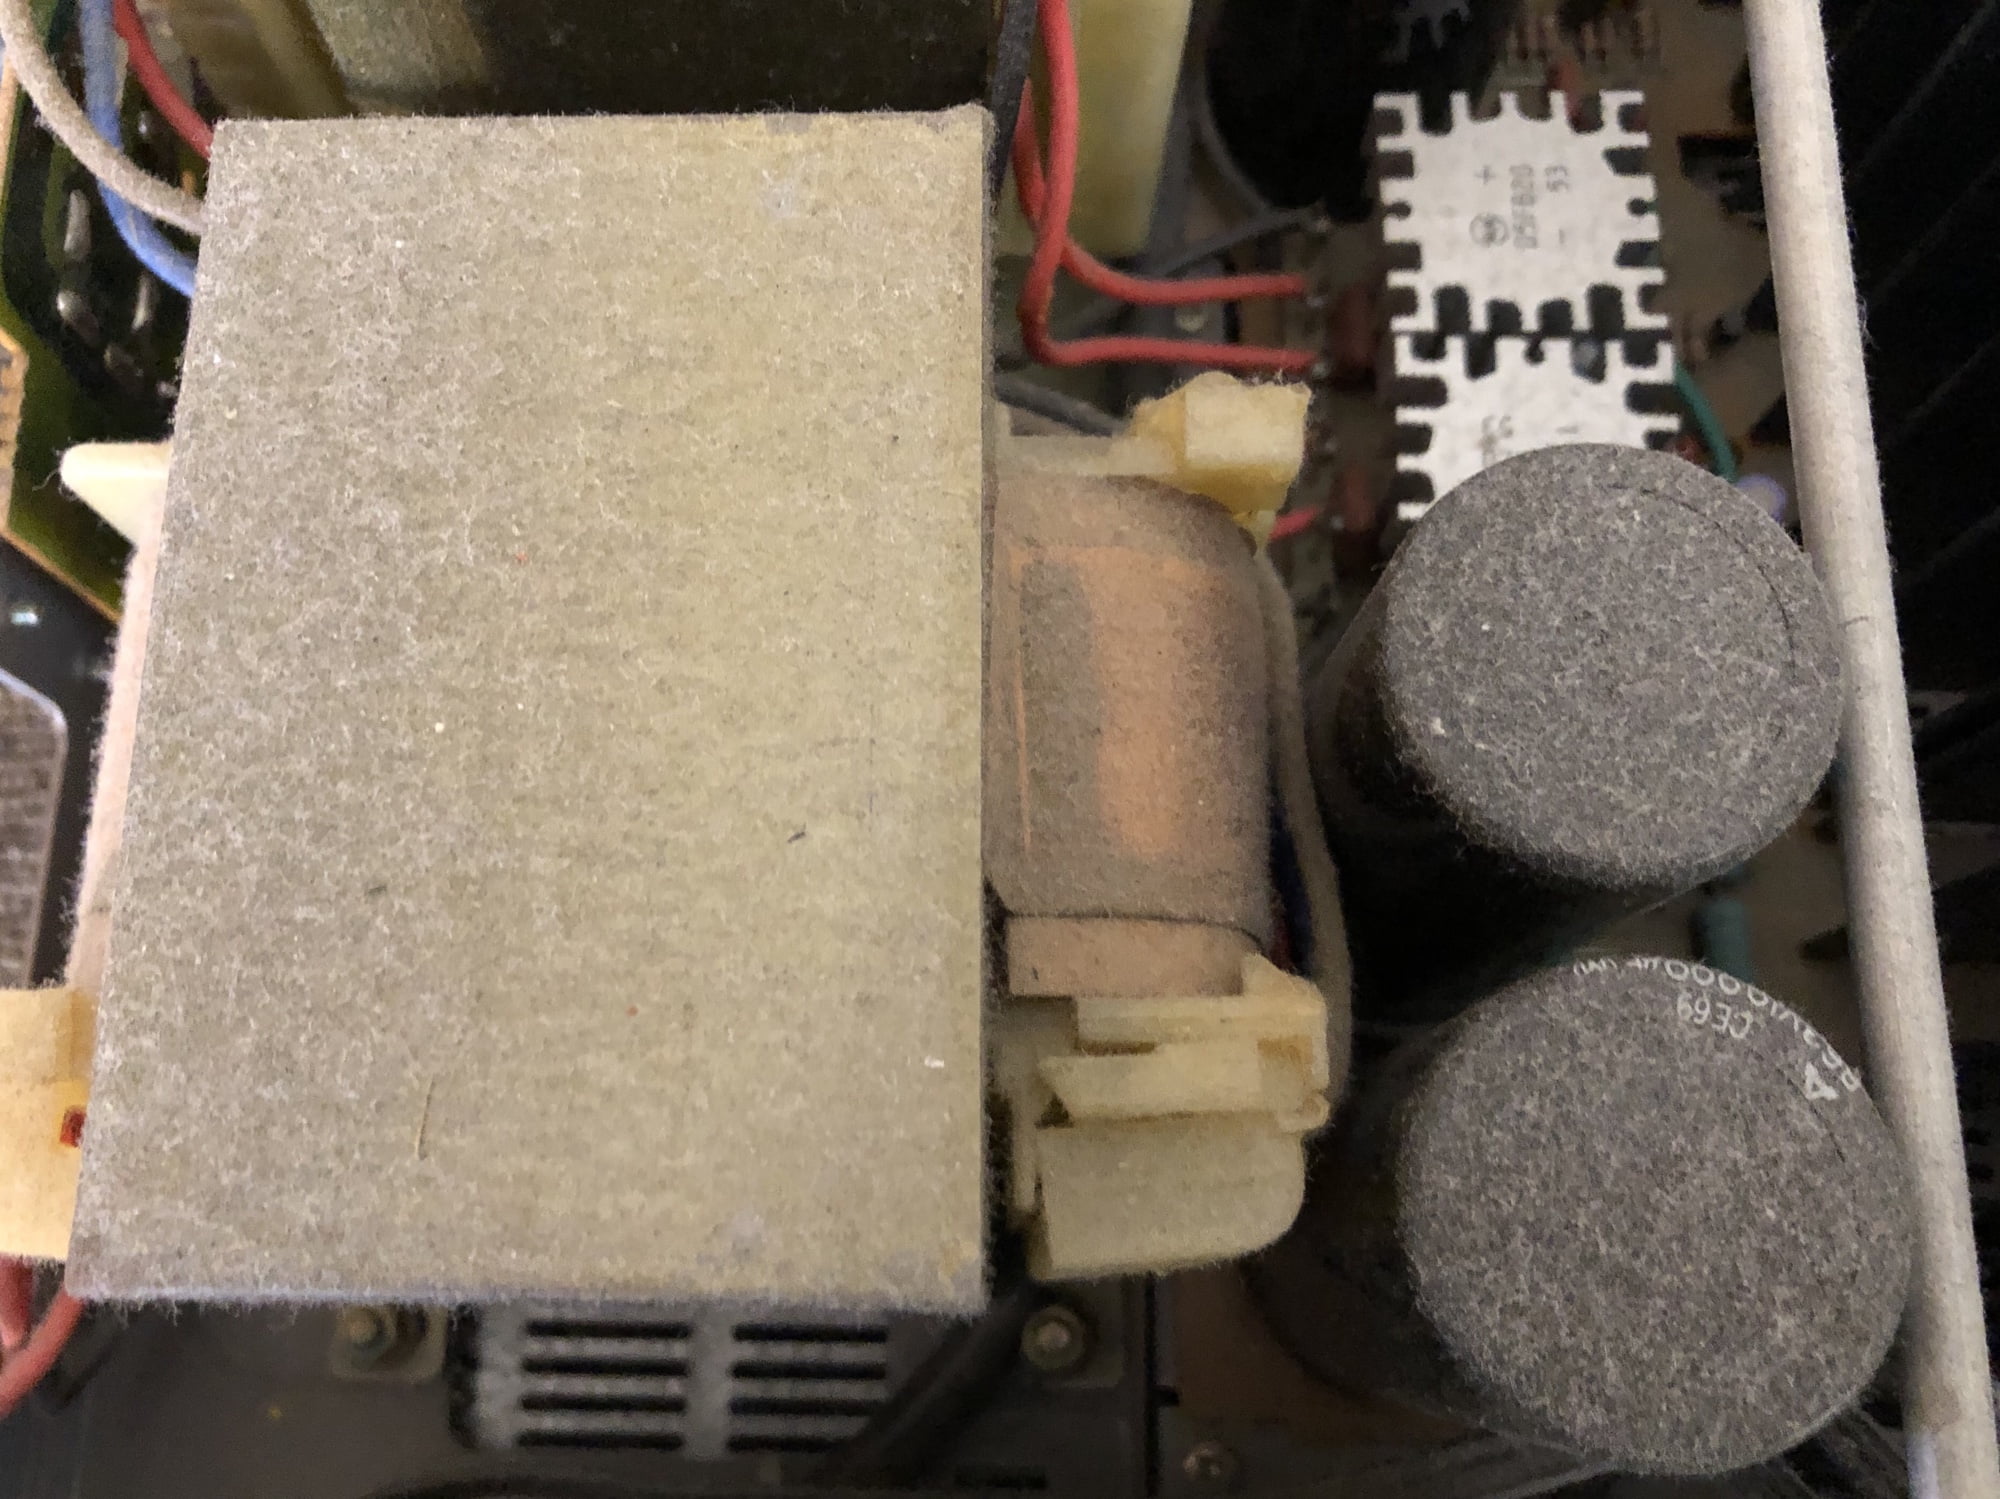
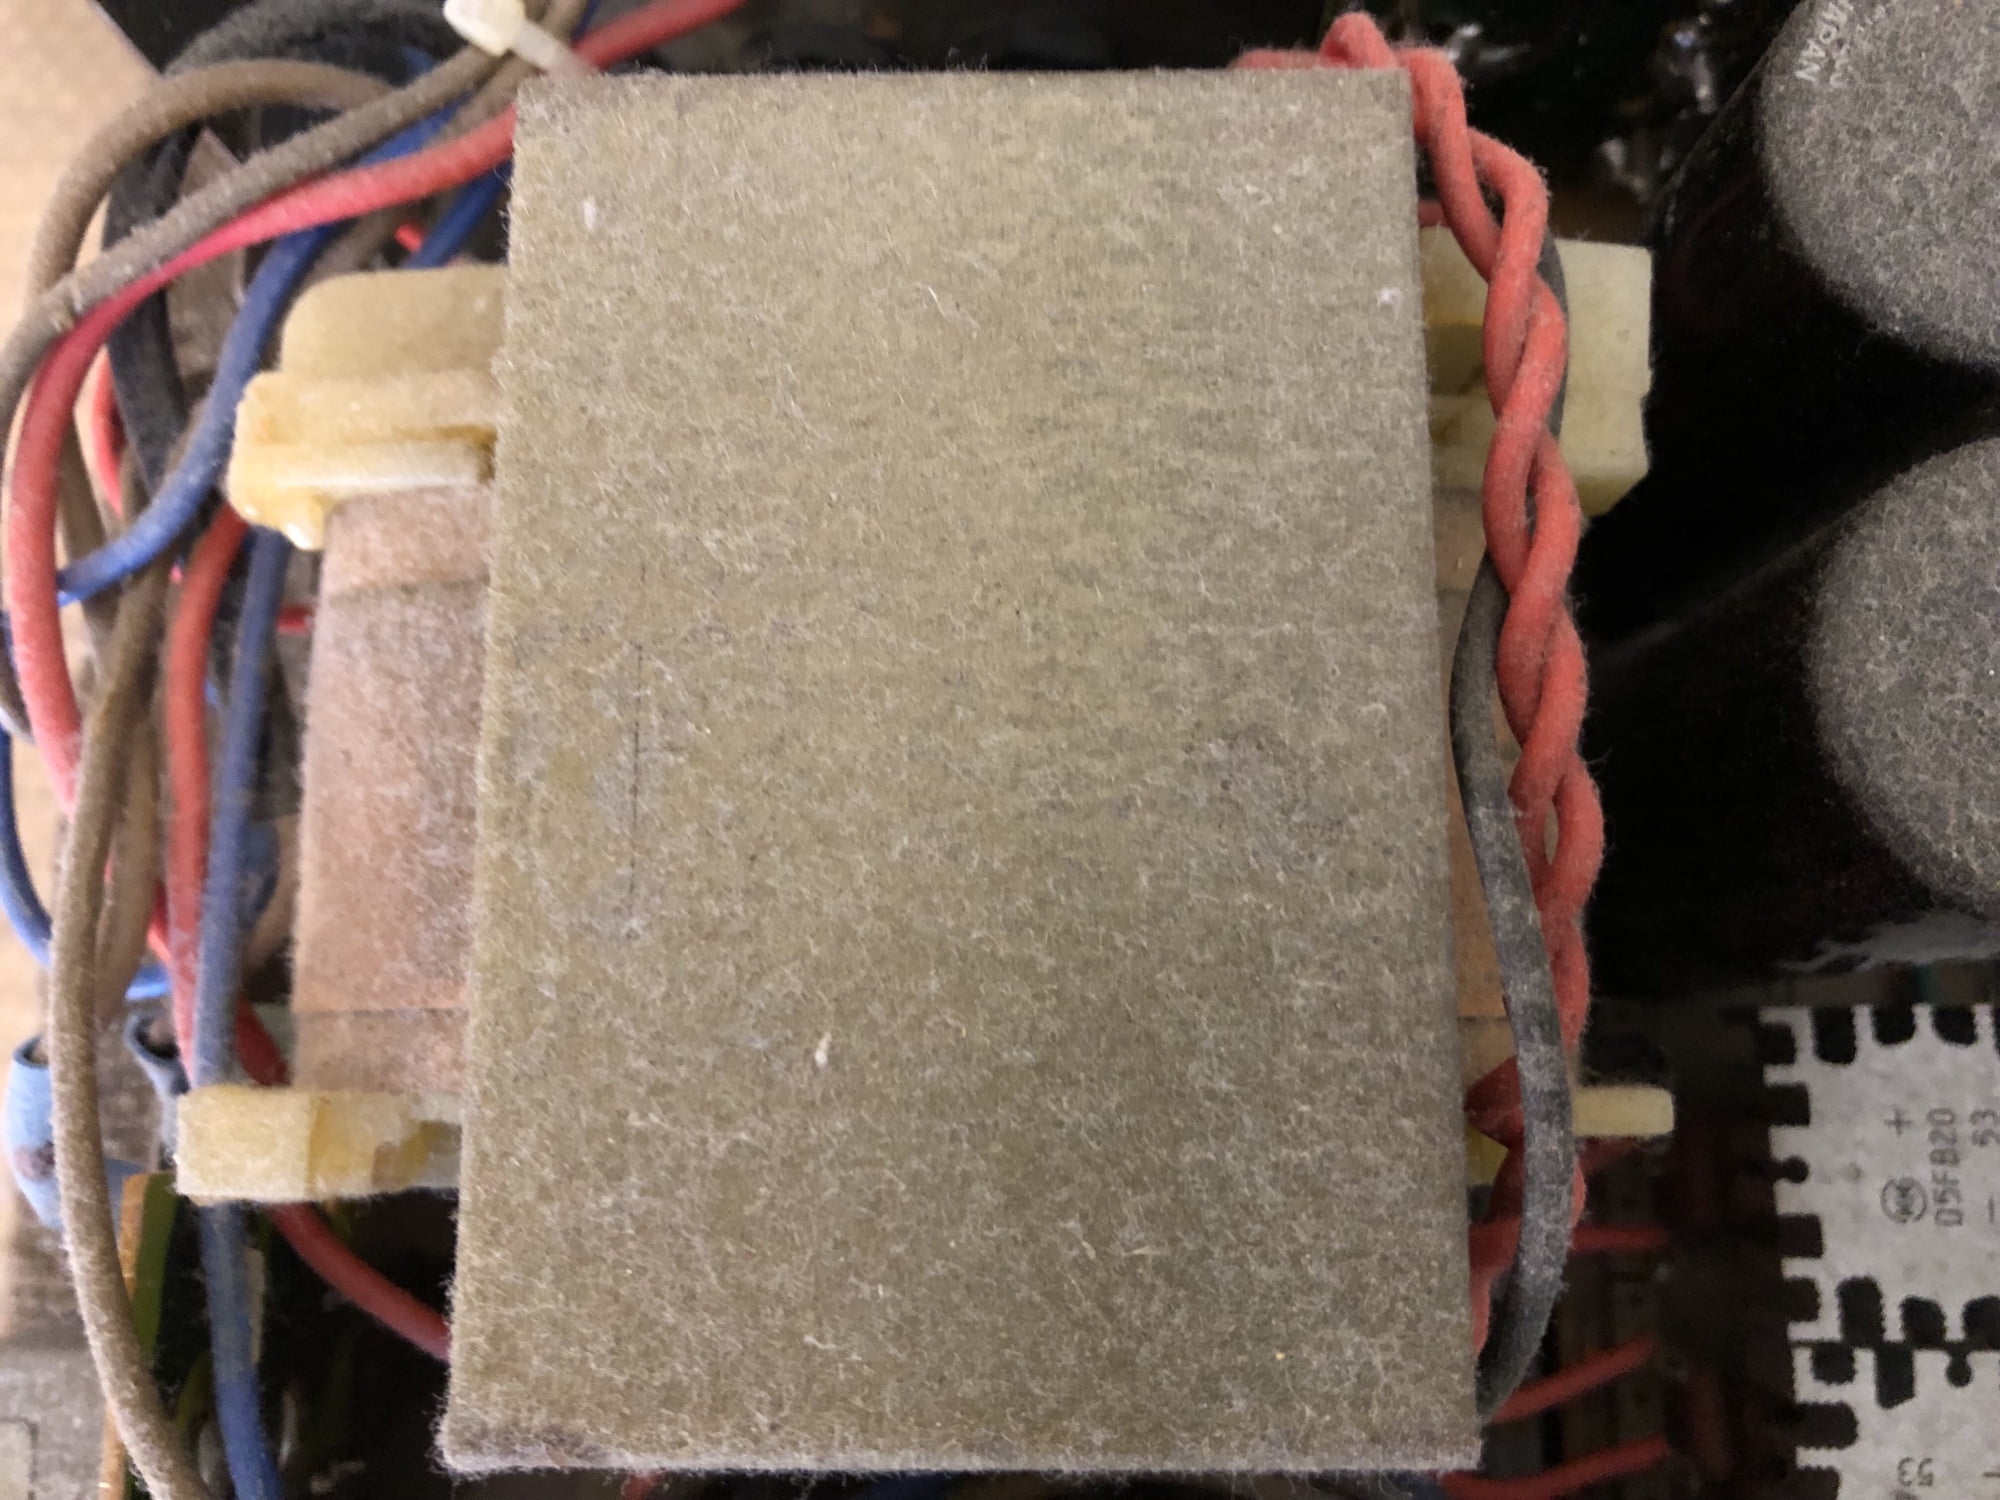
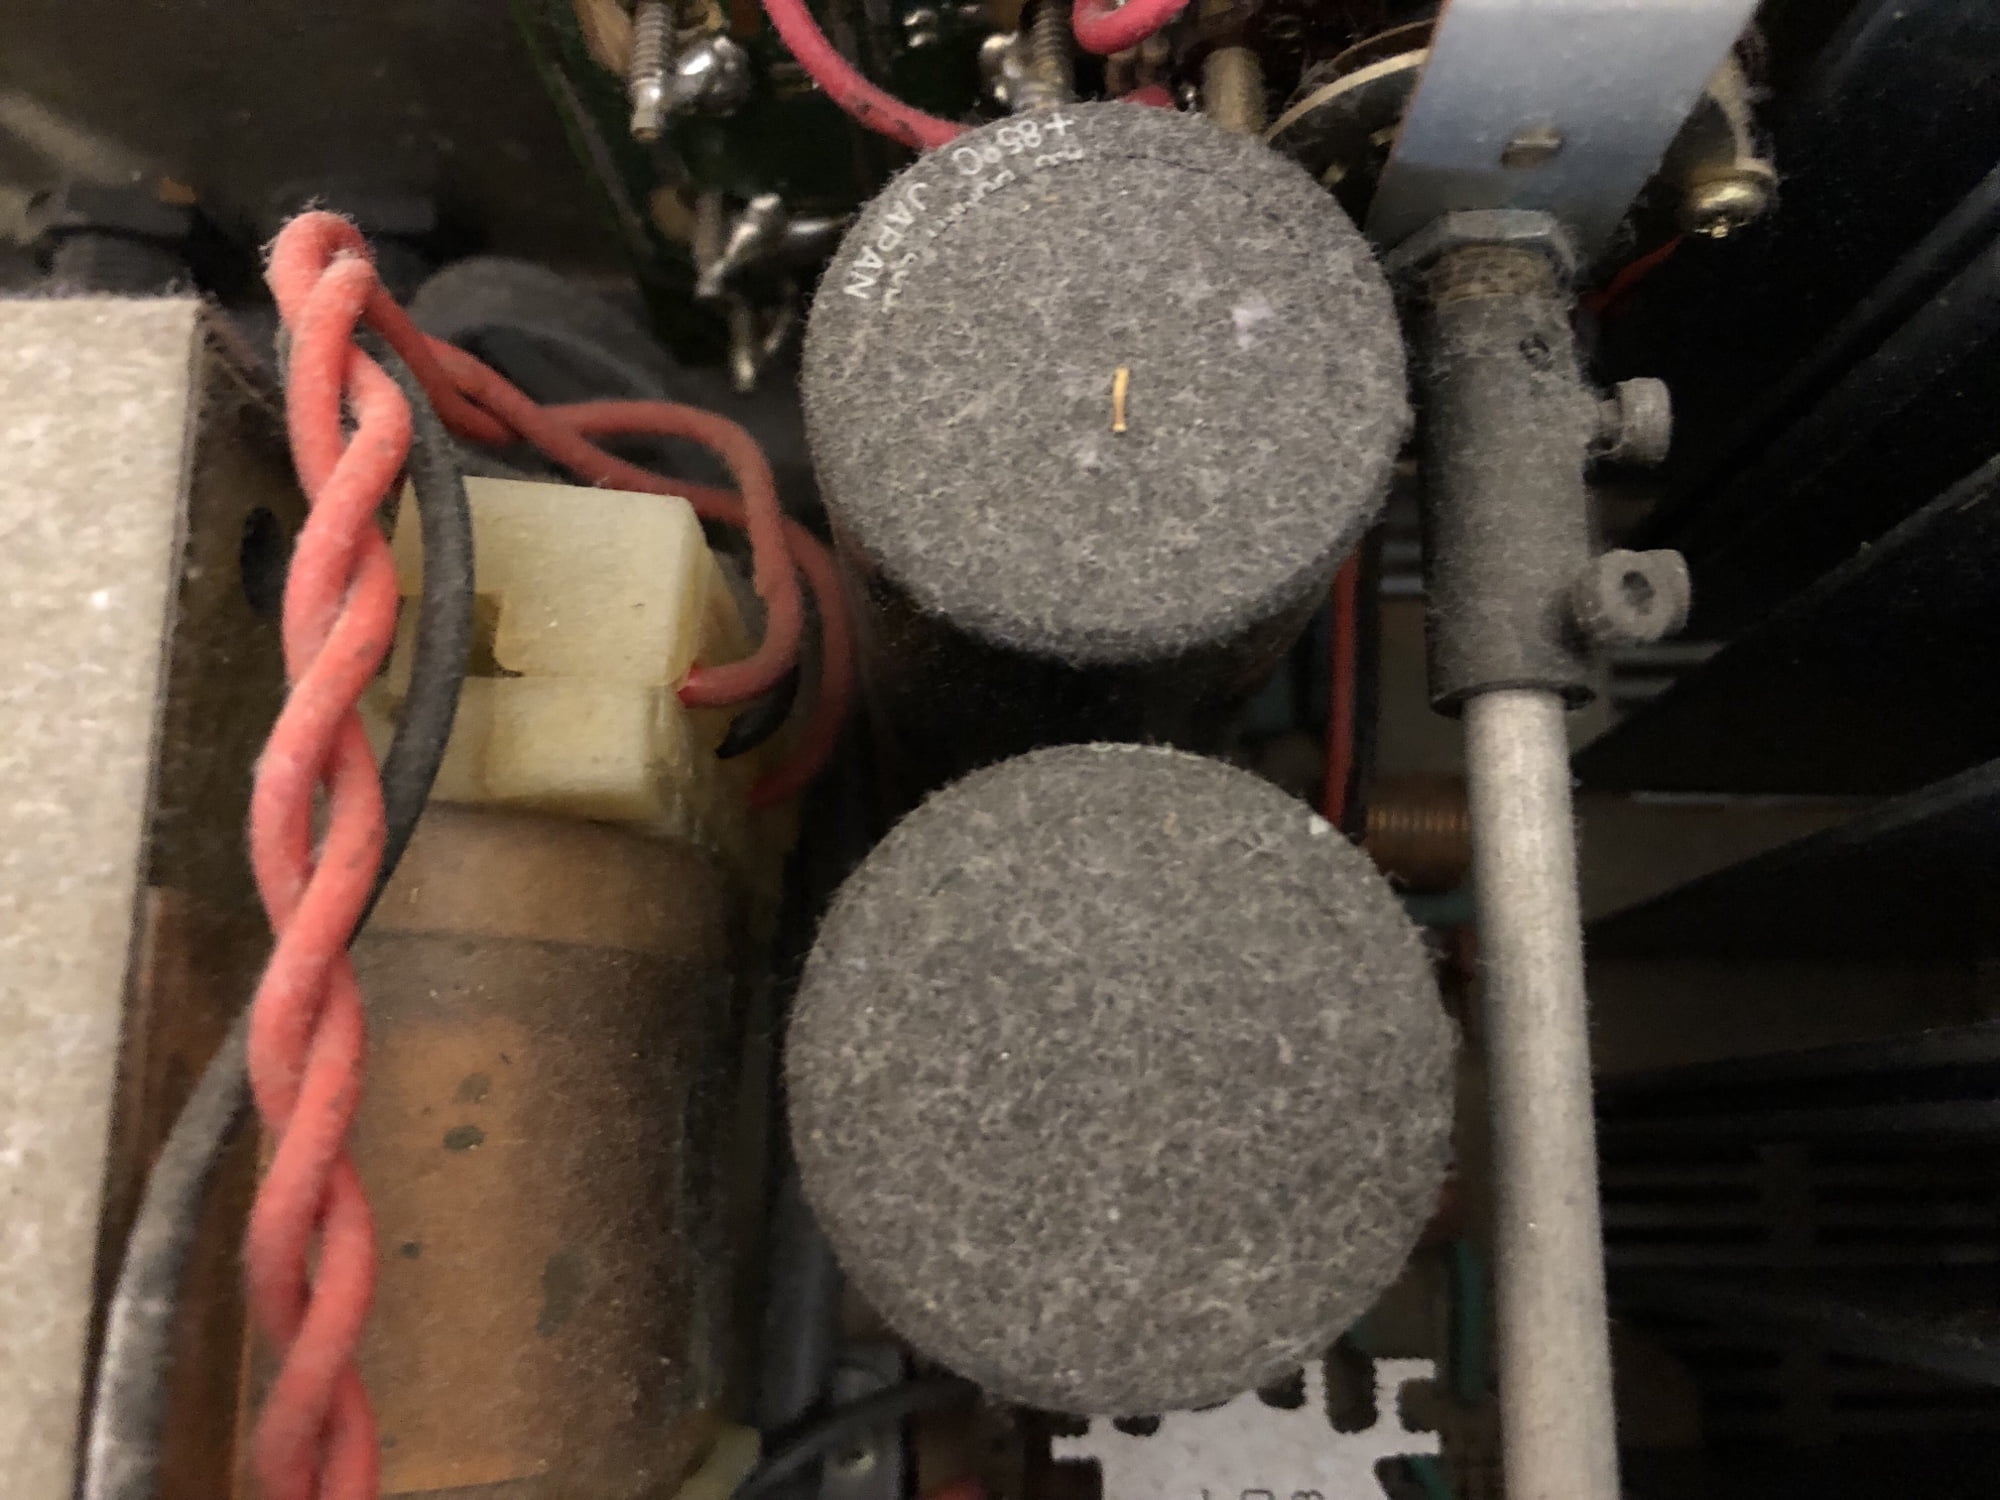
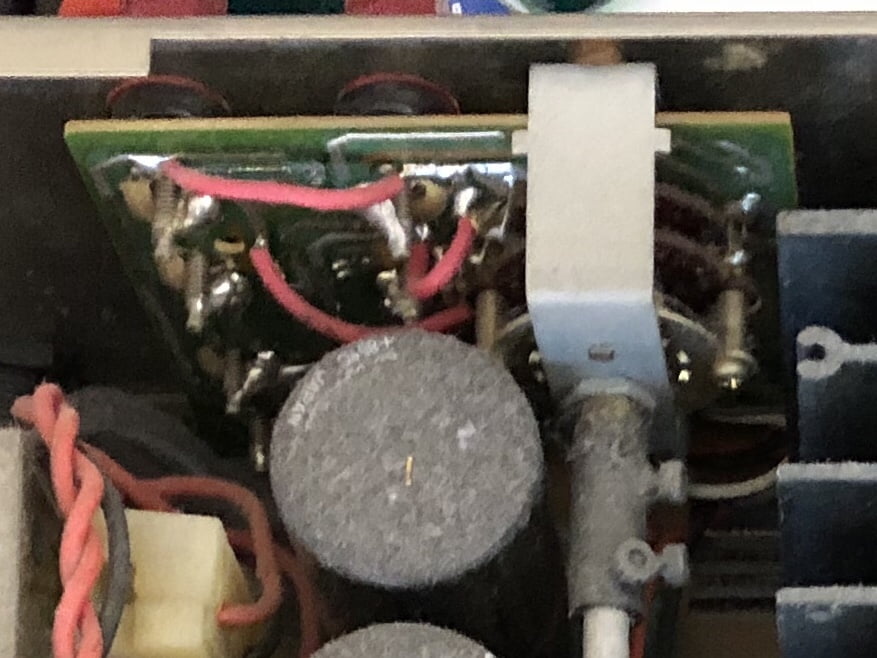
After cleaning, I’m able to focus on other mechanical work like servicing switches and potentiometers. All controls were problematic in this example, requiring deep service, including several remote switches. I also found lots of flux residue from previous repair work and removed it after repairing dry joints.
Zero Bias!
The biggest mysteries for me about this Harman/Kardon PM665 are the grossly misadjusted DC offset and bias current adjustments. Look, it’s great to have no bias, but not in an amplifier! Both adjustments in both channels were way out and the bias current was set to zero. That’s right, someone had deliberately set the bias current to zero. How to kill the sound of an amplifier.
Why would someone do that on a high-performance amplifier you might ask? Good question, I don’t know. Maybe they wanted the unit to run cooler? Maybe, more likely, they didn’t understand what they were doing..? Honestly, I don’t know and I don’t know why anybody would deliberately do it.
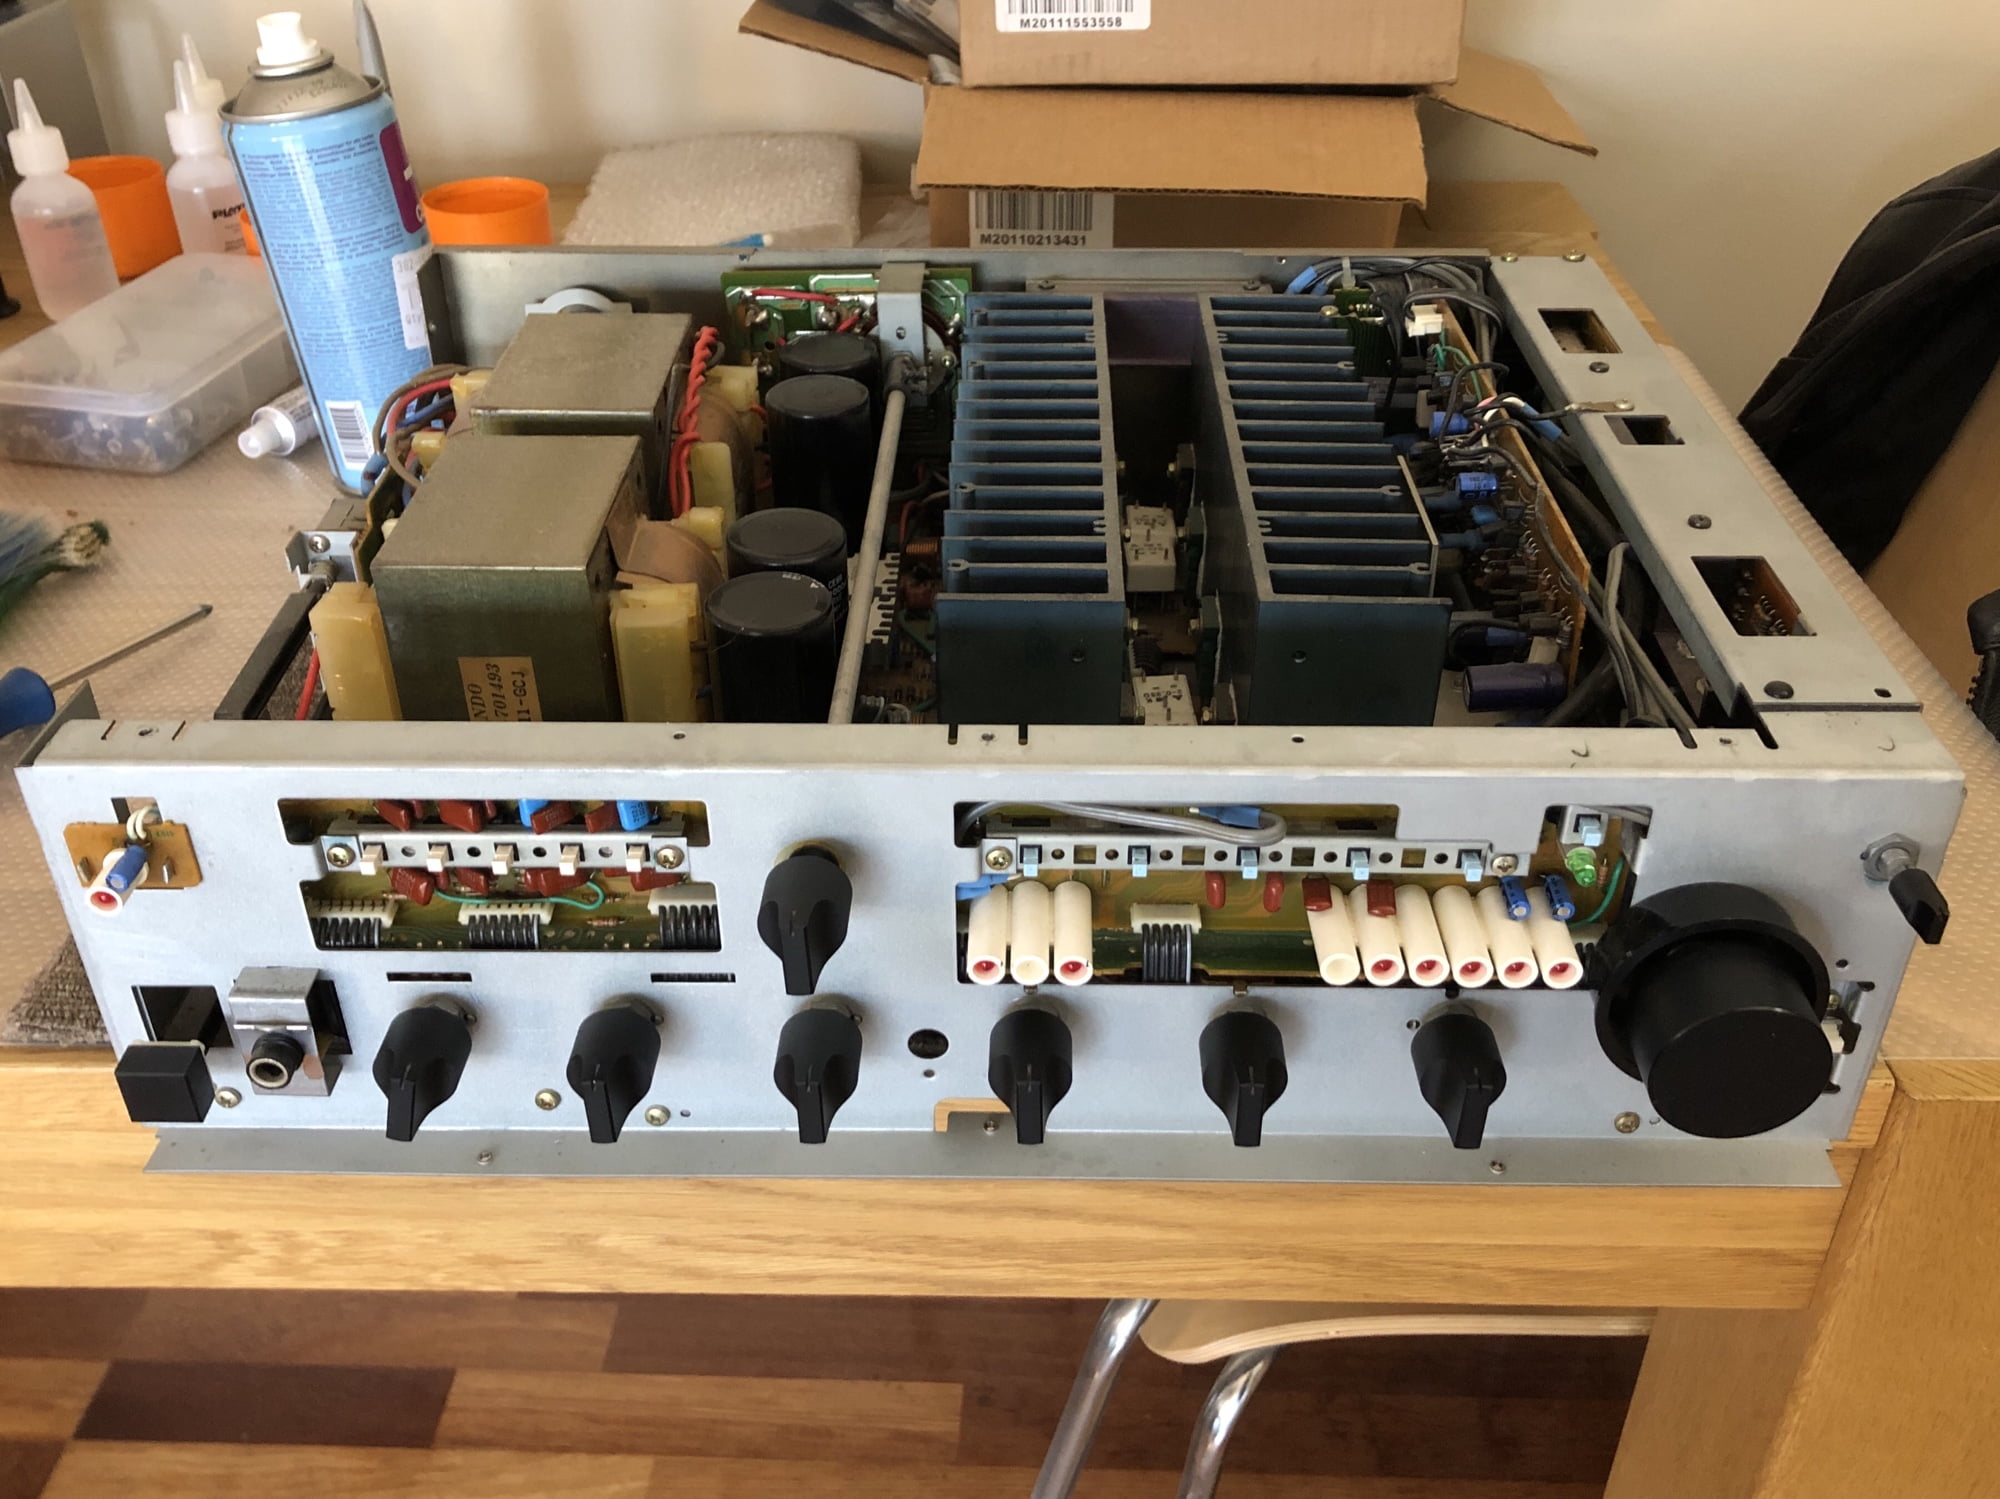
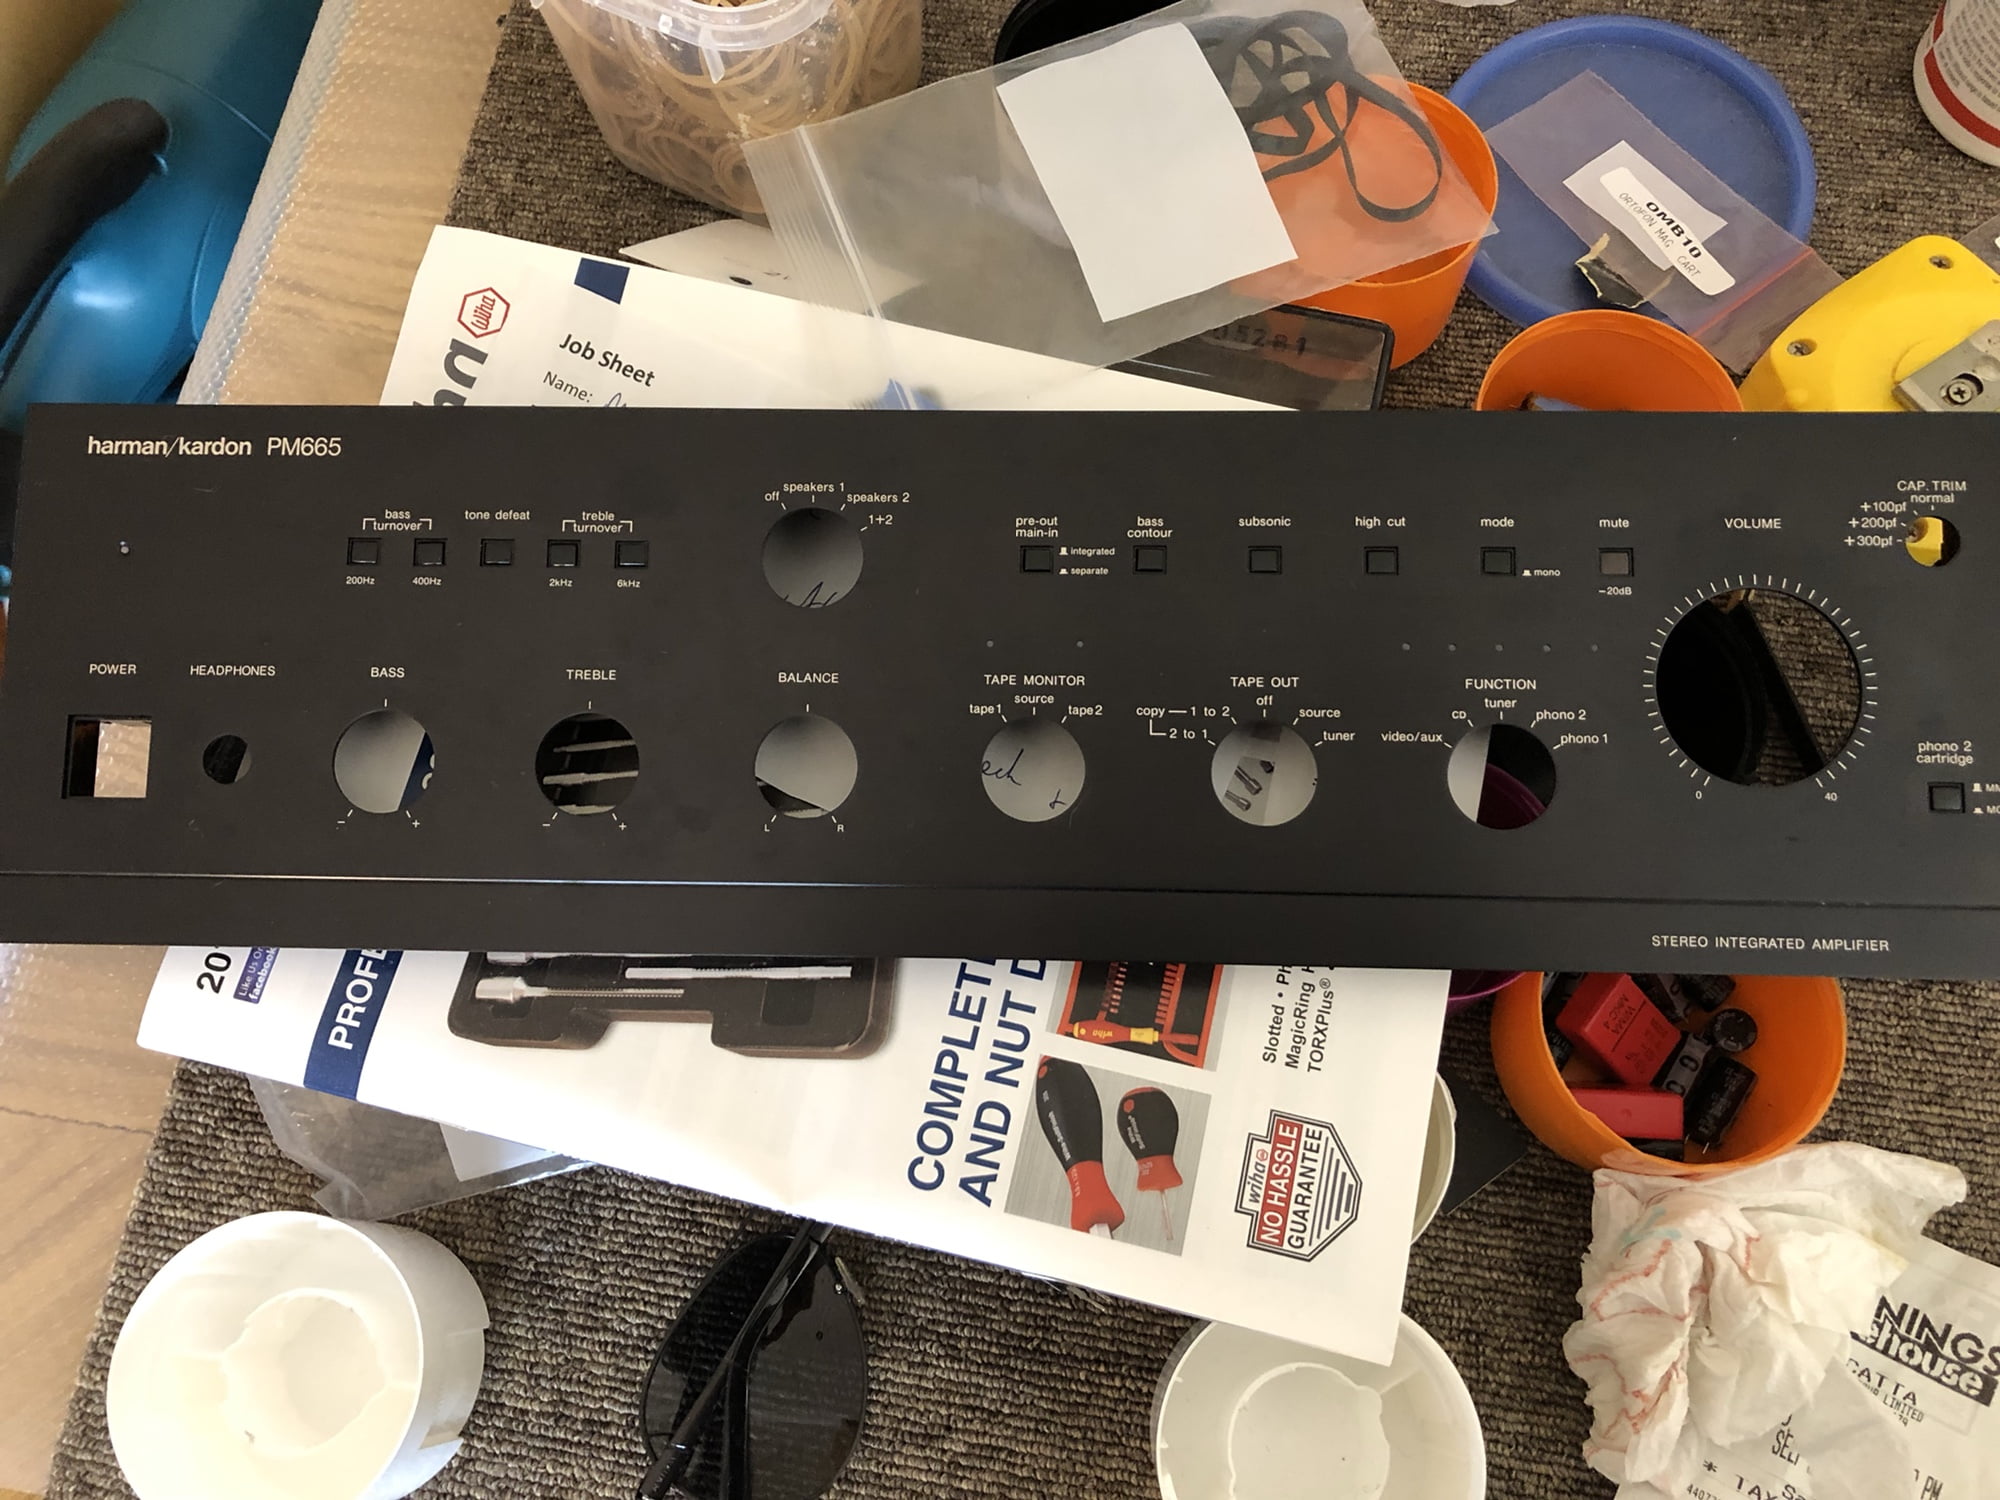
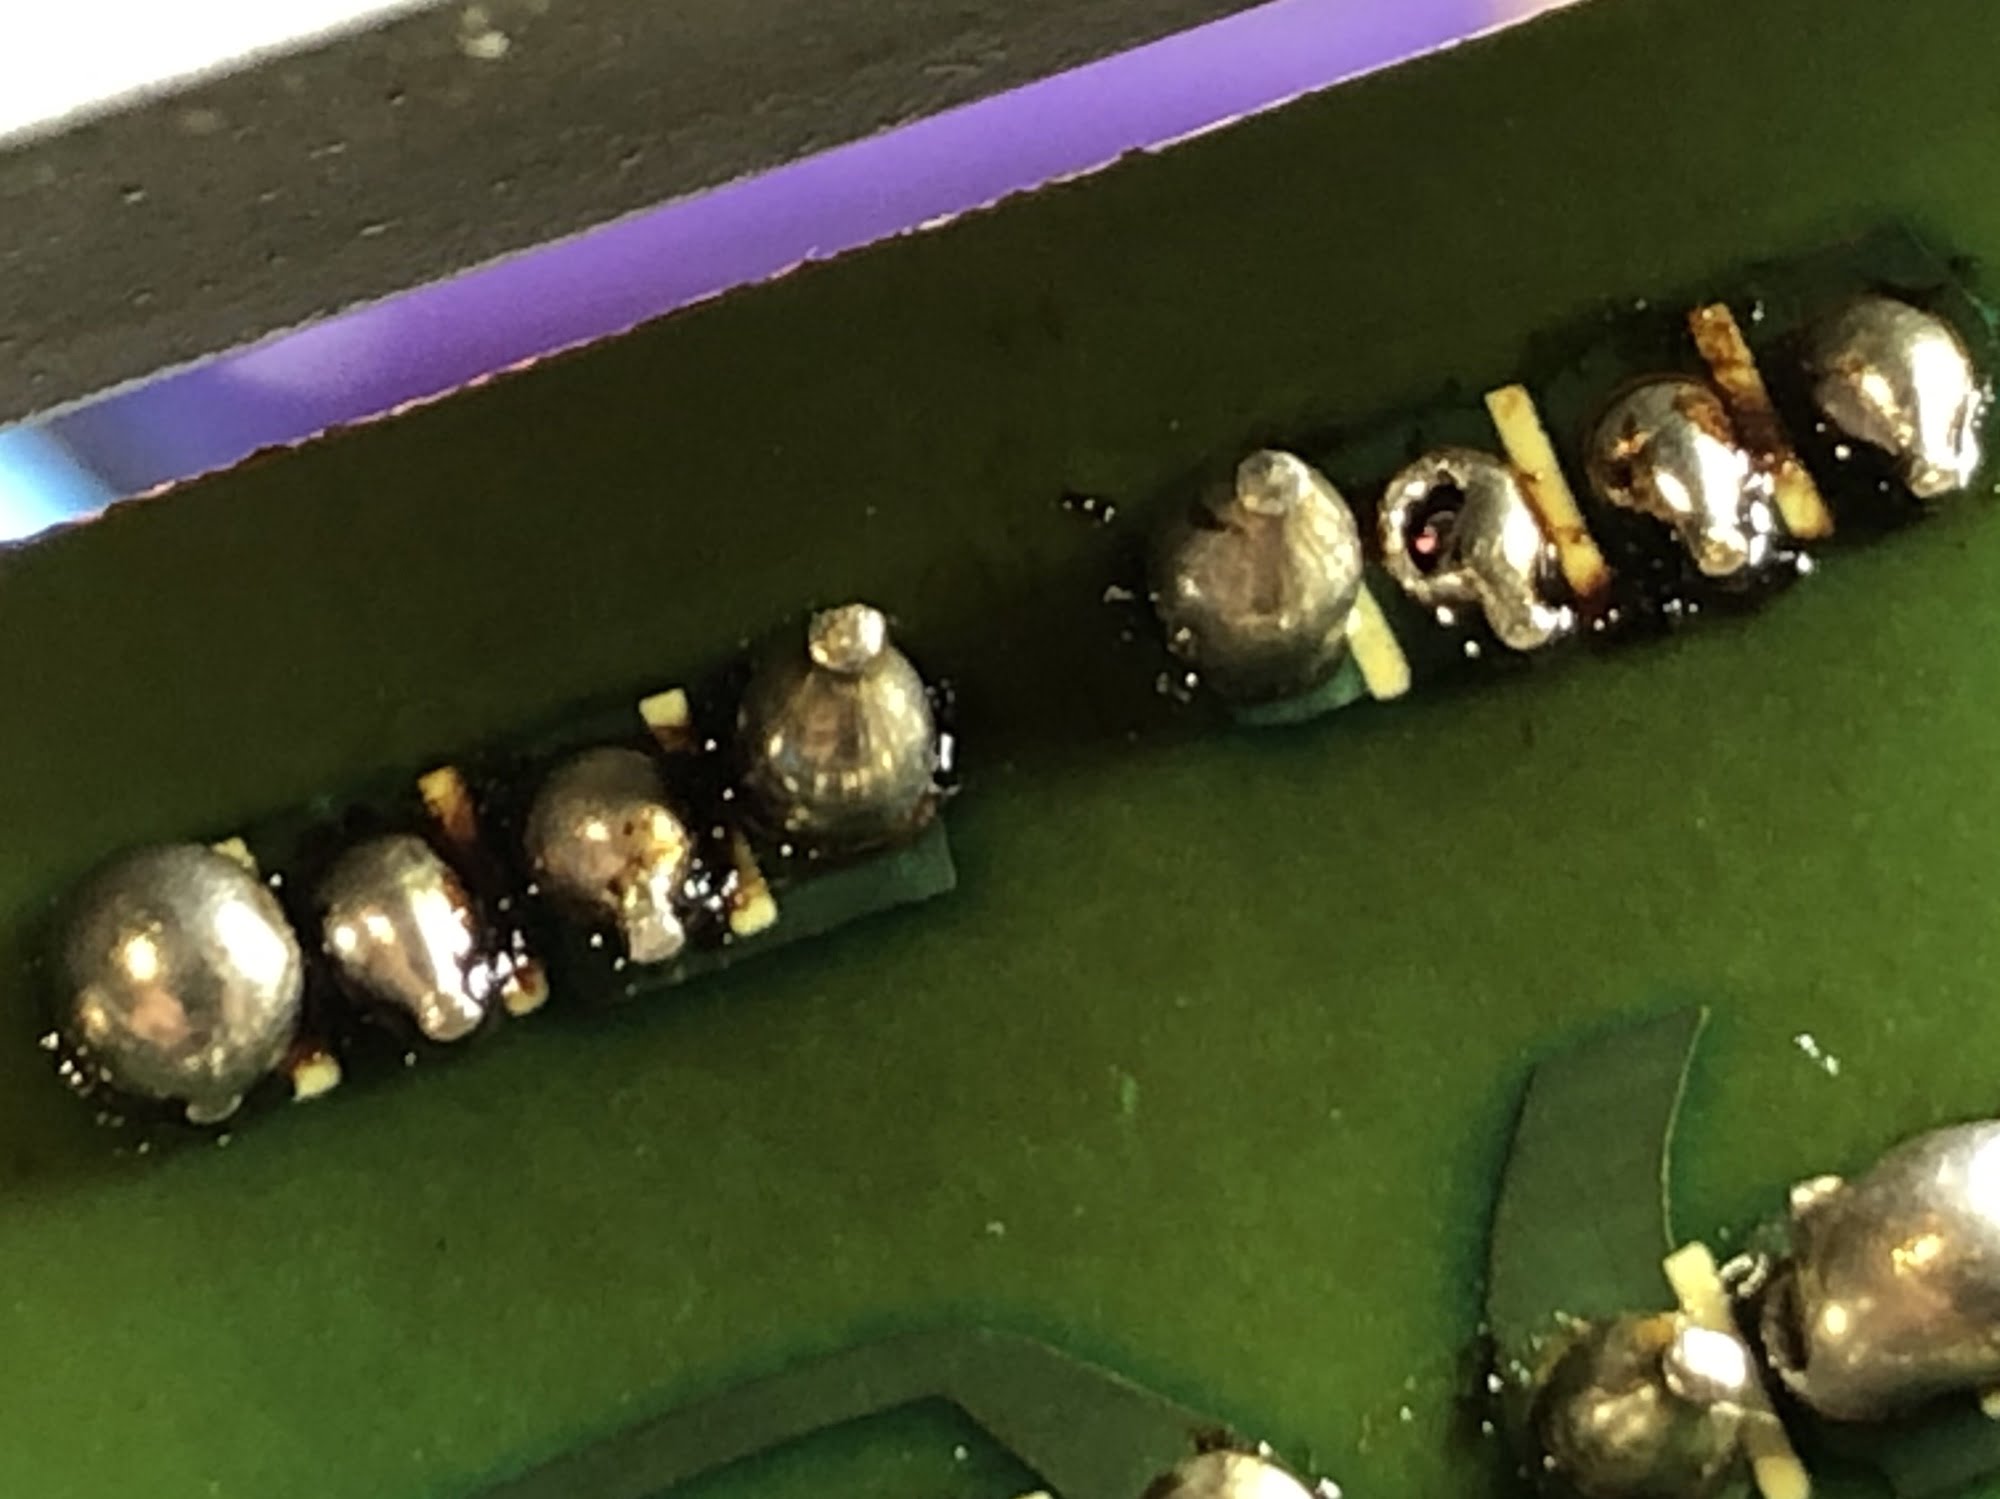
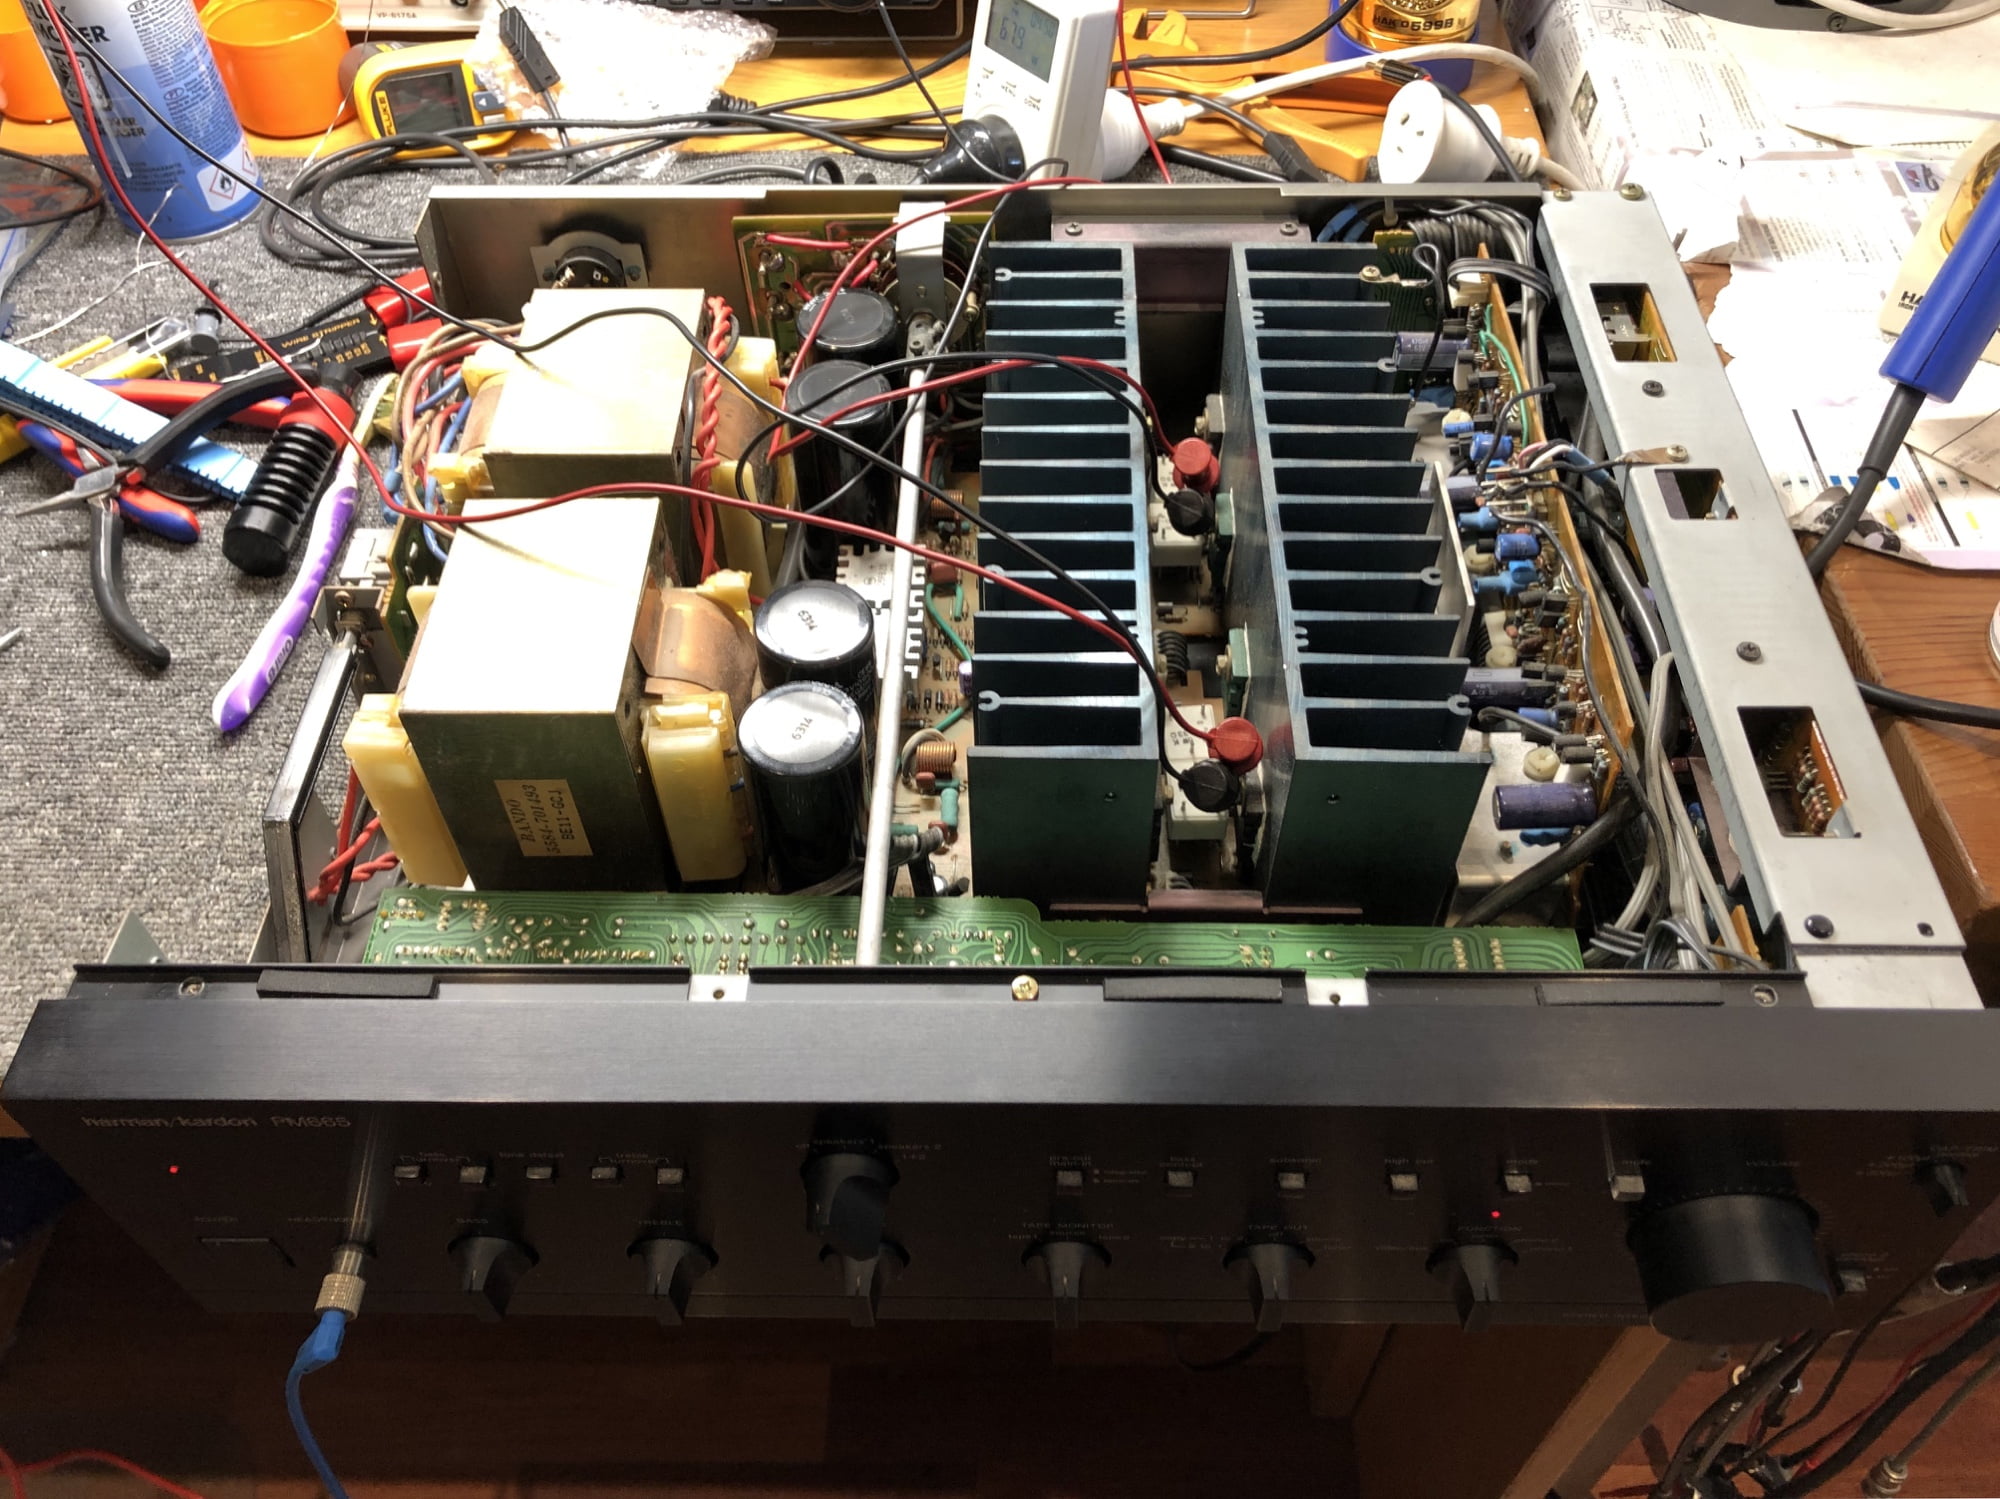
Don’t Even Look At It!
The unit belonged to my customer’s late husband and he just loved it. The family weren’t to touch or even LOOK at the thing, pure Spinal Tap!
My customer was unaware of the extent of the previous poor work. She did, however, confirm where her late husband took the unit, and I recognised who that meant did the work…
If you would like me to service or repair your Harman/Kardon PM665 or any other H/K gear for that matter, don’t hesitate to get in touch.
Discover more from LiQUiD AUDiO
Subscribe to get the latest posts sent to your email.


Are you still working on pm665
We work on many HK models including the PM665, repaired another one only a few days ago.
Hello, I have a harman Kardon pm 655 with one of the channels working well, the bias current is 30mv.
But I can’t make the other channel go below 70mv, what should I watch? Apart from the polarization regulator, what other problem could I have that I would have to verify?
Thanks in advance
Más información sobre este texto de origenPara obtener más información sobre la traducción, se necesita el texto de origen
Enviar comentarios
Paneles laterales
Hi Jesus, thanks for your question. Apart from power supply voltages, parts in the bias network would be my first checkpoints including trimmers and drive transistors, voltage divider resistors etc. The schematic will help if you are able to access it. Validating the preamp drive would also be important here to make sure what you are reading is not the result of noise from elsewhere. Nothing beats getting something like this physically in front of an expert though as taking measurements is the key. There may be something quite obviously wrong that is just not visible to an equipment owner at home.