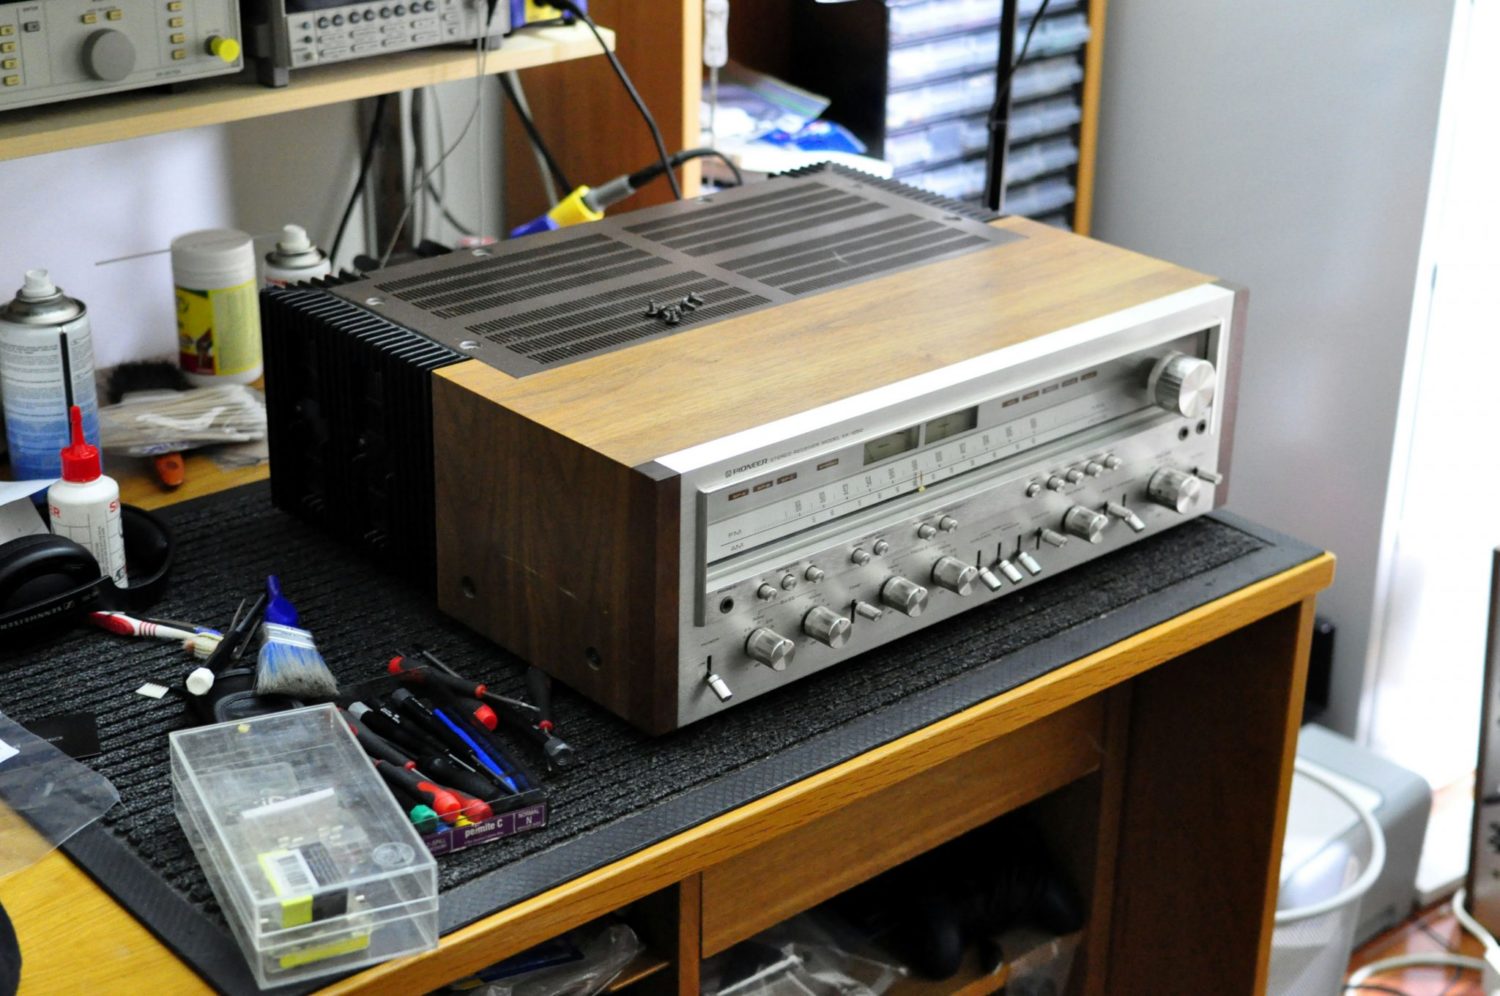
A lovely customer of mine rang me to tell me that his beloved Pioneer SX-1250 monster receiver had died in a cloud of acrid smoke. Naturally, he was devastated and asked if I could restore the old beast for him.
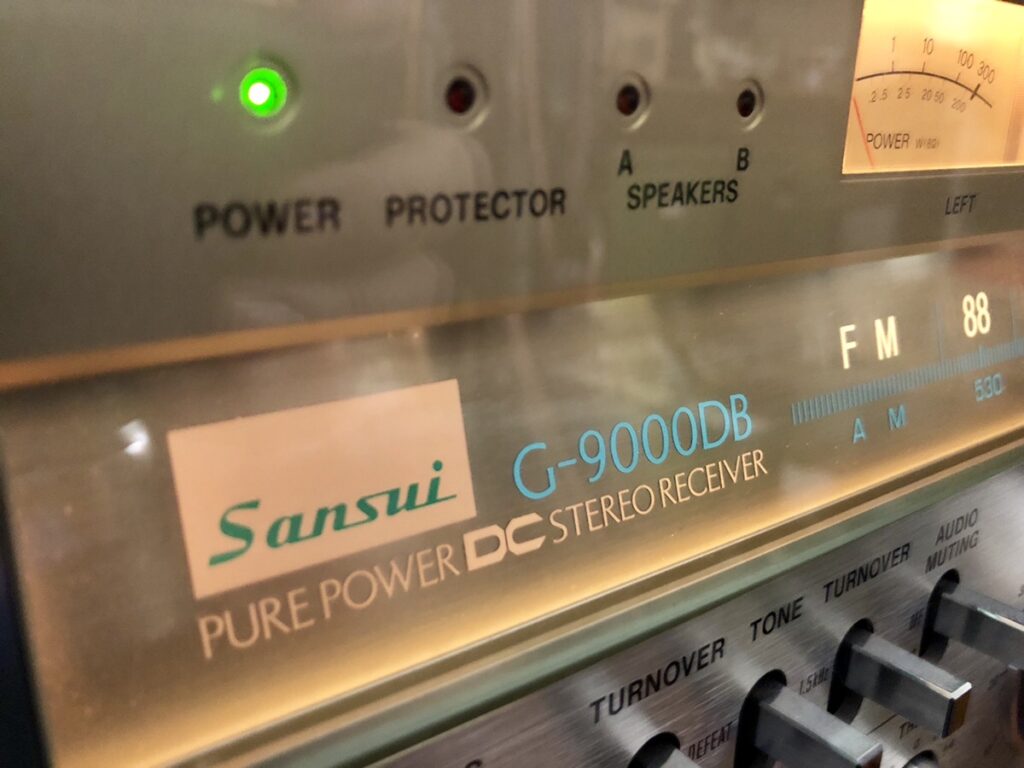
The Pioneer SX-1250 is a monster receiver in the truest sense of the term. There are several large receivers like this, created at a time when Japanese manufacturers were competing for bragging rights. Another similar model is the Sansui G-8000 Pure Power DC Stereo Receiver. I repaired one of those monsters, here.
Problems
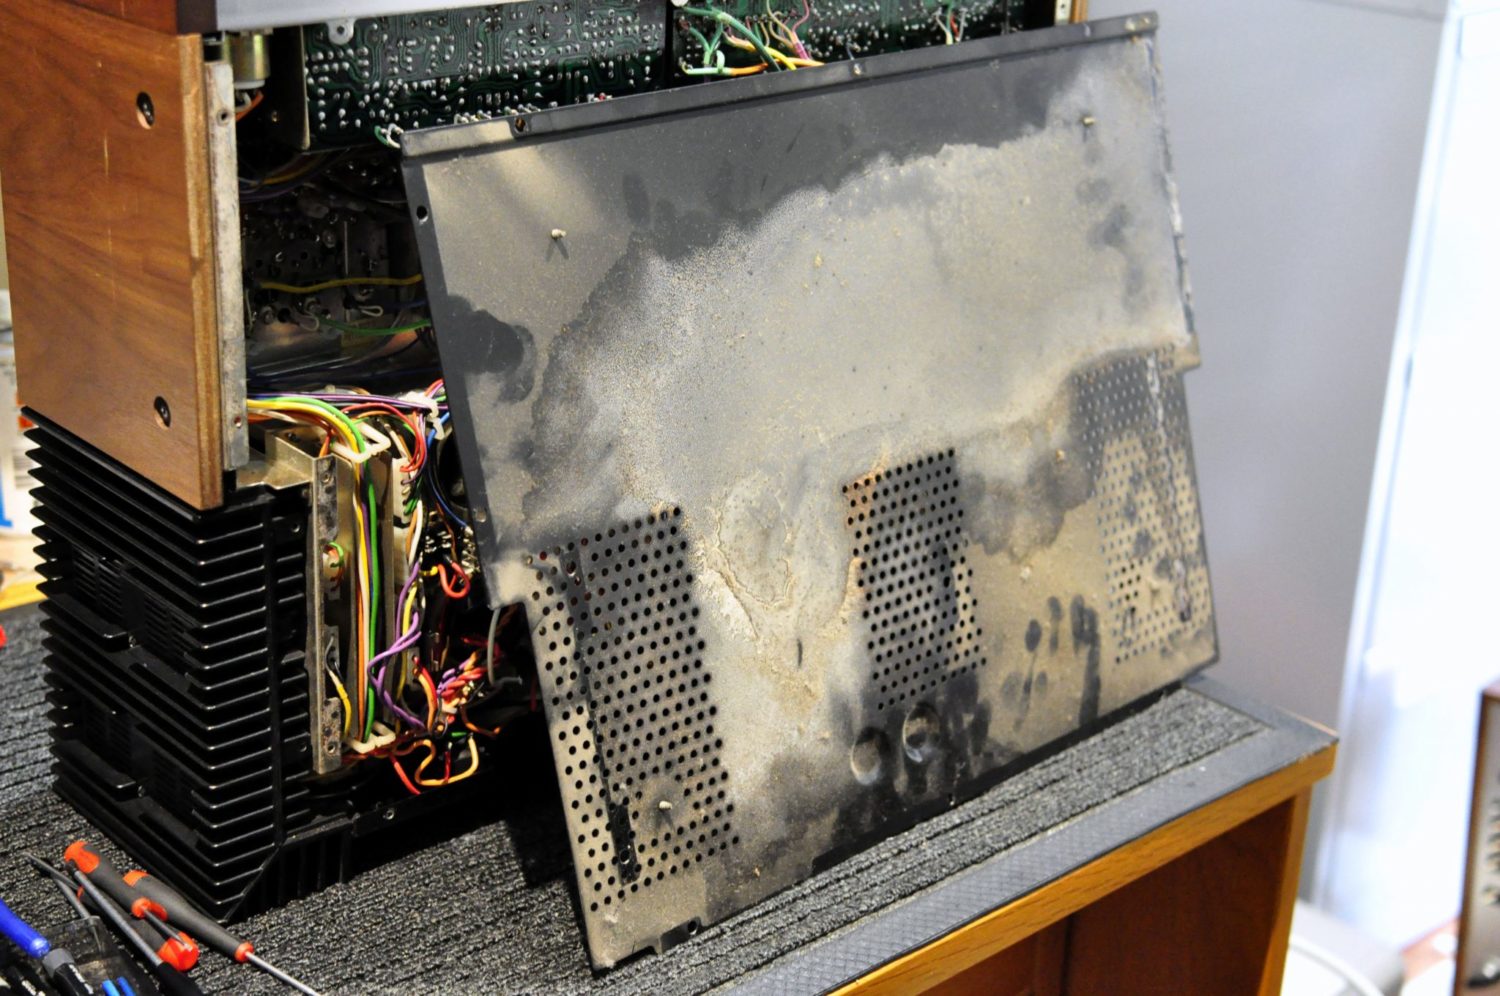
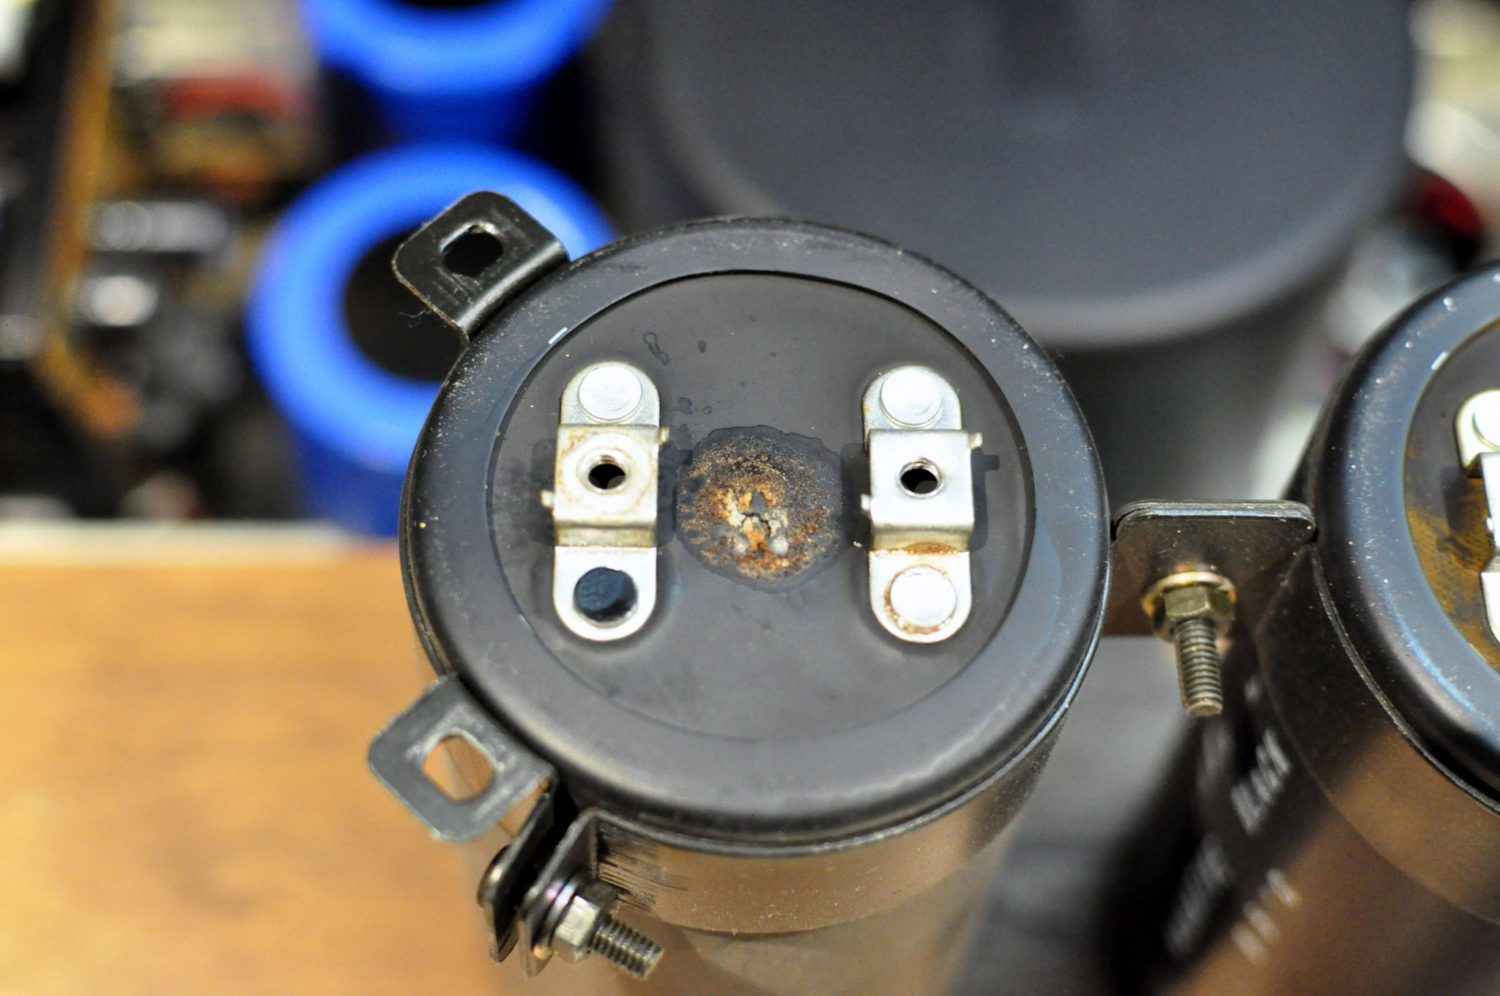
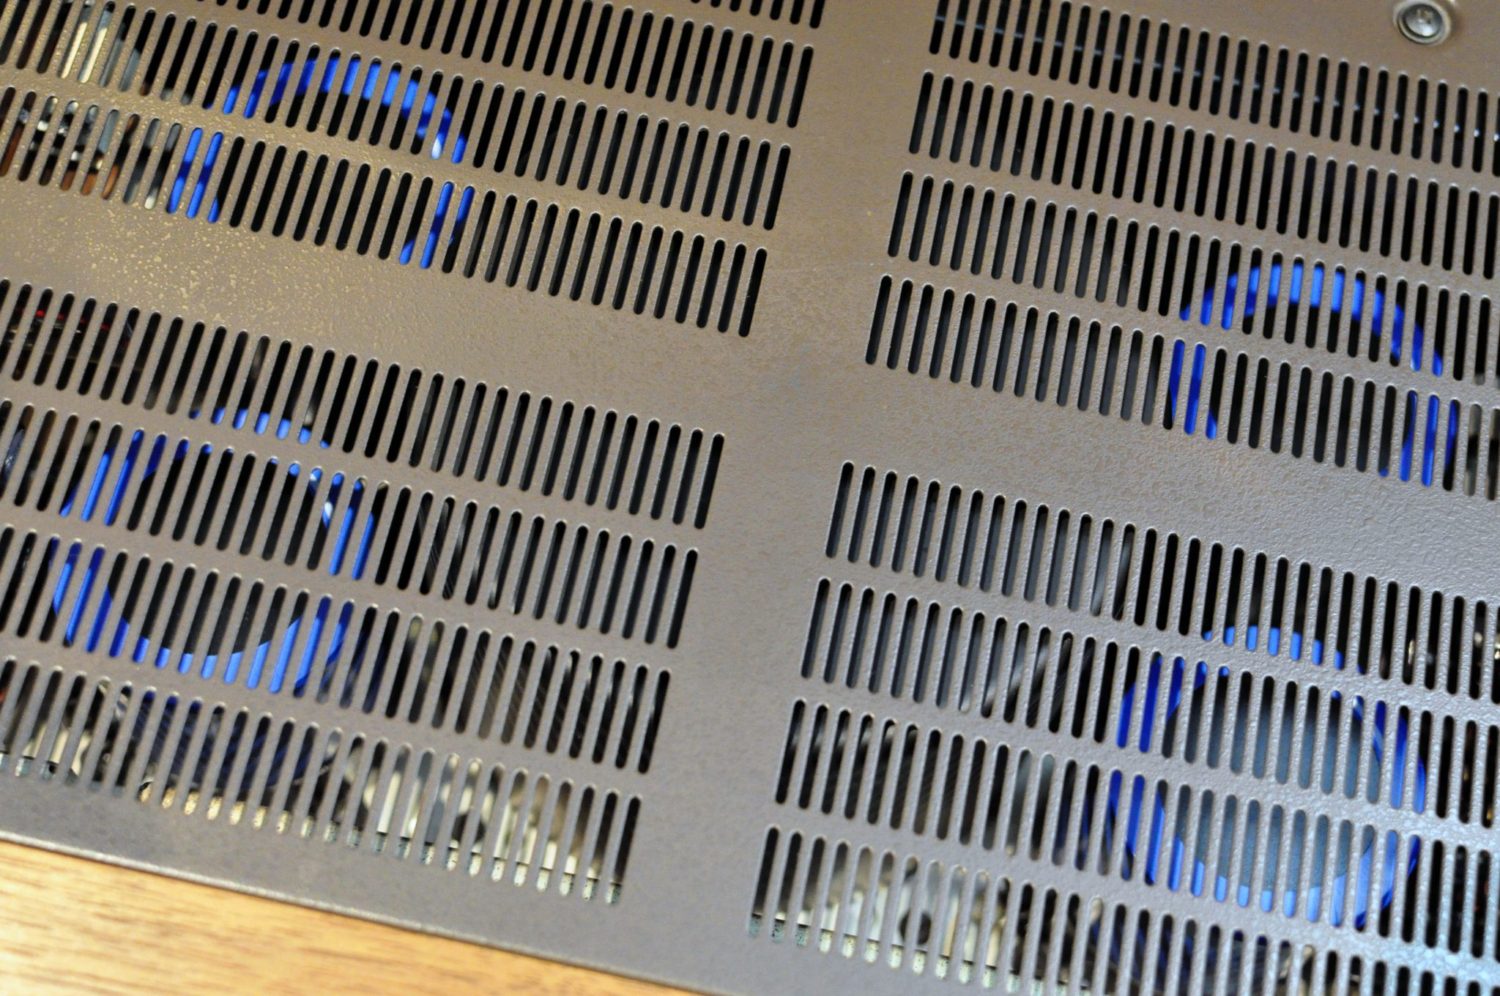
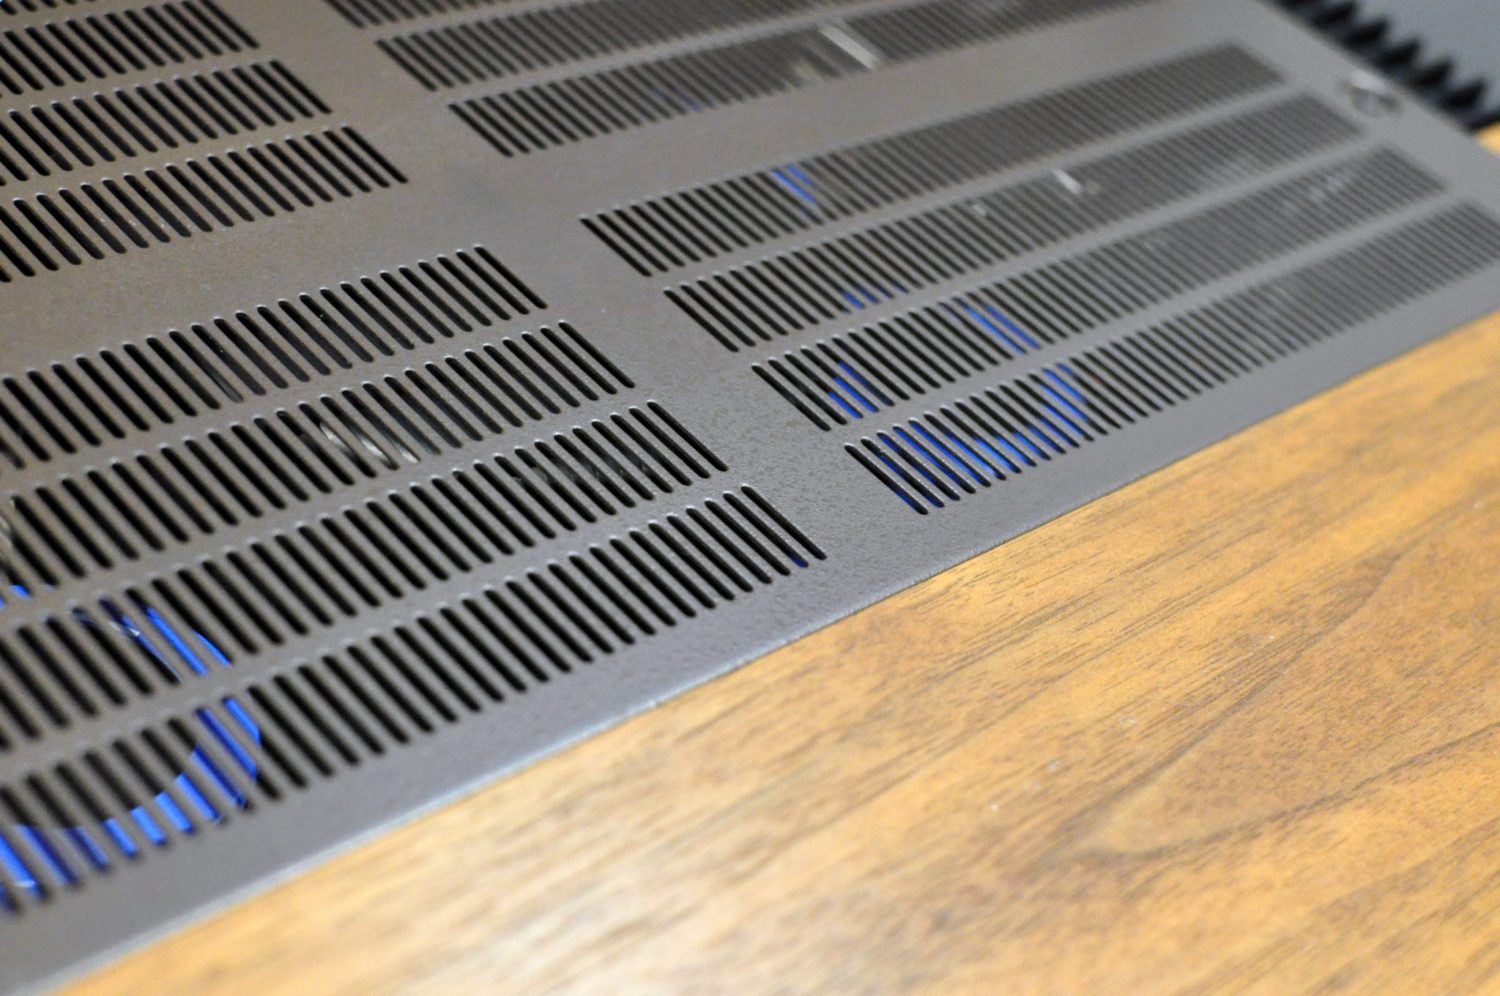
This Pioneer SX-1250 died literally in a cloud of smoke, so in terms of diagnostics, I was looking for a smoke generator. I found one – well two actually. The first was on the bottom panel, where one of the large electrolytic main filter capacitors had spewed its electrolyte out of the pressure release vent and directly onto the metal bottom panel. This most definitely would have made a noise and created some smoke.
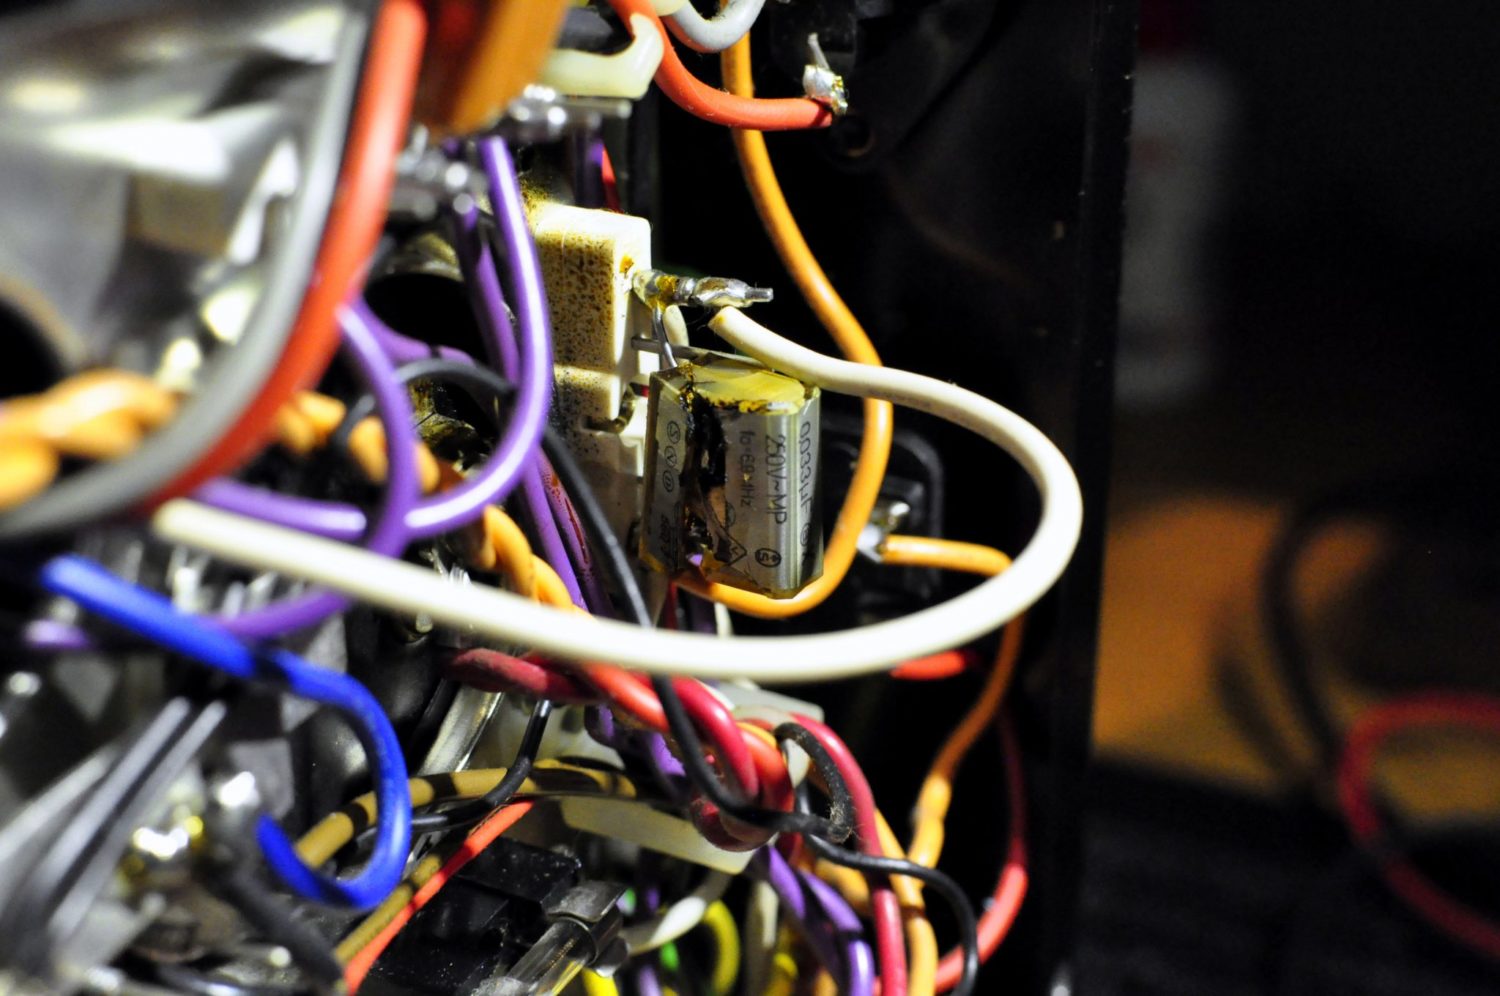
The other possible culprit was one of my favourites – a Rifa epoxy film capacitor, X-rated for connecting across active and neutral, that was blackened and burnt. These things fail with monotonous regularity. This particular cap was 0.033uF and I have lost count of how many of these I have seen fail. What happens is that the epoxy cracks, allowing moisture and other contaminants into the case, which then causes a partial short, which then allows a small amount of current to flow and then more until finally – bang! They blow like a firework, often when the equipment is turned off.
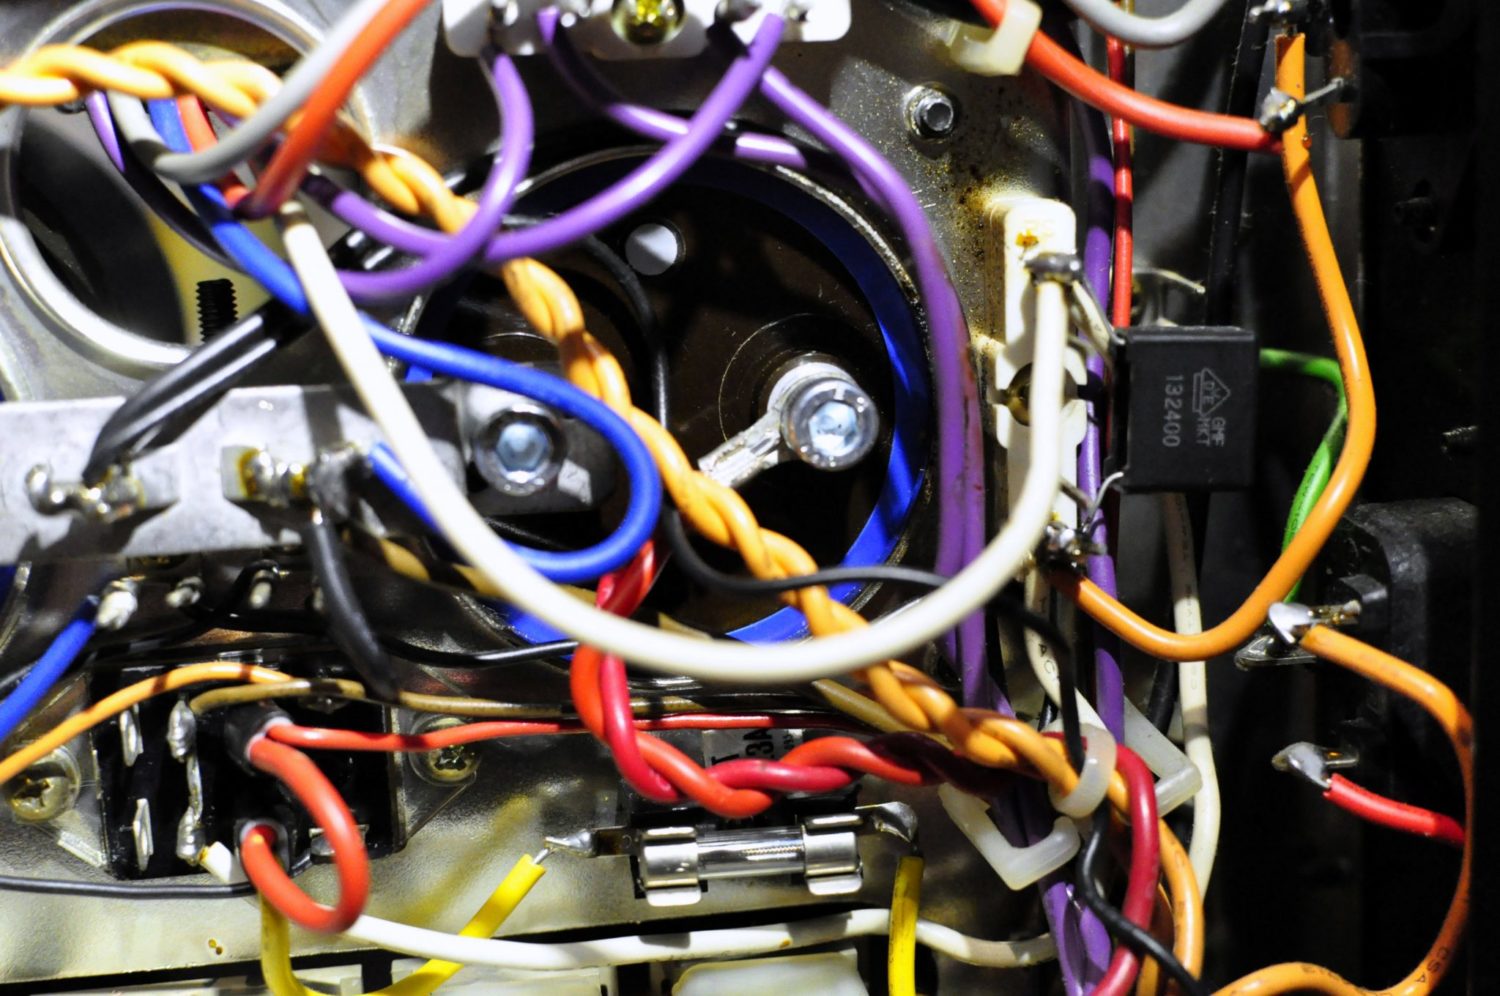
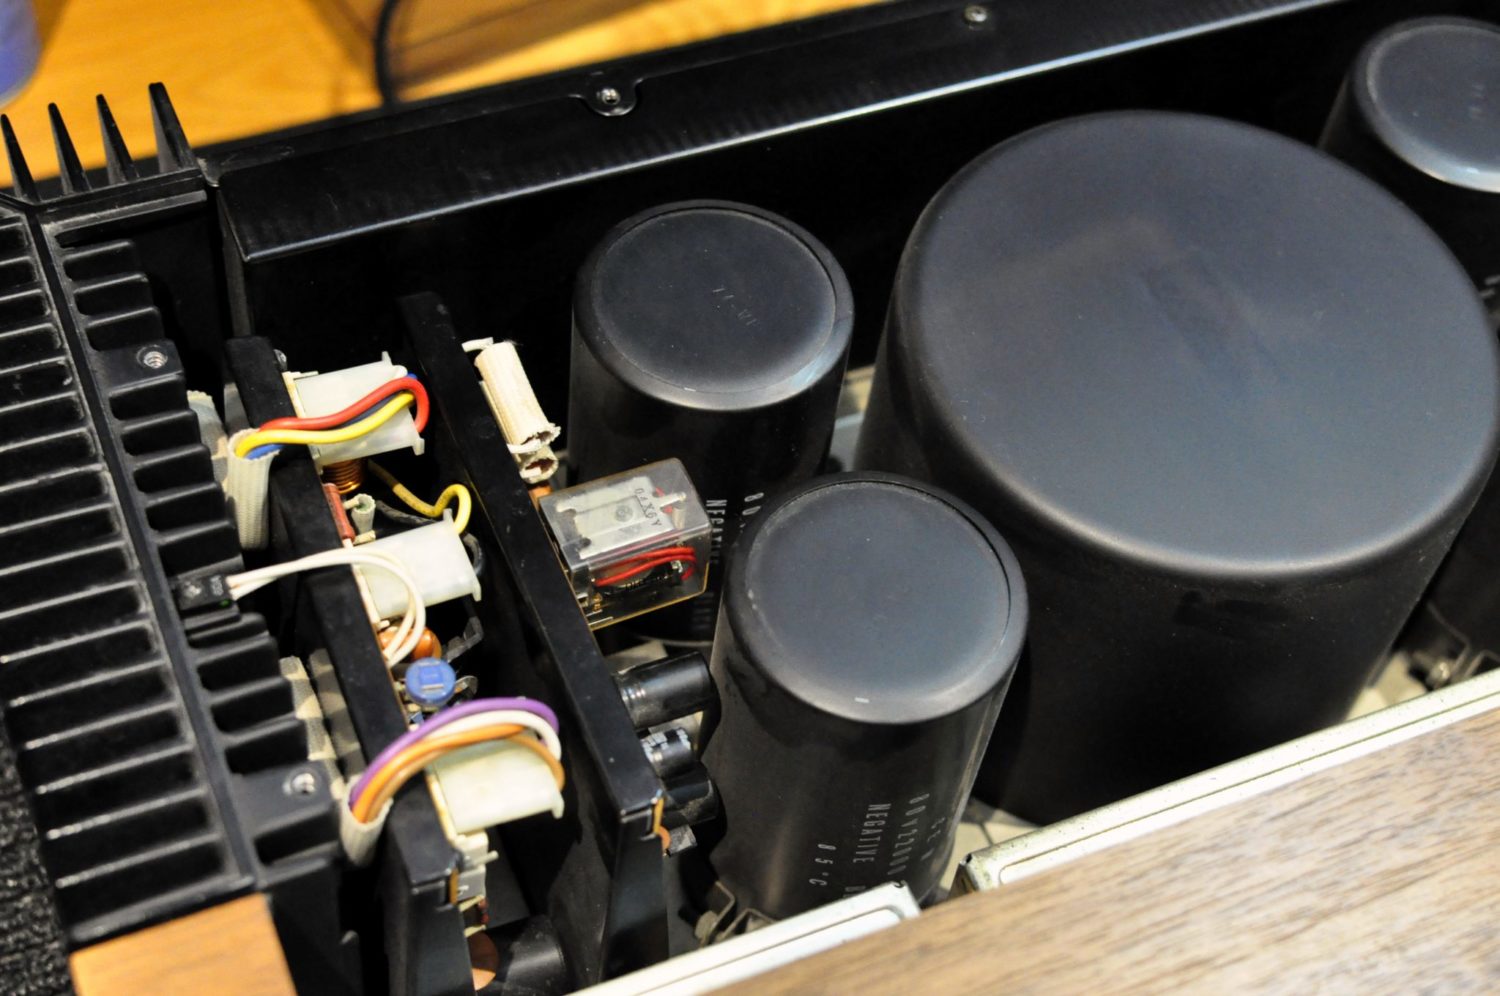
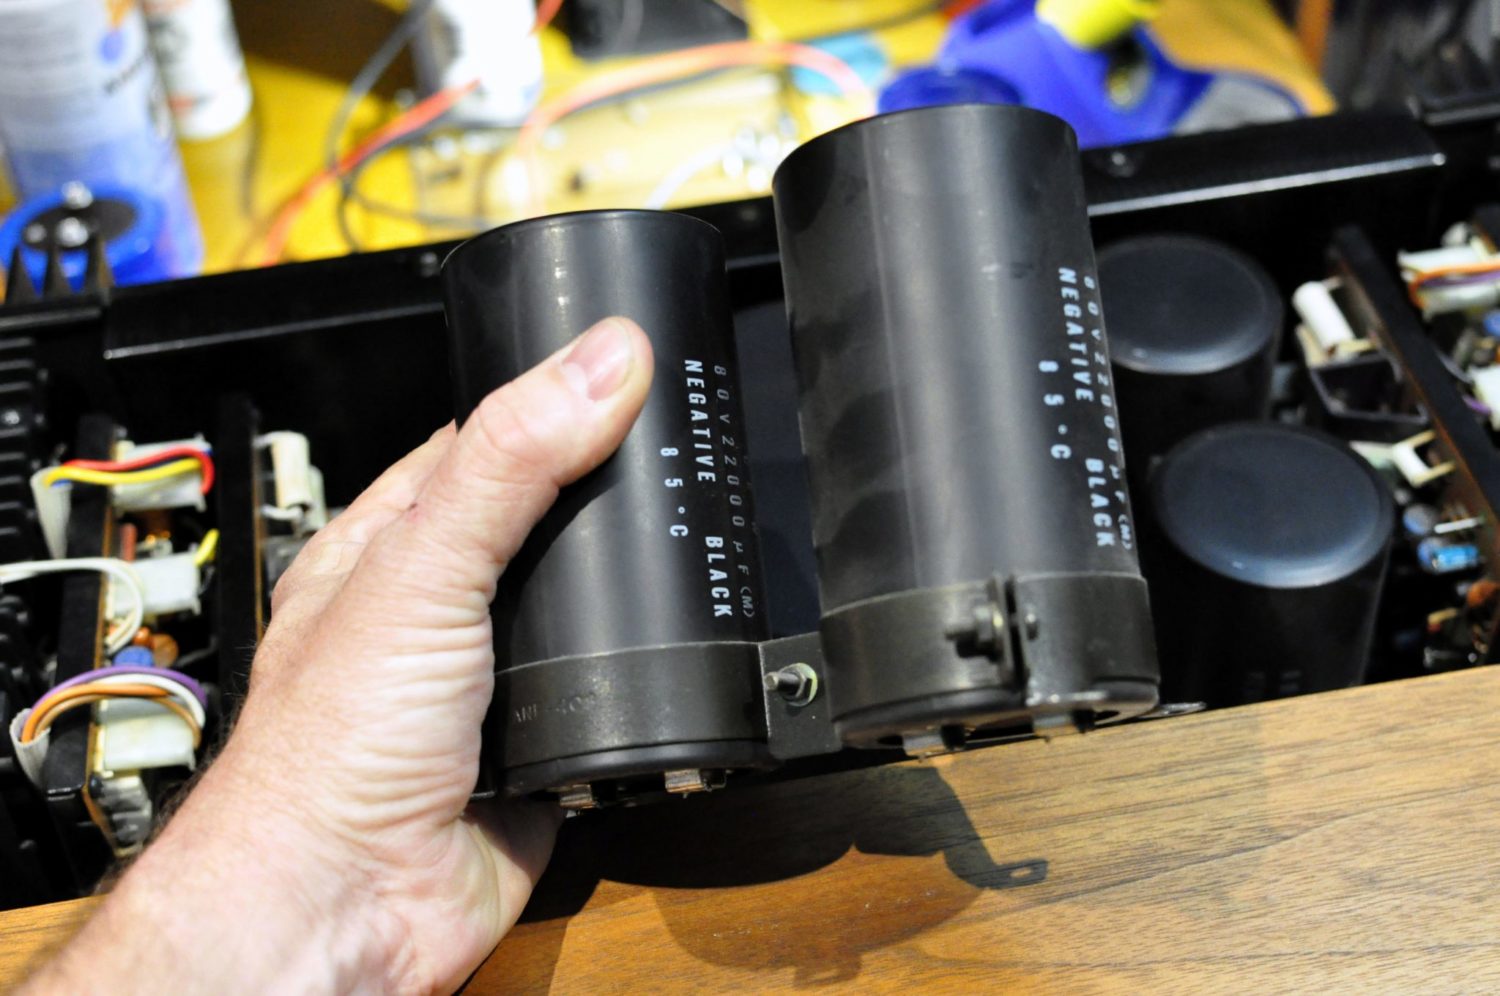
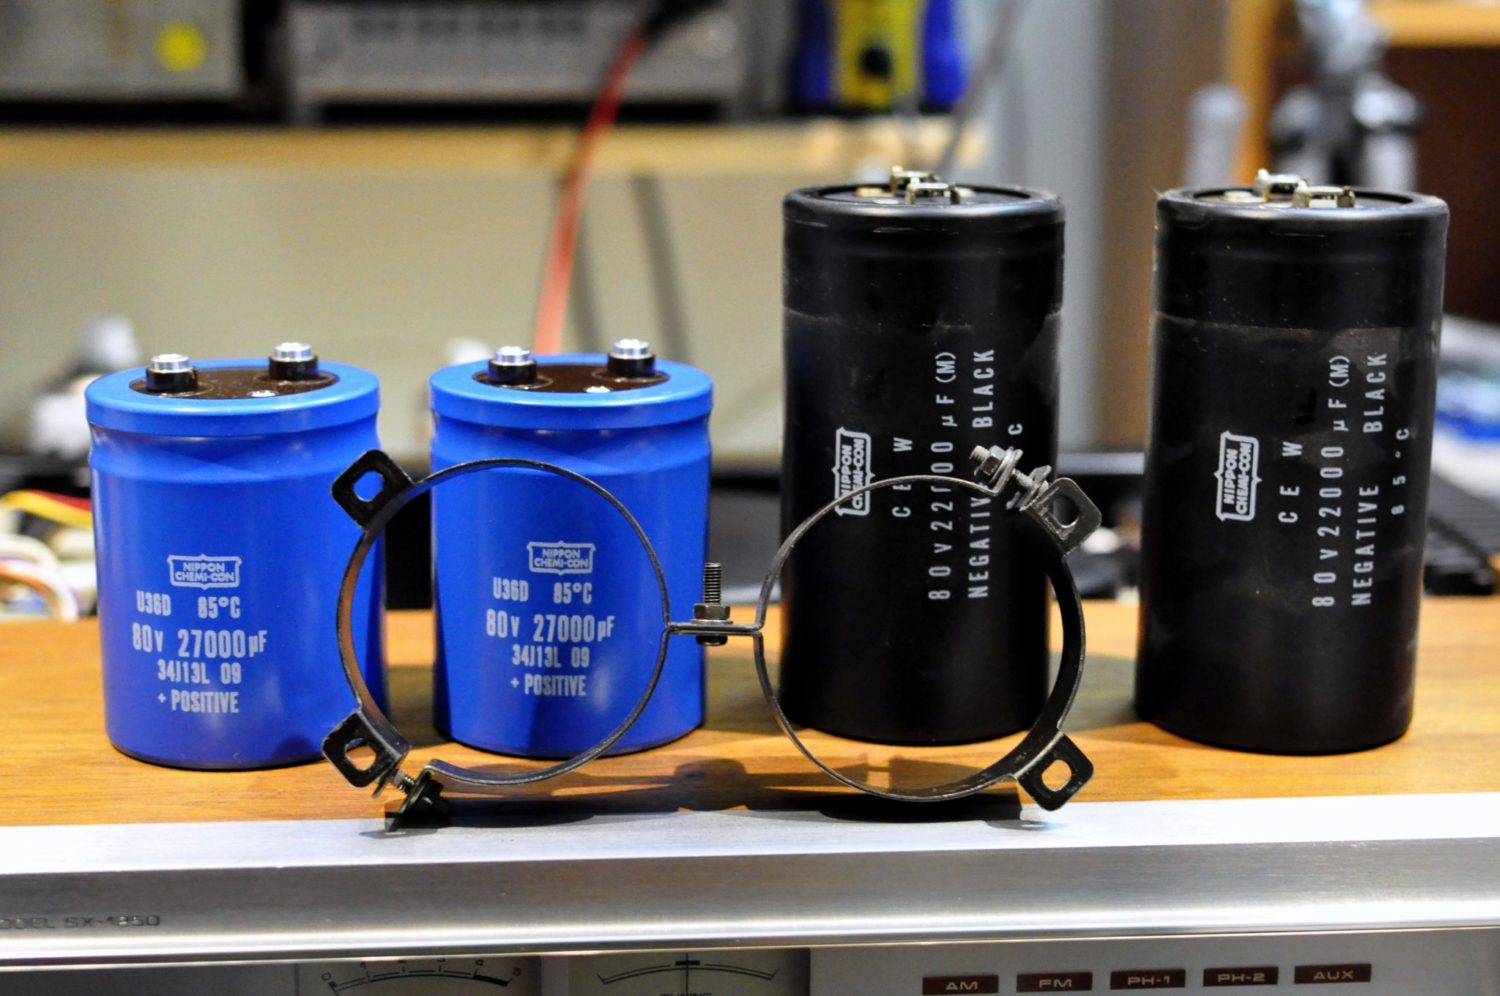
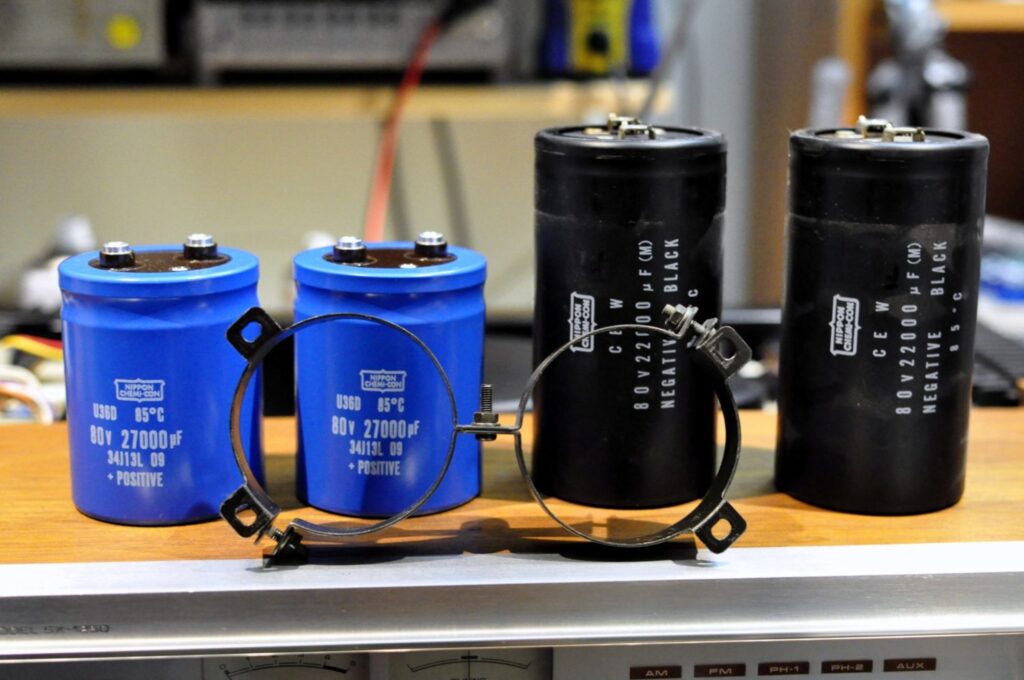
Repair required partial disassembly of the power supply. Specifically, I removed the two pairs of main filter caps as I chose to replace them all with brand new, high-spec and slightly larger capacitance Nippon Chemi-Con parts, imported from Germany. The standard capacitors were 22,000uF, I chose 27,000uF replacements.

Repair
There are several considerations when replacing main filter capacitors and they apply to any amplifier or power supply. First is the mechanical fit. The original caps were secured by a system of fixings that required the cap diameter to be precisely 63.5mm. This is a standard size, but it just means that you have to choose the same diameter caps to replace the originals unless you want to have to mess around with adapters and kludges, and I never do.
Then there are the electrical properties of the capacitors to consider. These needed to be 80V rated and the originals were 22,000uF, so ideally the replacements would be that size, or slightly larger. I say slightly because this really must be calculated. When the equipment is turned on, the main filter capacitors charge up and as they do, they effectively present a short-circuit across the mains as they charge. This charging or in-rush current as it is known is an impulse that must be designed for and the fuses allow for this current and not much more.
If you randomly use larger capacitors as people seem to like to do, you risk increasing the in-rush current to the point where fuses could blow or worse still, other parts of the power supply circuit could be overloaded and damaged. In this case, however, 27,000uF capacitors were within what the design could tolerate and worked very well. They were not as tall as the originals but were the same diameter and even the same brand – Nippon Chemi-Con – a very high-quality choice, used in industrial and laboratory environments.
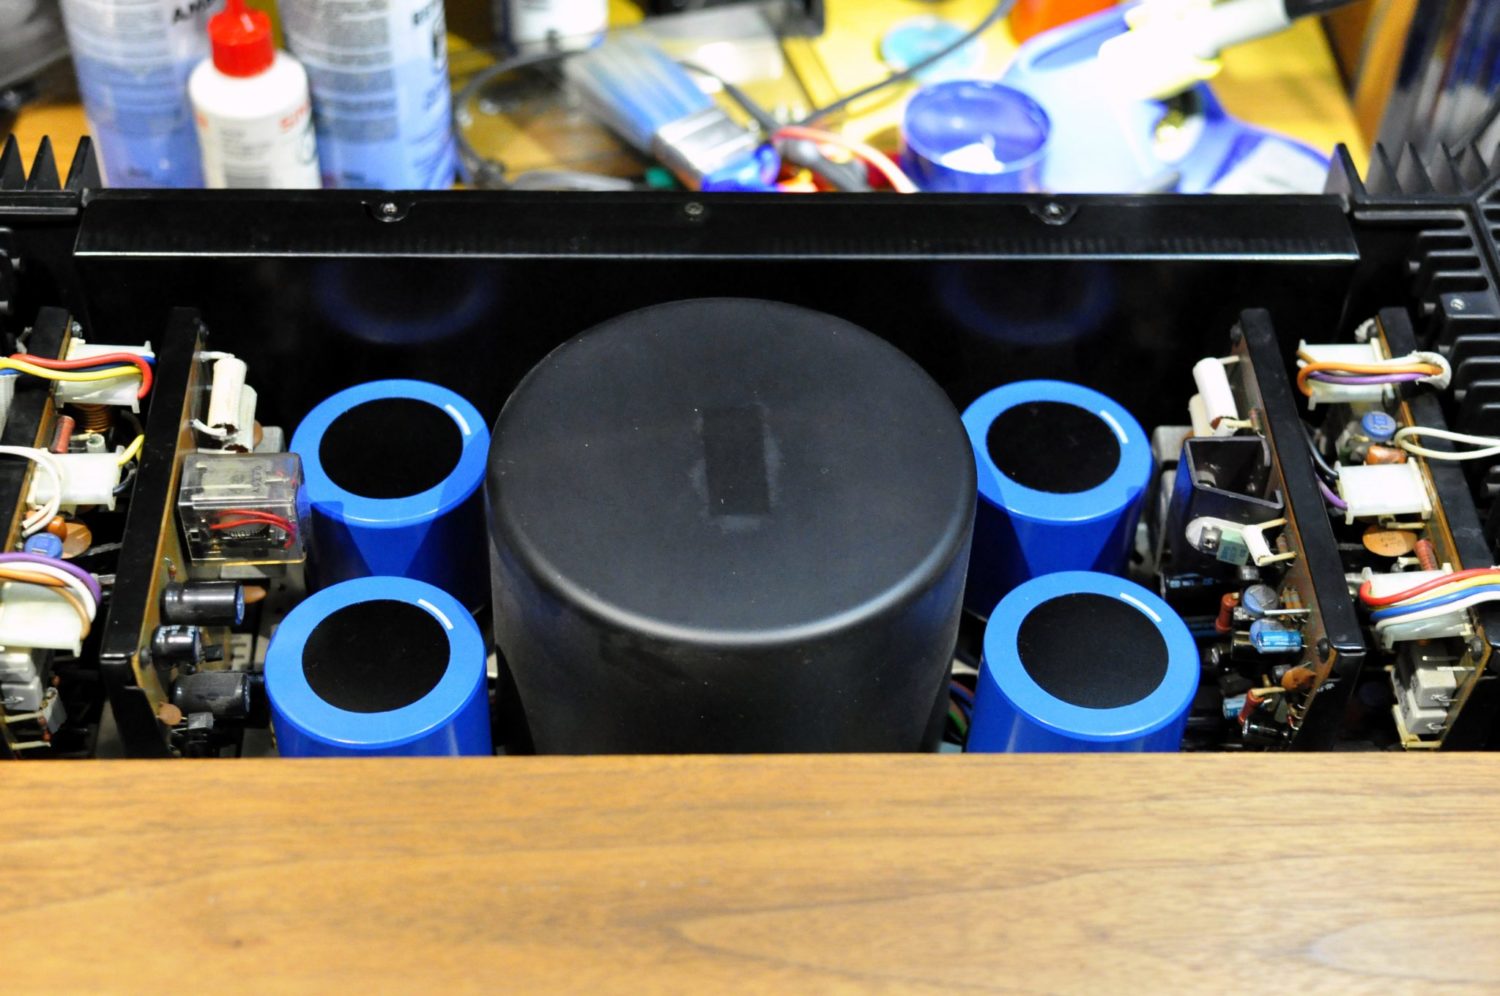
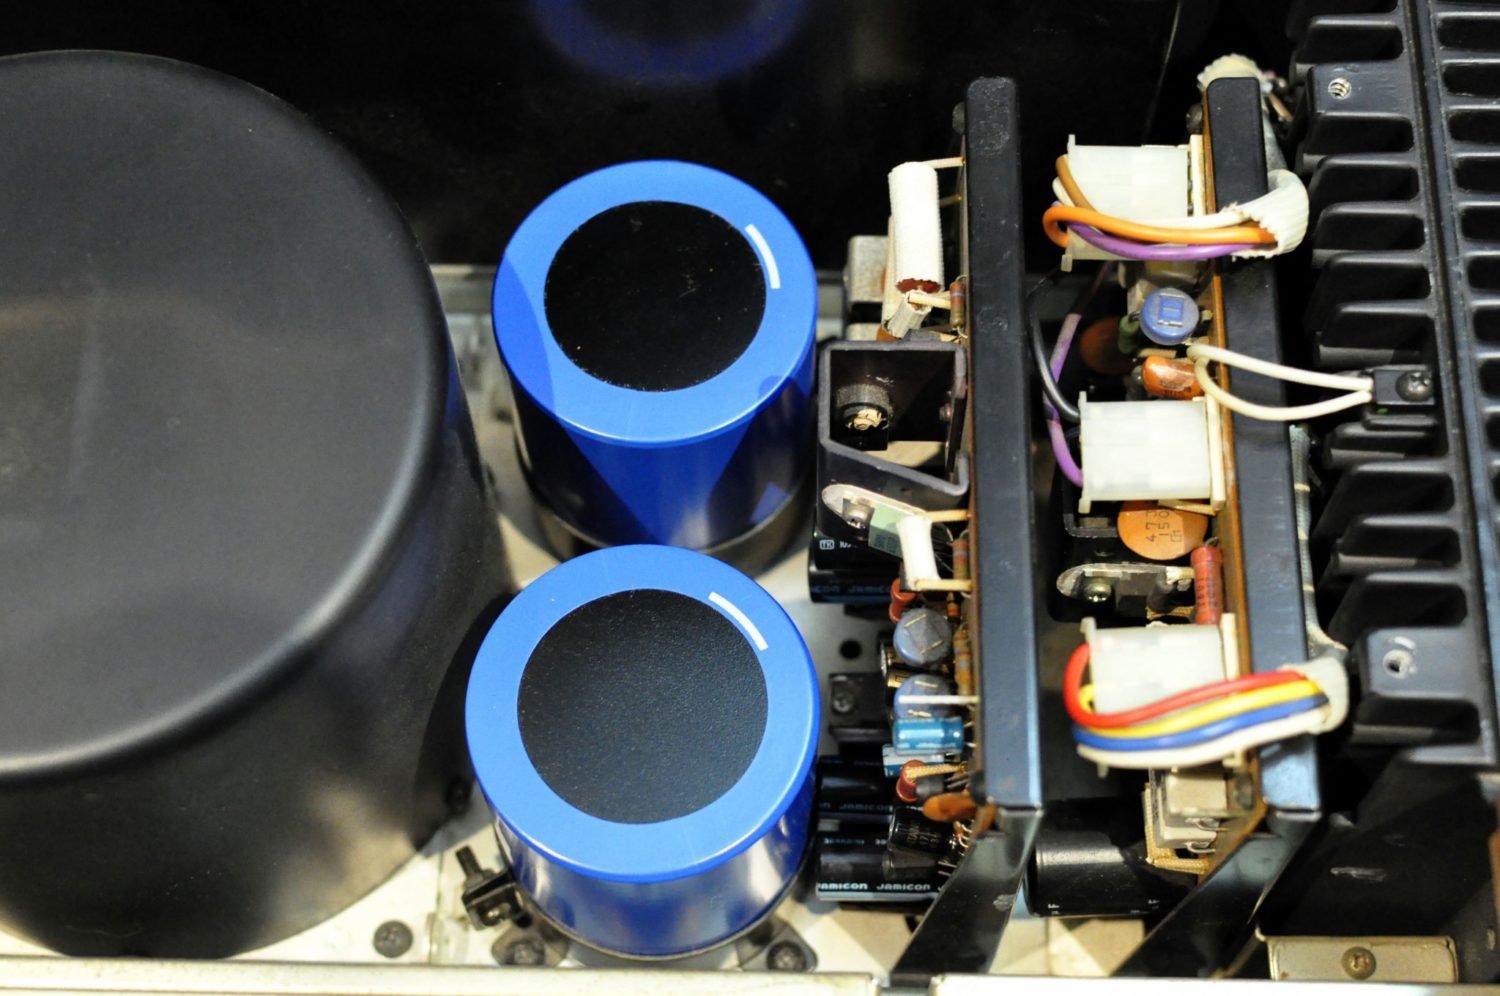
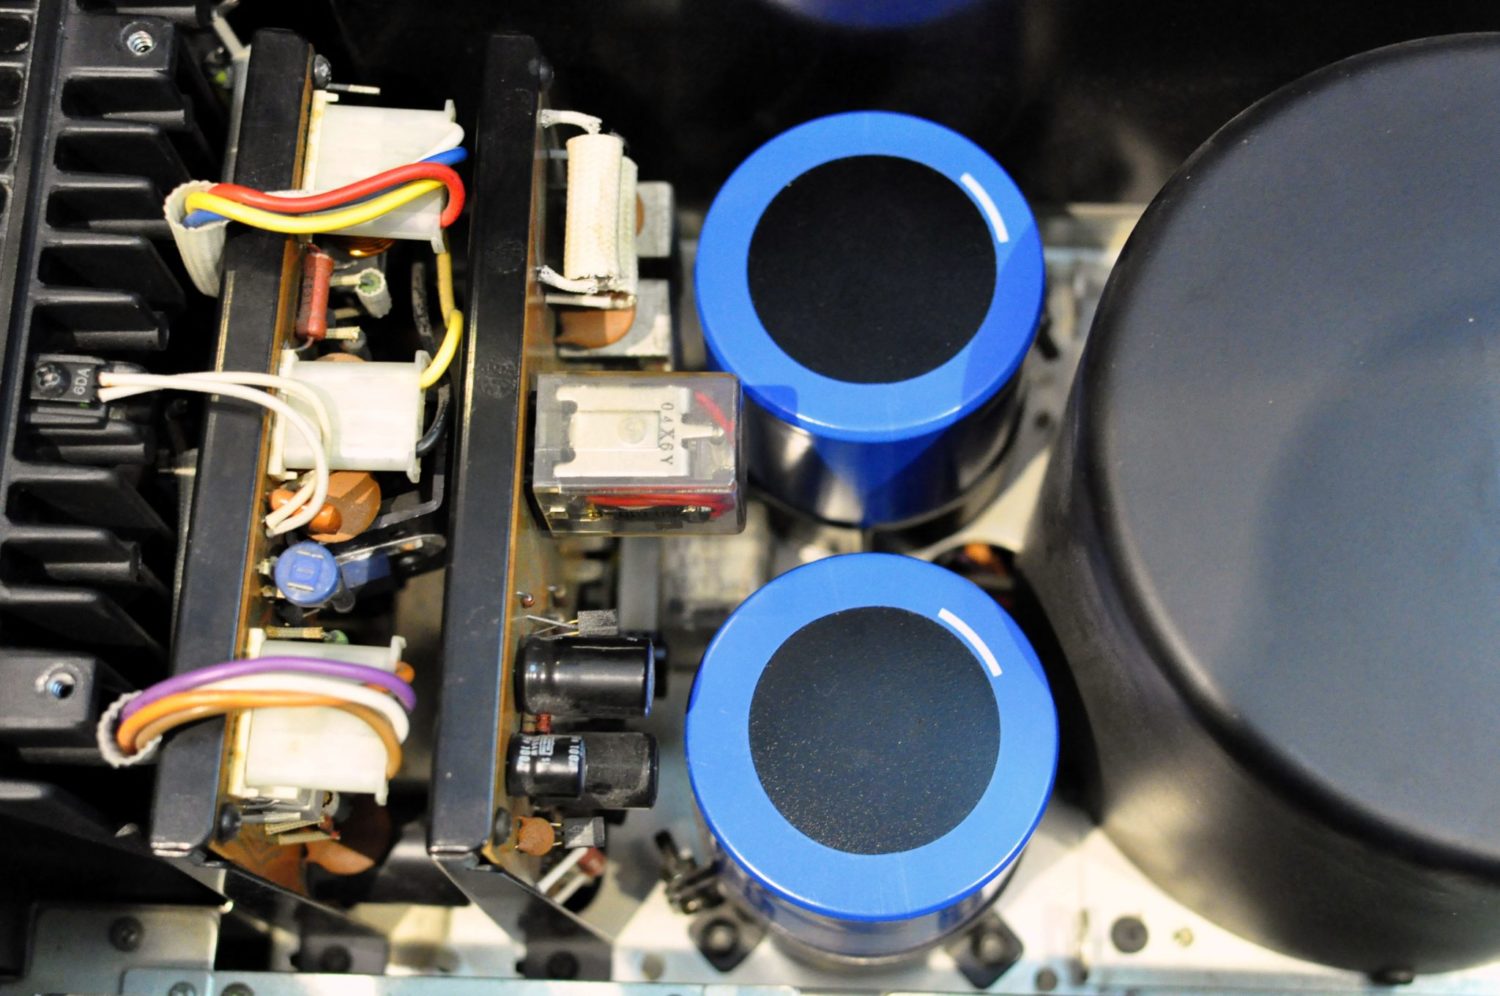
The new caps had different fastener requirements to enable the bus bars and wire connectors to be held in place, so I used a new set of M5 Allen bolts and lock washers, which looked great once installed.
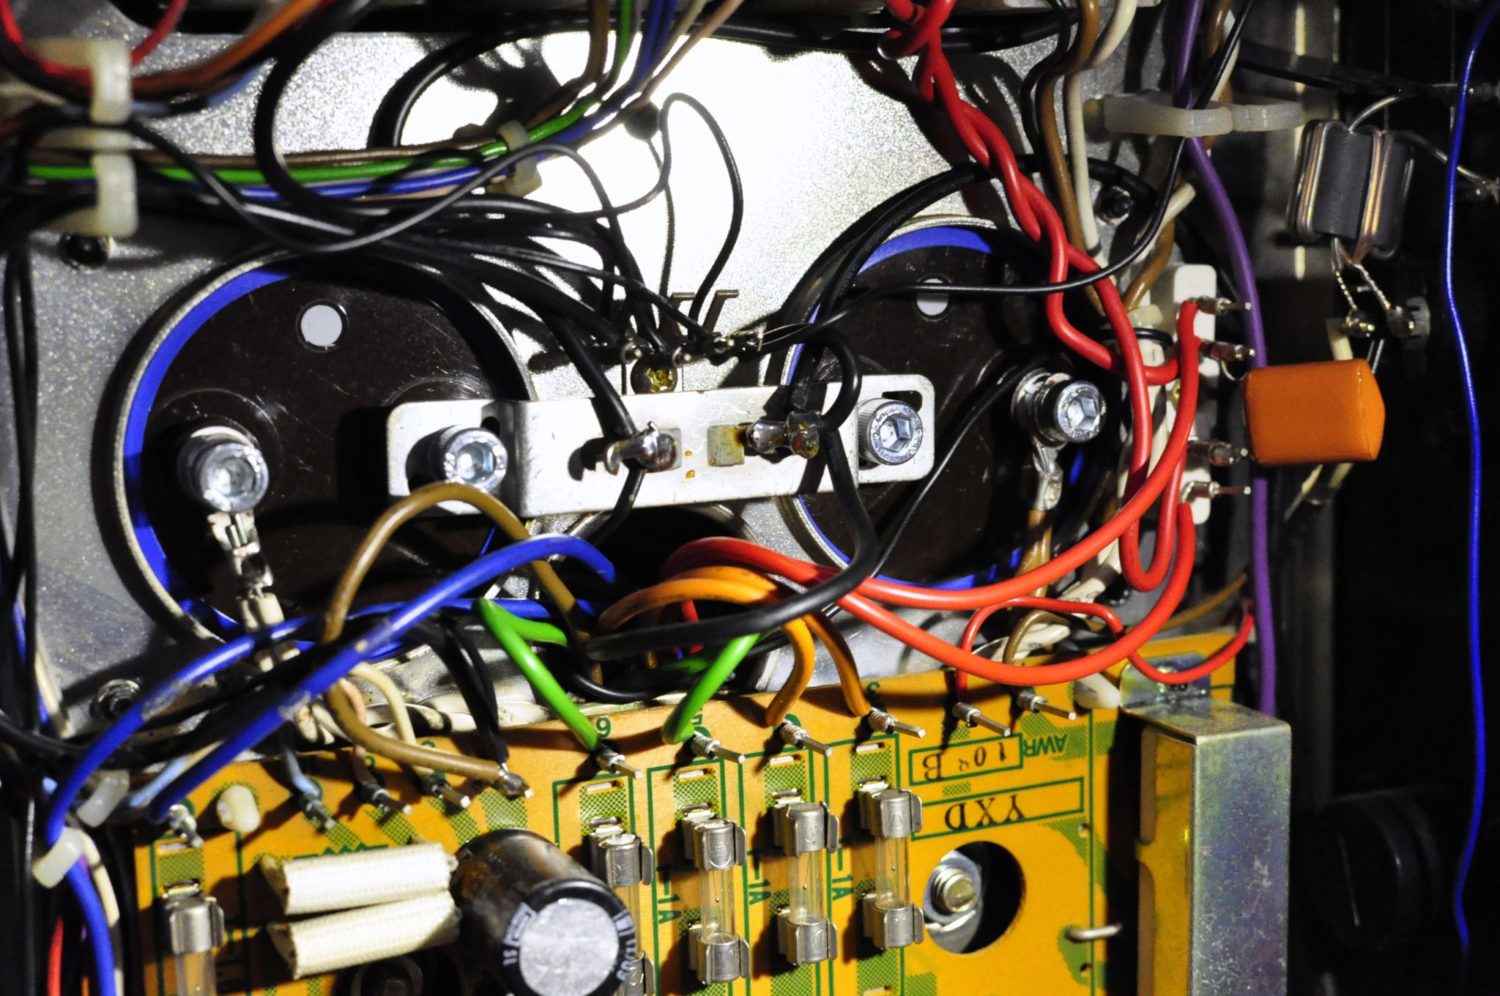
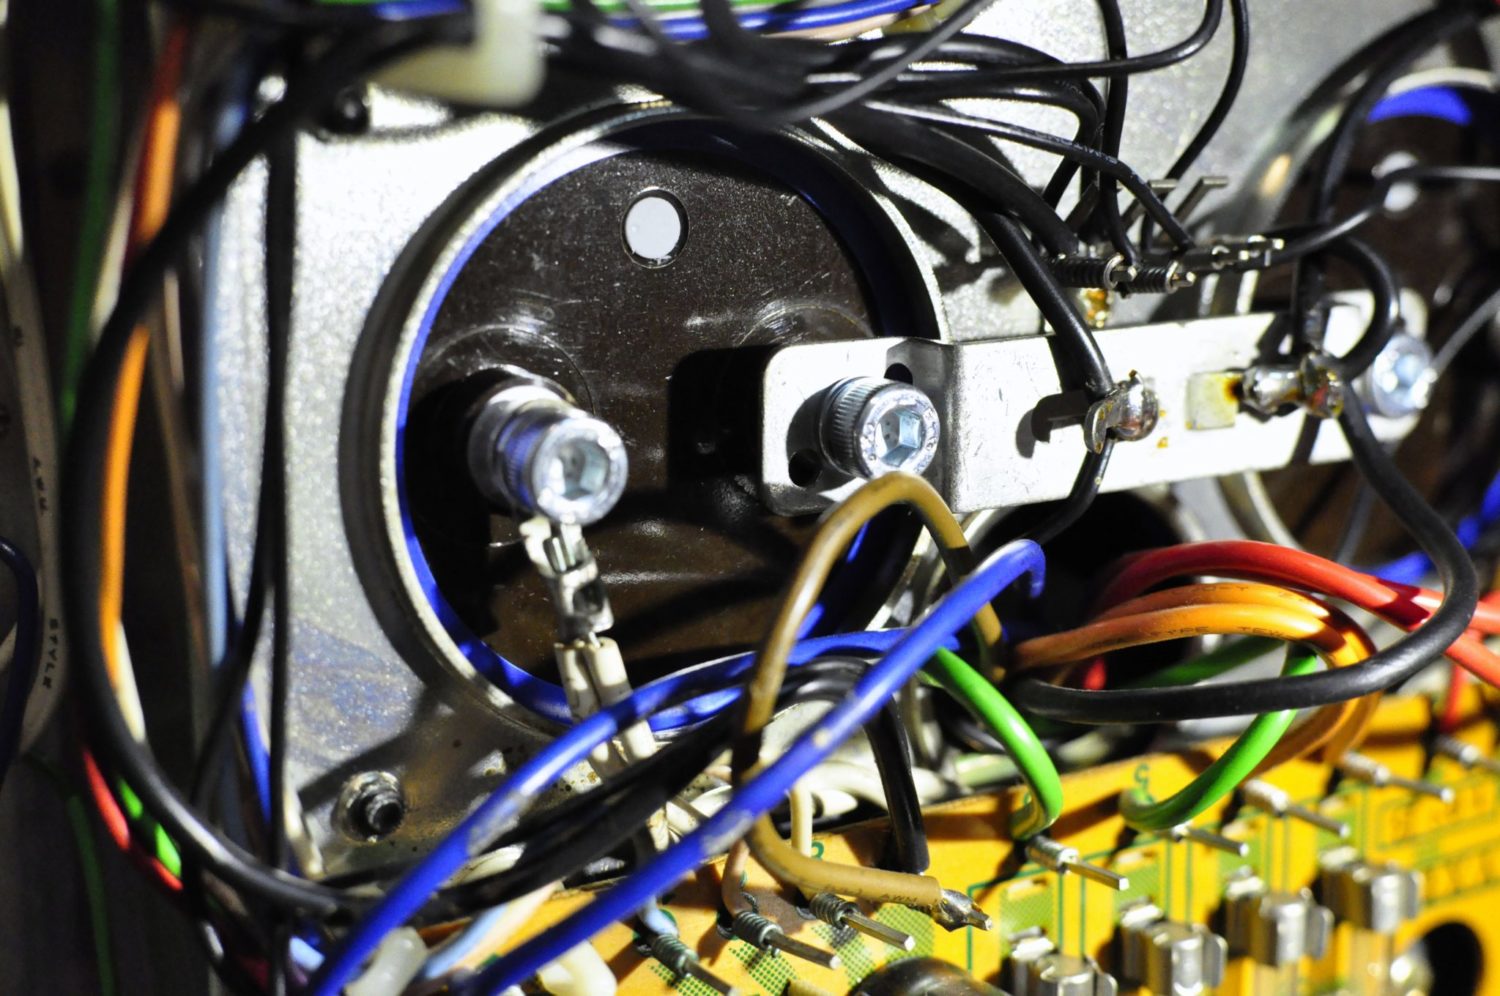
After replacing the dead X-rated mains capacitor and all the mail filters, it was time to power up the beast. Apart from my room lighting dimming as the filter capacitors charged up, she turned on without a problem and it was extremely satisfying to hear the “click” of the protection relays after the circuits stabilised.
Service
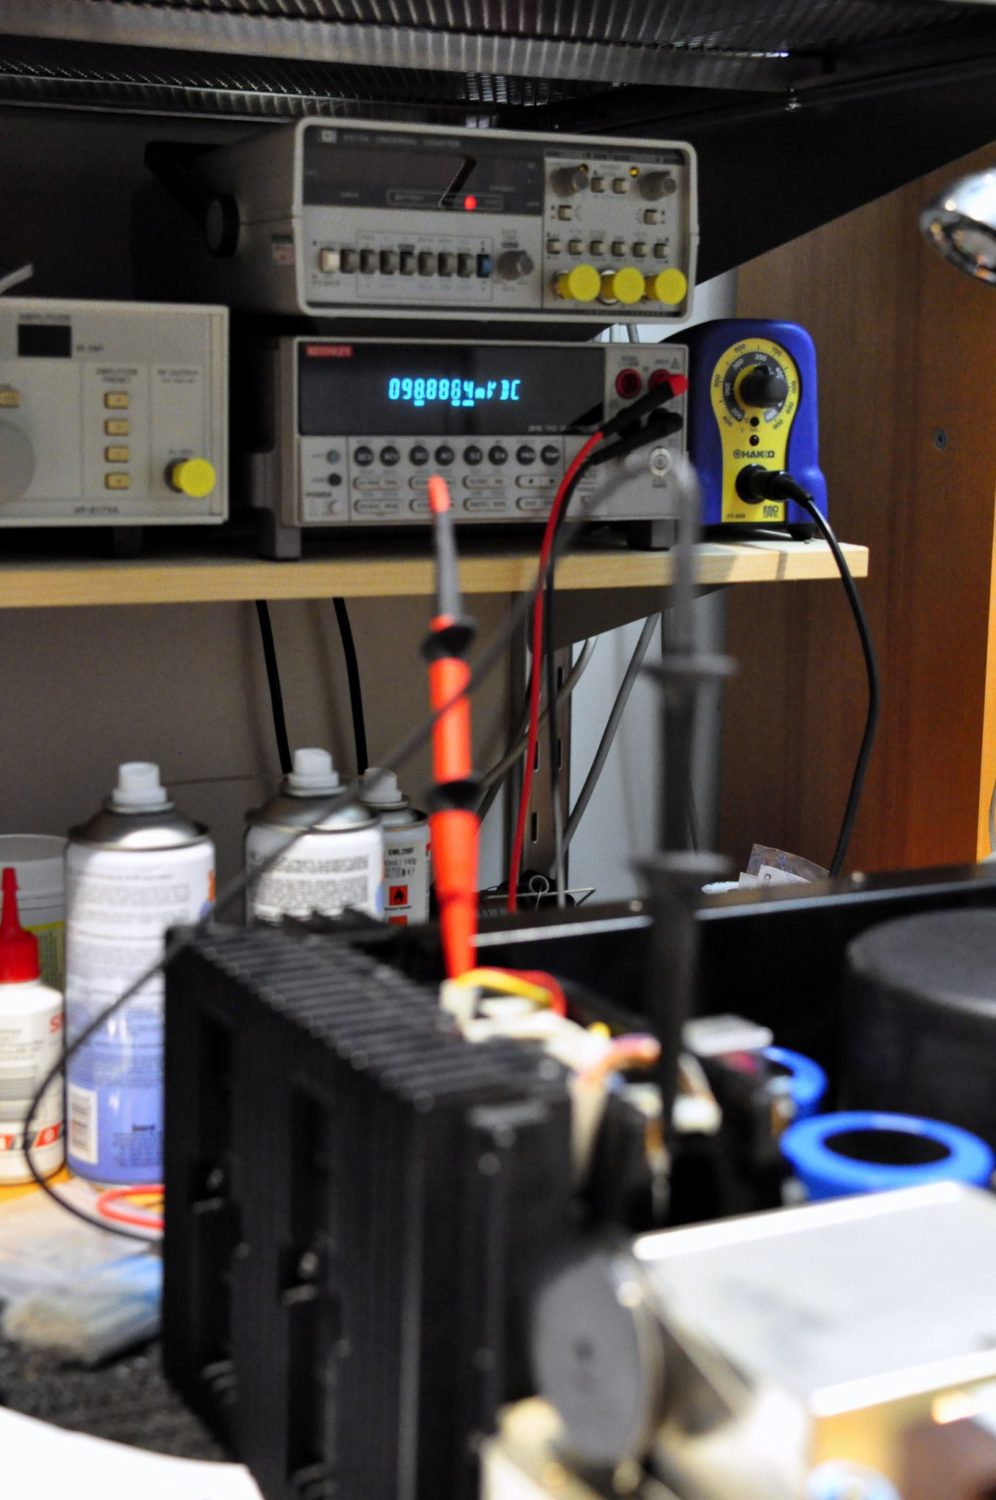
The next part of the job involved carefully servicing and adjusting the power amplifier blocks. Amplifiers generally require two standard adjustments – DC offset nulling and idle current or “bias” adjustment. Adjusting the DC offset involves connecting an accurate multimeter across the speaker outputs and measuring any DC present.
Ideally, there should be none at all, because DC voltages flow continually through the voice coils of the speakers and are dissipated as heat. Too much DC will literally cook the voice coils. There will usually be a servo circuit that continuously adjusts the DC to a zero point, but this zero-point usually needs to be correctly set and I did that here on the SX-1250.
The second adjustment to make is to what we call standing current, quiescent current or bias. This represents the amount of current flowing through the output devices at the “idle” or no musical signal condition.
This adjustment is critical because it sets the point at which the output transistors will switch from class A to class B operation and plays a crucial role in how much heat is dissipated by the output devices when no signal is present. These standing currents must be accurately set after the amplifier has had a chance to warm up and stabilise.
Finishing Touches
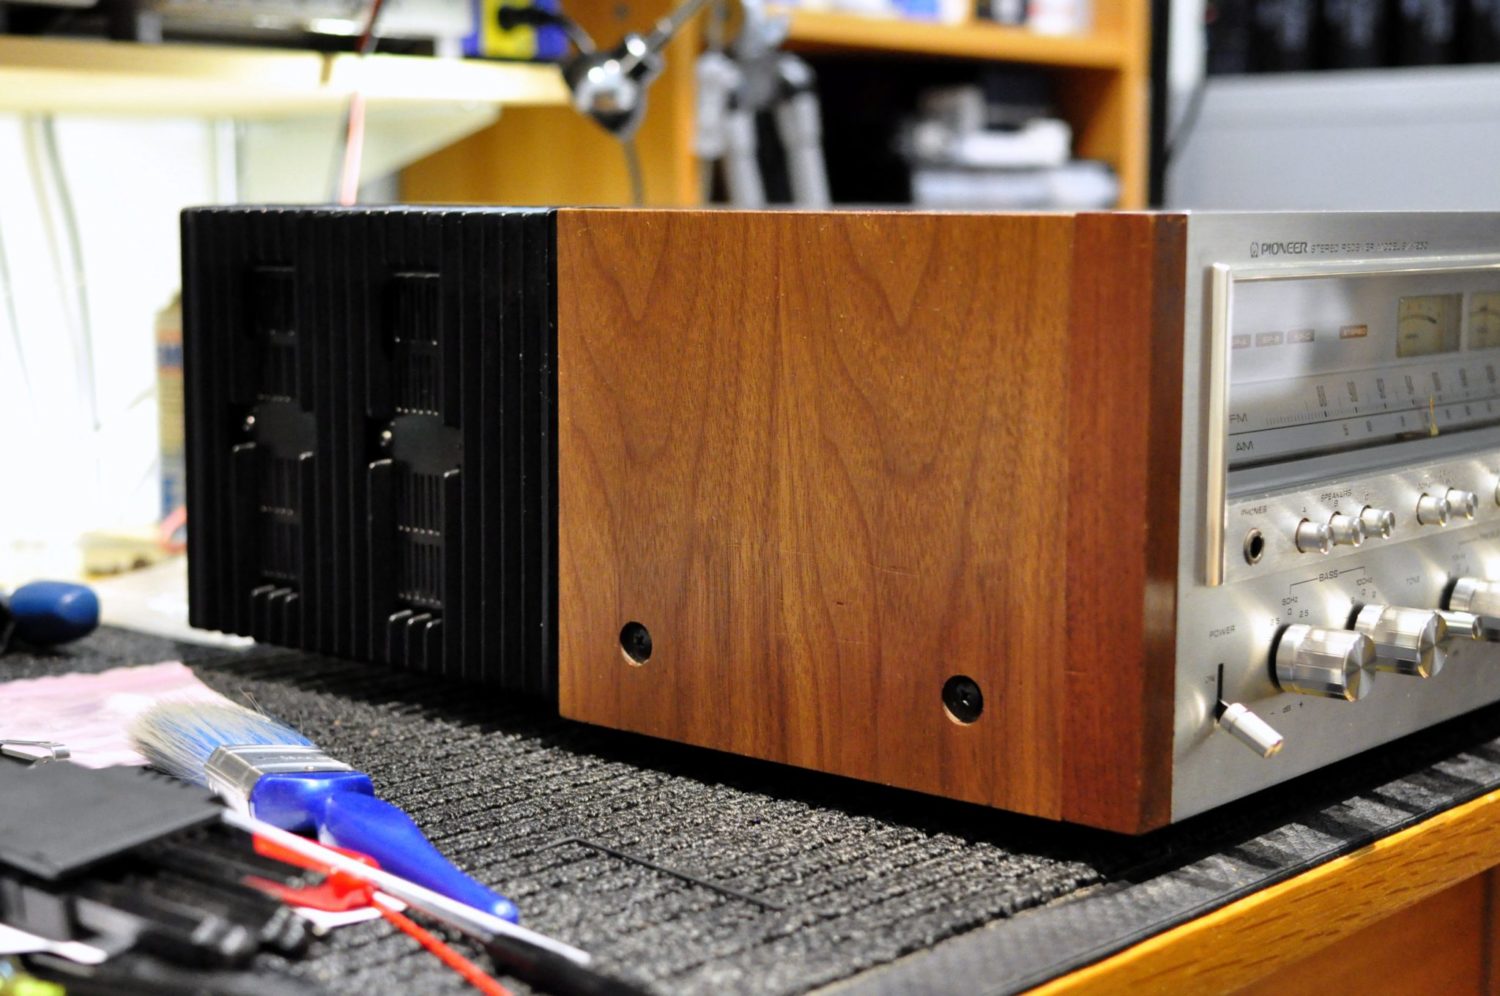
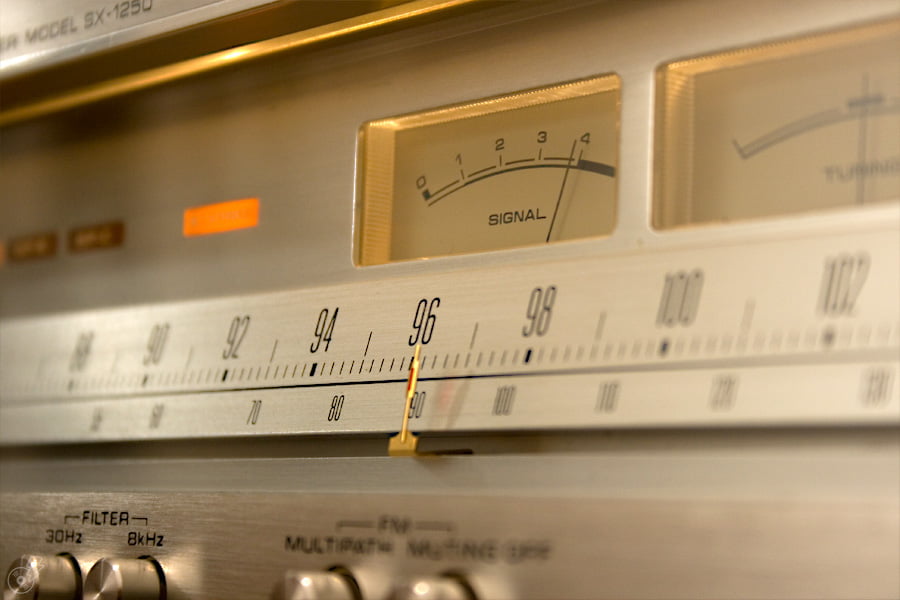
I also did a lot of cosmetic work on this beautiful amplifier. I cleaned the entire chassis, removed all the knobs and cleaned them in warm, soapy water, cleaned the front panel with Ambersil foaming cleaner, cleaned the genuine wood veneer and nourished it with a little oil, lubricated the tuner dial mechanism and a couple of other things.
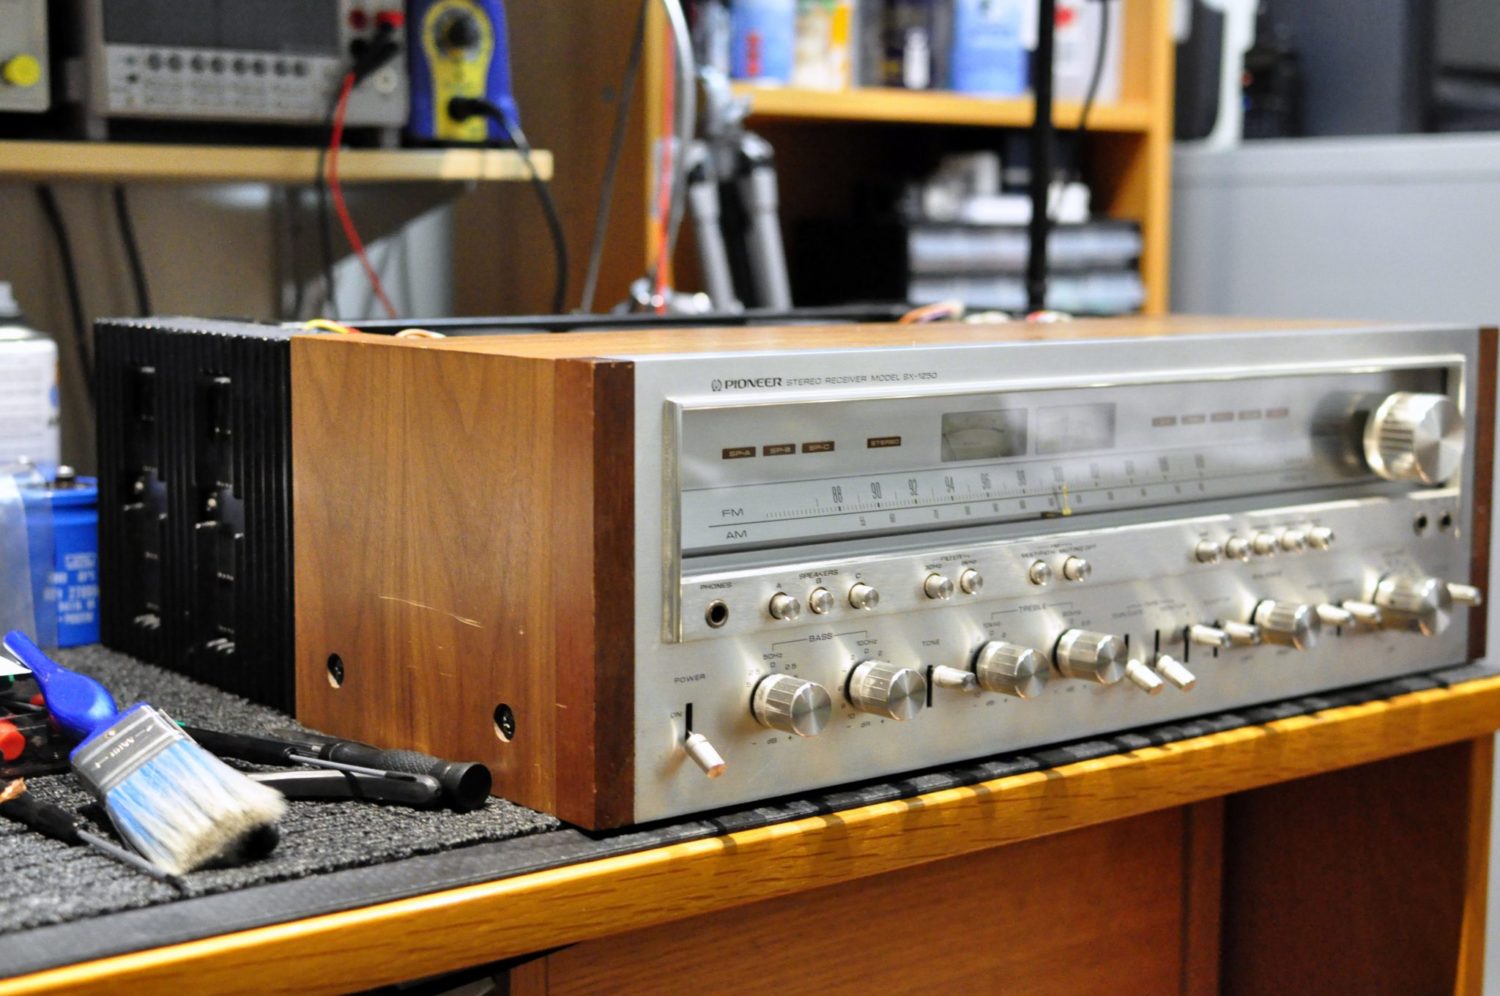
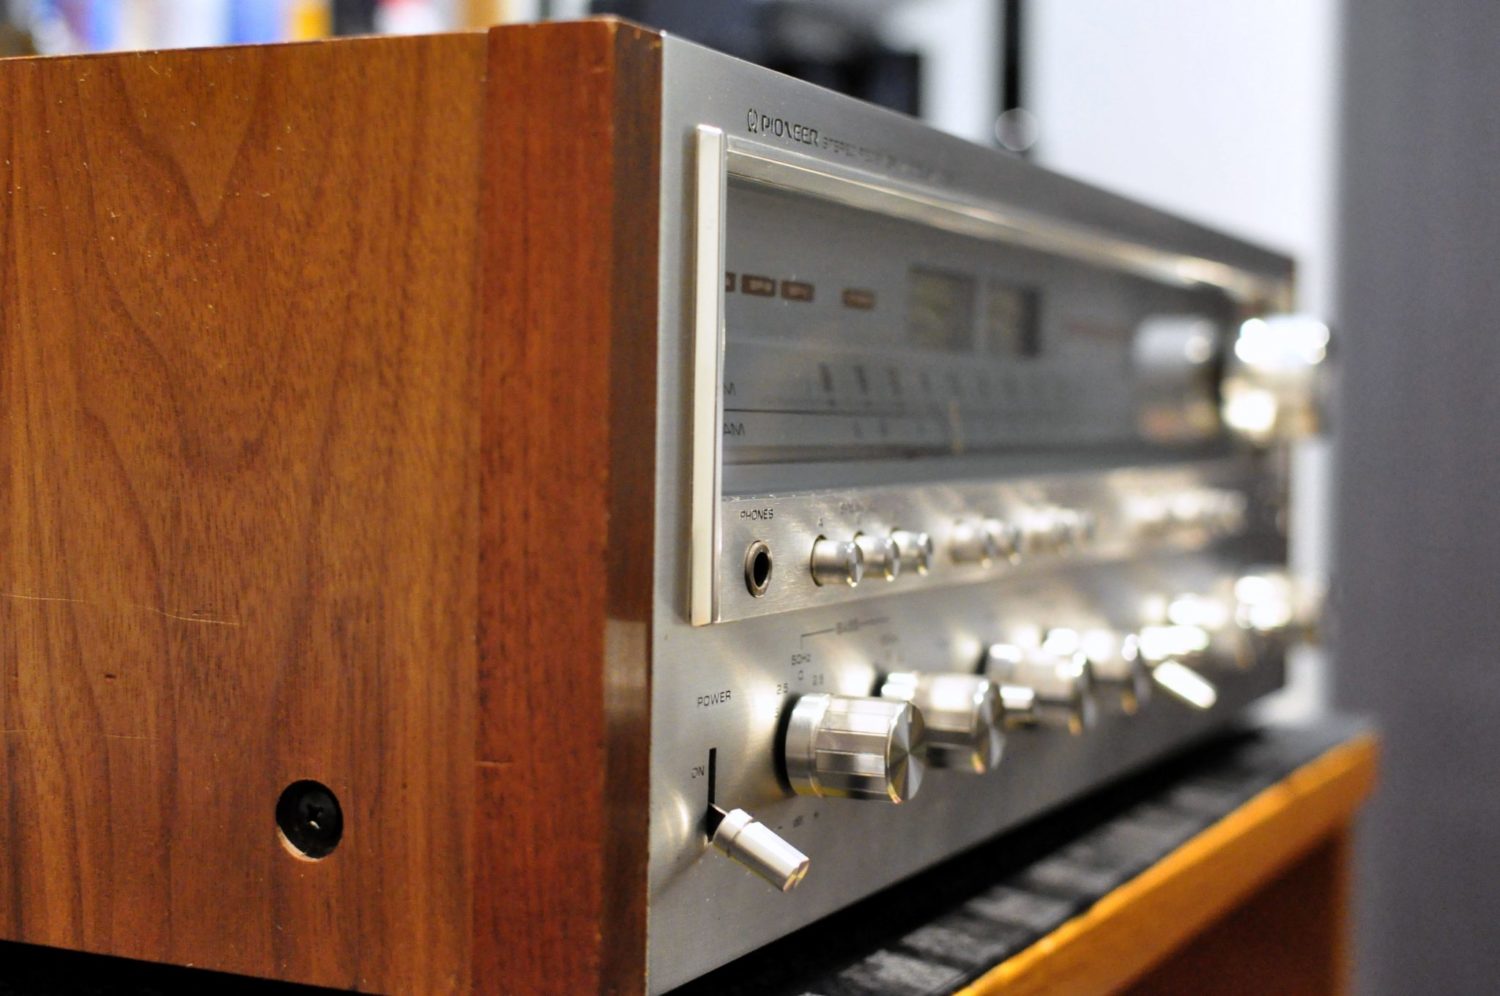
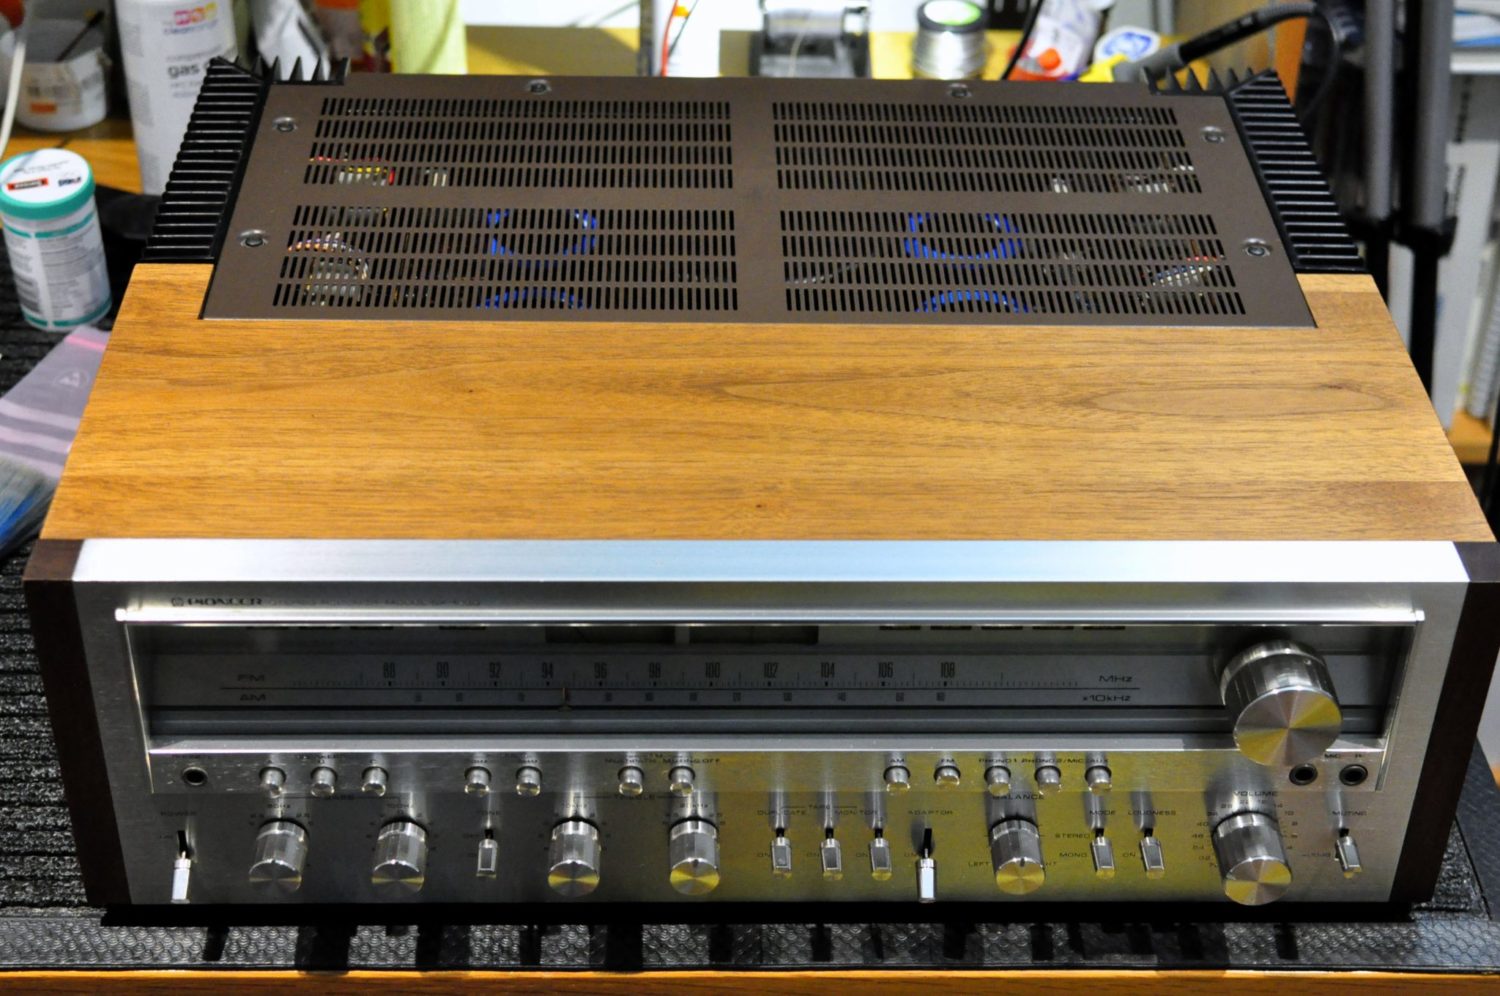
Lastly, I tested her through headphones as I usually do. Testing showed that the switches and controls were noisy, a result of dirt buildup. I use isopropyl alcohol as the first stage of my cleaning and treatment process, followed by a premium chemical switch and potentiometer treatment.
Once everything is doused, and being extremely careful not to allow the isopropyl to migrate to the tuner display, I exercise all the switches and controls for several minutes to work the alcohol through. Quite a bit of fluxey, yellow residue dripped out of the end of the front panel subassembly after being sprayed with isopropyl. The finishing treatment is applied once everything is dry and after doing so, all worked perfectly.
Results
Needless to say, when Frank arrived to pick up his pride and joy he was thrilled. He couldn’t hide his excitement at seeing his amp so clean, with beautiful new main filter capacitors and working better than she had in years. After all this work, the amp would have sounded perhaps better than she ever had, even when new, because of the improvement I made to the power supply.
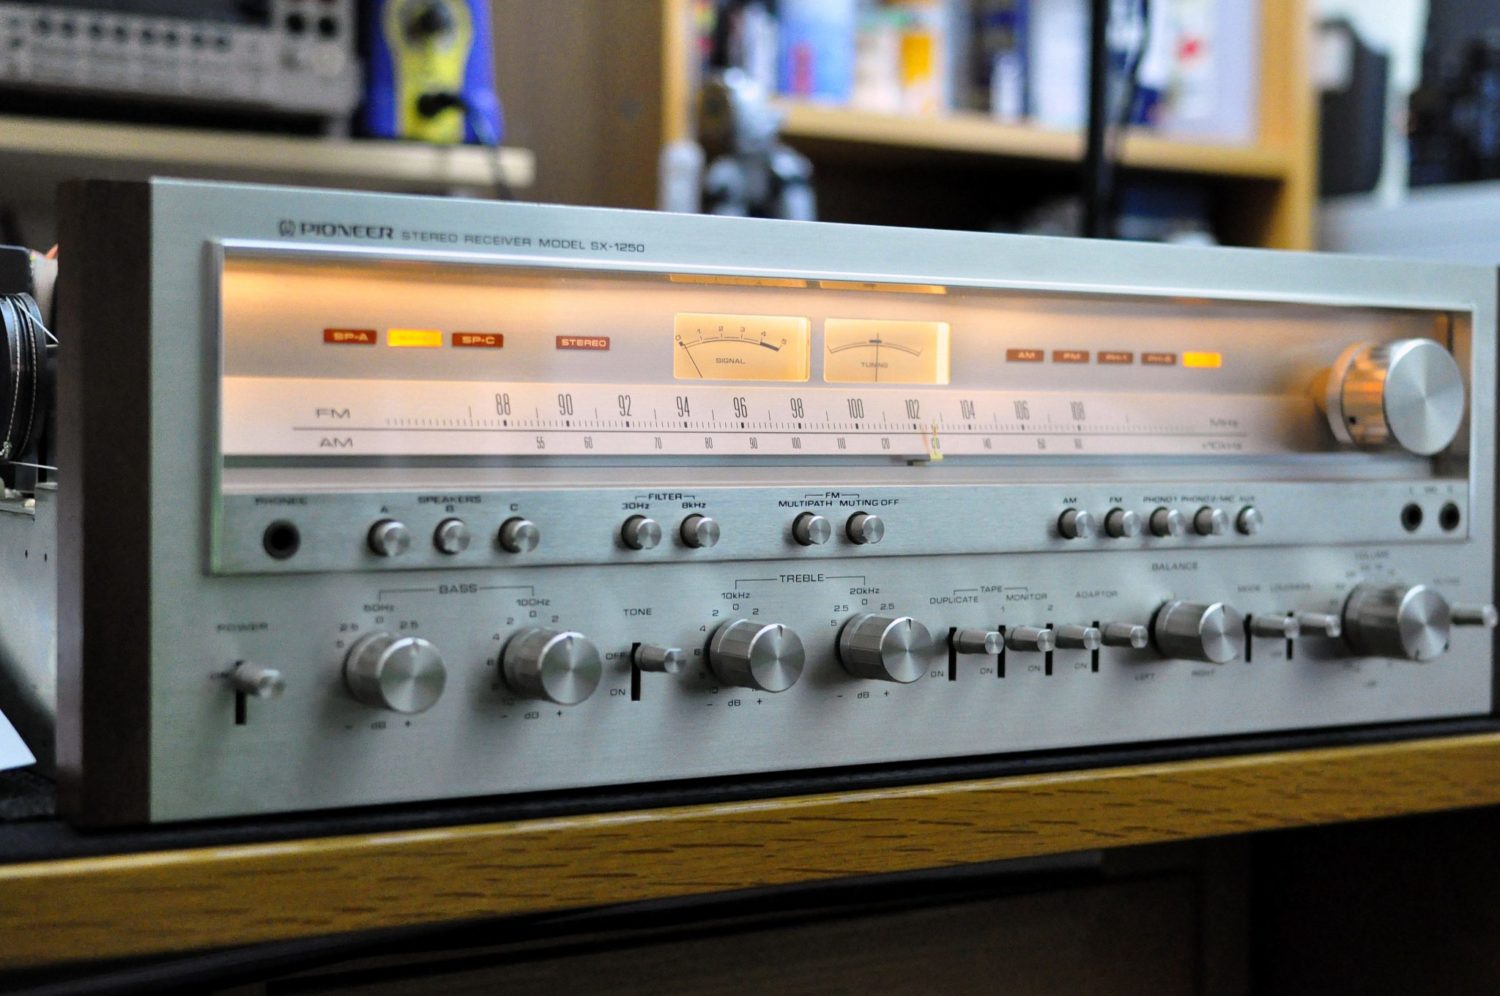
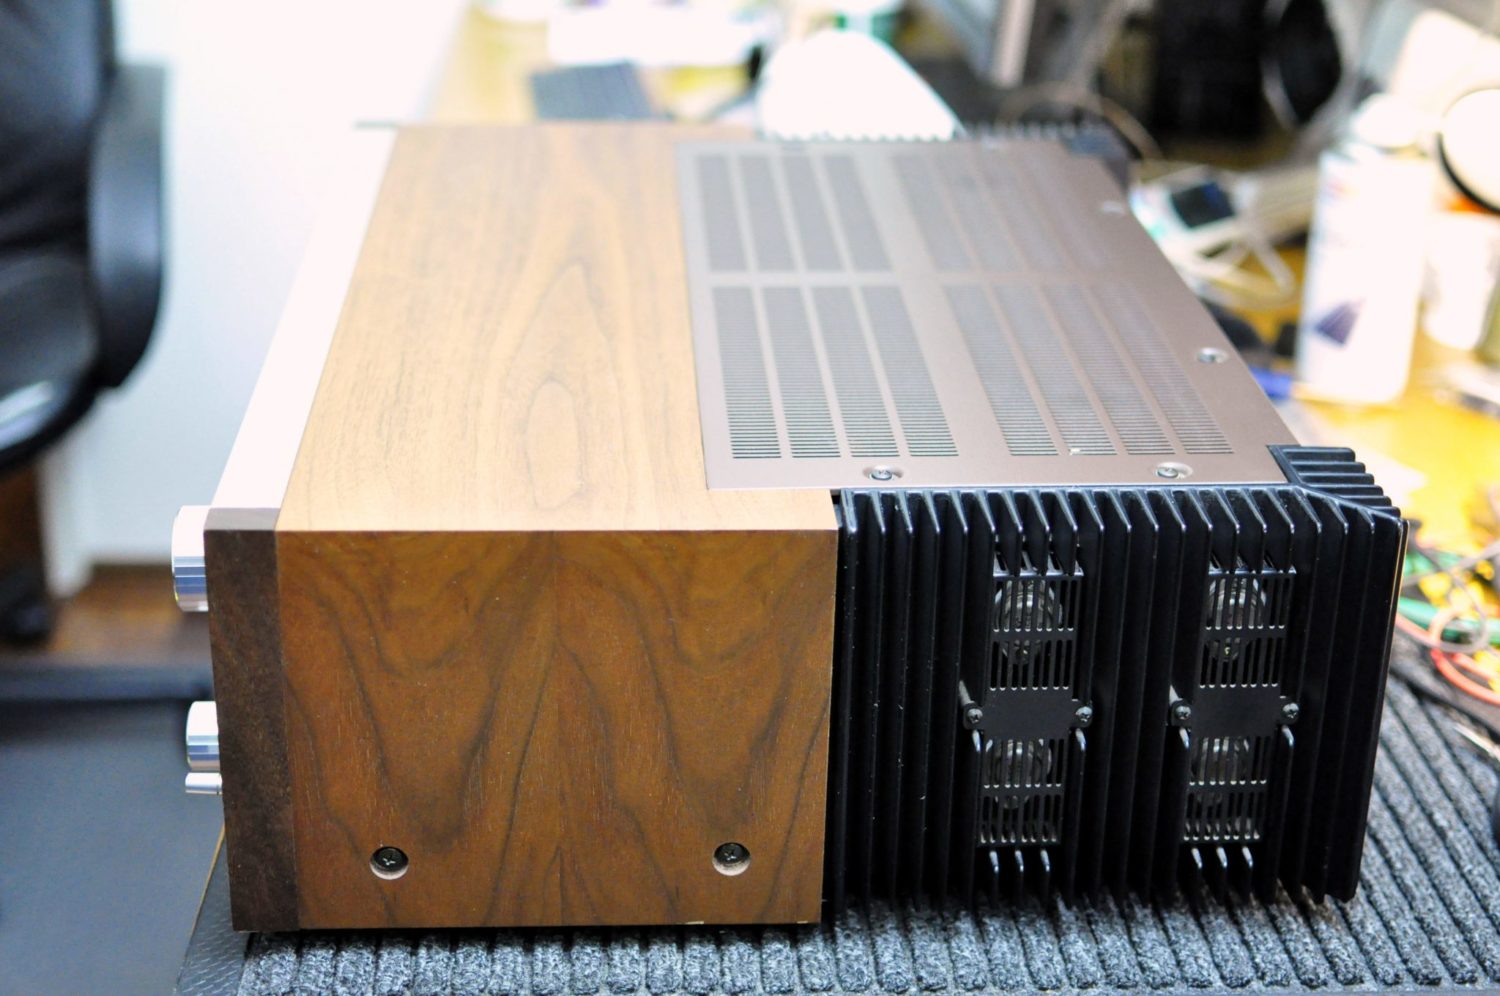
As always, thanks for visiting. If you’d like me to look at your stunning Pioneer SX-1250 or any other beautiful receiver for that matter, you need only get in touch via our contact page.
If you’ve found anything here helpful, and I know many have, you are welcome to show your appreciation by buying me a drink, in the sidebar or footer, depending on how you are viewing this.
Discover more from LiQUiD AUDiO
Subscribe to get the latest posts sent to your email.

I have a 1250 that’s in need of repair. Can you help?
Looks Awesome!! Very nice job, indeed!
My old gal, SX-1250, runs and looks great but would like to get the caps replaced and have her tweaked up.
I live in Hudson, WI….are you near by or know of anyone that would be willing to do such work?
Thank You!
Best Wishes!
Mike
Hi Mike, I am located in Perth, Western Australia, so a bit far to assist in this instance I think! Best of luck with the restoration though. Regards, Mike.
Thank You, Mike!!
Yes indeed you are a few miles away!!
Very nice work you did on that unit…I think it looks nice!!
Look forward to getting my old gal tweaked and peaked! Found a fellow I’ll be shipping her off to for the maintenance and tweaks she may require. He has done many of them as well as other units….many happy customers!!
Peace N Smiles My Friend!!
Mike
Thank you and best of luck with the repair, I’m sure it will turn out very nicely!
I am going to show this Pioneer SX 1250 work you have done to my techs here in upstate NY, USA hopefully it can help my 40 year old capacitors in the Pioneer SX-1250 move out. Everything else has been completed silver solder everywhere, new caps everywhere it will be stunning. Thank you for leading the way!
Hi Mark, thank you very much for those kind words and I hope the article is of some assistance! Cheers, Mike.