By popular demand, I’ve decided to write some articles about servicing direct-drive turntable motors. Having recently overhauled a Denon DP-1200, this seemed like a great motor to start with.
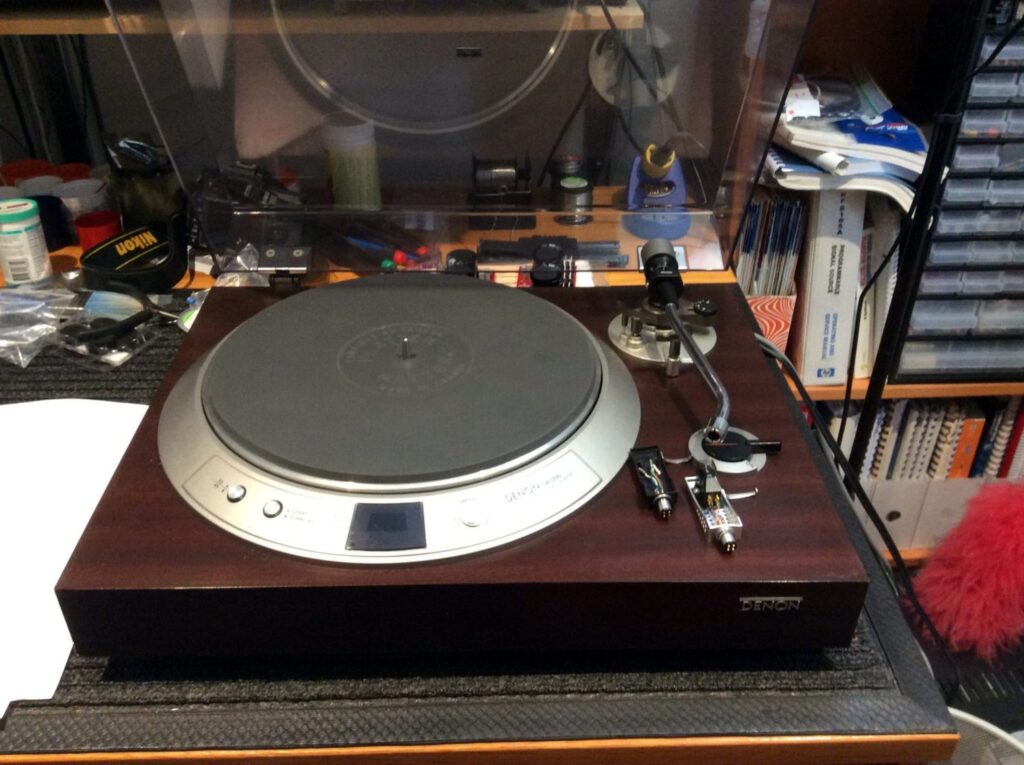
The Denon DP-1200 is a direct-drive classic, loved by thousands around the globe. Consider this a workhorse deck, solid, well-made, reliable, with great sound. This is Denon’s take on a workhorse, like a Technics SL-1200 which I’ve reviewed here and serviced here. I prefer the quirky Denon with its tape head speed detection system and cool tonearm. You’ll find other articles I’ve written about the lovely DP-1200 here.
Motor
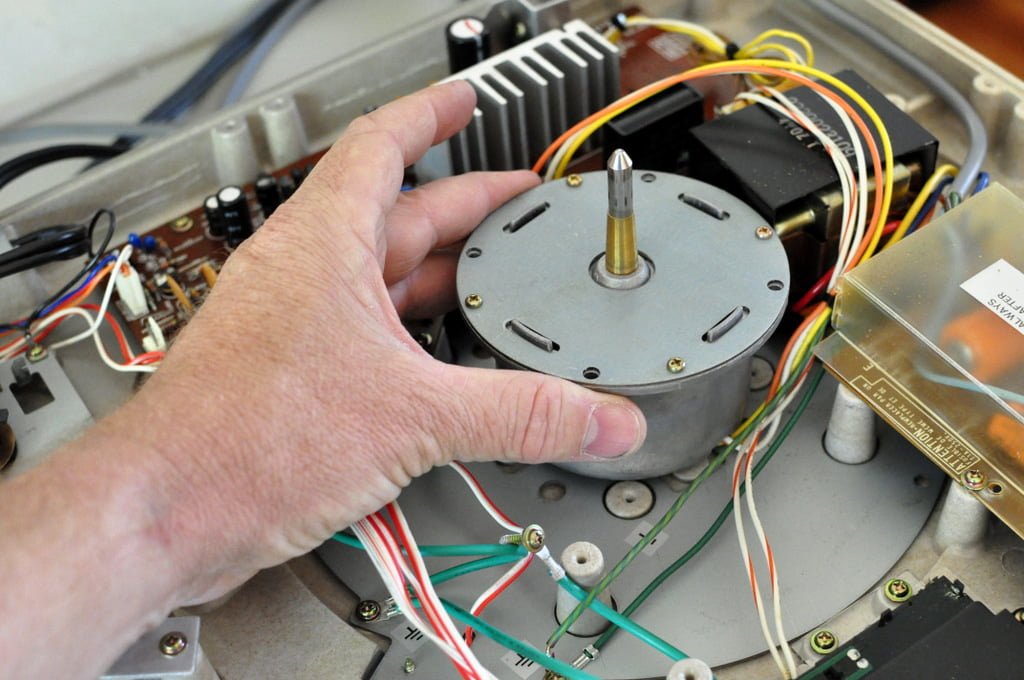
The real heavyweight here is the motor itself though. The Denon DP-1200 motor looks and feels like it could power a washing machine. These motors are super-reliable and one of the most solid turntable motors you’ll ever see. It’s only when you hold and work on properly engineered motors like these that you understand what a joke the motors in Linns and Regas really are.
In terms of servicing, these motors have no brushes to wear out, no bearings other than the spindle bearing itself and this is the only part that should ever need service. Read on as I discuss the main points to consider when servicing one of these great motors.


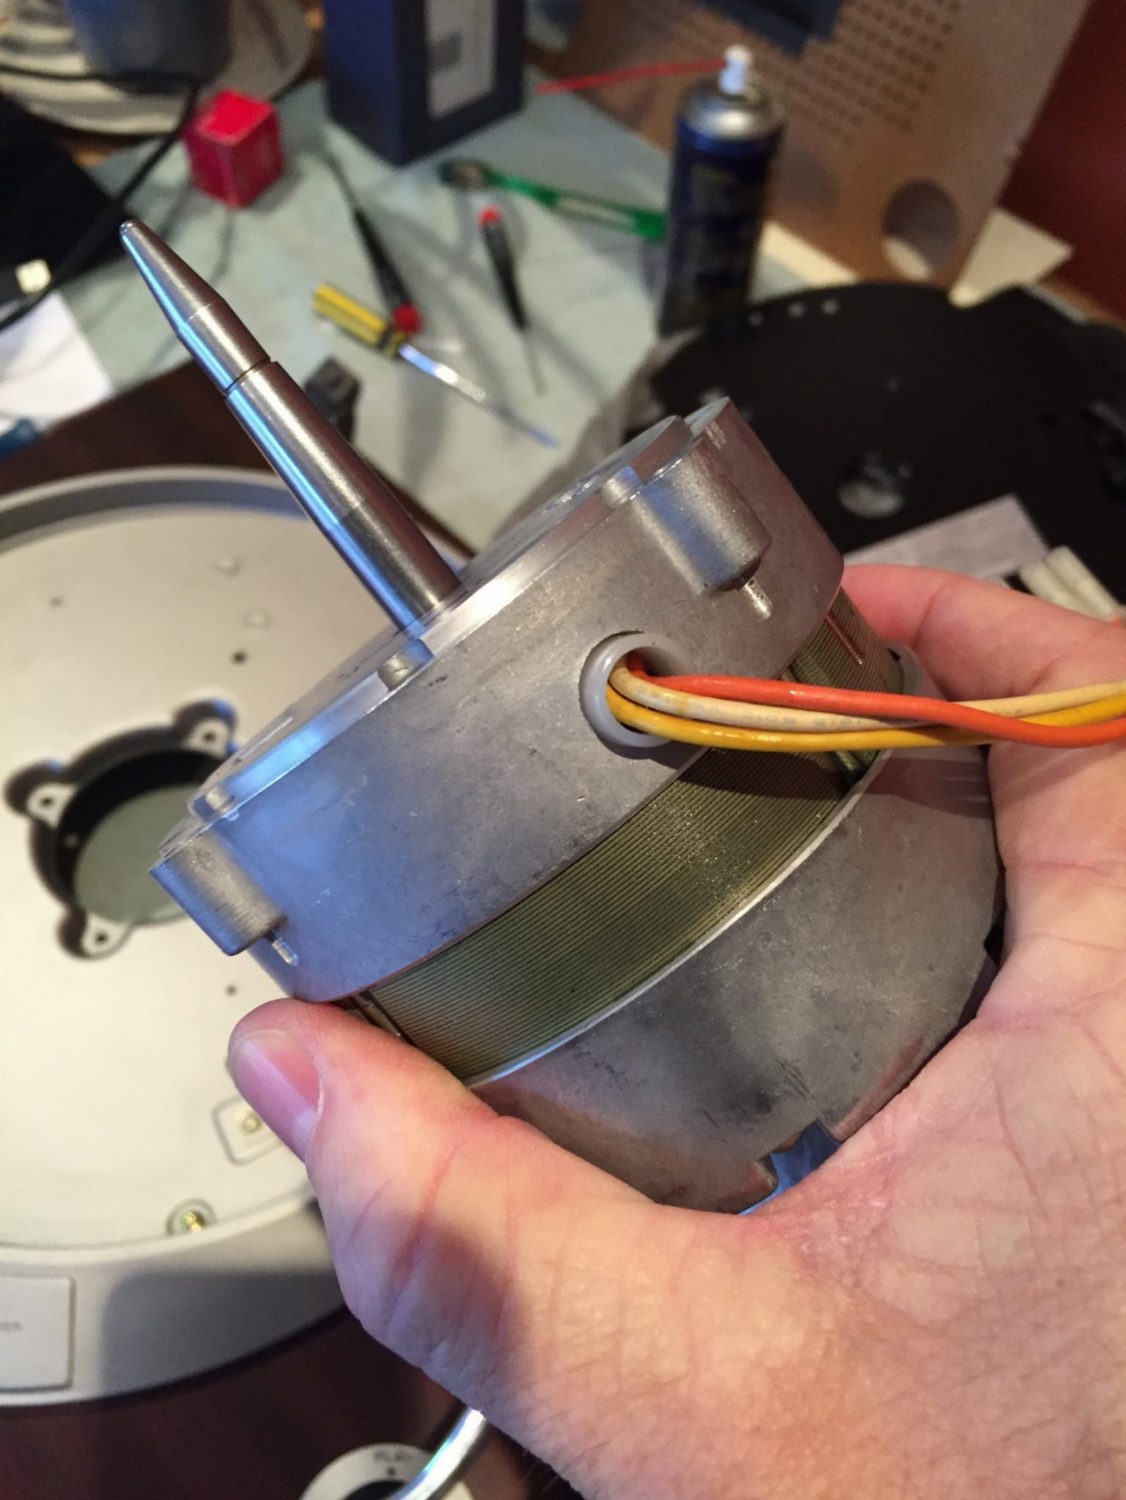
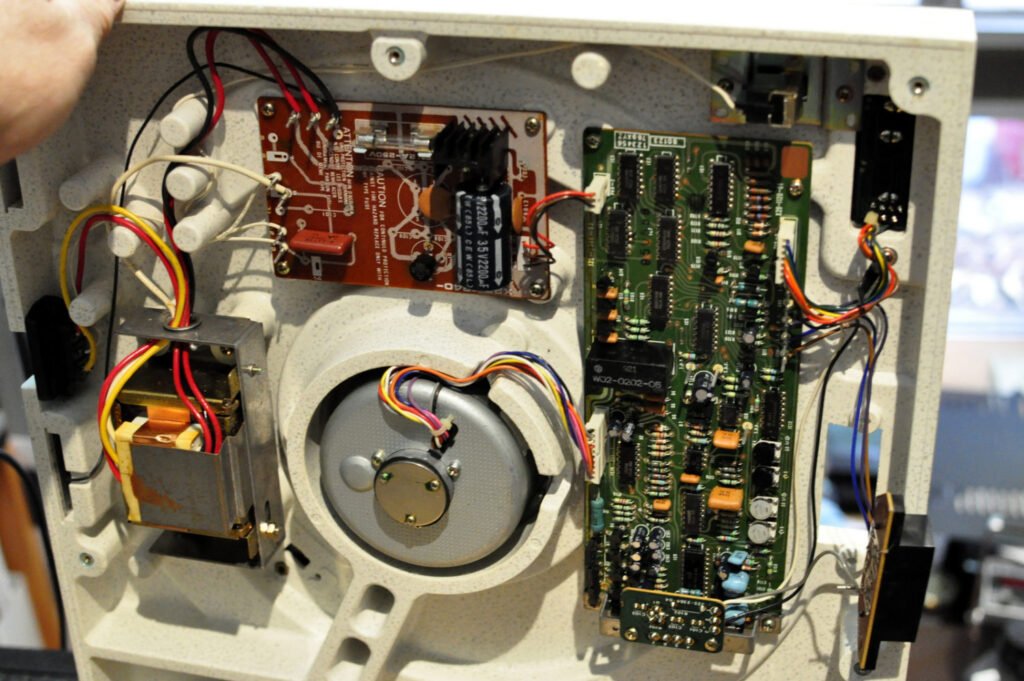
In the two images above, we can see the overall layout and size of the Denon motor. This is a serious chunk of metal that thankfully doesn’t need to be removed from the chassis to service the bearing. Having said that, some may want to completely remove the motor to clean it and remove all traces of the old lubricant.
Servicing the Bearing

In this image, I’ve removed the bearing cap to access the oil reservoir and bearing. The thrust bearing is clearanced. This clearance is determined by how far the bearing cap was screwed in at the factory. The cap is not screwed in all the way and this clearance must be restored after servicing the bearing.
If attempting anything like this, you’ll need an accurate way to measure how far the cap is screwed in. I prefer to use a digital depth gauge like that found on calipers like these.
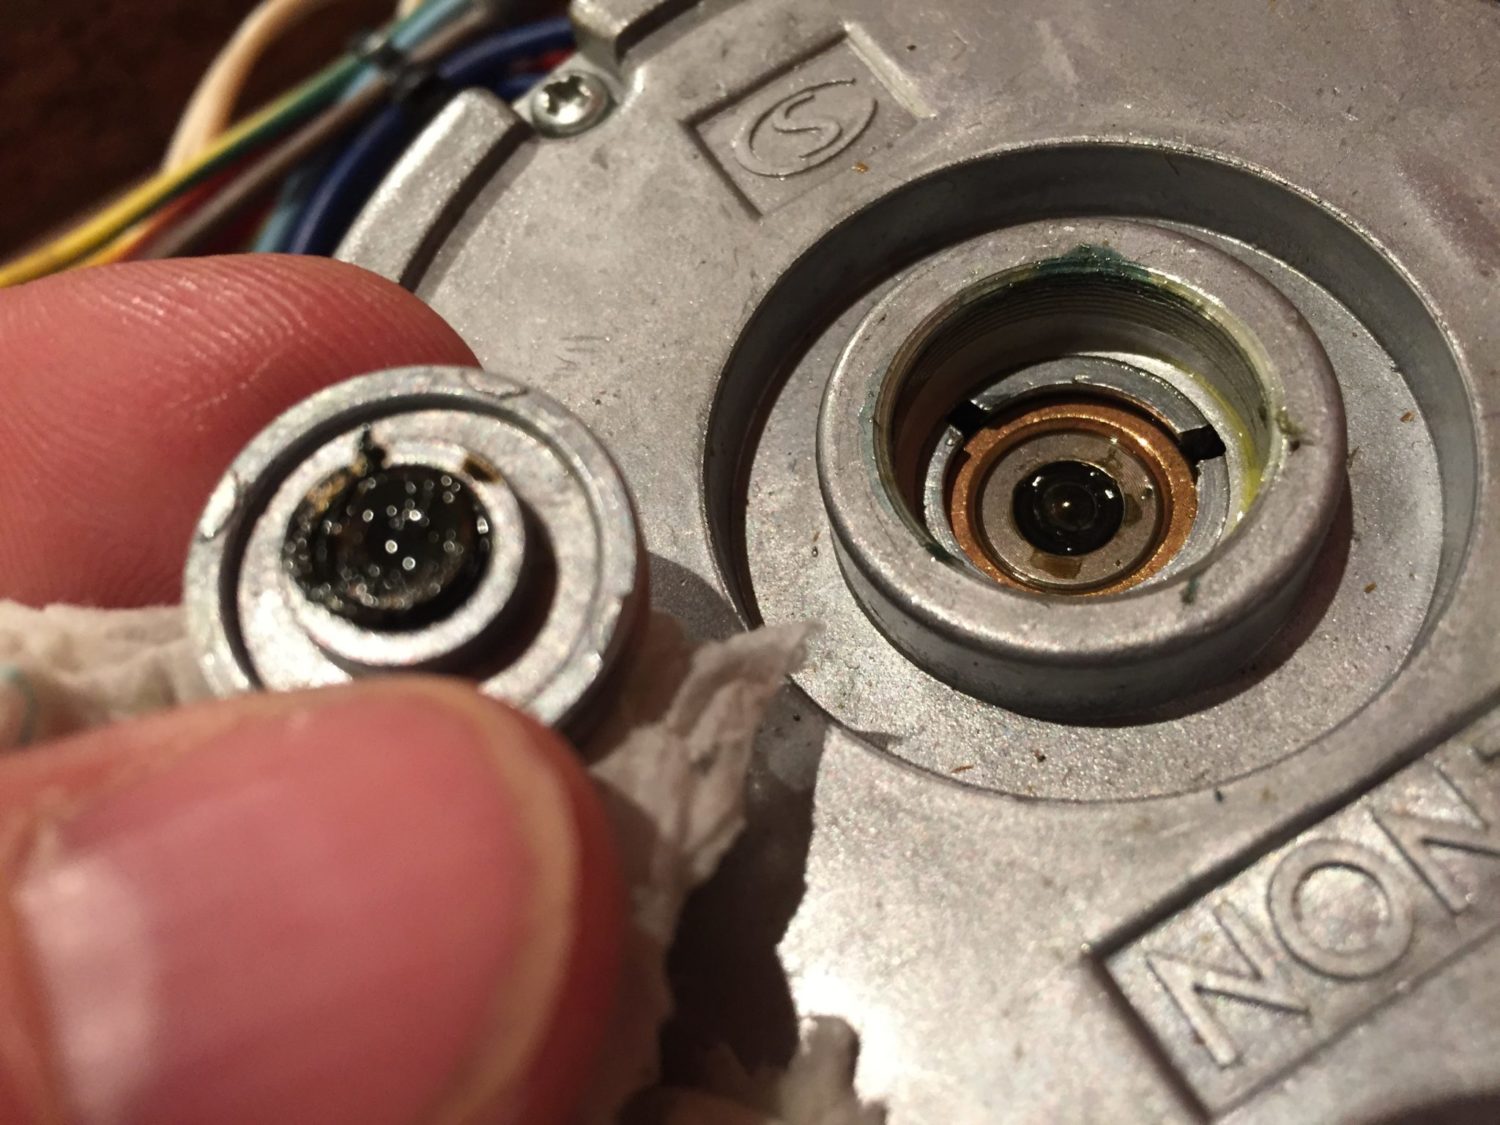
A closeup of the opened bearing. The bearing cap is on the left, bearing structure on the right. Note the residue and magnetic ‘sludge’ in this bearing. All of this must be removed.
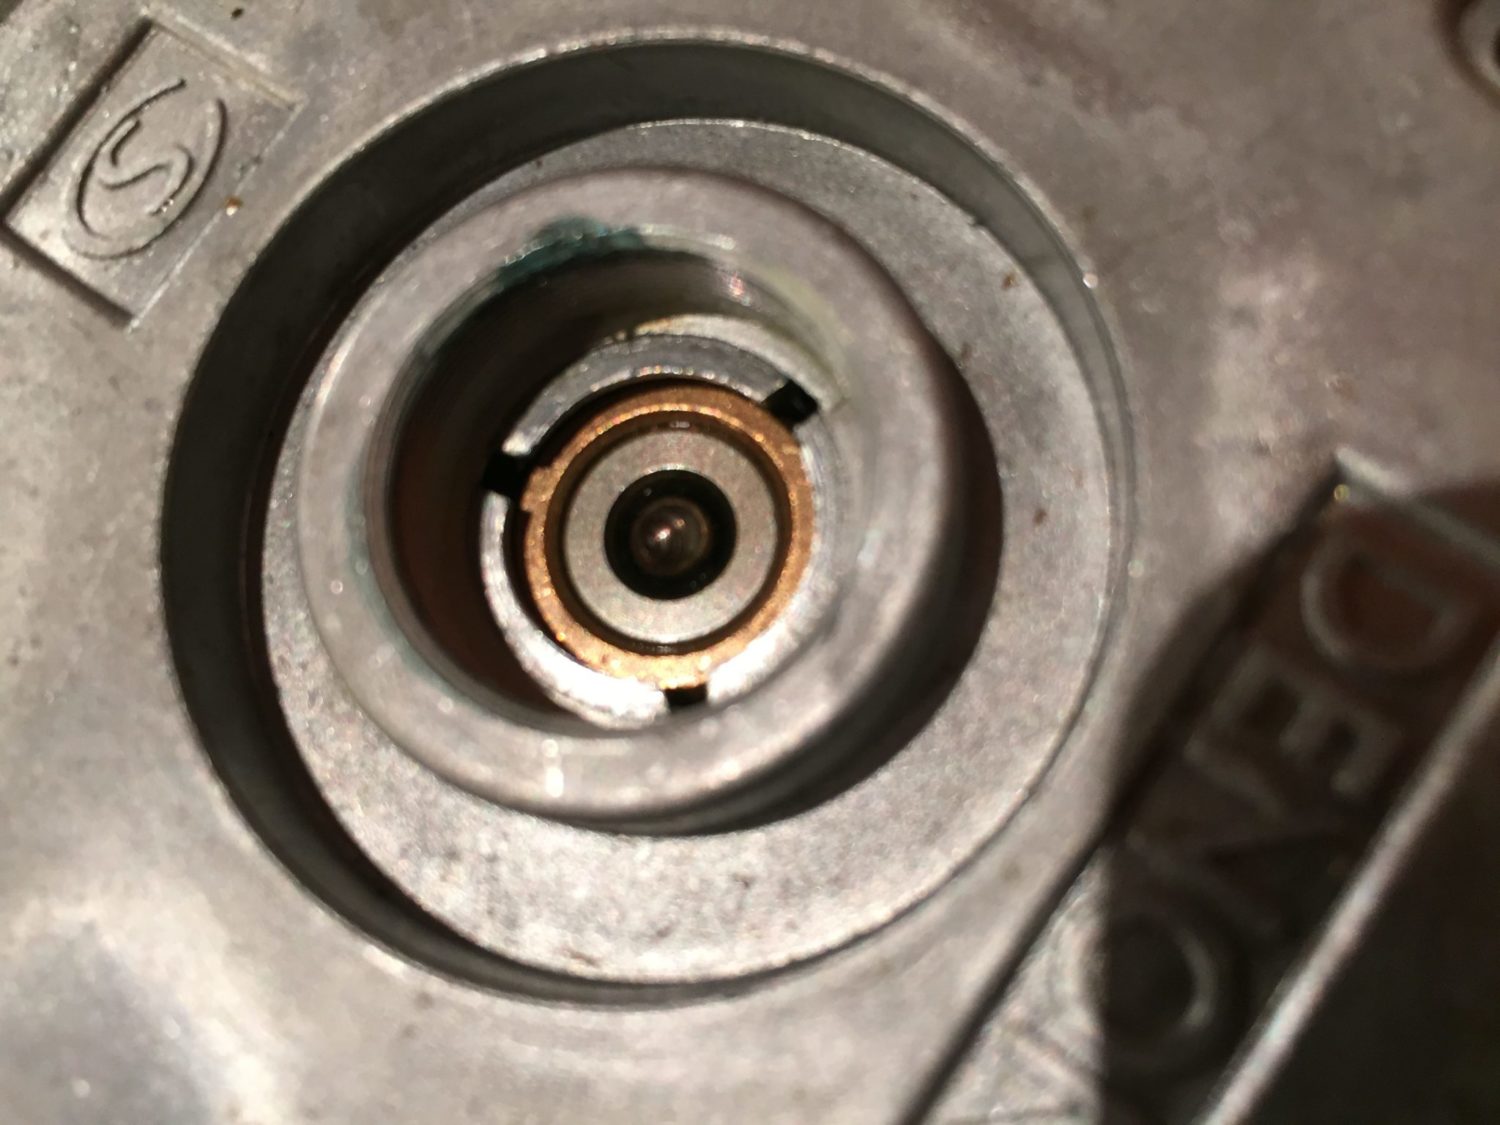
This is what the bearing looks like after careful cleaning with a lint-free material of your choosing. DO NOT use tissue paper, this will leave fibrous residue in the bearing, leading to increased wear and noise!
There are three things left to do. You’ll need to add a few drops of a premium synthetic bearing oil. Add the oil very carefully and don’t allow it to contaminate the threads on the bearing assembly. This is because the thread-locking compound won’t take if the threads are oily.
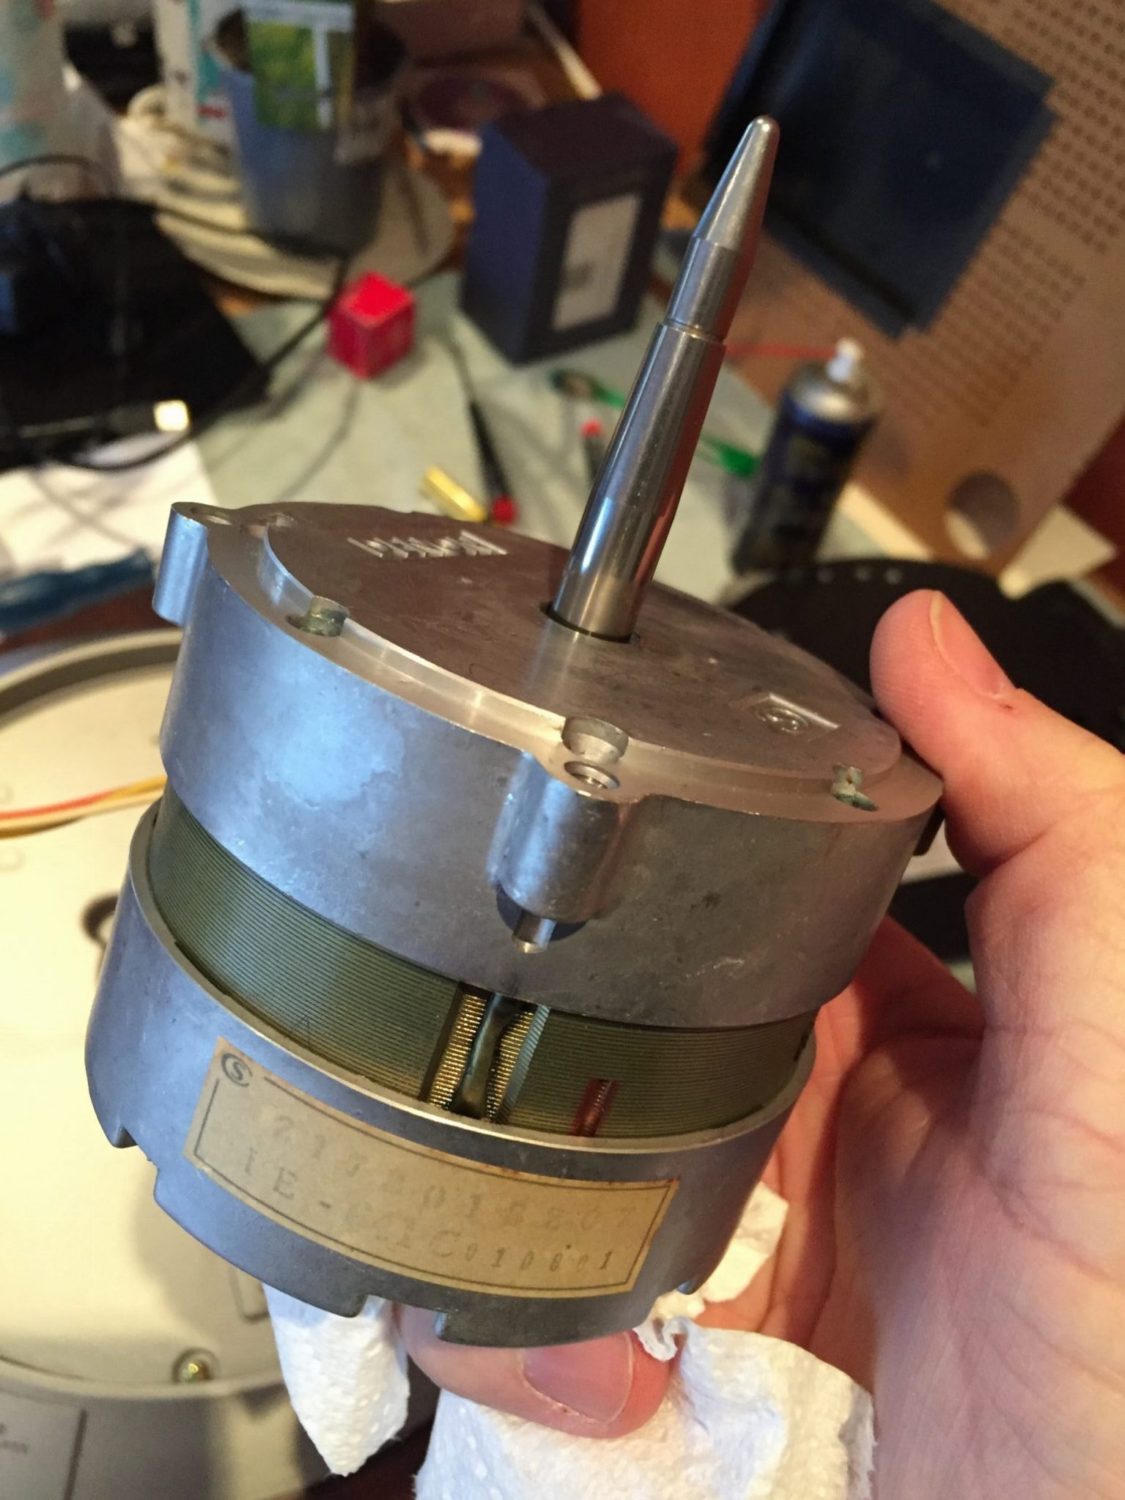
Note that I removed this motor as part of a more thorough service on this DP-1200. You don’t need to though!

The bearing cap must be set back in exactly the right place to restore the factory depth setting. I finish this job with some green thread sealer/locker which holds the cap in place and seals the threads, preventing oil from escaping.
If you made it this far, you have now completed servicing the bearing of your DP-1200 motor!
Discover more from LiQUiD AUDiO
Subscribe to get the latest posts sent to your email.


I have a Denon dp 1200 and it seems to be working fine except the tone arm rest that has a piece to secure it in resting position is broken. I was wondering if you know where to get a replacement. I could also use a dust cover. Thank you in advance.
Wayne
Thanks for visiting Wayne and I’m glad you enjoyed the article. We don’t offer retail sales of service and other parts, but various online sellers offer new lids and salvaged parts. A Google search will turn up some useful results.
I have a dp-59l on which I am chasing speed control issues. As part of this I’ve disassembled the motor with intent to lube to eliminate that as a possible cause (and because it probably needs it anyway). Can you recommend a specific brand or grade of lube to use, and is it normal for the shaft to have 1-2 mm of axial play? Thanks much.
Hi Ray, motor lubrication is unlikely to be the issue here but if the 1 – 2mm of play you have noted in the spindle bearing is perpendicular to the bearing axis (radial), this is a significant issue. If it is axial as you have noted, this translates to end float and can be considered normal.
Thanks much Mike!