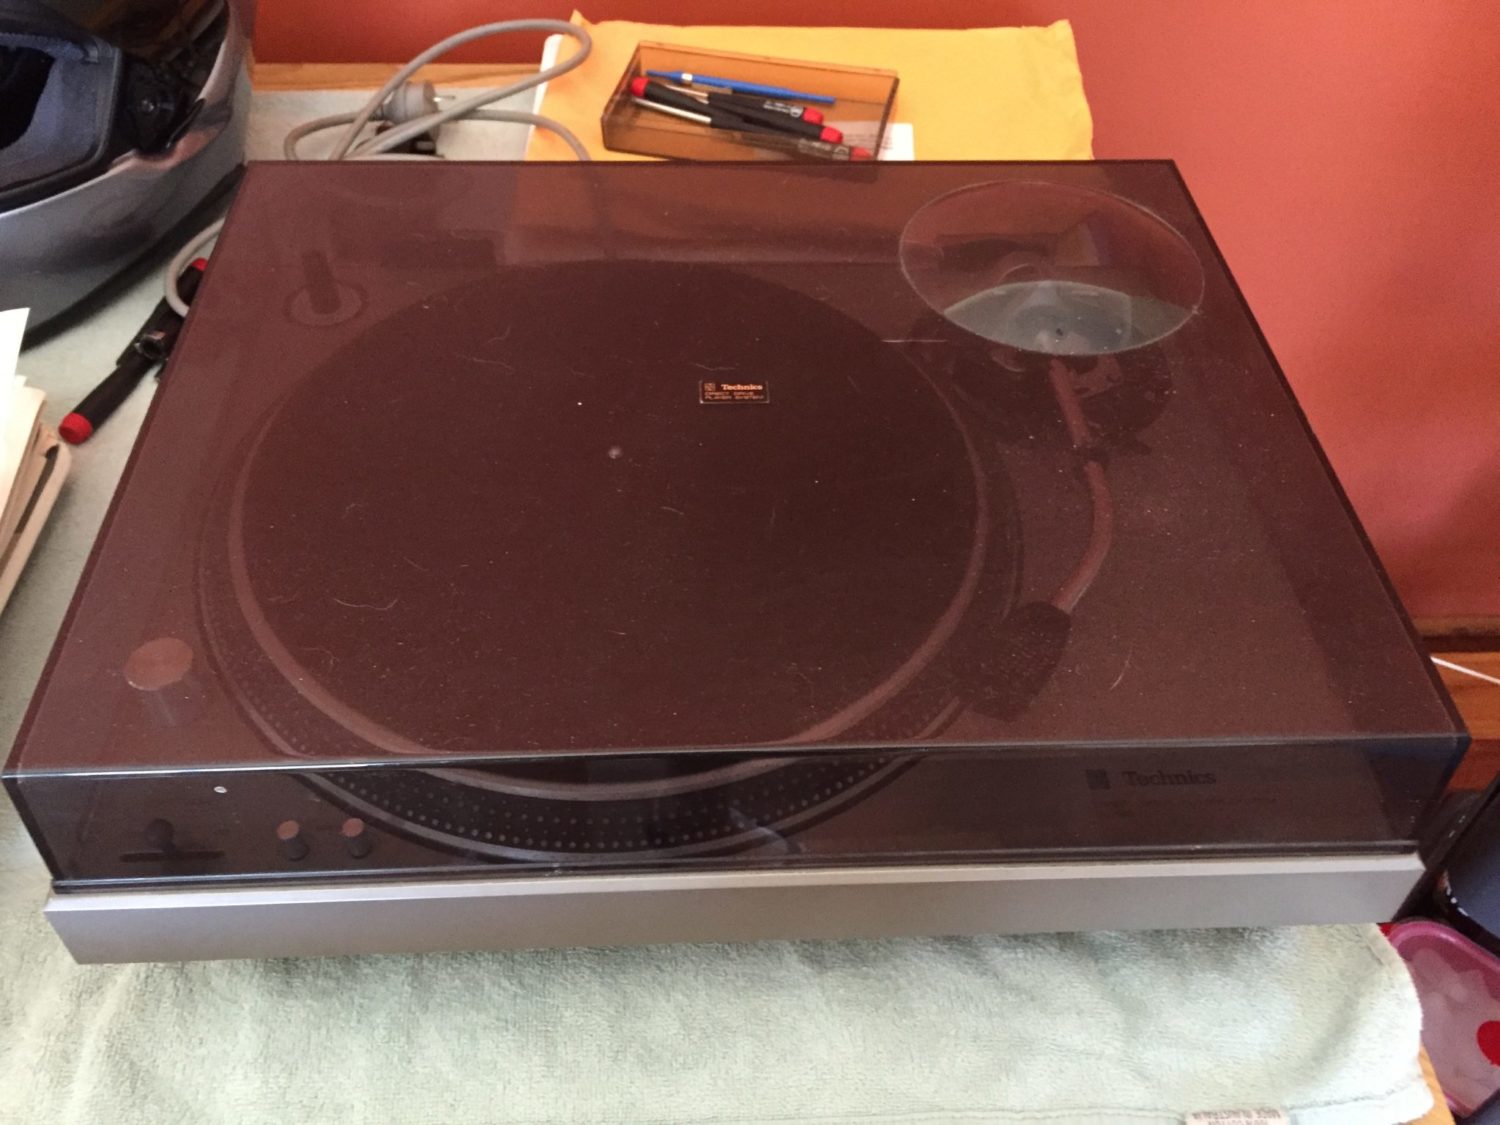
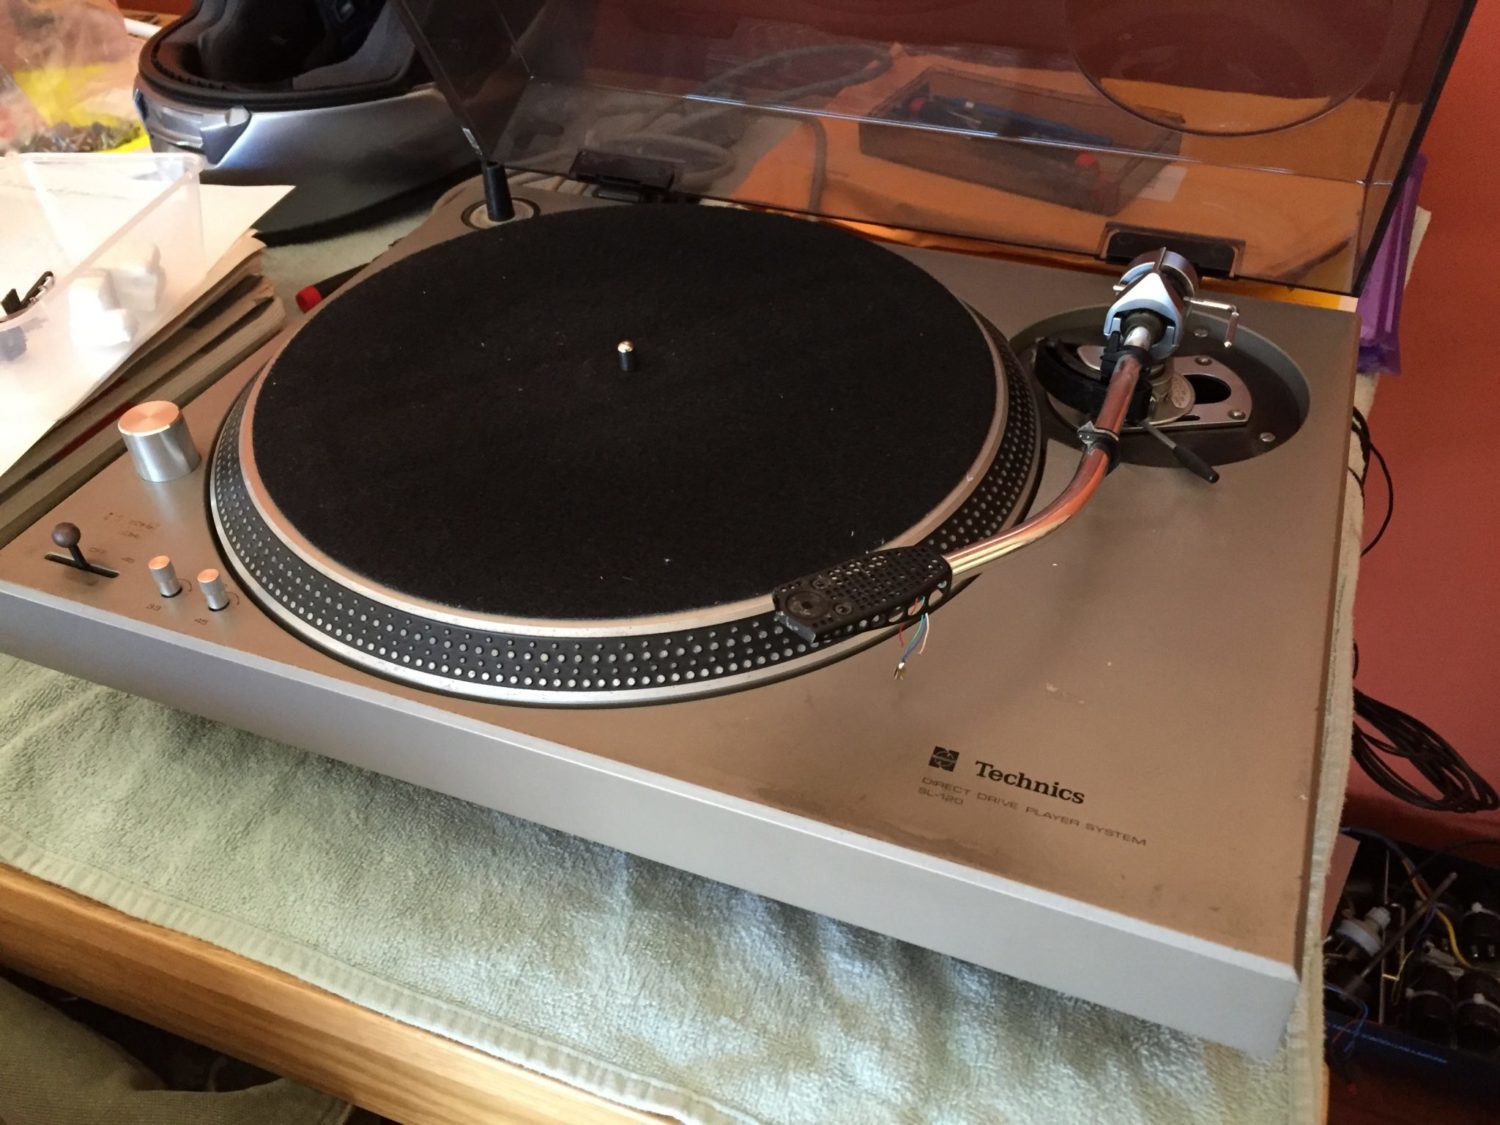
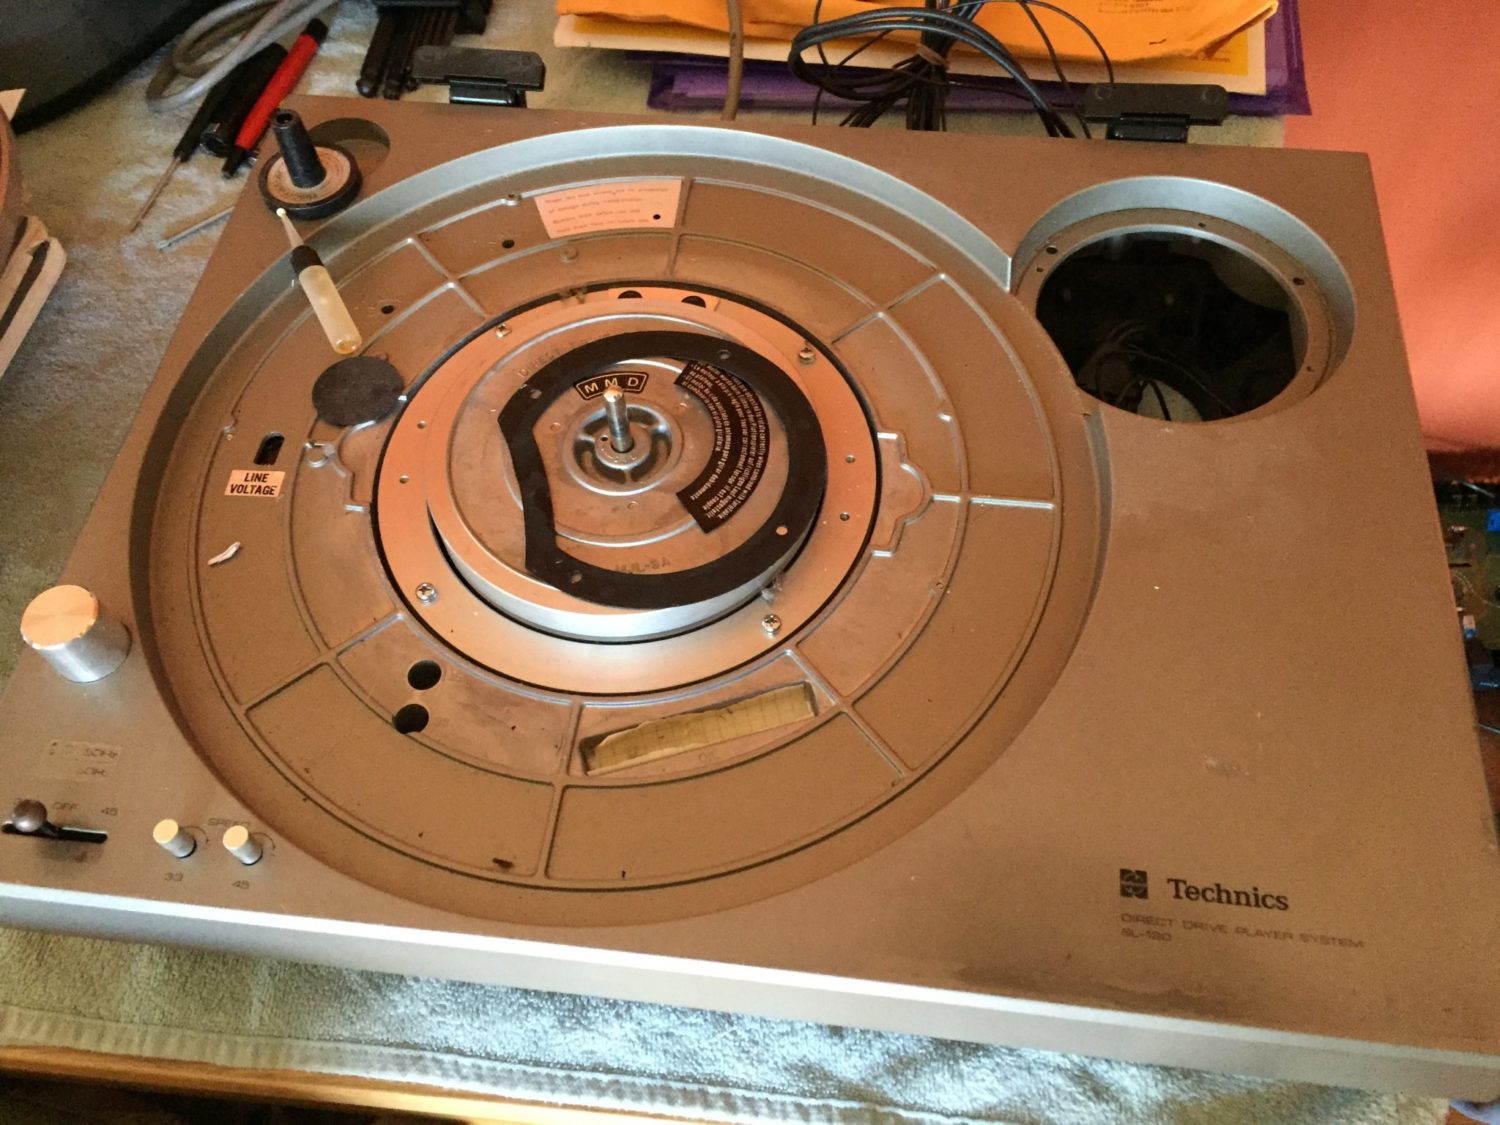
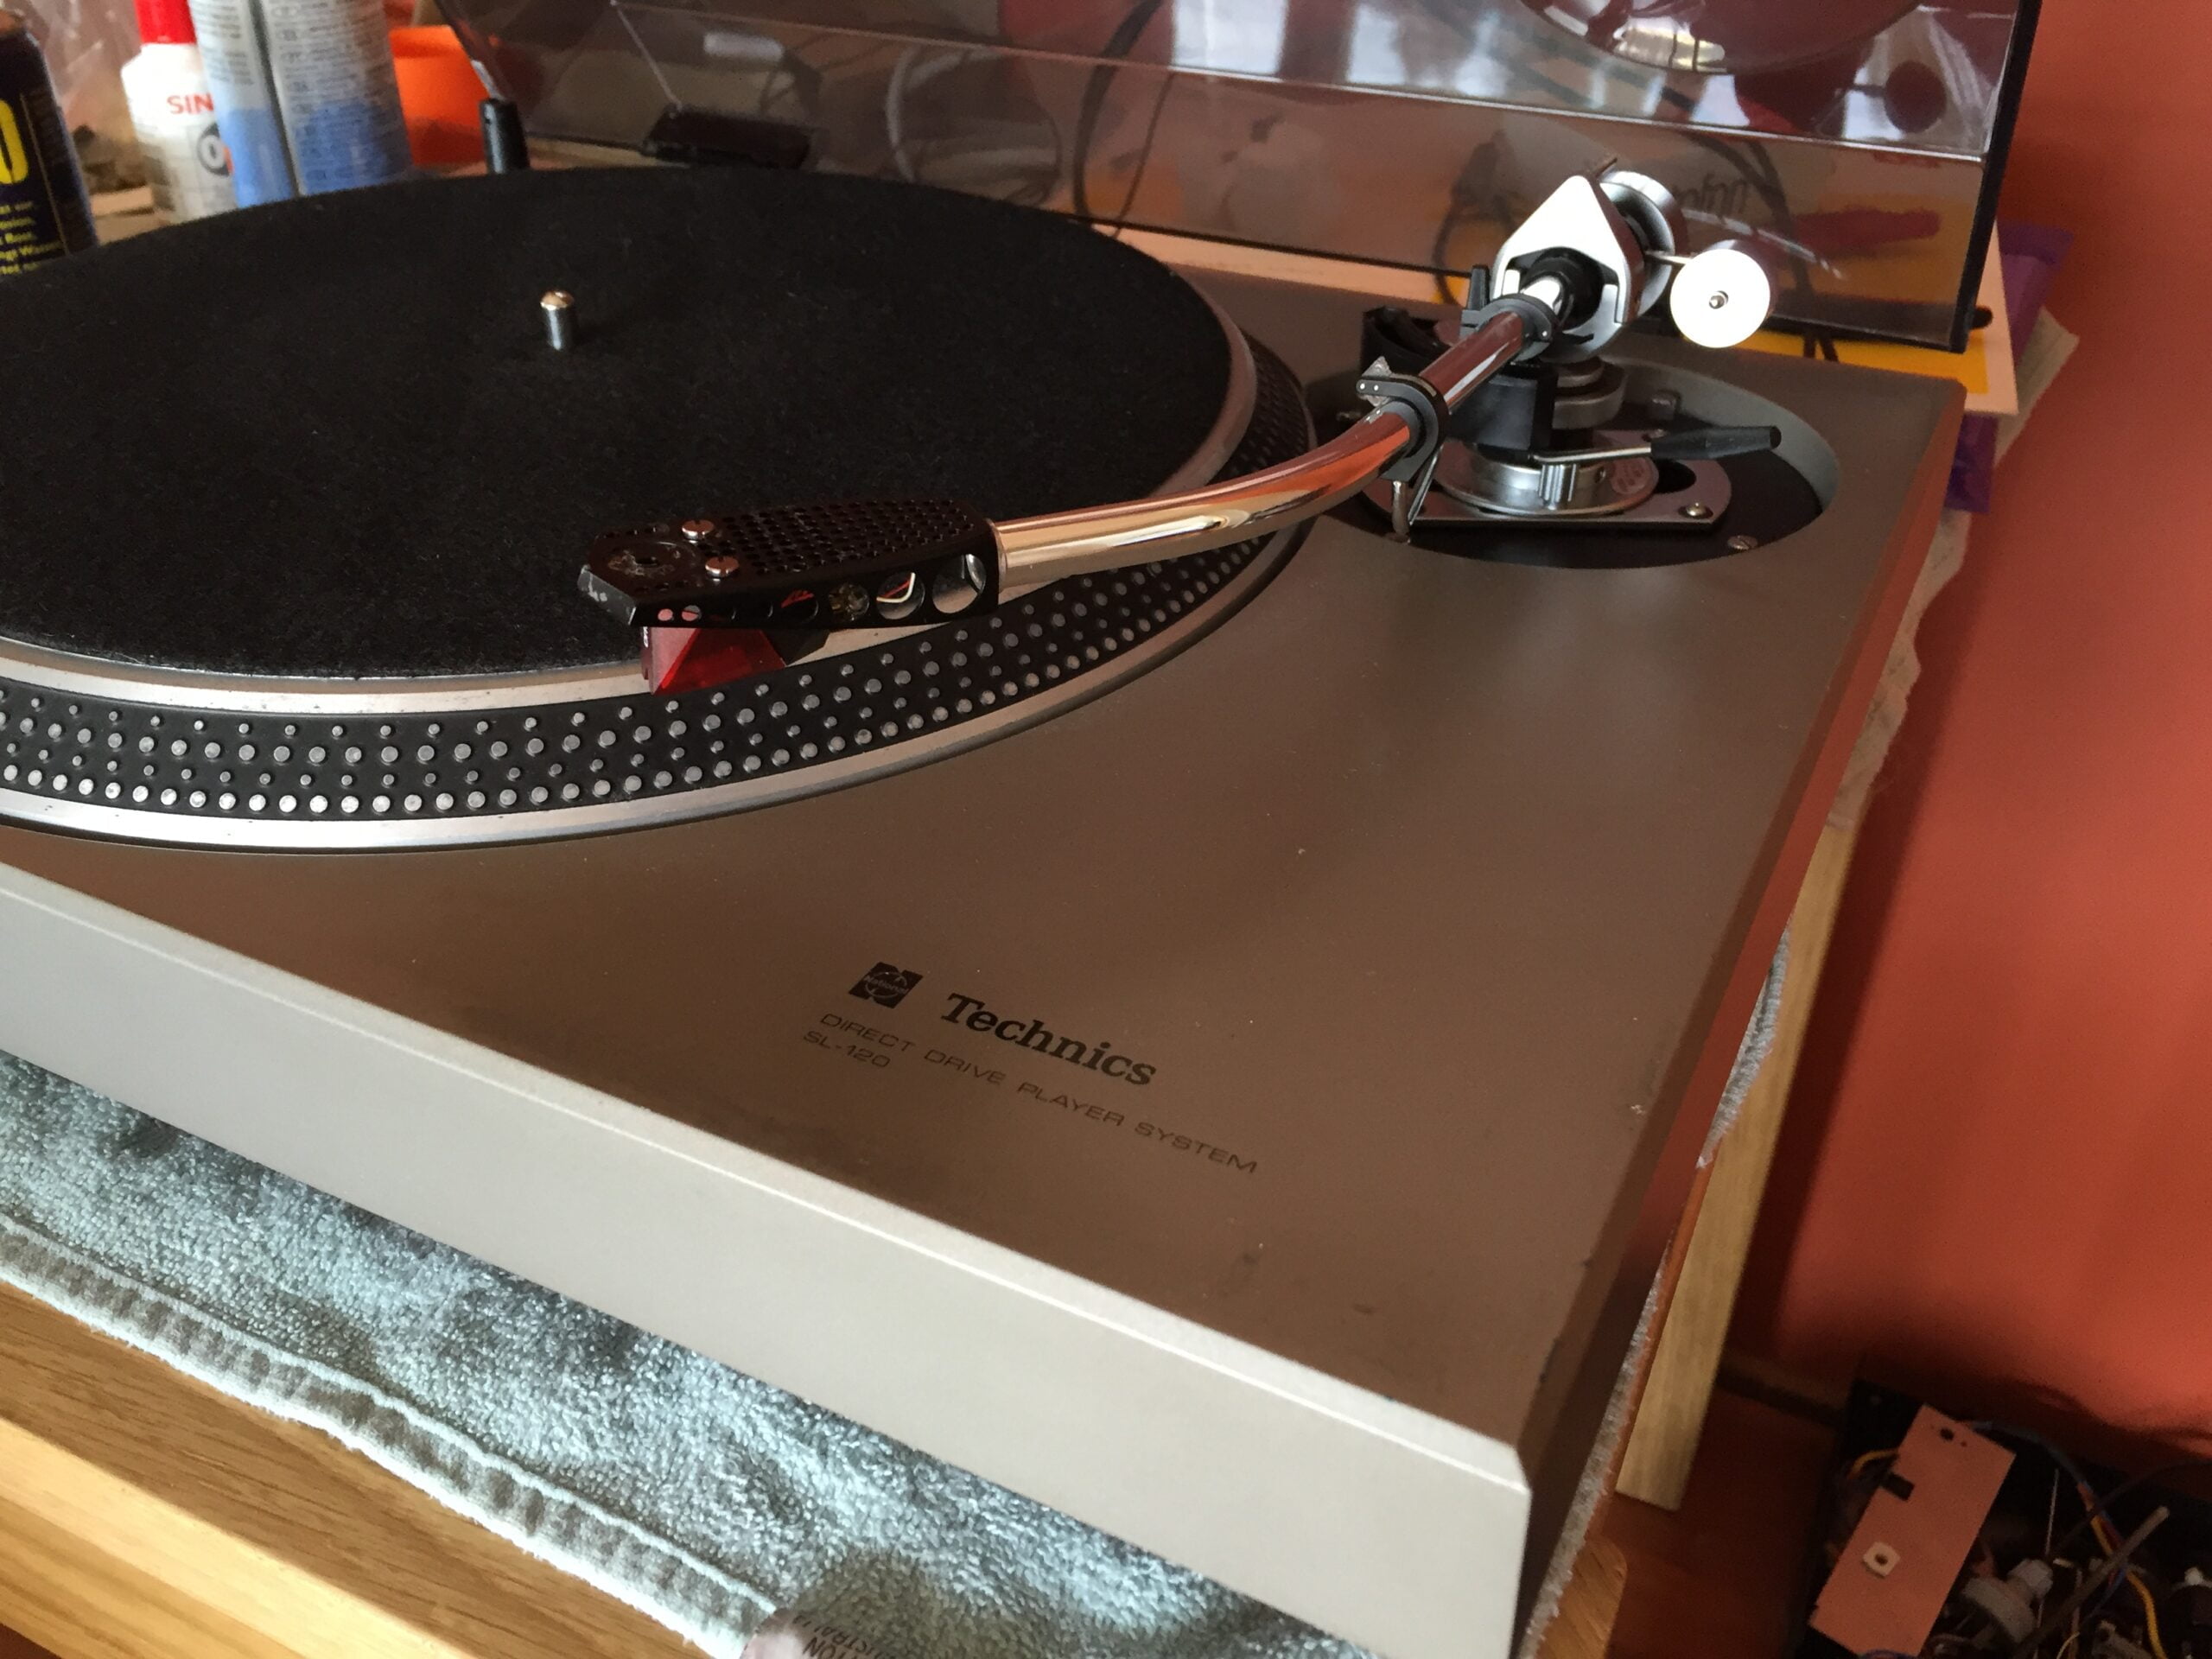
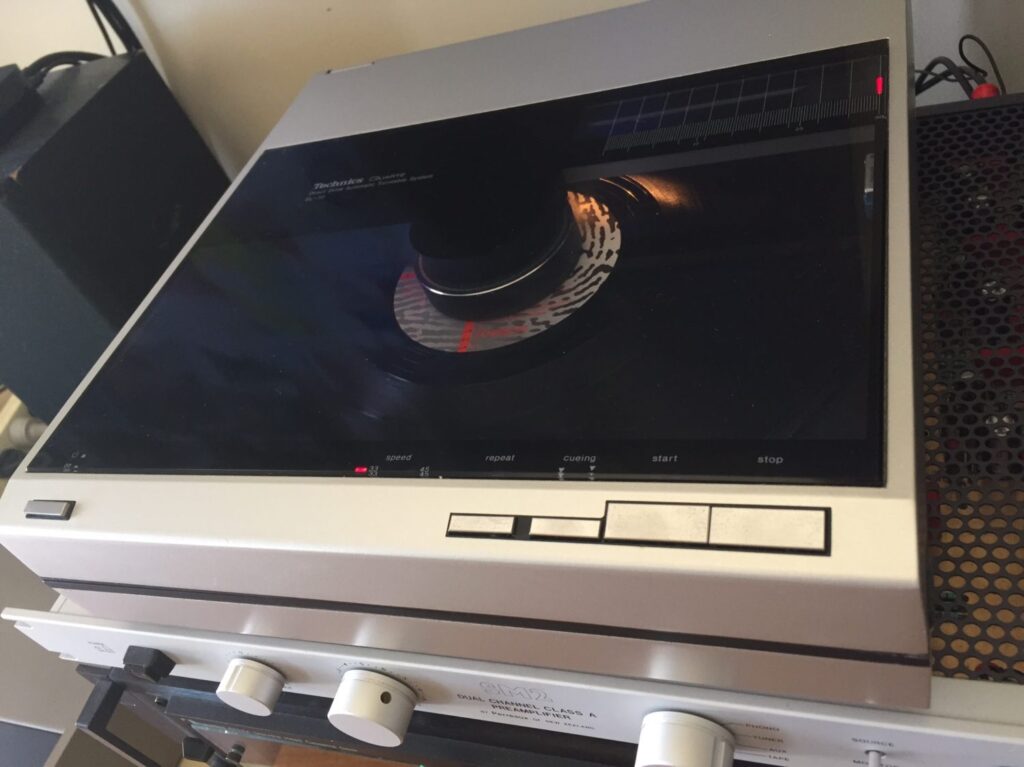
In this older article, I restore a lovely Technics SL-120 direct-drive turntable with SME-3009 tonearm. Let’s check it out!
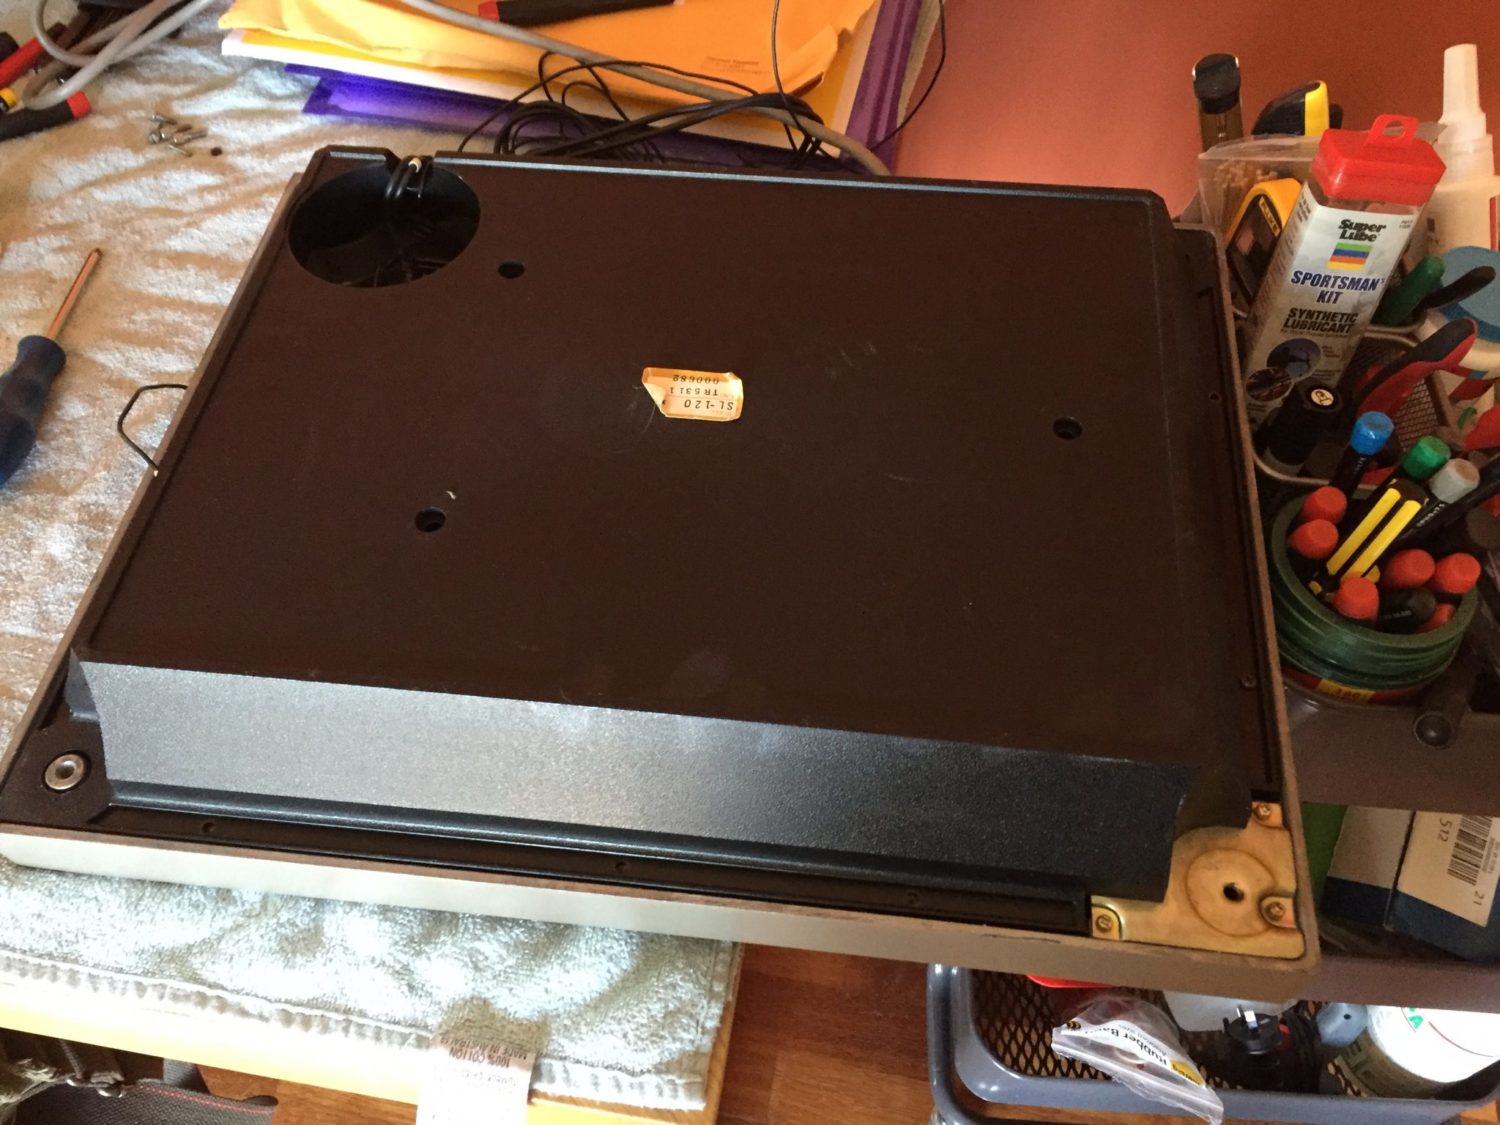
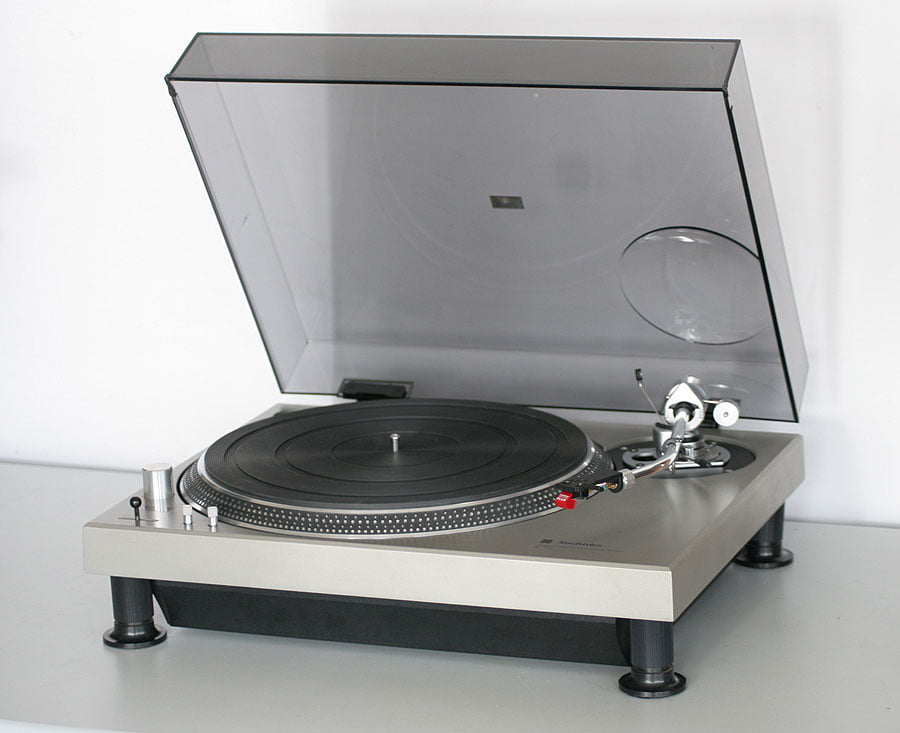
The Technics SL-120 is basically a Technics SL-1200, without a tonearm. Owners often chose to fit an SME 3009, as was the case with this old deck. This a quality direct-drive deck, featuring a brushless DC motor providing several notable advantages over belt-drive decks.
There is no belt or transmission to introduce noise and irregularities of motion. A motor that is ultimately locked to a quartz crystal, means the deck is not subject to mains fluctuations as AC motor belt-driven decks are. Direct coupling of the platter to the motor effectively makes the platter and motor rotor one giant motor!
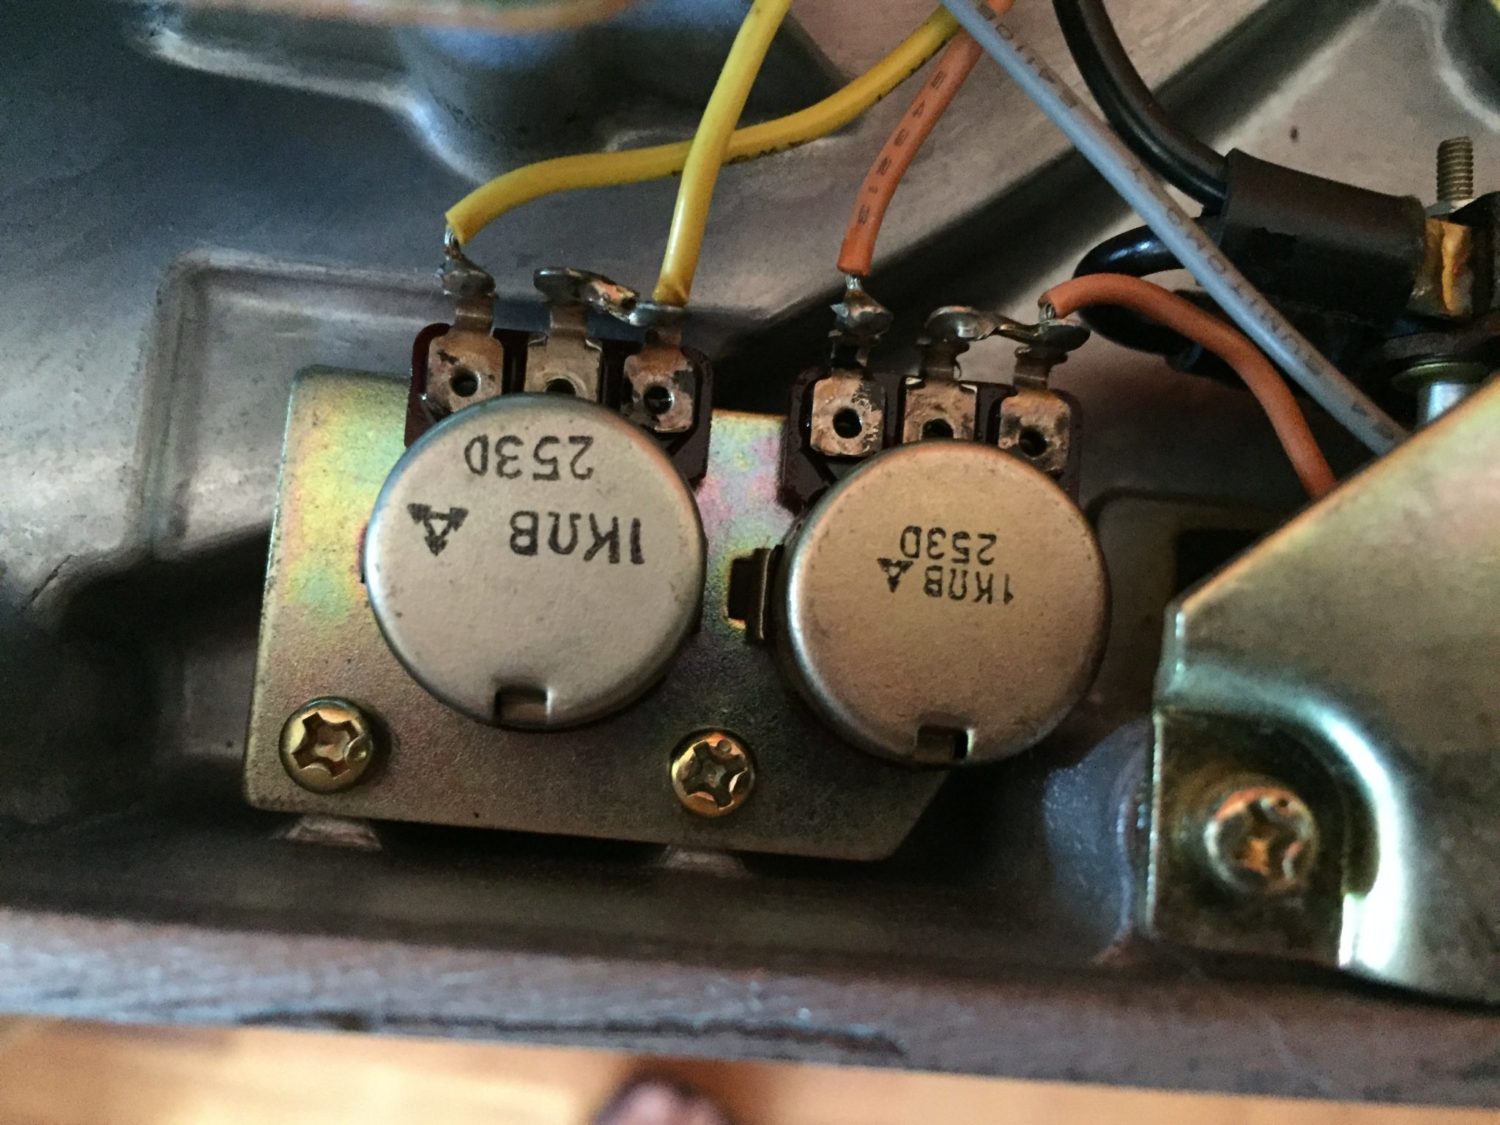
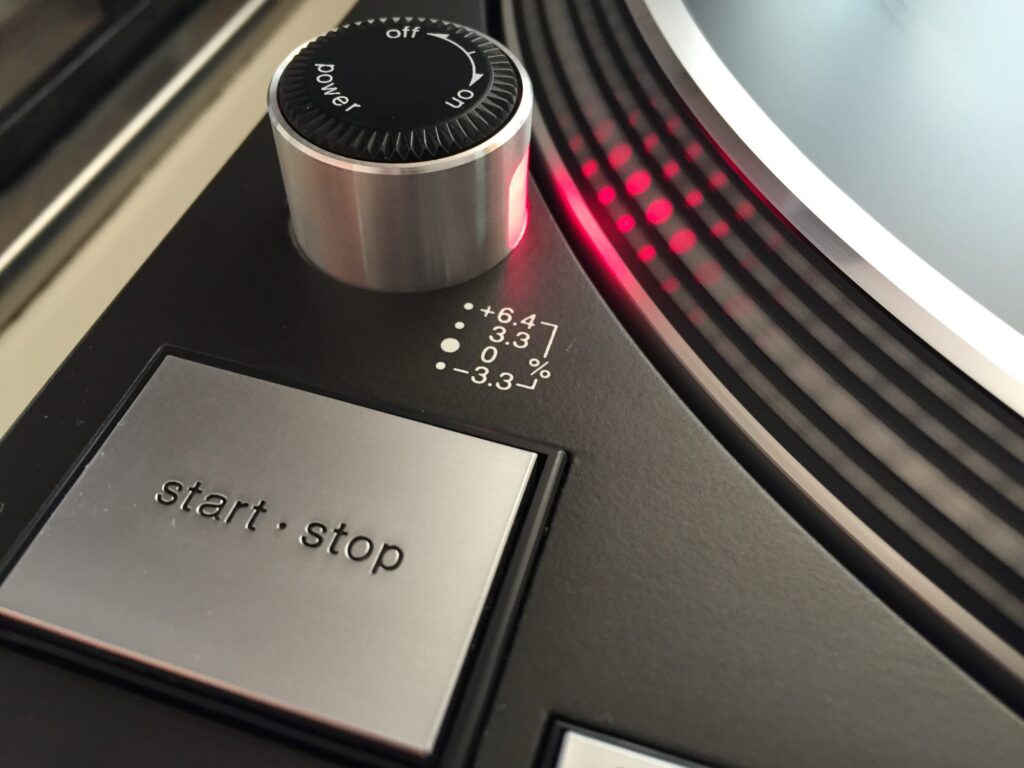
The SL-120 is not quite as heavily built as the SL-1200, but this is a solid deck, weighing in at 10 kg, with 1.75 kg of platter mass, just like the SL-1200. The deck features a strobe, with vernier speed adjustments possible via small knobs at the front left of the chassis. Speed change is affected by a lever.
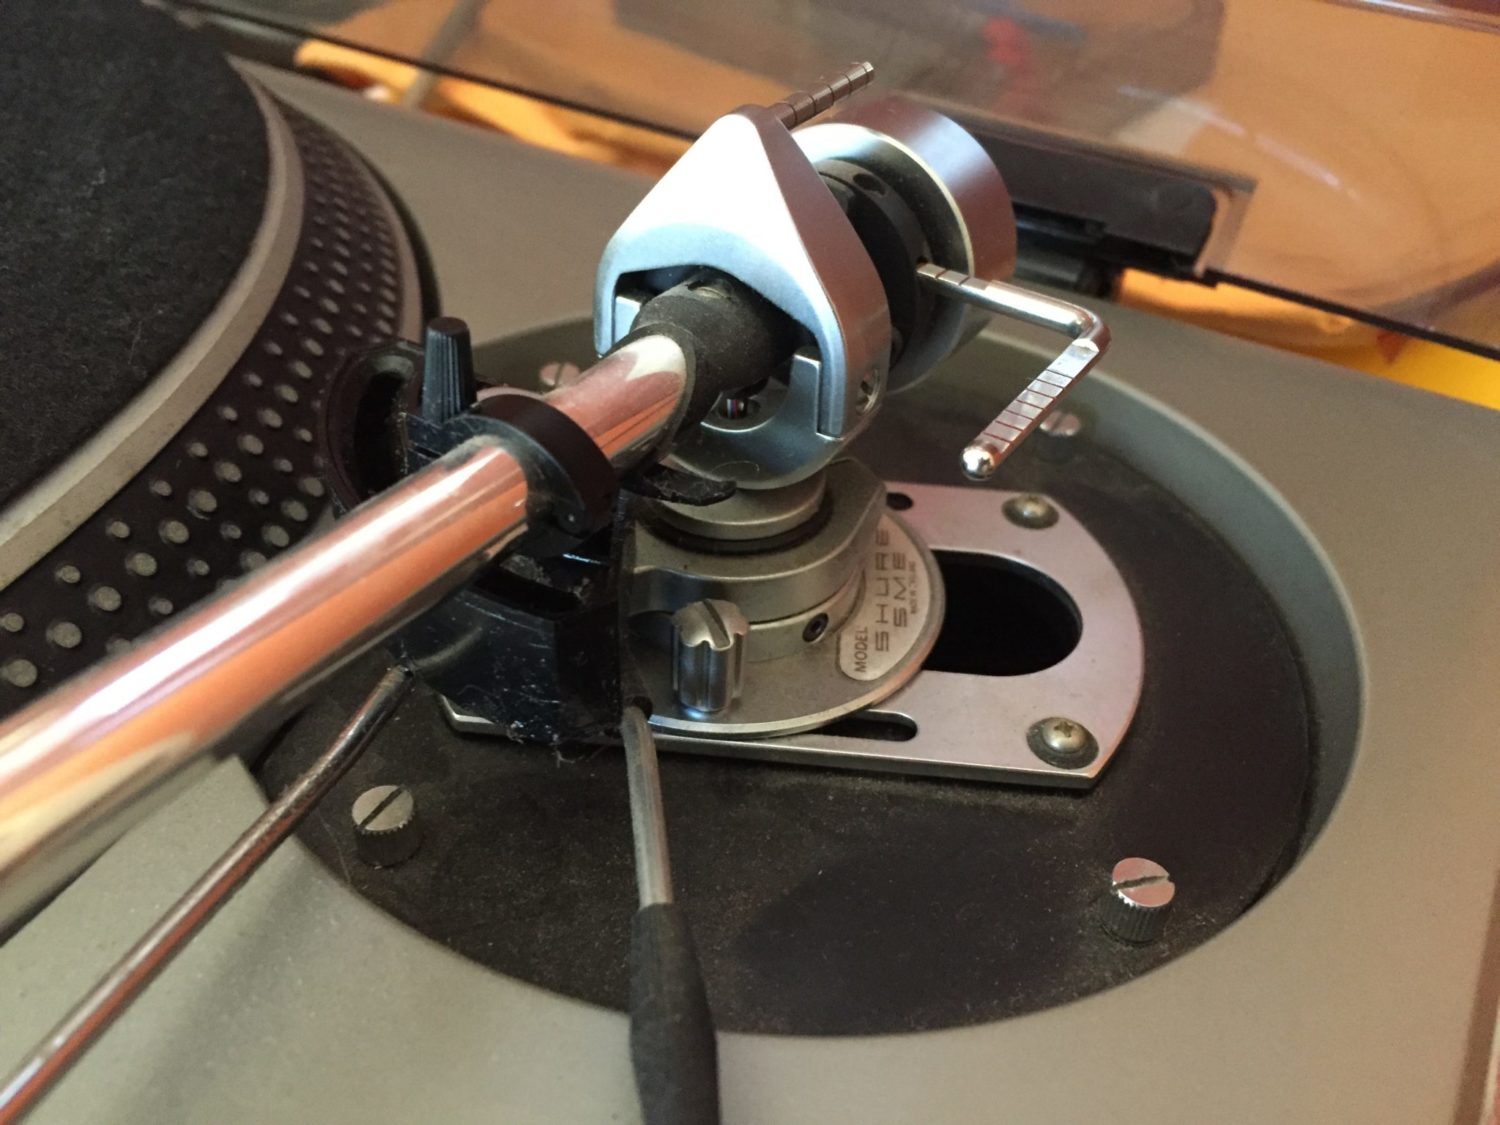
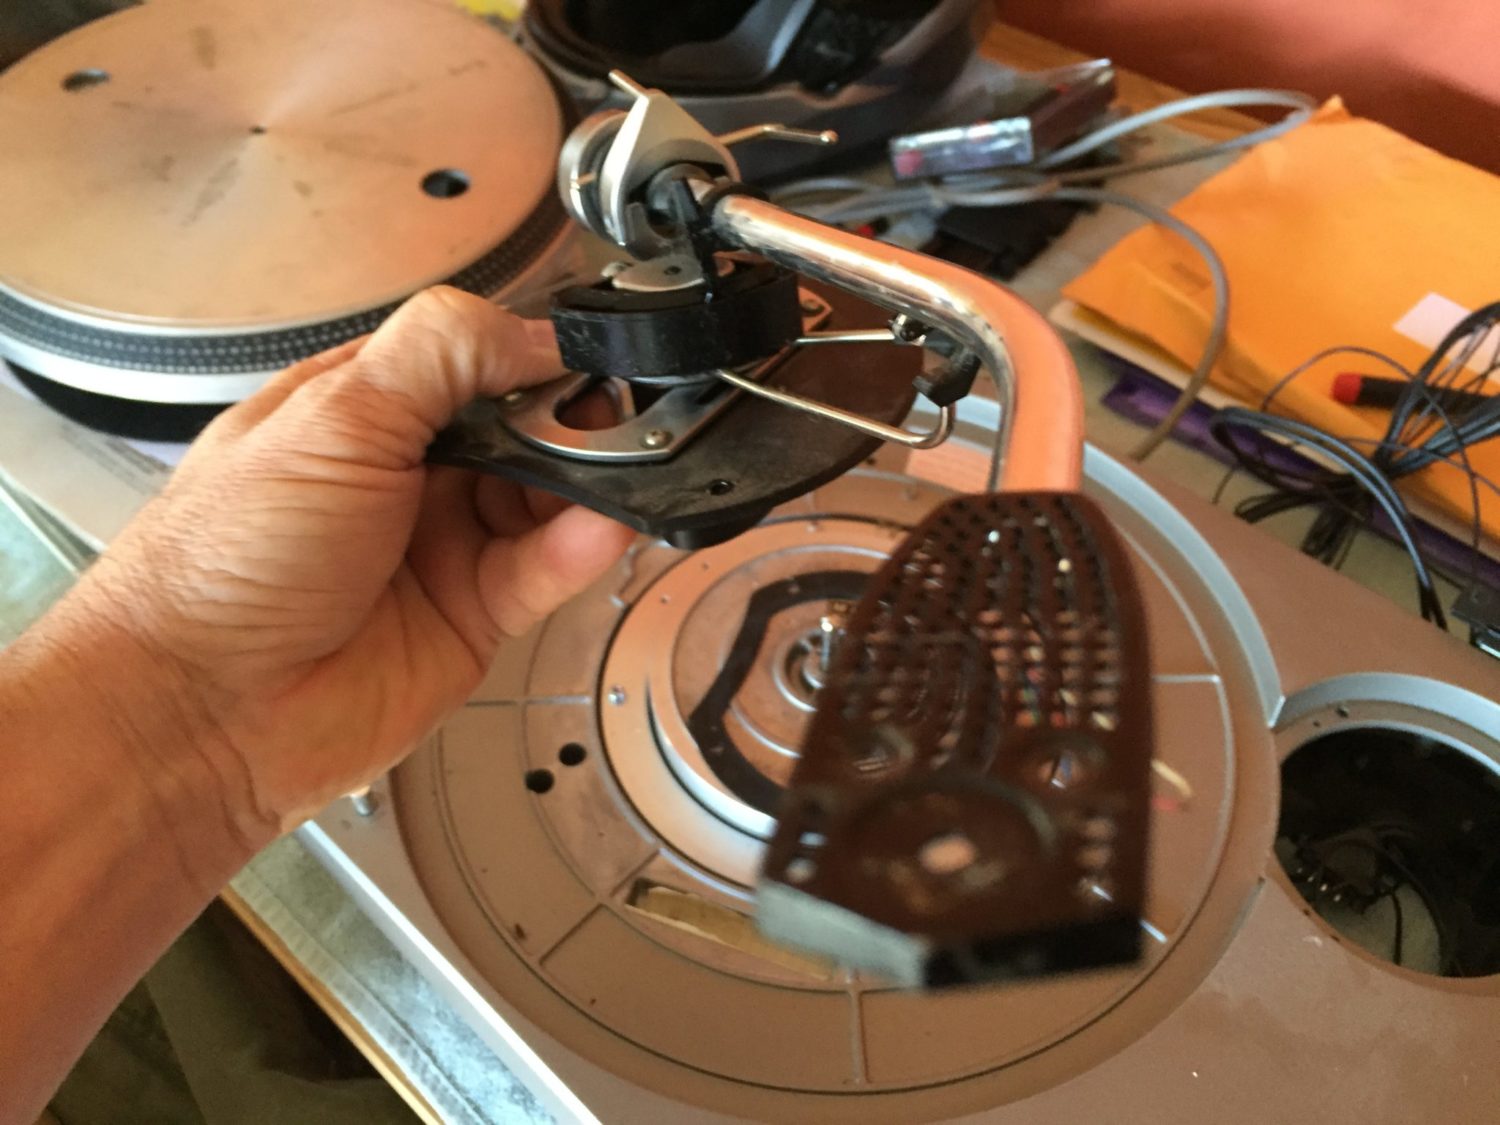
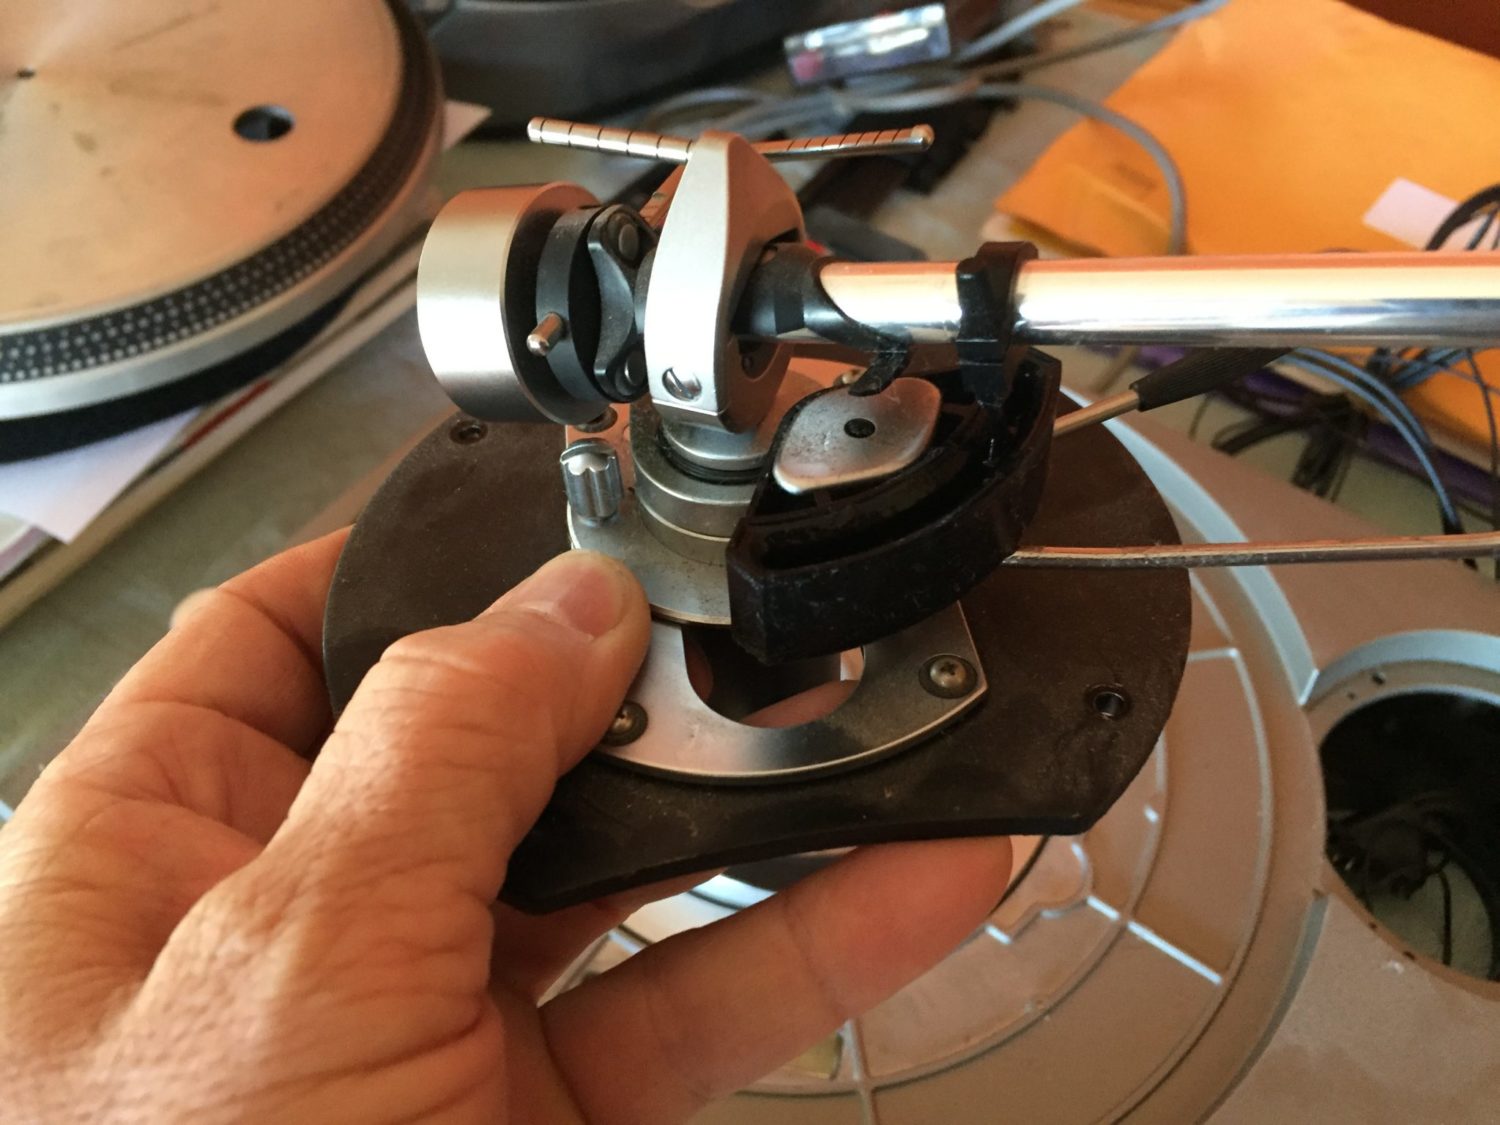
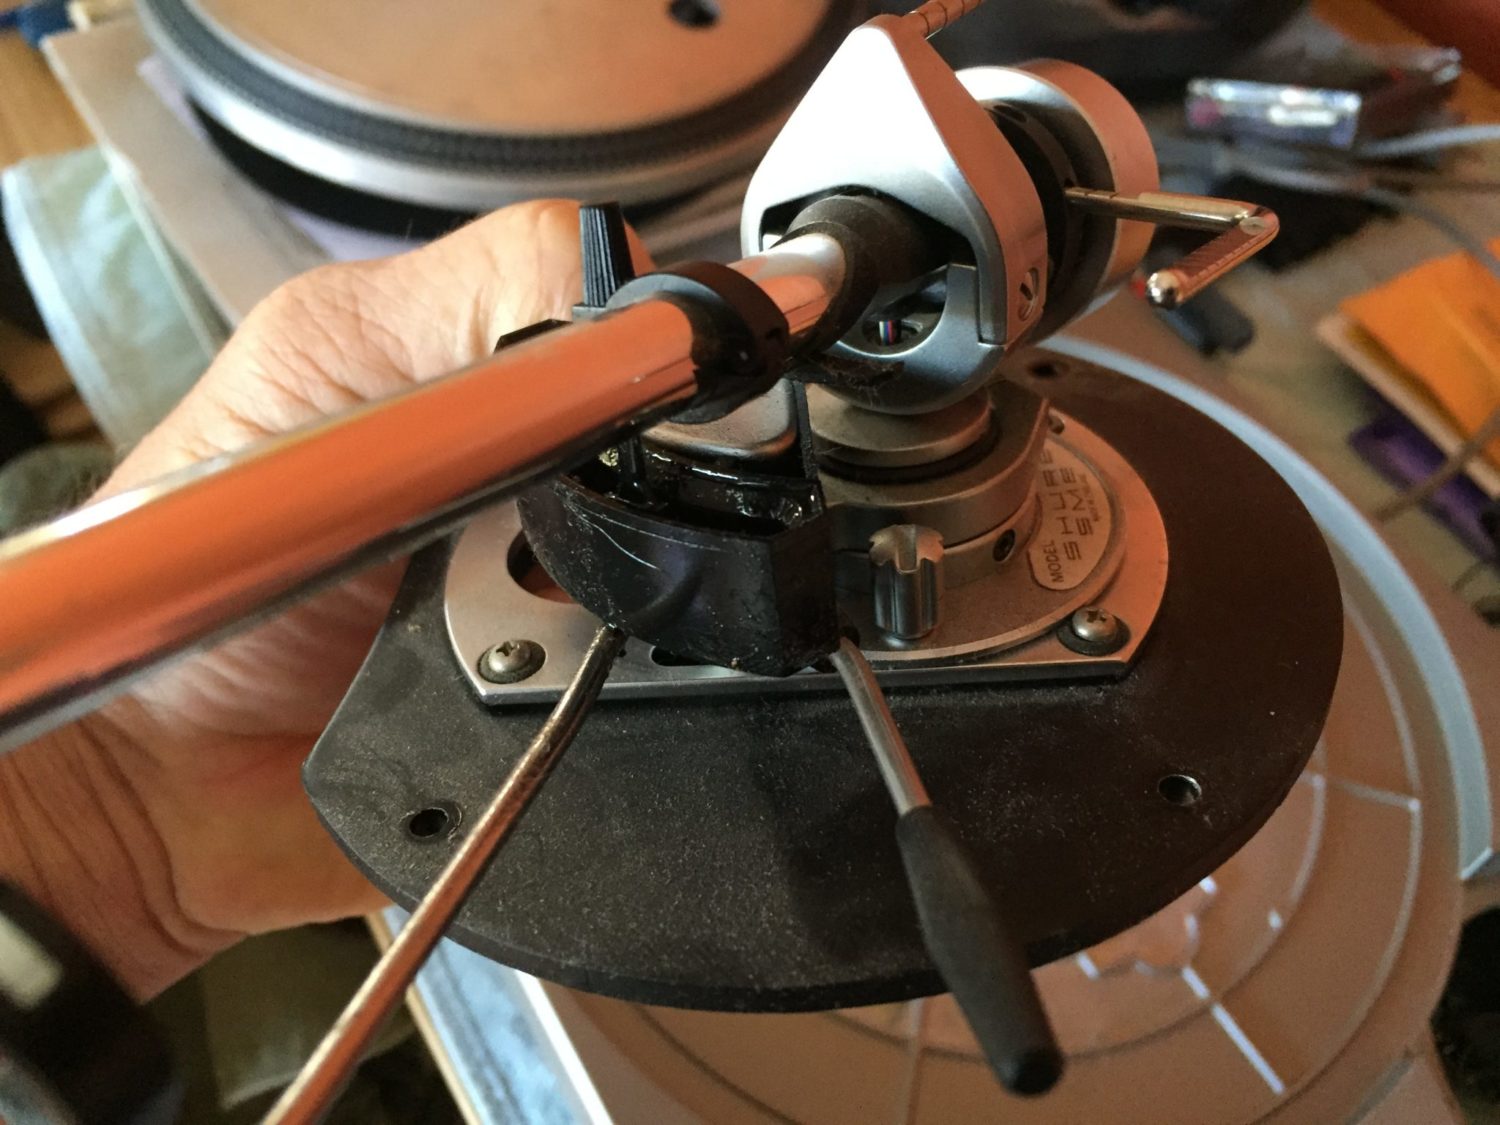
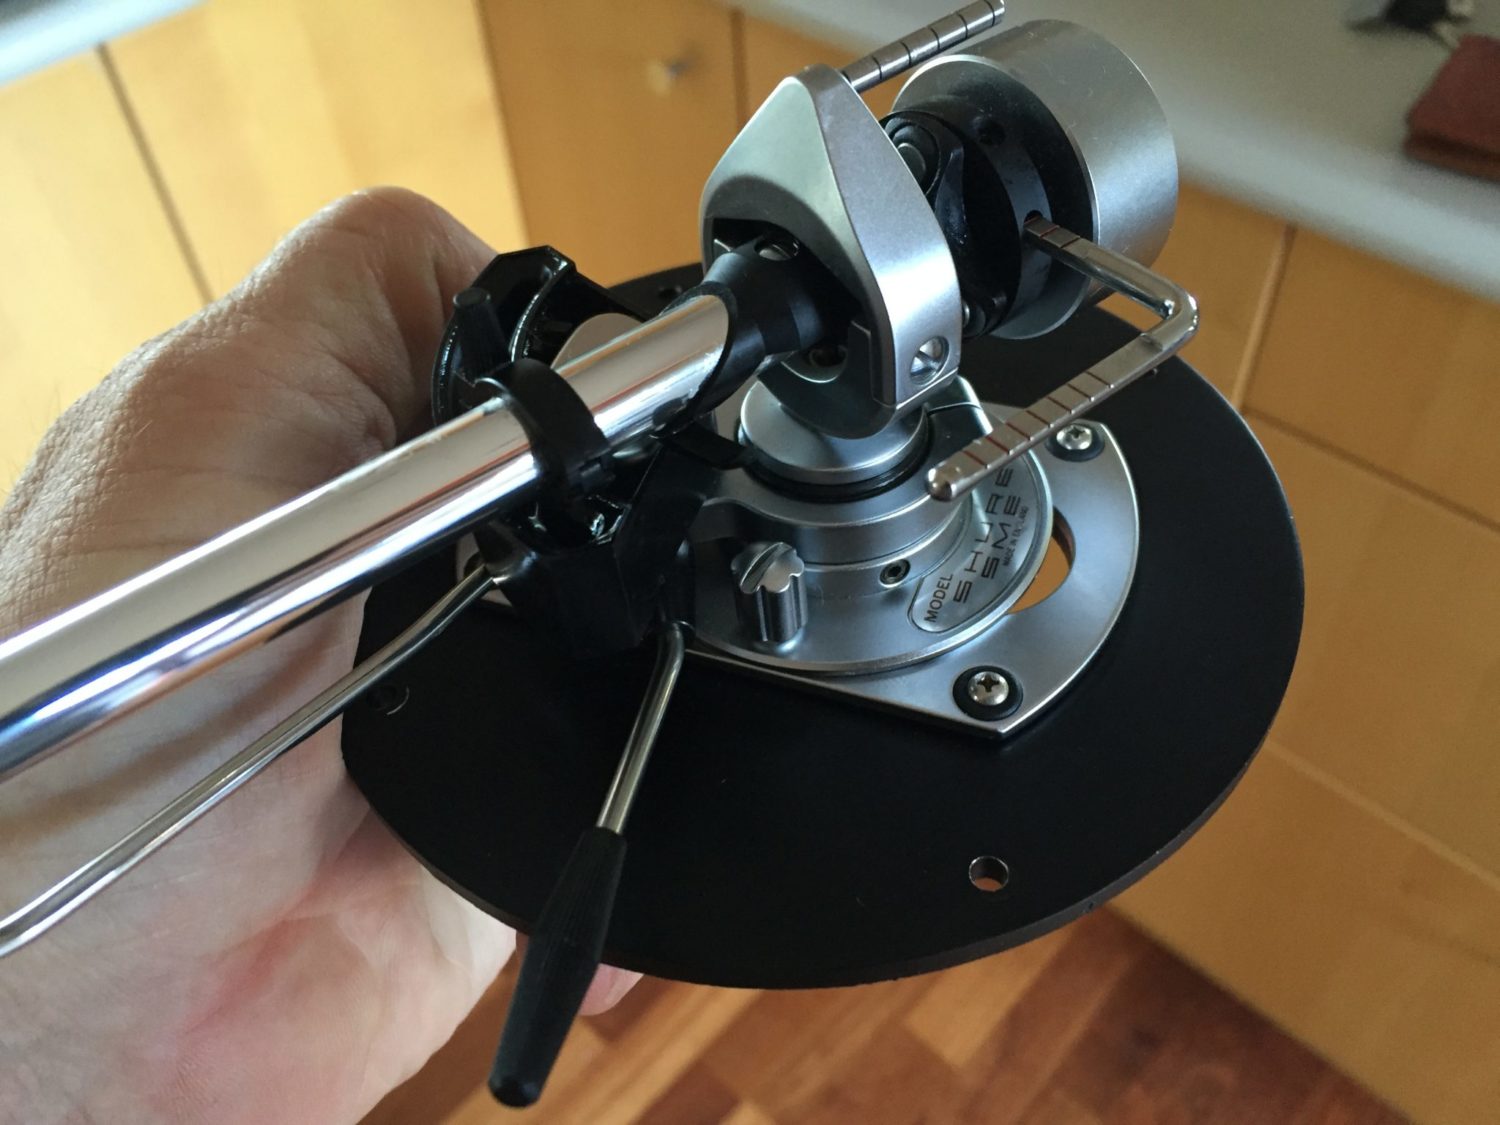
This particular SL-120 exhibited several issues, notably the SME 3009 arm was in very poor shape with almost everything loose, broken or misadjusted. The motor bearing was dry and desperately in need of some oil.
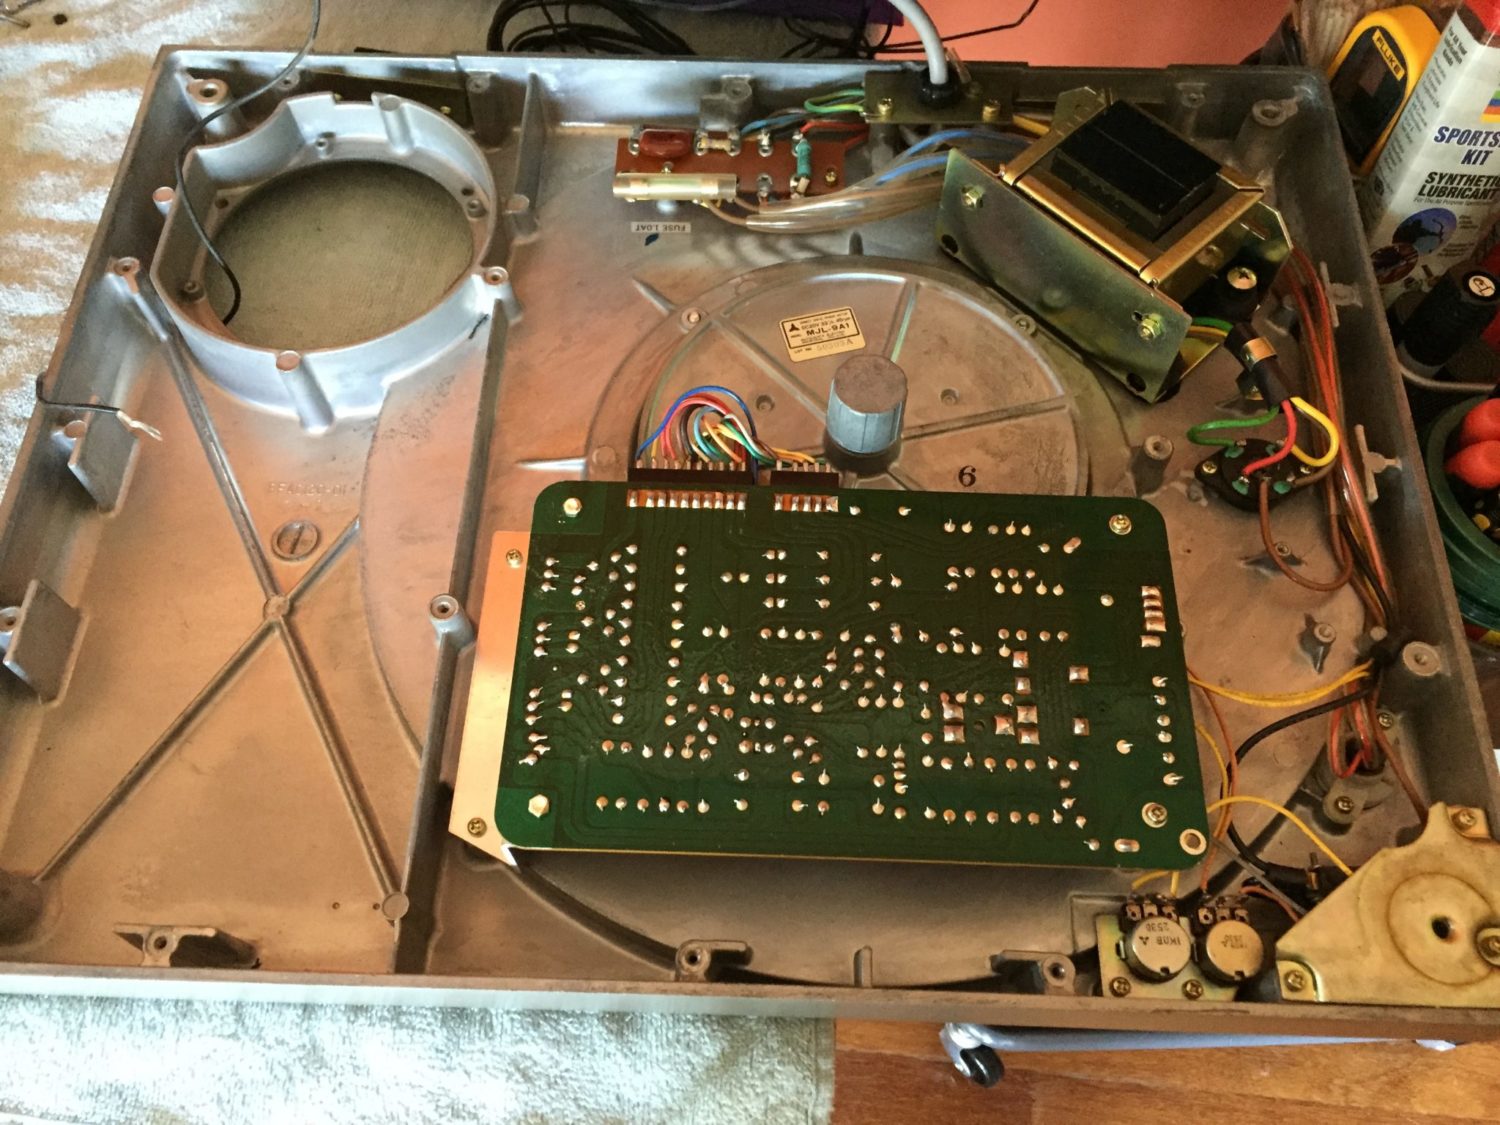
The chassis was also filthy, the lid was not attached properly at the back and the speed controls were not working properly and were very stiff. the strobe seemed to be operating only intermittently as well.
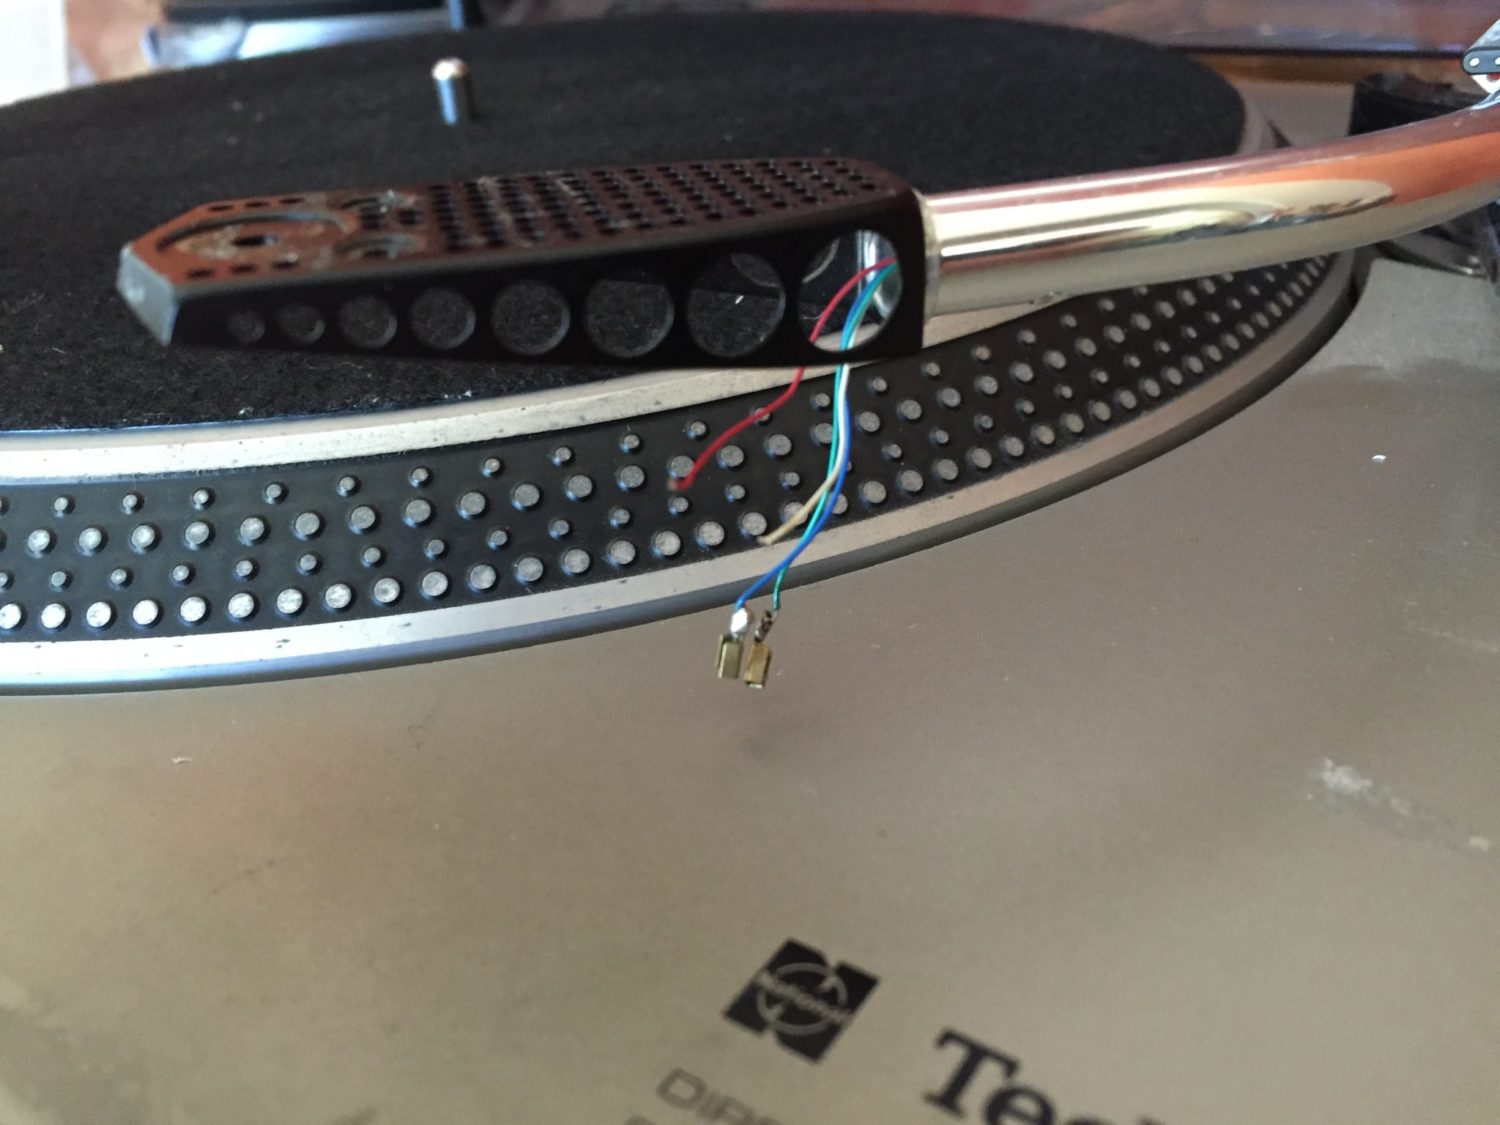
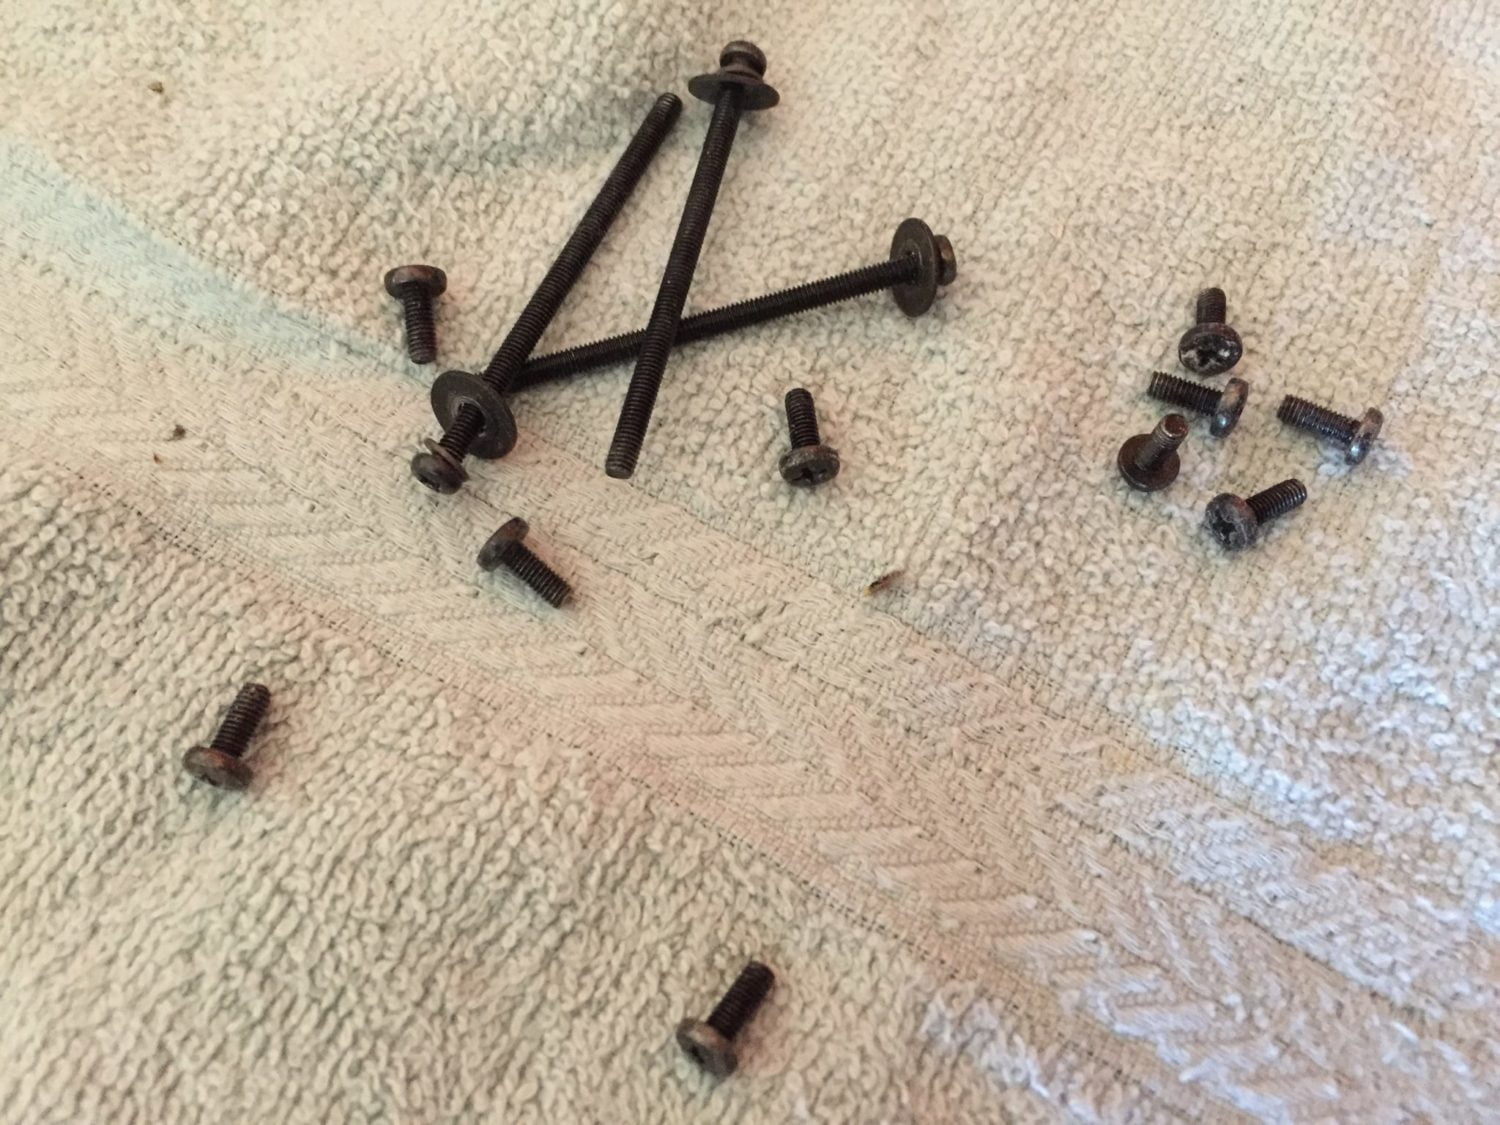
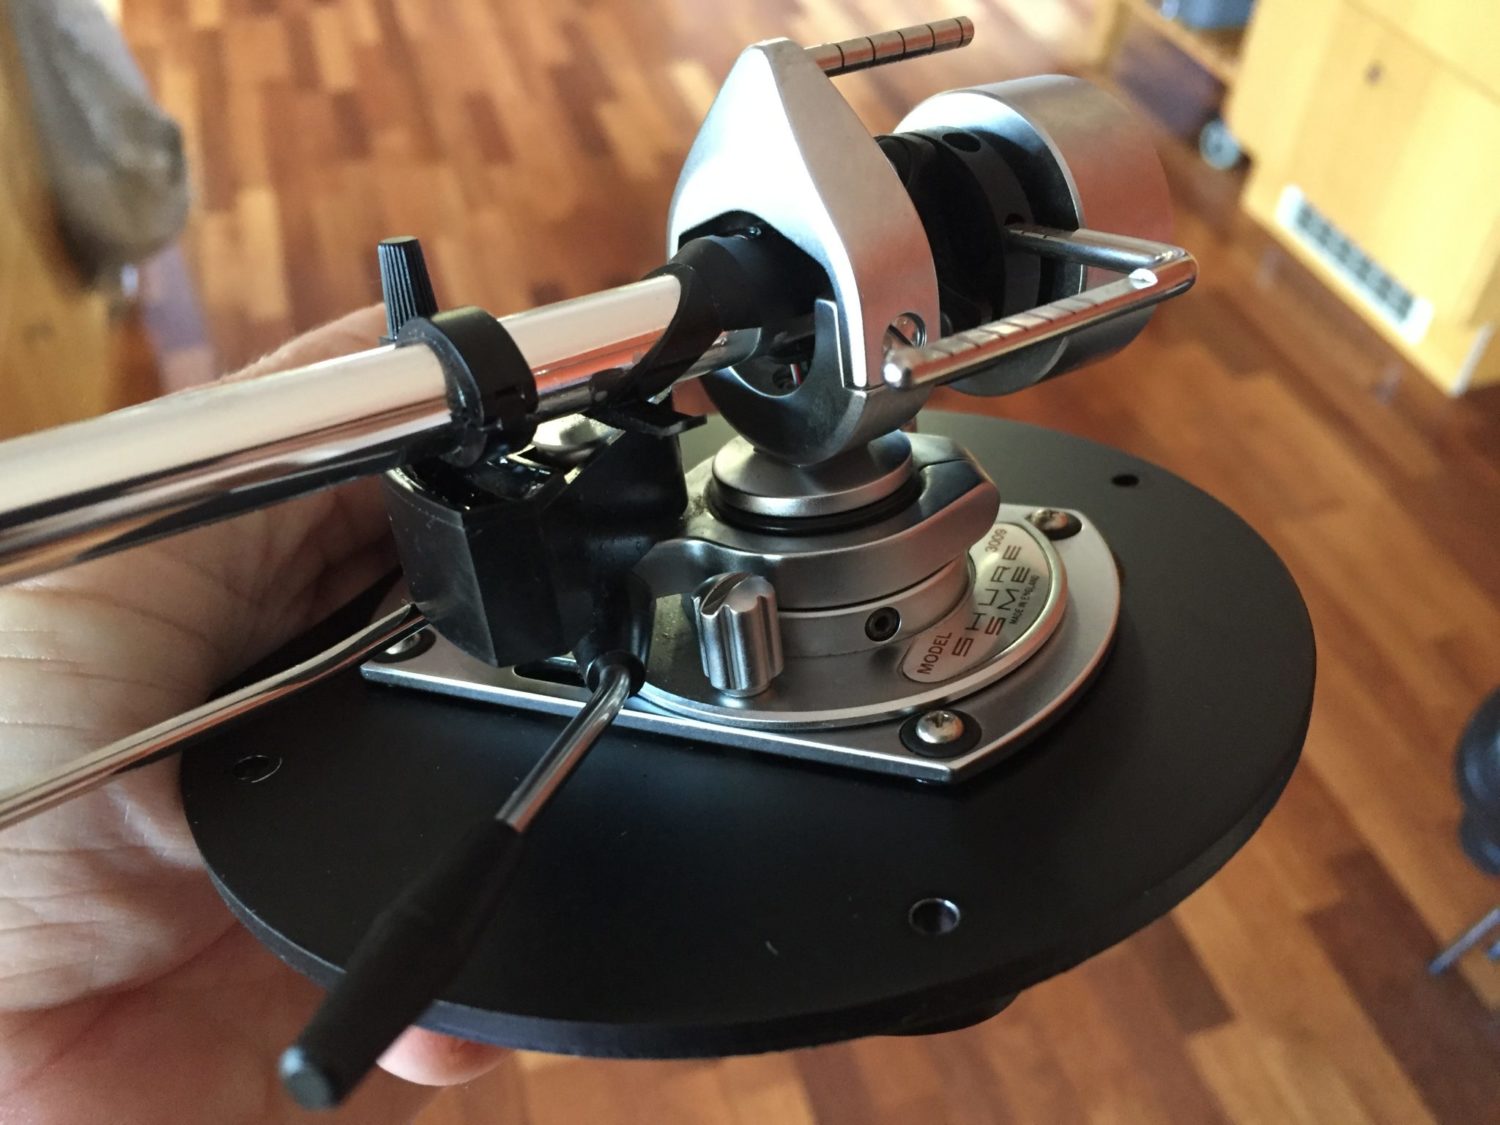
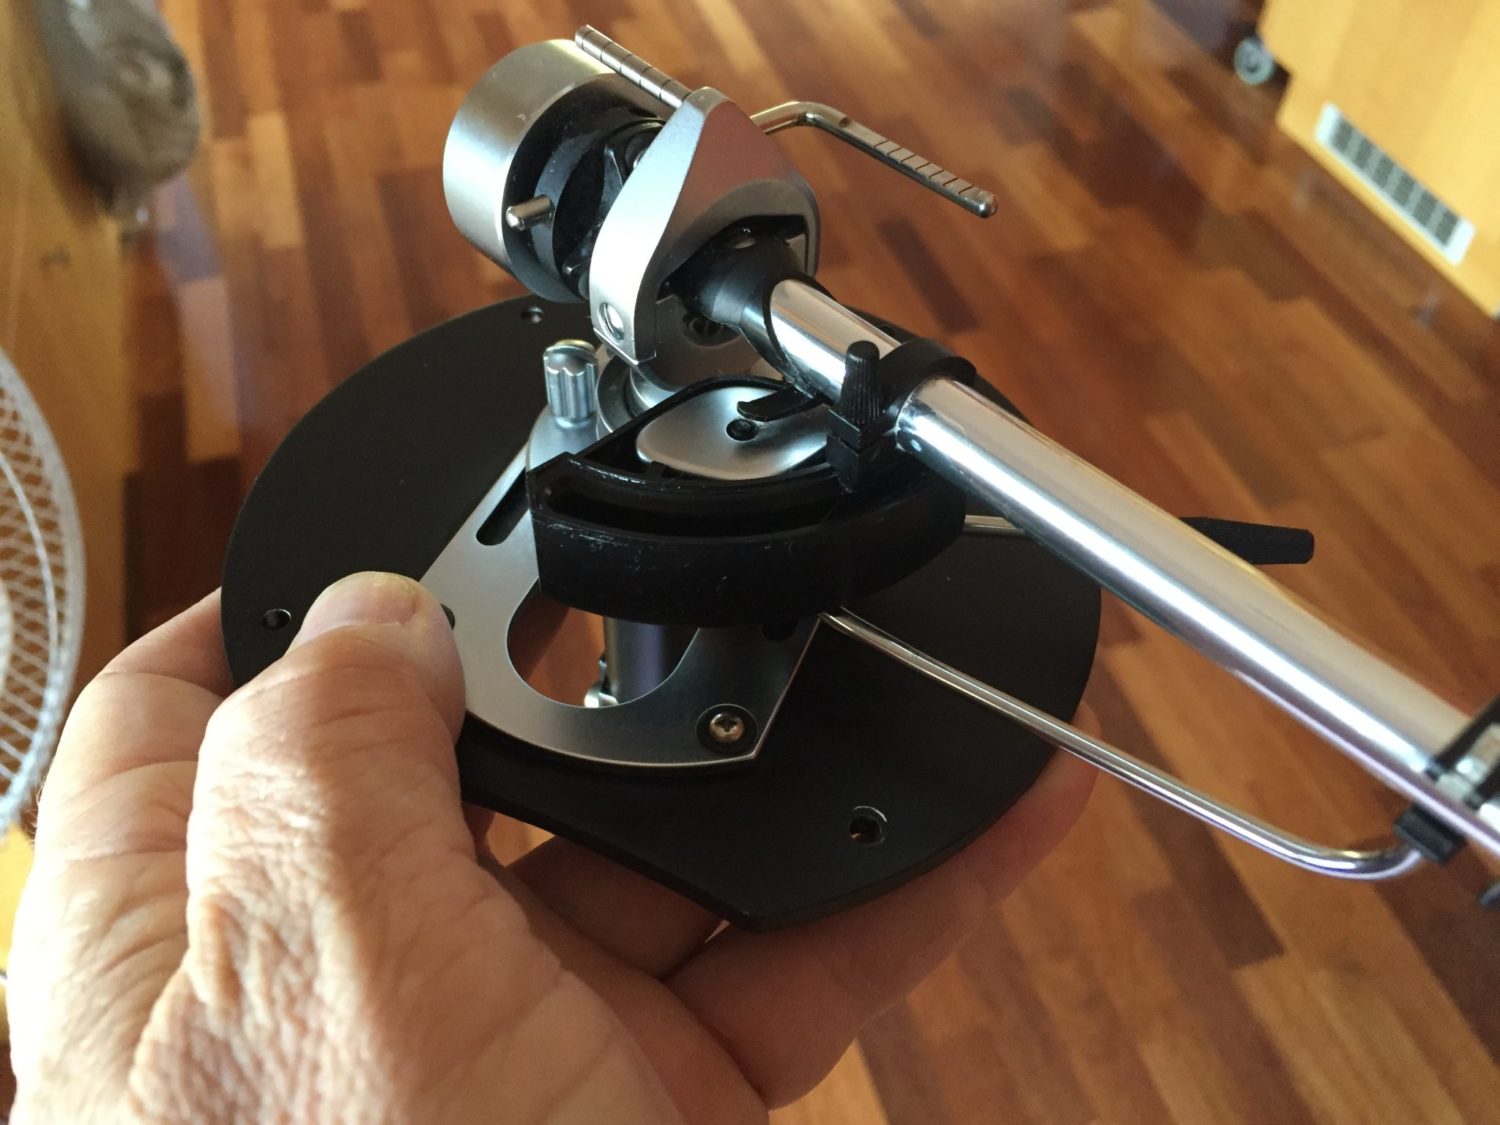
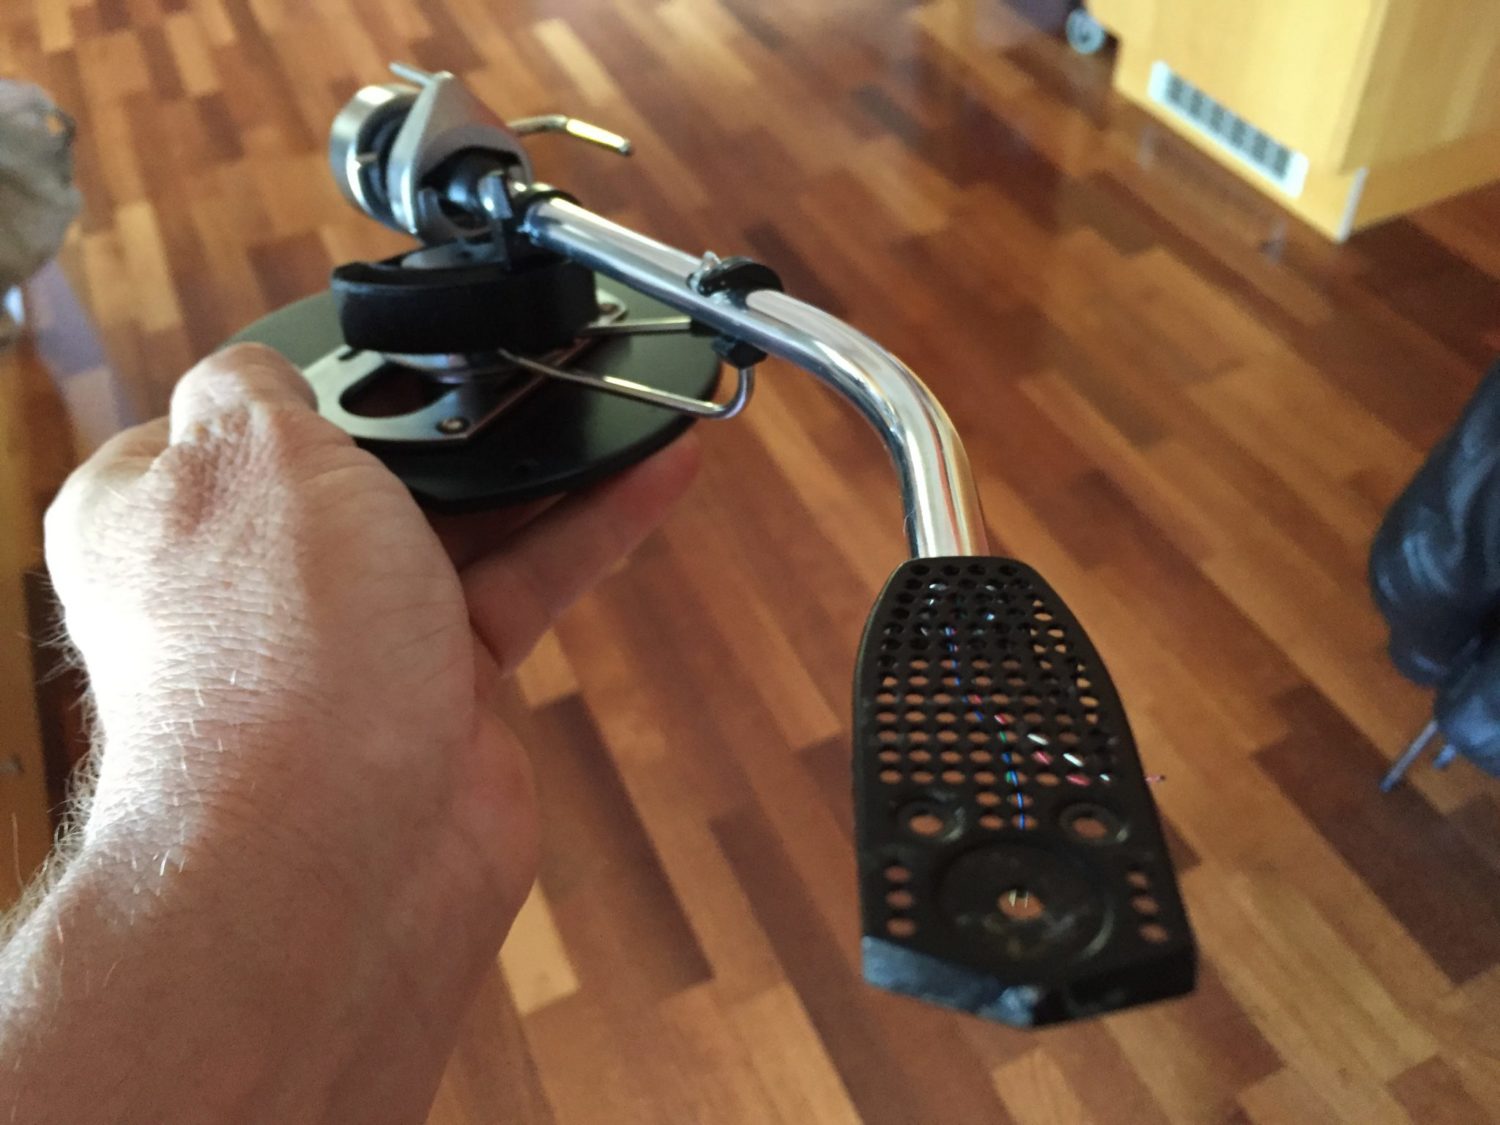
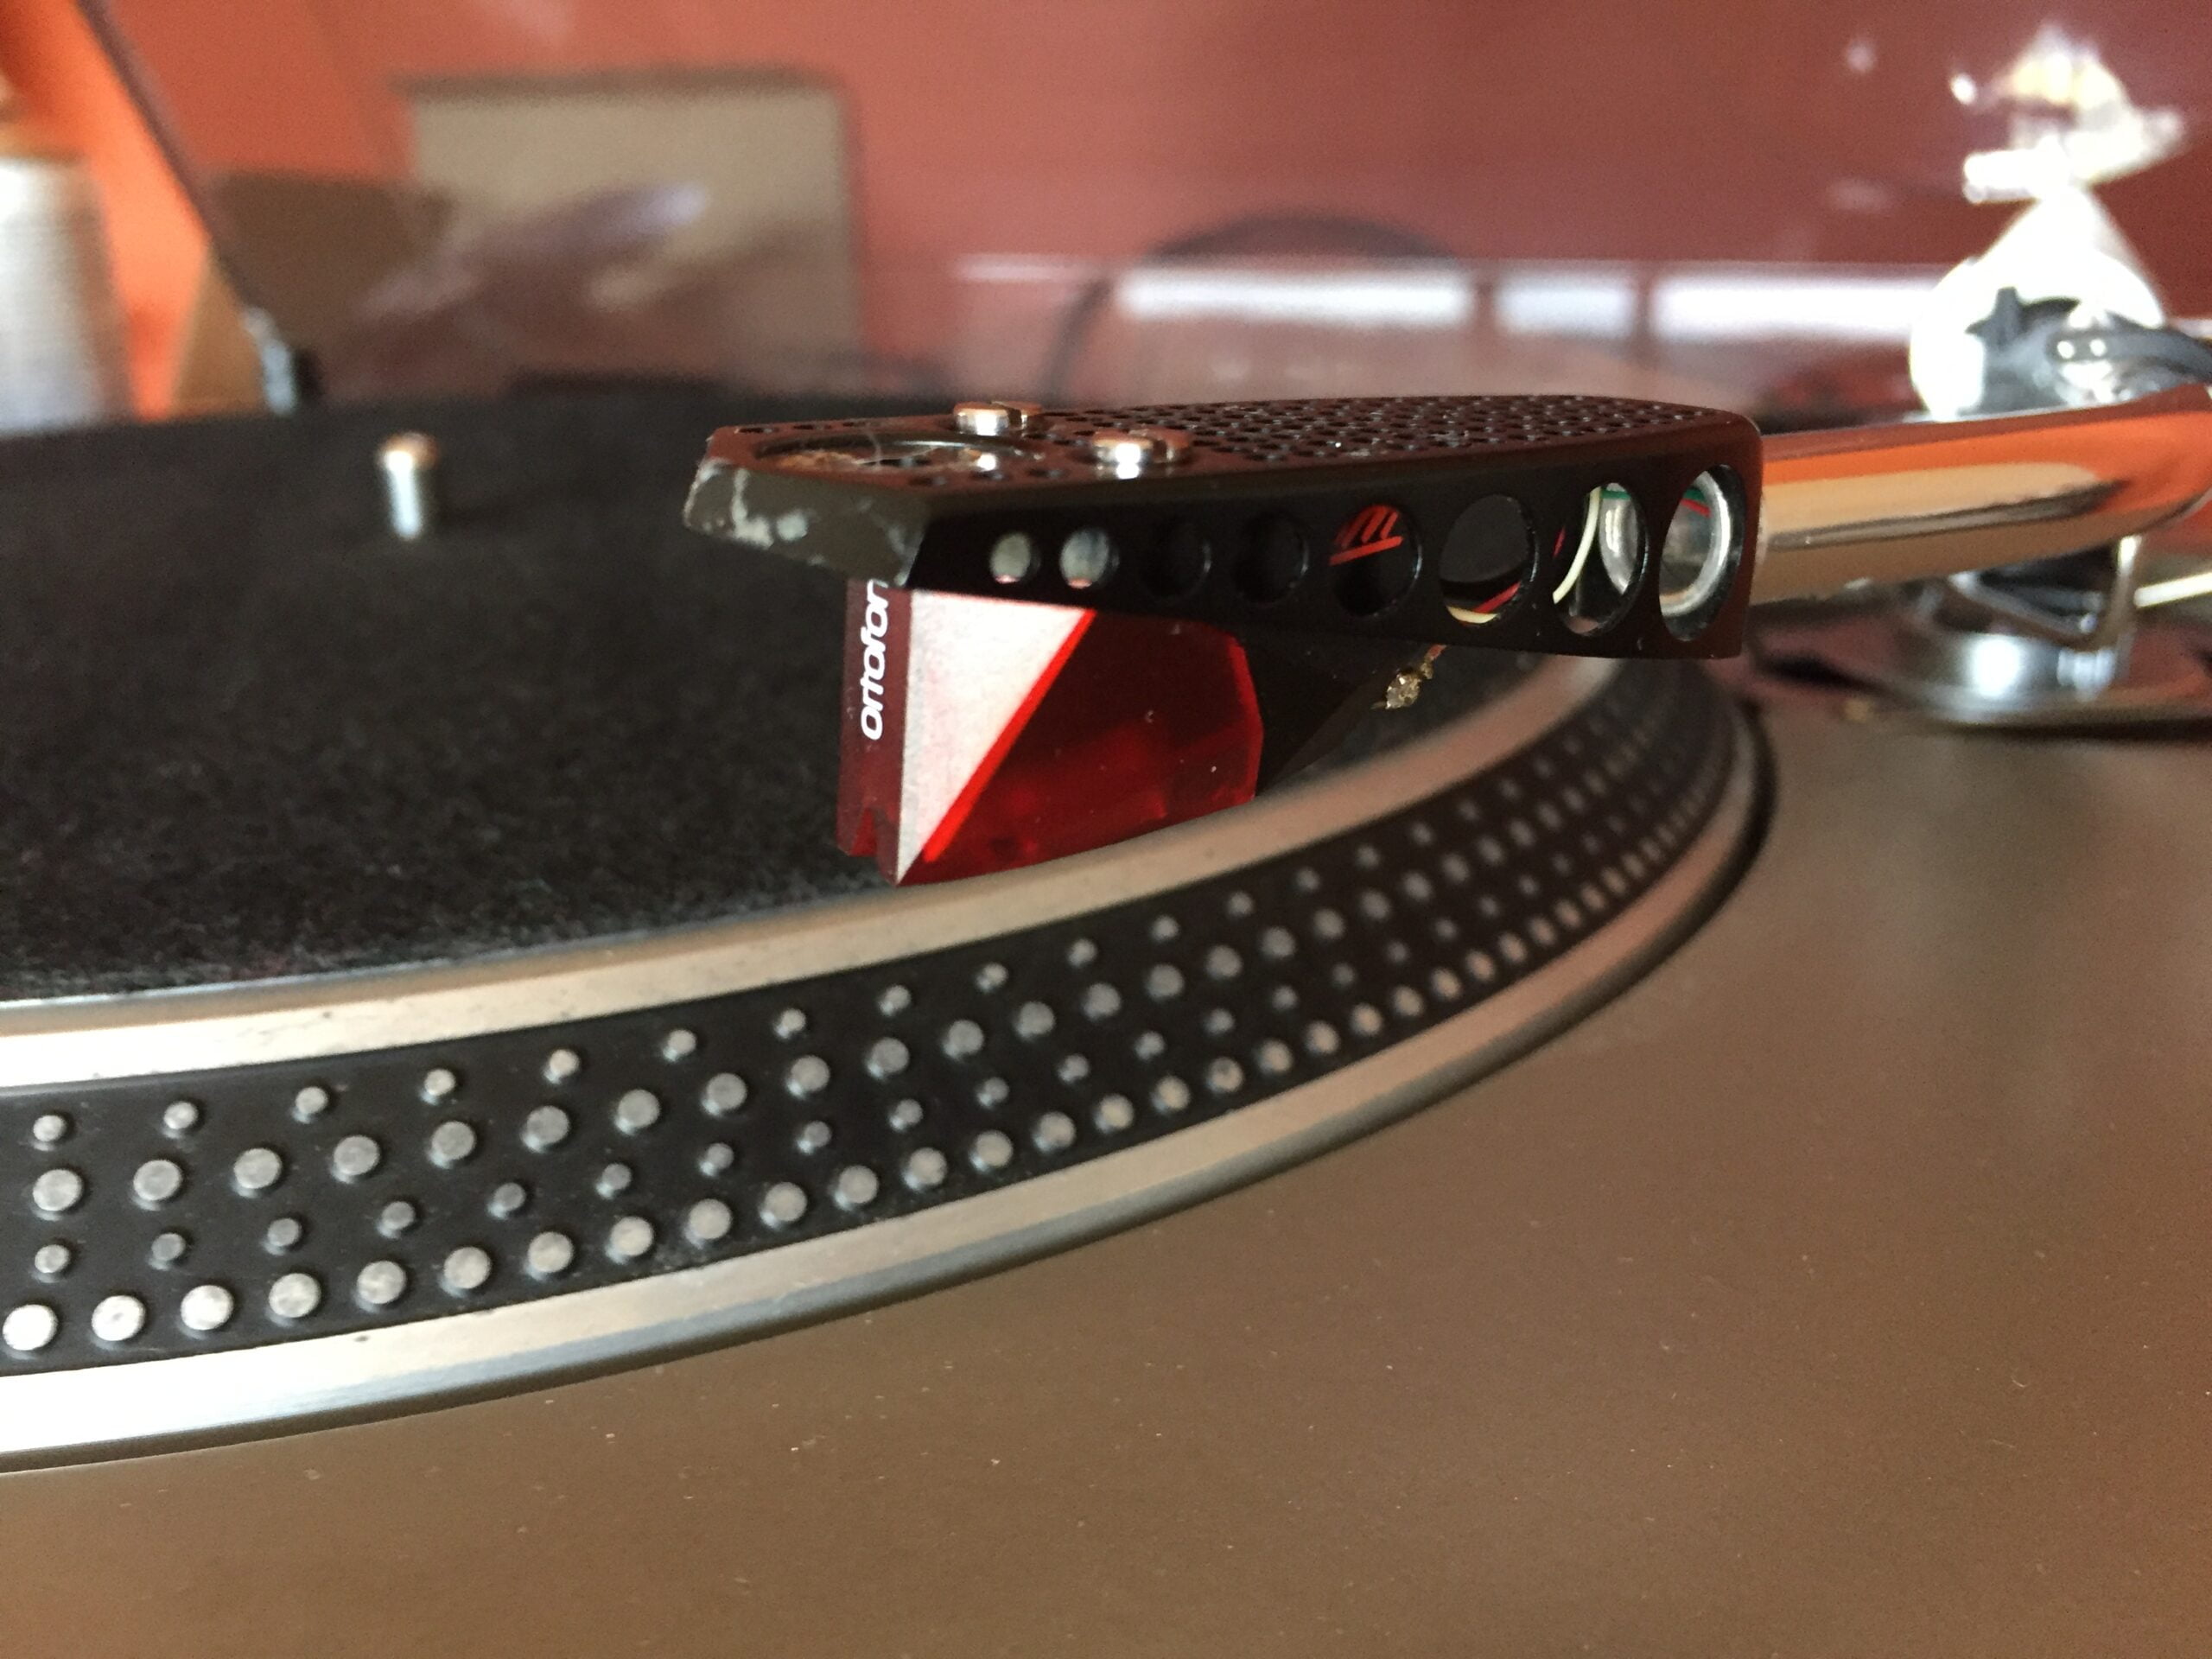
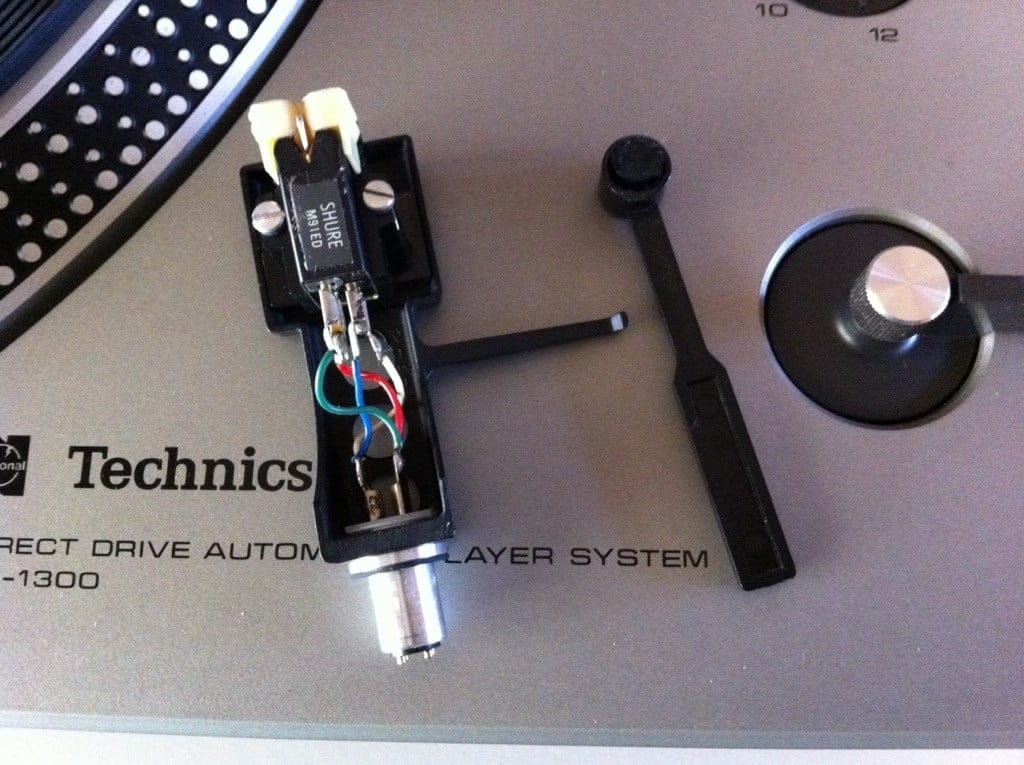
I fixed the headshell wires and resoldered a couple of cartridge clips. I thoroughly cleaned the arm as you will see in the photos and attached a nice new Ortofon 2M red cartridge. I opened her up and cleaned the speed adjustment pots, and speed switch, cleaned the whole chassis and lubed the motor.
With the SME 3009, some work was required there and this needs to be factored in if you are planning similar work yourself. Soldering cartridge clips requires a fine soldering iron, a low – moderate tip temperature and a very steady hand, along with an ‘assistant’ in the form of a small vice or soldering assistant.
In terms of the mechanical components of the arm, almost everything is adjustable on the 3009, and most of these adjustments will be set up incorrectly in my experience. You have to set the lateral balance, stylus downforce, anti-skate, damping paddle, arm ride height and overhang. All of this must be set precisely, to extract maximum performance from this venerable tonearm.
After working through the issues, the SL-120 came up beautifully and her owner was very happy. I can certainly recommend the Technics SL-120 as a great mid-range deck, that should give years of reliable service and offer many advantages over cheap new belt-drive decks.
If you want more reading on the Technics SL-120, or the owner’s or service manuals, visit the Vinyl Engine!
Discover more from LiQUiD AUDiO
Subscribe to get the latest posts sent to your email.


Mike, how would you rate the SL-120 vs the Kenwood 500 and 600 in terms of the long-term serviceability of their innards and overall quality? Discrete components throughout that are easy to source if replacements are required, so I hear? There is an SL-120 advertised at present in pristine condition, but it is pricey. One does have to make up one’s mind quickly when one of these direct drive ‘classics’ such as the Kenwoods or Technics appears on the market. I’m not in a hurry, though, since my Akai AP-006, of similar vintage, is sounding better than ever with recent upgrades. I’ve owned it for 35 years, and will certainly keep it for everyday use if I get an up-scale classic for ‘best’.
Hi Selwyn, the KD-600/650 is the best of the bunch, no question. The KD-500 and SL-120 are on par, with the Kenwood being better built. All are quite serviceable, best bet is to grab any of them without thinking when in excellent to mint condition. You can’t lose money on quality decks like these if buying at sensible prices. Cheers, Mike.
Very interesting article. I have two SL120s. The one I use has difficulties with speed and probably hasn’t been serviced properly in many years if ever. I’d love to get it working properly. I’ve got a Micro 505 tone arm on it and when it goes right it sounds pretty good with a nice punchy sound.
Peter.
Hi Peter, sounds good, these are great decks and can sound excellent. Happy to help with yours if you live in Perth!
Hi Mike, I live outside of Melbourne. Am happy to ship it to you if you are ok with this.
Regards,
Peter.
Hi Peter, I generally discourage owners from ever shipping turntables anywhere to be honest as shipping can often result in damage. I like people to hand deliver fragile turntables to me and I’d suggest that there might be someone local who can assist perhaps?
Hi Mike not sure if I deleted my reply to you or not. Thanks for the feedback. I appreciate the risk issues in turntable carriage and your position regarding this.
However I was taken by your work on the turntable as I had previously advise the speed issues were too difficult to fix.
So if you are willing I am happy to ship and accept the risk without reservation.
I would remove the arm and the platter.
Anyway It’s your call and I will respect your decision.
PS great article on the Yamaha speakers!
Hi Peter, thanks for your kind words and whilst I appreciate that you would probably pack the deck well, I still think it best if you can physically take the deck to someone and avoid shipping at all costs. Unless you happen to have all the original packaging its best avoided and even then its a risky thing!
No worries Mike.I will explore locally. Keep up the good work.
Regards,
Peter.
Peter
Did you find someone in Melbourne
I have a SL120 that I need someone to service and set up properly
Greg
Hi Greg
goldenageaudio.com.au appears the best bet over here Greg from what I’ve heard. I haven’t got round to using him so this is based on advice I’ve received.
He definitely services Vintage Decks including Technics. He gets very positive feedback on Stereonet, that’s he’s reasonably priced and knows his stuff. His website gives you some idea of his capabilities and you can contact him if you want to ask him specific questions.
An alternative over here is CVE electronics based in Coburg who service and recalibrate later model Technics the 1200s mainly but they may be worth a shot also. They did an upgrade fitting some Burson Op amps into a CD player of mine some time back. I couldn’t fault them and Burson Audio were happy to recommend them on their website.
Hope this is of some help.
Happy New Year to you and hope work is going well.
Regards,
Peter.
What was the problem with the strobe? I’m intrigued!
Hi Tom, thanks for your question. I’ve worked on so many turntables since I wrote that article that unfortunately, I can’t recall the specifics! From what I wrote, the strobe didn’t always turn on, I checked the customer invoice but it only mentions that I fixed the intermittent strobe. Probably a switching issue or a problem in the strobe drive circuit.
Hi Mike, I have this same turntable and tone arm combo. Mine is working well bit needs a good clean up. I am tech savvy (automotive industry). Could you please suggest what cleaning chemicals and method used on the tonearm clean up? Also my main switch needs attention, i need to switch to 45 then 33 in order to play an LP, i suspect deity contacts and plan ti dismantle the switch to clean and lubricate. A n tips would be greatly appreciated. Cheers, Chad.
Hi Chad, my best advice is to be careful, make sure you have access to all the tools you need and they are of high quality. These switches are fiddly to work on and are made up of a range of tiny parts that fit in a particular order. Lose just one of them and the switch is rendered useless! I can’t get into all the chemicals and processes I use here, but Mr Sheen is something many have at home and it works well in many general chassis cleaning duties.
Thanks Mike, I’ll proceed with caution 🙂
Hi Chad, no worries and my apologies, I just came back from 4 days in the bush and didn’t check the new comments carefully enough – I thought you’d commented on an SL-23 article! The SL-120 switch is much easier to work on, start with some DeoxIt and see how that goes.
I bought a can of Servisol – Electrical Clean and Lube from Jaycar yesterday 🙂
That stuff is generally awful and should be avoided, but it may help temporarily.
They also sell the DeoxIT so I’ll take it back and swap it.
Good idea. Keep in mind all equipment needs maintenance and at this age, your SL-120 needs overhaul work. You may find that it won’t run properly until that’s done.
As you said it needed some work, it didn’t hold speed and only played at 45rpm. I oiled the motor and cleaned all the switches and it now holds speed perfectly. I have followed the SME manual and completely re-adjusted the tonearm. I found that the tonearm wiring has been bastardised a little, a small pc-board has been added at the base of the tonearm and it hadn’t been grounded at all. I added a ground wire plus a bridge ground wire to the chassis ground and the sound is now as clear as can be. I will look into rewiring the tonearm completely in the future but for now I’m very very happy with the result. I now need to spend a little time doing a cosmetic clean up. Thank you for your assistance 🙂
My pleasure Chad.
I have a pair of SL-120 turntables, manufactured about 18 months apart. The latter has messy soldering work compared to the earlier build model.
I am experiencing inconsistent speed issues on both of them. A bit of wow and flutter, particularly evident when you listen to anything with synthesiser or piano sections.
I have had plenty experience wielding a soldering iron and repaired several pieces of audio gear and assembled my own audio gear as well over the years. One of my electronic tech mates suggested re-capping the power supply stage of both turntables to resolve the issue mentioned above. I have some reservations about it because I don’t want to risk damaging these beautiful machines. I guess my question is that a worthy place to start from or should I look elsewhere, such as the speed control pots?
I had intended to book both of these and a Kenwood broadcast standard cassette deck into the local hifi shop for repairs, but they closed about 18 months ago, and now the nearest option is 3 hours away.
Thanks in advance.
Hi Paul, thanks for your question, and I understand your concern. My best advice with anything like this is to find a specialist near you who can trace the faults/issues and resolve them, plus give the turntables the service and careful setup they need at this age. This only works if there is someone good near you, though! Recapping is a shotgun approach. It may help if parts have degraded; capacitors can be measured, so this may be a good place to start if you wish to DIY it. It is only ever a small part of the work needed, though, so keep this in mind, plus the need for really good soldering and rework tools, parts etc. Best of luck with whatever you decide to do!