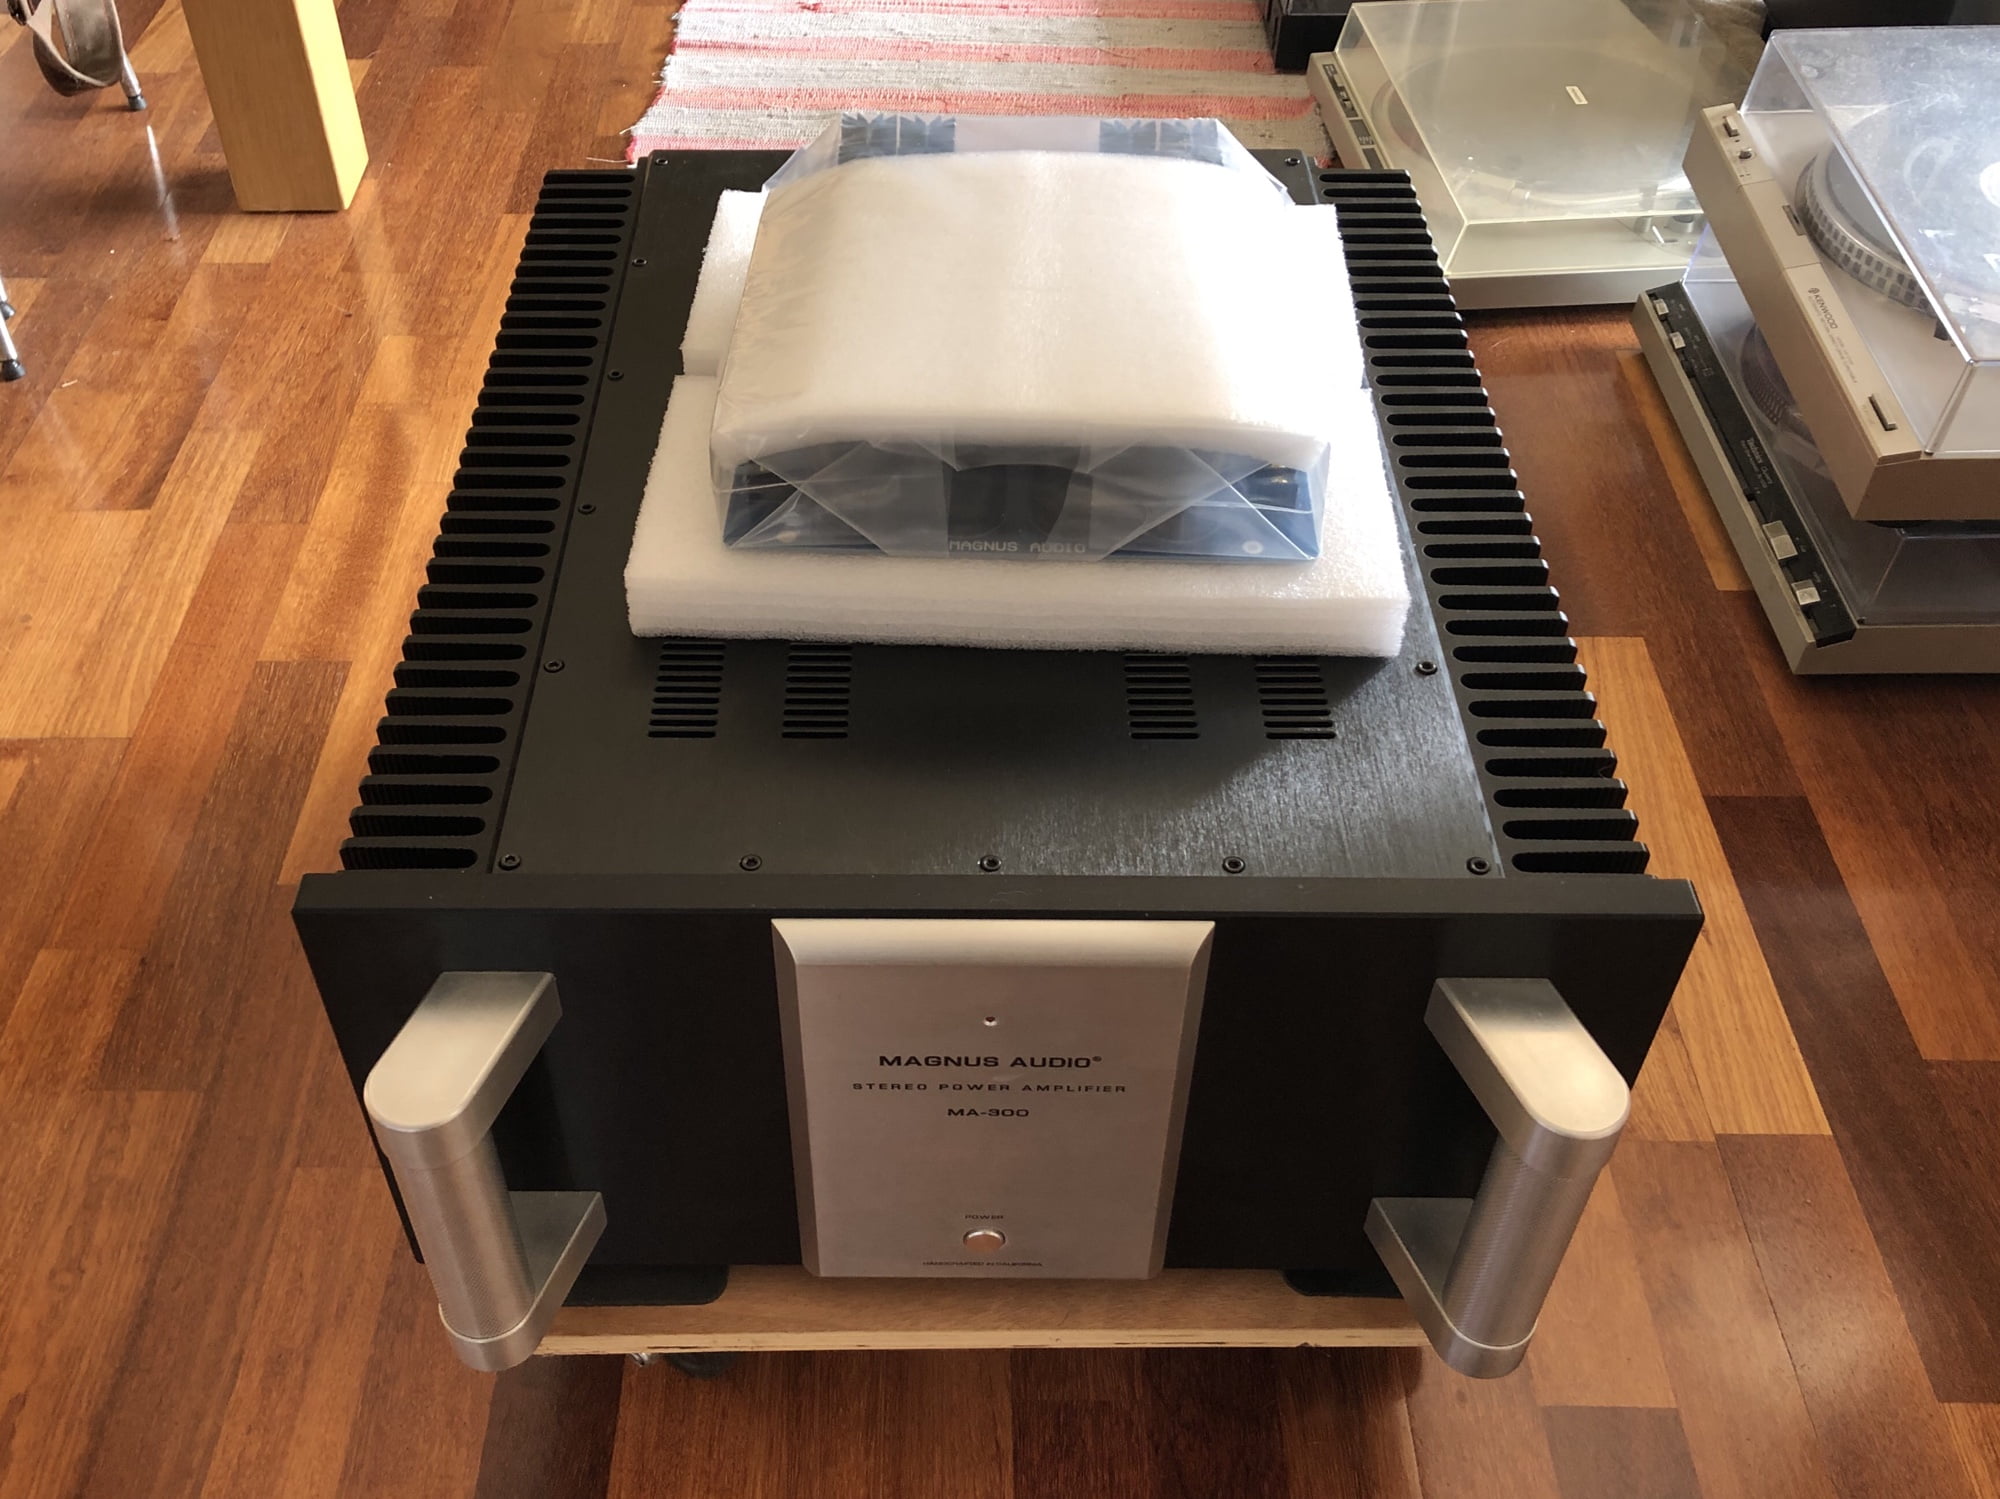
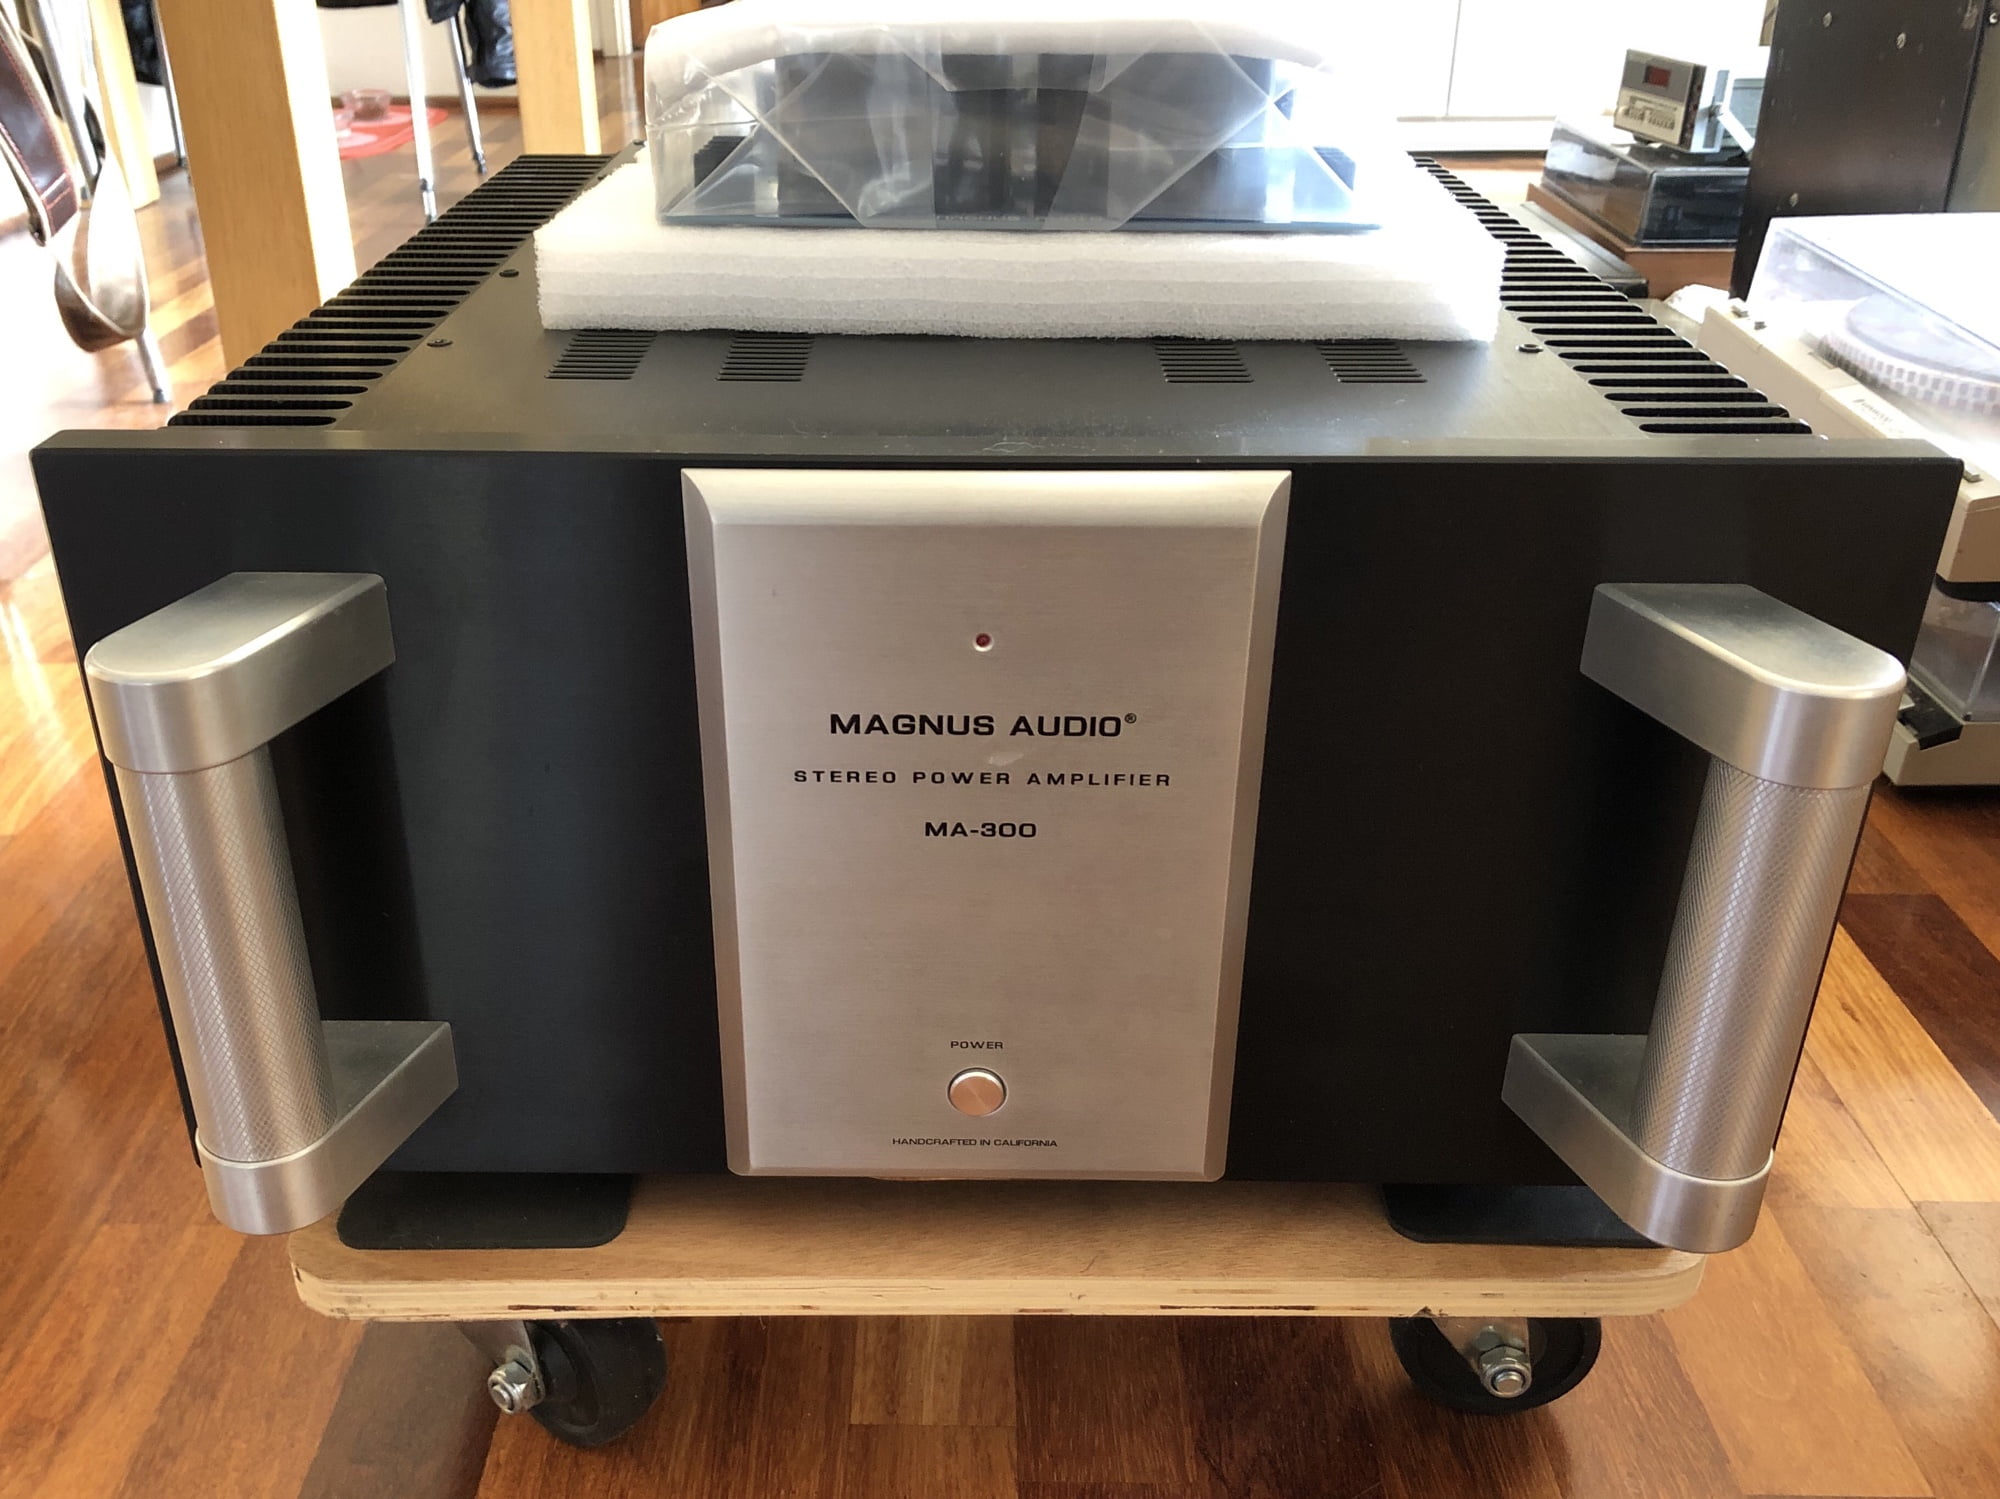
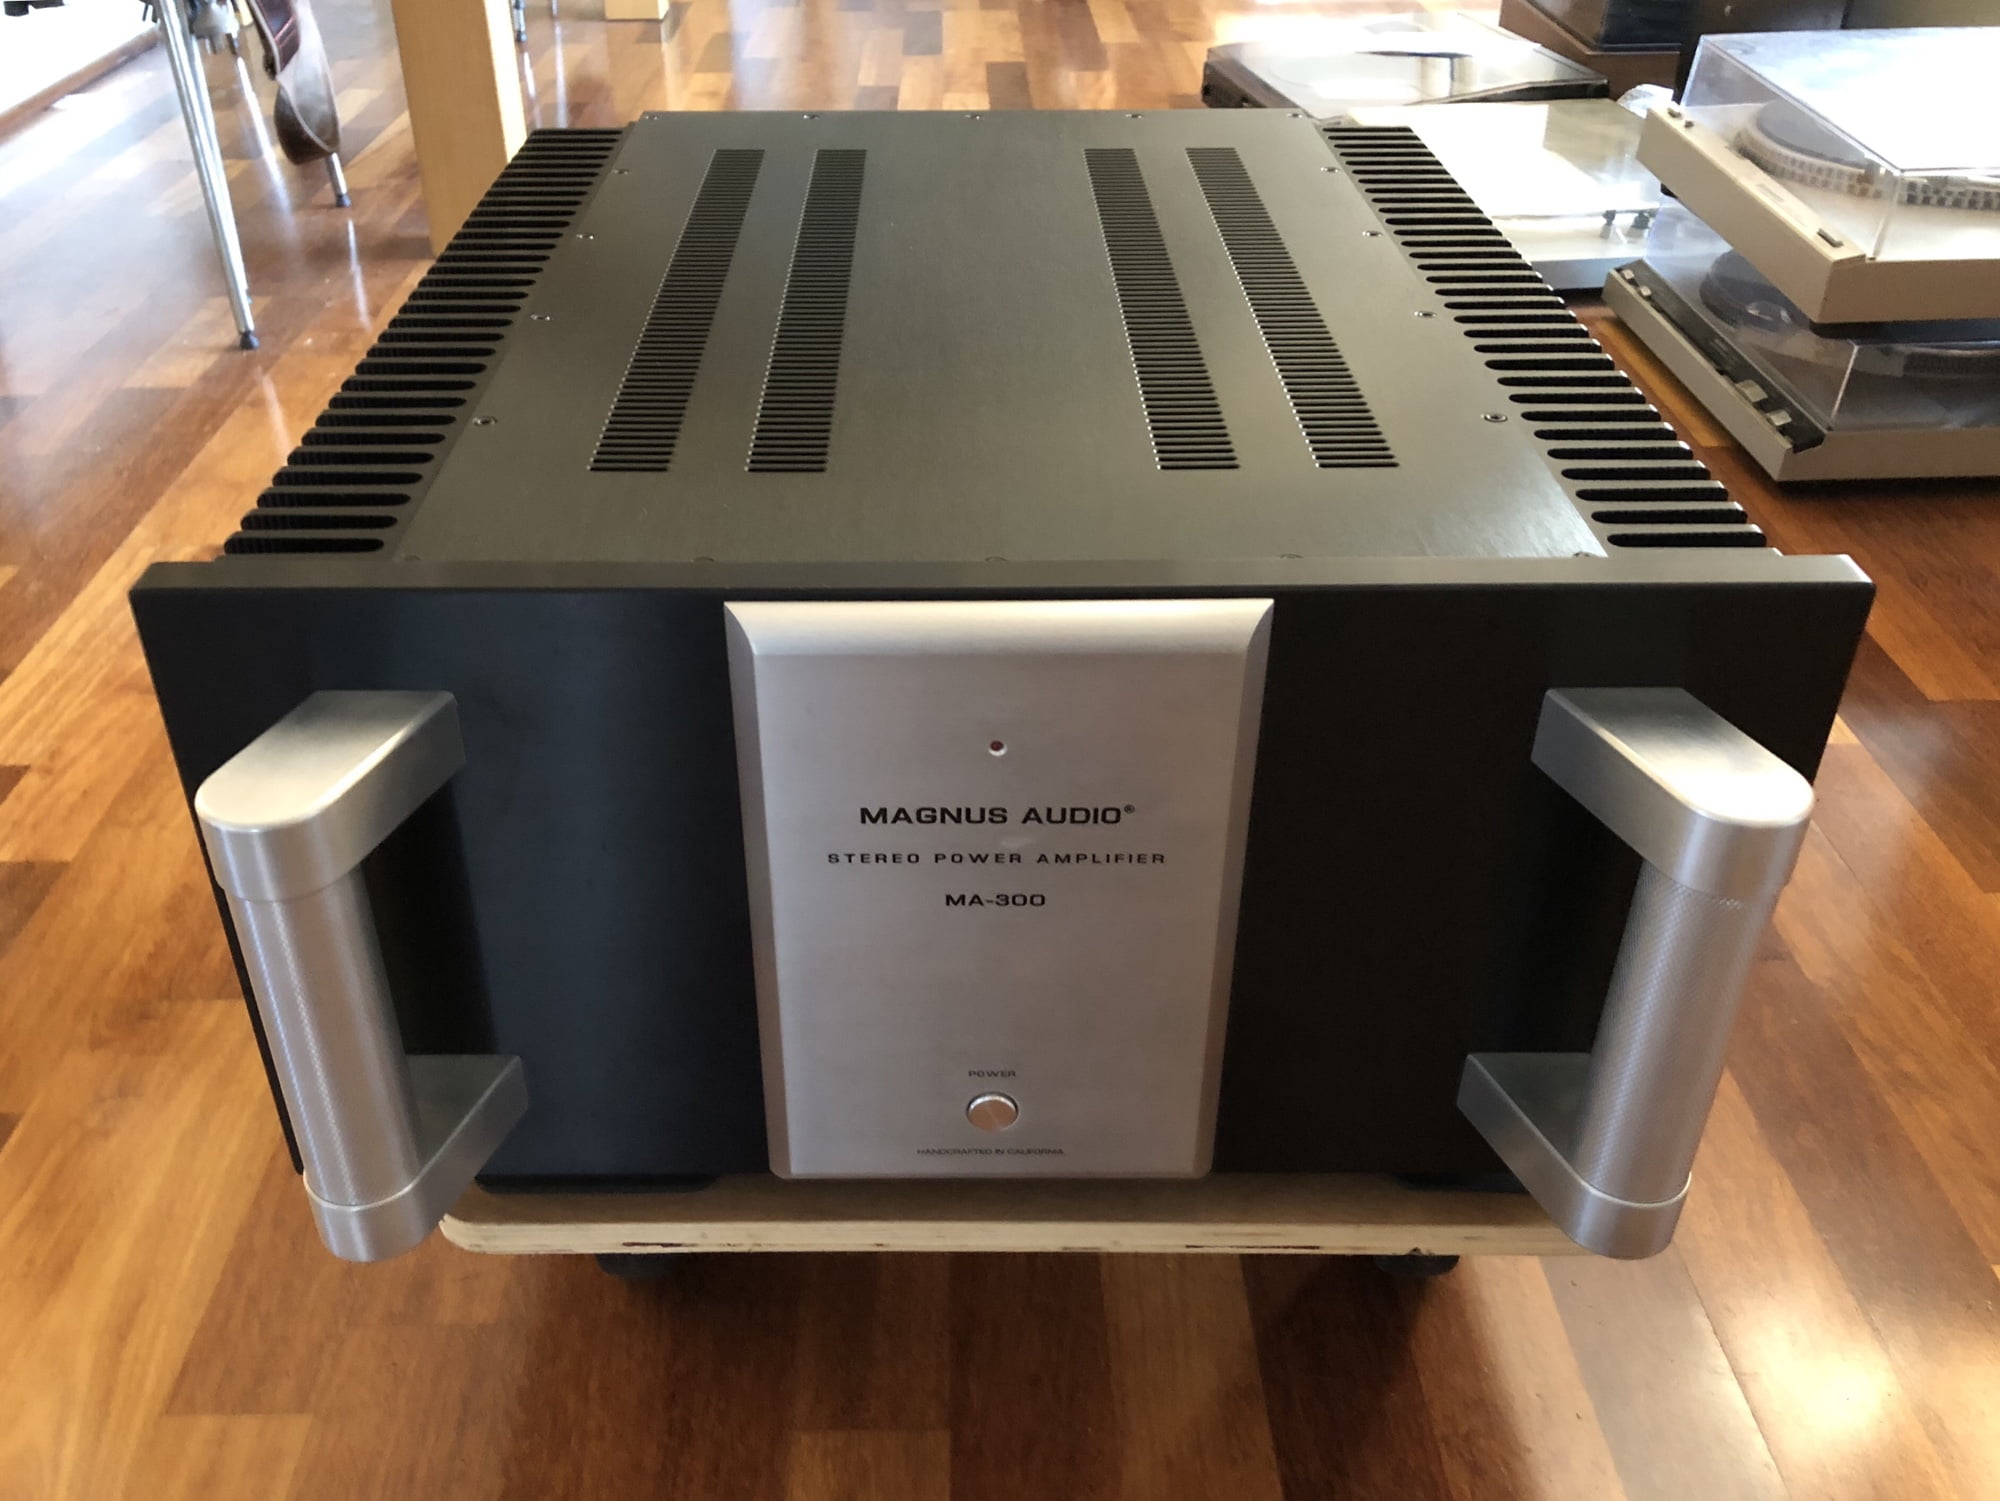
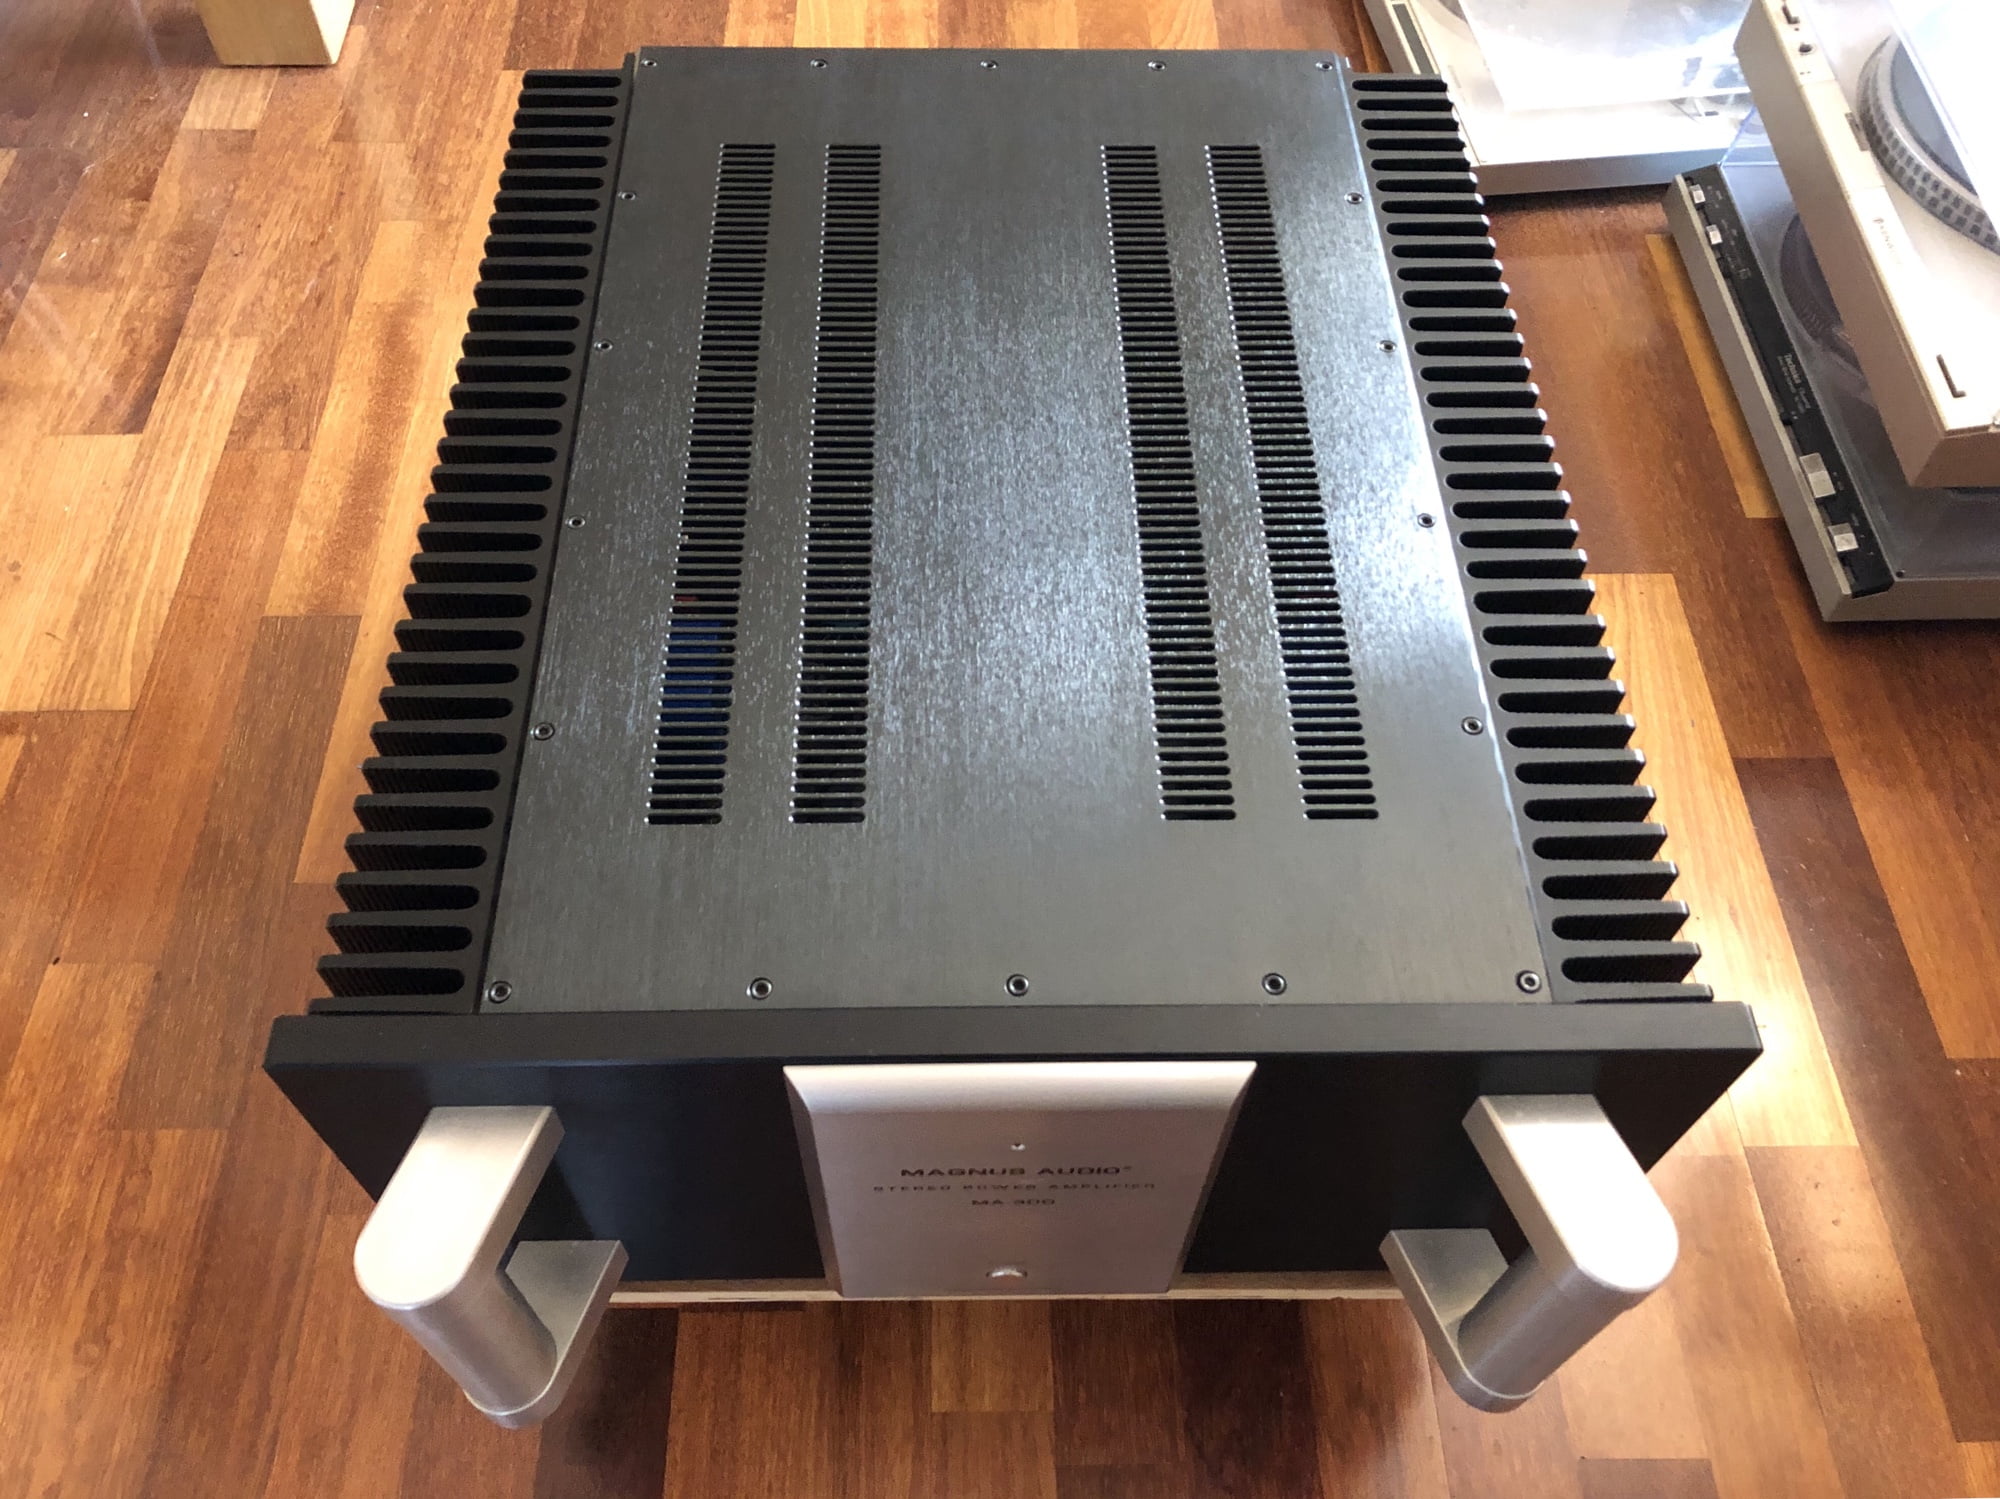
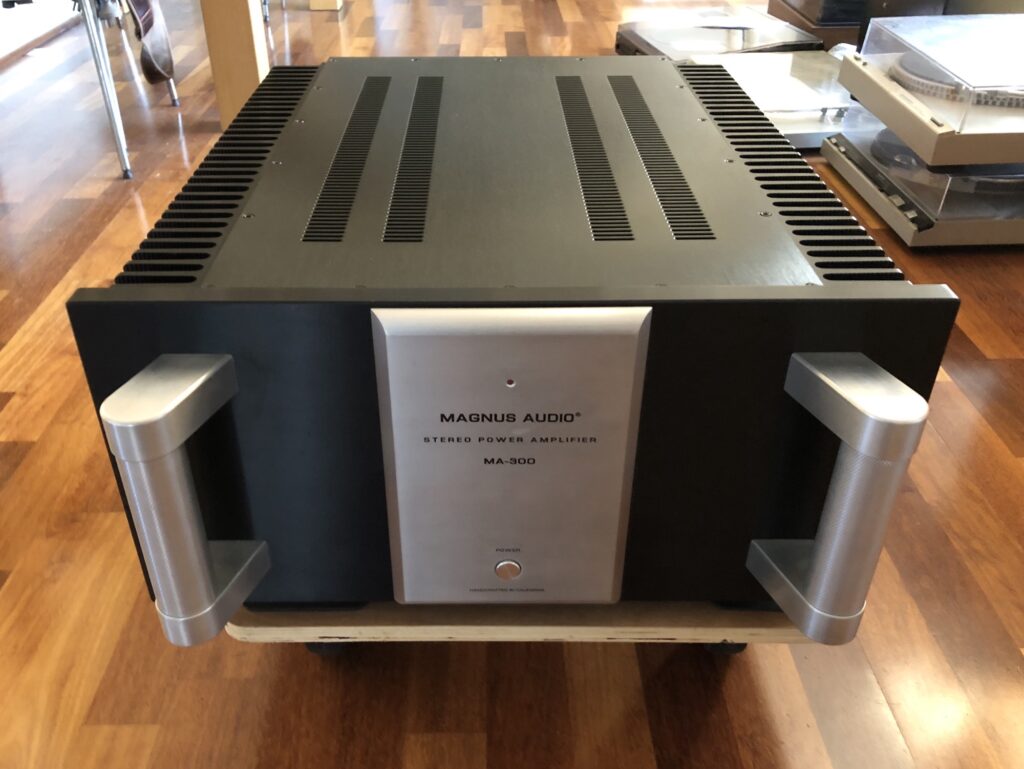
This monster Magnus Audio MA-300 power amplifier came in for a factory power supply upgrade. Let’s take a look!
Magnus Audio is not a well-known name here in Australia, maybe not elsewhere either, but, after working on this amplifier, perhaps they should be. I’d not worked on any Magnus Audio gear until this unit came in and I can now definitively state that the Magnus Audio MA-300 amplifier is a beast.
Capable of 300 Watts per channel into 8 Ohms, the MA-300 will drive any load without trouble. It’s also one of the heaviest amplifiers I’ve ever had to move around my workshop. At 75 kg (my body weight), this unit is absolutely a two-man lift. Add superb build quality and gorgeous metalwork and you have a killer amplifier.
My customer informed me there are only four of these $12,000 USD amplifiers in Australia, no wonder I haven’t worked on one before!
Specifications
| Rated Output Power: | 300 Watts at 8 Ohms 600 Watts at 4 Ohms |
| Frequency Response: | +/- 0.1 dB from 10 Hz to 20 kHz |
| Signal-to-Noise Ratio: | -110 dB, reference level: full power output |
| Total Harmonic Distortion (THD): | <0.02% at 1 kHz, at 300 W, 8 Ohms <0.05% at 20 kHz, at 300 W, 8 Ohms |
| Gain: | 22 dB |
| Input Impedance: | 50k Ohms (single-ended) 100k Ohms (balanced) |
| Damping Factor: | 250, reference 8 Ohms nominal |
| Power Consumption: | 550 Watts idle, 1,800 watts maximum |
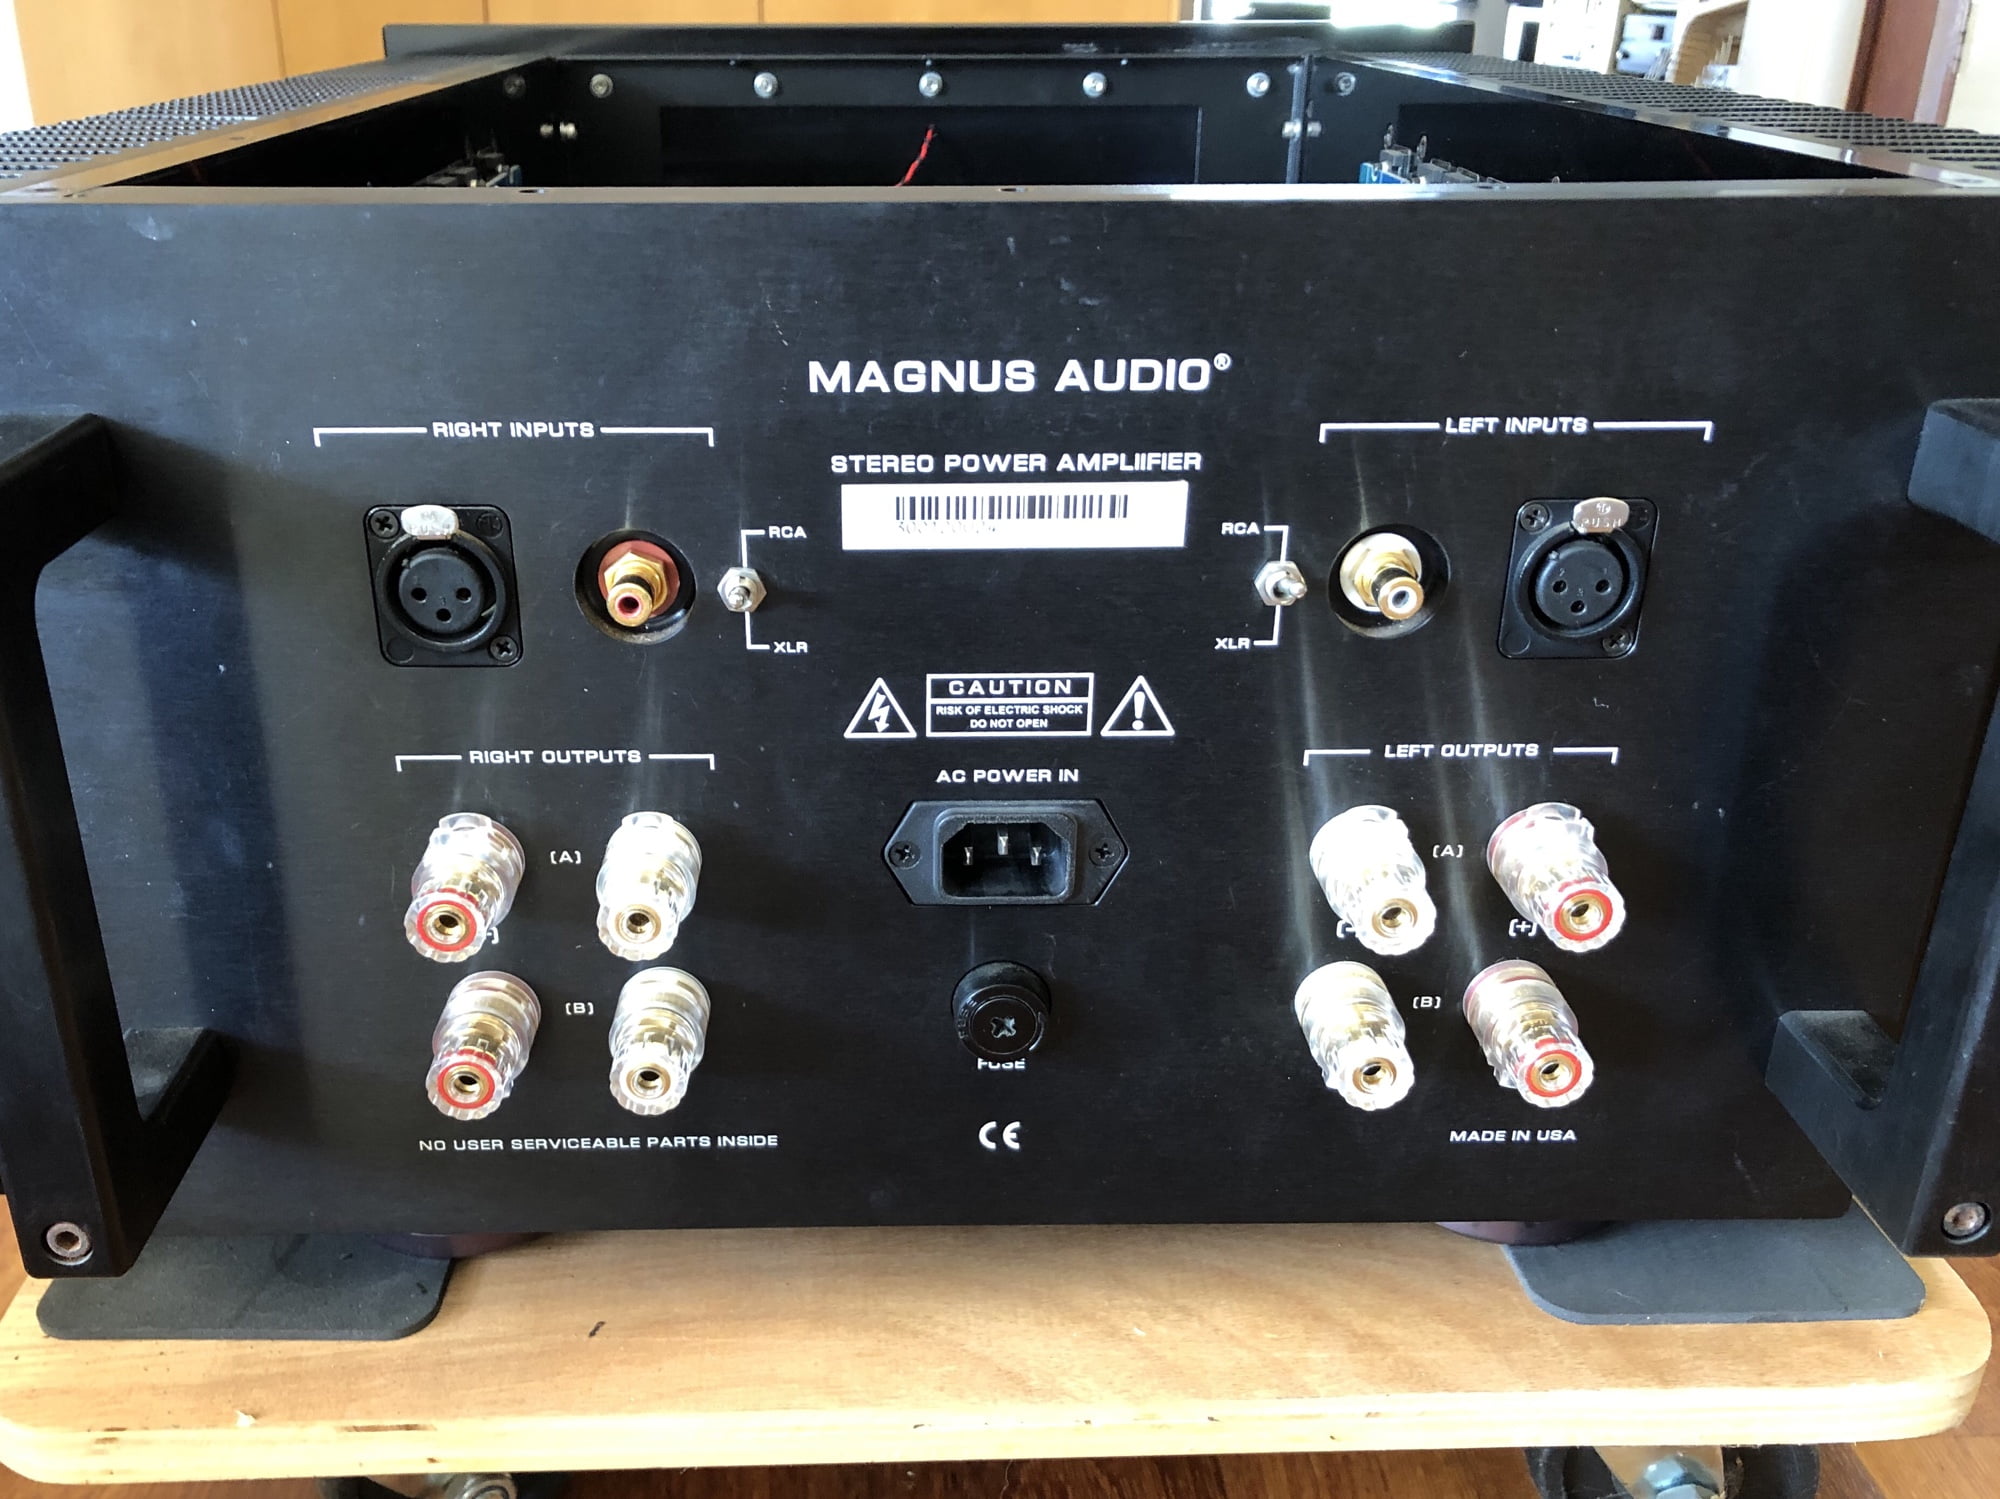
| Inputs: | 2 balanced via XLR connector (1 per channel) 2 single-ended via RCA connector (1 per channel) |
| Outputs: | 4 pairs WBT binding posts (2 pairs per channel) |
| Operating Voltage: | 100V, 120V, 220V, 230V or 240V at 50 or 60 Hz |
| Dimensions: | 19 in. W x 9.5 in. H x 27 in. D |
| Weight: | 160 lbs / 75 kg |
Power Supply Upgrade
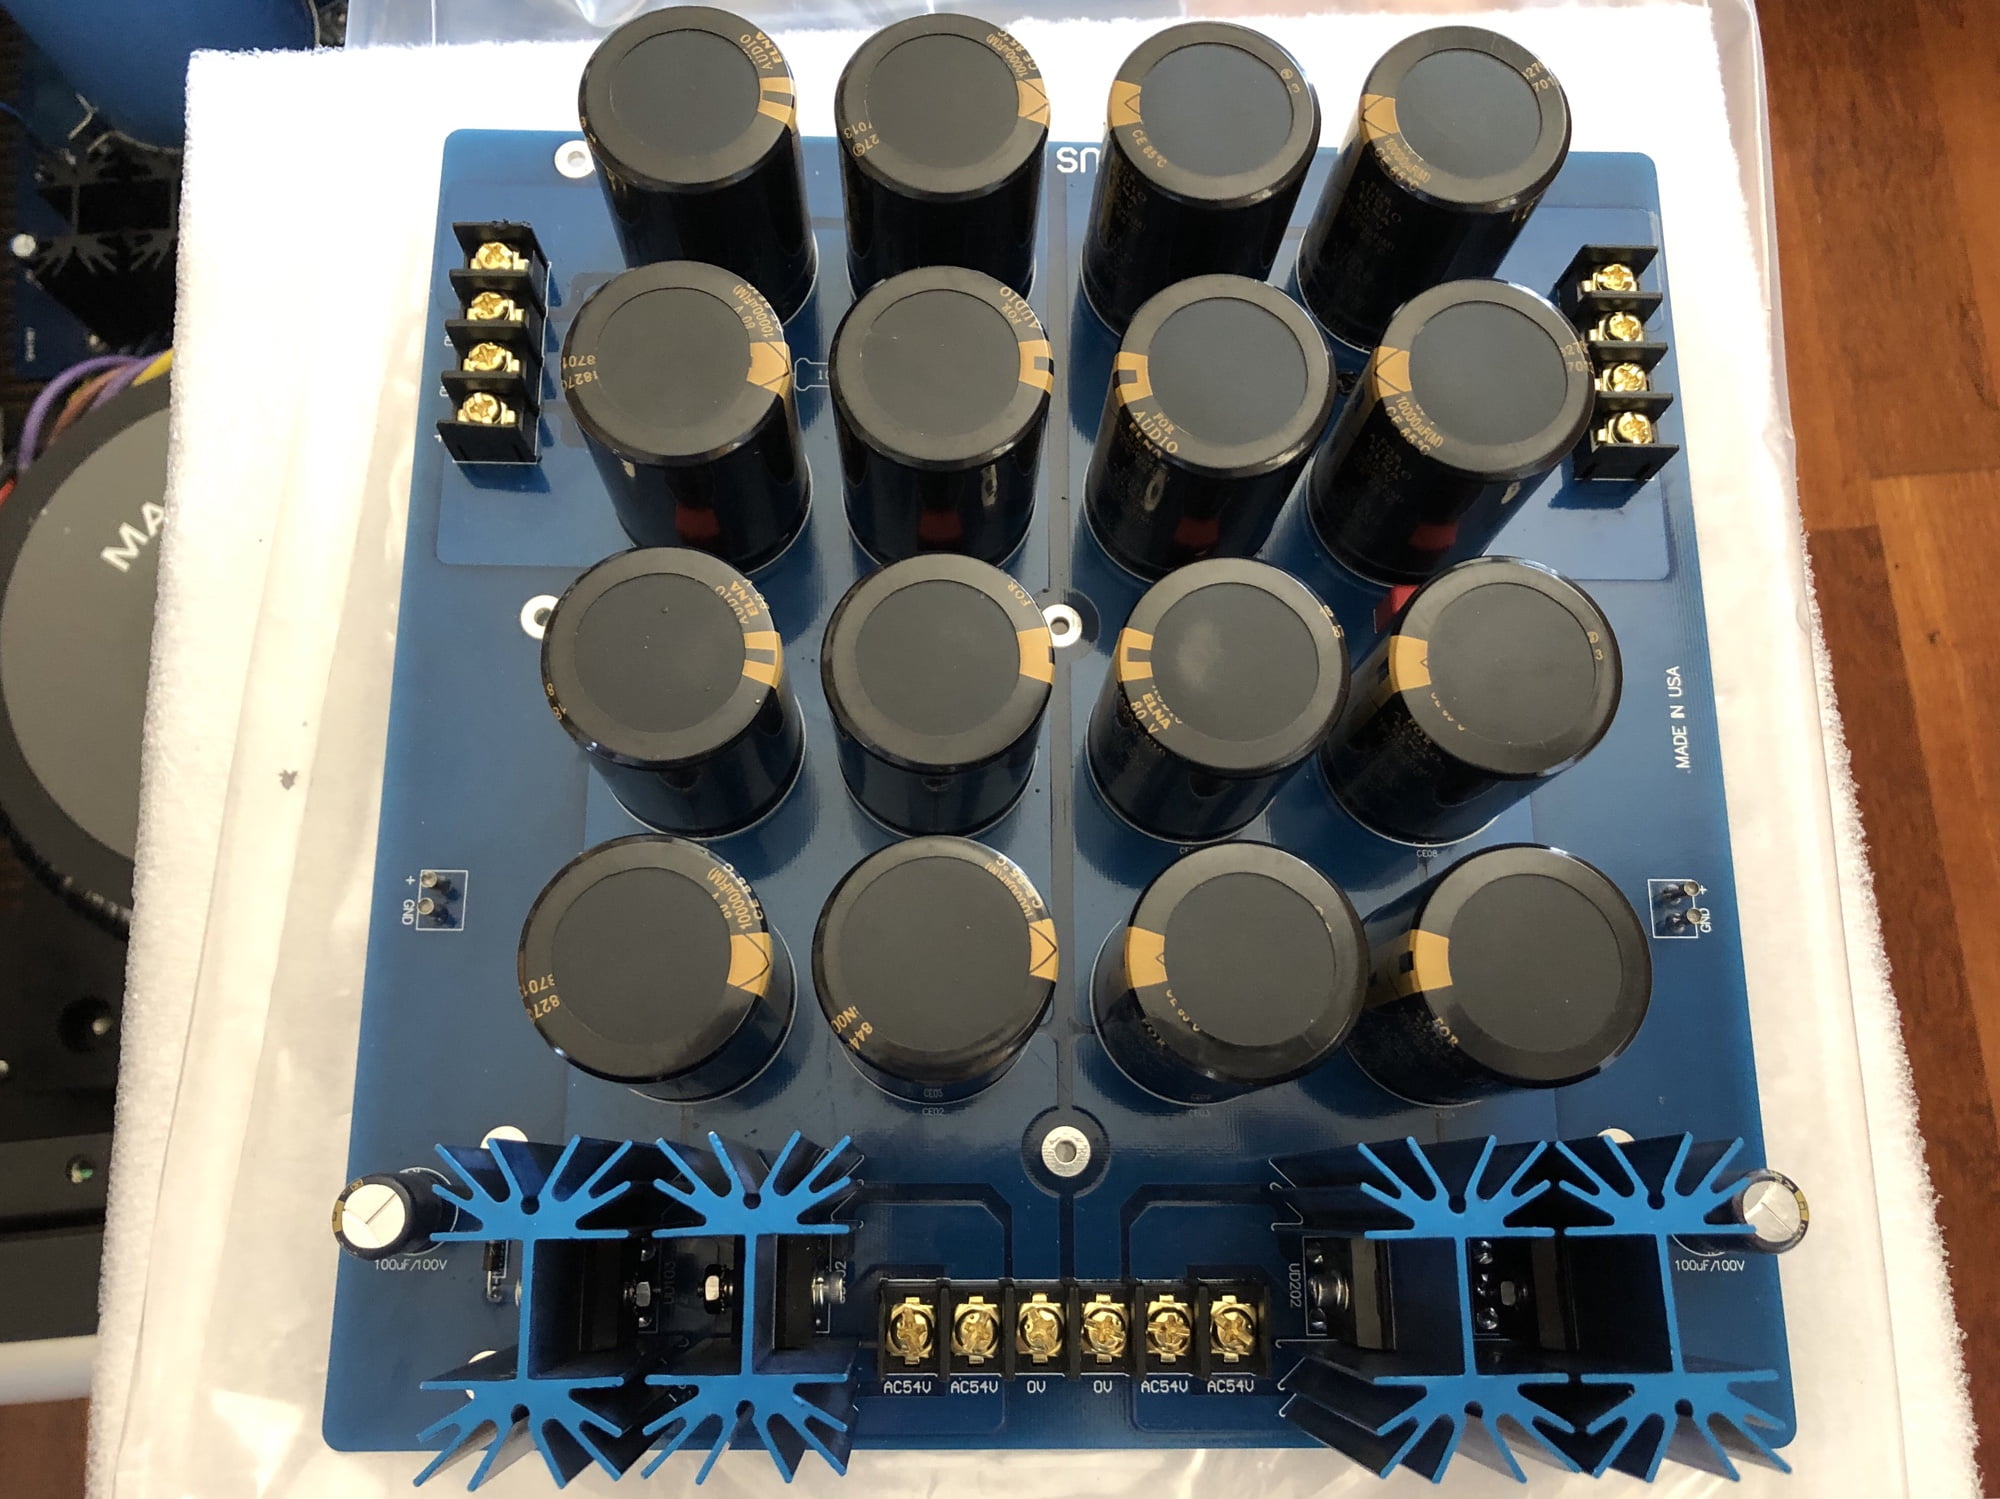
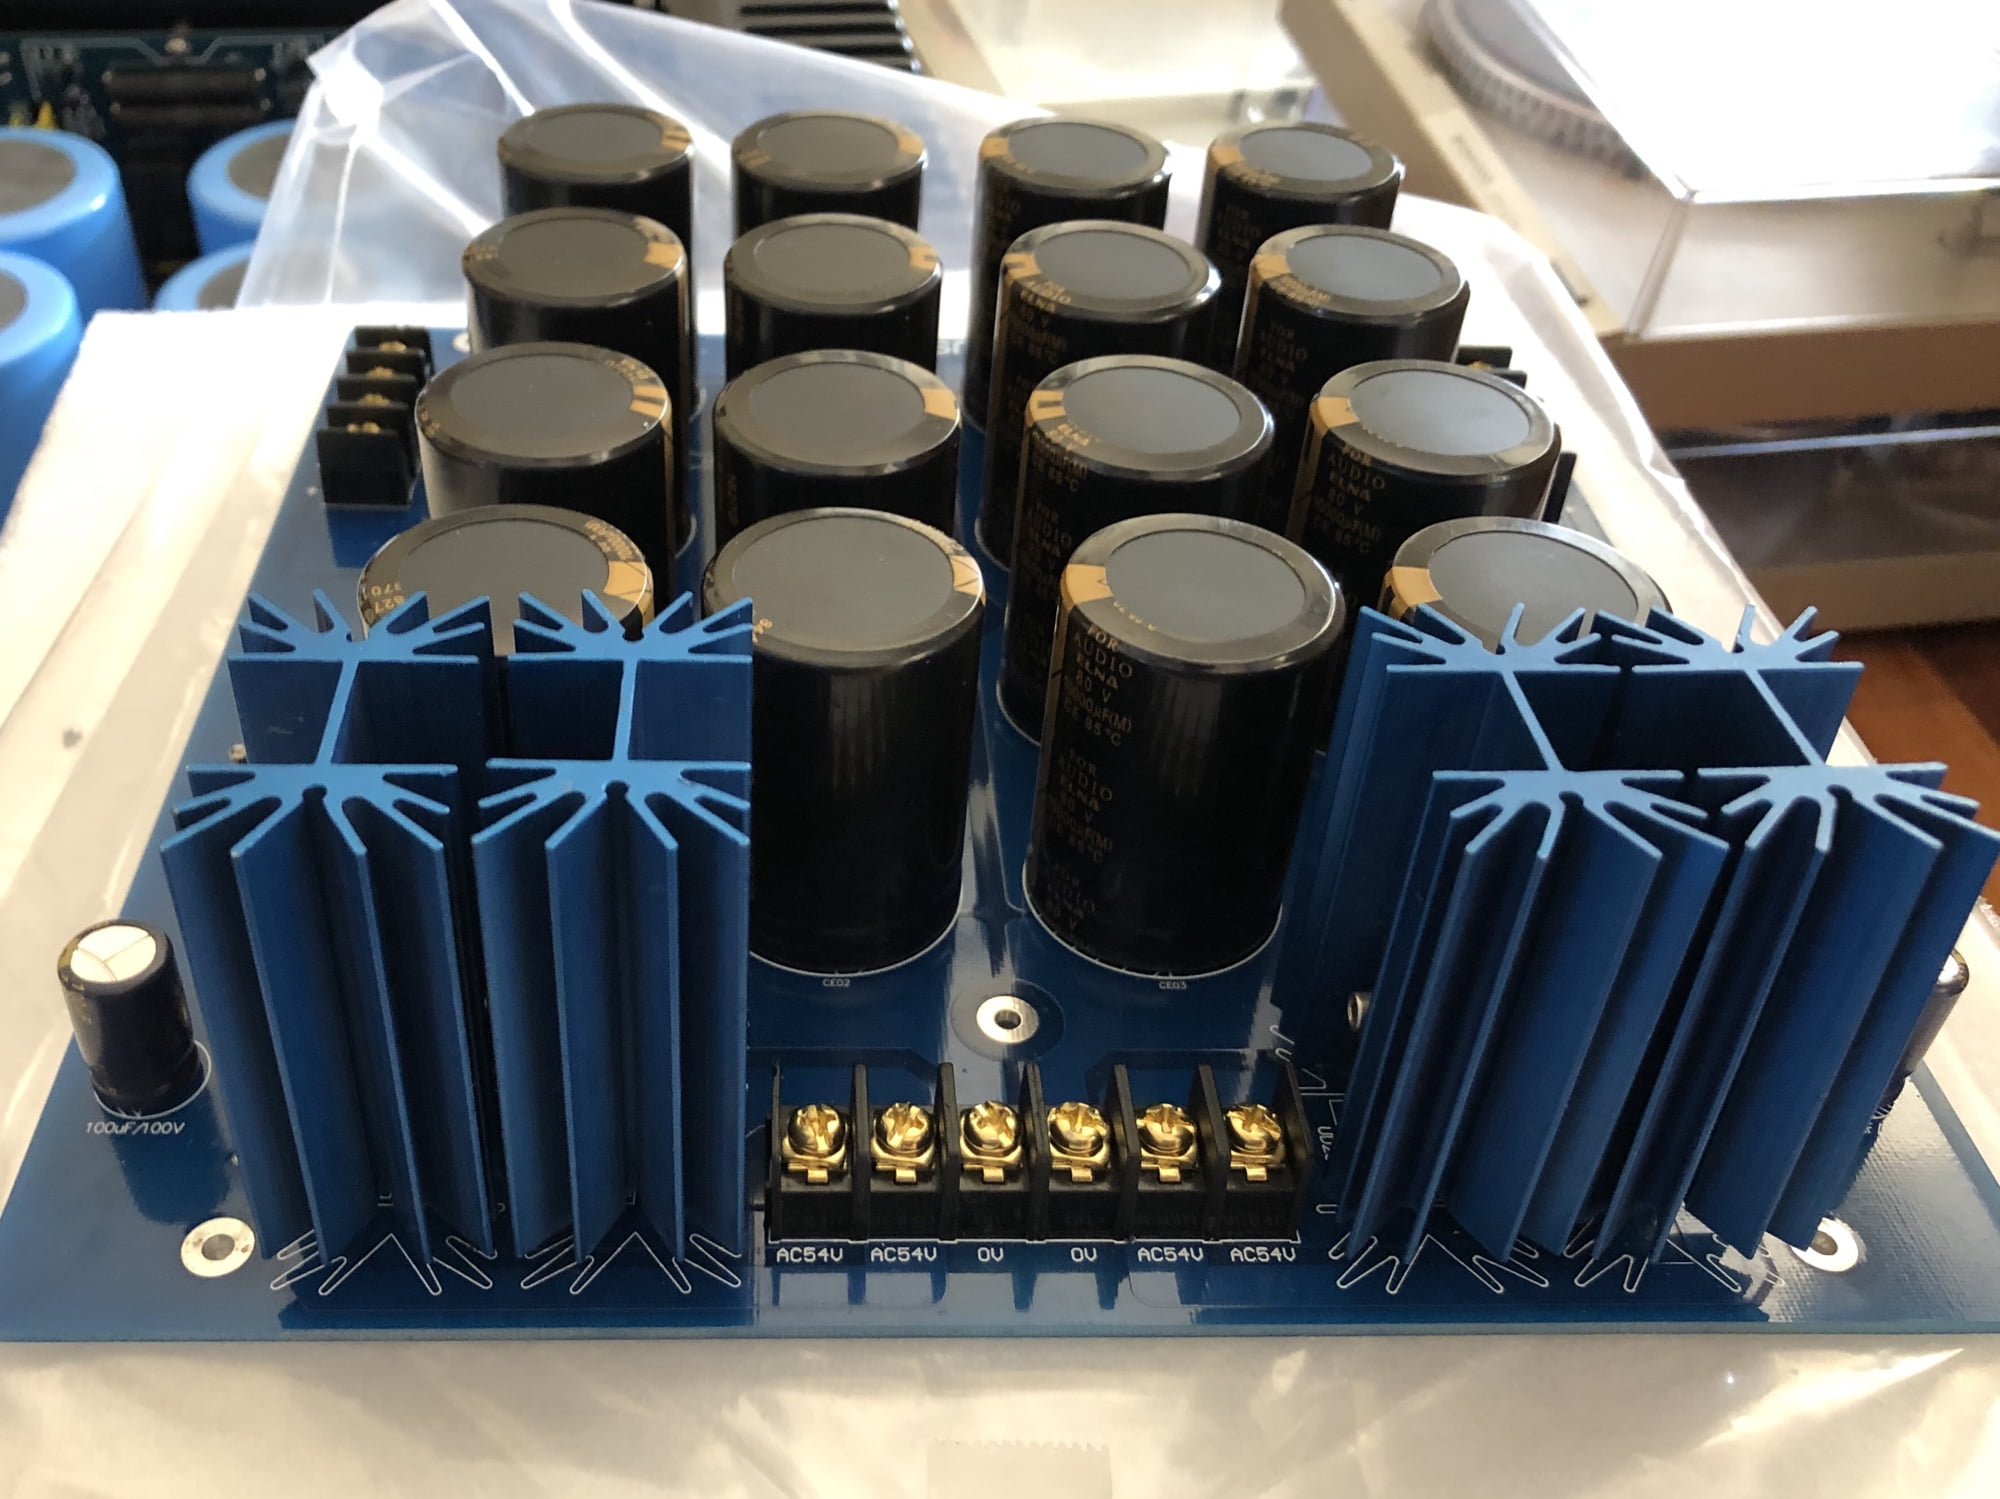
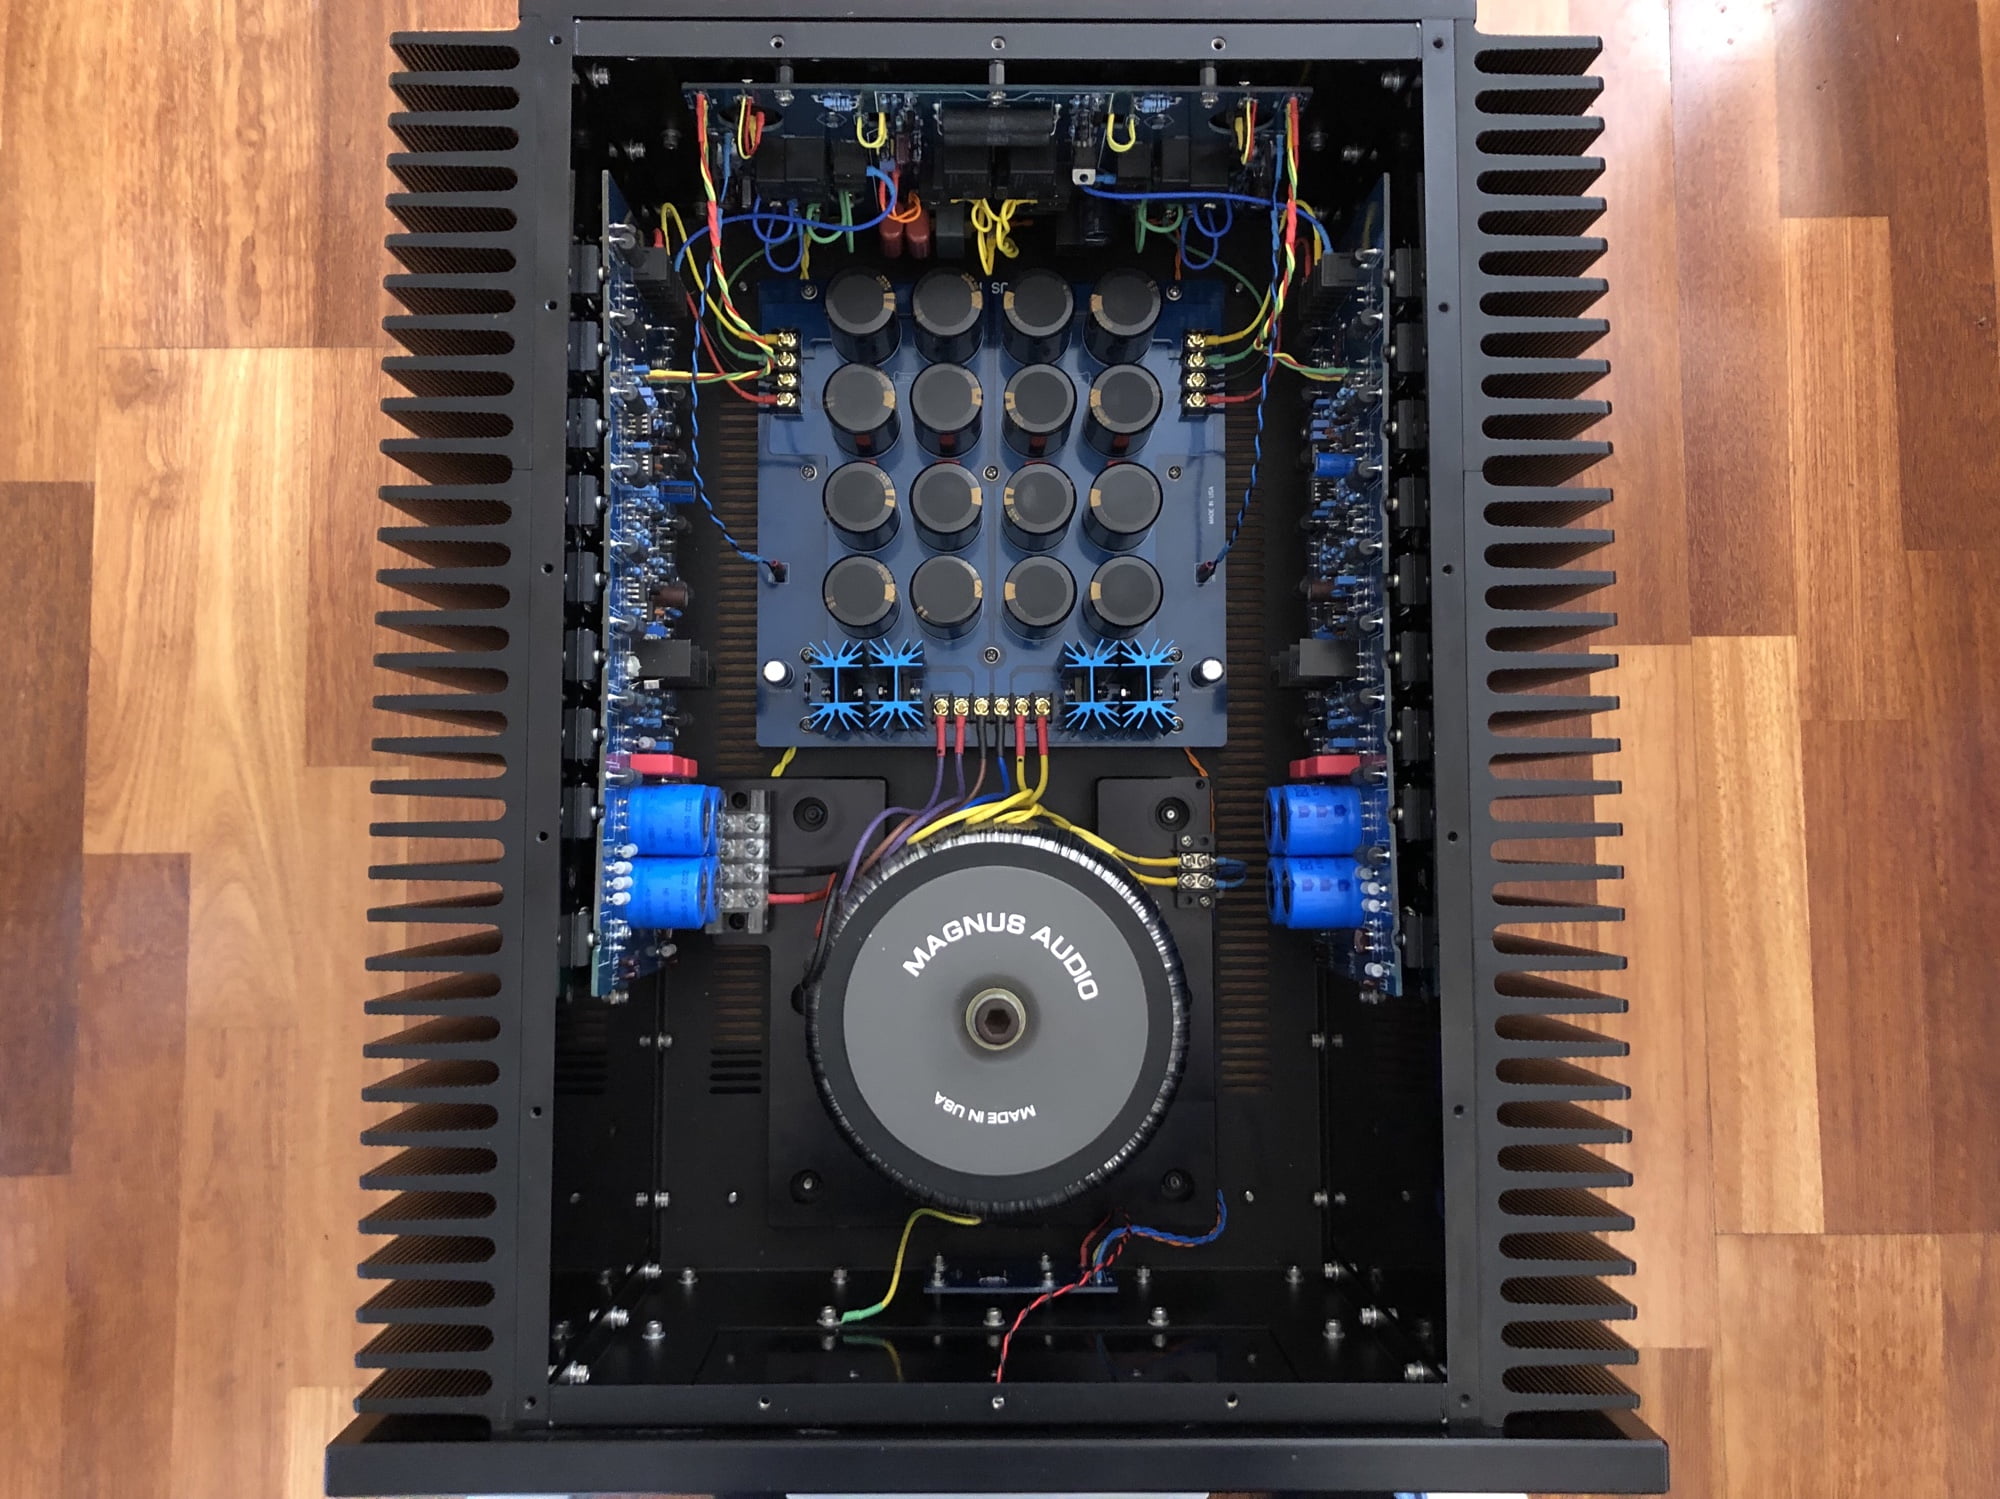
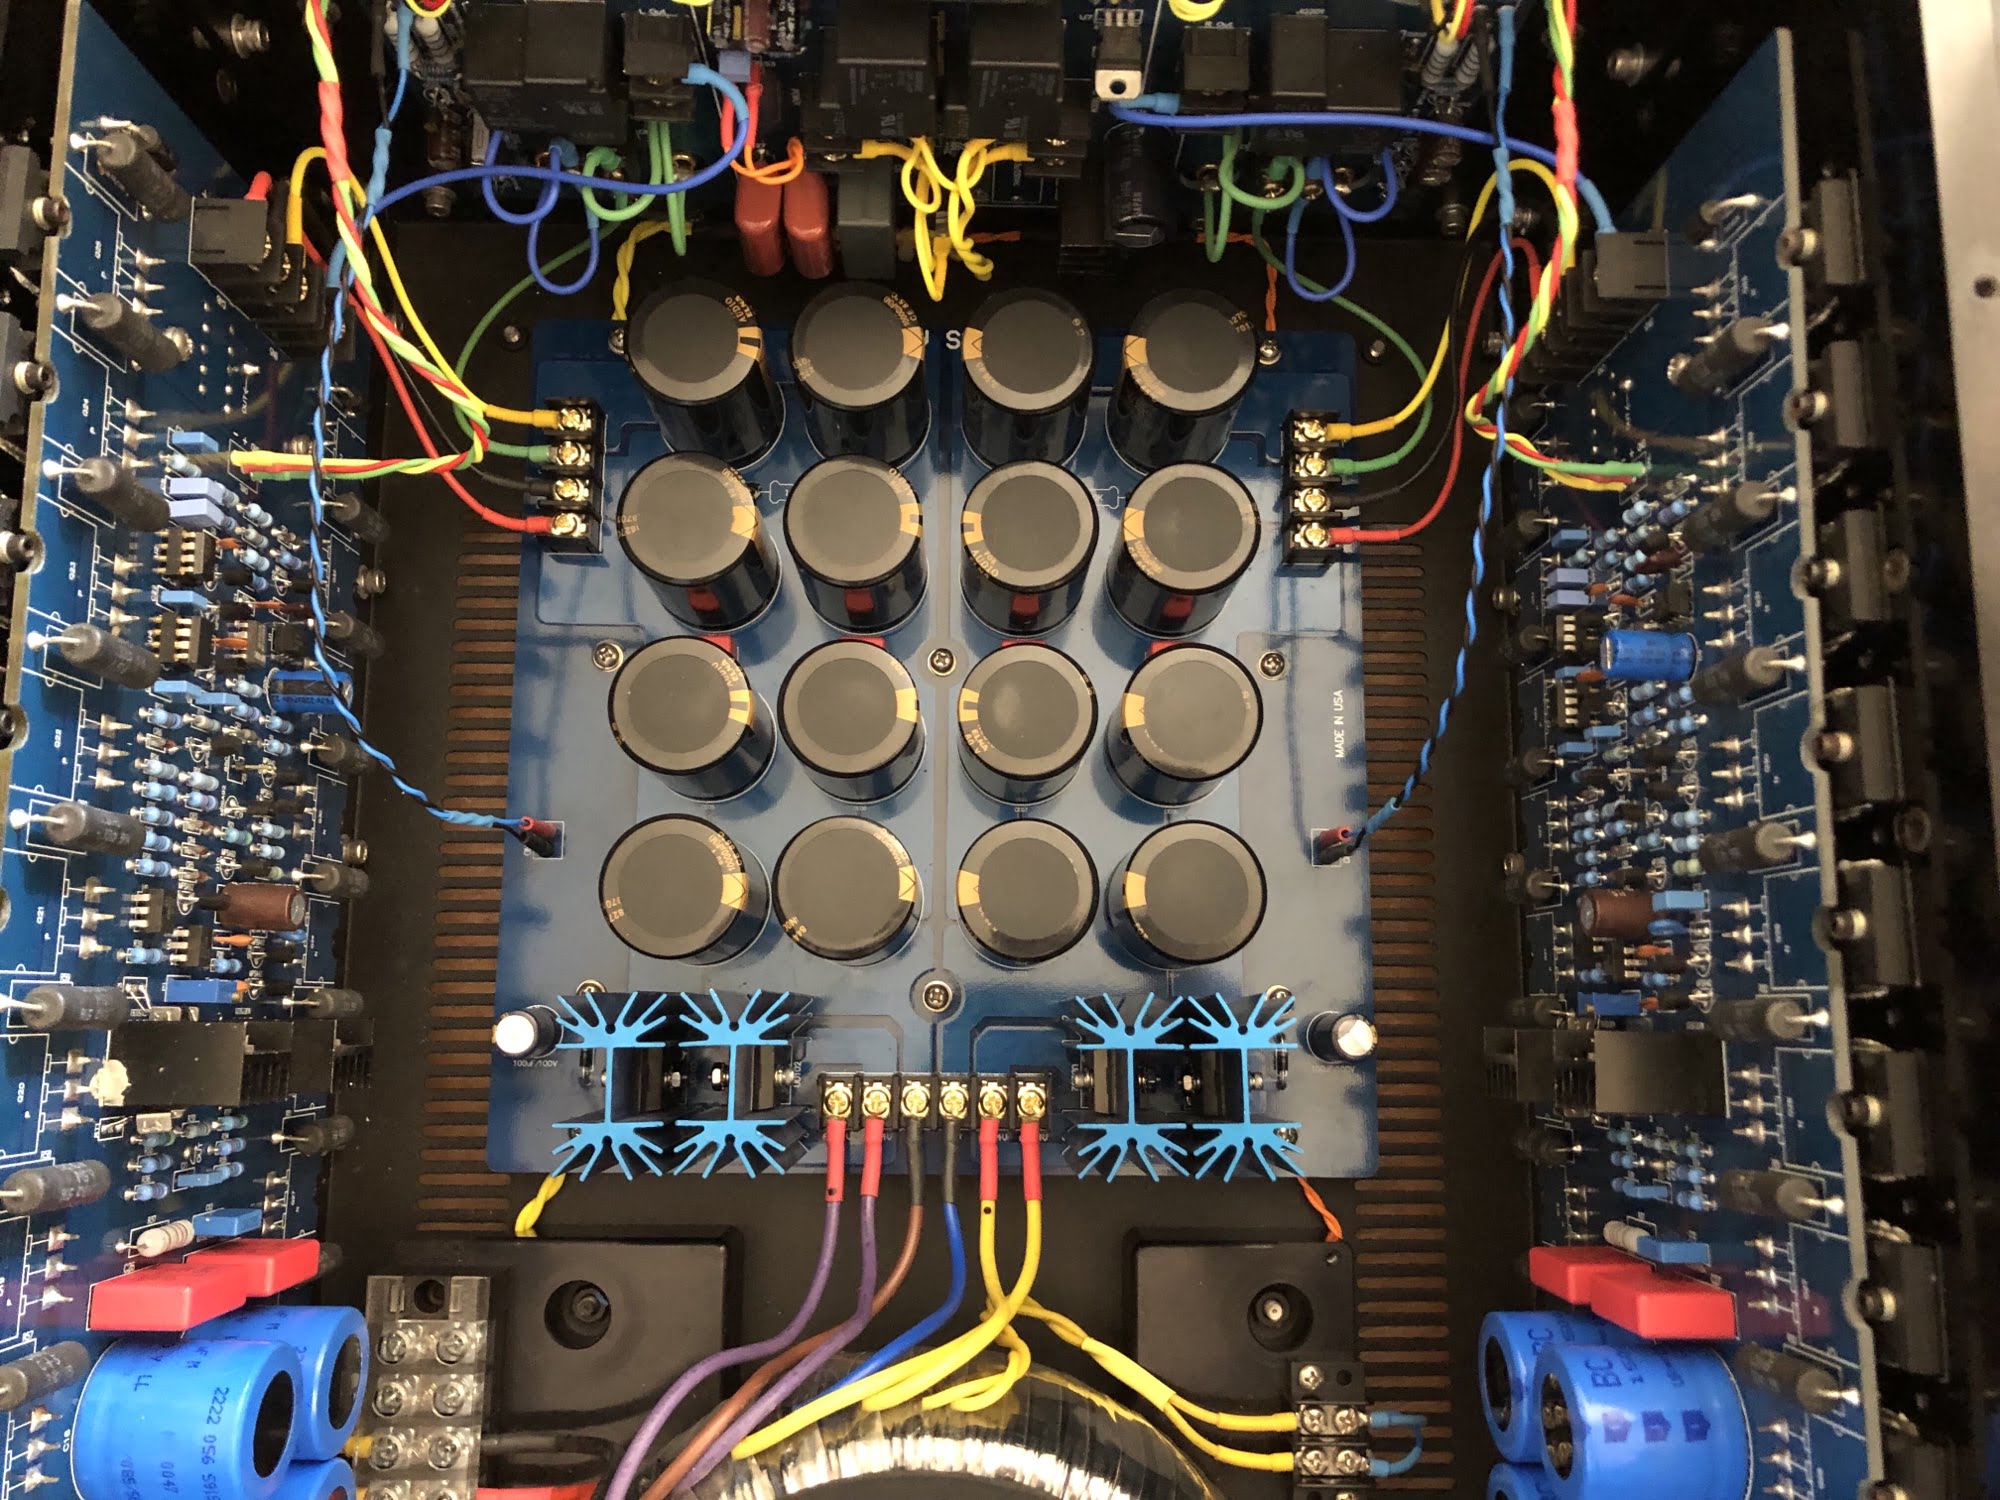
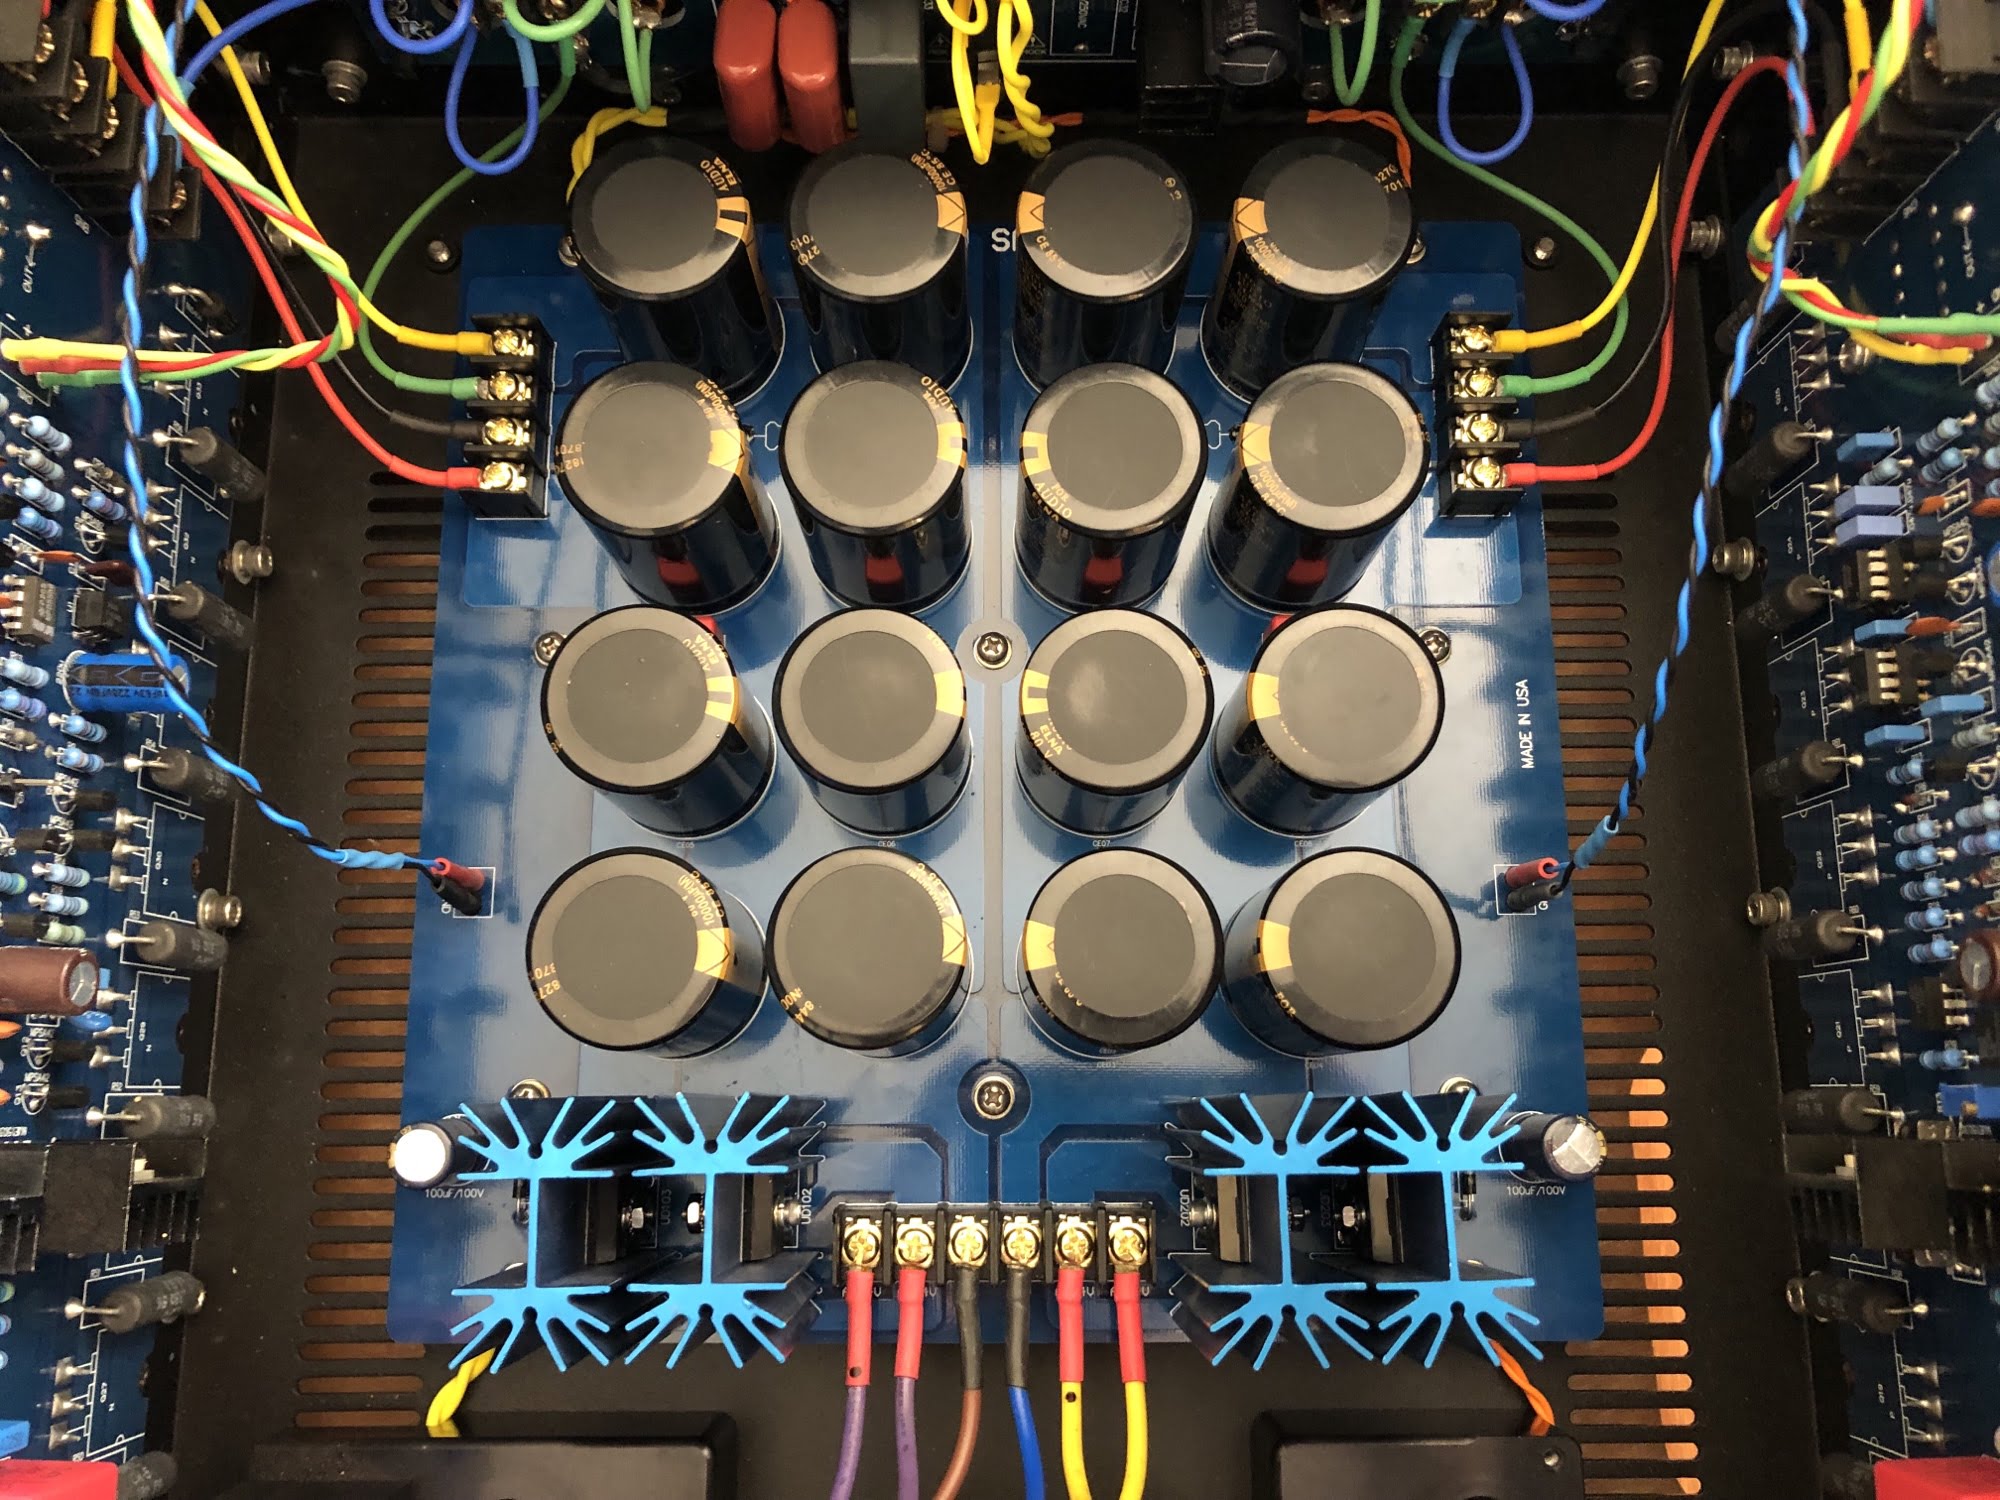
This Magnus Audio MA-300 came in for a factory power supply upgrade. Magnus Audio has developed a new board which they fit to their current top of the range model and offers as retro-fit for some older models like the MA-300.
Any time you put yourself out there as willing and able to work on gear like this, you take on great challenges and risks. This upgrade, whilst technically straightforward, requires soldering and critically precise work. One mistake and this 12K USD amplifier ashes itself at power on. As you can imagine, note-taking, photography and quadruple-checking are utilised before any switches are flipped.
As always, I gave the amp a thorough pressure dusting, clean and of course, careful testing her once the work was complete.
Nuts and Bolts
Check out my video about the Magnus Audio MA-300 on YouTube:
Let’s dive in…
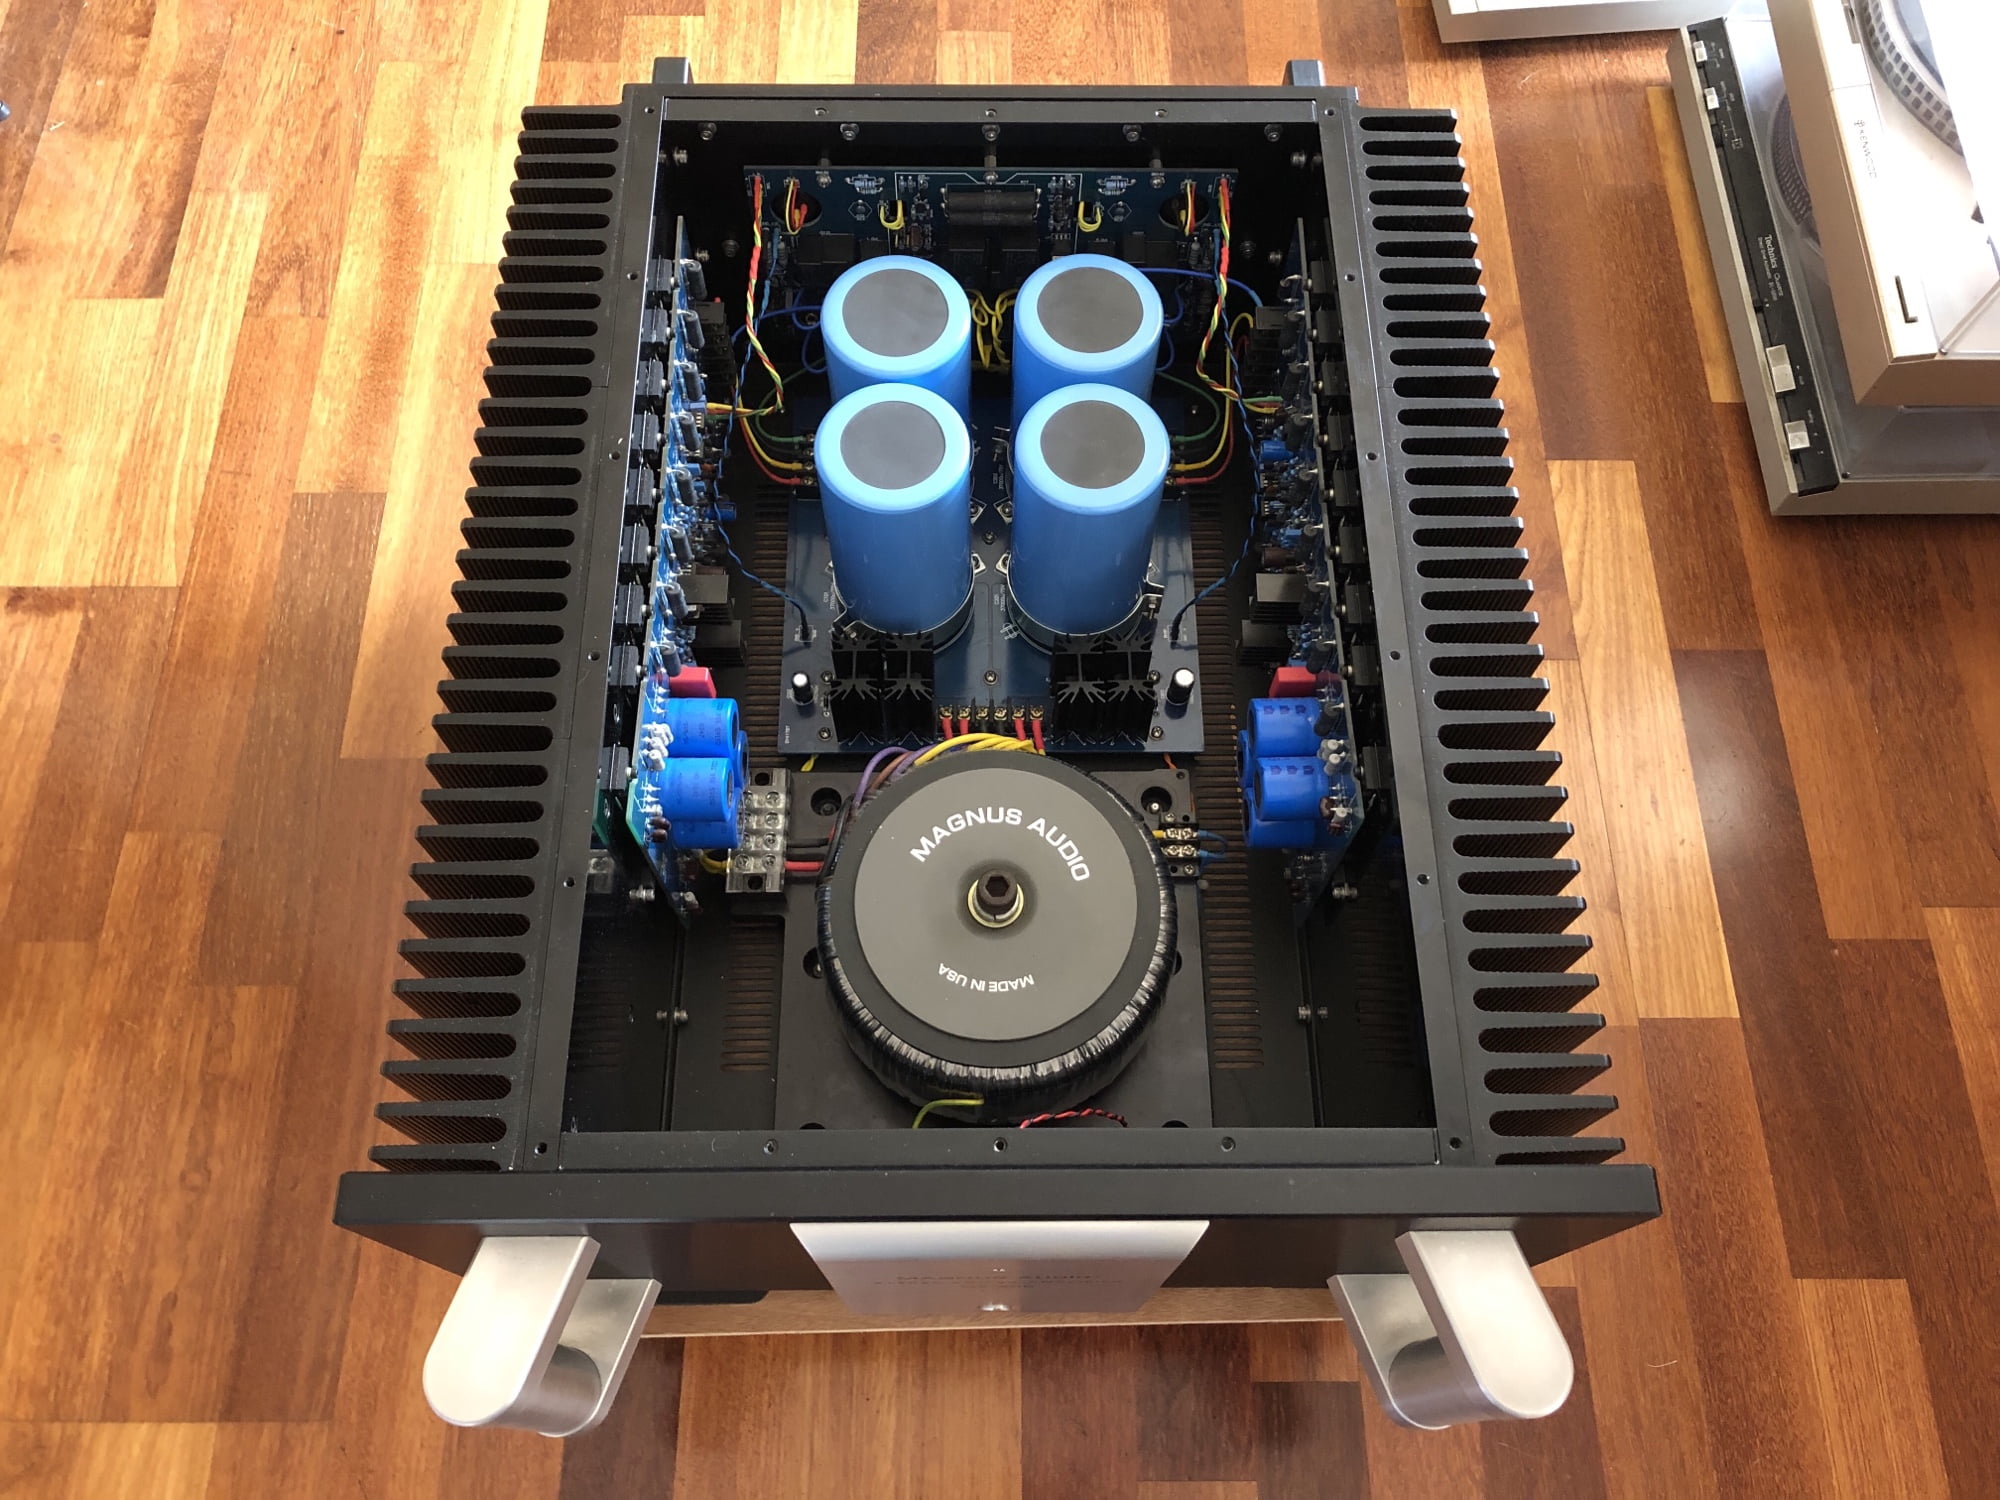
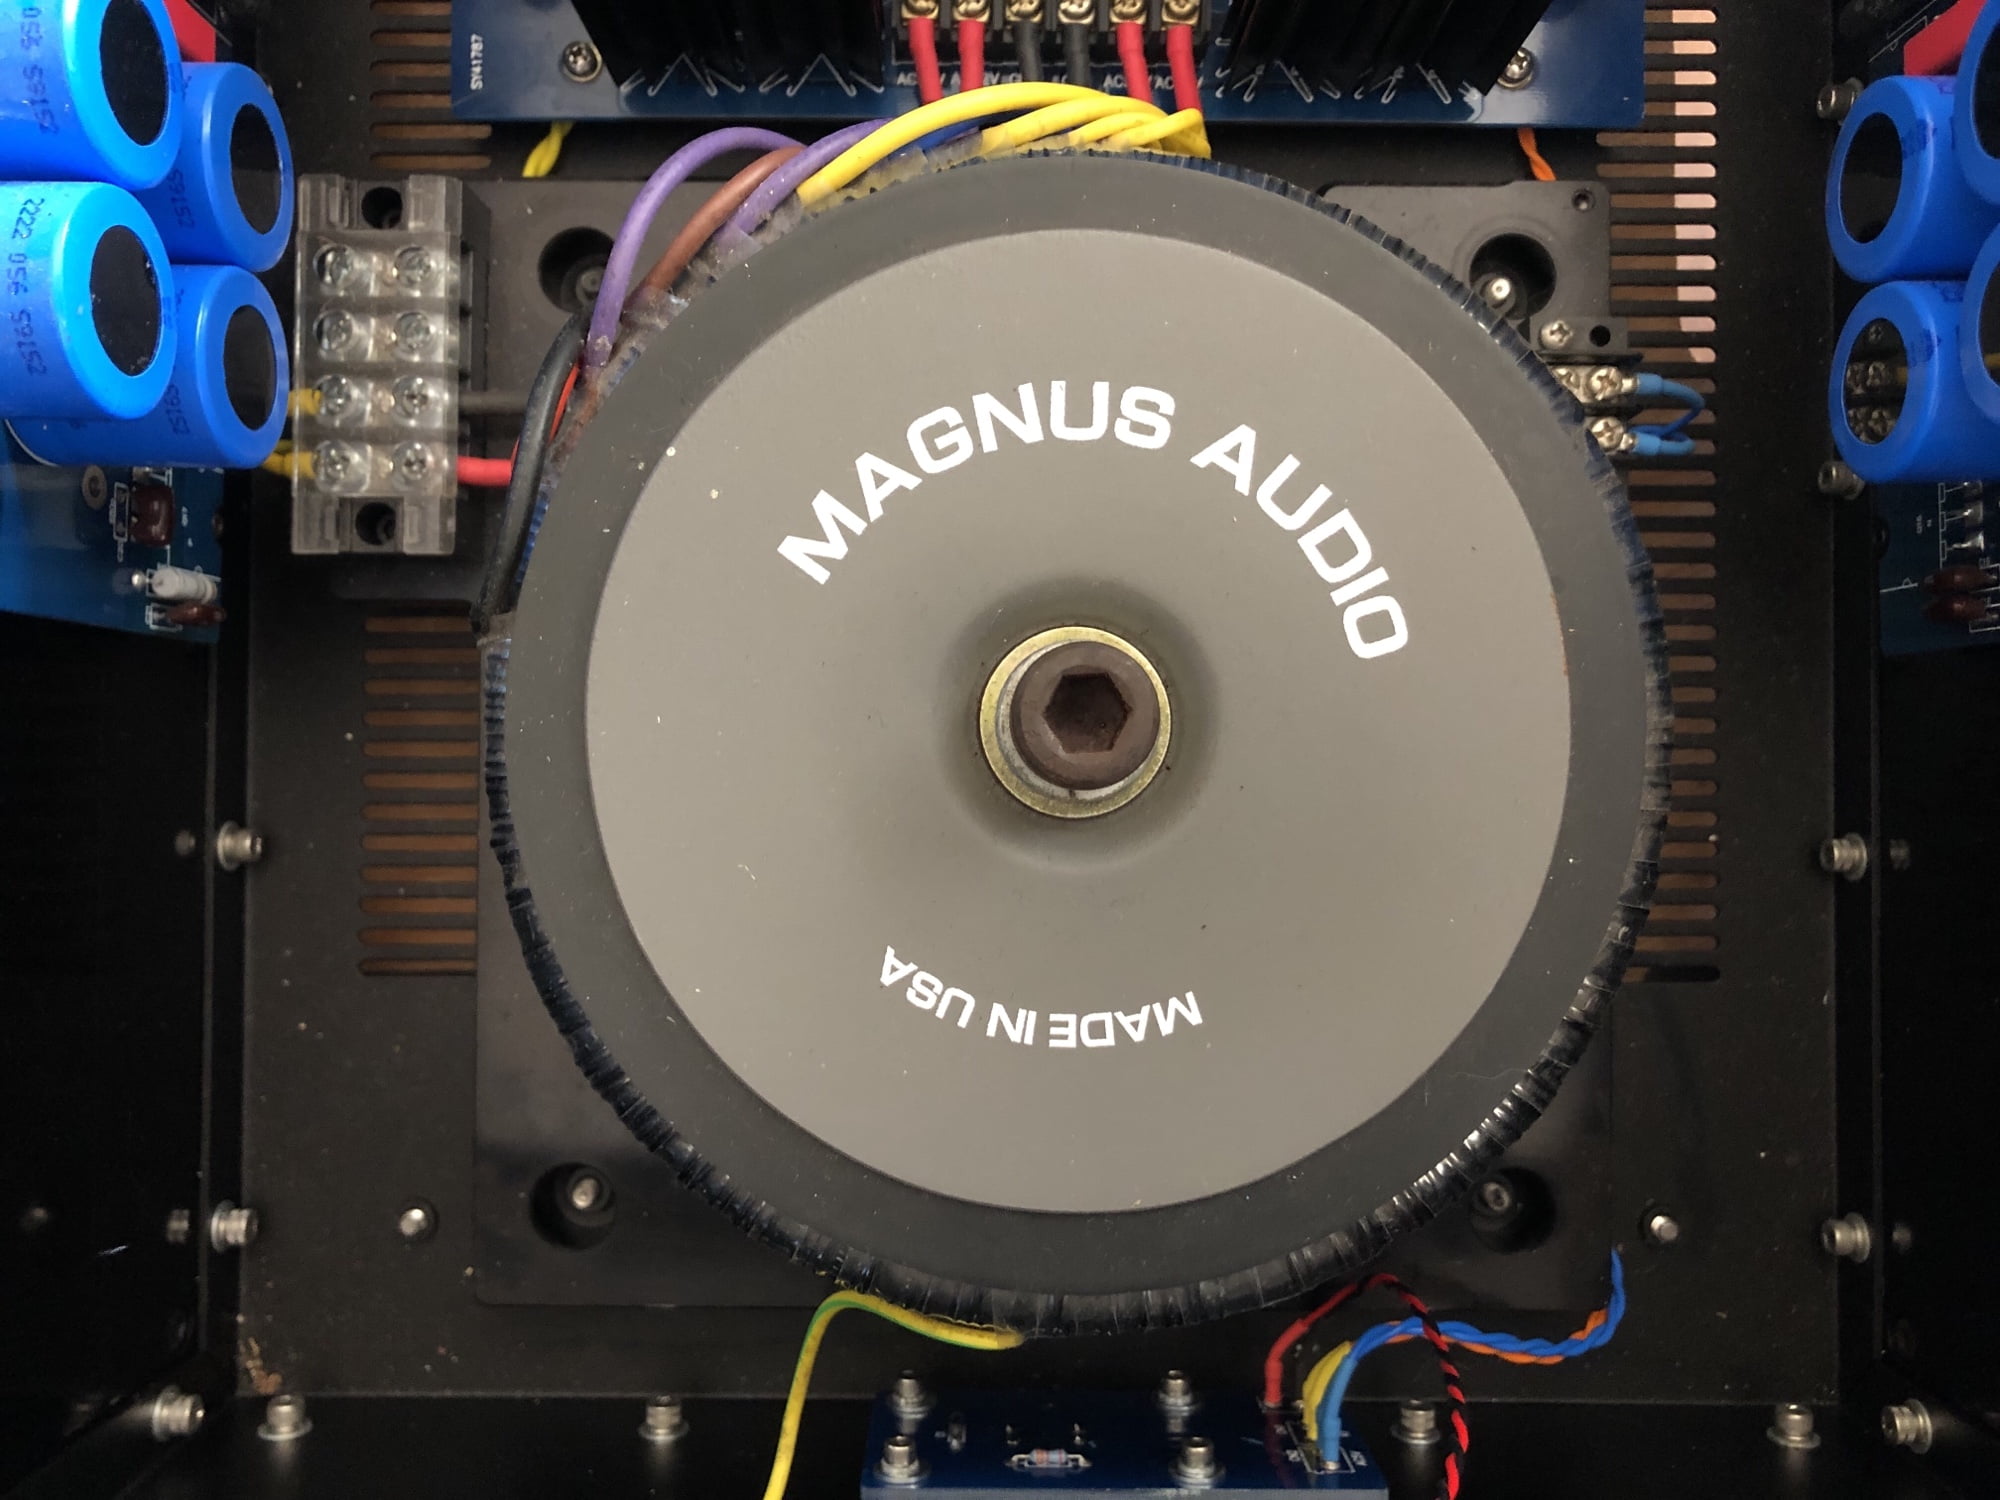
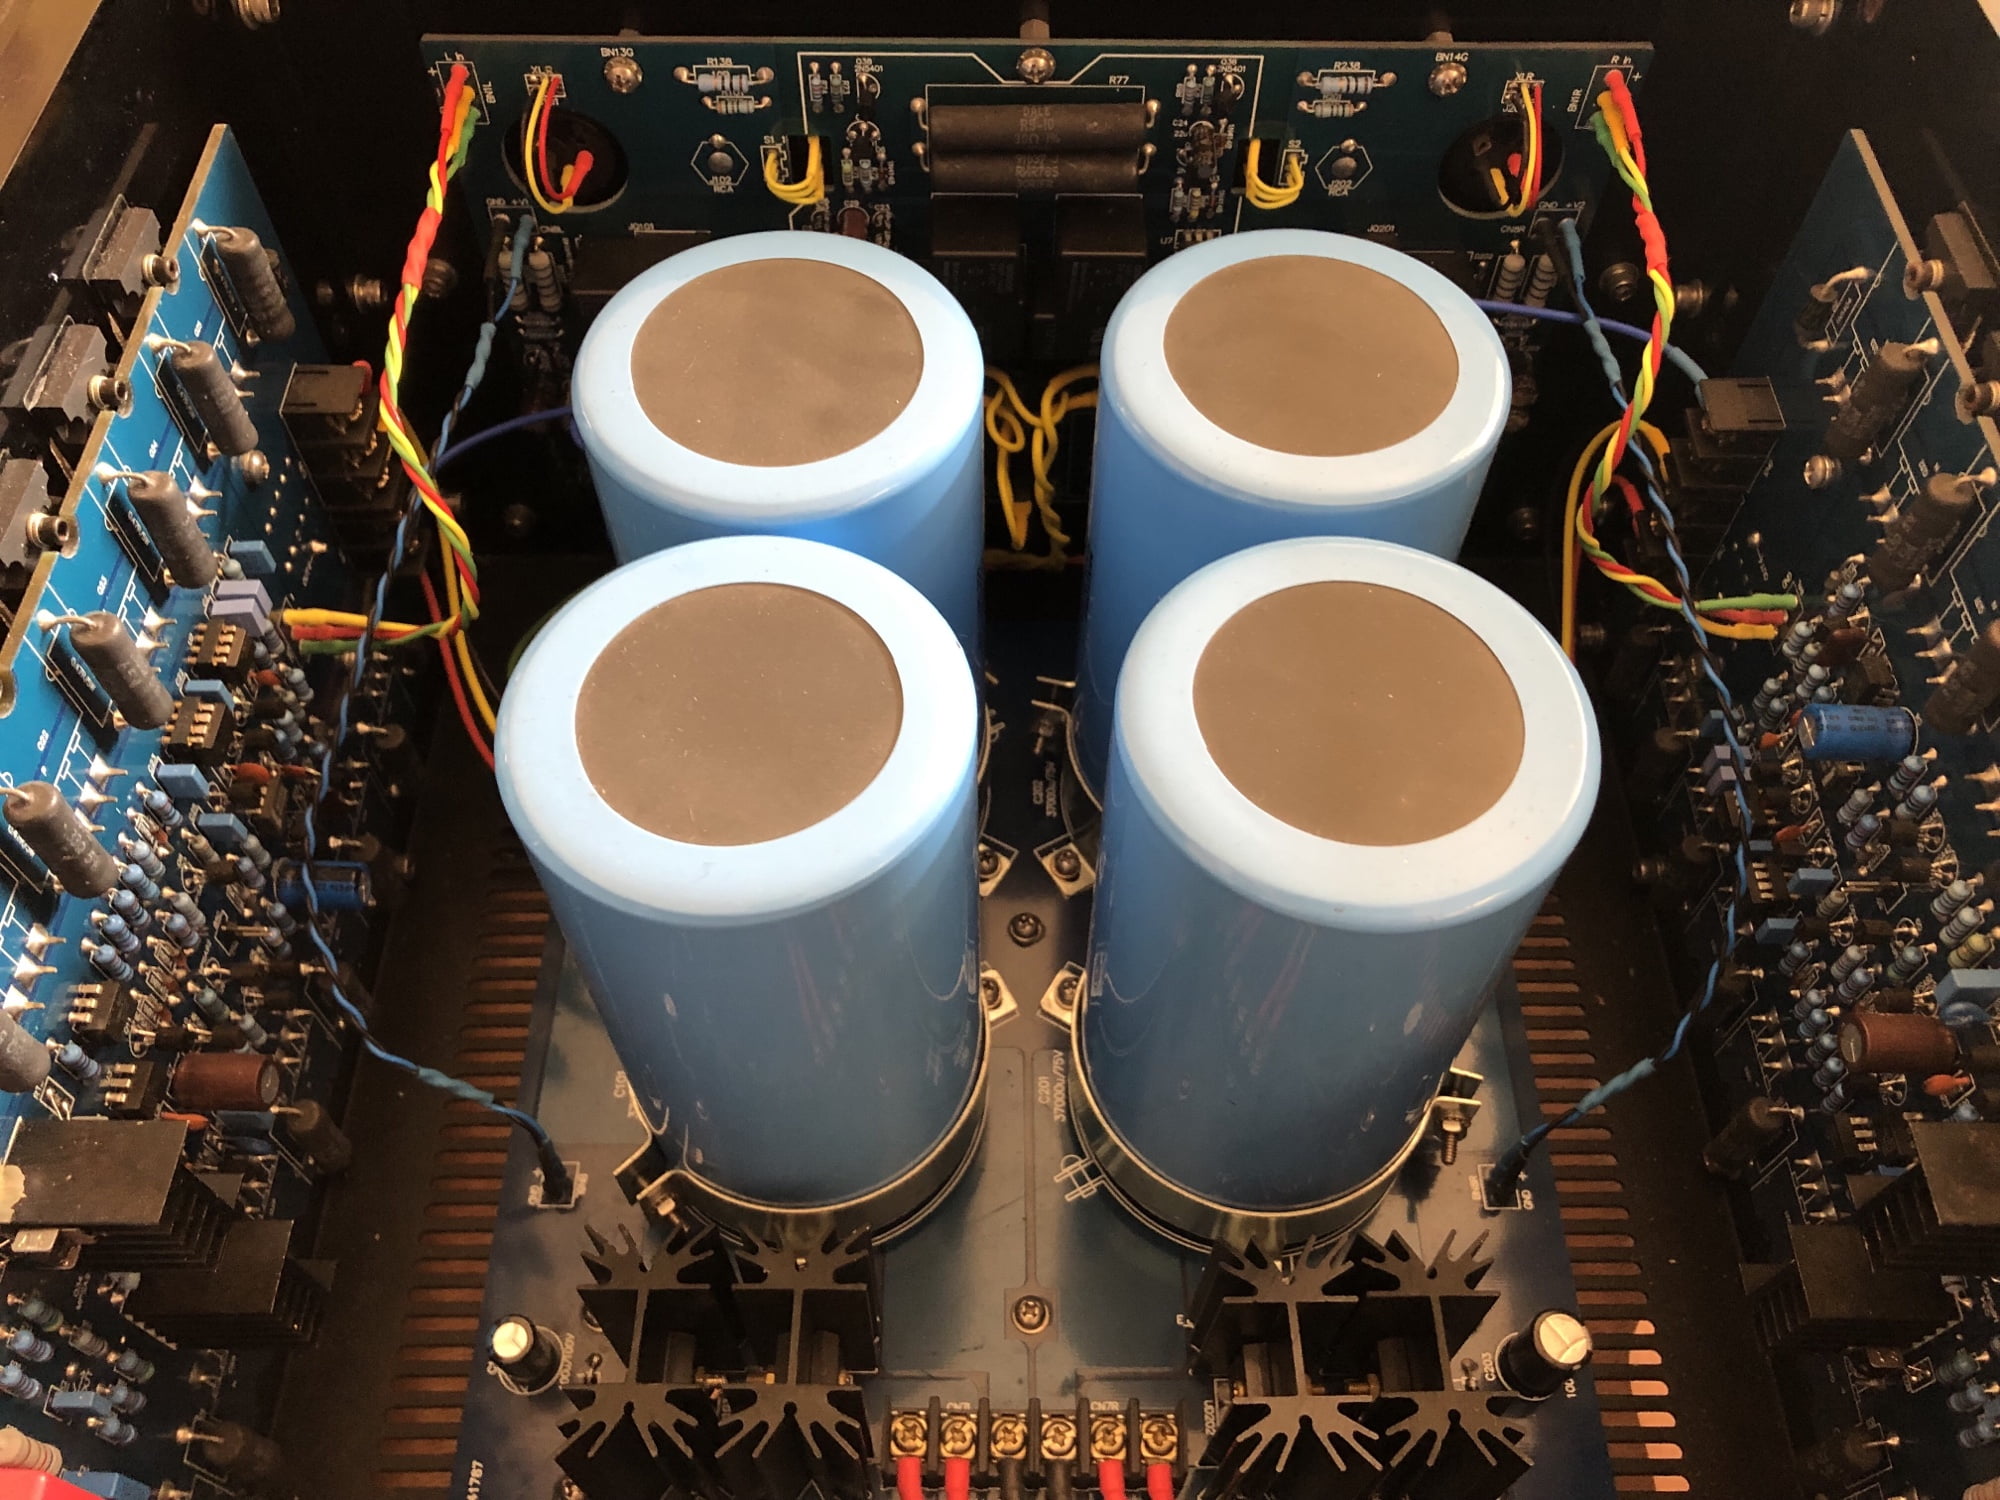
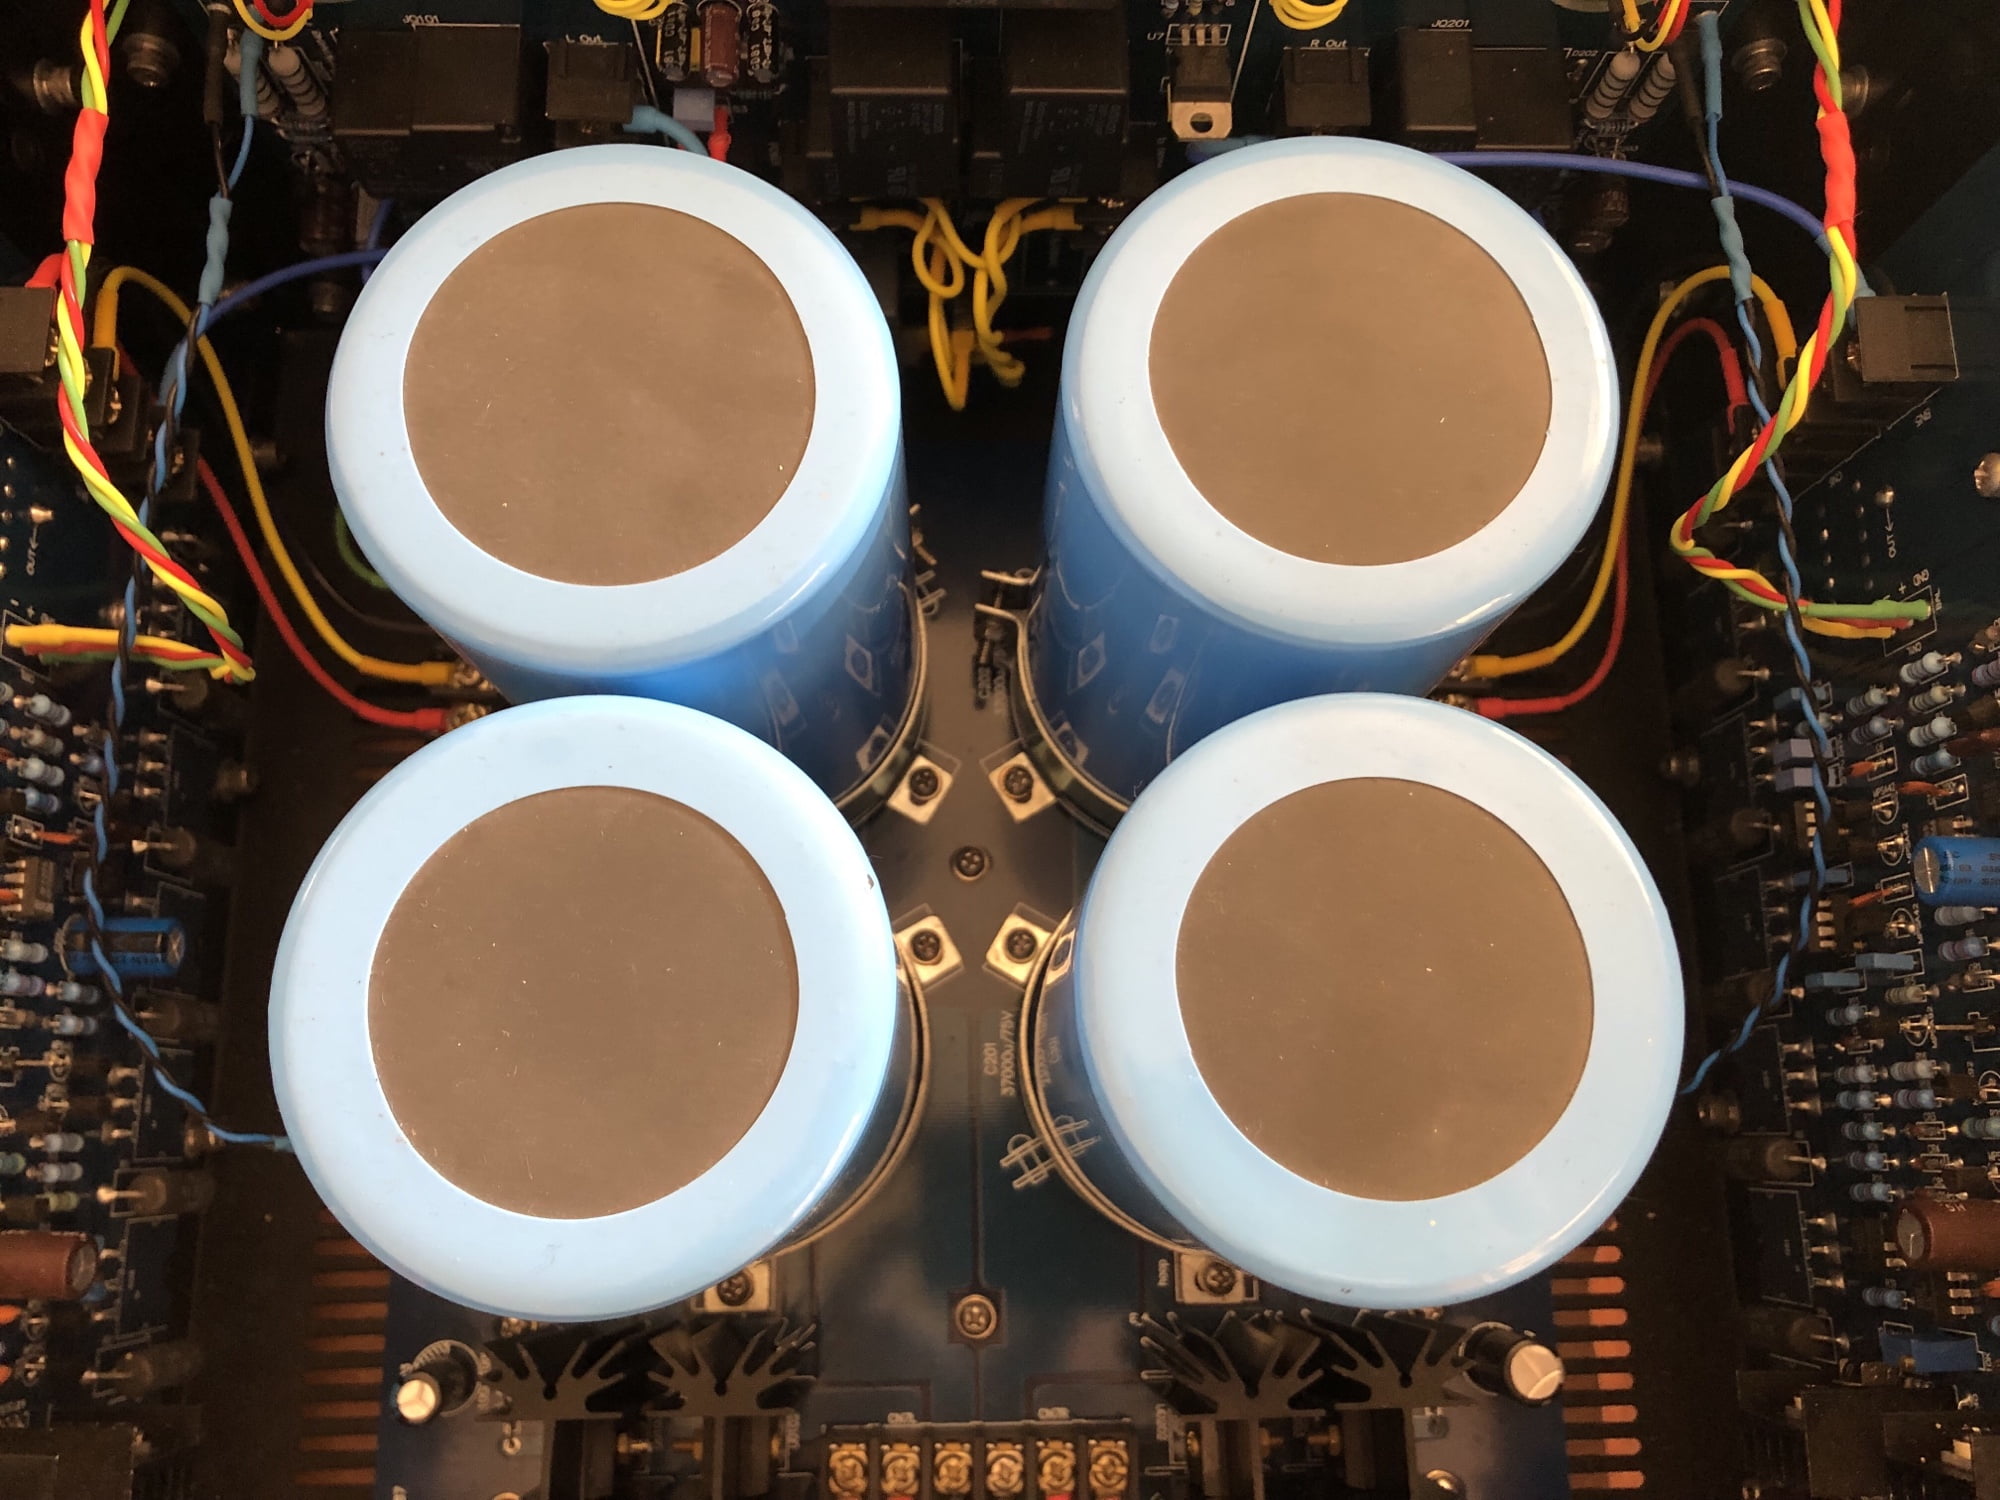
Out With the Old…
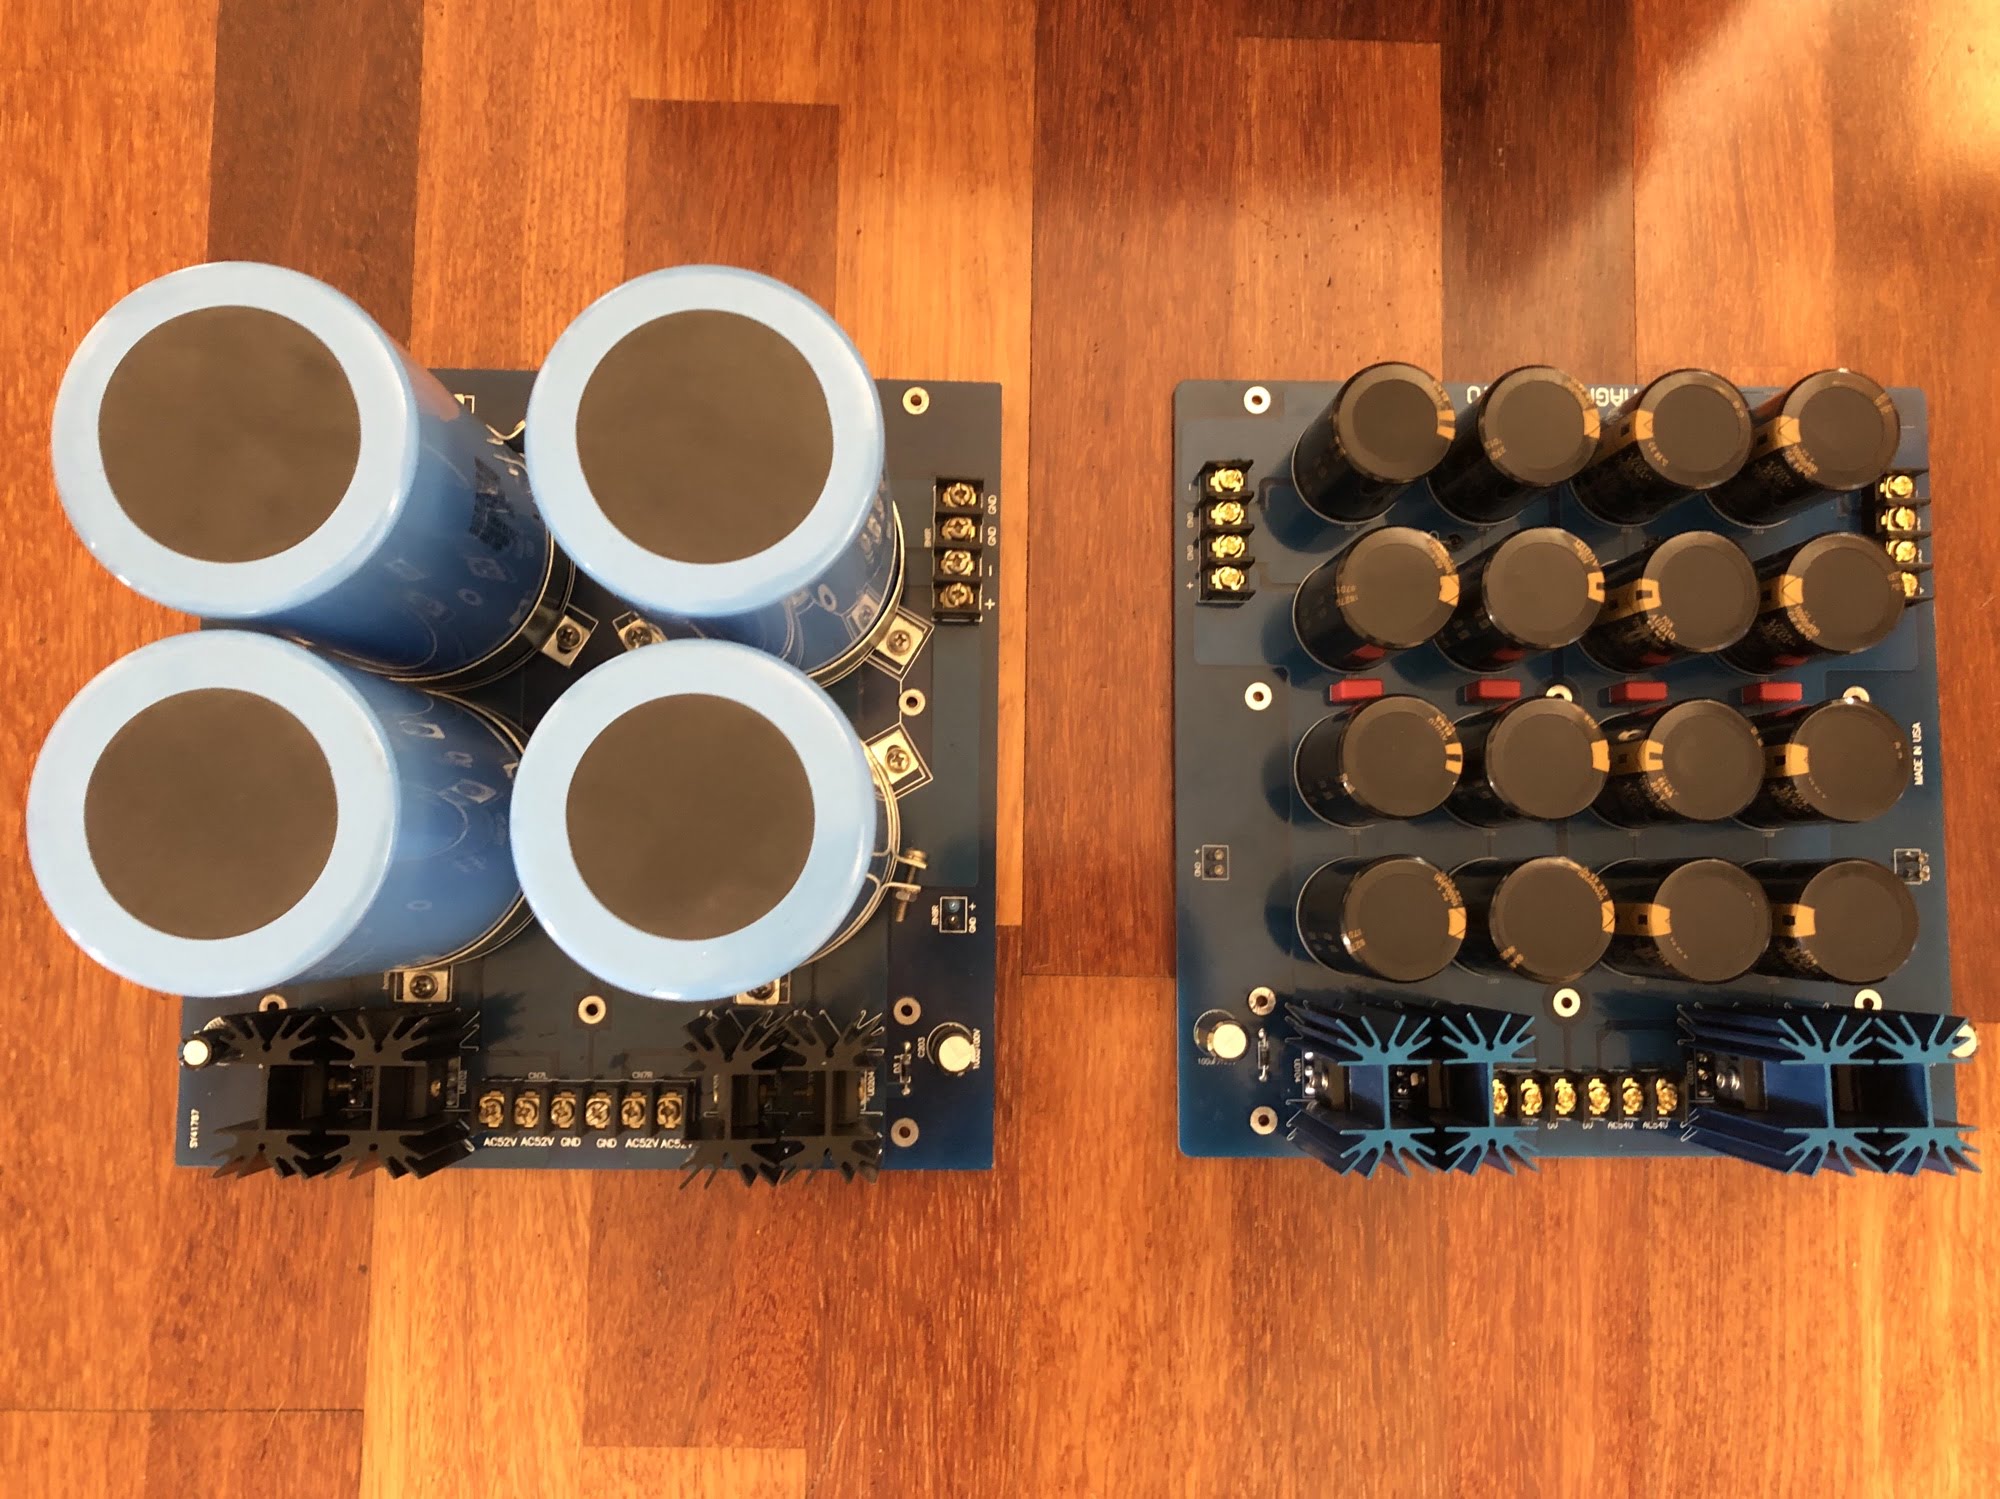
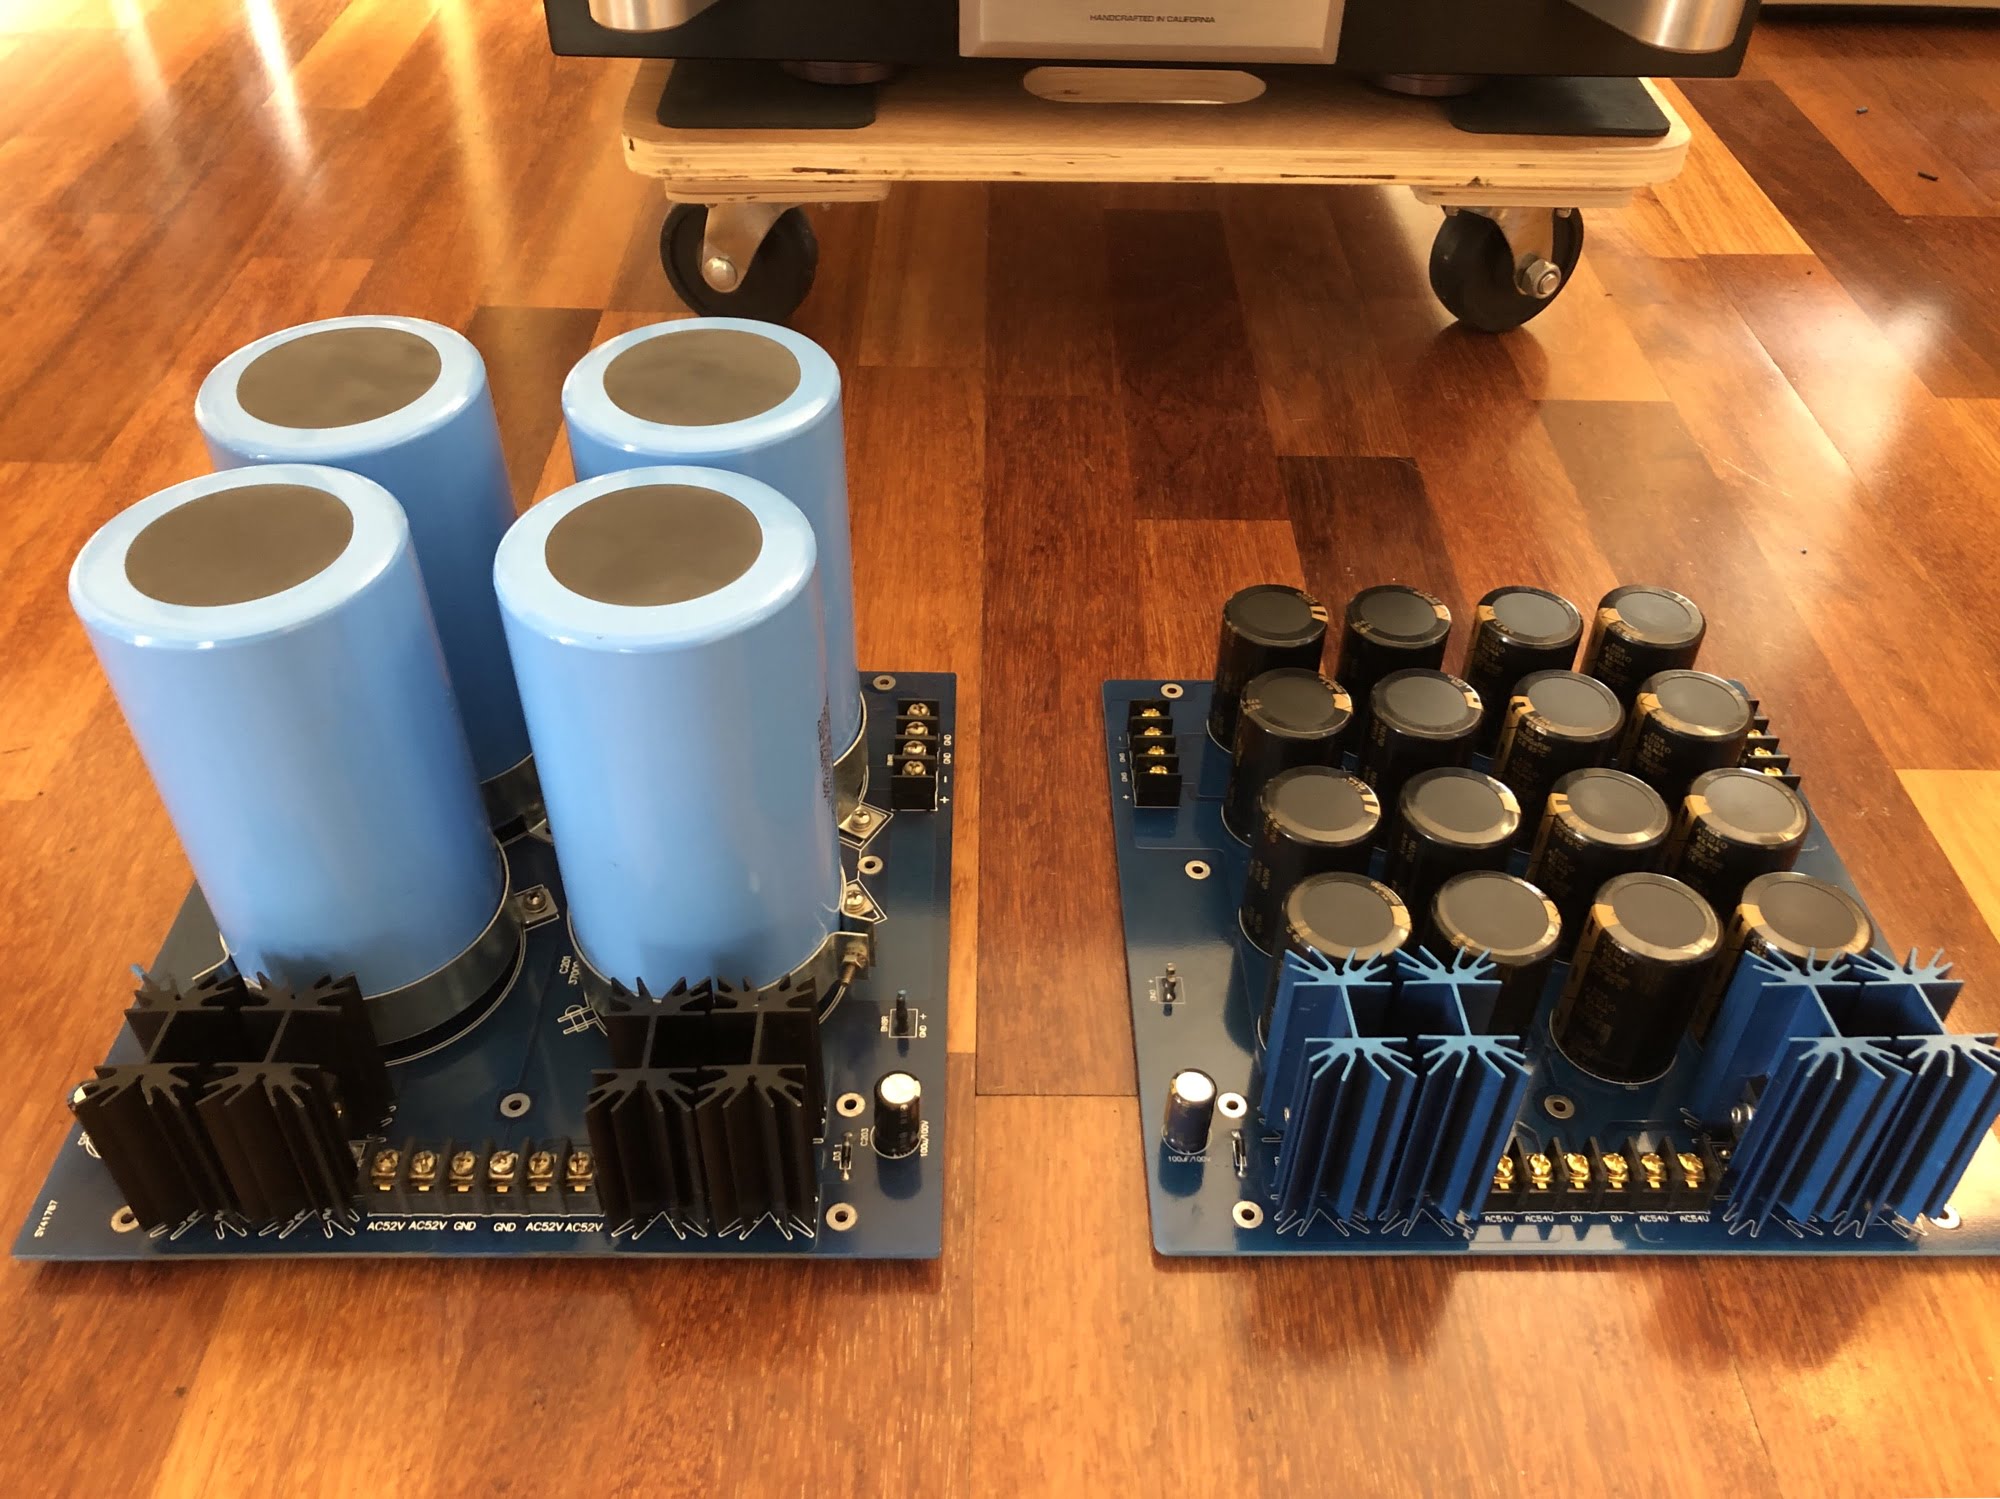
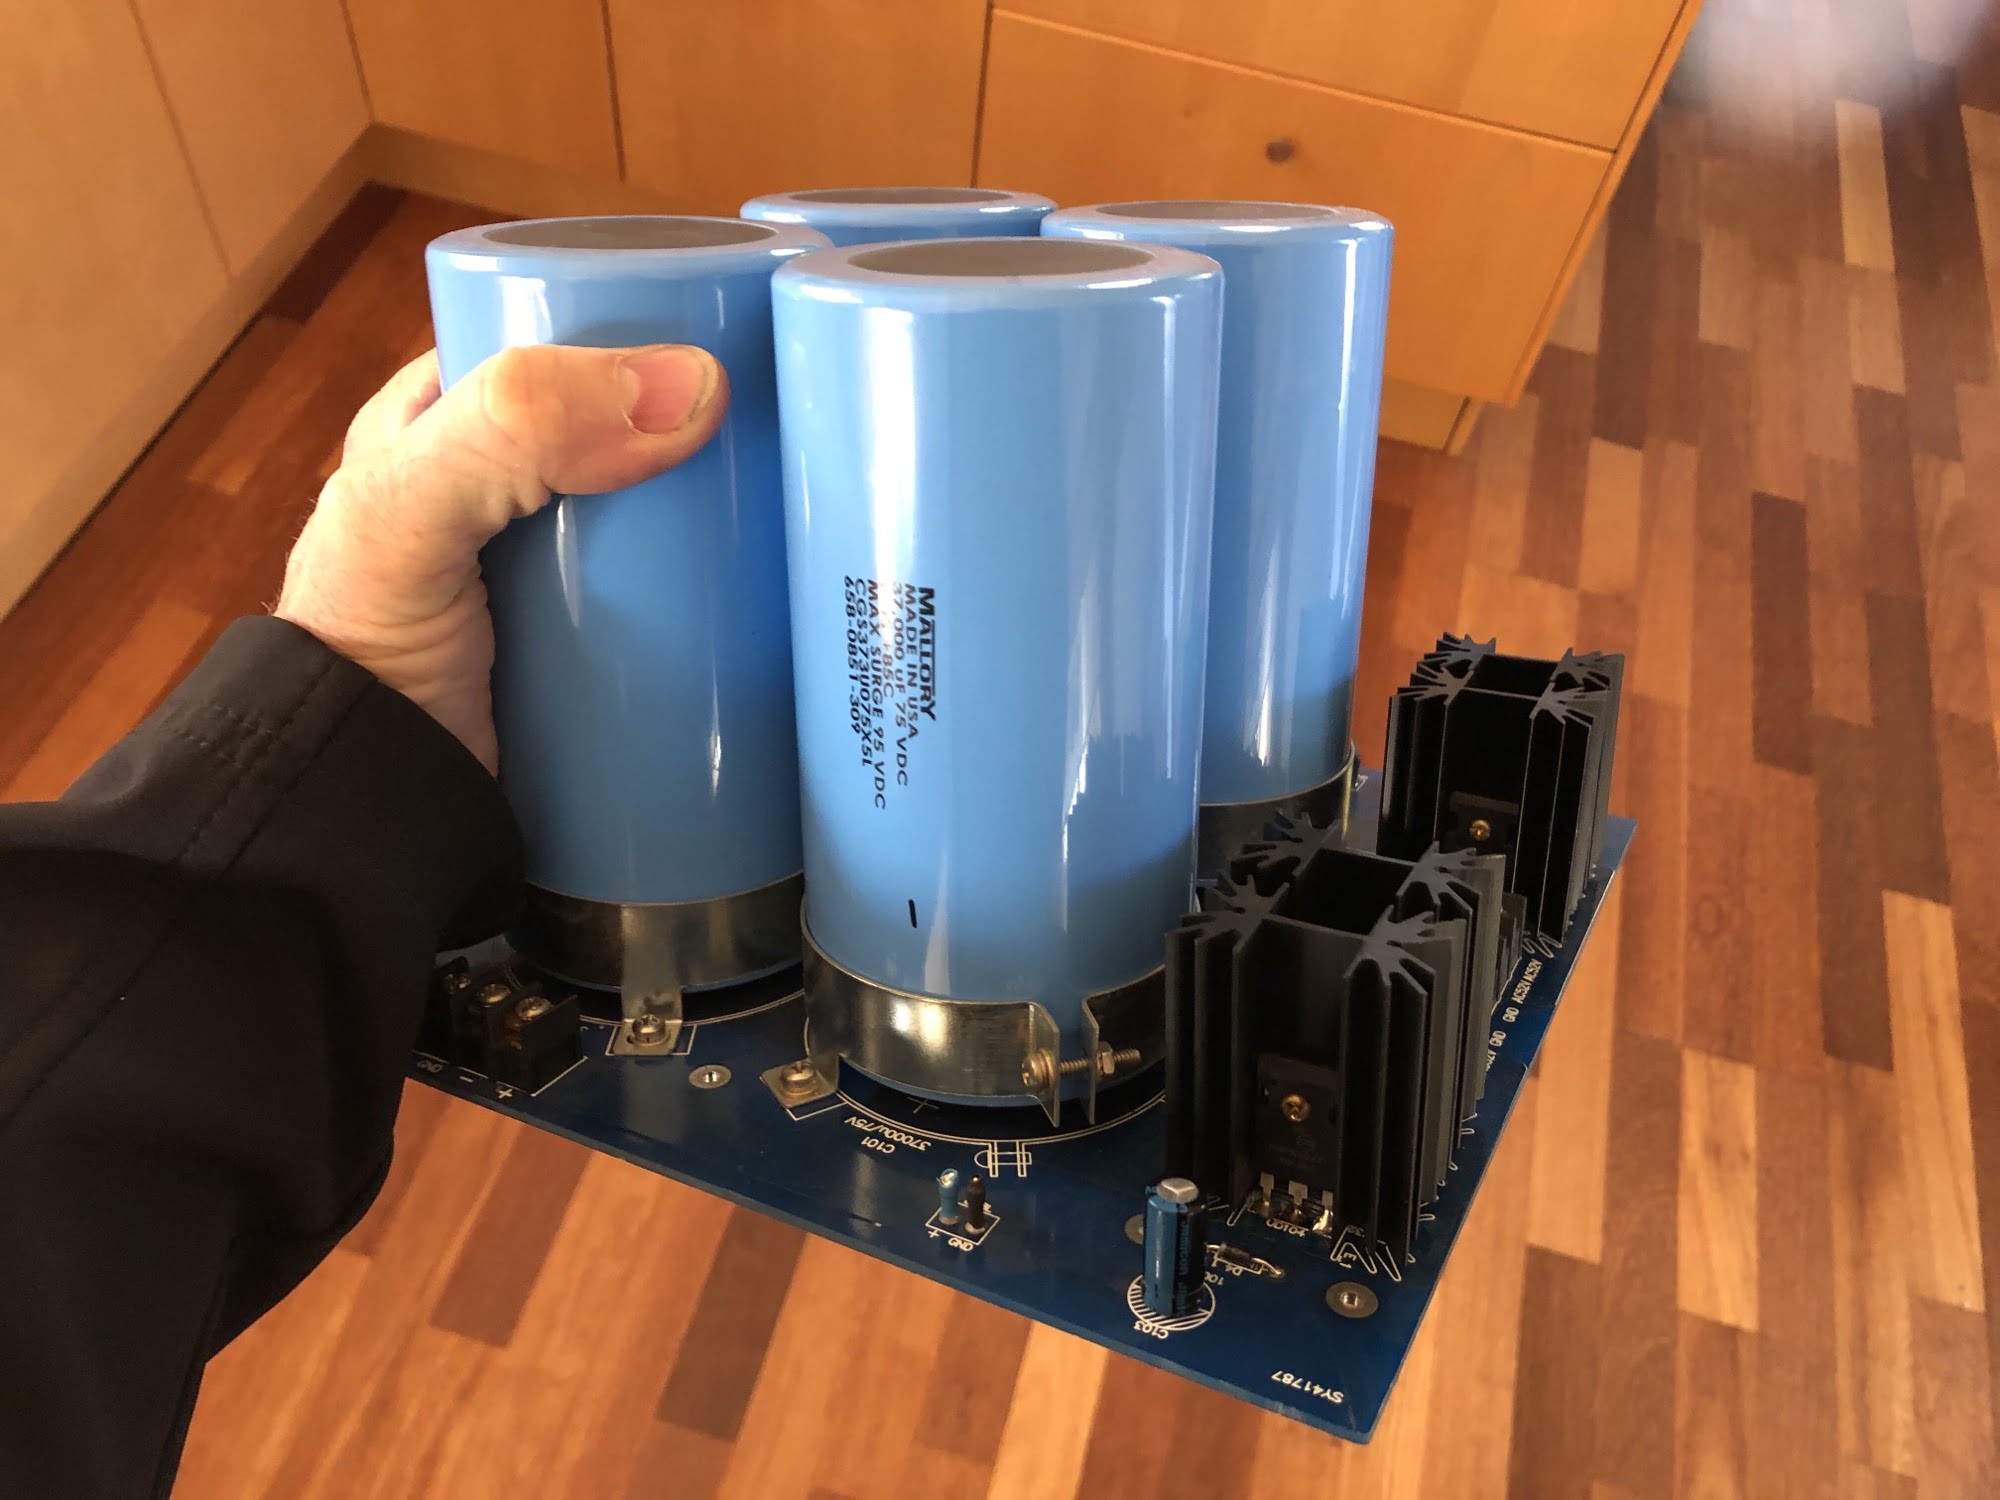
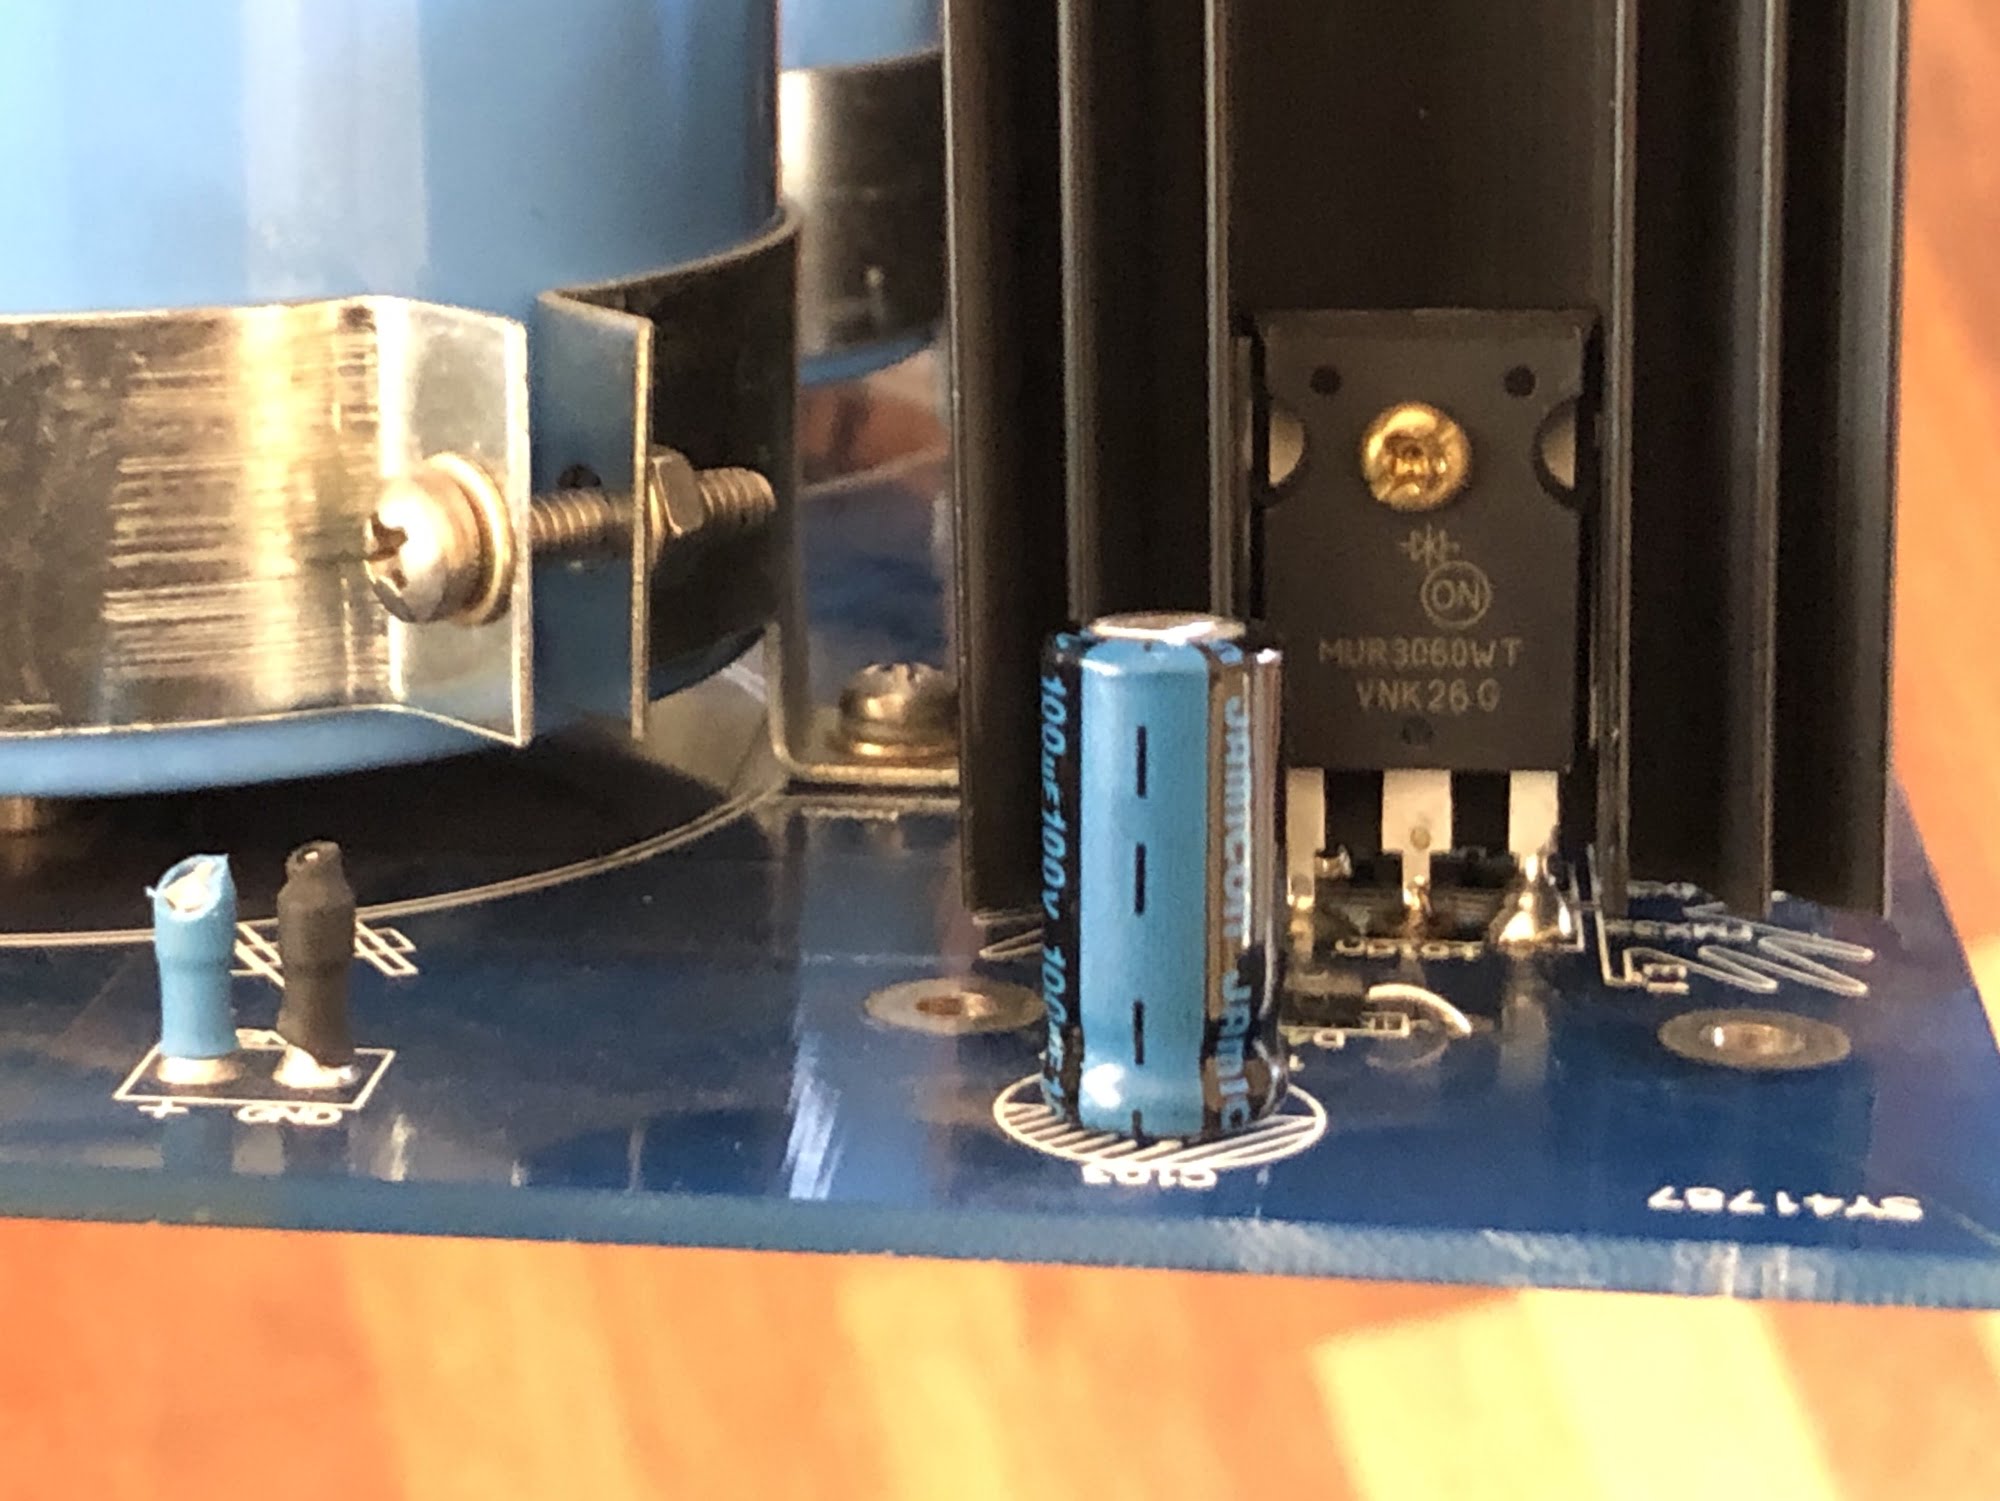
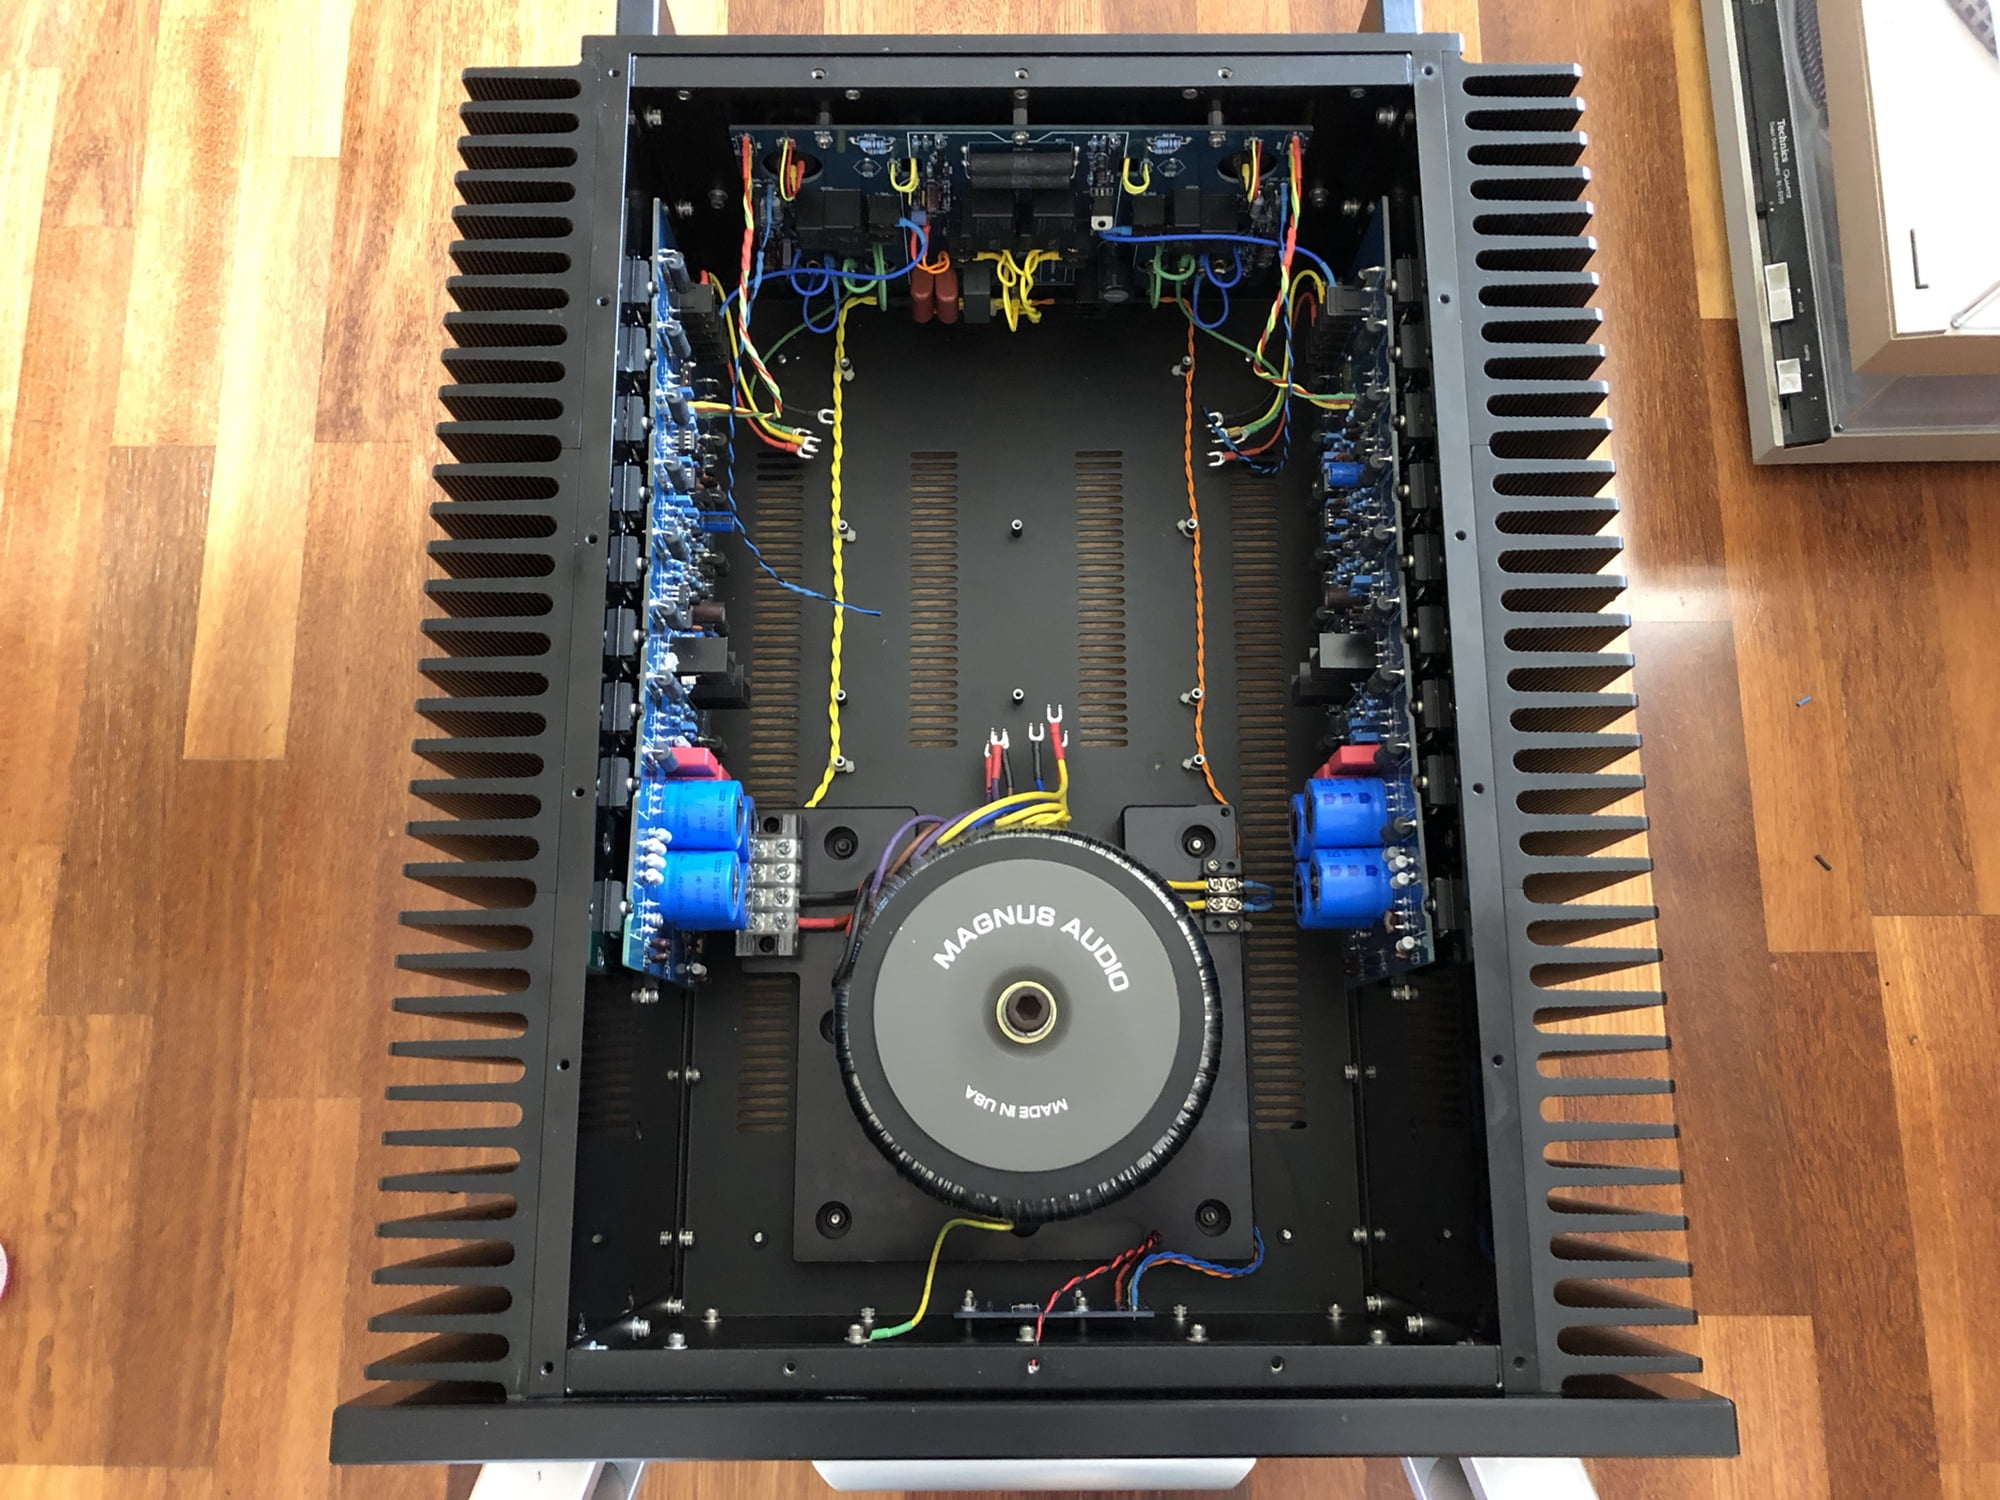
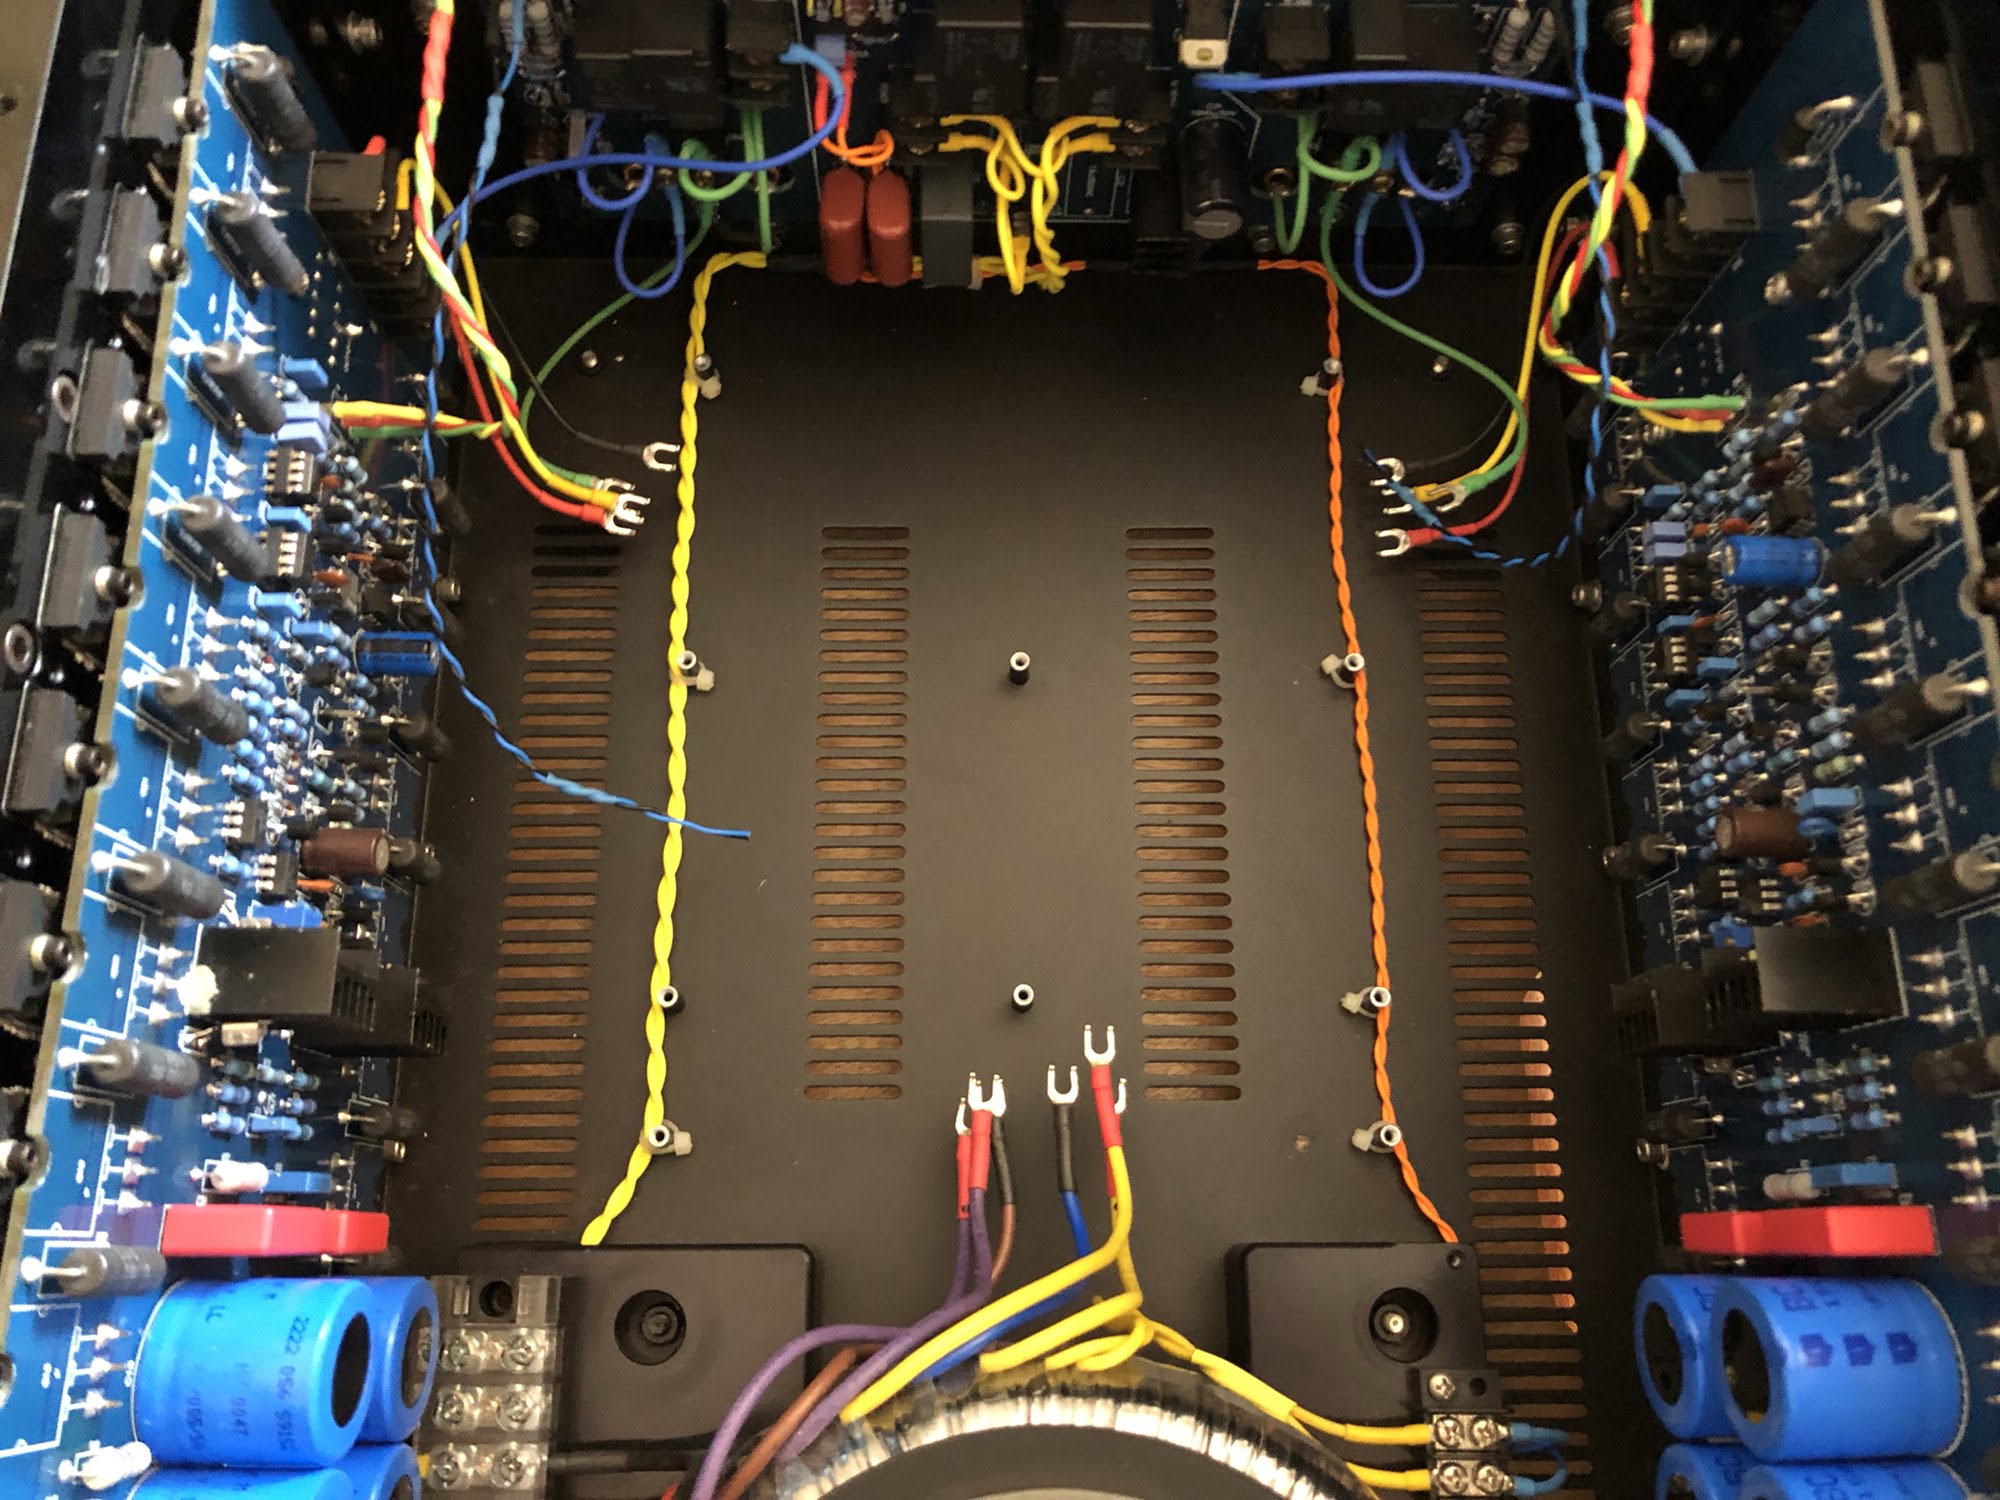
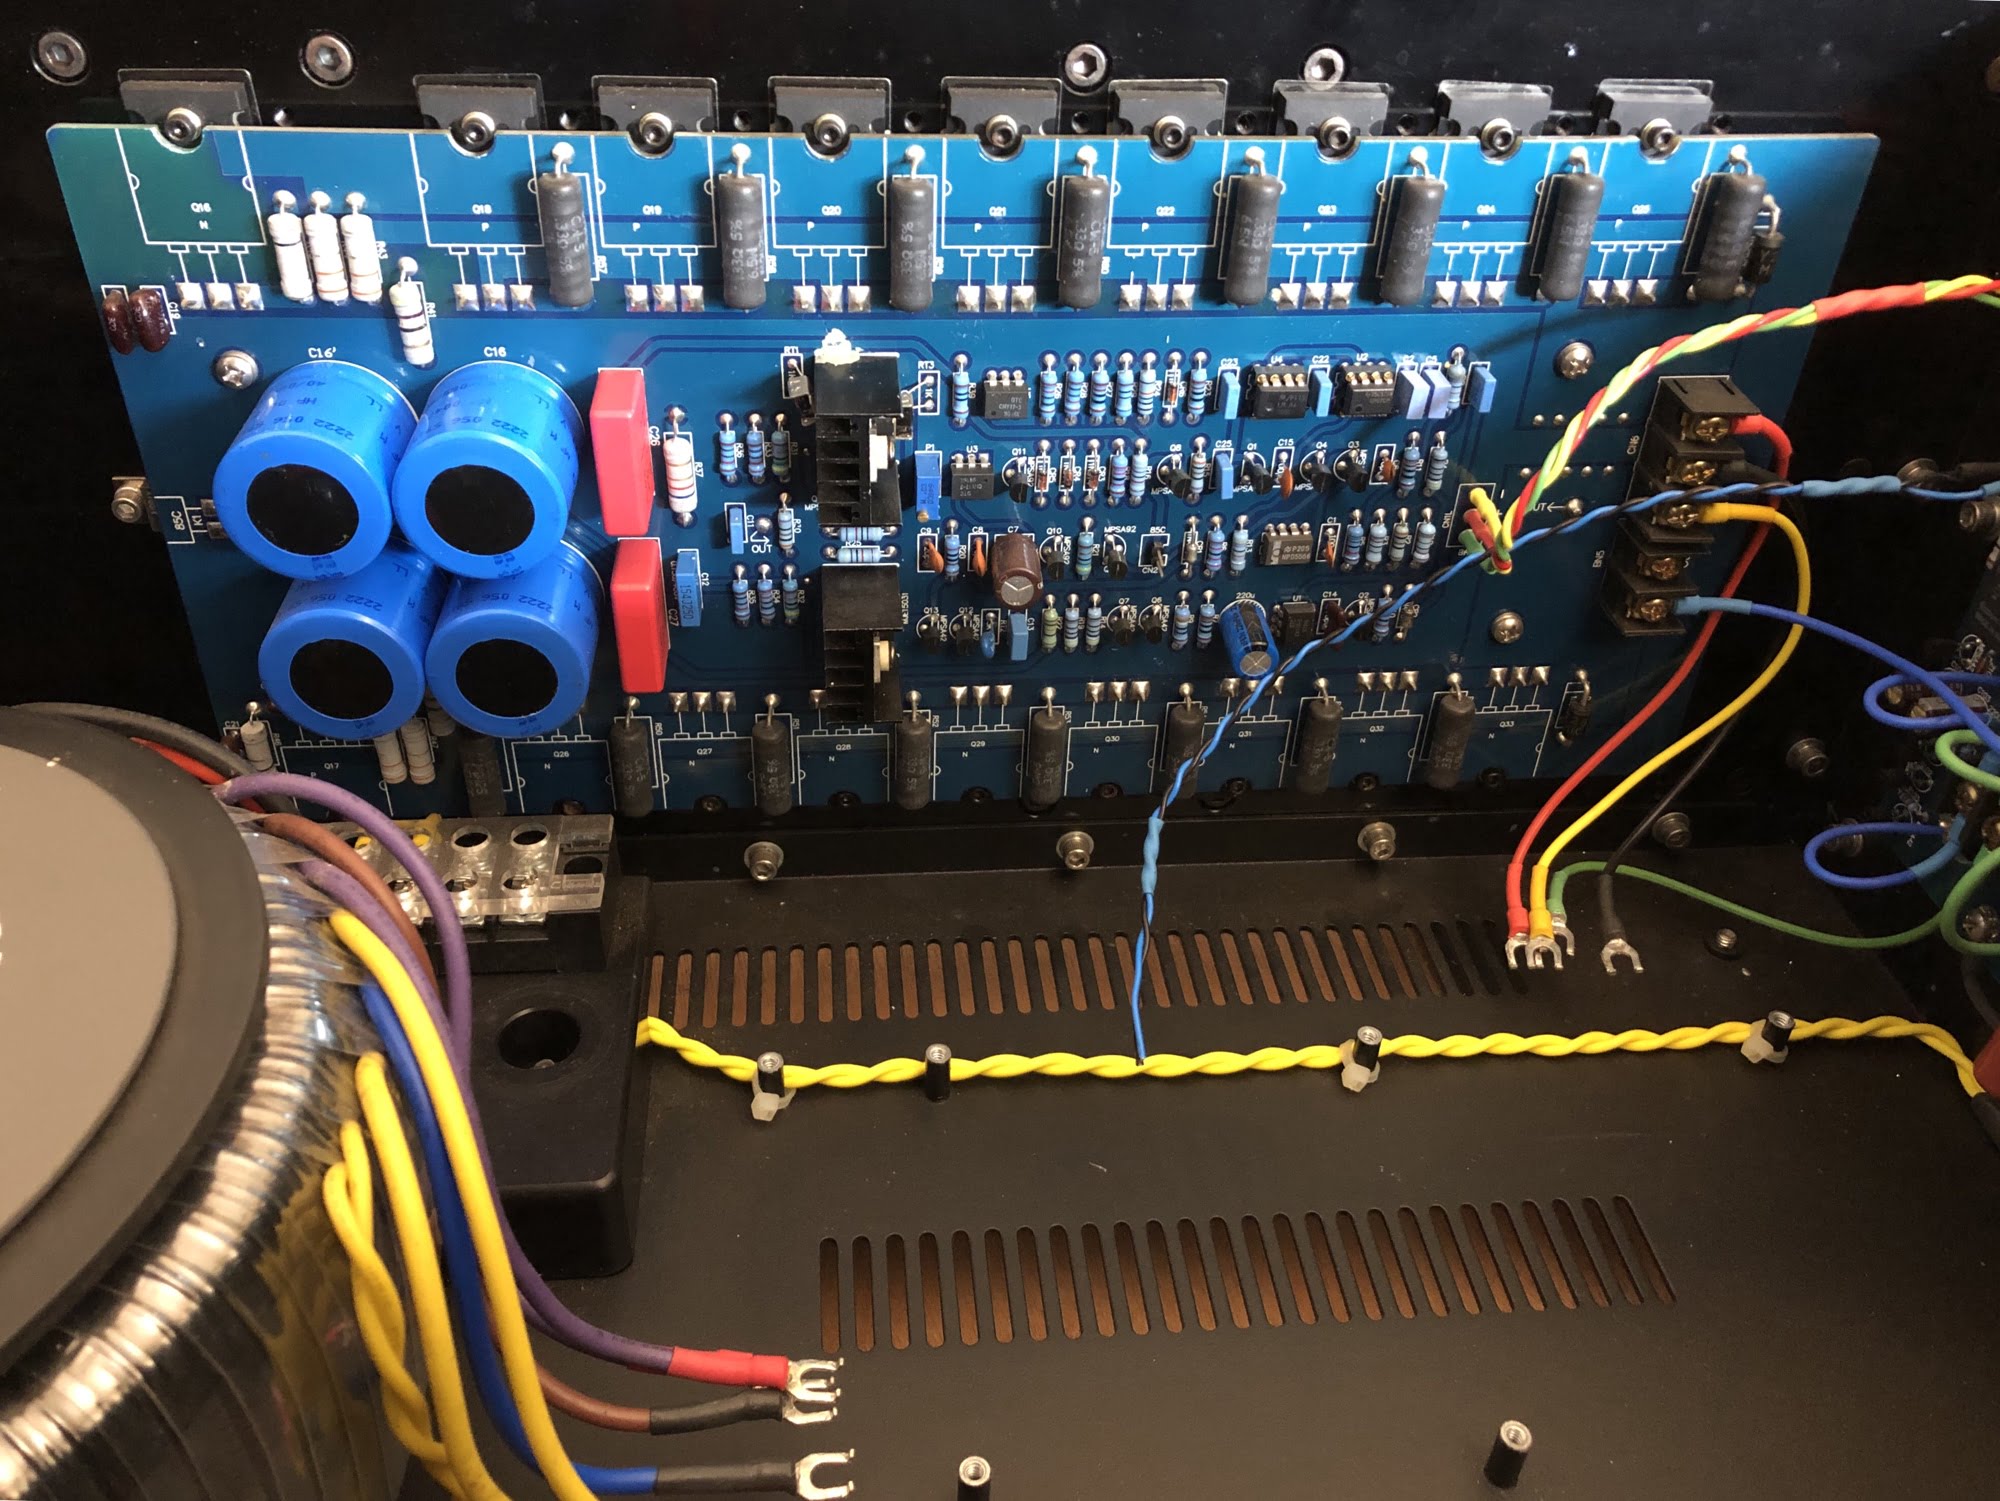
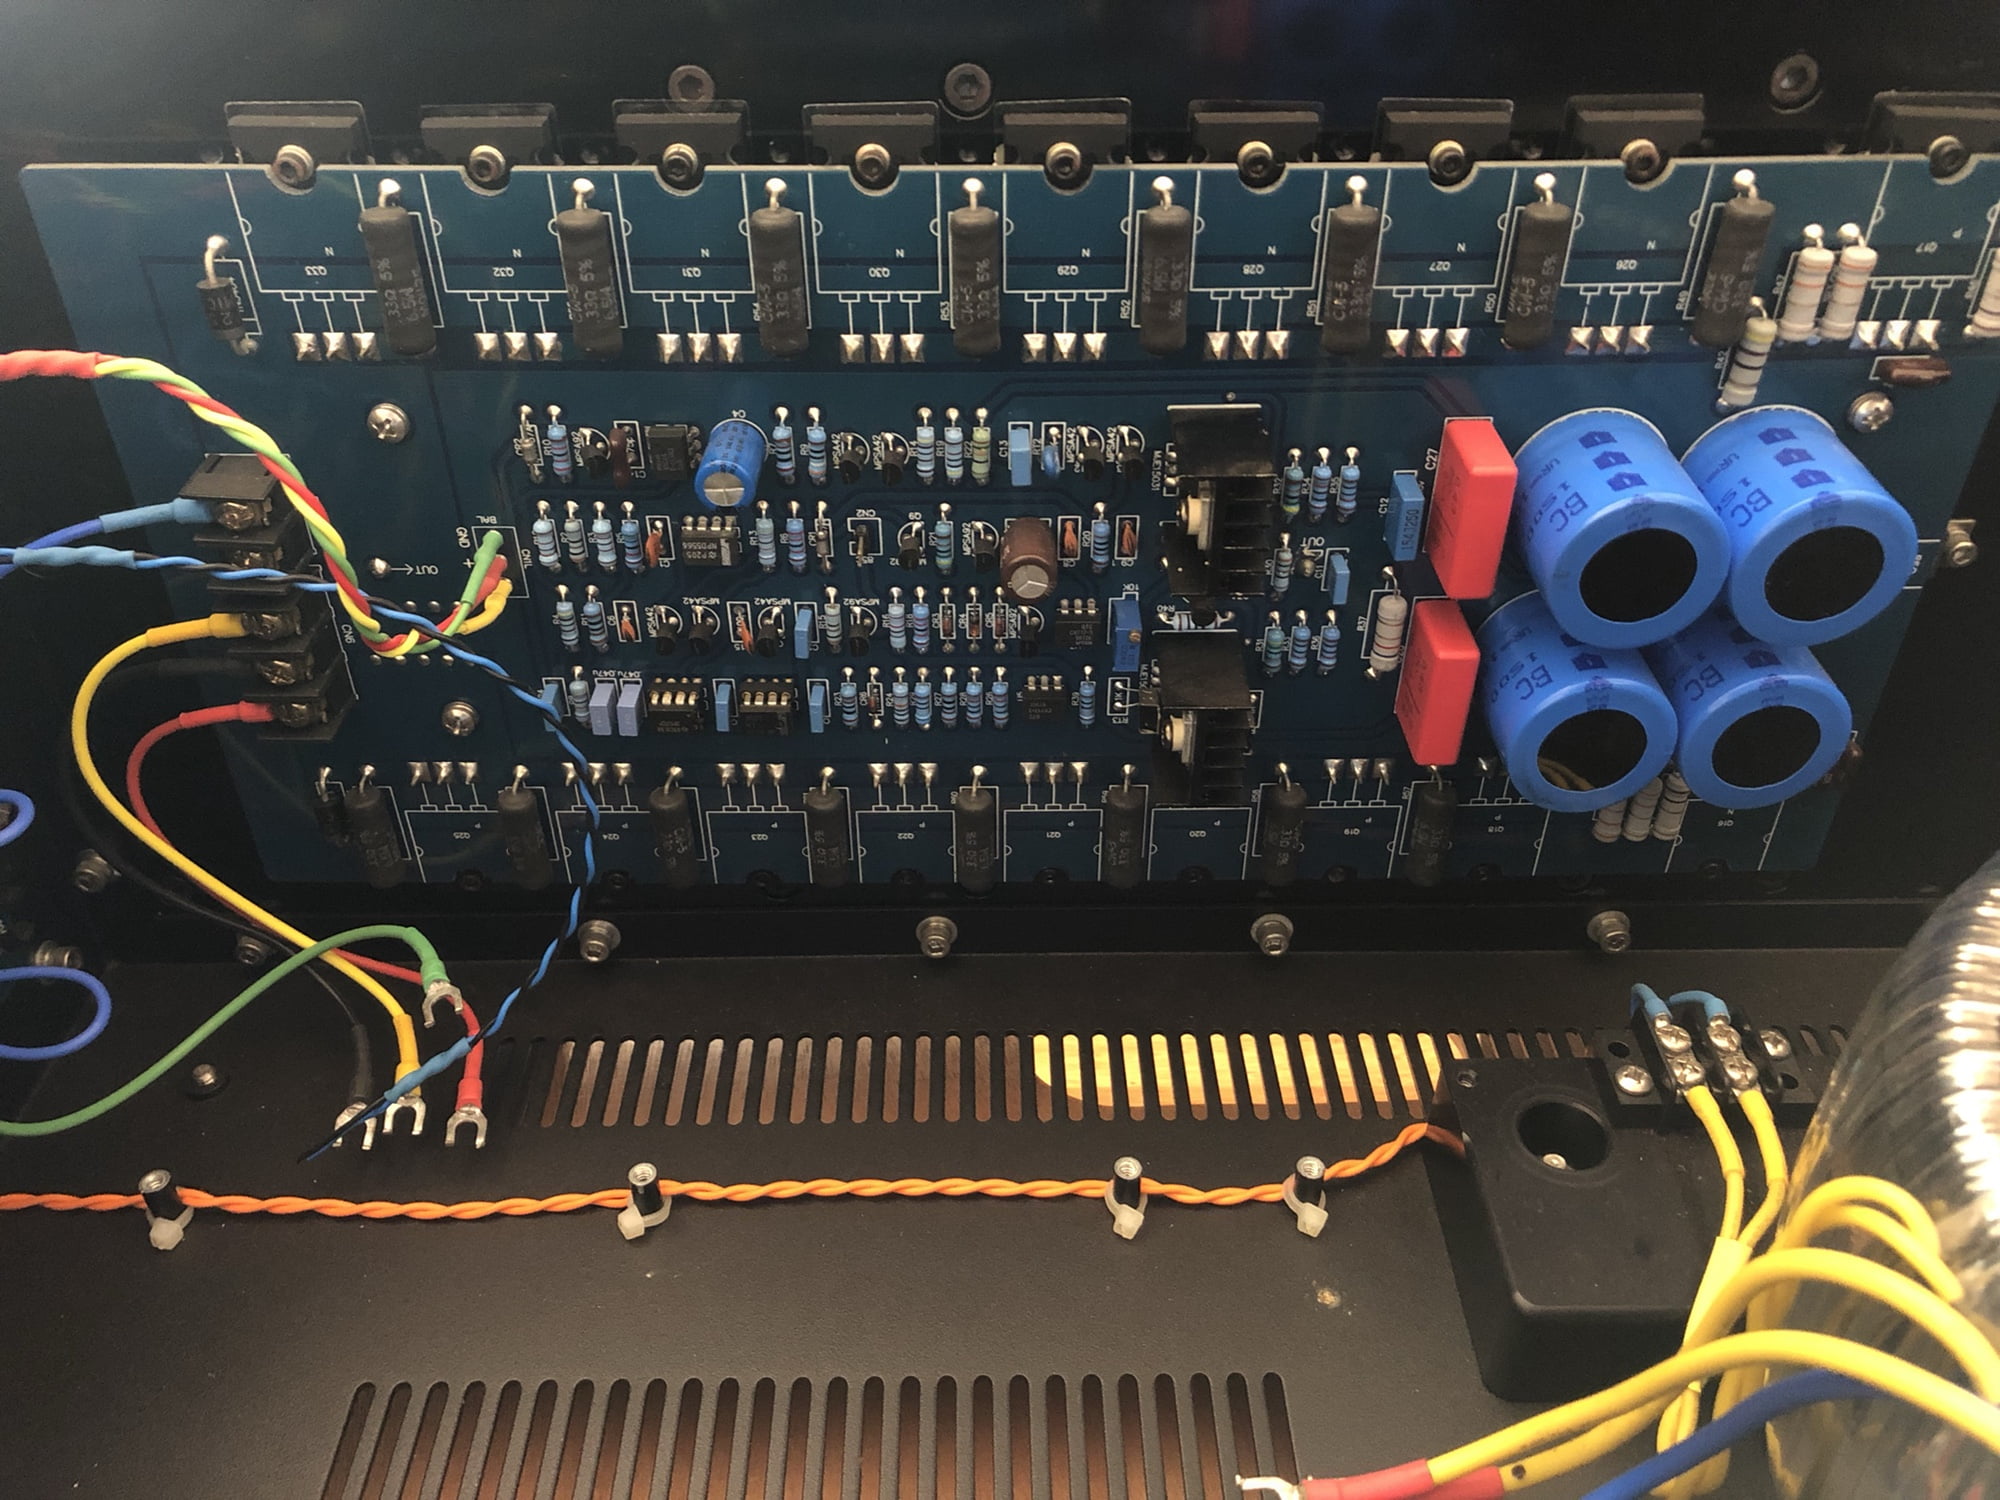
In With the New…
After carefully documenting everything, the new power supply is ready to go in.
Results & Feedback
You can see the work I’ve done, but sometimes the best way to gain a sense of how things have changed is to hear directly from the owner:
Hi Mike
Got the amp set up last night and listened for a number of hours. It still runs cool. The sound at the start was different to the sound by the end of the session….better. This amp is definitely my keeper. It sounds absolutely wonderful. Since the update I’ve noticed more detail and greater timbre. The bass is tighter and more extended and generally cleaner than before. Transients are quicker and speakers seem to disappear. Very happy and again thanks for the great work.
Arthur
Feedback like this says more than I can about my customer’s thoughts on this Magnus Audio MA-300 power supply upgrade. Thank you very much to her owner for this feedback.
In the very rare event that you’d like me to upgrade your Magnus Audio MA-300, or any other big power amplifier for that matter, don’t hesitate to get in touch.
Discover more from LiQUiD AUDiO
Subscribe to get the latest posts sent to your email.


Too cool Mike!! I bet that thing just slams out the transient impact
whilst still rendering fine detail & sweet tone of course :>)
Hi Tim, yes a very serious and nice sounding amp indeed. I think this company is operating in stealth mode, nobody seems to have heard of them!
Hi! Awesome job! Other than the MUR3060WT in the rectifier circuit, do you remember the part number for the device of the negative rectifier?
Thank-you!
Hi Joseph, sorry but there’s zero chance I’d remember something like that from a year ago. What problem do you have there?
Hi. Thanks for your fast reply. I’m working on a few vintage amplifiers , and I’m try to upgrade the their power supplies with soft recovery diodes. Again thanks.
Hi Joseph, no problem, sounds like a good plan.