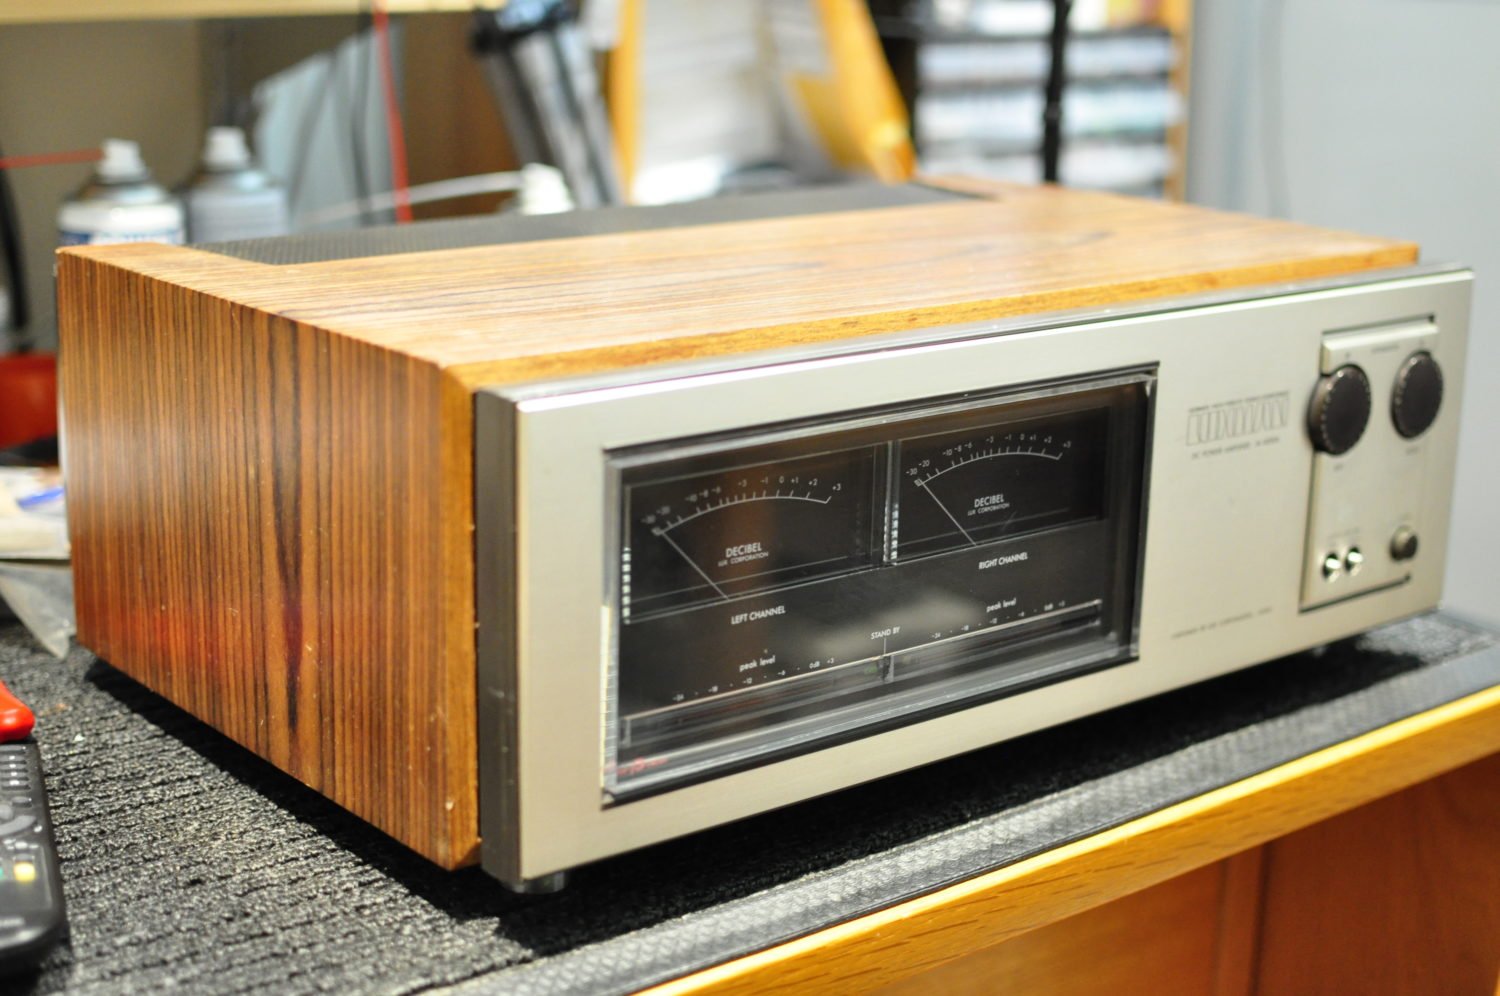
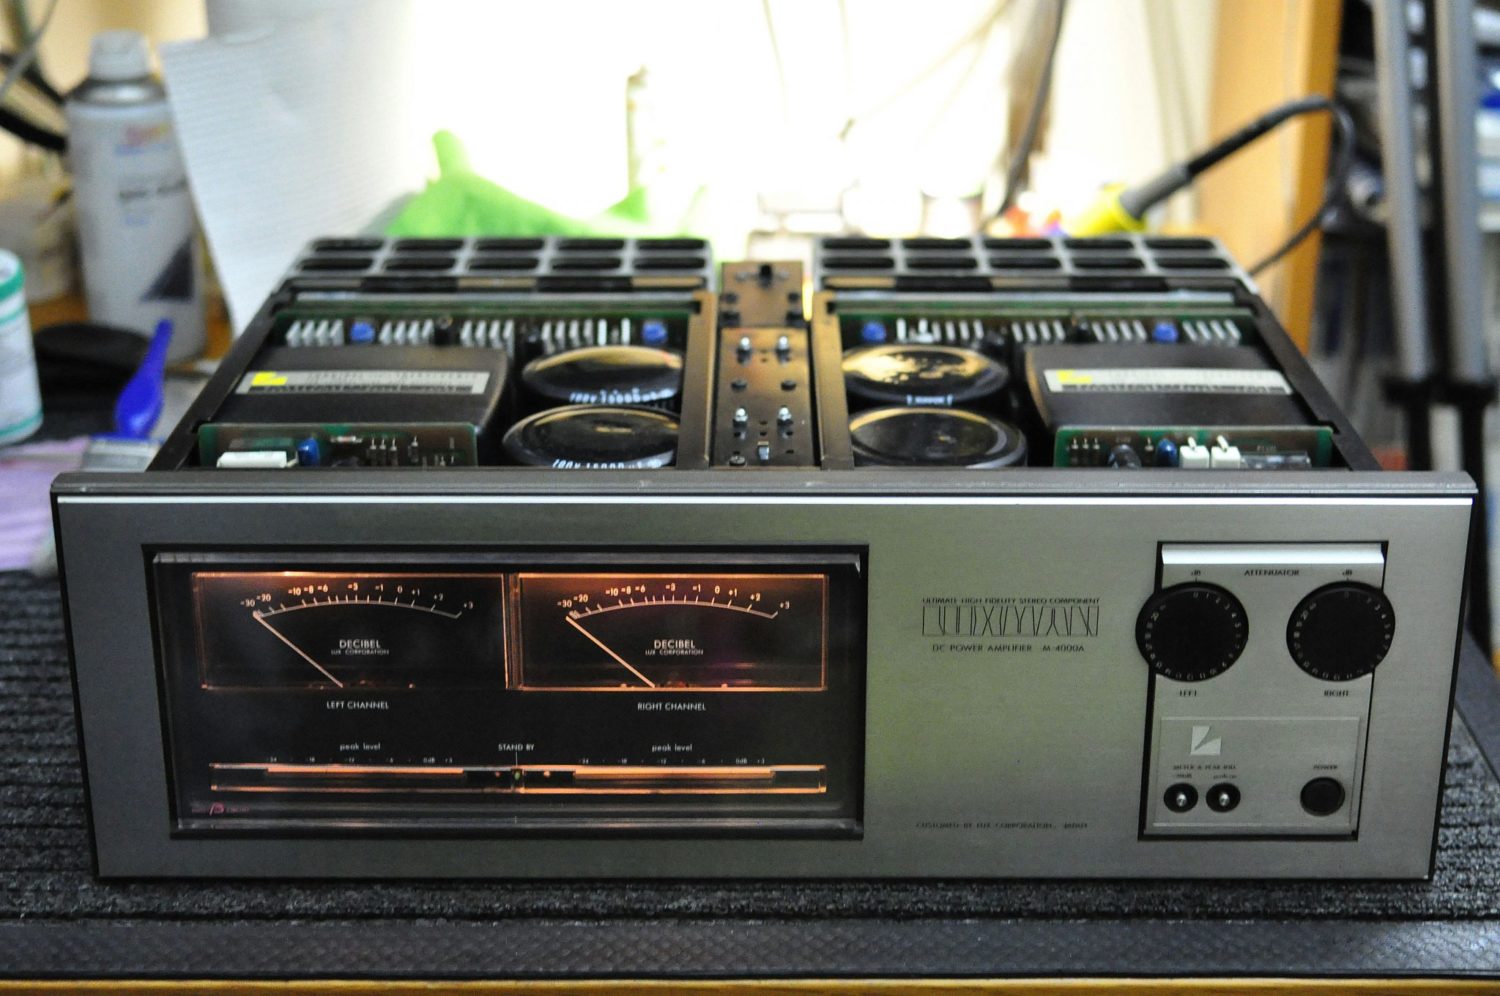
I recently restored this gorgeous Luxman M-4000A power amplifier and matching C-5000A preamplifier. Let’s start with the beautiful M-4000A.
Apparently, the legendary Tim De Paravicini designed the original M-4000. The improved and even rarer Luxman M-4000A probably also came from De Paravicini’s hand, but nobody seems to know for sure.
UPDATE: Check out my recent service of a Luxman M-4000 power amplifier.
The Beast
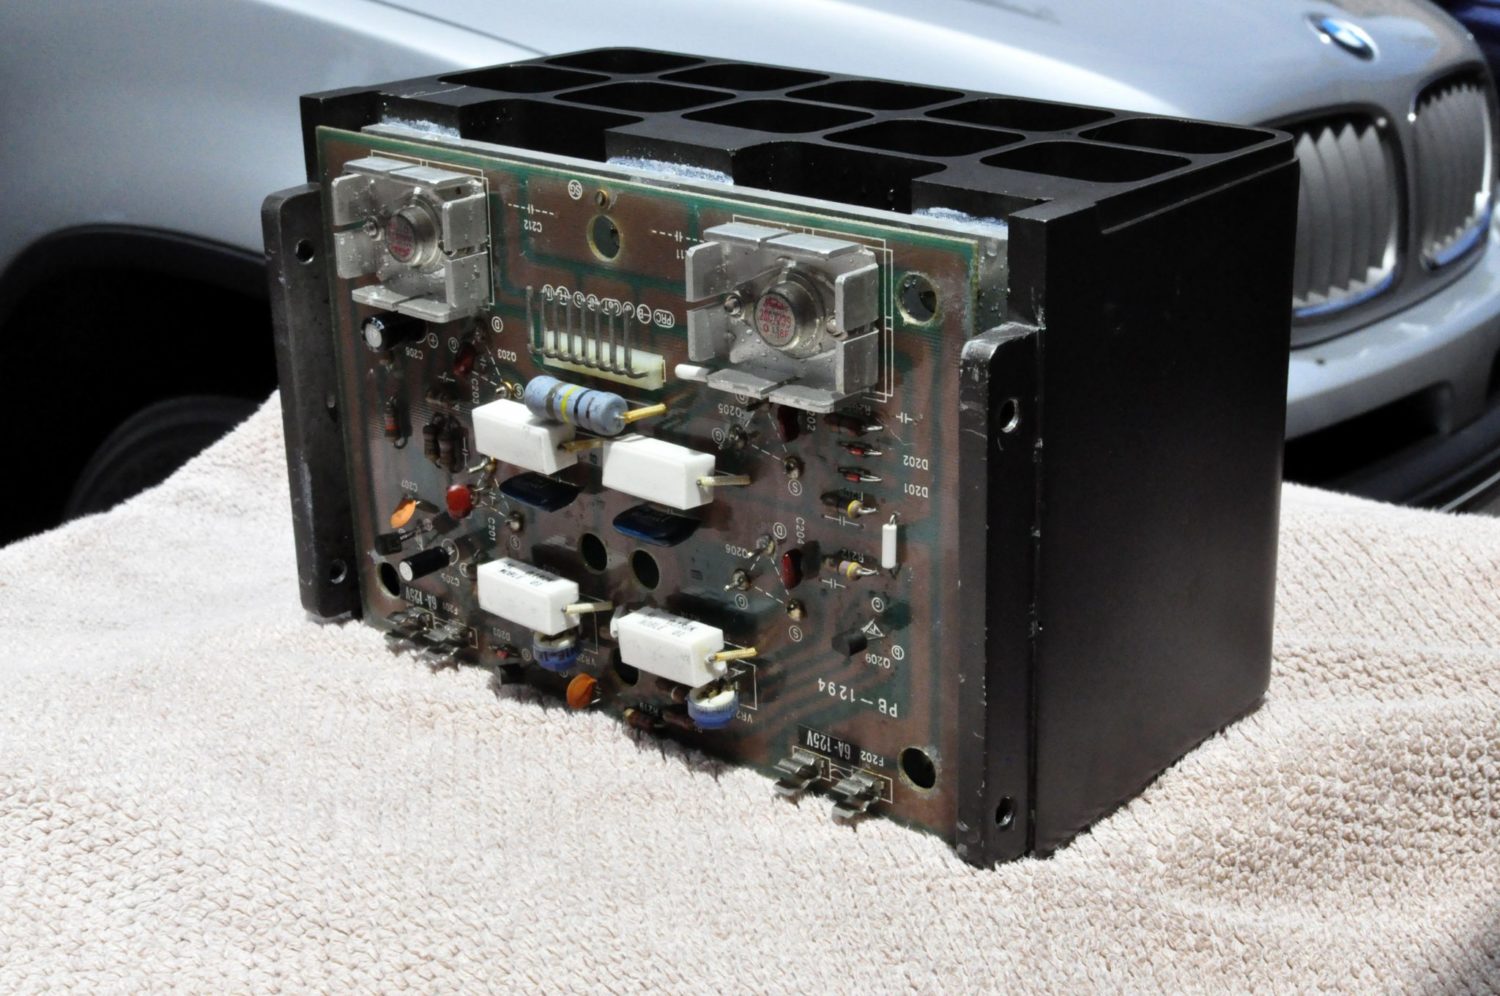
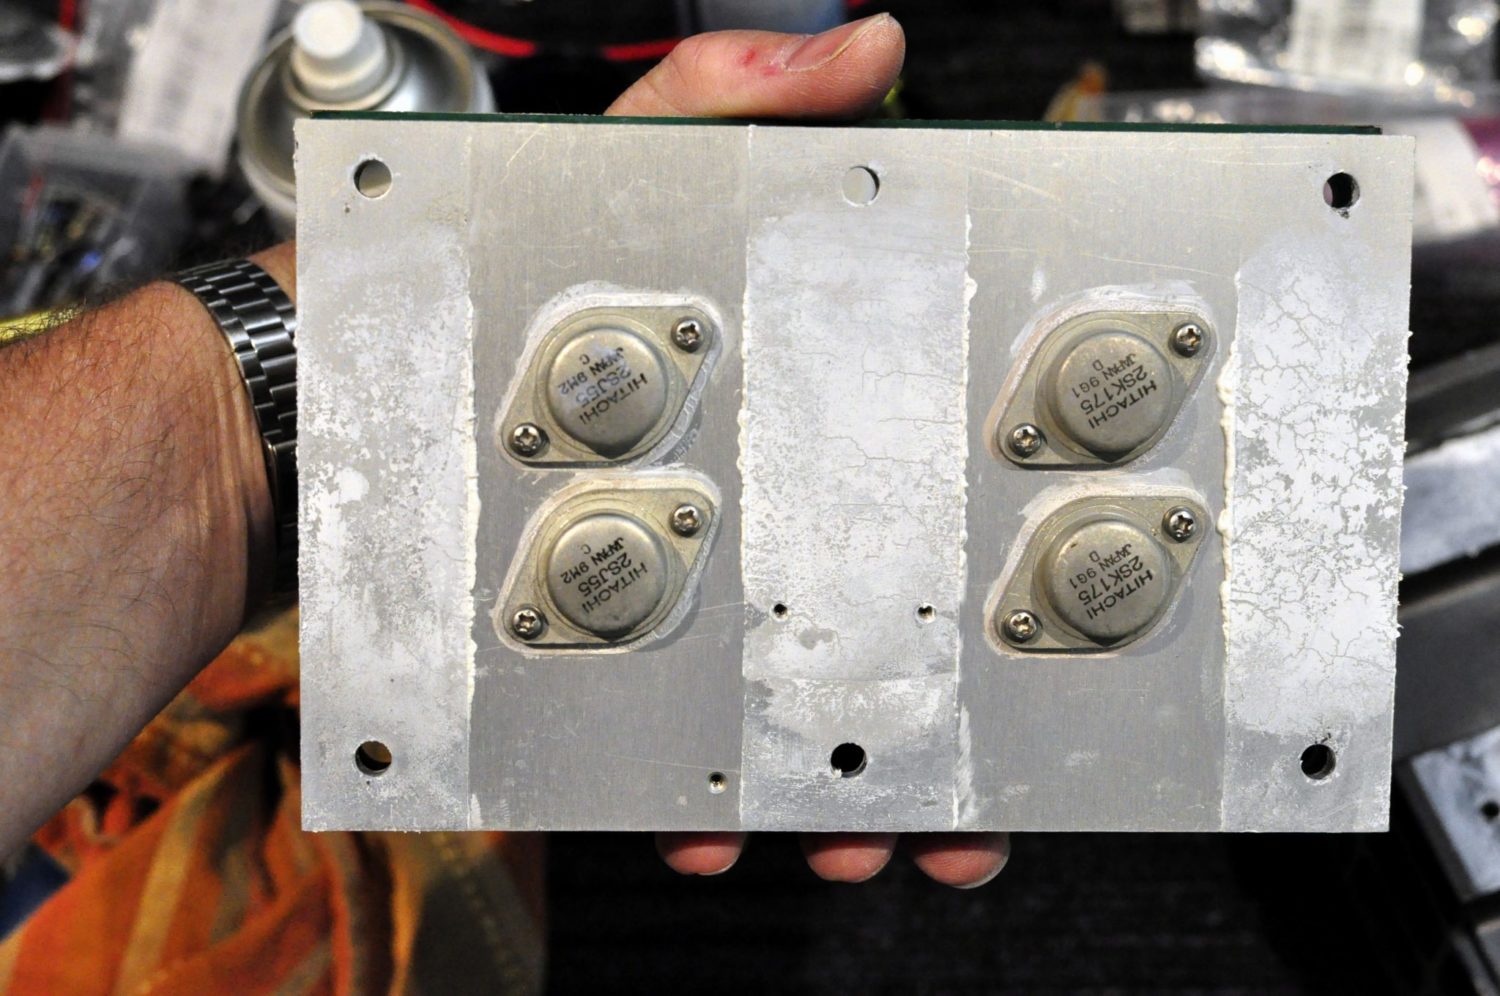
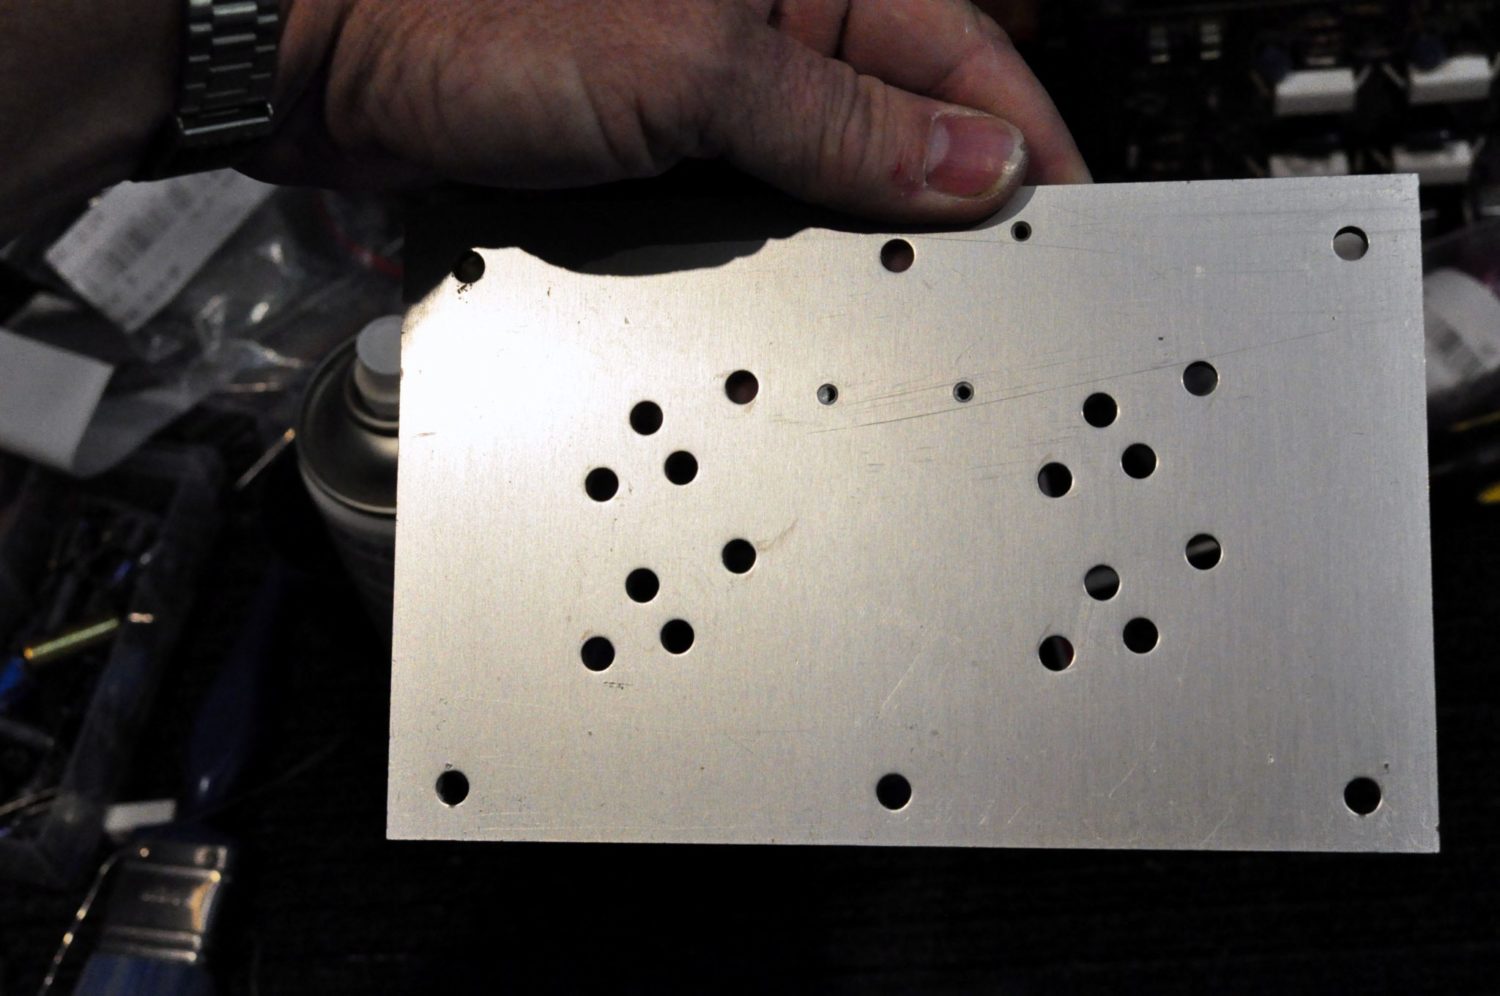
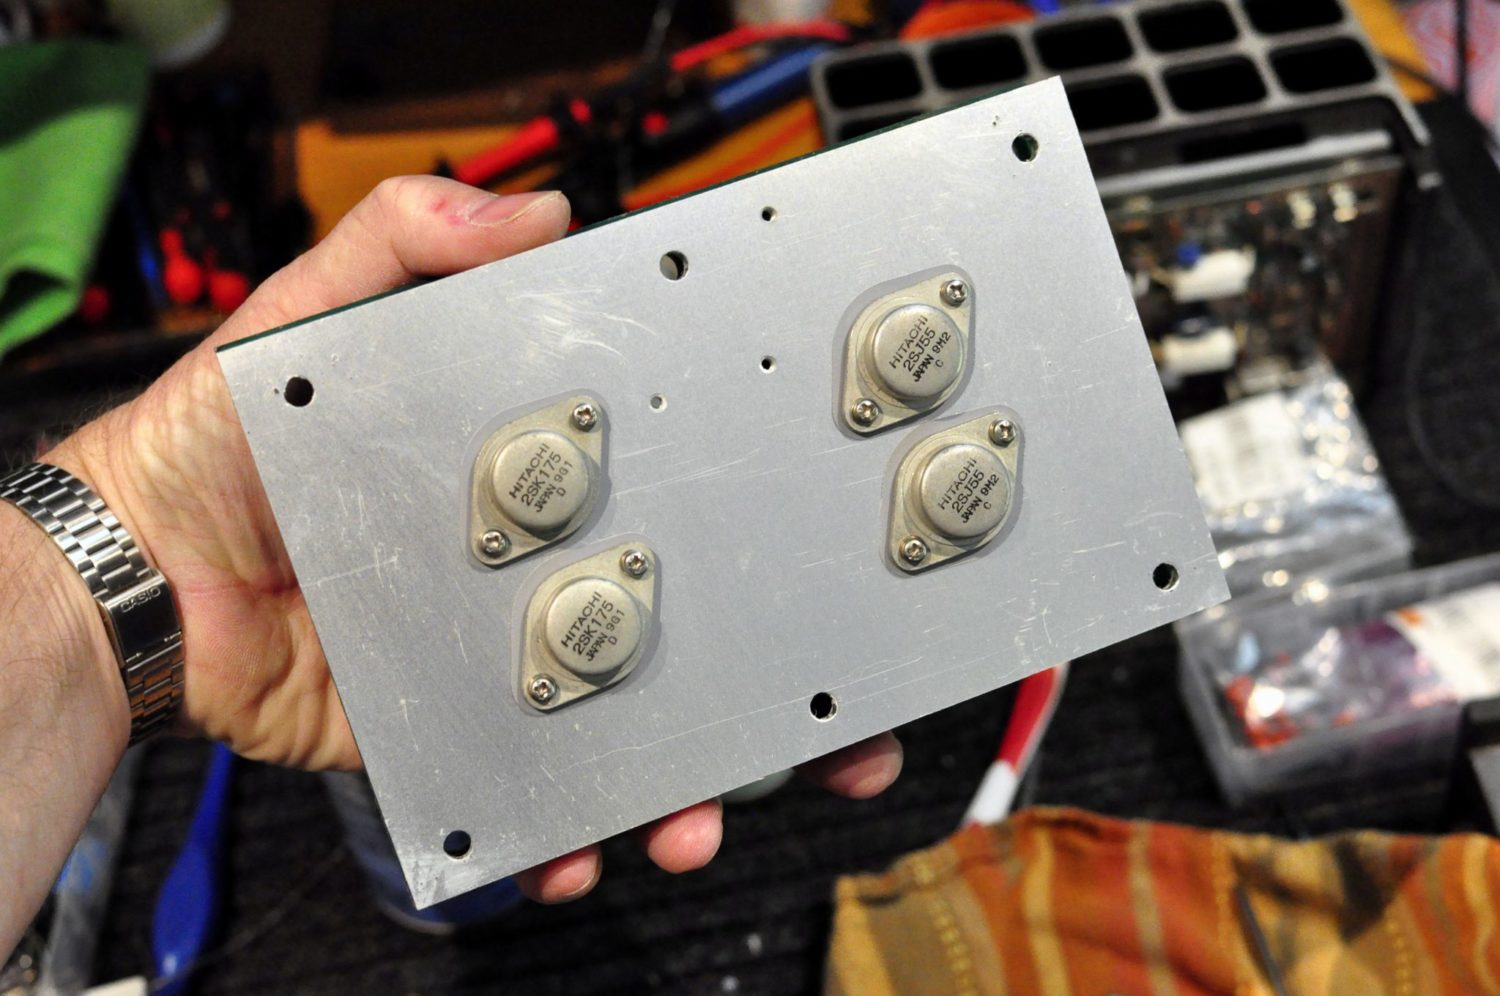
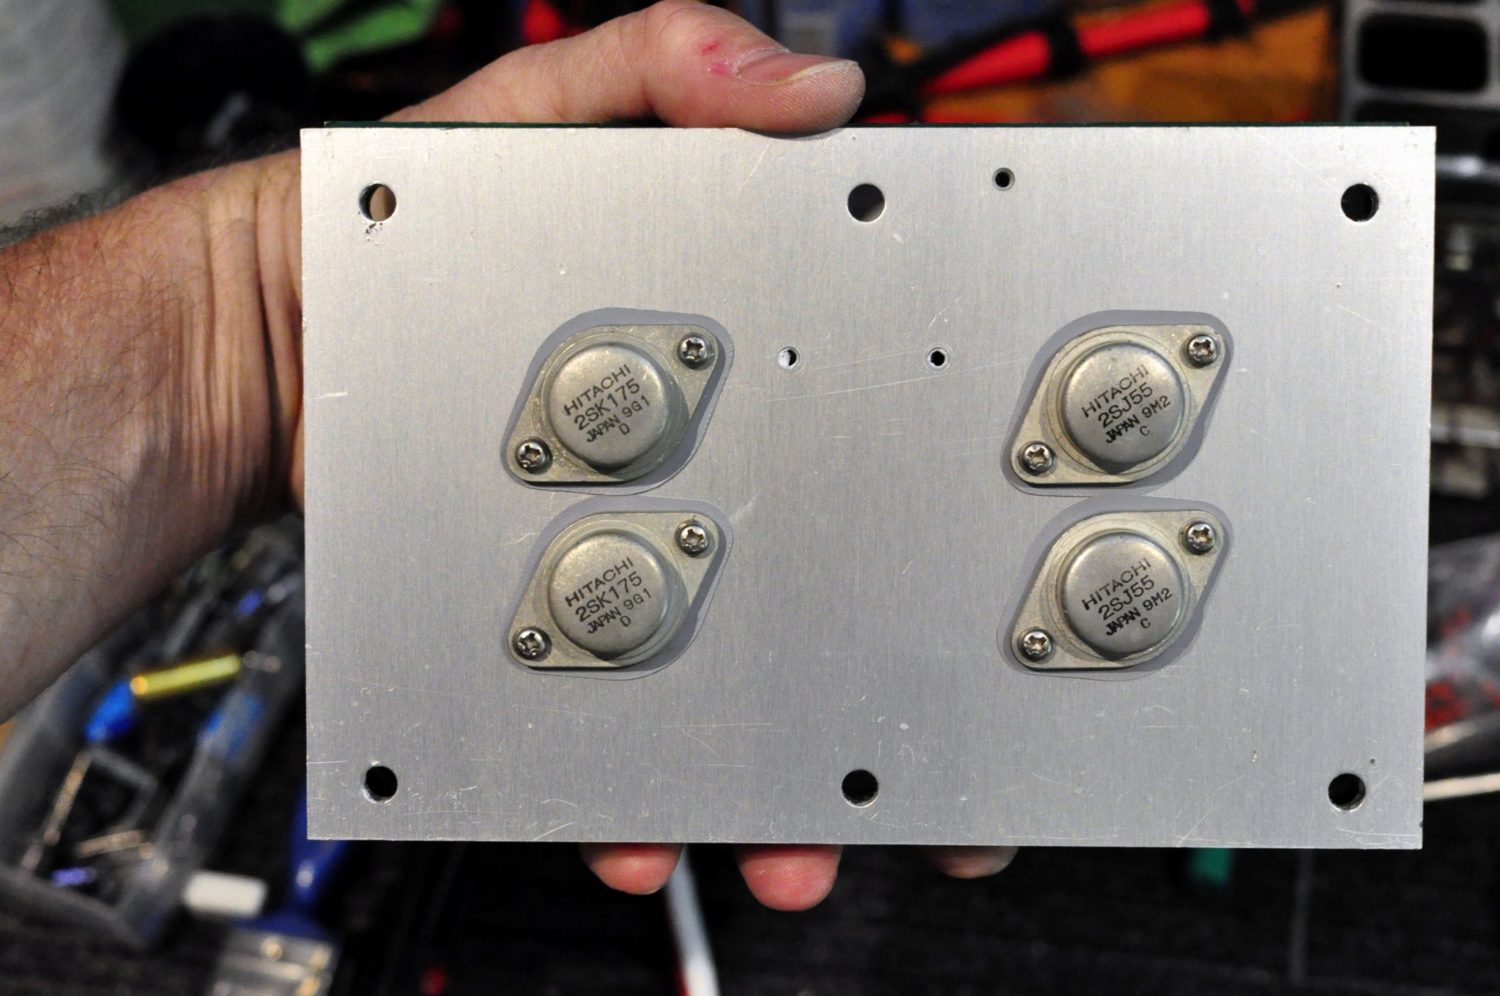
The Luxman M-4000A is a very powerful amplifier. A massive 180 watts per channel continuously is no joke, even now. Hitachi MOSFET output devices – in this case, 2SK175 and 2SJ55 – power this beast. These devices are bolted to large die-cast aluminium heatsinks, via a precision-milled aluminium coupling plate.
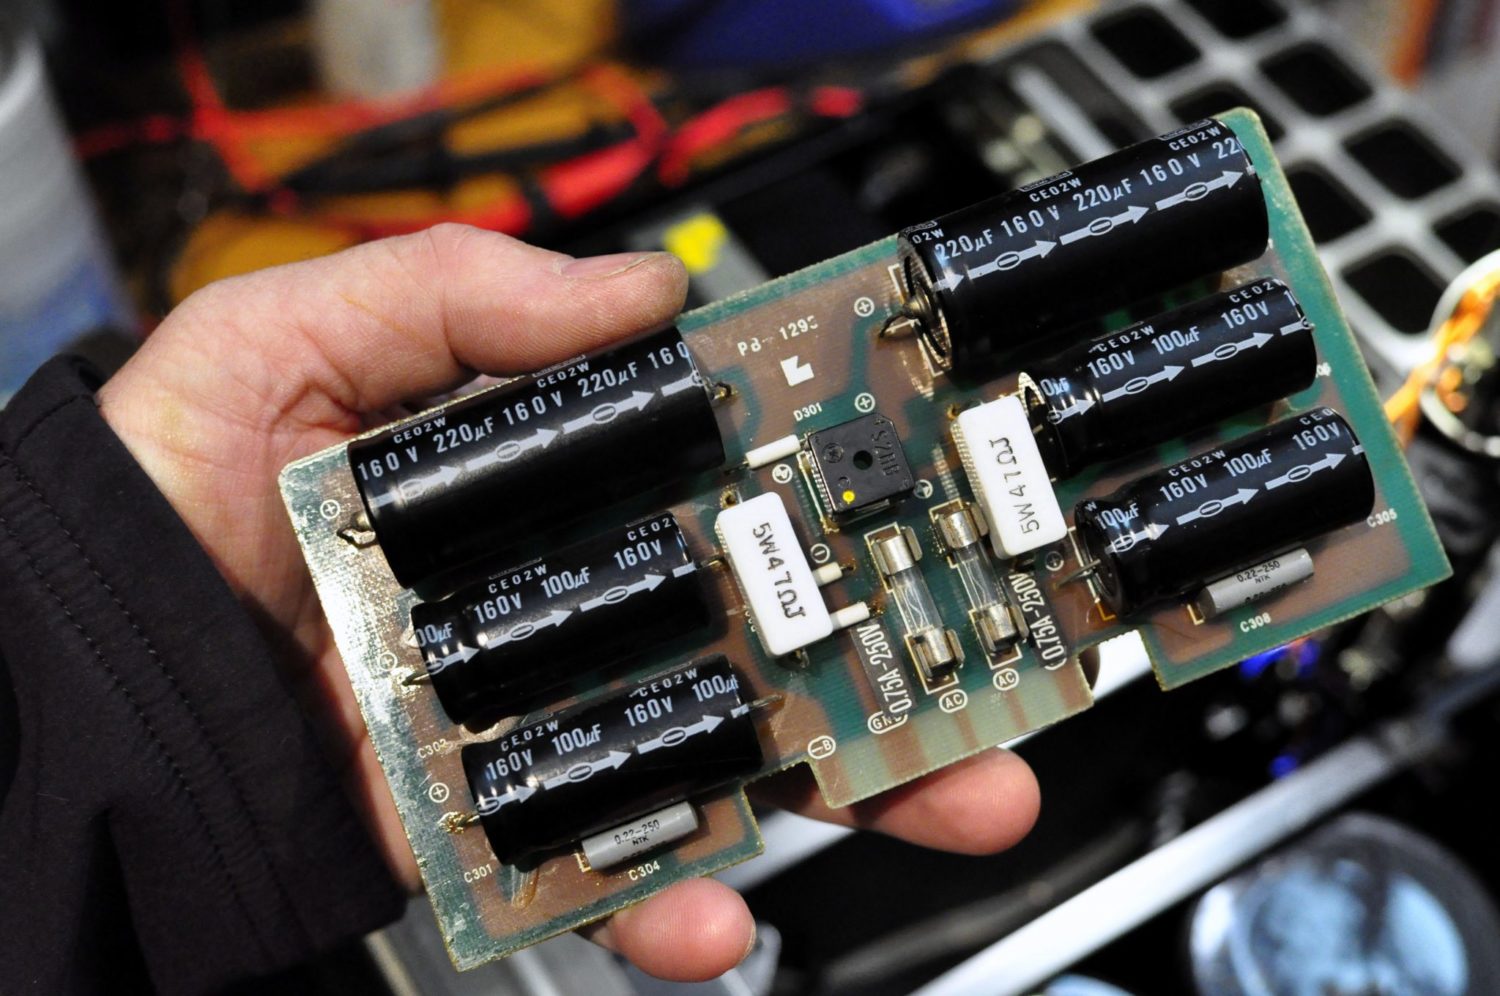
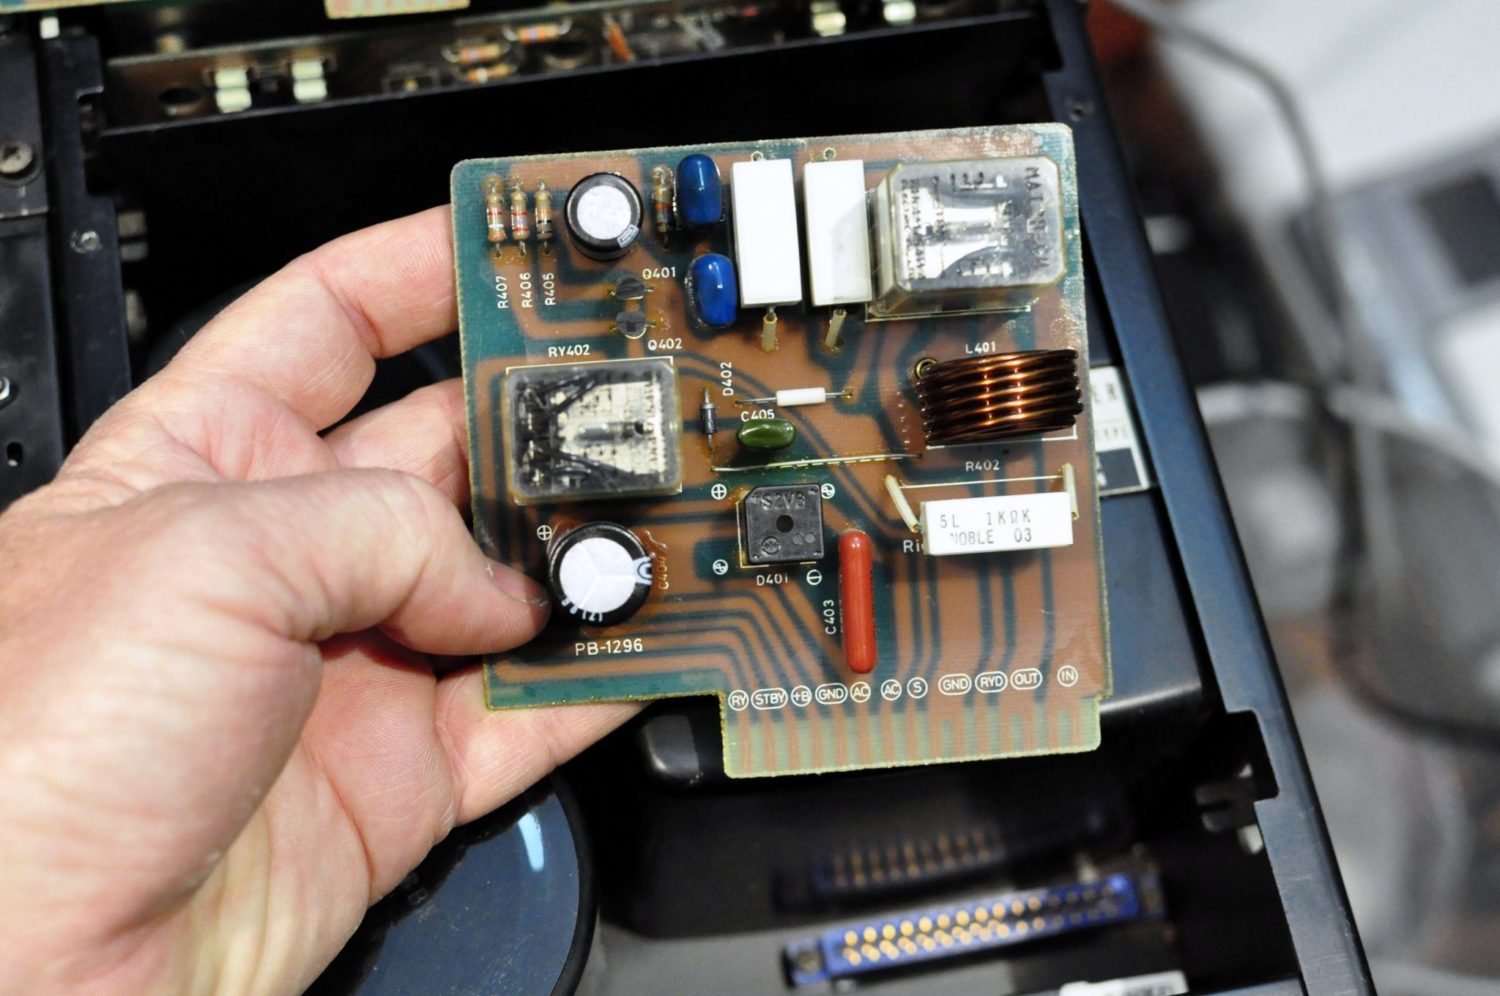
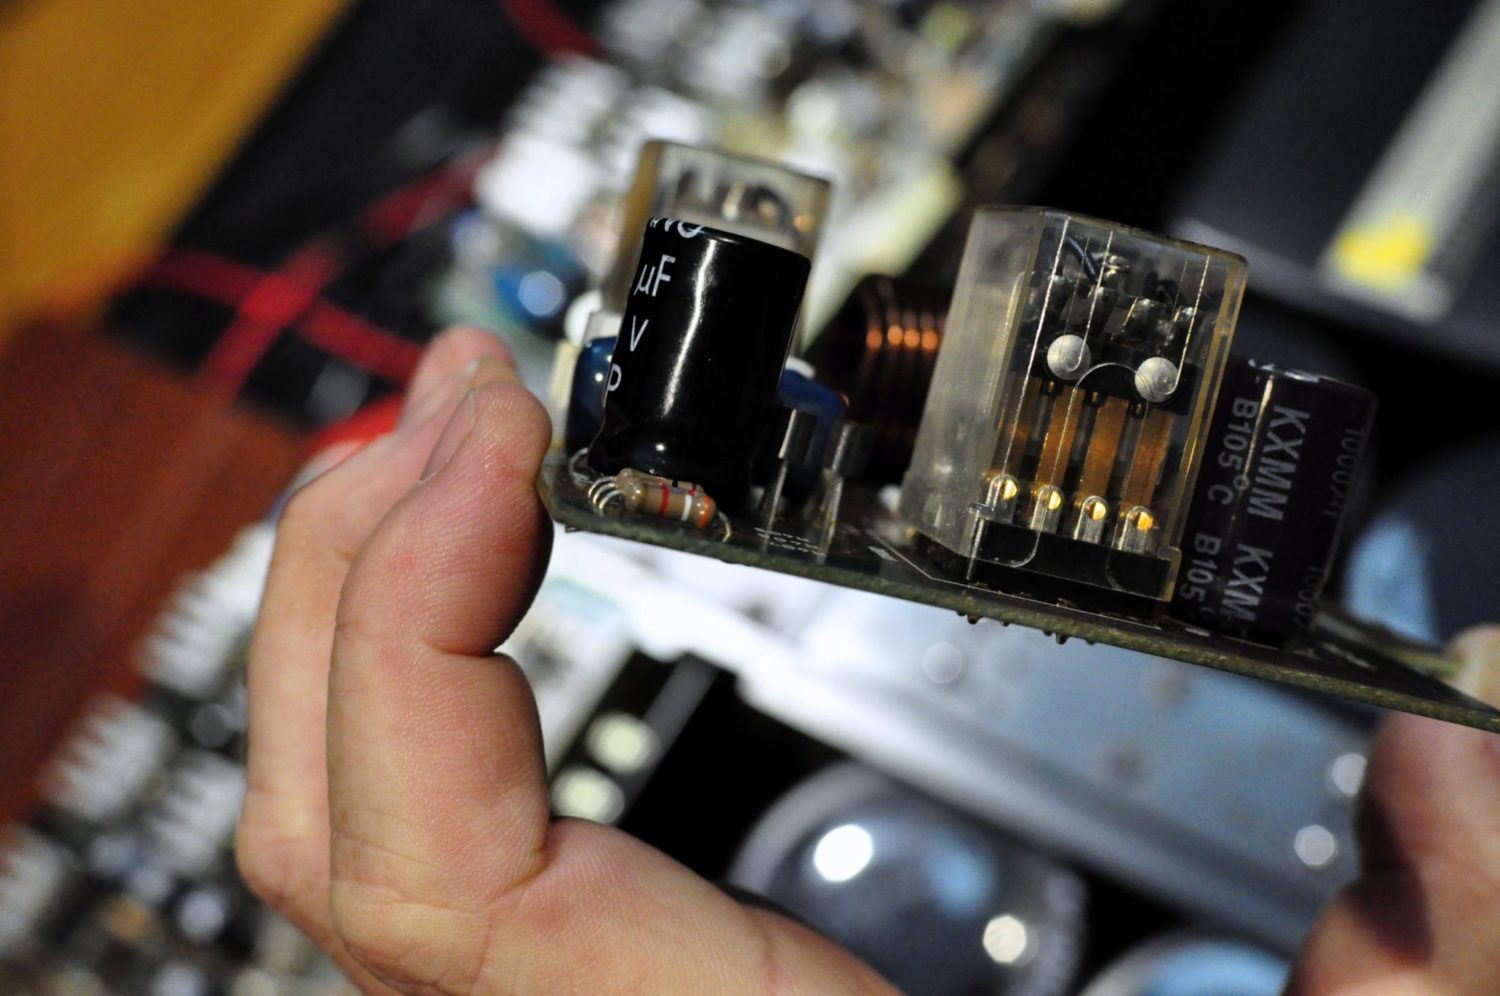
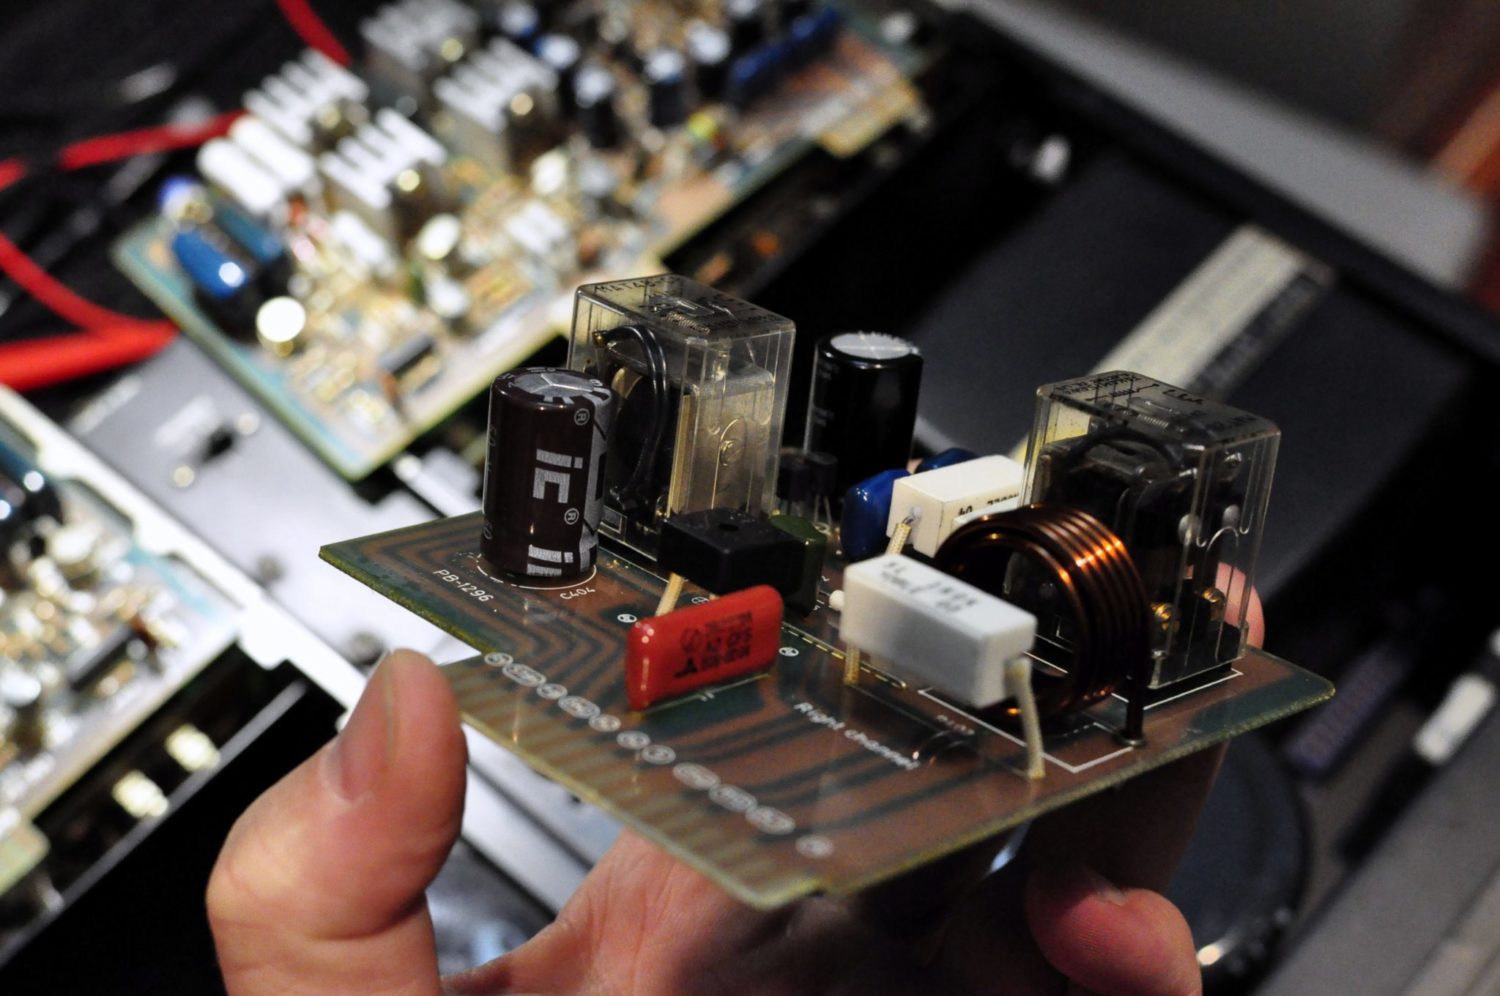
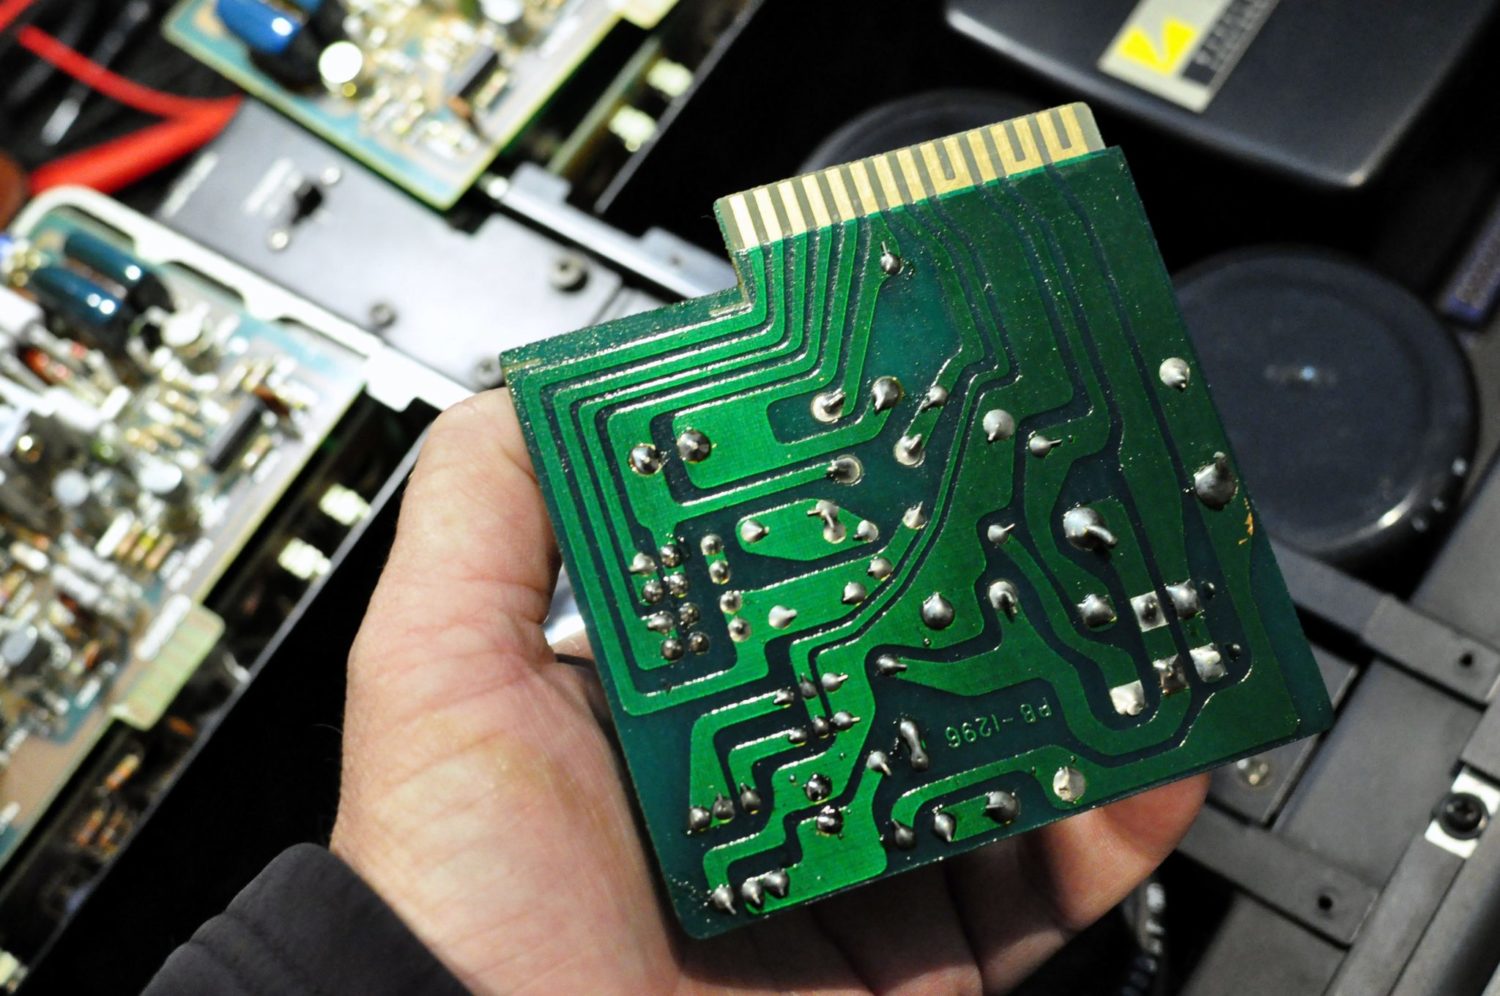
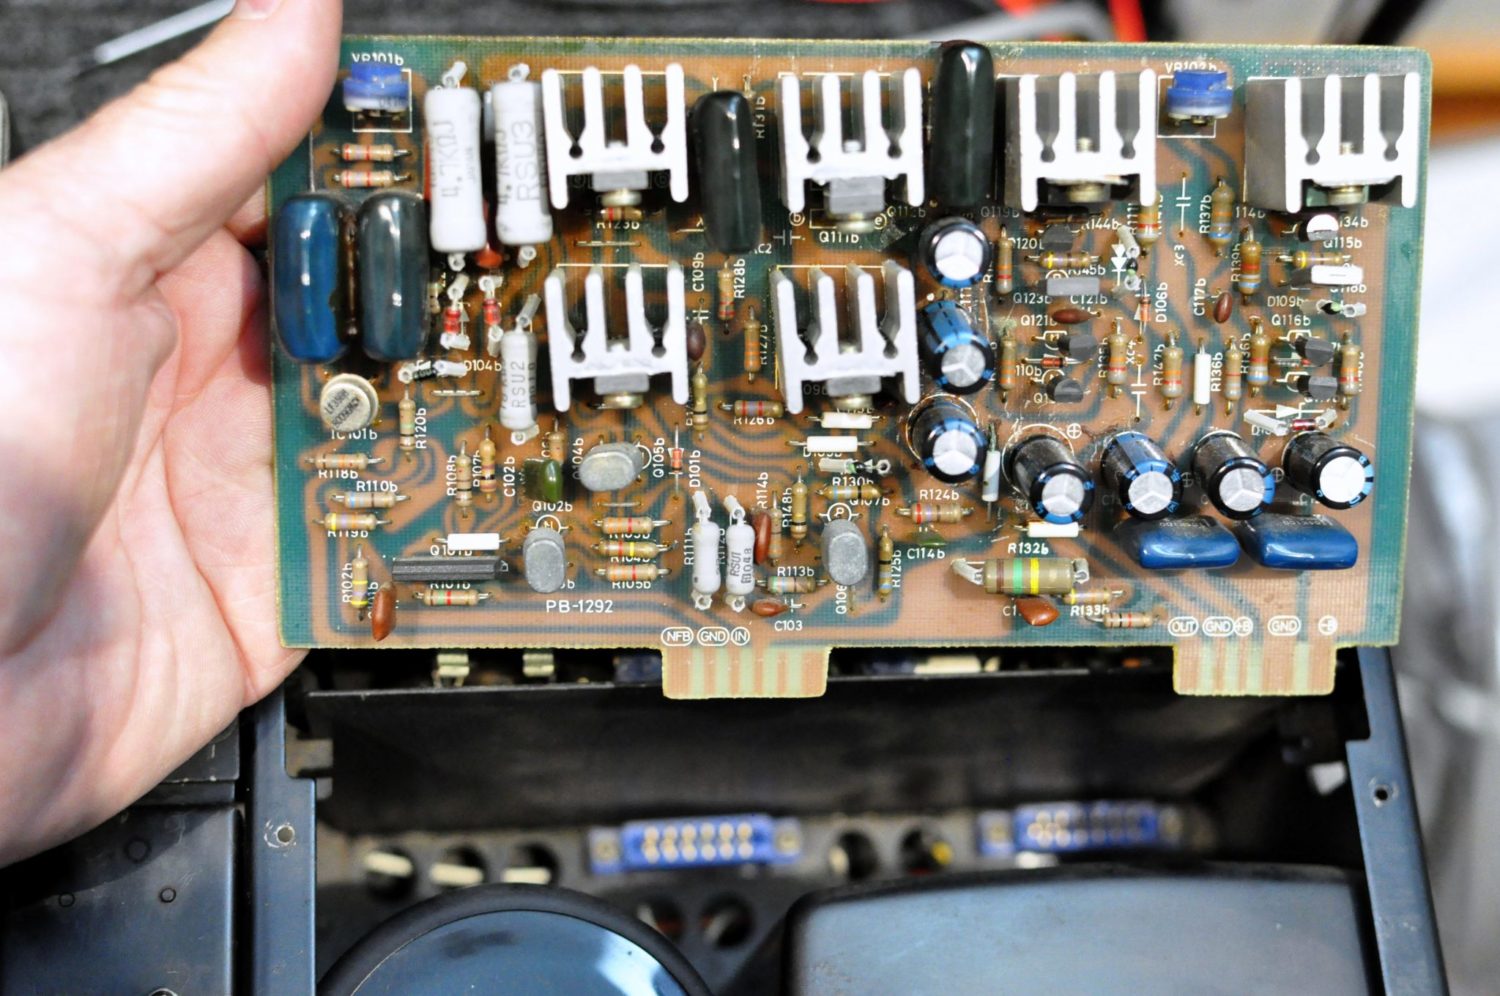
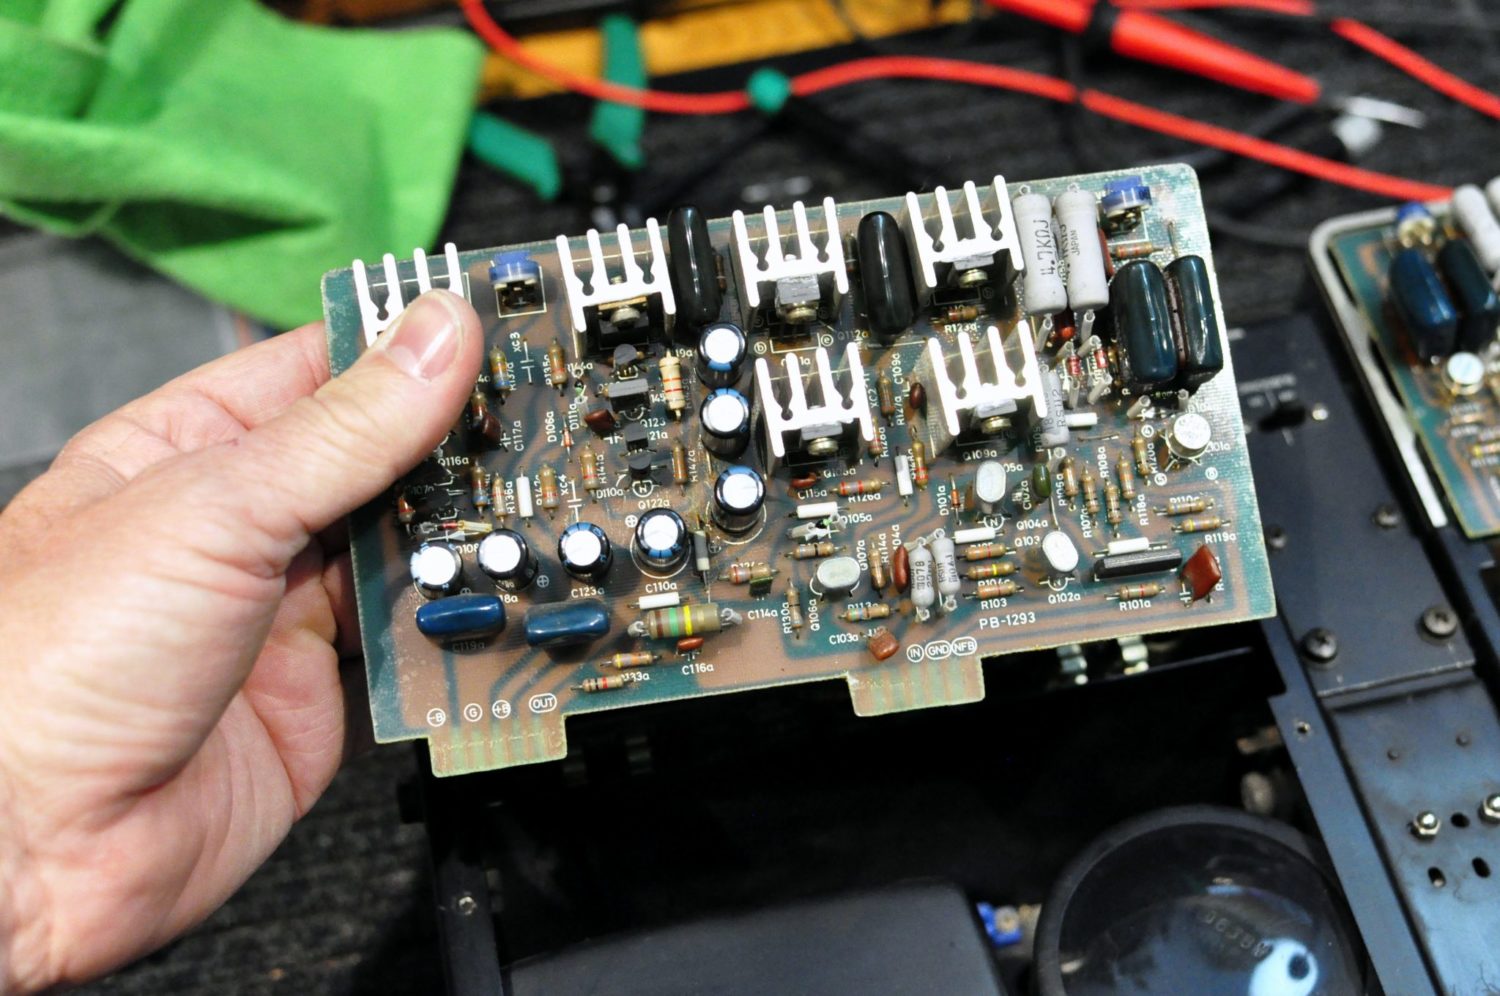
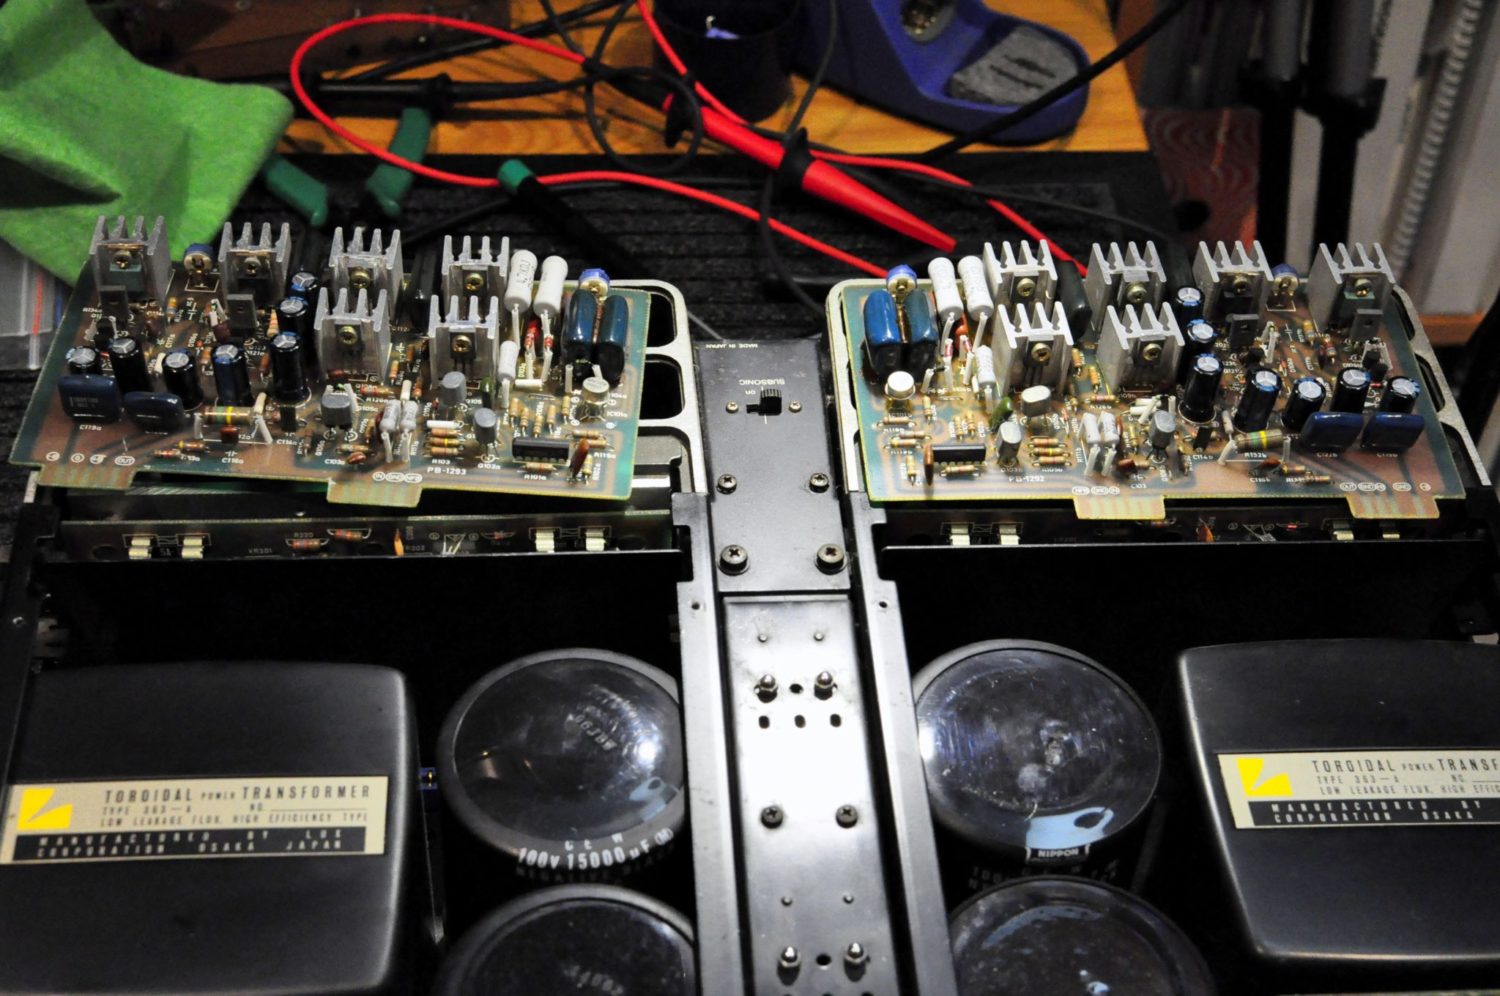
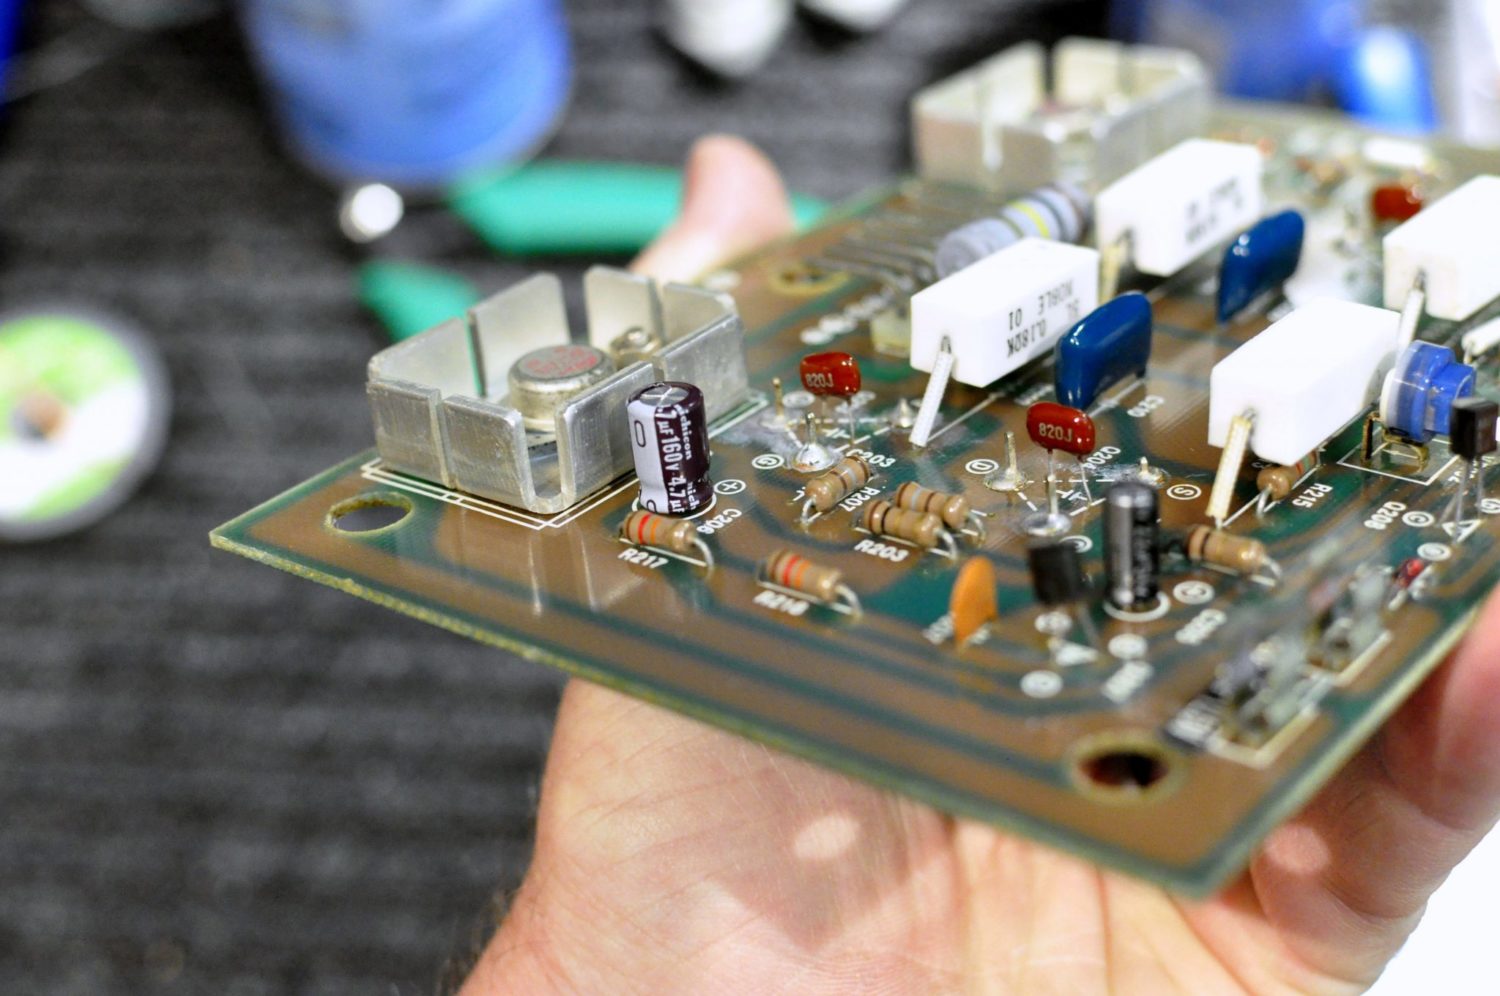
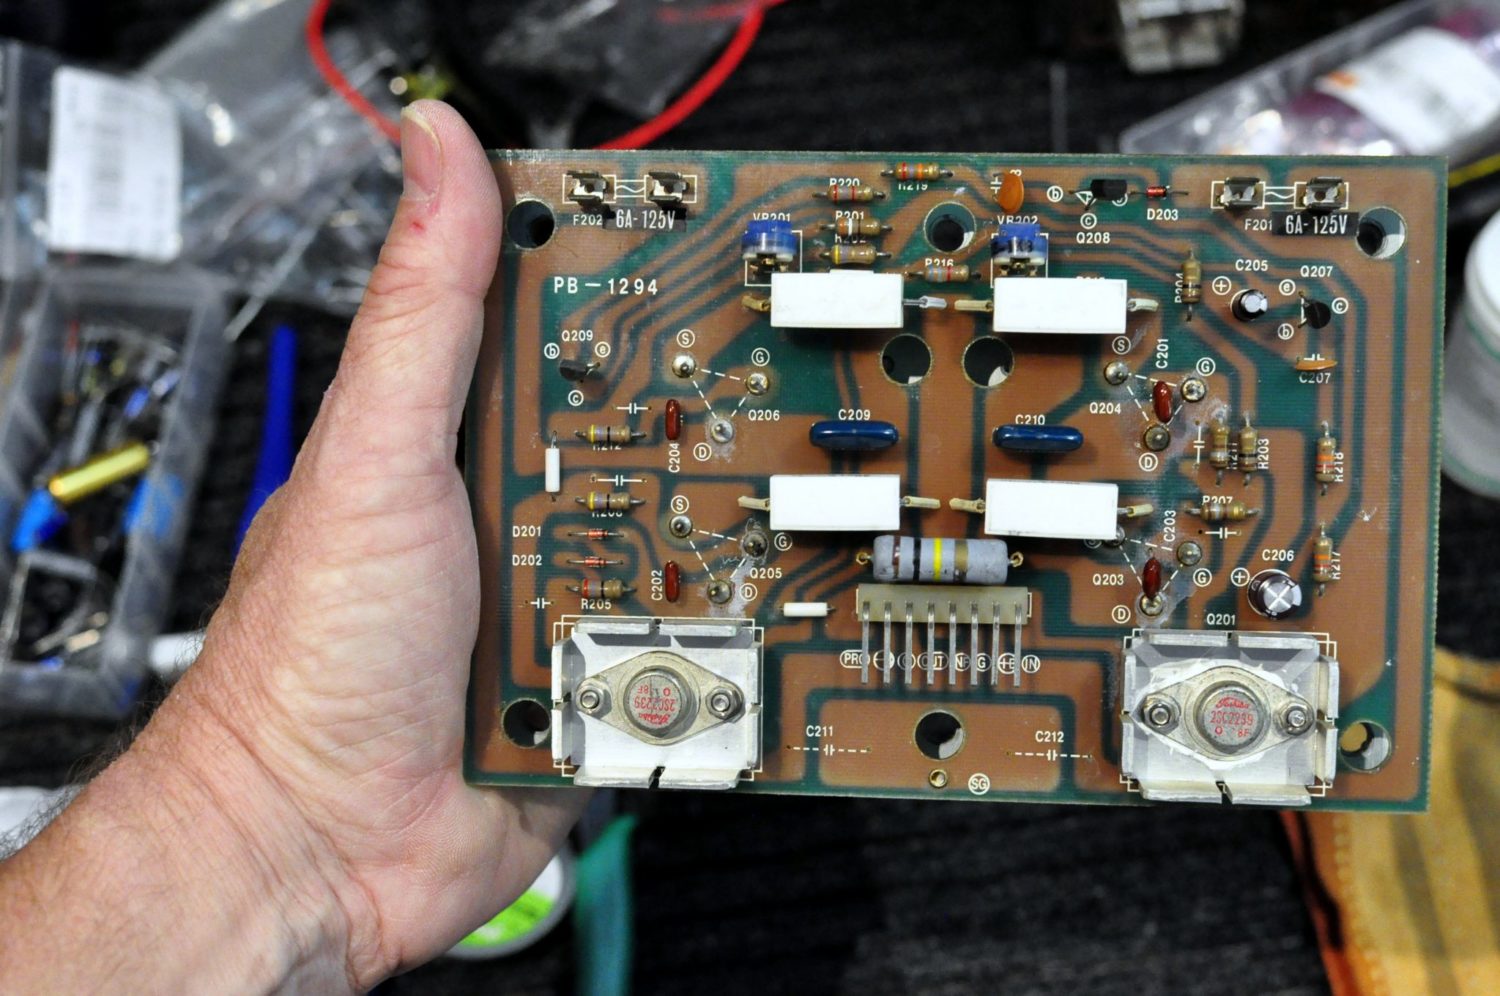
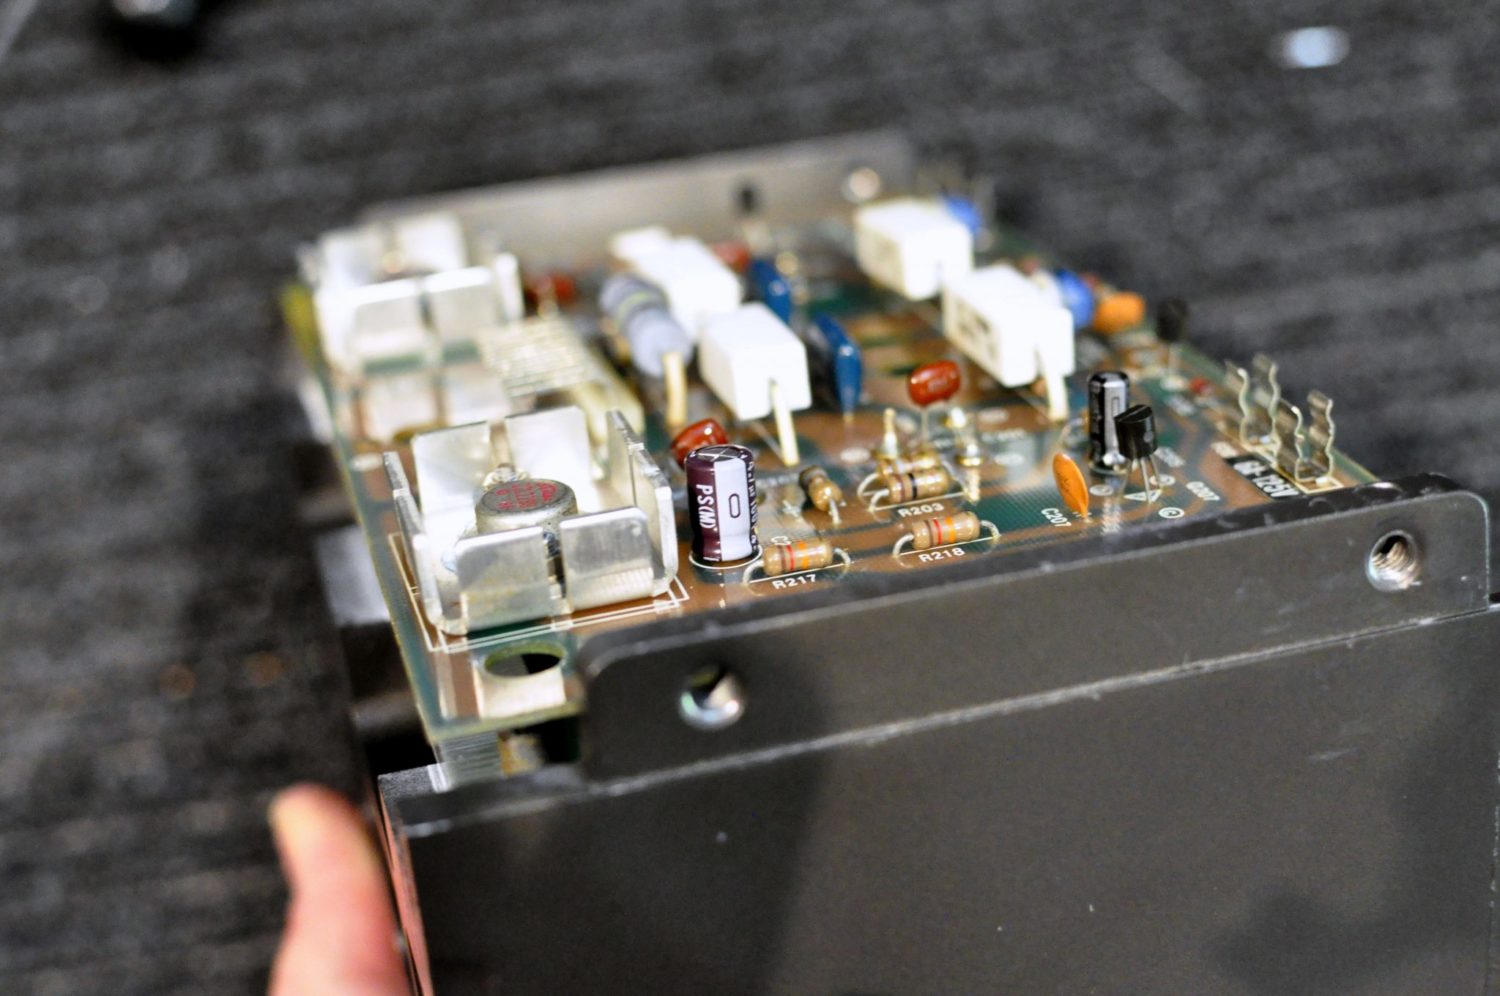
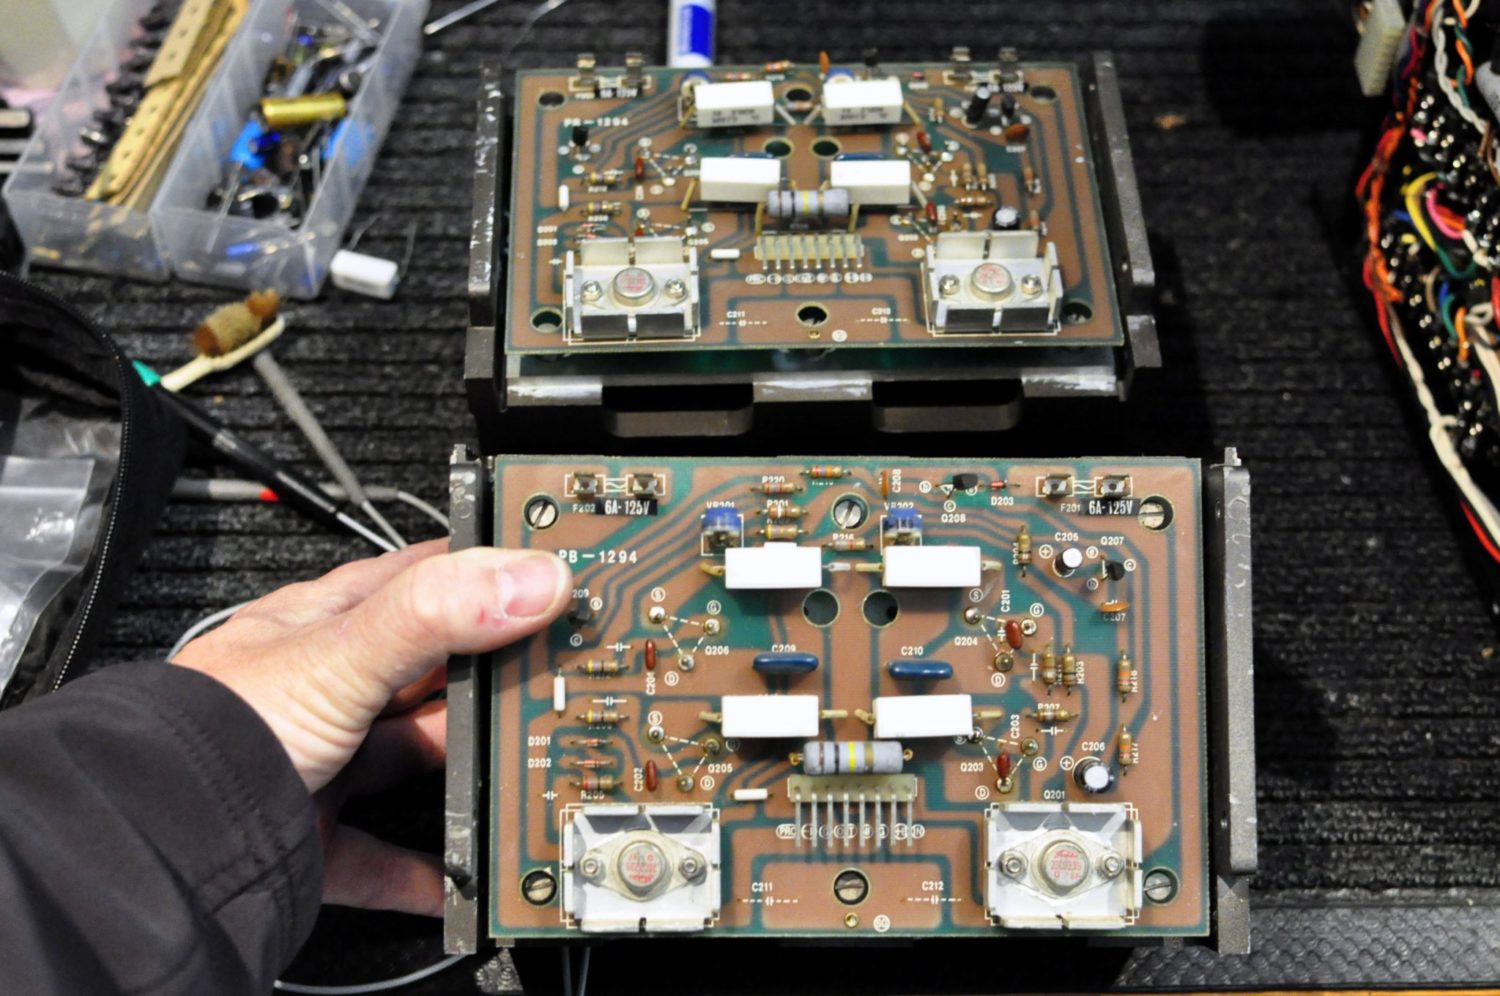
Card-style boards house other circuits and these attach to a backplane. This system is often found in test gear and computers and really enhances serviceability. Someone had been into this amp before me because I found replacement capacitors on the driver and power supply boards. The rest of the amplifier was original.
Luxman M-4000A Specifications
Courtesy Audio Database
| Type | Duo Beta Circuit Stereo Power Amplifier |
| Continuous effective output (20 Hz to 20 kHz ; Simultaneous operation for both channels / single channel operation) | 270W + 270W (4 Ω) 180W + 180W (8 Ω) |
| Total Harmonic Distortion Factor (8 Ω, 20 Hz to 20 kHz) | 0.008% or Less (180W) |
| Intermodulation distortion factor (8 Ω, 60 hz : 7 khz = 4 : 1) | 0.008% or Less (180W) |
| Frequency characteristic | 3 Hz to 100 kHz – within 1 dB |
| Output bandwidth | 10 Hz to 100 kHz -3dB (0.1%) |
| Input Sensitivity / Impedance | 600mV/50k Ω |
| Signal-to-noise ratio (IHF-A corrected) | 116 dB or more |
| Residual noise | 0.2 mV or less |
| Crosstalk (Volume Max) | -100dB or less (1 kHz) -80dB or less (20 Hz to 20 kHz) |
| Damping factor | 100 (at 8 Ω Load) |
| Protection circuit | Speaker protection circuit by DC drift of speaker terminal Amplifier protection circuit by overcurrent detection Amplifier protection circuit by detecting fuse blown for power transistor |
| Attachment | Power meter Peak Indicator (With Peak Indicator On / Off Switch) Meter Sensitivity Selector Switch (0 db, -20dB) Input level set with 1-dB interval 22-point / detent volume |
| Power supply voltage | 100 VAC, 50Hz/60Hz |
| Power consumption (Electrical Appliance and Material Control Law) | 520W |
| External dimensions | Width 491x Height 181x Depth 390 mm |
| Weight | 30kg |
Trouble
Firstly, there is zero, and I mean ZERO, service data available for the M-4000A. I contacted everyone who knows about Luxman gear regarding this problem. The service manual for this amp no longer exists and nobody knows why.
You might think you could use the data for the M-4000 but you would be wrong. There are twice as many trimmer potentiometers in the M-4000A and it is significantly redesigned over the M-4000. The mystery deepens though because there is a Luxman M-4000A schematic, kind of…
The problem is that whoever drafted this schematic used old mechanical drafting techniques. It’s hard to follow, there are errors and because it’s not a factory document, critical details are missing. Trimpot functions aren’t labelled for example, nor are any voltages, so it’s not super helpful and may not even be correct.
In the end, I kind of reverse-engineered the potentiometer functions by taking very careful measurements of circuit parameters as I made small adjustments. I was able to deduce what half of the potentiometers did, critically bias and DC offset servo adjustments.
I set the bias current using an infrared thermometer and metering power consumption. I verified these measurements by measuring the current drawn in each channel. After hours of measurement and adjustment, I was happy with where I arrived.
Repairs
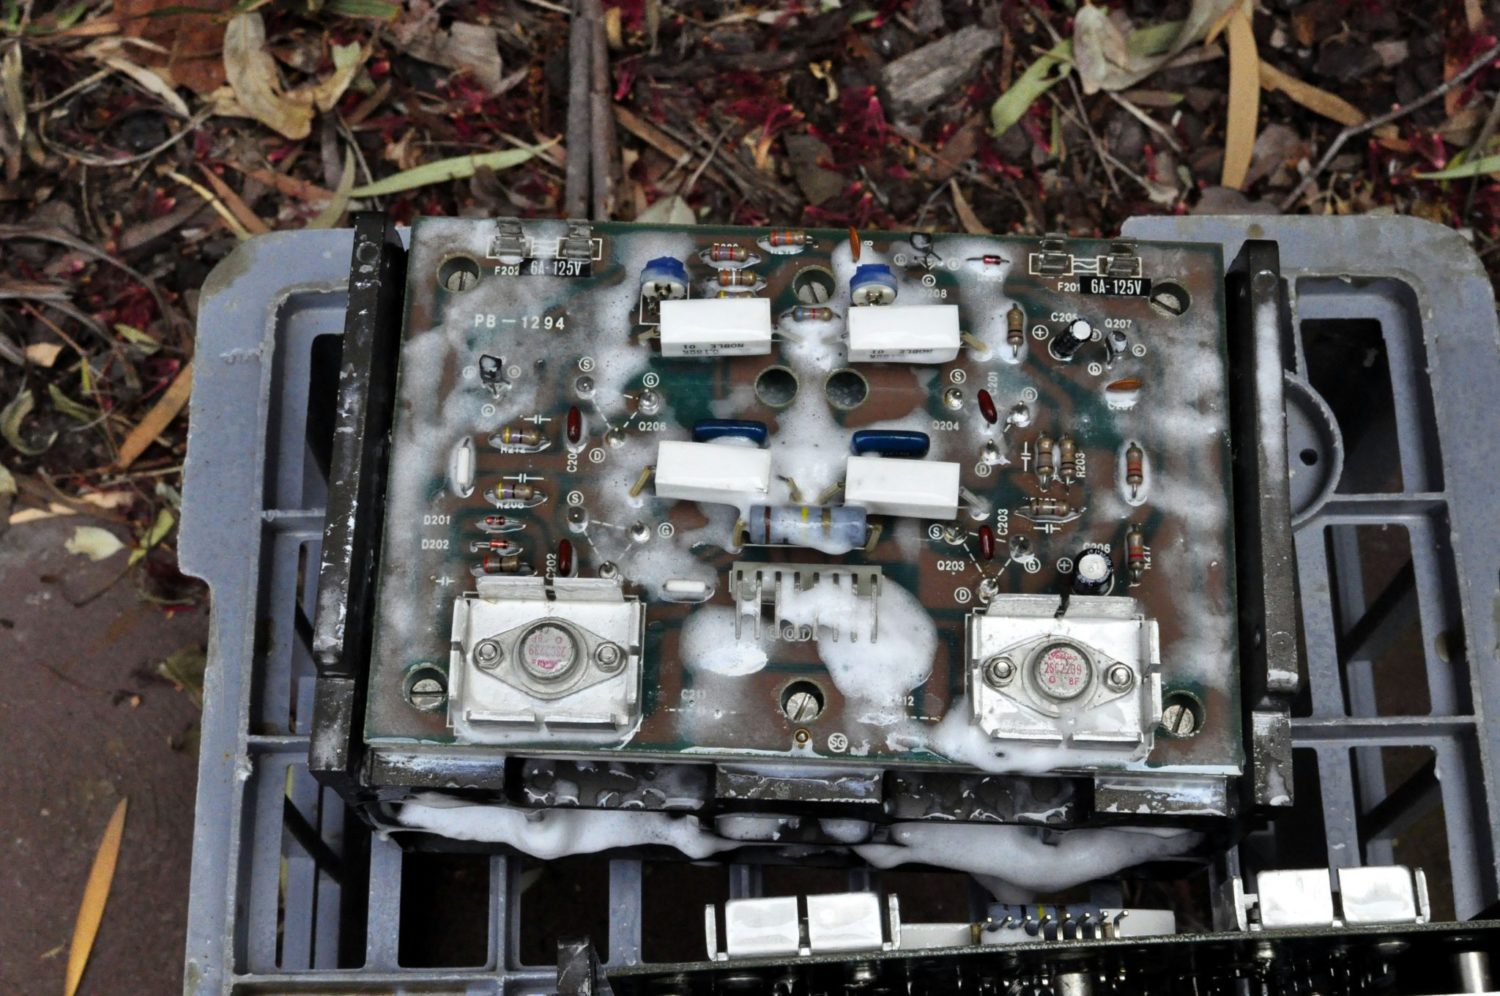
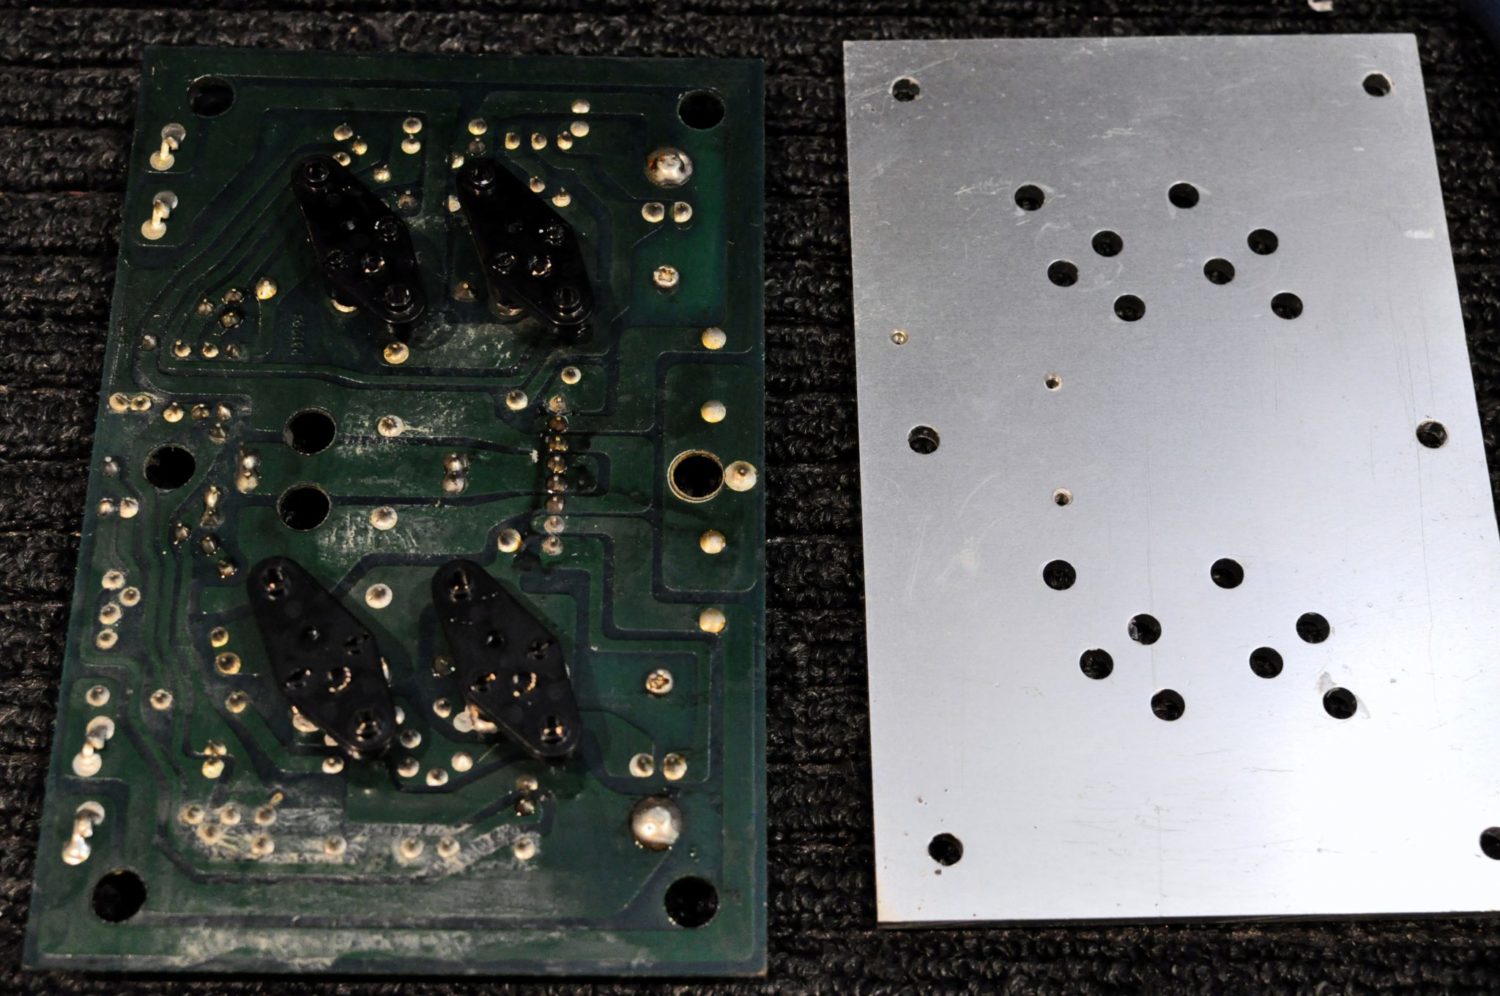
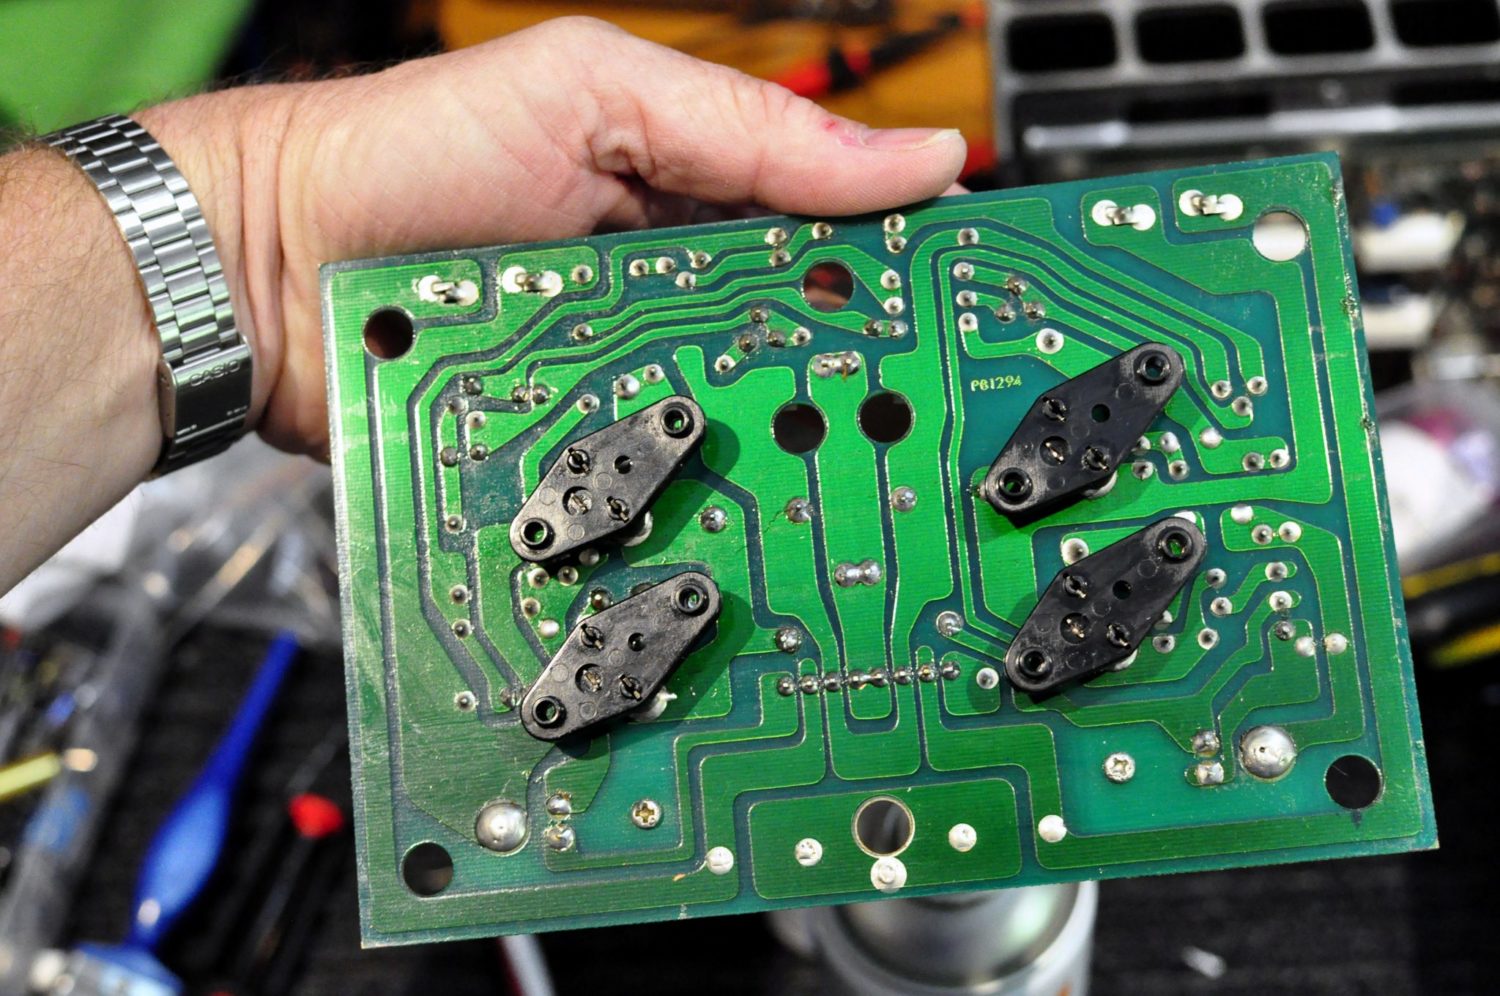
Anyway, as I hinted above, someone had previously repaired this Luxman M-4000A. Whilst some capacitors had been replaced, others subject to very high temperatures had been left in place. This is most likely because they are difficult to get to, located on the output boards. They don’t lift out like the others and come as an output module, complete with the heatsink. The only way to get to these four capacitors is to remove and completely disassemble the output modules.
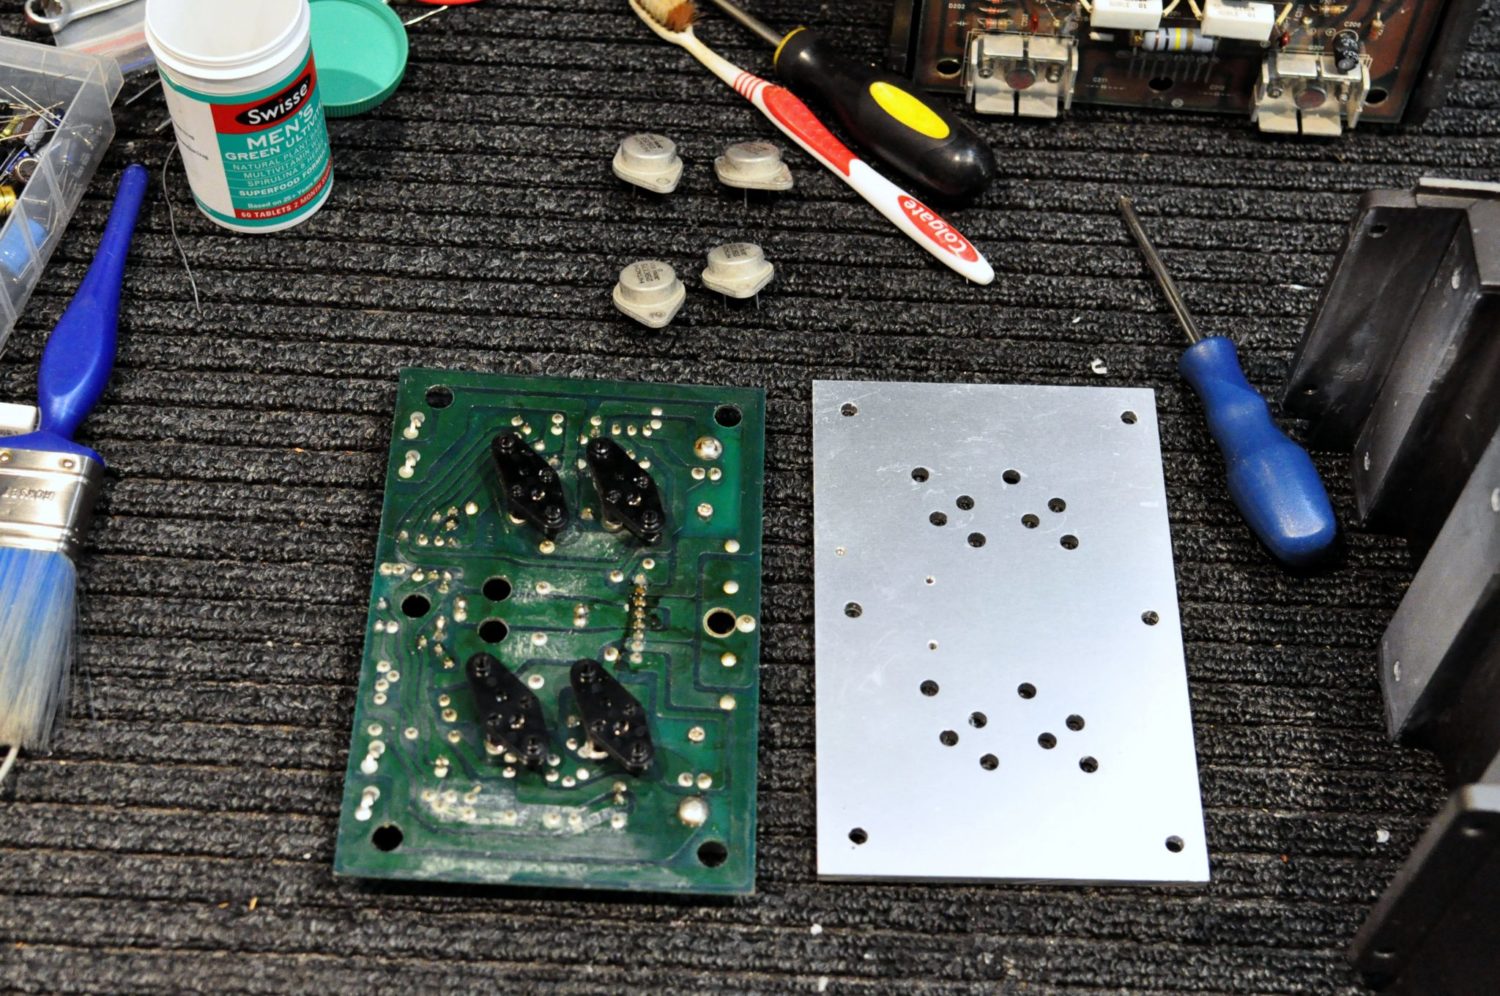
Part of my repair ethos is to make sure my work is reliable over the long term. This means I go further than other repairers, paying more attention to the details, using better parts and going deeper into the disassembly to get the bits others leave. To that end, I decided I would completely rebuild the amplifier modules, which meant removing them from the chassis and stripping them.
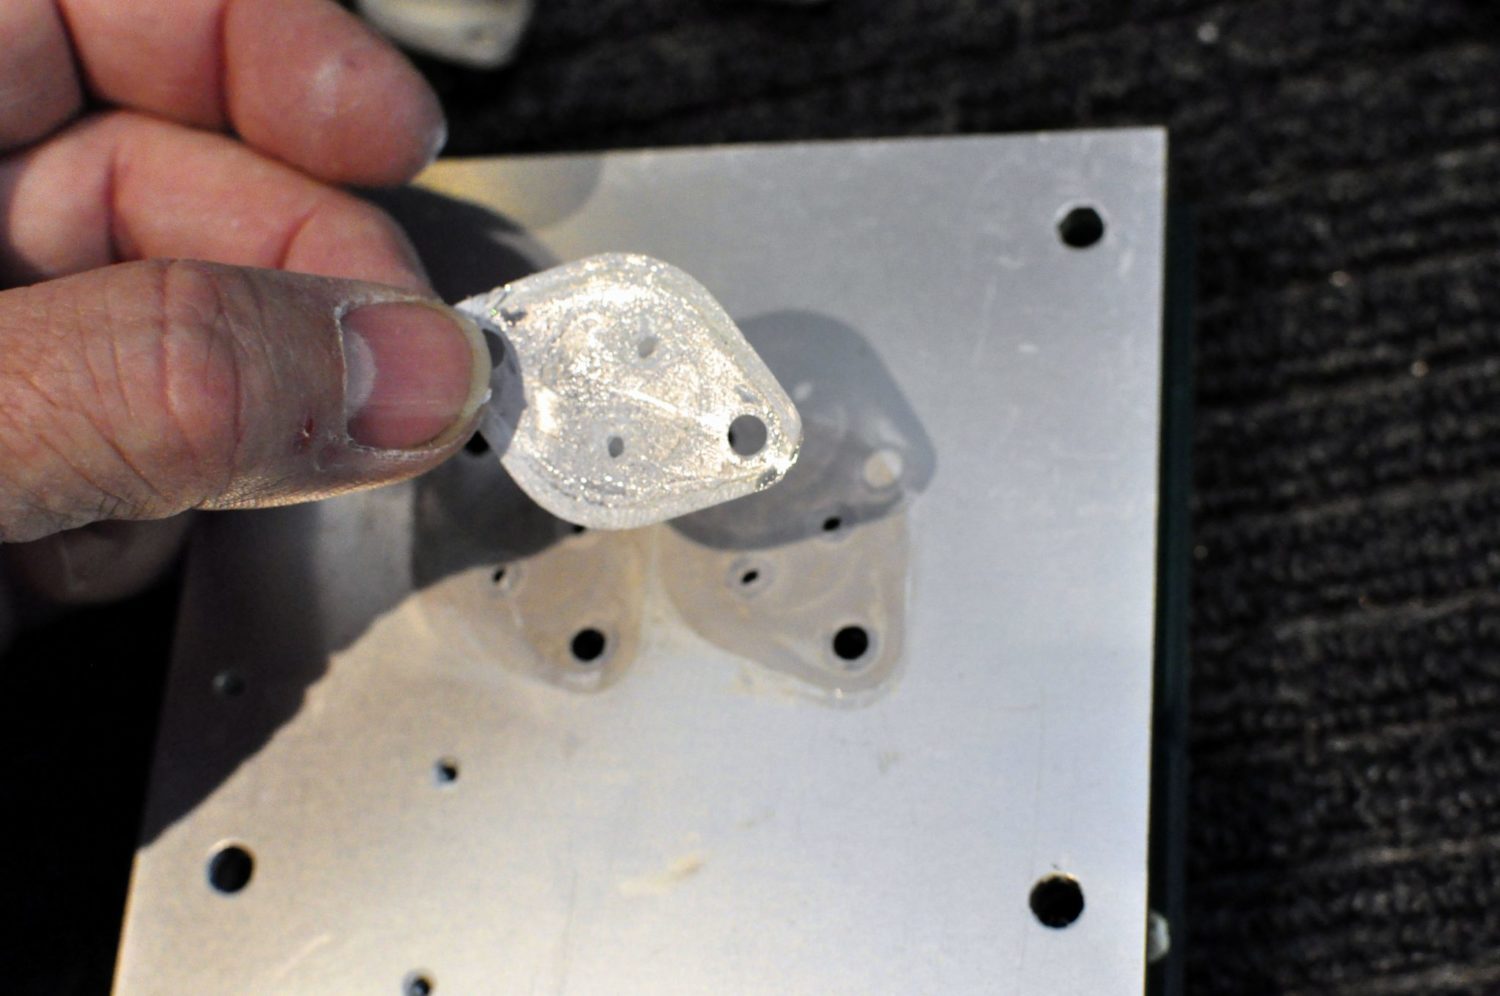
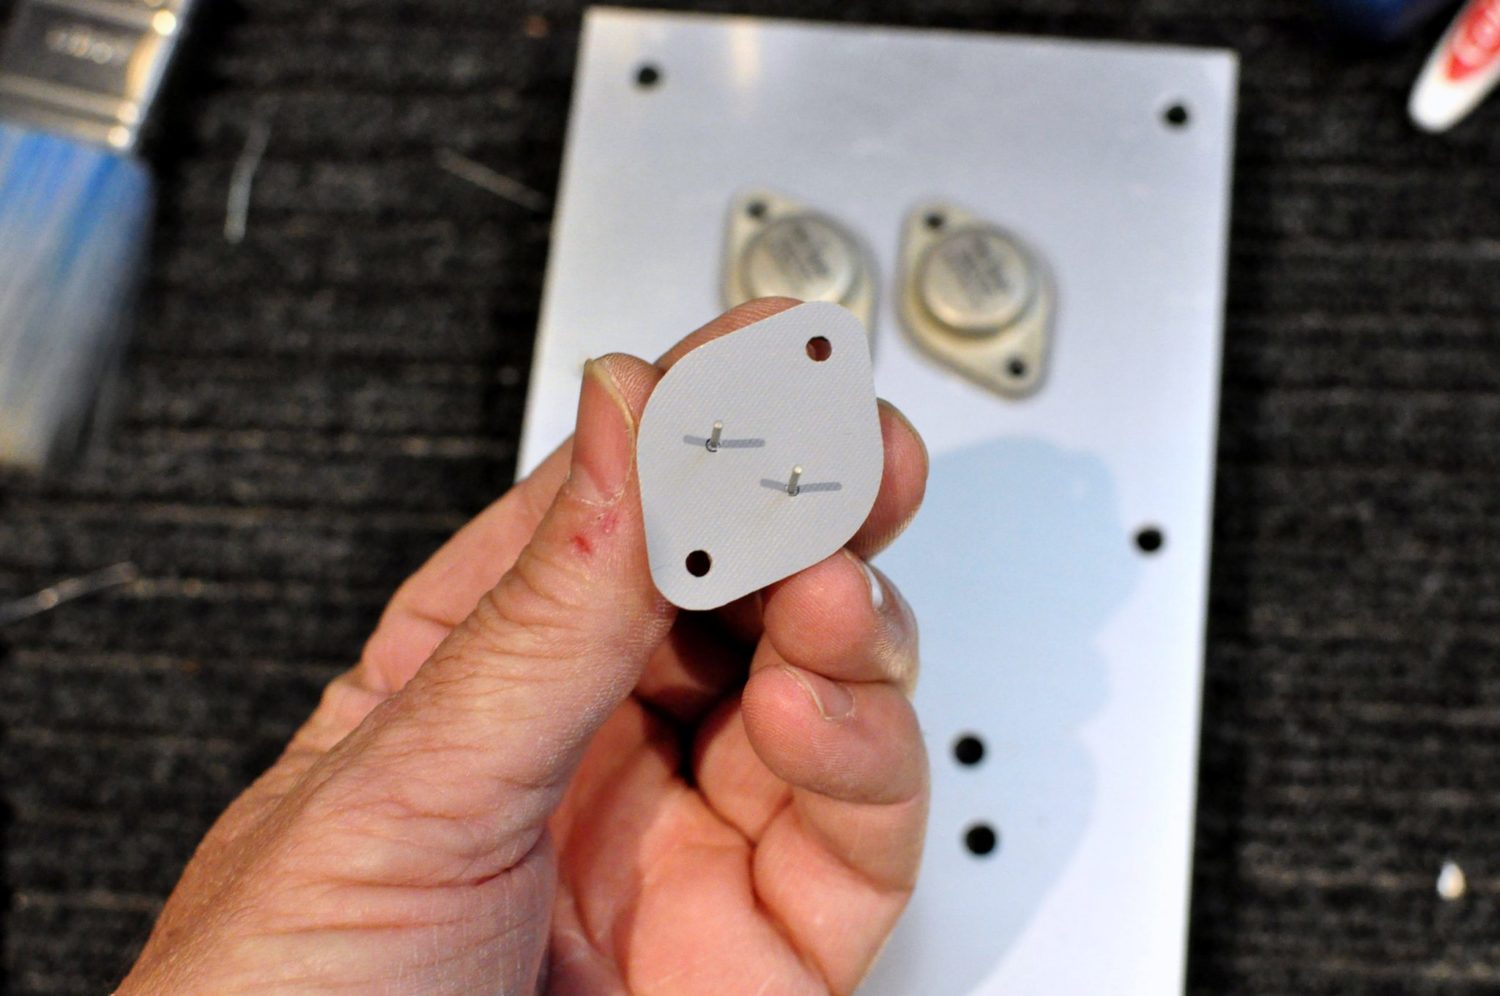
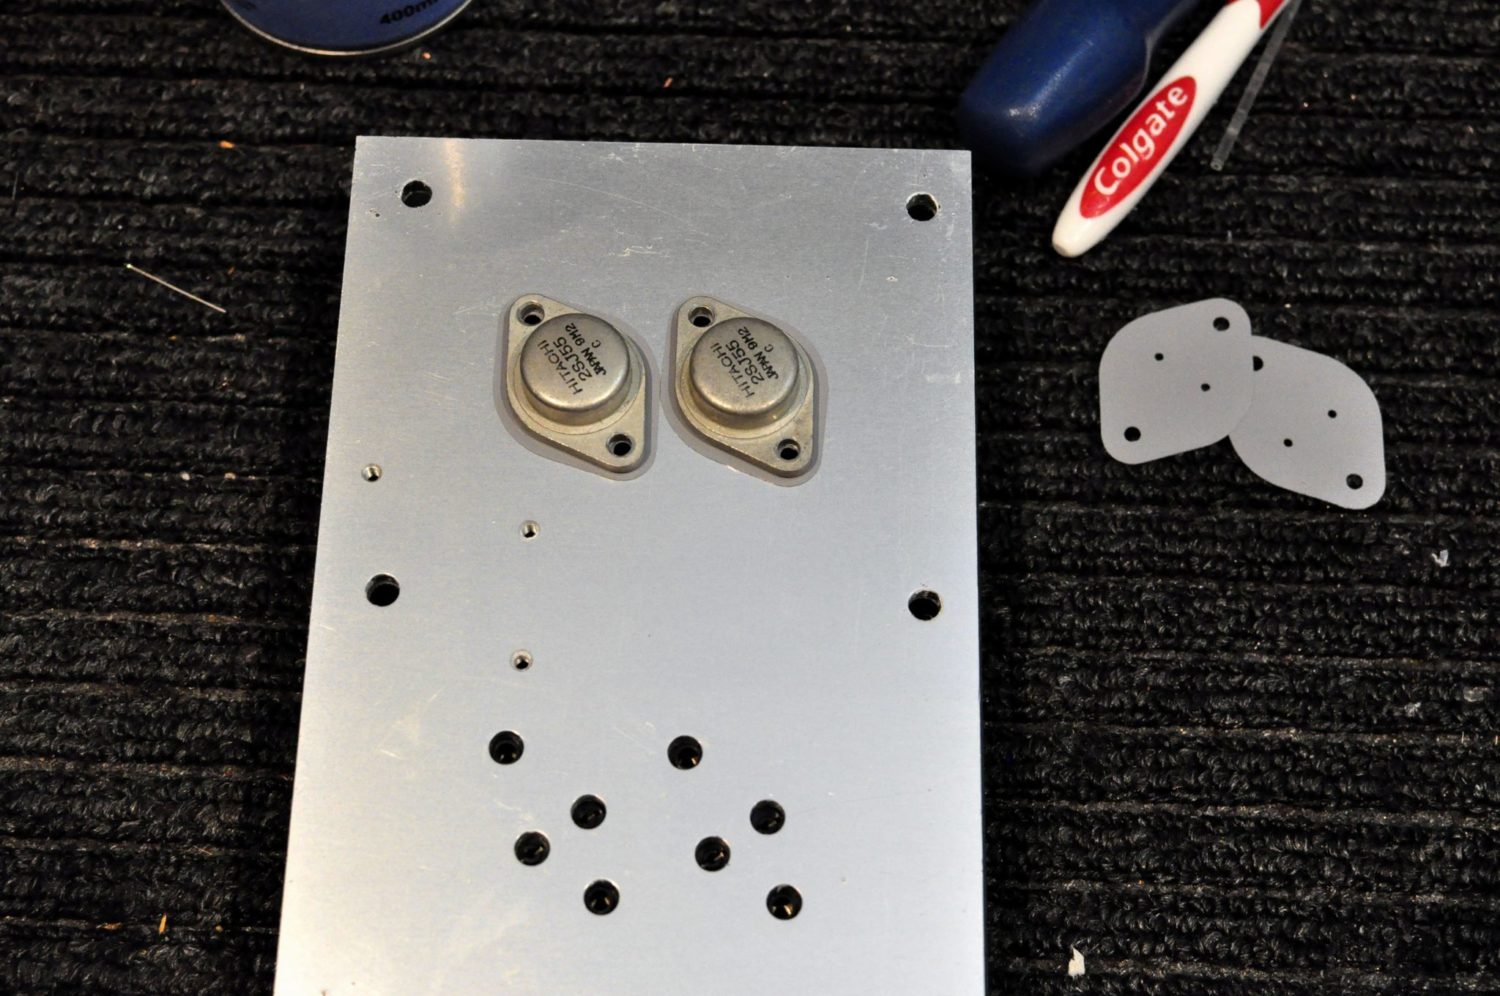
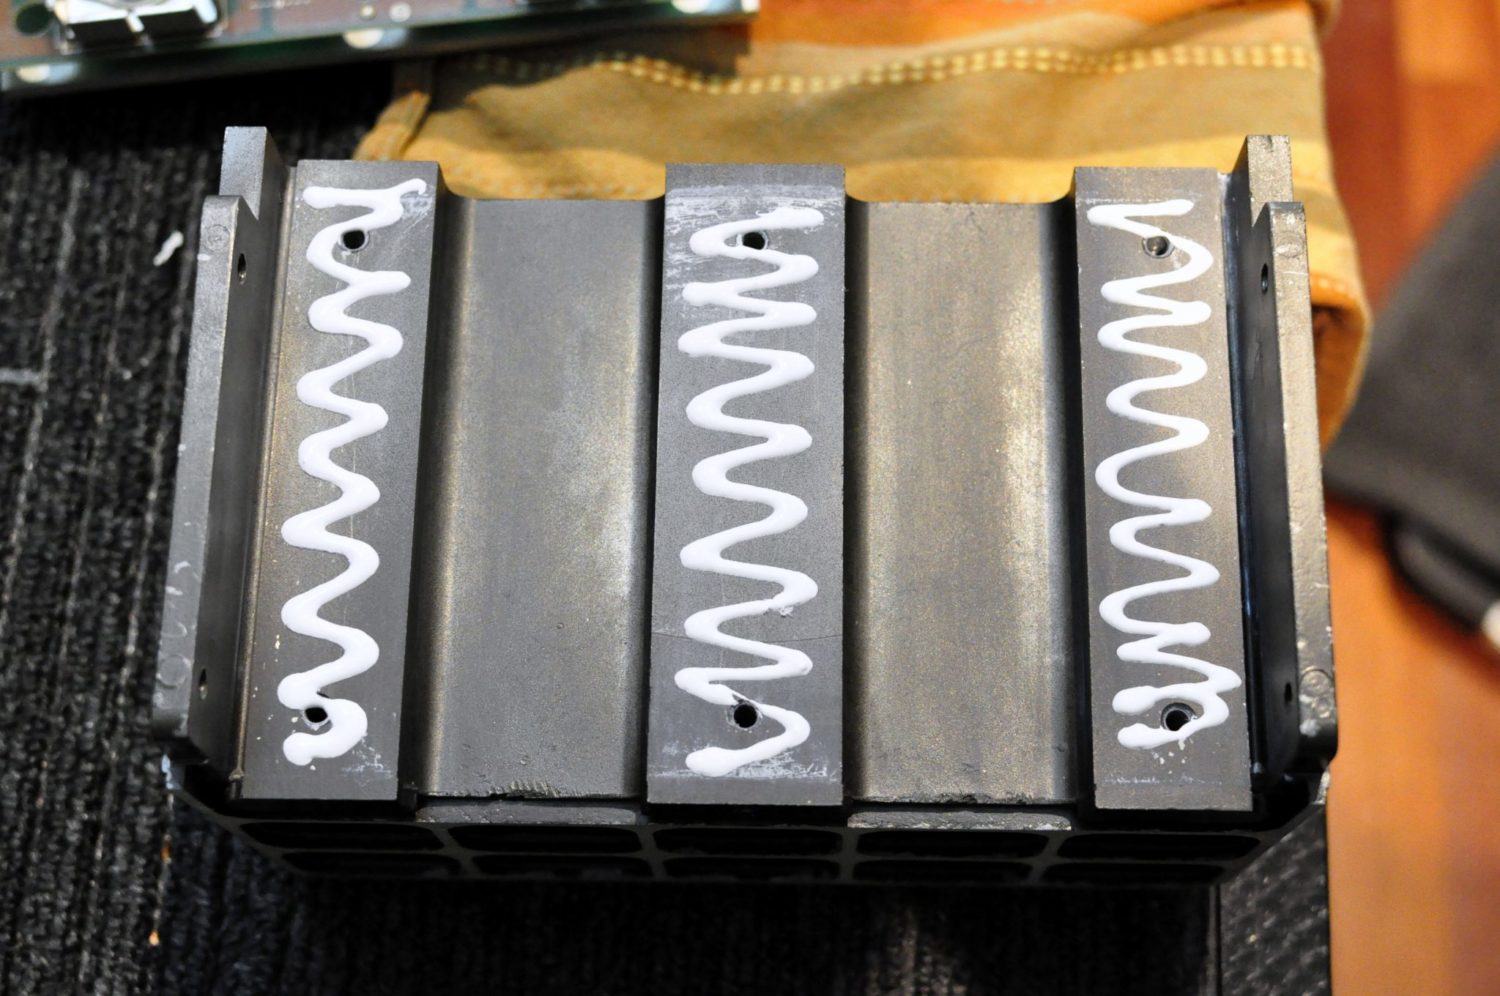
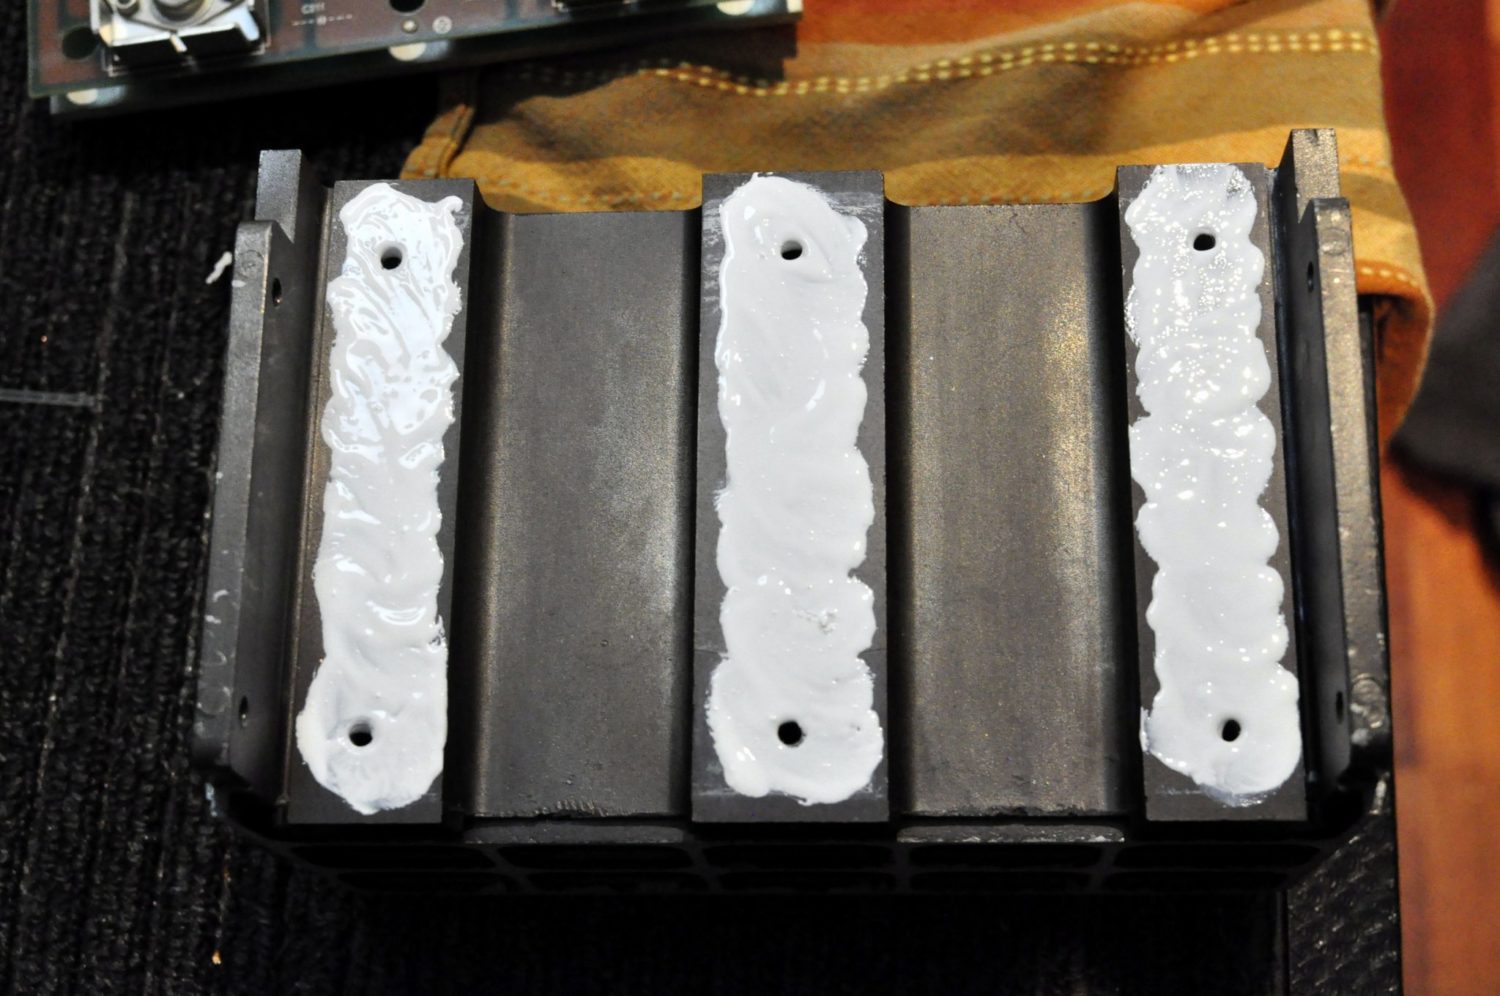
Doing this allowed me to use new silicone thermal pads to re-make the critical thermal interface between the output devices and their coupling plates. I was also able to use fresh thermally conductive grease between each coupling plate and its heatsink.
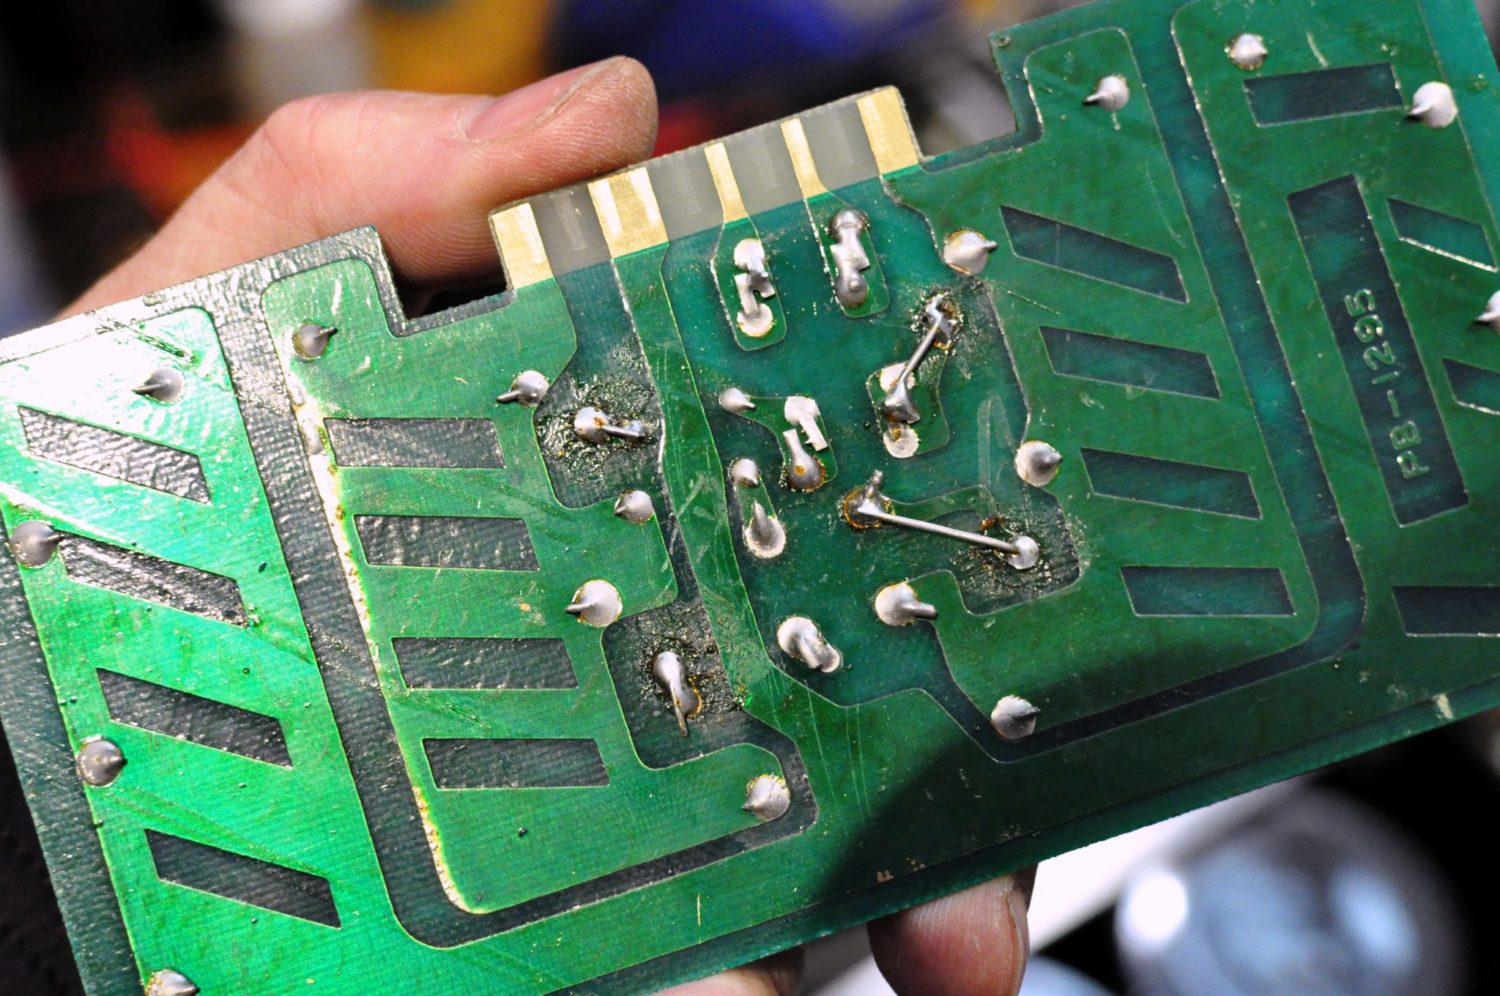
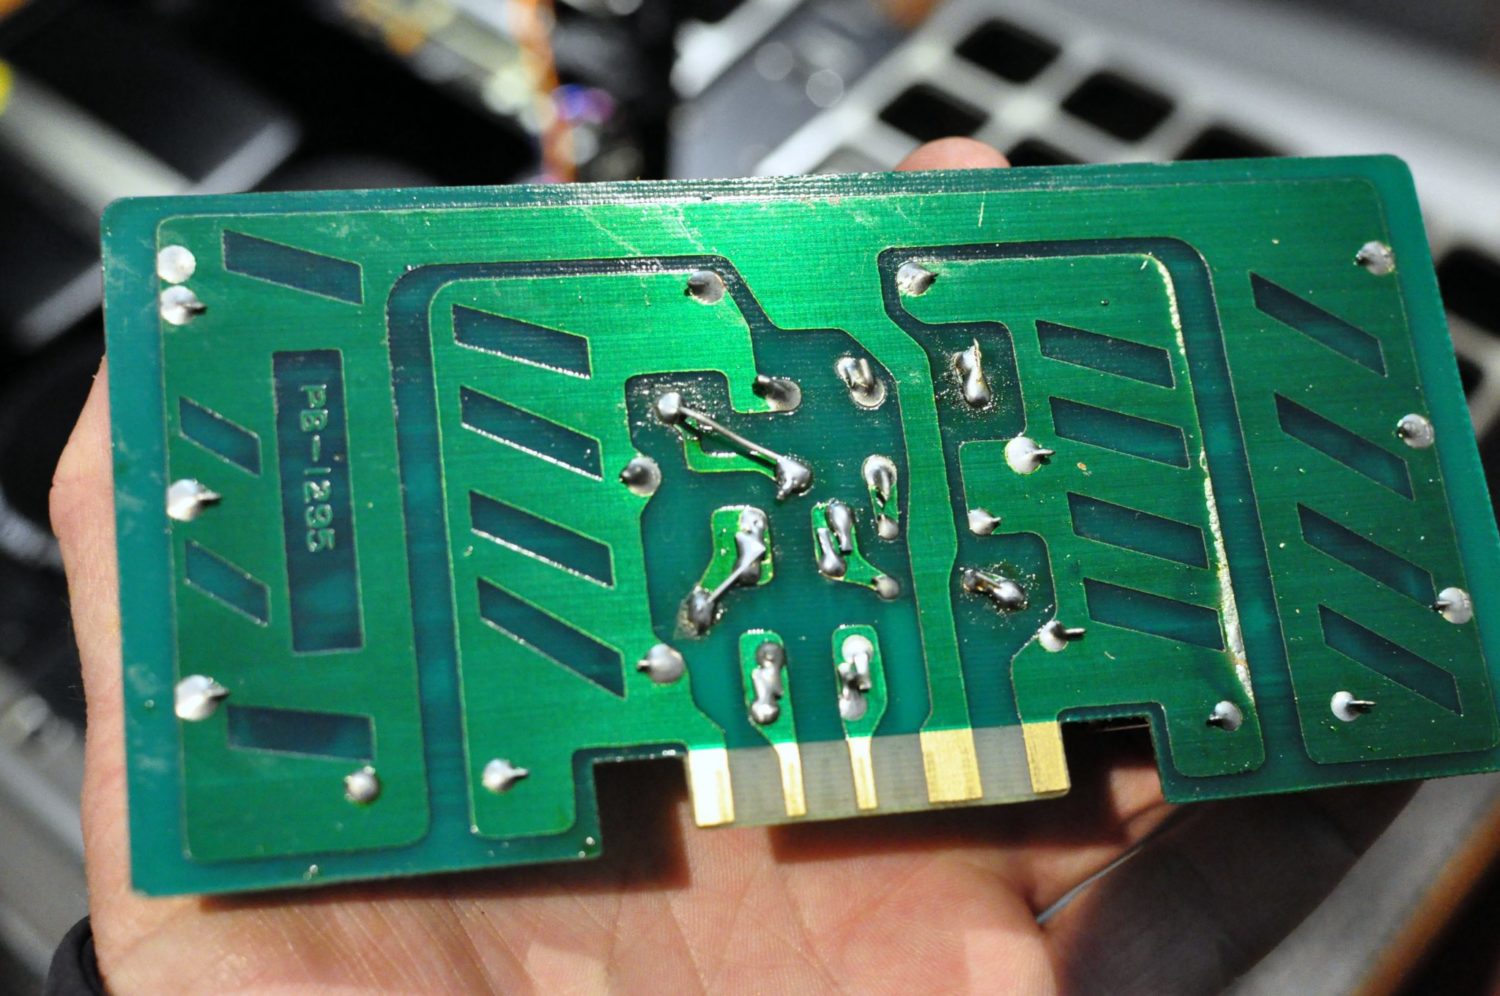
What follows is a photo journey through the restoration, with comments where applicable.
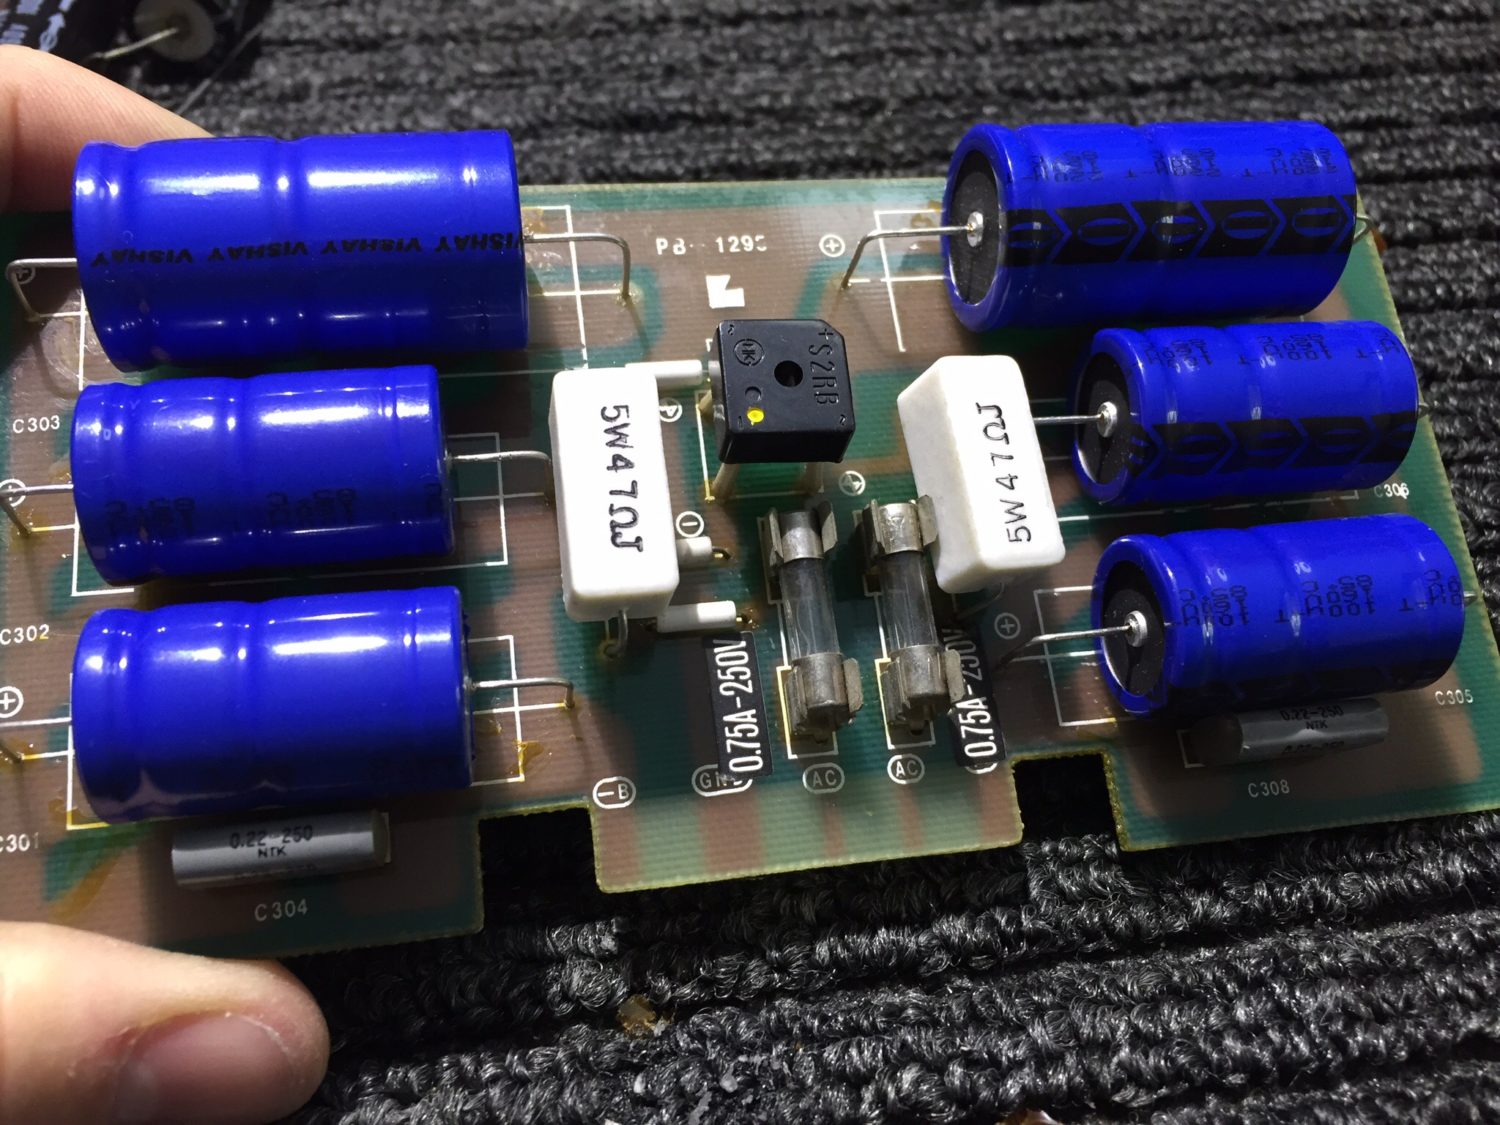
H/V Power Supply



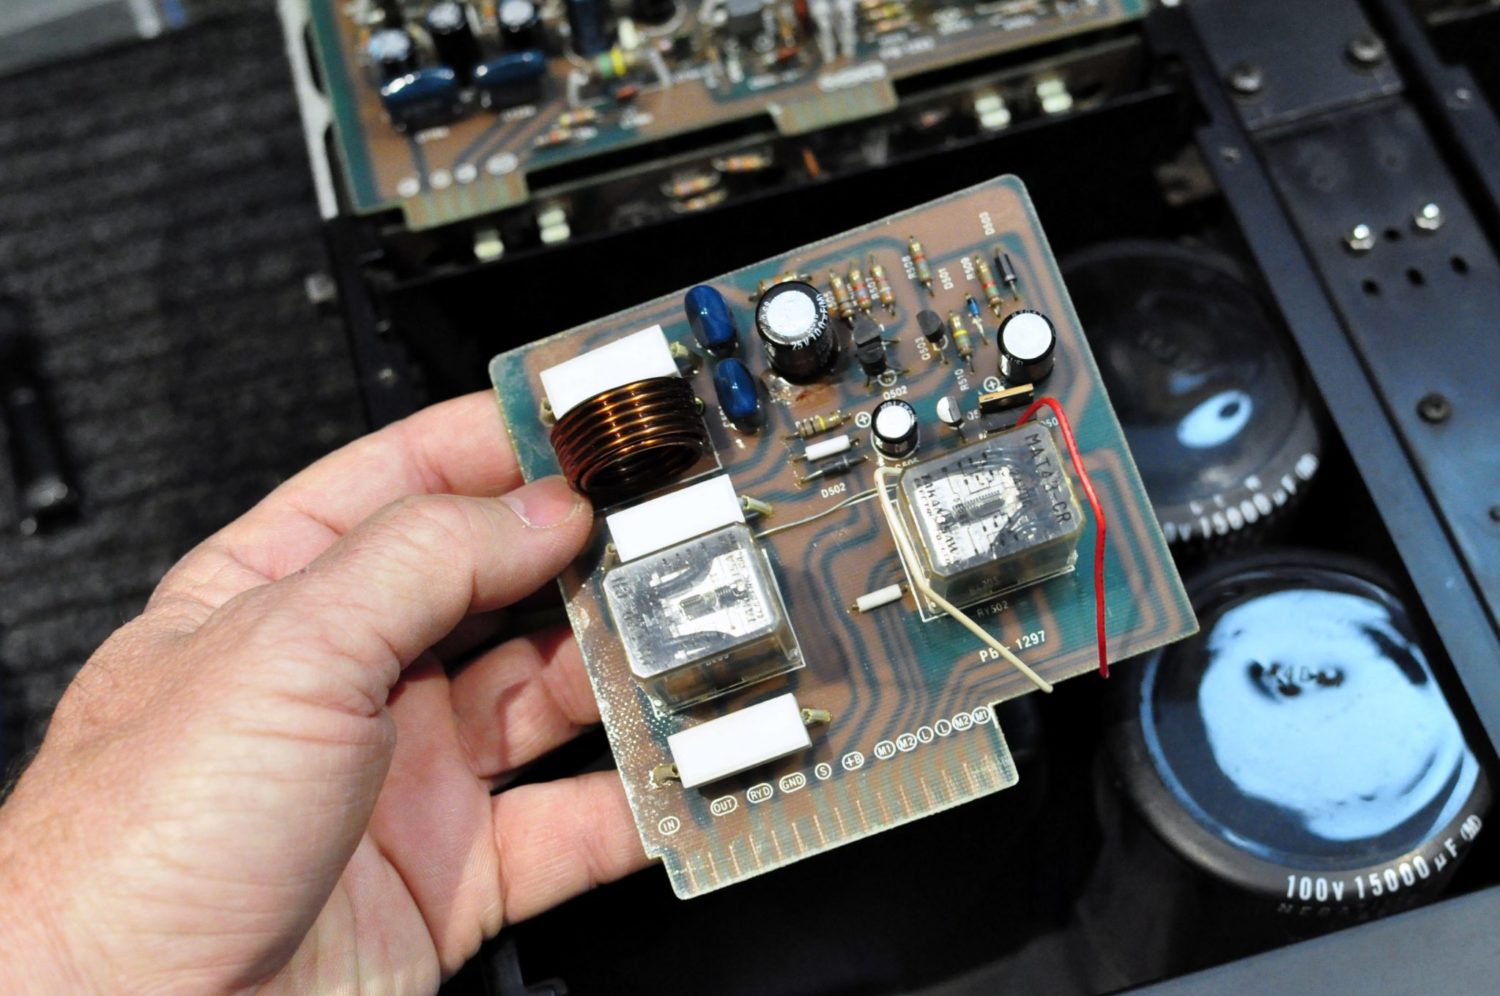
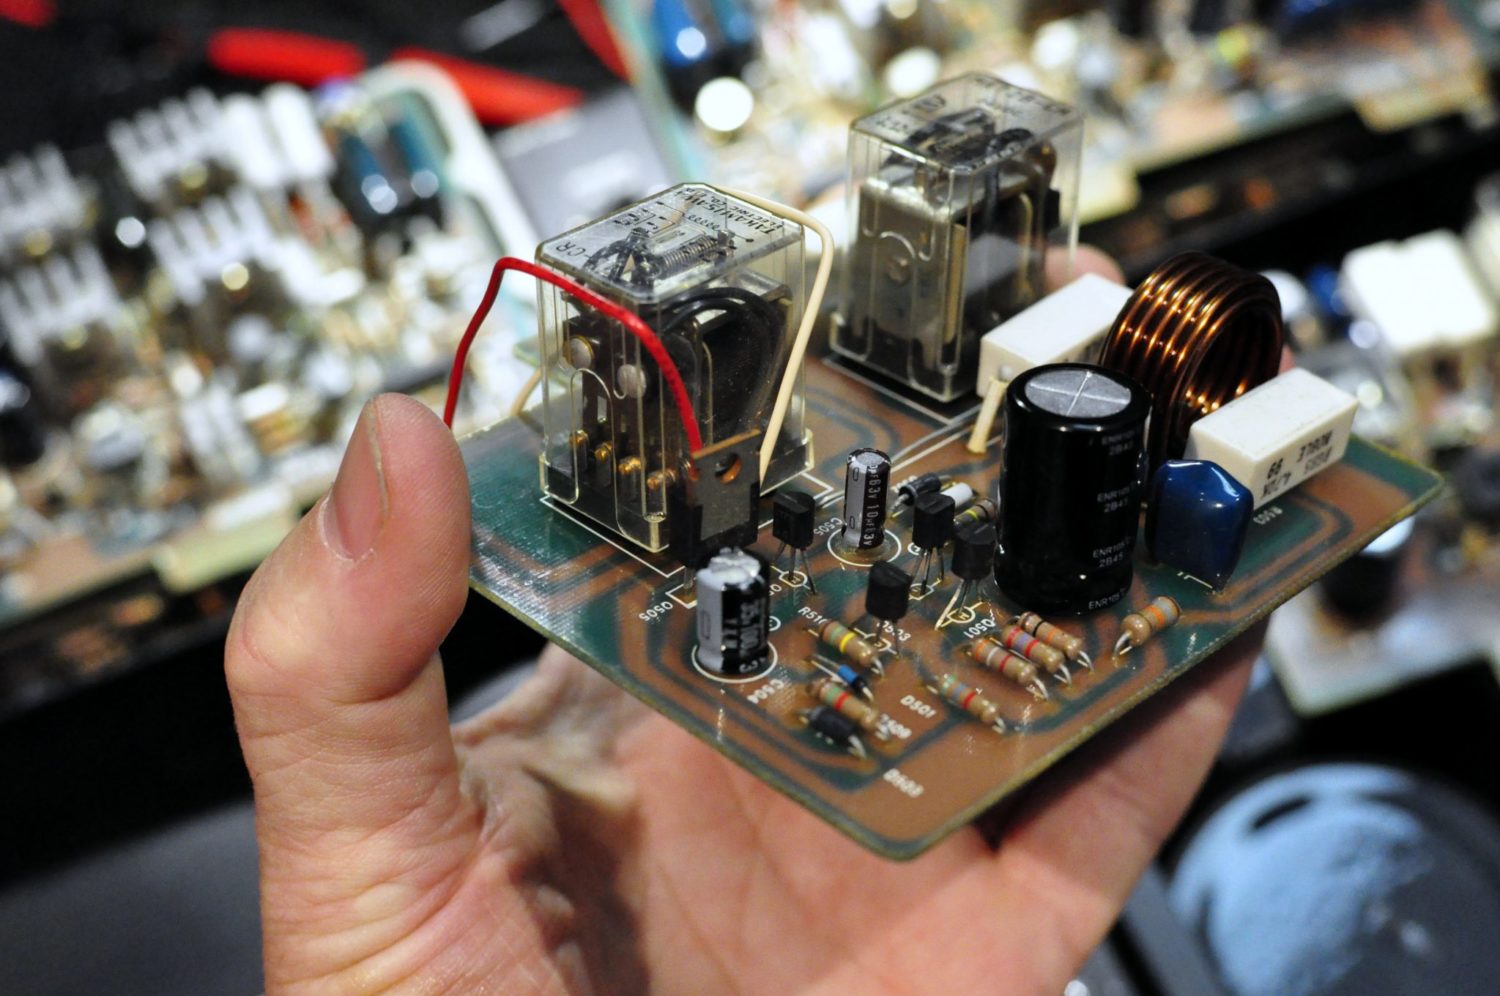
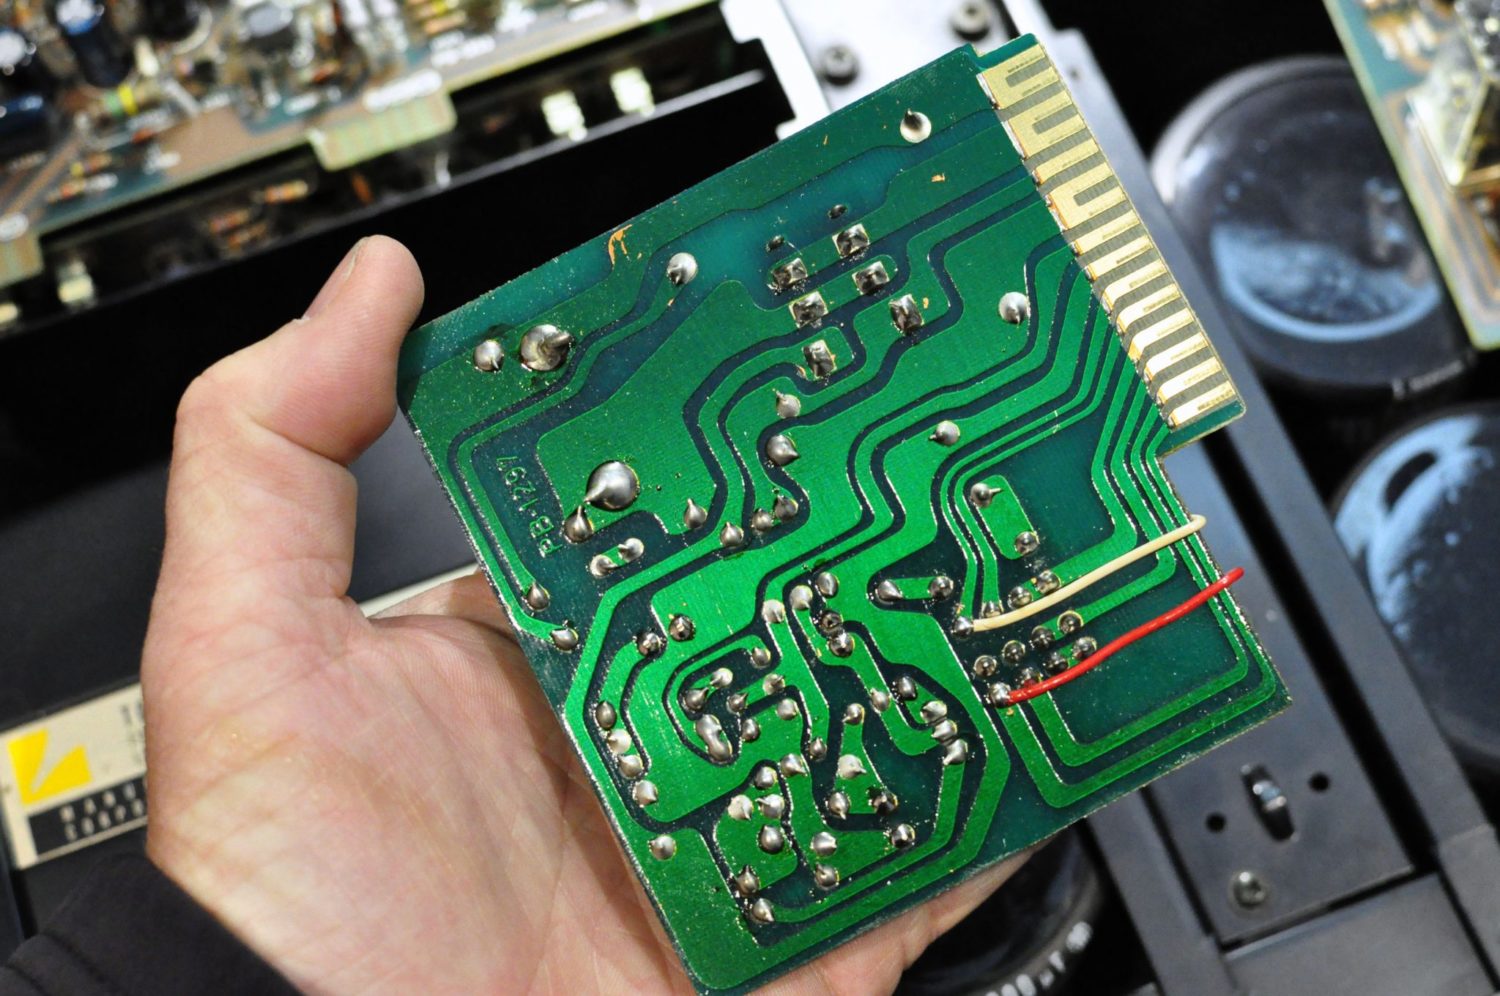
Protection
Driver Boards
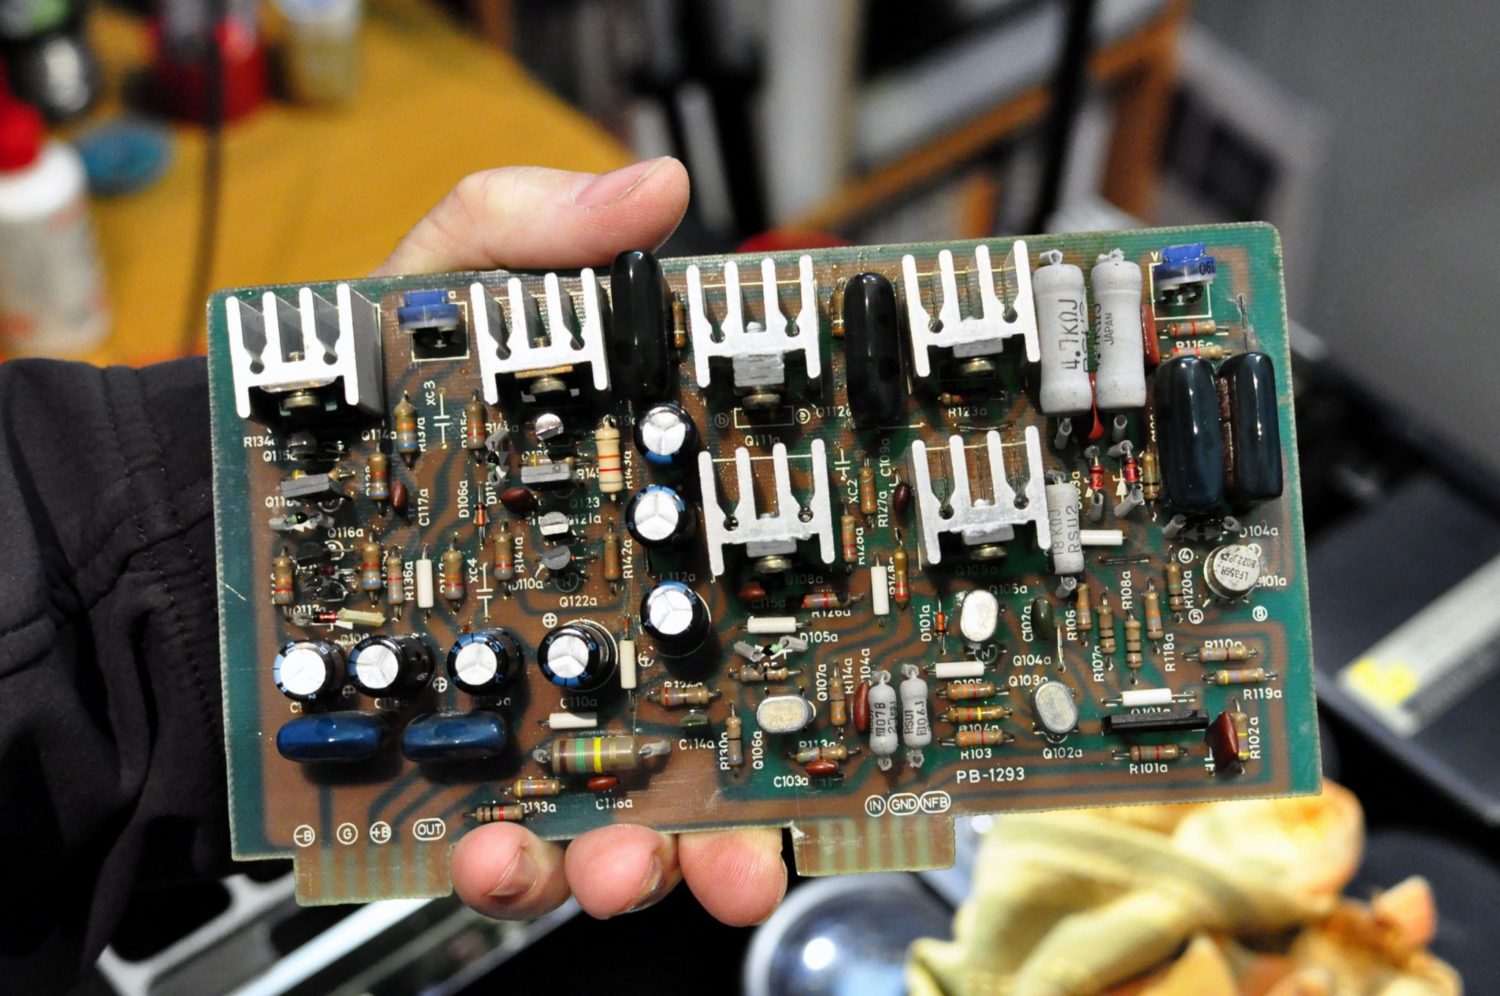
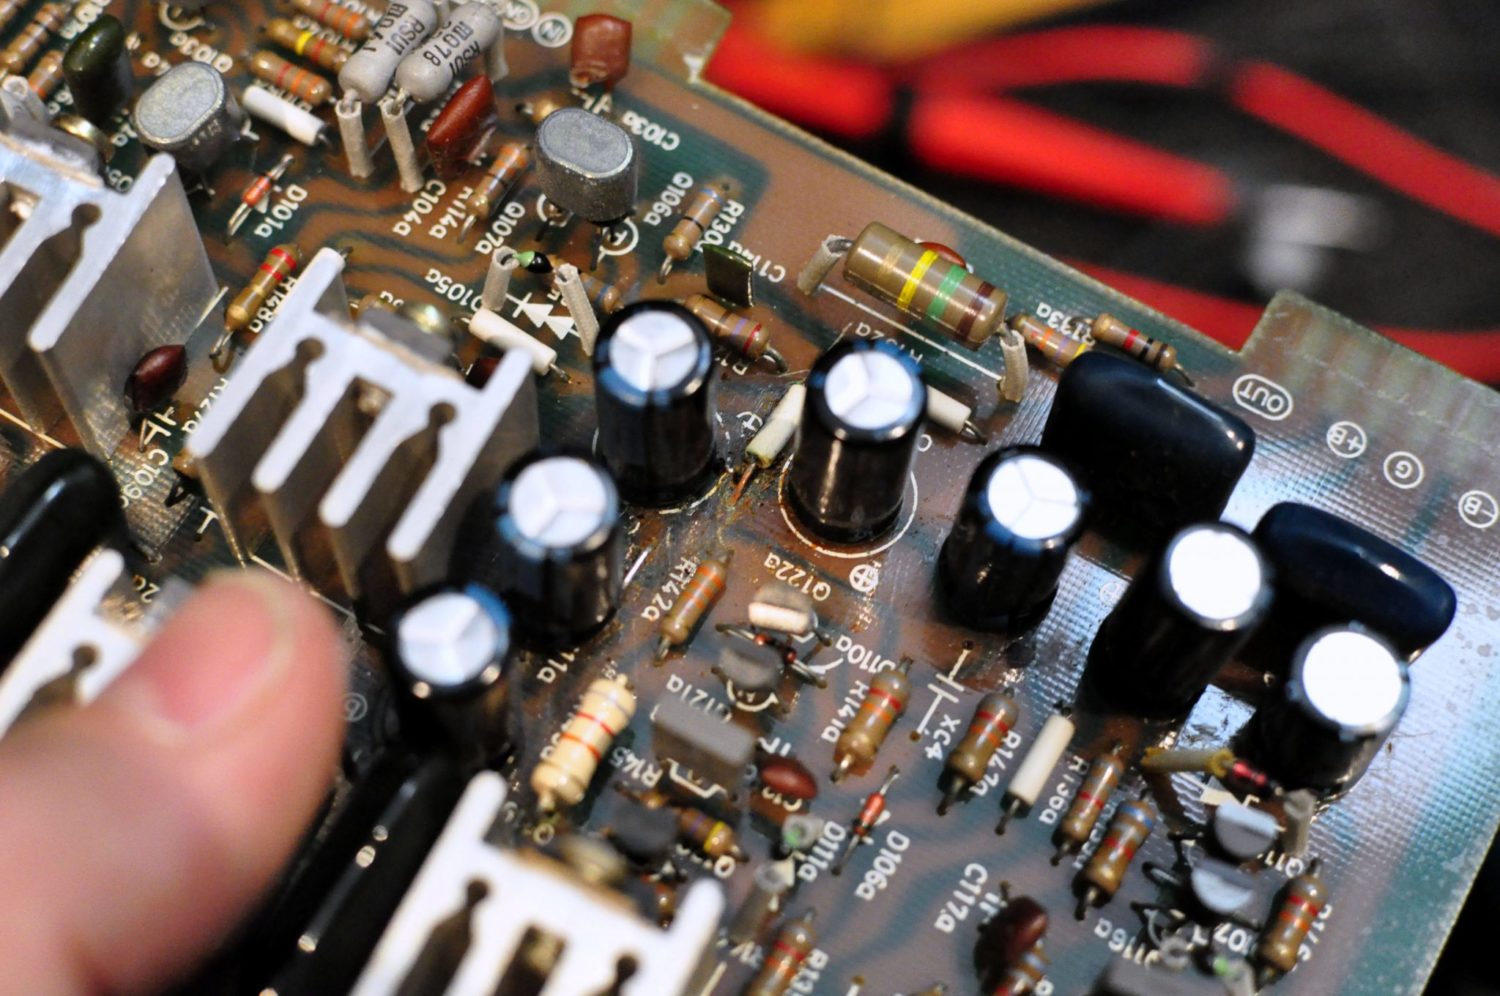
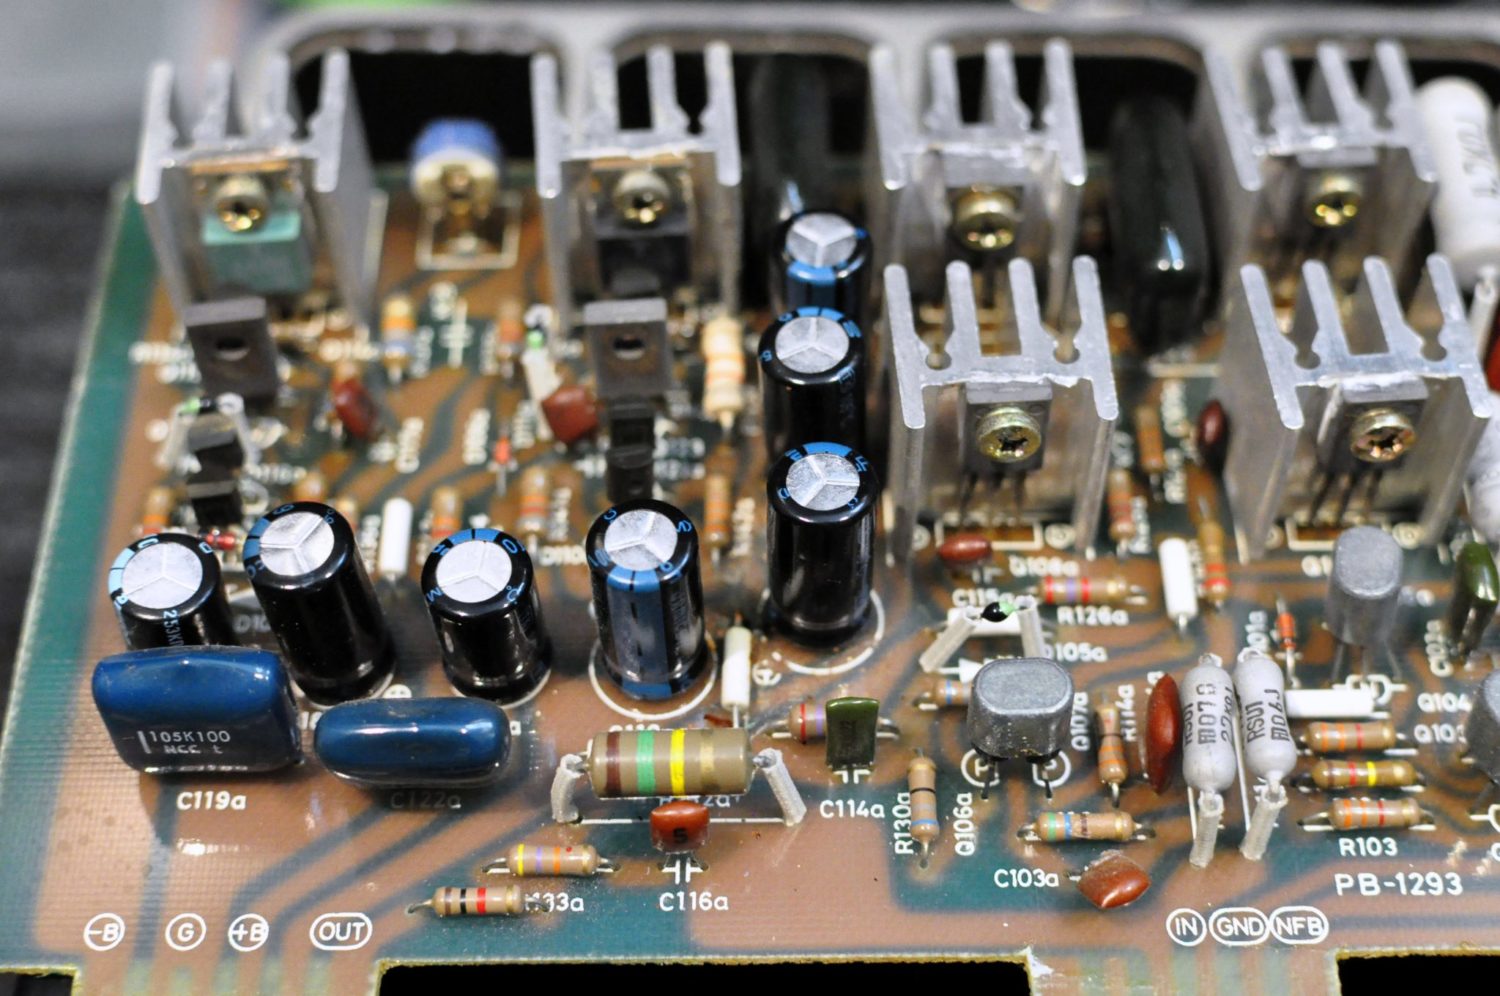
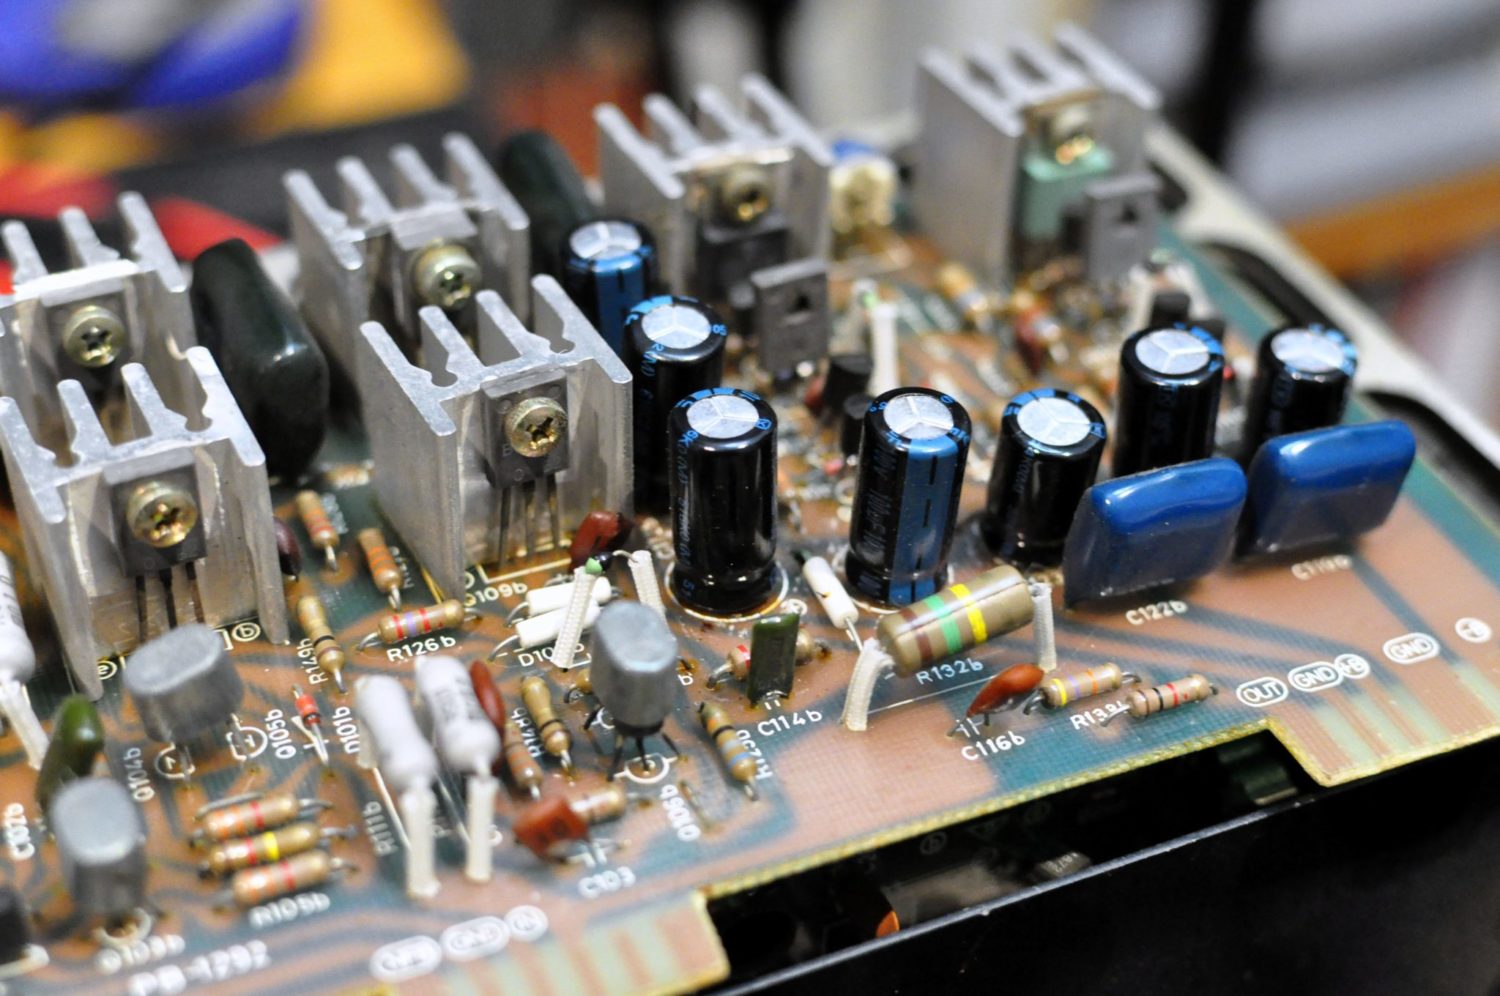

Amplifier Modules

Results
I think it’s fair to say that this was a stellar result and that lots of hard work and attention to detail paid off here. Of course, we must lose sight of the fact that all the original service data is gone, unobtainable, and this makes working on these tricky. I have done all the heavy lifting now for anyone else who ever looks at this lovely old girl, I only wish I had been so lucky when she first came to me!
It goes without saying that a heavyweight MOSFET power amplifier like this is always going to sound great and this one does. These fetch a pretty penny now but it’s well worth it for the sheer performance on tap here and the classic retro looks.
If you would like me to service or repair your Luxman M-4000A, M-400 or any other lovely Luxman piece for that matter, don’t hesitate to get in touch.
Discover more from LiQUiD AUDiO
Subscribe to get the latest posts sent to your email.


Very interesting, indeed. Really a nice job done. Congratulations.
Great effort, I
own the M-4000u
I own a M4000A as well but it won’t power up after the check cycle. I’d like to open it up and see whether it’s a fuse that’s gone. What’s the proper way to open it up?
Hi, sorry to hear you are having trouble with your M-4000A. I don’t generally provide this sort of technical advice. Be careful, there are around a dozen fuses in the M-4000A, many are glass fuses and many more are board mounted and must be checked after board removal. Fuses blow for a reason, so this must be explored. There is no service manual, so fuses must be compared to board and chassis designators to check they are correct. The unit must first be removed from the wooden chassis, a tricky operation in itself. Are you anywhere near Perth..?
No, I am in Greece and I am sorry for my previous mistake but the amp is an M4000 not the M4000A model (my bad). I have an expert that’s been servicing the unit since it came in the country back in the 80s, and he is the one who has also retrofitted proper audio out jacks.
I can’t seem to get a hold at him (maybe he retired) so my options are somewhat limited. I noticed that there’s no apparent easy way to open the amp up. I have the original manual and service (?) schematics (which I am willing to scan and sent over email if anyone’s interested).
I was thinking to check just the fuses, yet if it’s the power supply or anything else I won’t risk doing anything. Like I said the amp enters the checking cycle but doesn’t pass by it so it doesn’t power up. Thanks for your time.
Hi Jason, no problem at all, yes the 4000 and 4000A are very similar in terms of layout and construction, so my previous comments apply here also.
There are loads of fuses, in fact I’ve never worked on amplifiers with more fuses than these, so you’ll need to check a lot of them. You’ll need a DMM for this, and need to know where they are. This is not immediately obvious and impossible to describe unless we are both sitting with the thing in front of us. If you open her up and remove each board though, you should find them.
The most obvious group though is under a little panel in the middle of the amp, on top of a power supply module. One screw and the lid lifts, then you’ll see what I mean. Just be aware that there are a bunch more than this, including soldered, board mounted fuses. You must check all of them to be sure the rails are intact. Be sure to replace fuses with the correct speed ie fast or slow blow, this is important.
The wooden case must first come off of course, be careful as the amp inside is extremely heavy and it’s easy to cause damage at this stage. I usually place the amp on its end, and lift it out of the wooden case, so that nothing is damaged.
I have a scan of the service manual but its low resolution, so a better scan would be very helpful for sure.
Hi, I couldn’t find the service manual but found a schematics page and the original owners manual. I’m quite certain that there’s a service manual here somewhere but atm I wasn’t able to find it. I will try to sent you some iPad (12megapixel) shots (including some closeups – even though printing of that era wasn’t exactly stellar) of what I got hoping that you might find it useful for your work. Check your email.
Cheers.
Thanks Jason, much appreciated!
The amp keeps blowing out all 6 output transistor on one side. It may be as I turn up the volume, or time (a couple minutes).
But it does come up working. Then all of a sudden boom. The 100 ohm resistors start to smoke on the pre-driver board, and its over.
I ran the unit without the outputs to monitor everything going to them. I looked for DC on from the drivers, the power supply DC, and other things that may take out the final drivers. I compared everything to the working channel, NOTHING wrong!
I am in about $320 in parts and many hours of time. The last try, one of the transistors on the pre-driver board and a 500ma fuse burnt out. The outputs were OK. When powered up the fuse and transistor went again.
What I did notice and what I think may be the problem: I noticed AC voltage at about 40 volts was on the chassis when compared to earth ground. Very low current, but it is there. I am thinking this voltage is somehow getting back into the amp. I also believe that the power supply on that side may have a transformer issue. I didn’t go any further, and returned it to the owner. If it is the transformer getting one and paying for it may prove to be a bad idea since these parts are hard to find and expensive.
I traced all the signal on the good side with a DVM and a scope. Compared them with the bad side and found 100% match. But the chassis at 40 volts can not be correct. It is on the RCA jacks too.
Hi Joe, thanks for writing and yes it seems you definitely have a problem there. Some transformer leakage is very common with older units like these and is generally not a concern. I doubt it’s the issue here, just a red herring. This will be a component level fault, or faults, most likely related to some of the many fusible resistors, or a semiconductor. There are many variables potentially at play and I’d really need the unit here for some serious troubleshooting to sort this out. Does the owner live locally? I can very likely fix this for him if so. I have fixed issues like this previously, with various causes relating to incorrect semiconductors, poor previous work, hard to find diode and transistor faults and usually a combination of these. Anyway, I’d be very happy to take a look. With the right test set-up, output devices shouldn’t be failing either, so it’s well worth reconsidering your set-up. You might like to give me a call to discuss this one!
I can’t imagine the cost of this work but well worth it I am sure. Very impressive. Mike, do you work on Perreaux gear? Thanks. Bernard
Hi Bernard and thanks for your comment. This type of work is time-consuming but surprisingly affordable, given the true value of gear like this and the cost to replace it. Interesting you should ask about Perreaux because yes I work on a lot of it and love older Perreaux gear. I own an SM-2 and PMF-5150 and they form part of my main system. Just this year I’ve repaired and serviced a PMF-5150, EP-2 and E-200 for various customers and I have an SM-2 and SM-3 waiting for work!
hey mike im a tech at just audio im servicing a m-4000 that goes into standby after being on only afew minutes theres a voltage thyat starts out at 1.5 but when it hits 3.6 it goes into standby problem seems to be on the driver board yet ive changed all the semis an the caps any ideas?? thx for your help mike
Hey Edward, welcome and thanks for your question. My first question would be why have you changed all the semiconductors on the driver board and what substitutes have been used in each case? This is critical. Rather than get into all that here, technical queries are best addressed via my contact page. You can purchase consult blocks which are perfect for enquiries like this. Very happy to chat further via phone or email. PS: Knowing that my replies to these sorts of questions are often ignored, you are most welcome, in advance!
Magnifique travail sur le M4000a
Je n’ai pas osé démonter le mien même pour le nettoyer
Thank you, glad you enjoyed looking inside this amp. They are actually pretty serviceable and very nice to work on.
Interesting reading Mike.
I would love to hear your opinion, after you repaired both the M4000 and M4000A, which one in your view sounds better? I would love to buy the M4000A and wonder if it is worth the extra money and the lack of any documentation (in case something goes wrong). Thanks!
Thanks Hezi, both are good and I seem to work on a couple of each, most years. I don’t really have a preference for either but many of these have been messed with in all the wrong ways, so careful inspection is critical. There are of course many excellent power amplifiers in this category, so choose carefully!
Hello,
Very nice job,
I’m on the edge of buying one. The issue with this M4000a is that it goes through protection mode and stables on the green light, but doesn’t produce any sound nor meter lights turn on. What do you think could be the problem? I’m debating on buying it because of the lack schematics and information on these units. Thanks!
Thanks, Kaleb. I’ve fixed a few of these over the years, and as long as you have a really good technician, you should be OK. There could be many different reasons for the symptoms you describe; careful inspection and testing will reveal them, so that’s the first step if you buy this thing. Don’t pay too much for it.