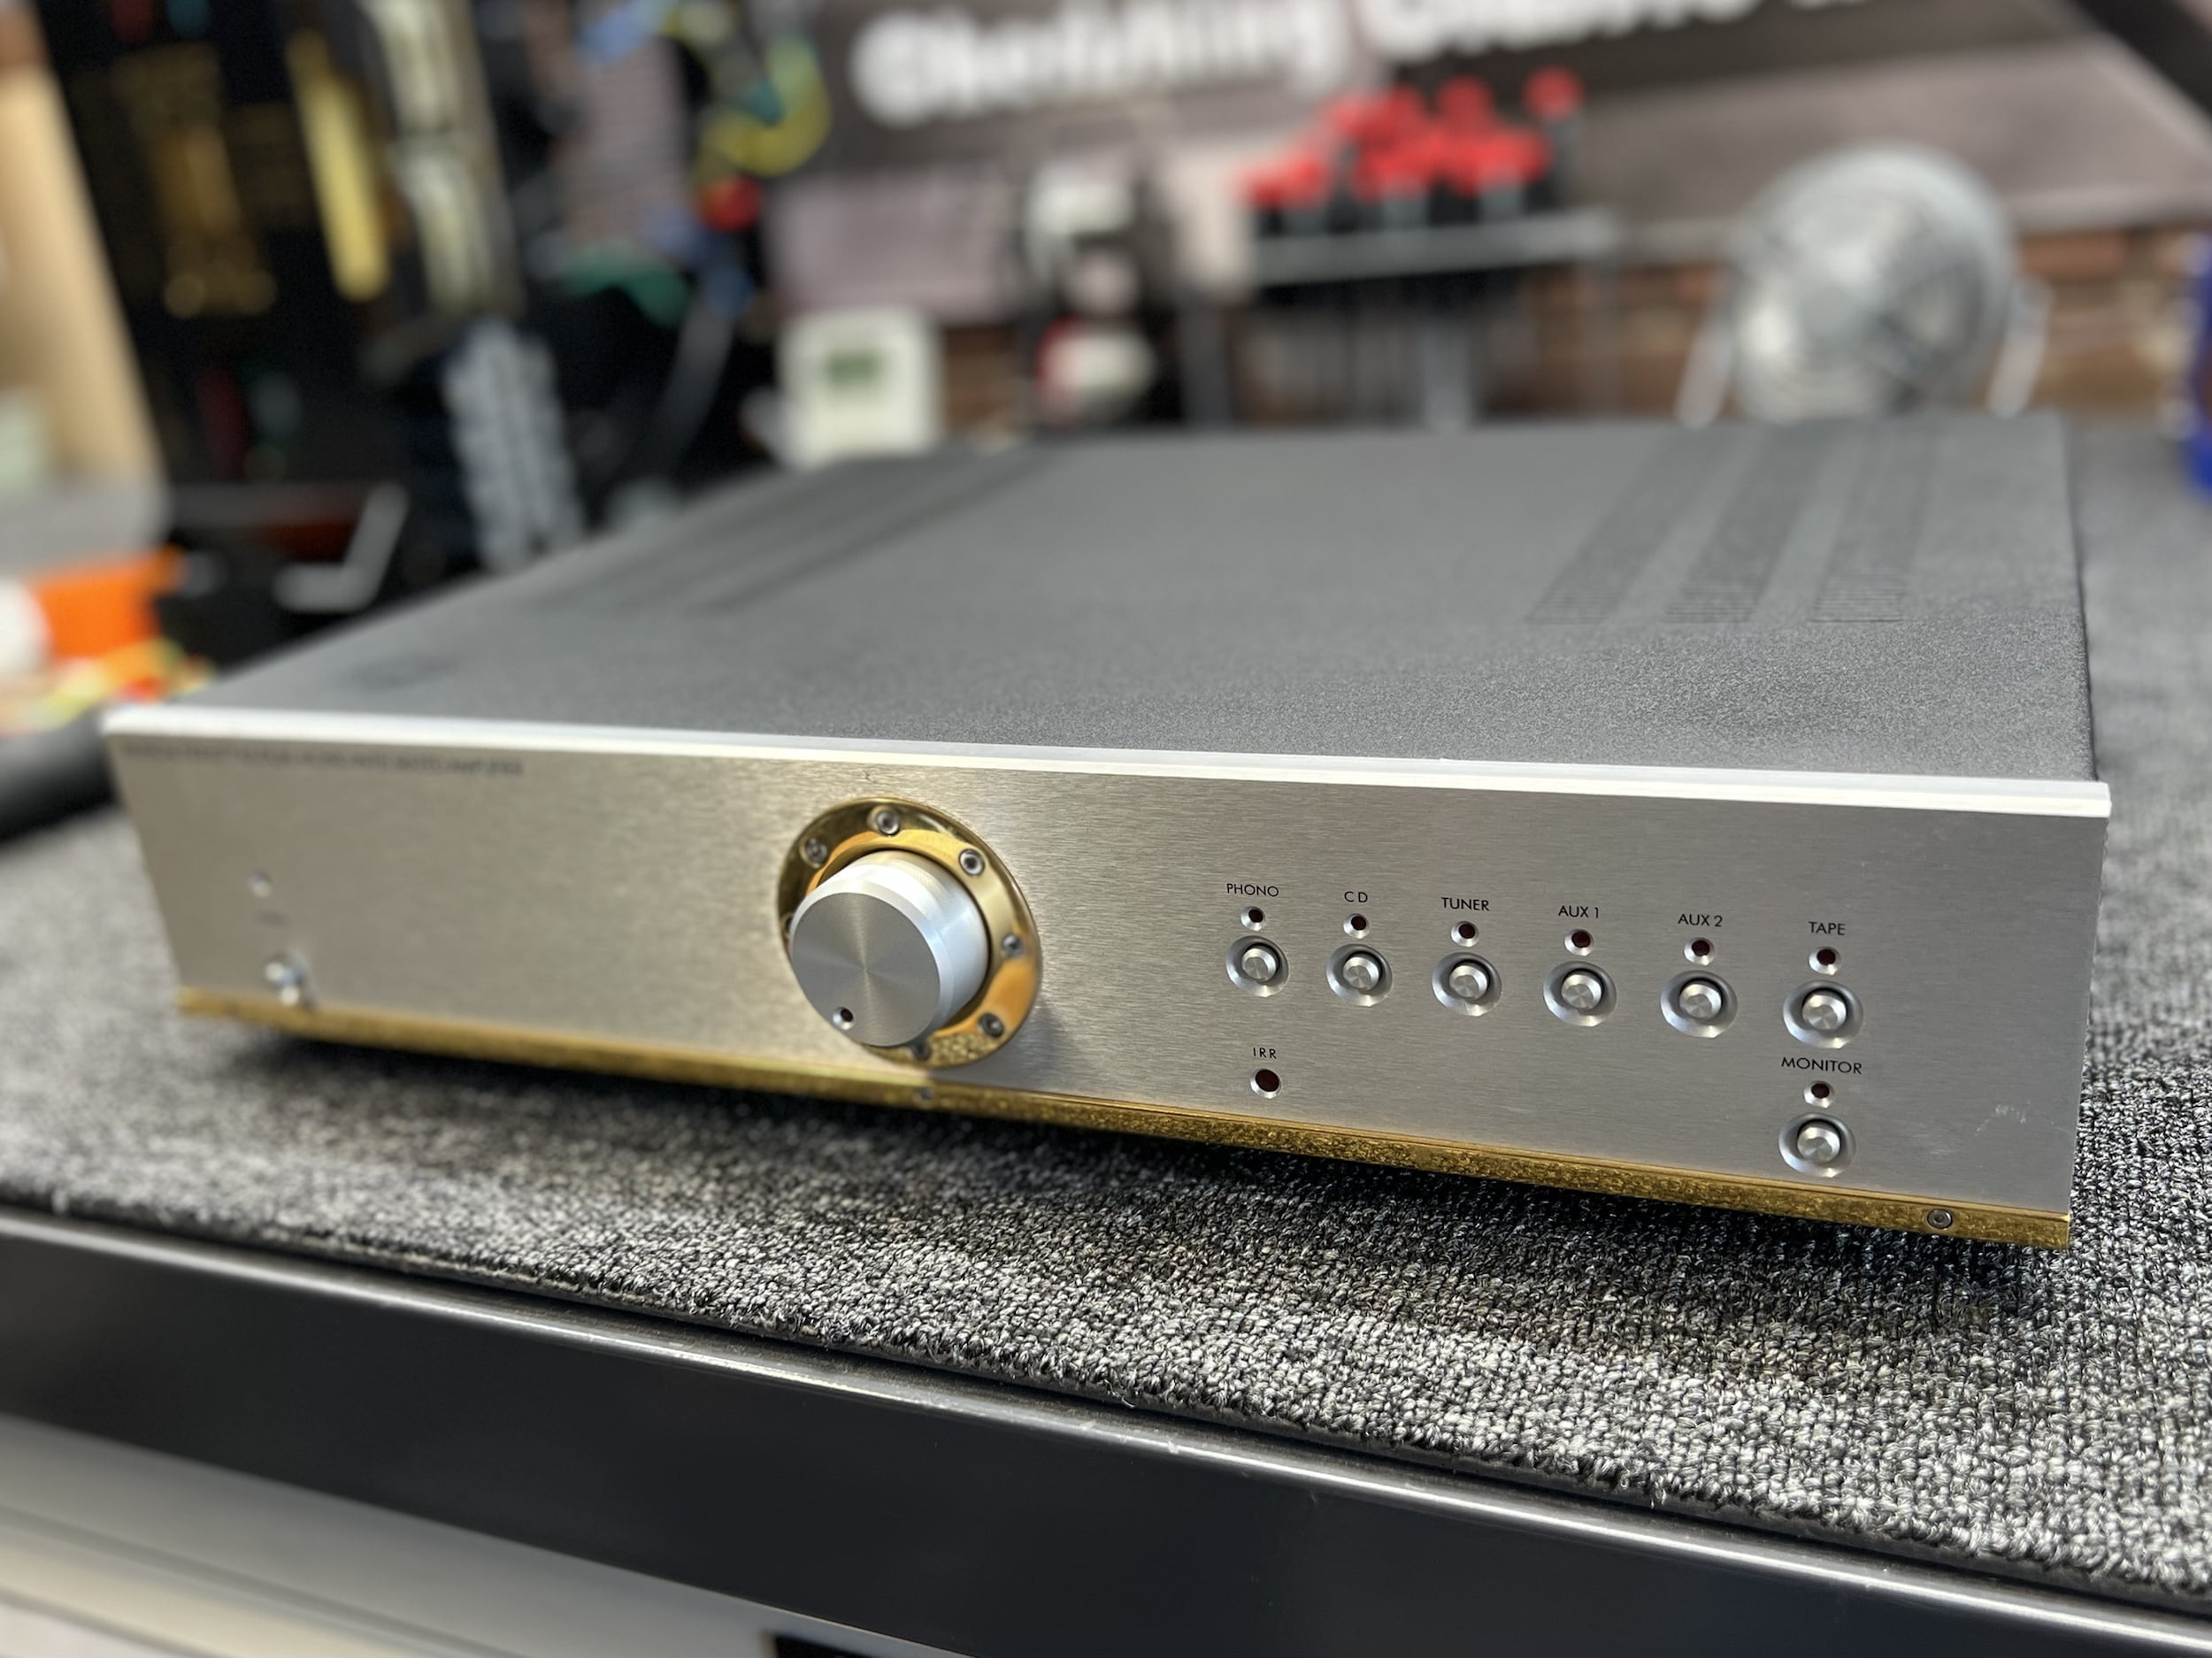
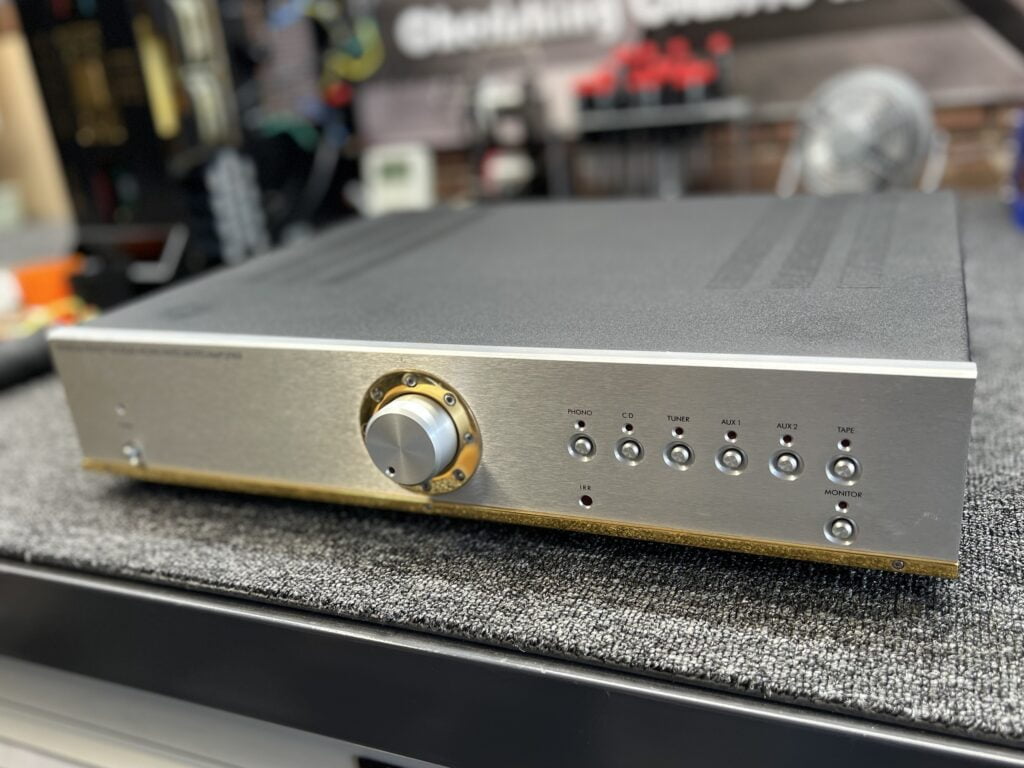
This Musical Fidelity A3 Integrated Amplifier suffered from something worse than the cheap parts MF are known for – a leaking Varta NiMH battery.
I really appreciated the feedback I received about the Sansui AU-D707 article and I know how much people enjoy these articles so here’s another one for your reading pleasure.
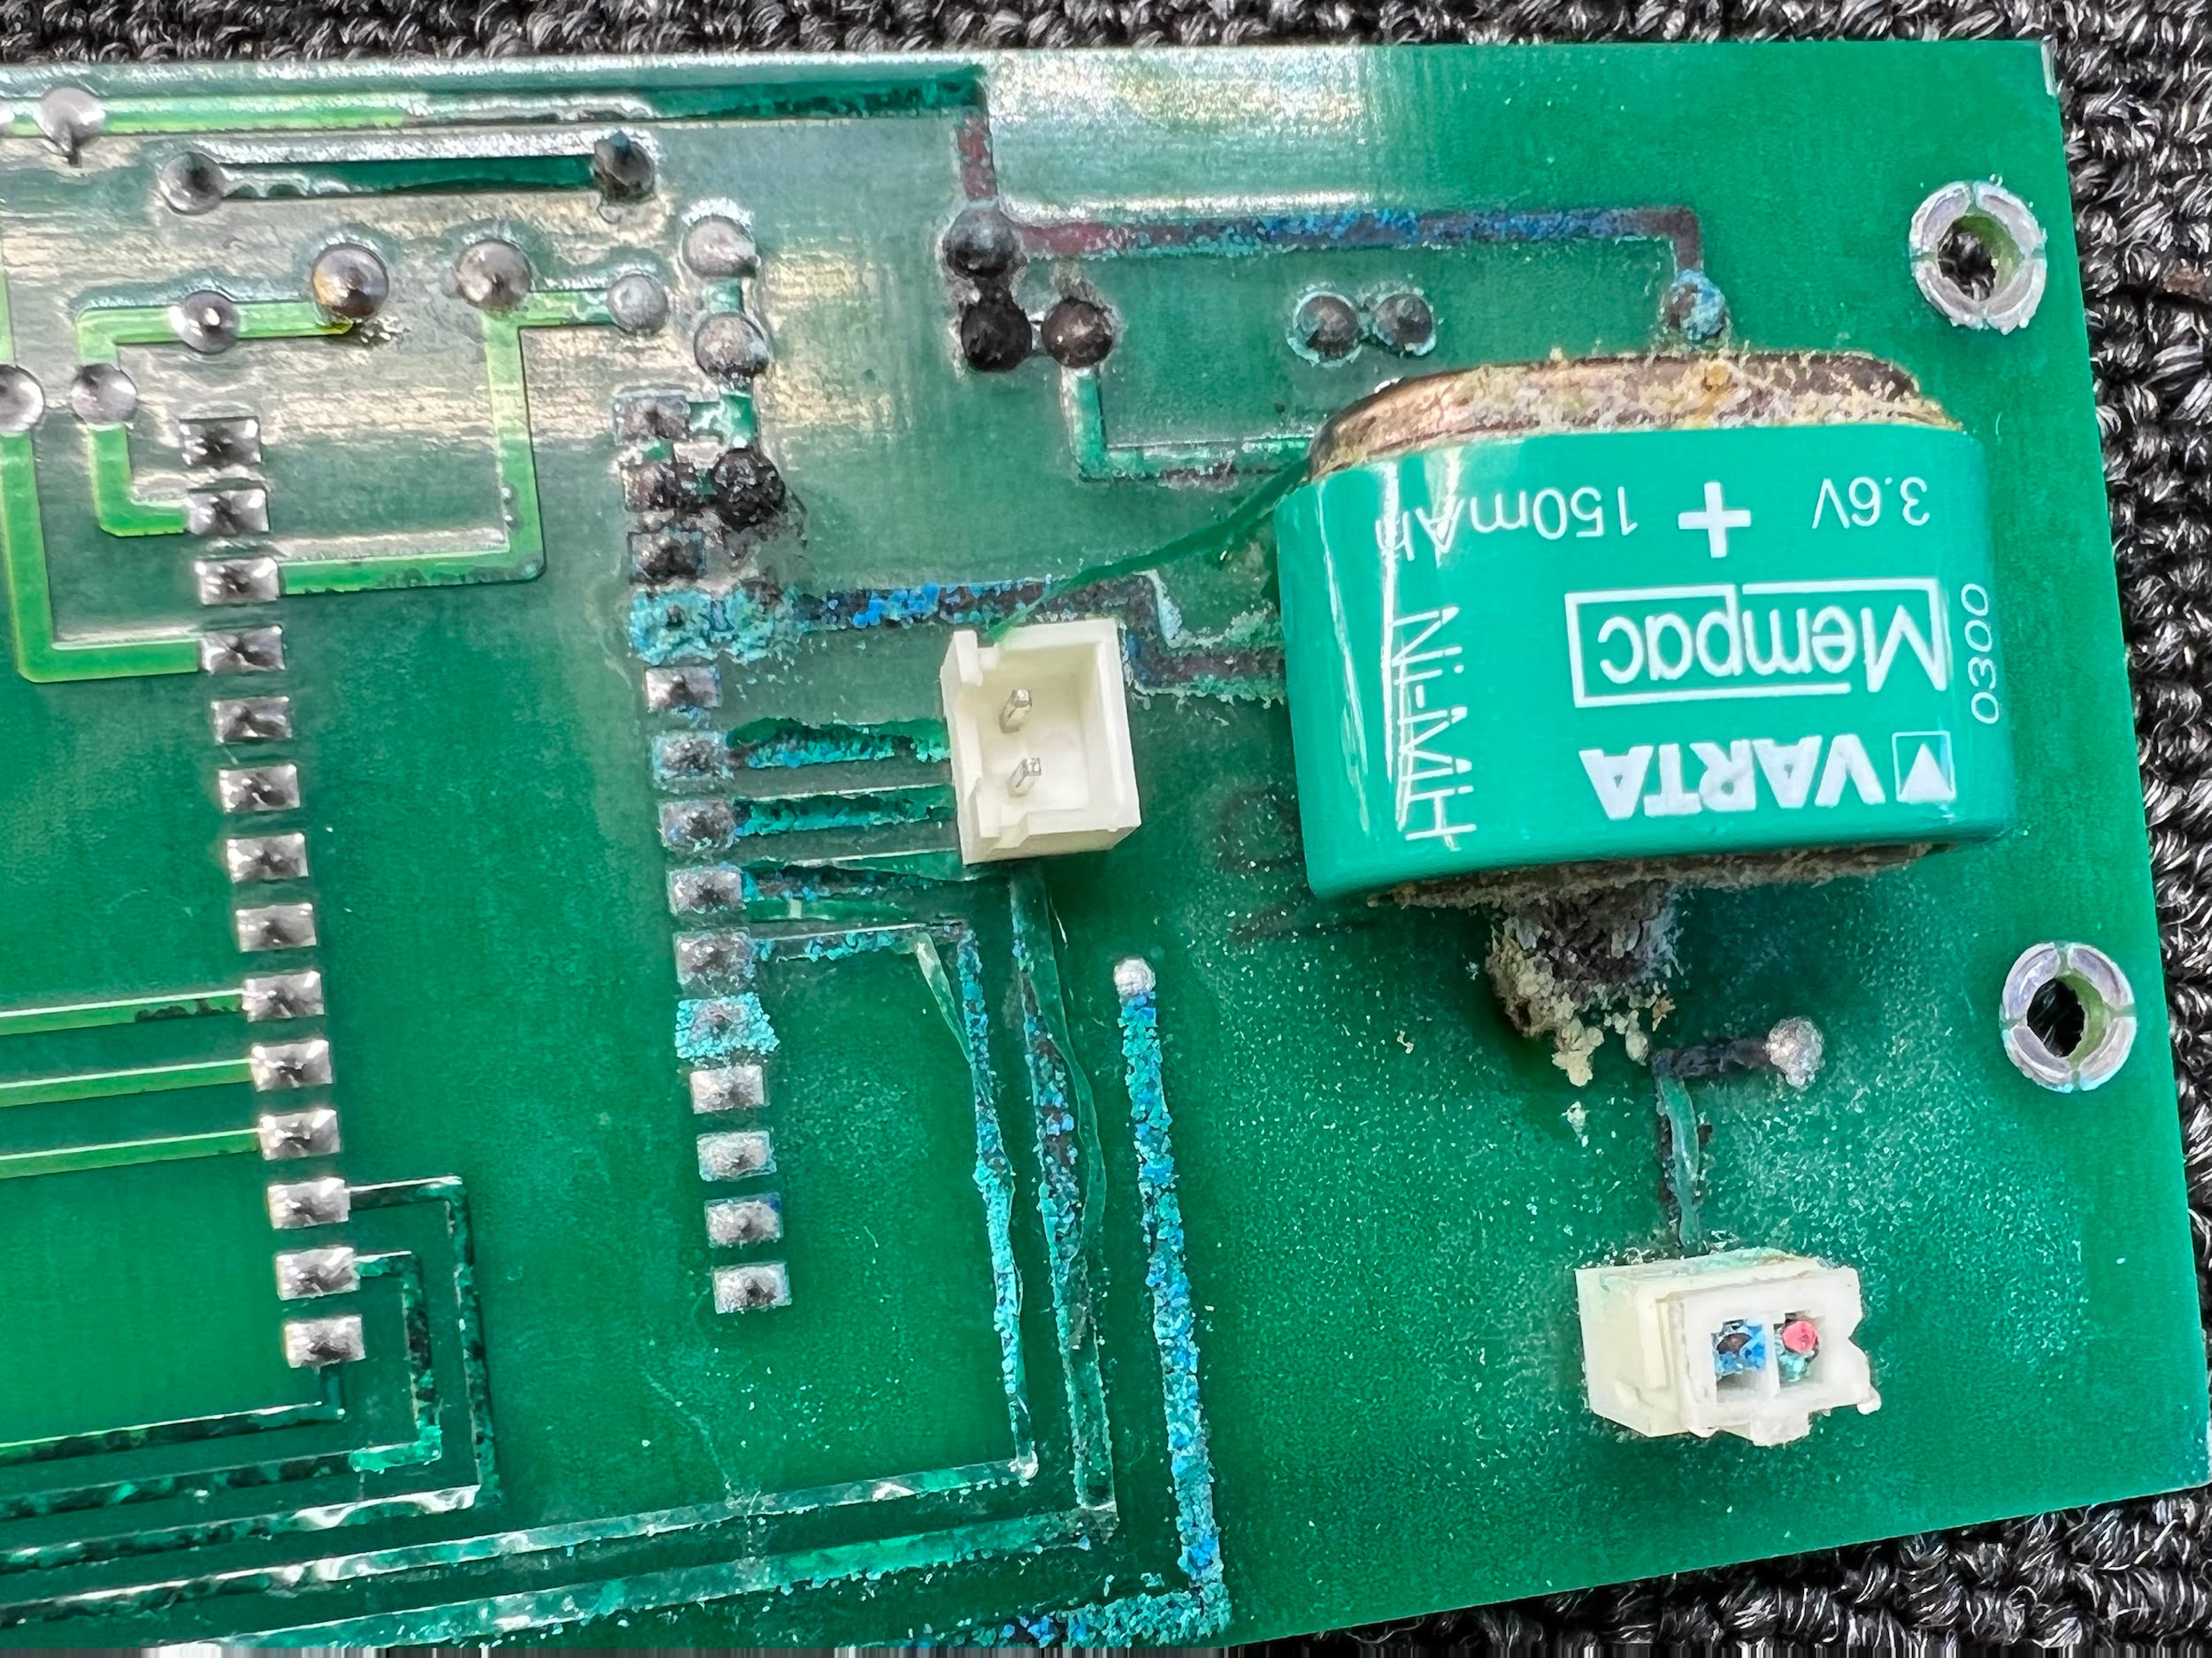
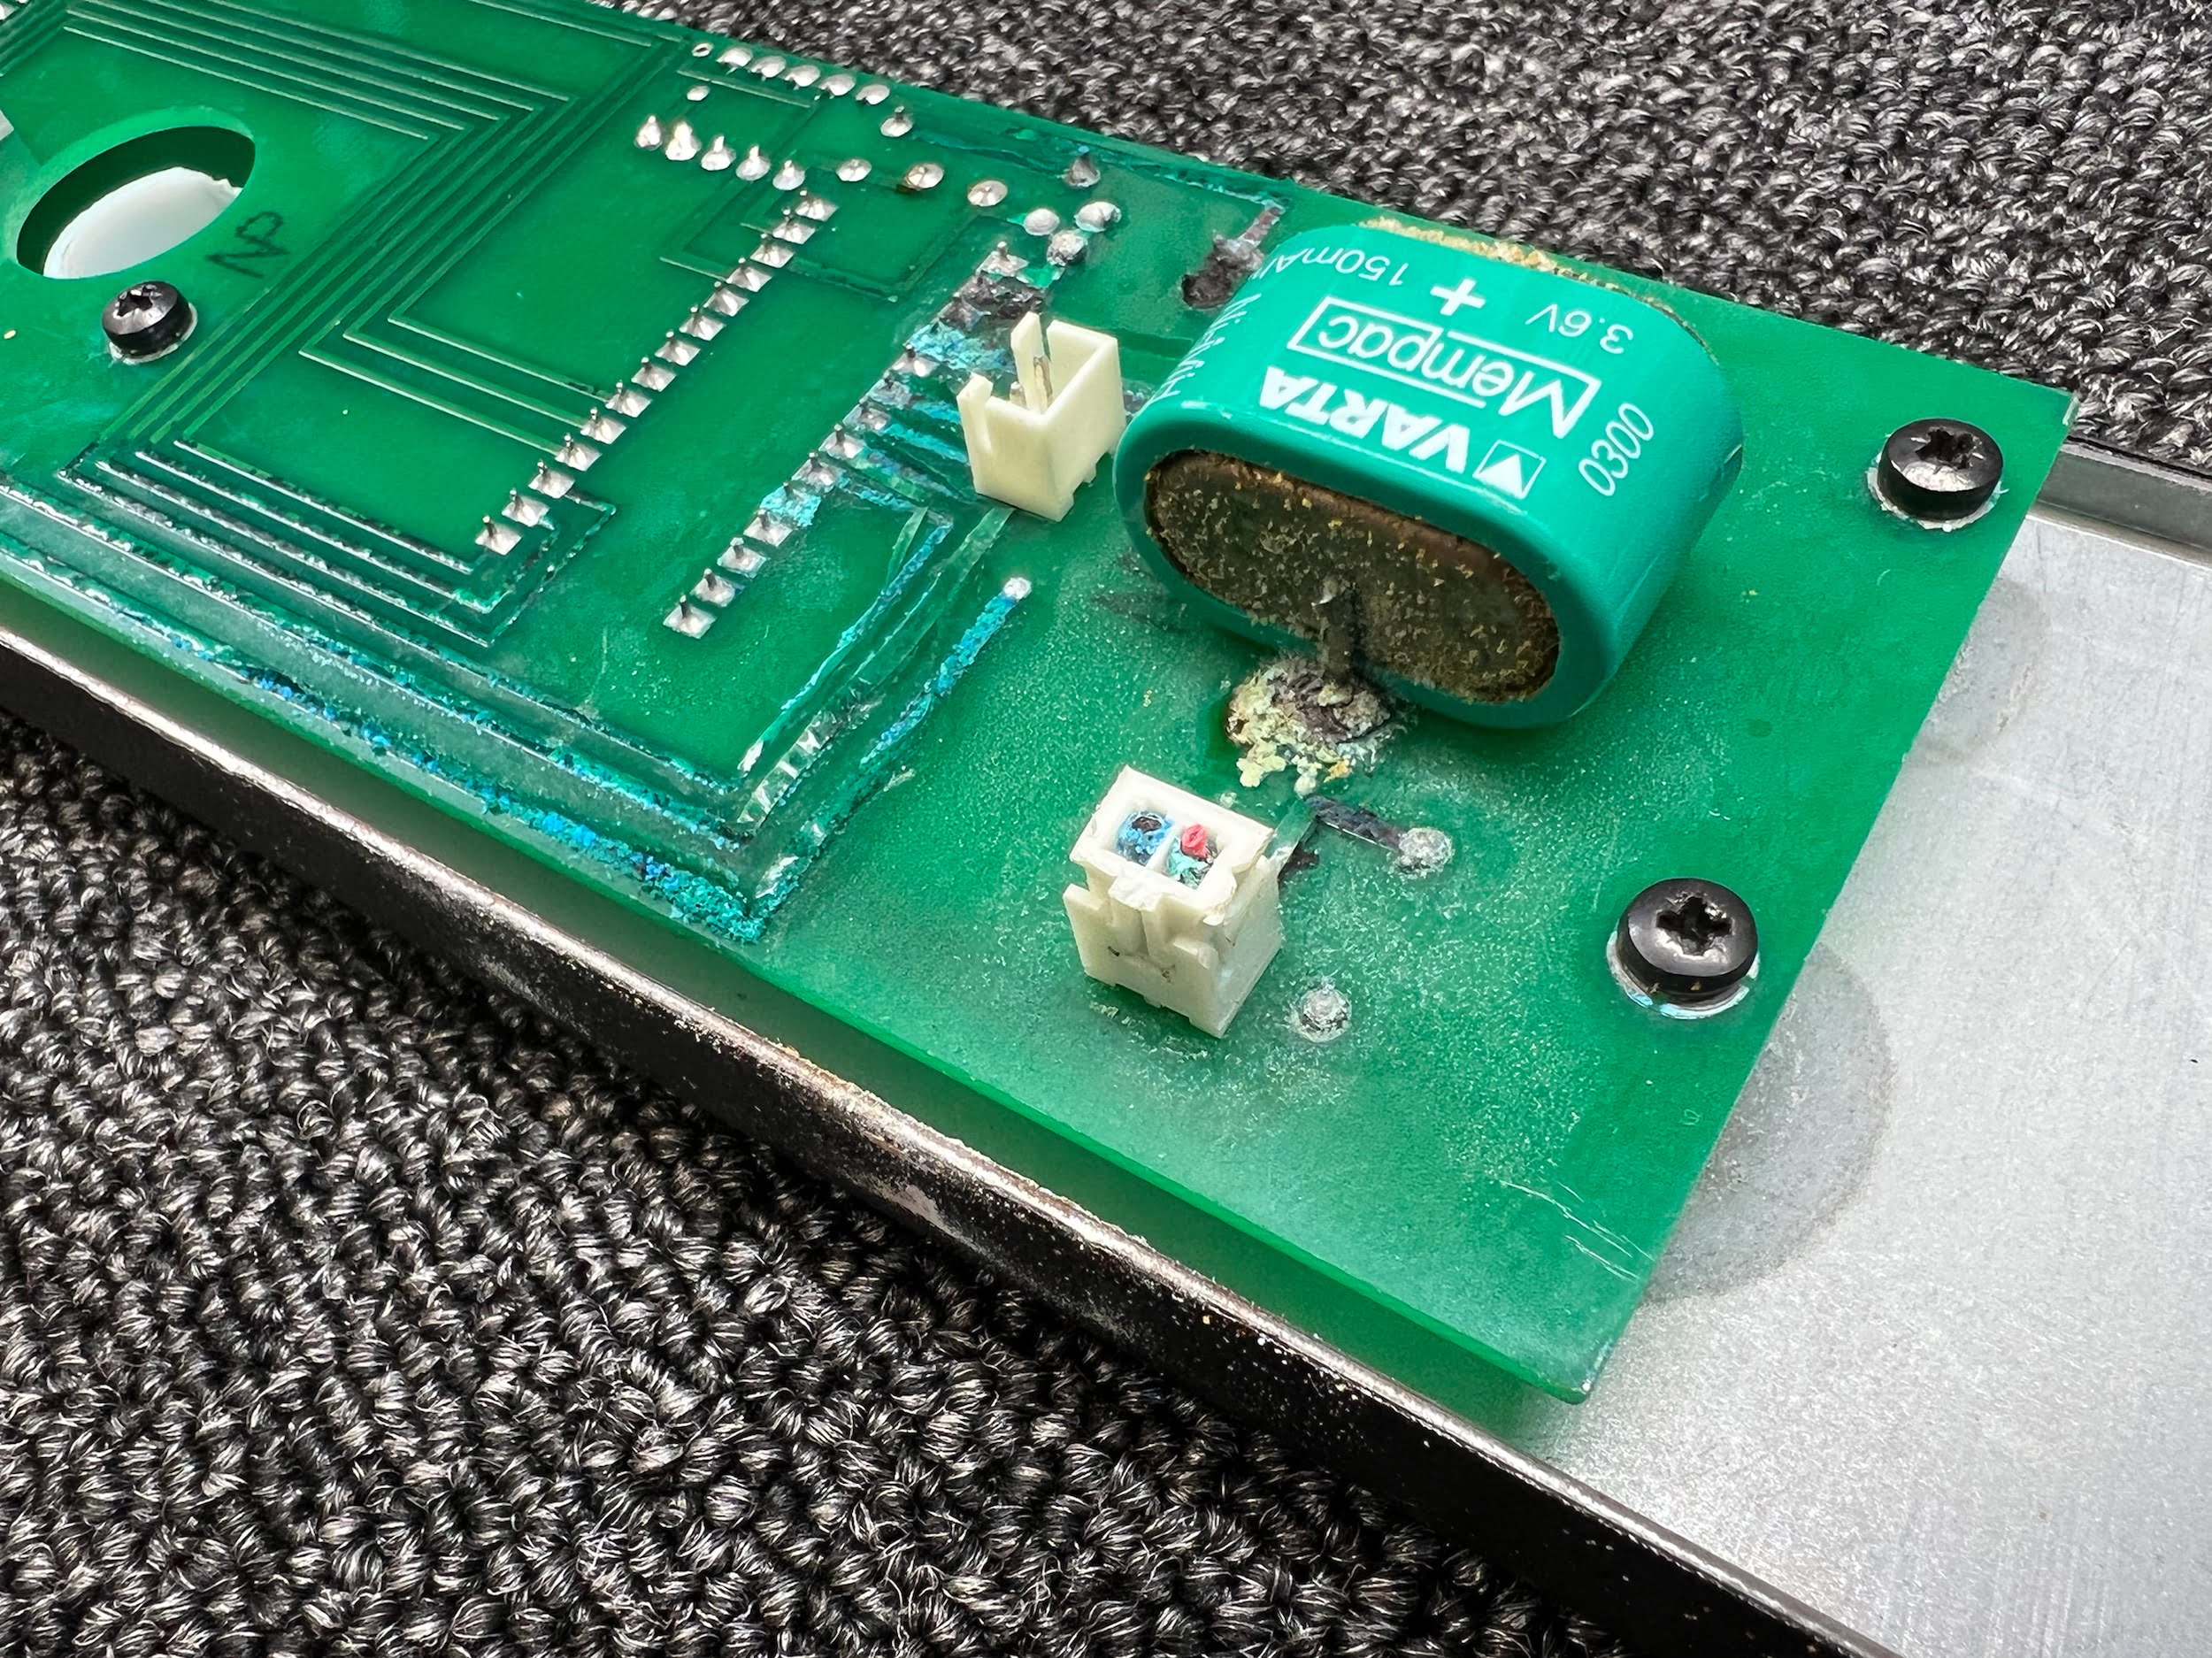
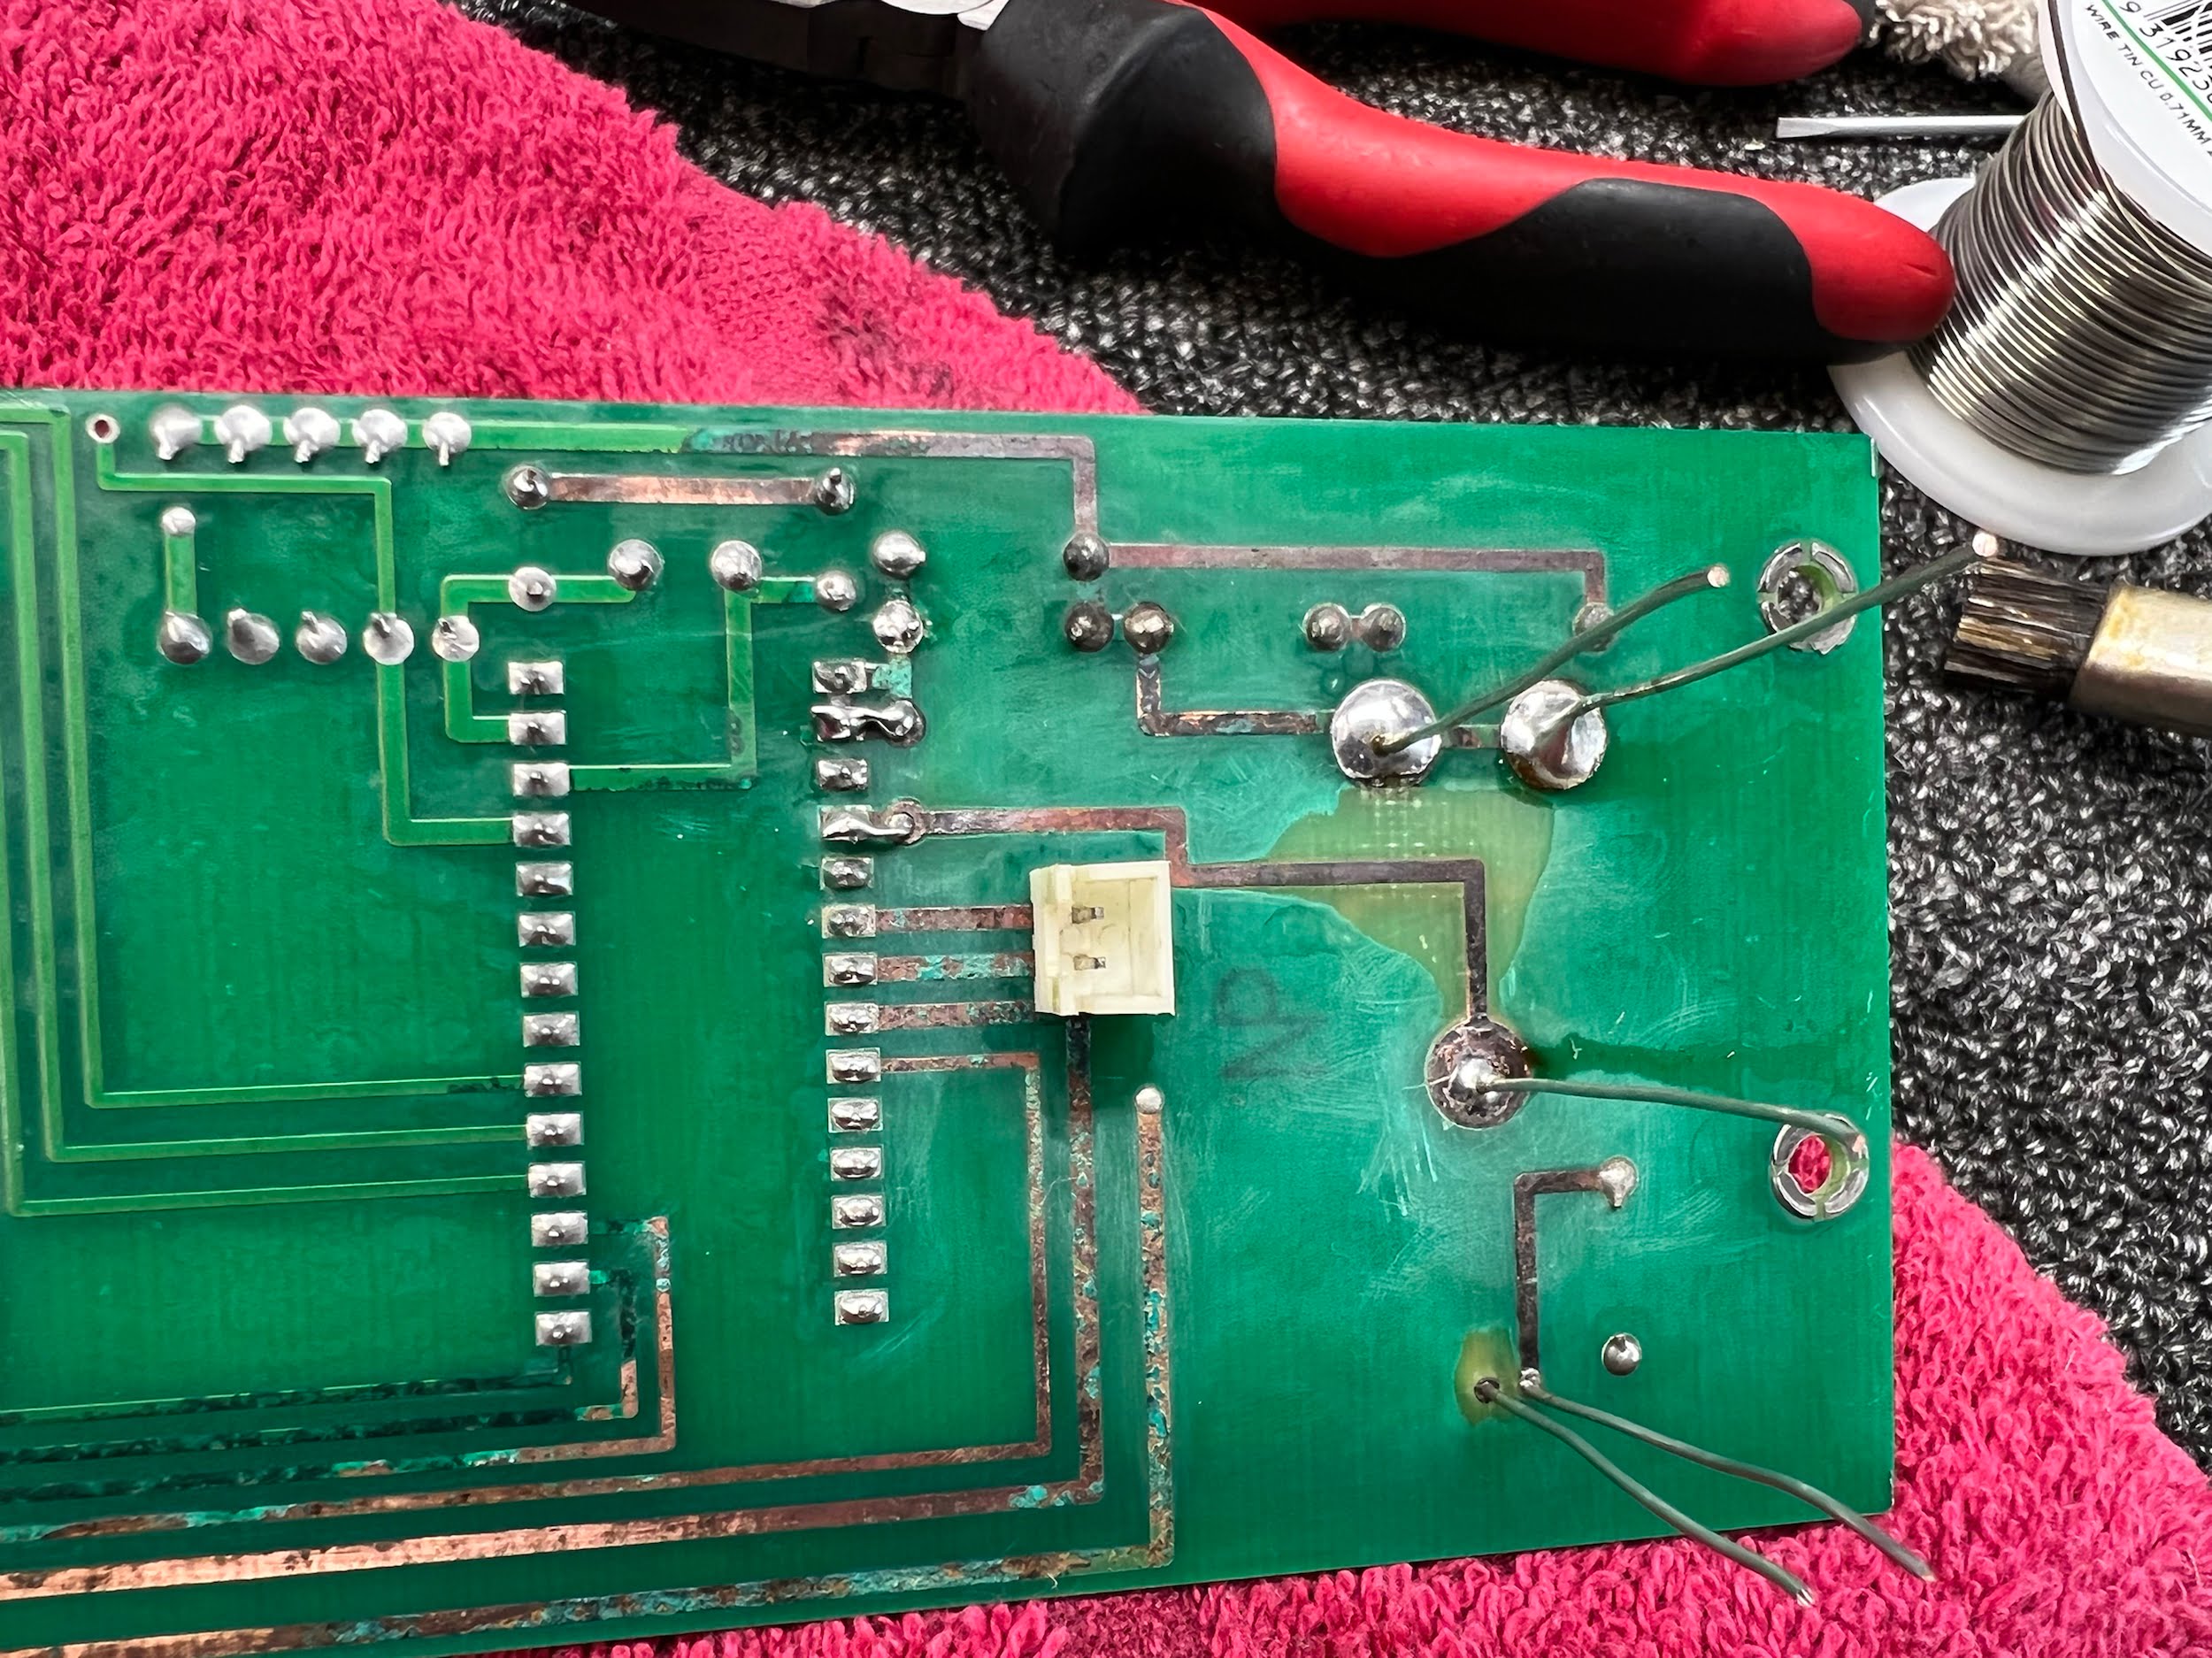
We all know that you shouldn’t leave batteries installed in equipment for long periods of time because they leak, right? Well, do you know what happens when a manufacturer solders in a ‘permanently installed’ nickel-metal-hydride or NiMH battery that nobody knows they should check? In the case of the Musical Fidelity A3 integrated amplifier, this is what happens:
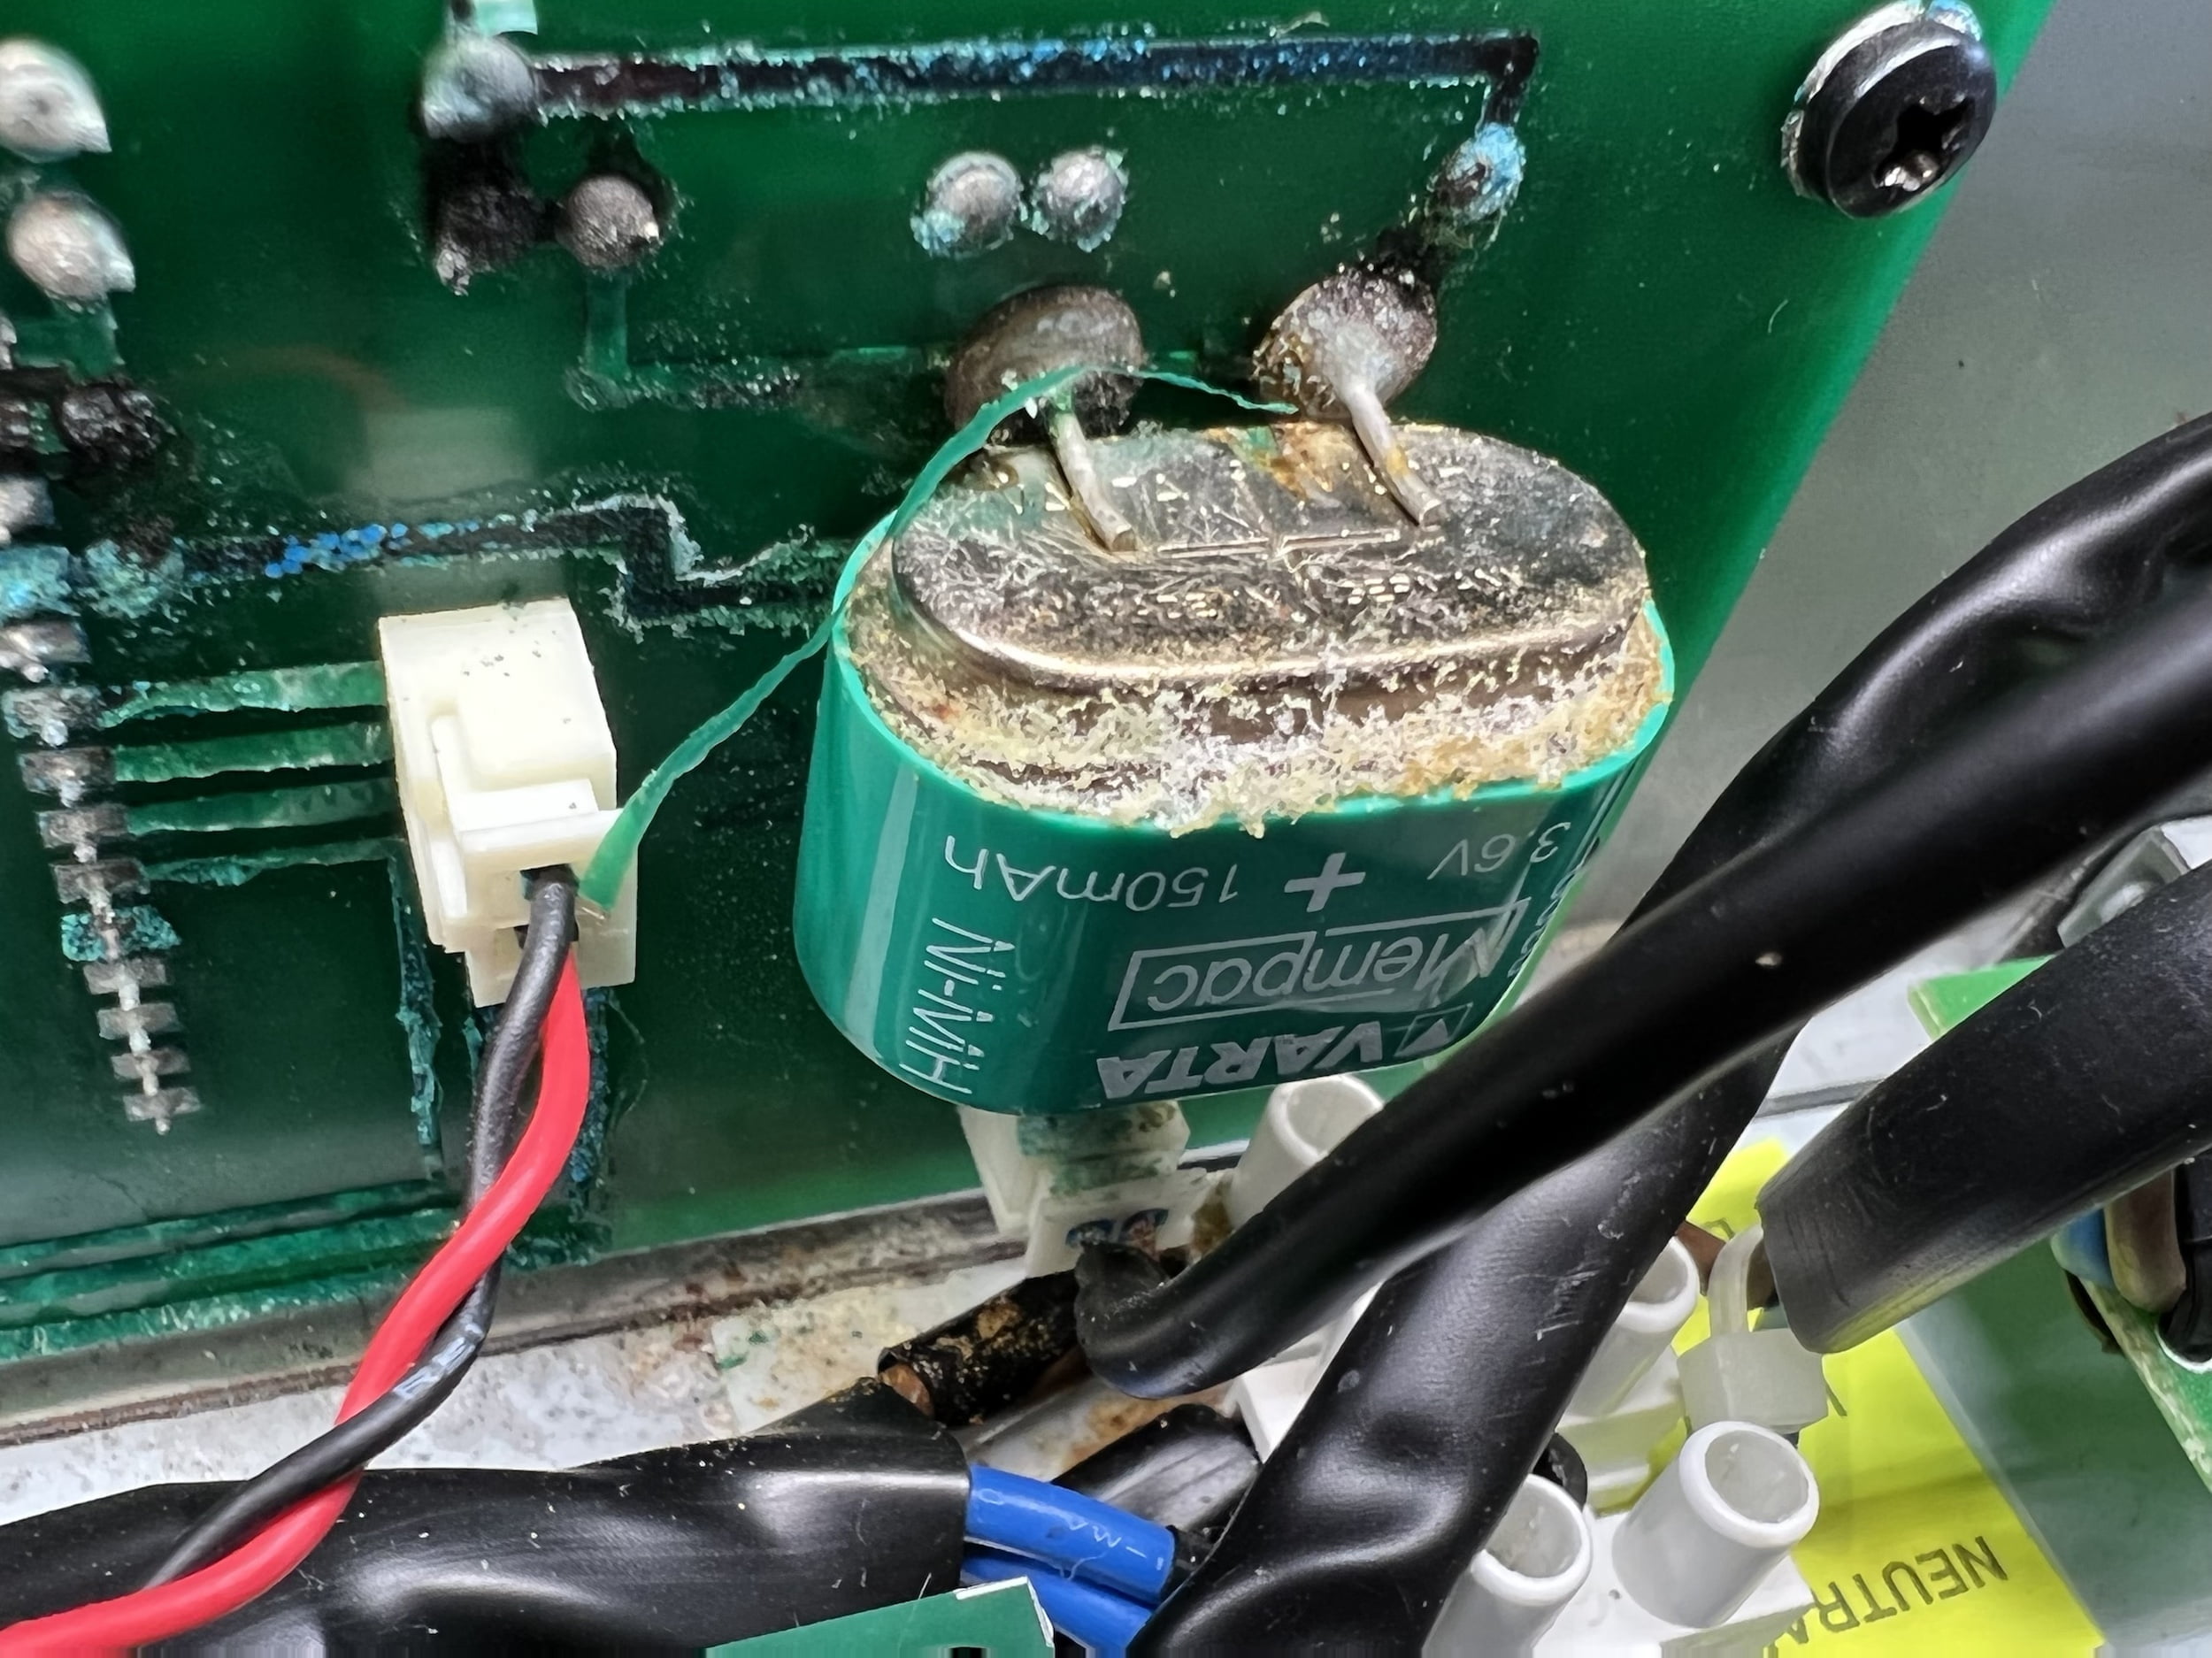
No kidding, this is dire and a potential amplifier killer, because replacement boards are no longer available. I know that this fault has written off other A3s and I wonder how many people reading this have equipment like this, containing memory batteries that have never been checked? Hopefully, this serves as a reminder to have equipment inspected and serviced periodically, whatever it might be. Batteries can destroy electronic equipment.
UPDATE: People have responded and told me that this article and video have already saved several amplifiers from certain death. Excellent, hopefully, we save a few more!
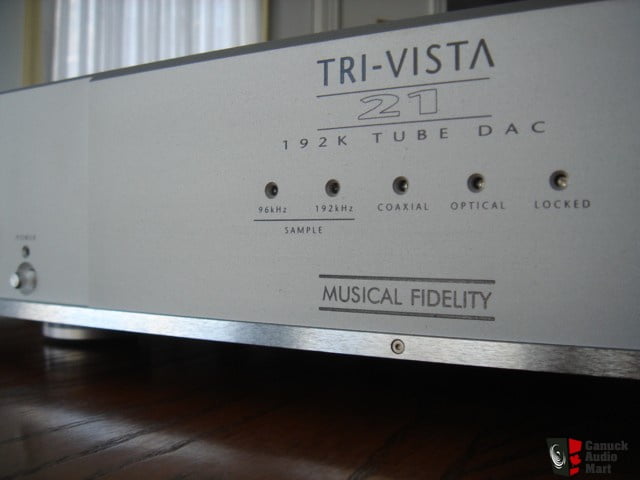
I’ve written quite extensively about Musical Fidelity equipment (and owned a few pieces), including my favourite Tri-Vista 21 Class-A Tube DAC with multiple articles and videos, the M1 DAC, the beastly NuVista M3 Amplifier, and more.
As usual, check out our video summary with other details:
Features
The Musical Fidelity A3 Dual Mono integrated amplifier is a basic, solidly built, UK-made integrated amplifier with op-amp based phono preamp and a selection of fairly ordinary parts, including the not-very-nice SAP15N and SAP15P Darlington pair output devices that fail and can not be replaced because they are no longer available.
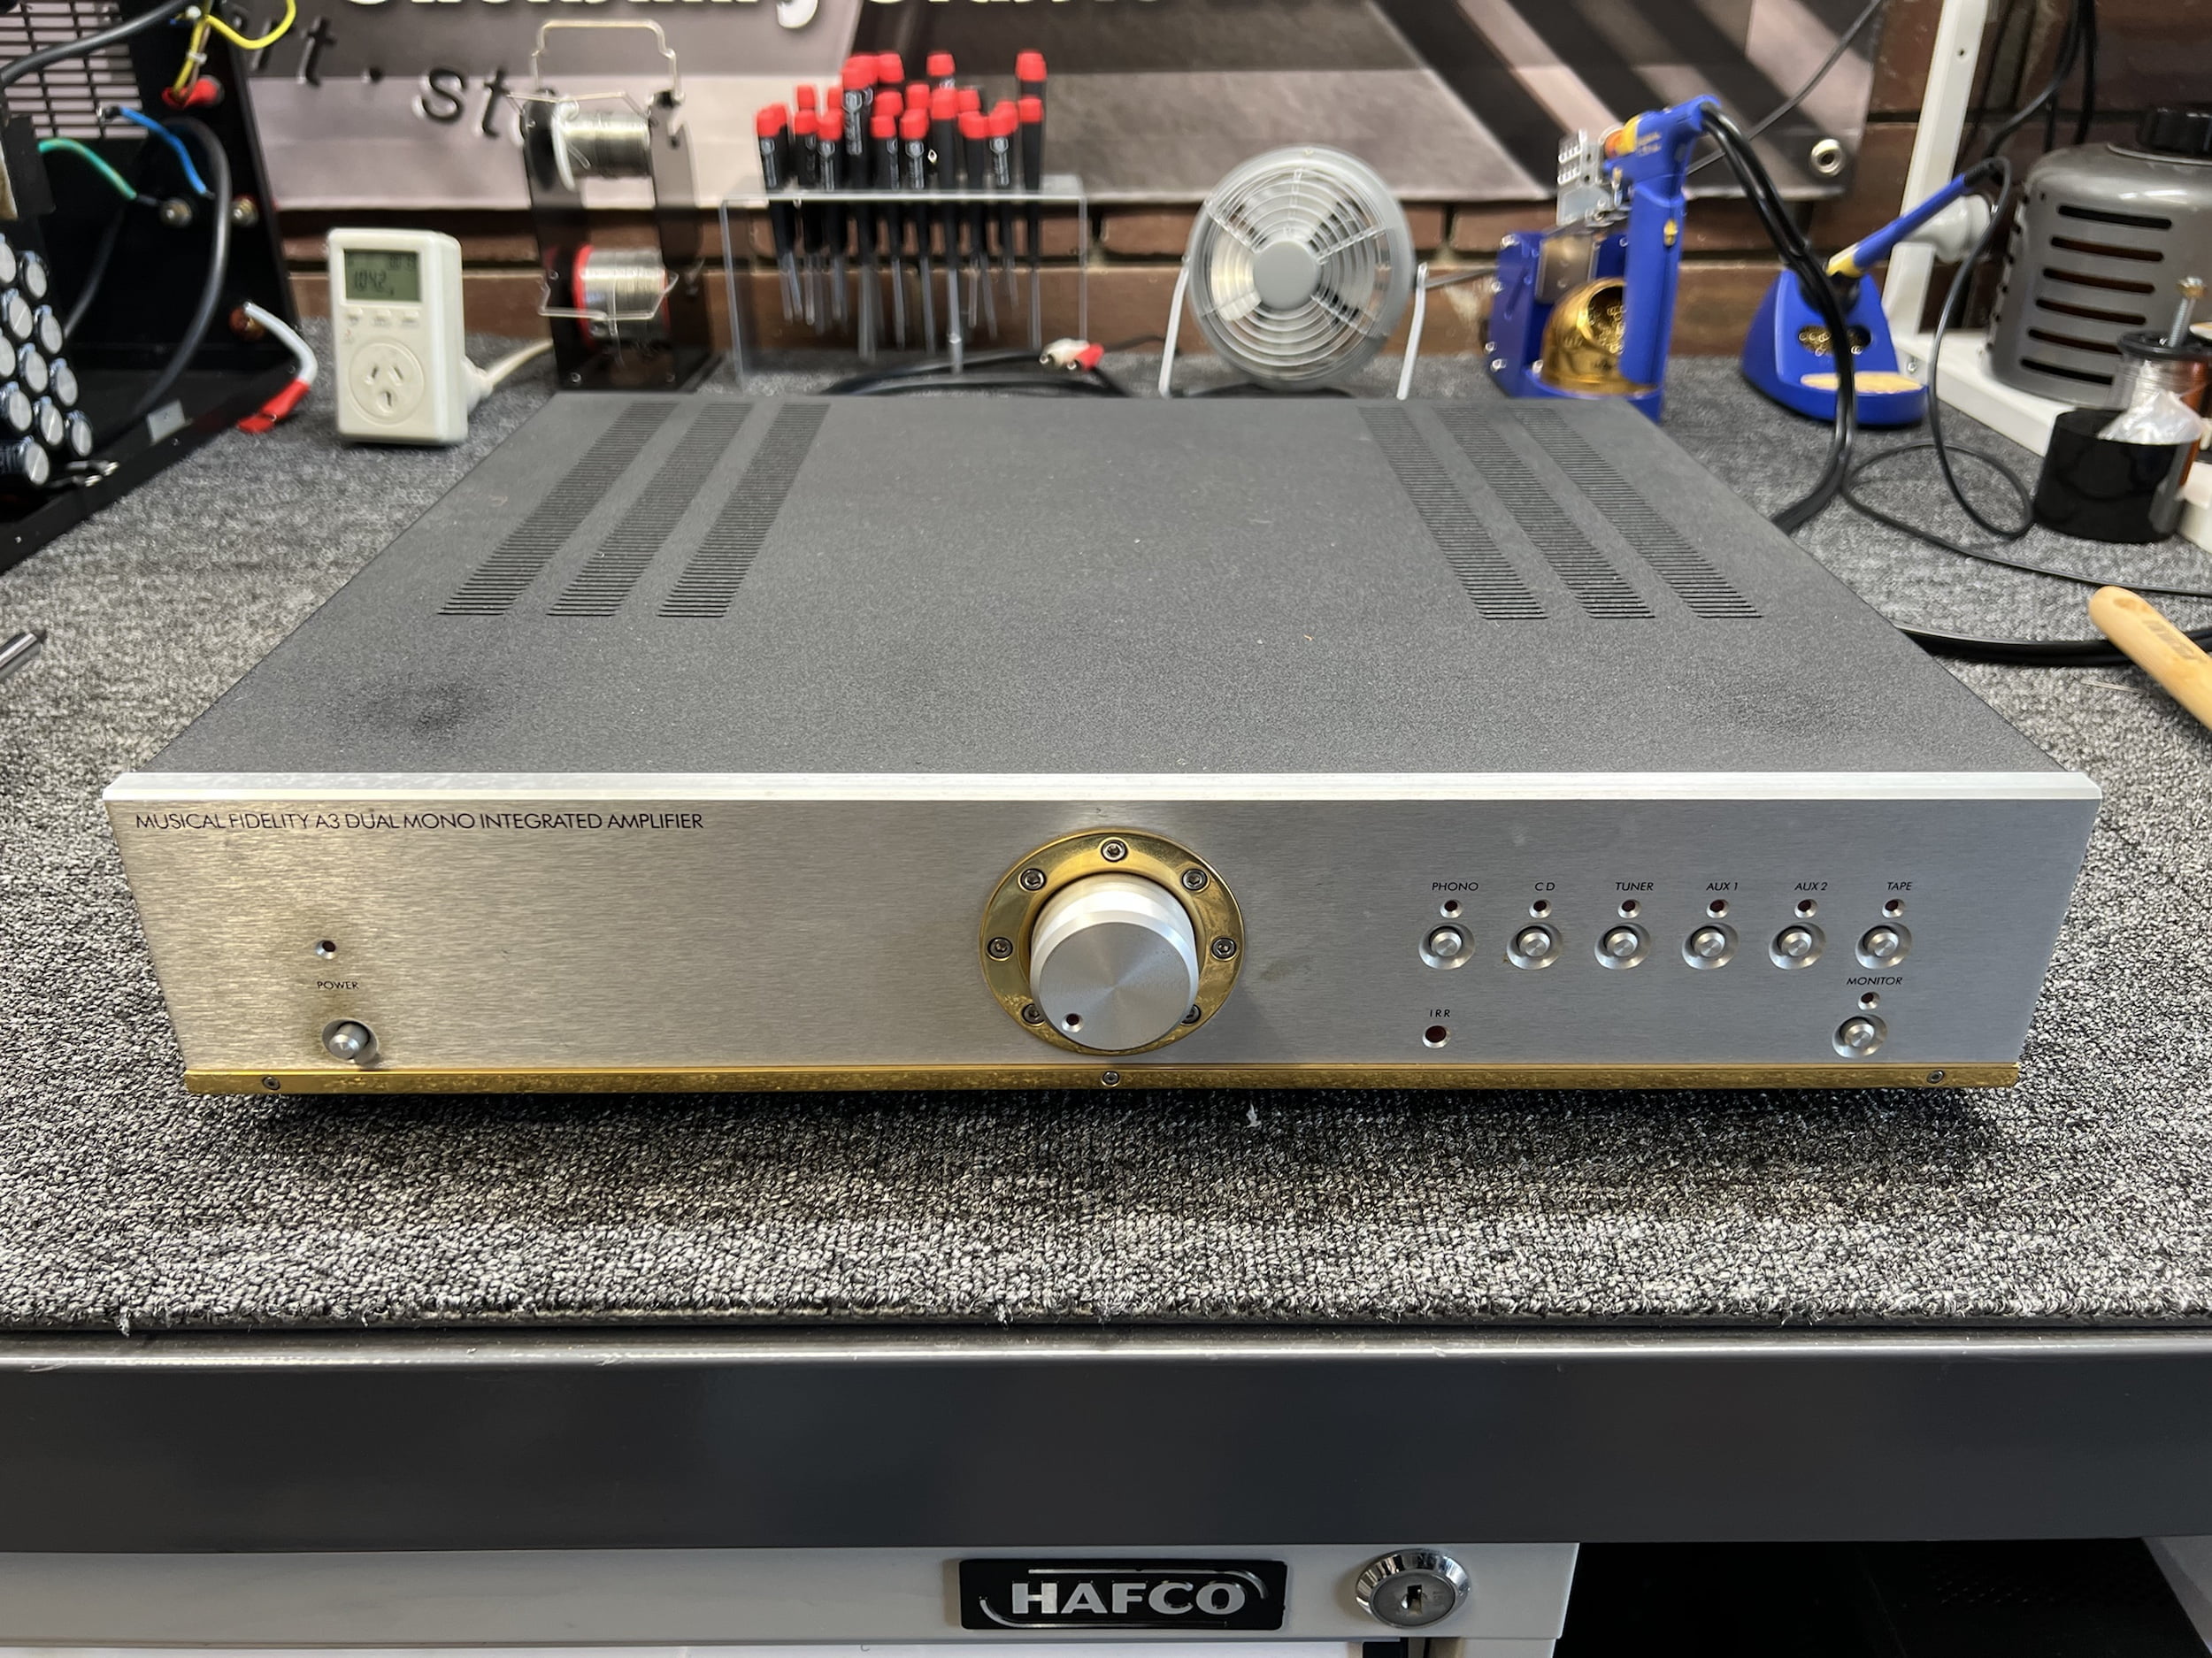
Why were these devices used? This will explain why: each device contains two transistors, an emitter resistor, a diode and some other stuff, depending on polarity. It’s like a big op-amp. These save money and allow for a simpler more cost-effective layout, just like the op-amp they use in the phono preamp does.
Musical Fidelity had a habit of buying up big on a certain part type and I’m guessing they did that with these SAP15s as they are used in many of their products from the time. When they fail, and they do for thermal reasons and because you can’t make a big resistor and several transistors and diodes fit into a little plastic package and handle any power, they cannot be replaced. Something else must be used and boards modified accordingly and with an amplifier like this, that may not be worth doing.
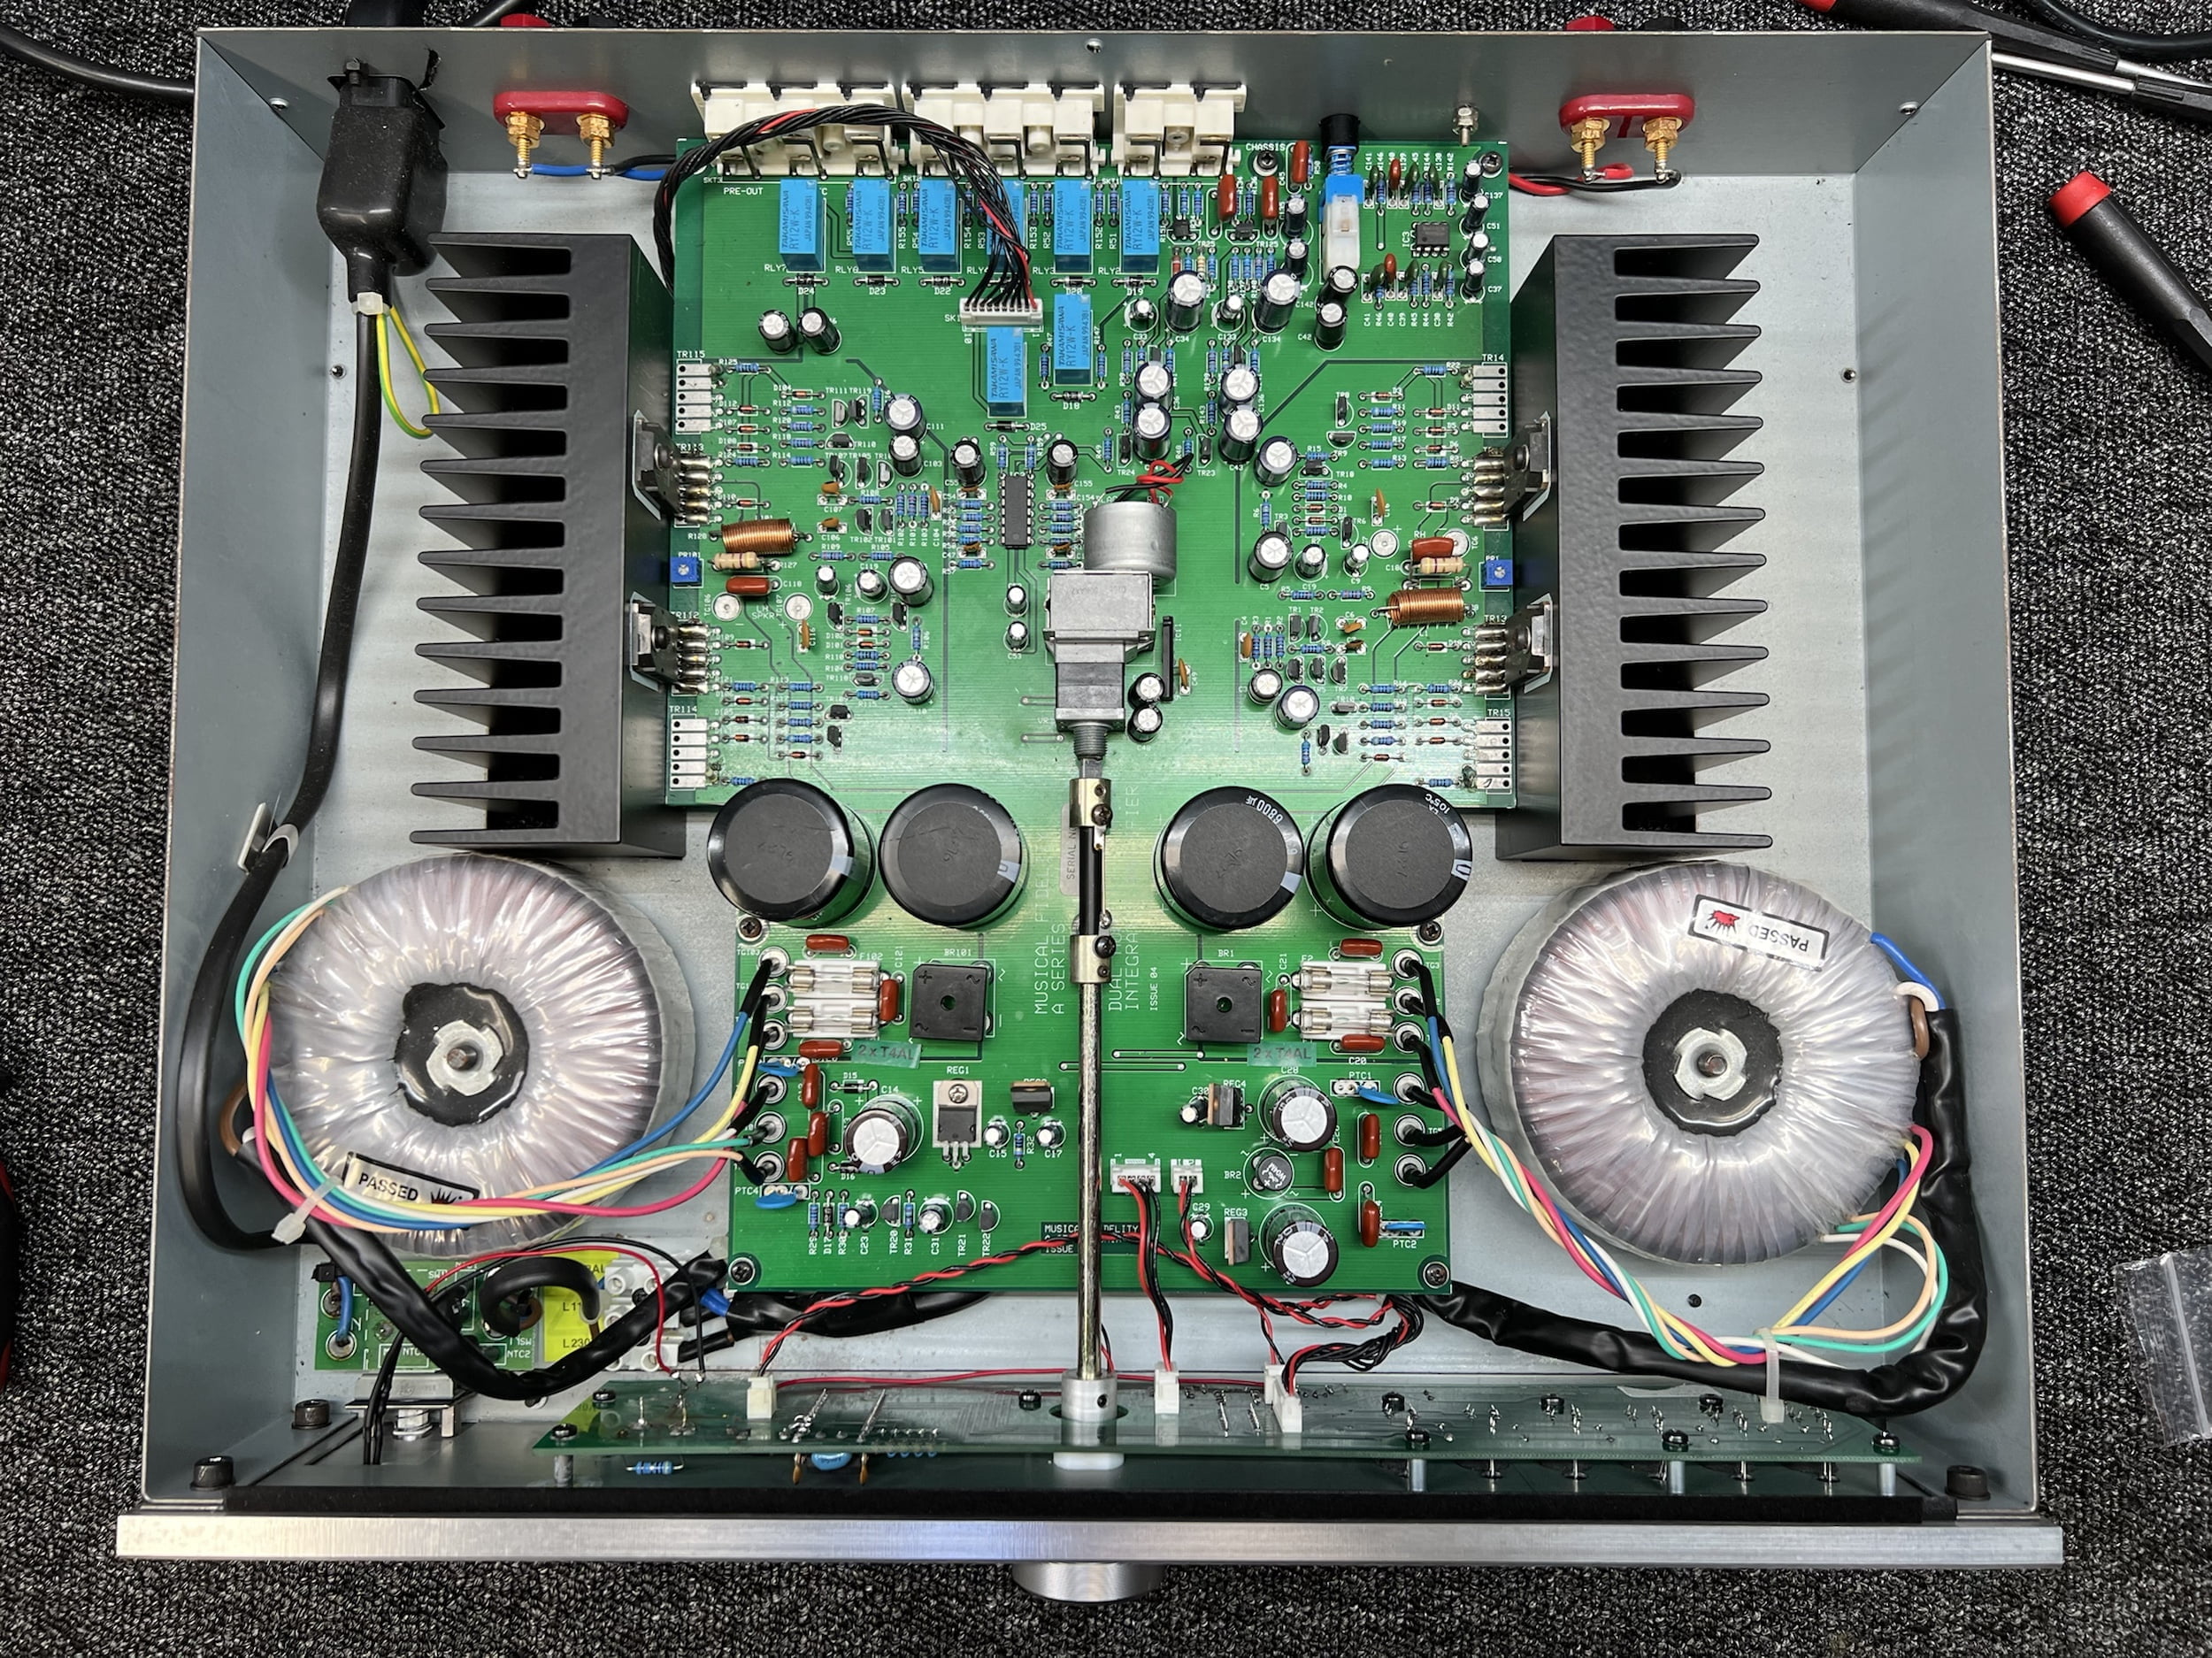
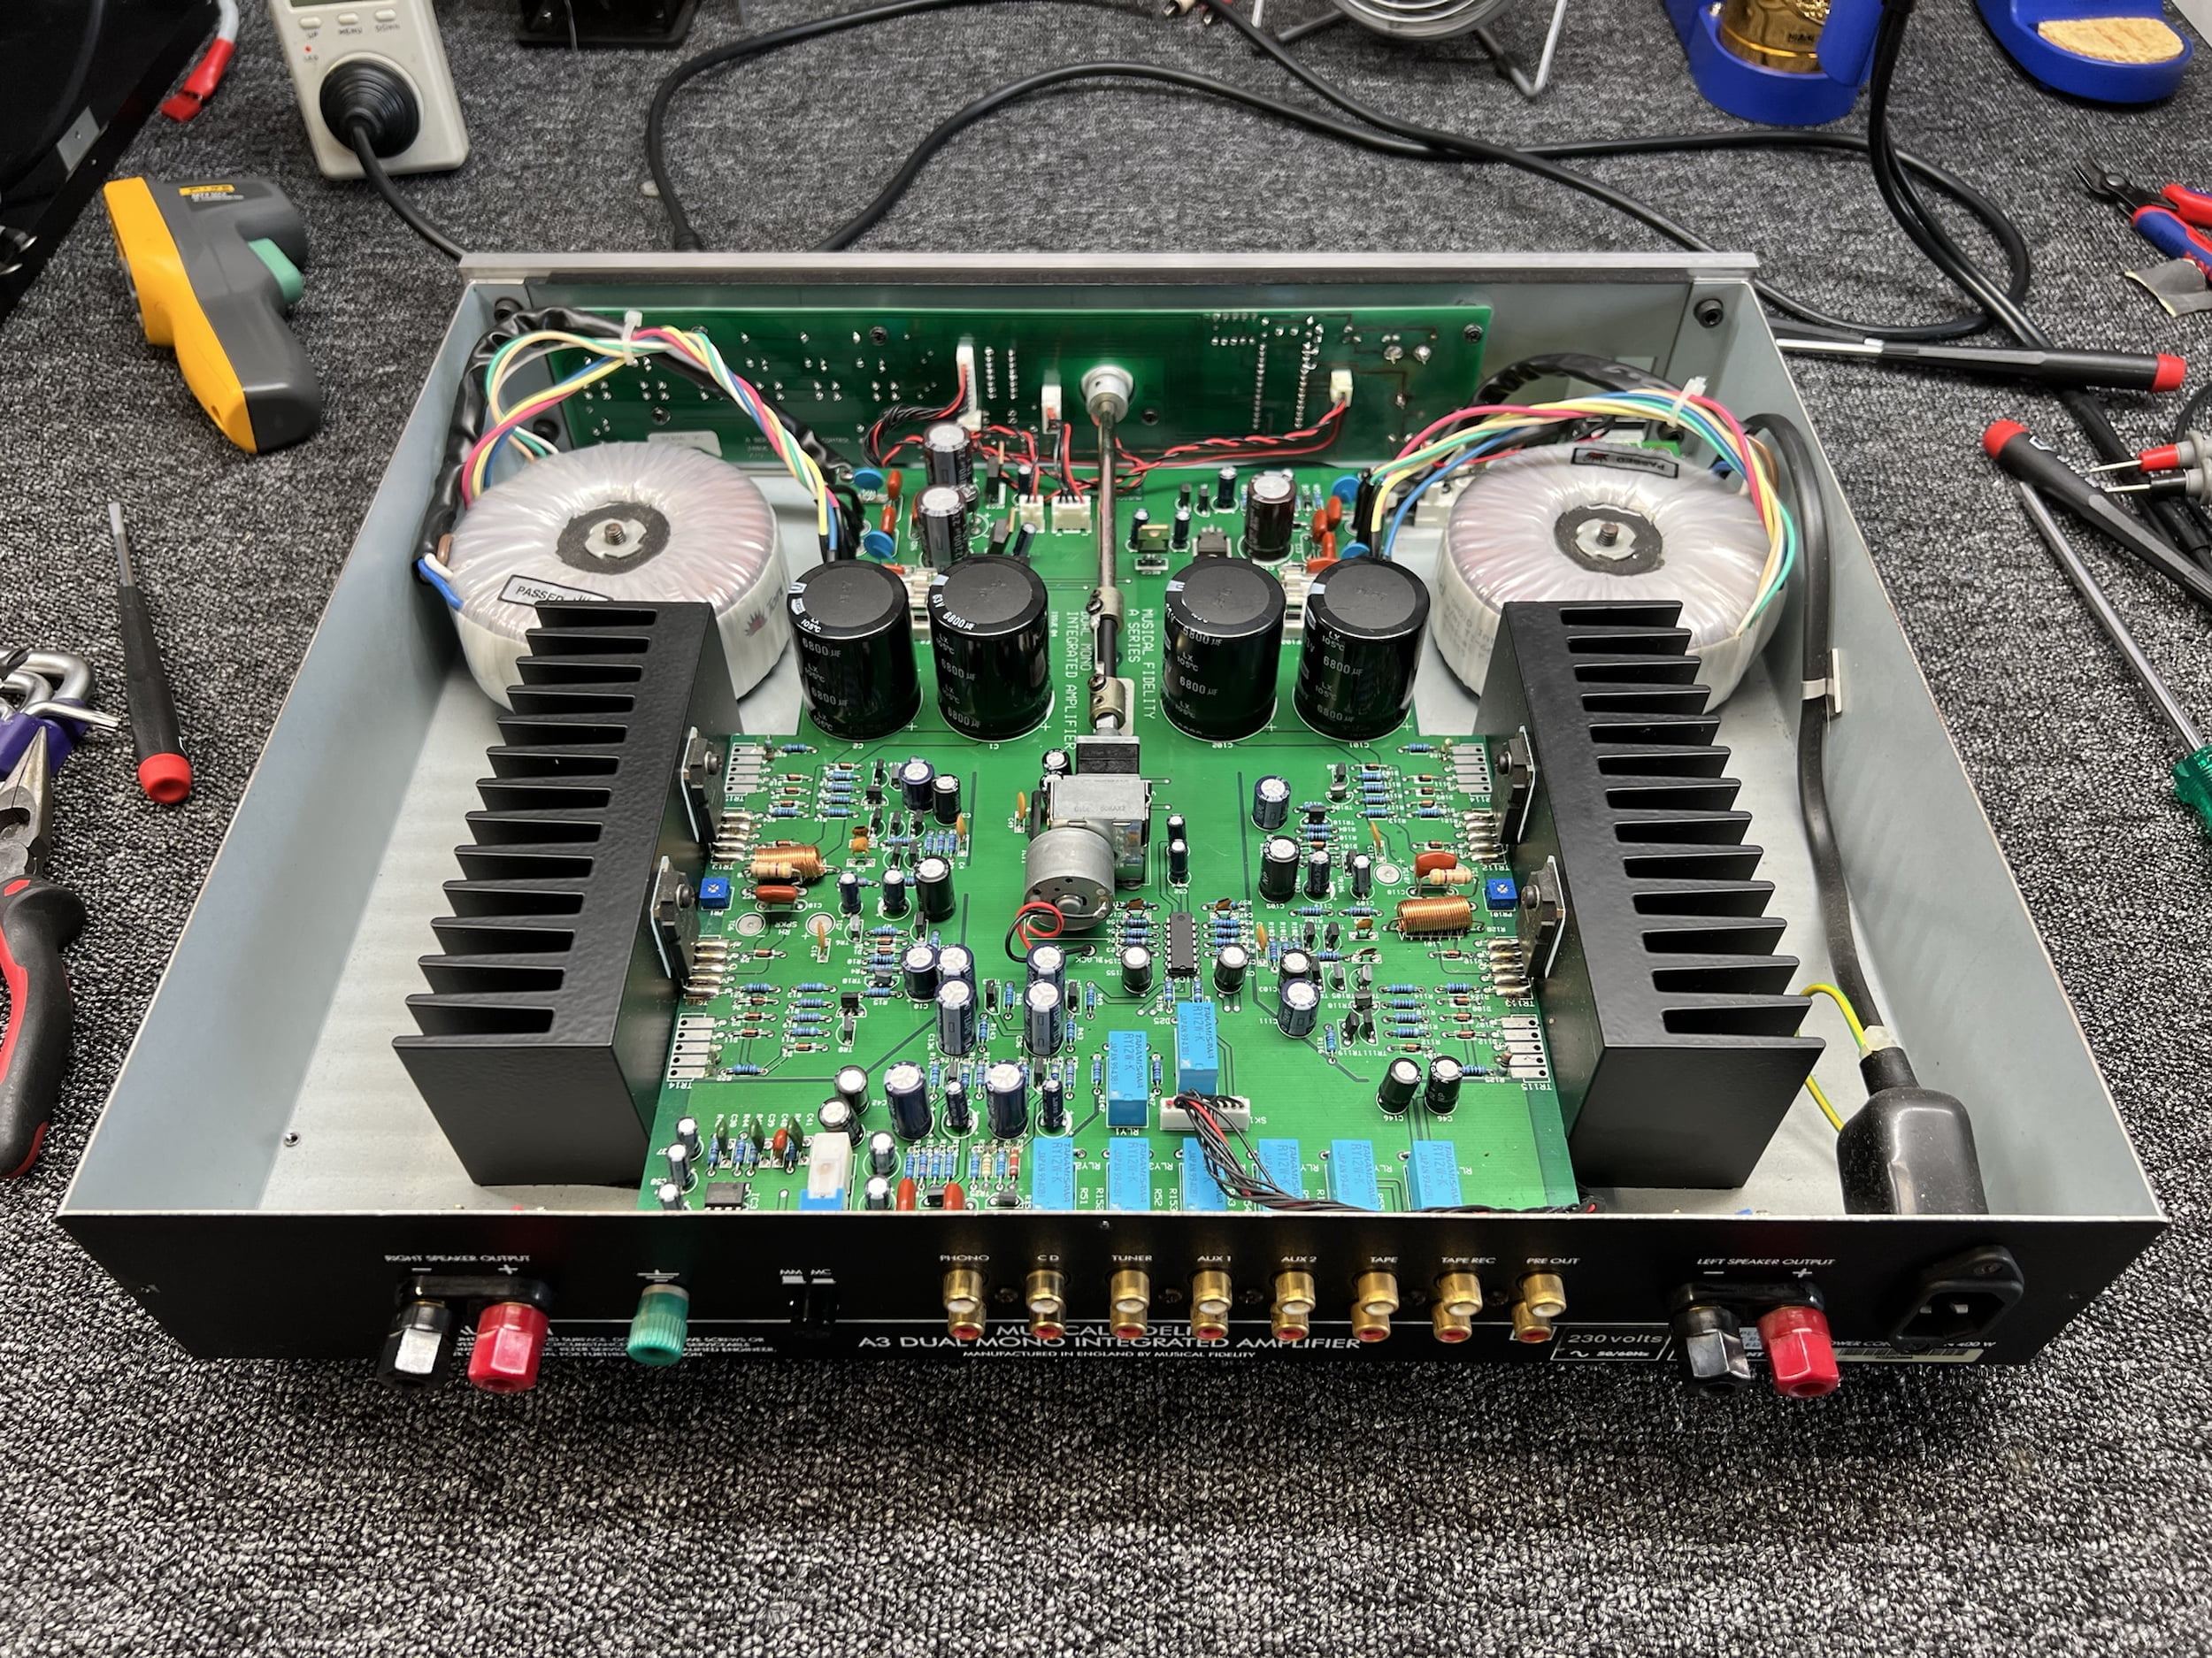
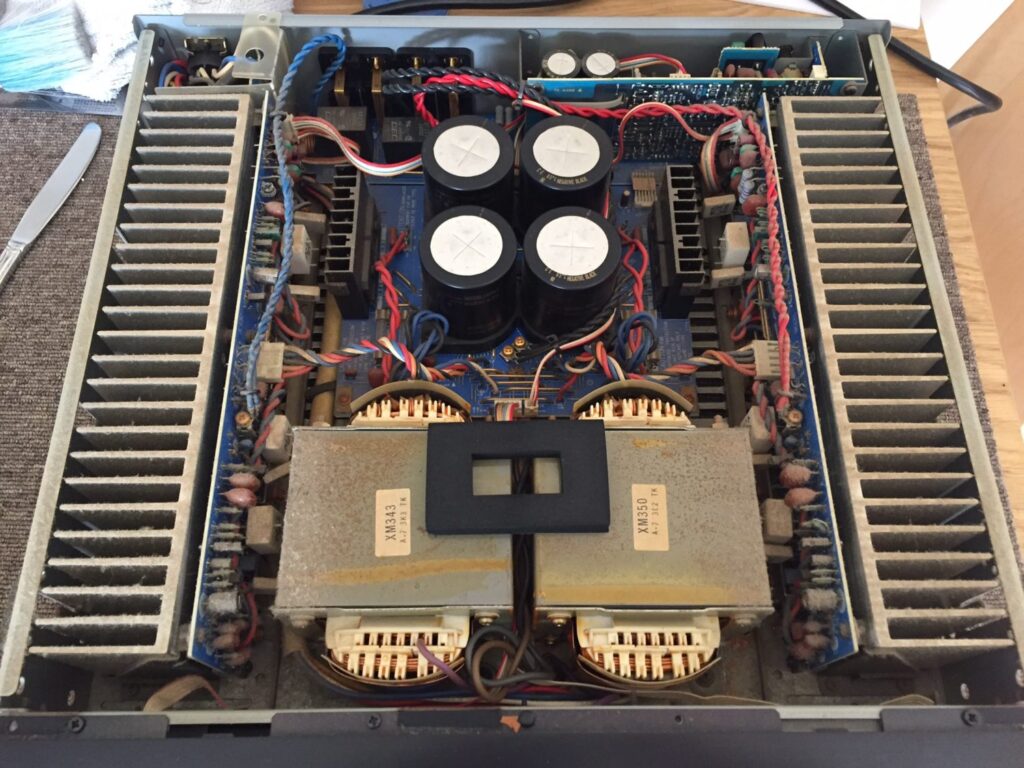
Other than that, they are a well-built amplifier, with two decent-sized toroidal transformers, nice heatsinks and good-quality boards. Significant improvements can be made to these and everything else MF makes, simply by focusing on parts.
Musical Fidelity A3 Specifications
Courtesy of HiFi Engine
Power output: 85 watts per channel into 8Ω (stereo)
Frequency response: 20Hz to 20kHz
Total harmonic distortion: 0.008%
Input sensitivity: 0.35mV (MC), 3.5mV (MM), 300mV (line)
Signal-to-noise ratio: 72dB (MC), 80dB (MM), 96dB (line)
Dimensions: 440 x 95 x 400mm
Weight: 13kg
Issues
I have a real love-hate relationship with Musical Fidelity because they made some great-sounding gear and found a unique niche design-wise. But they just won’t stop using crappy C-grade parts, and cheesy plastic connectors. The modern stuff is worse too. My feeling is to try to improve the MF gear you own, if you like it, or sell it and buy better if you don’t.
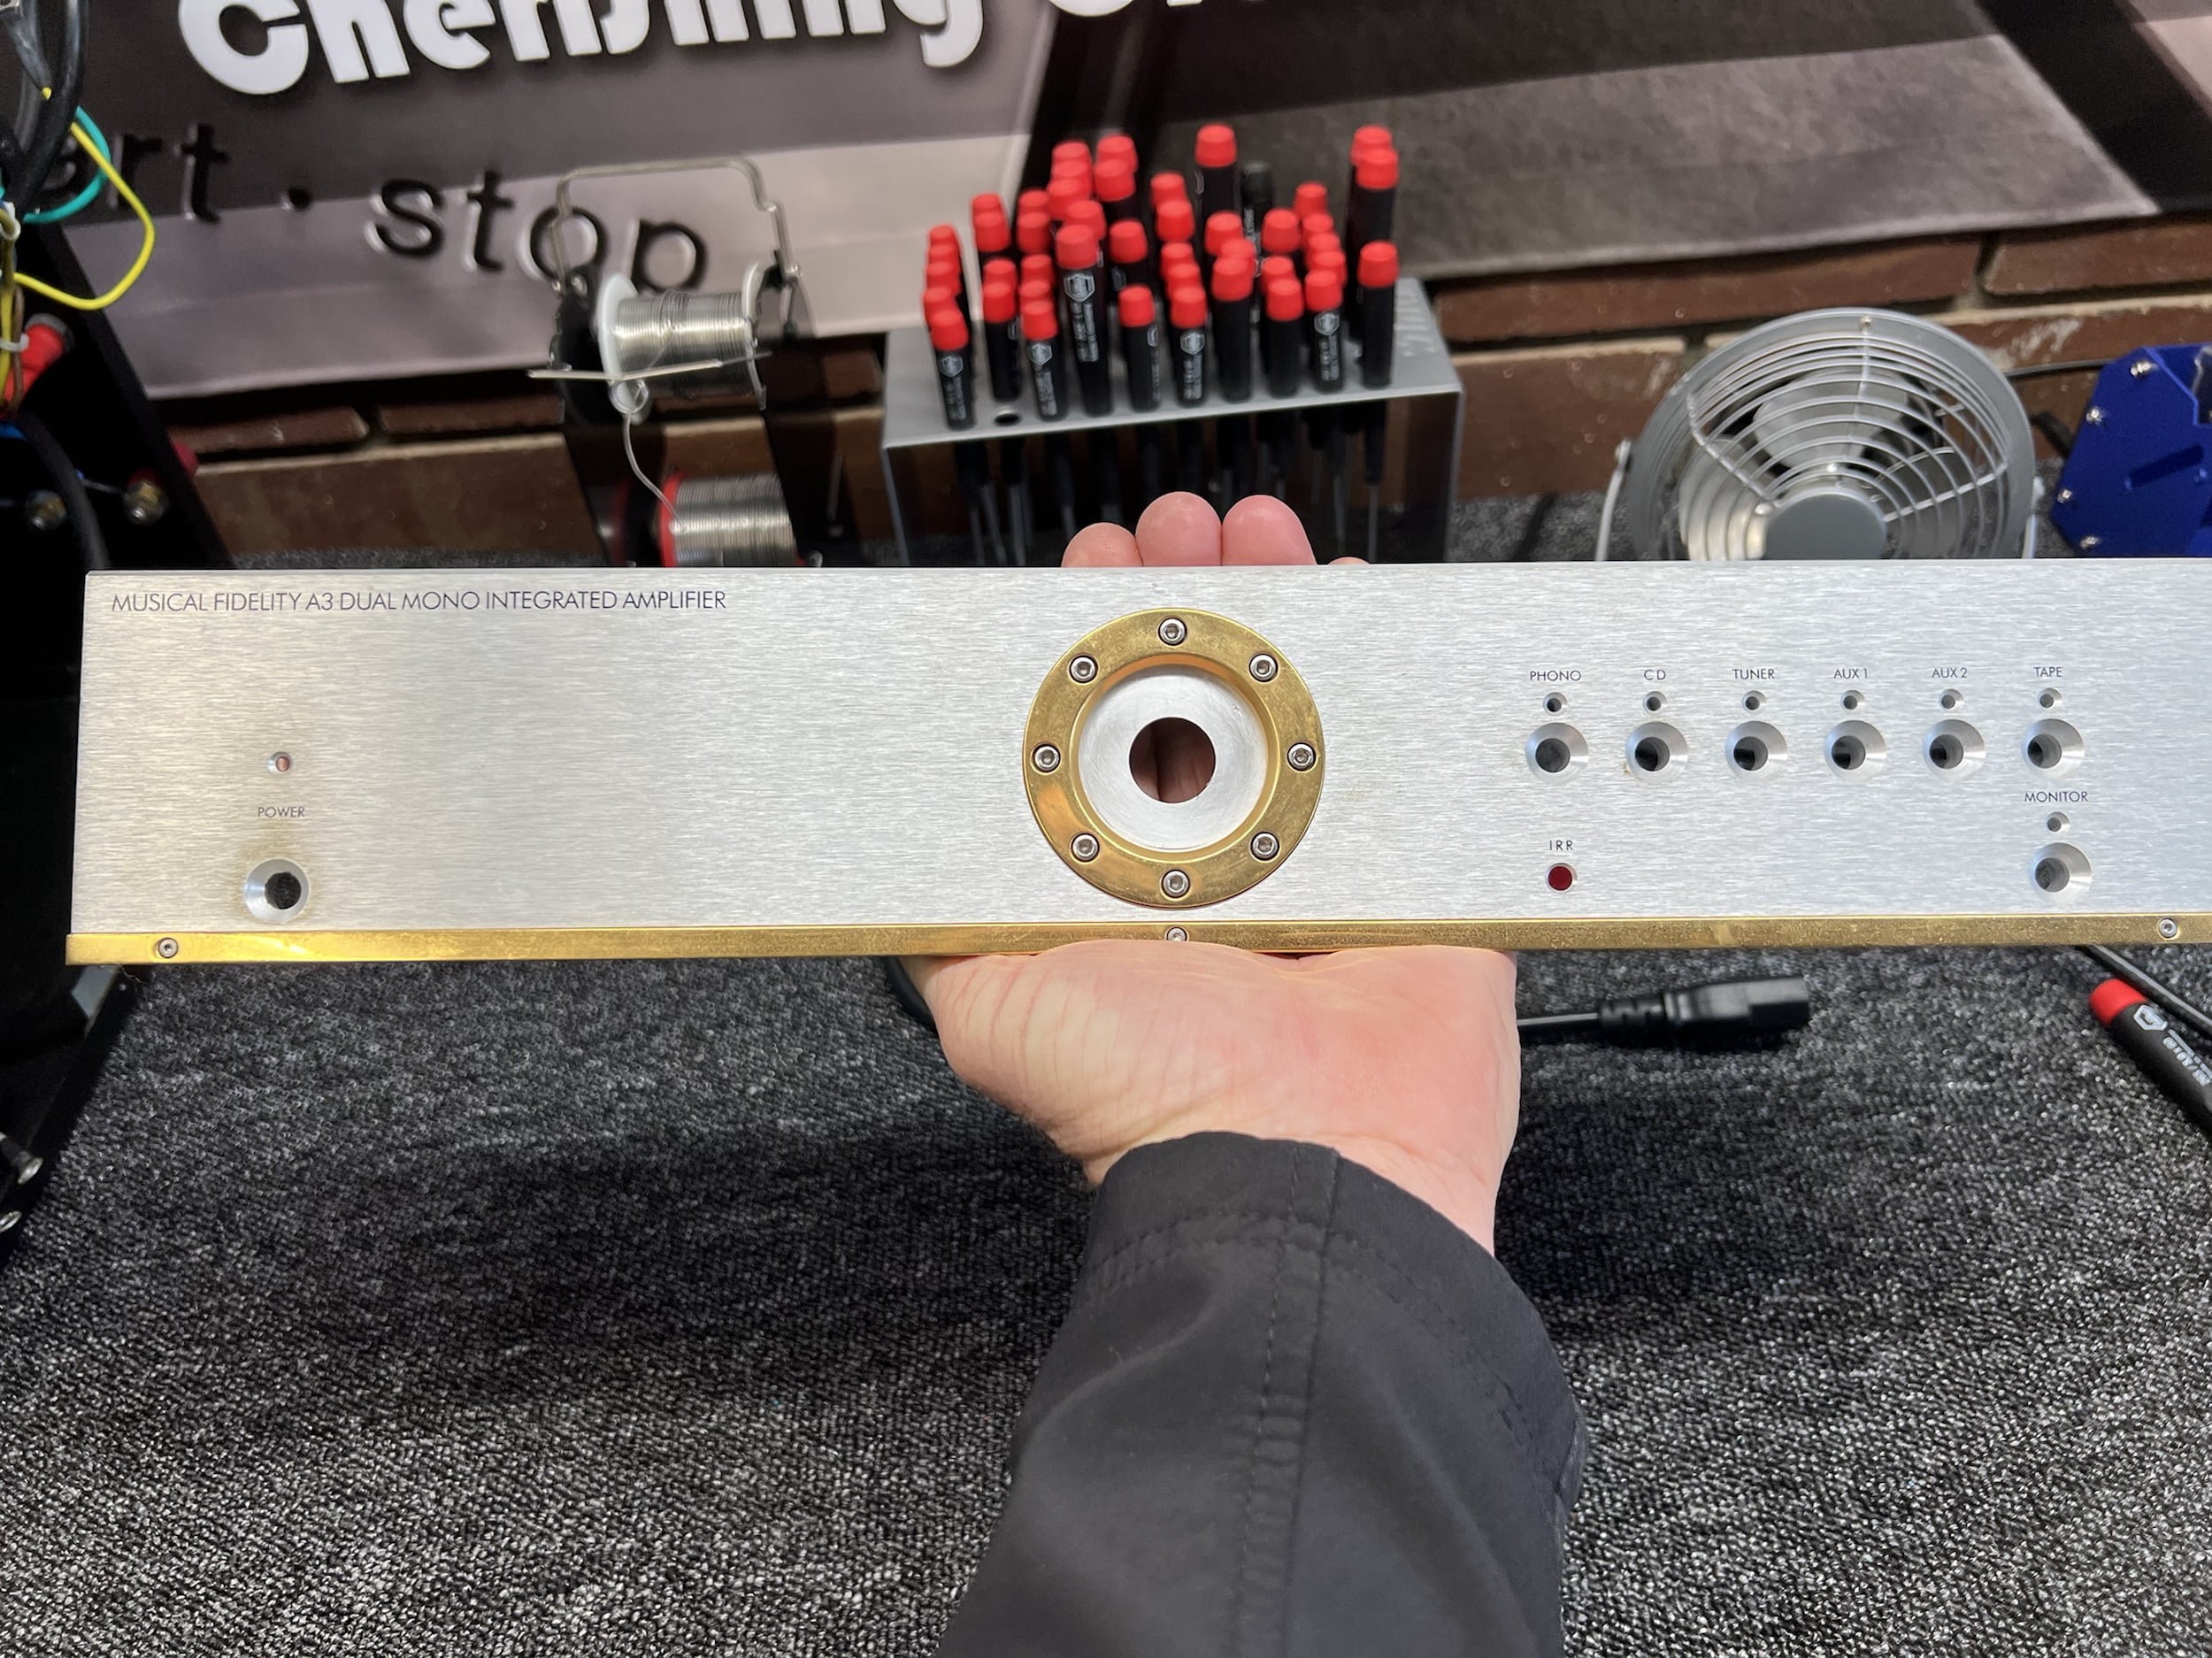
This Musical Fidelity A3 integrated amplifier presented with some obvious functional issues, and more that I found internally:
- Source selection buttons had a mind of their own
- Some buttons didn’t work
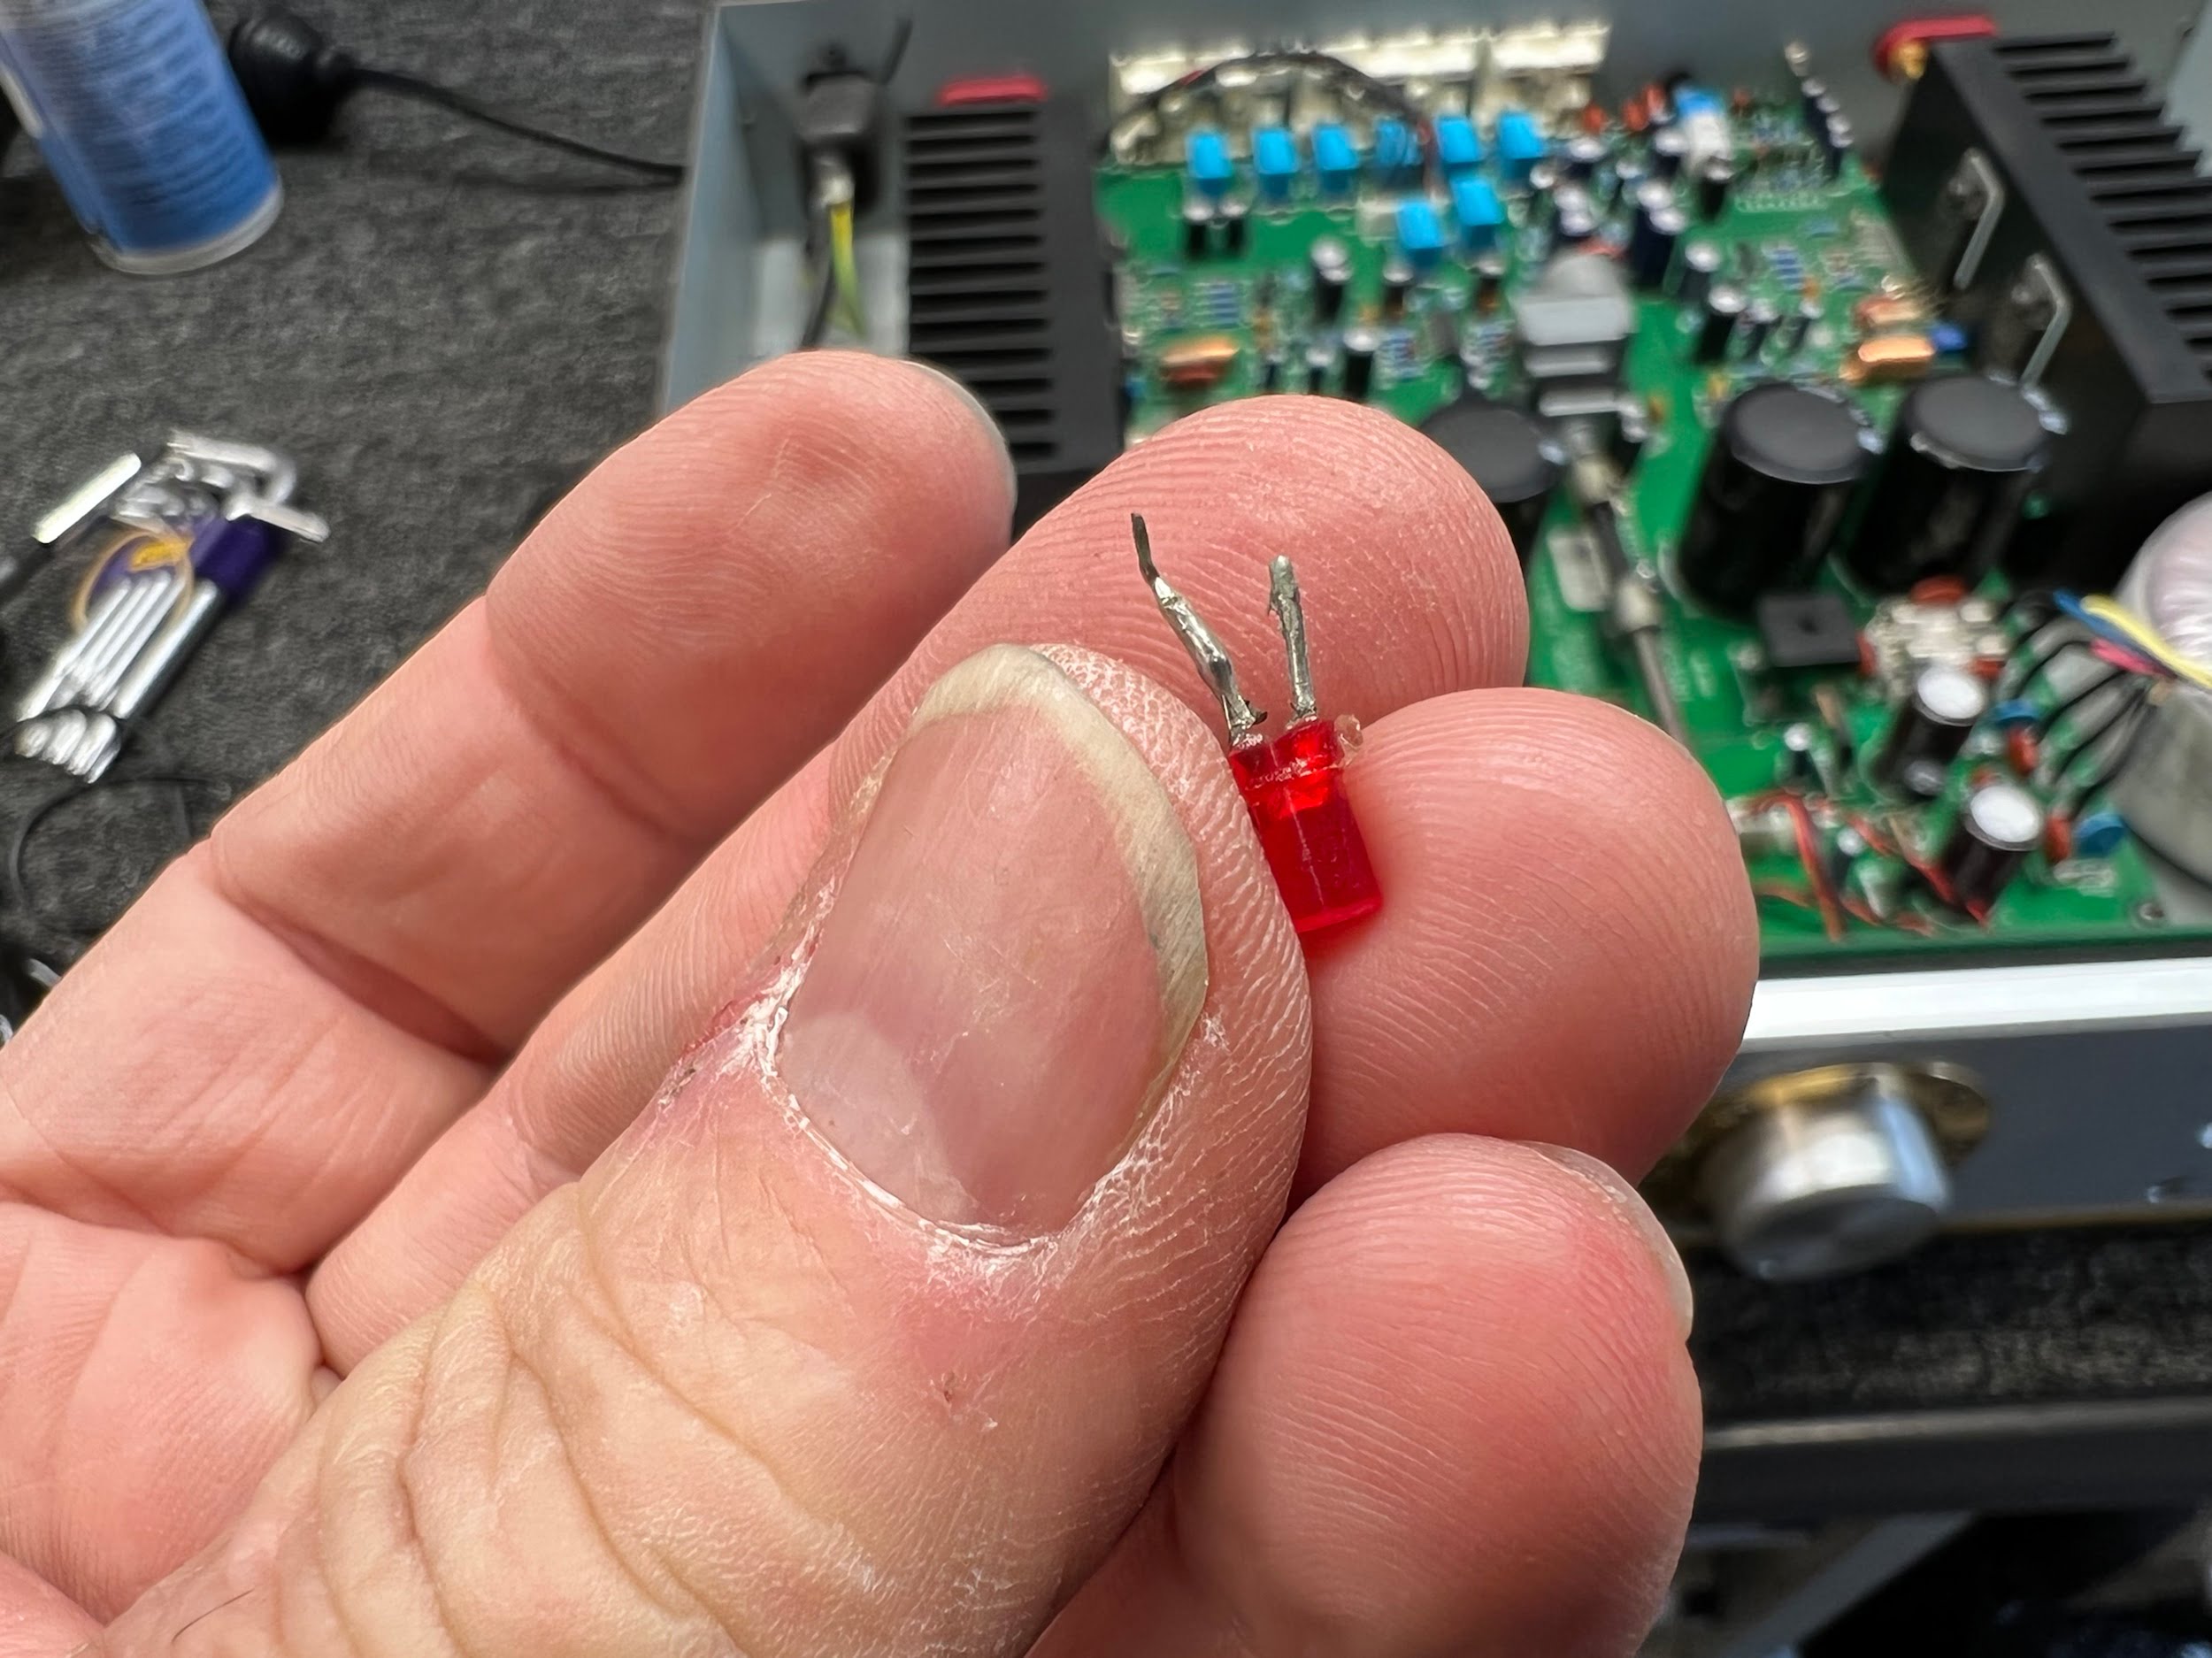
- Power on LED not working
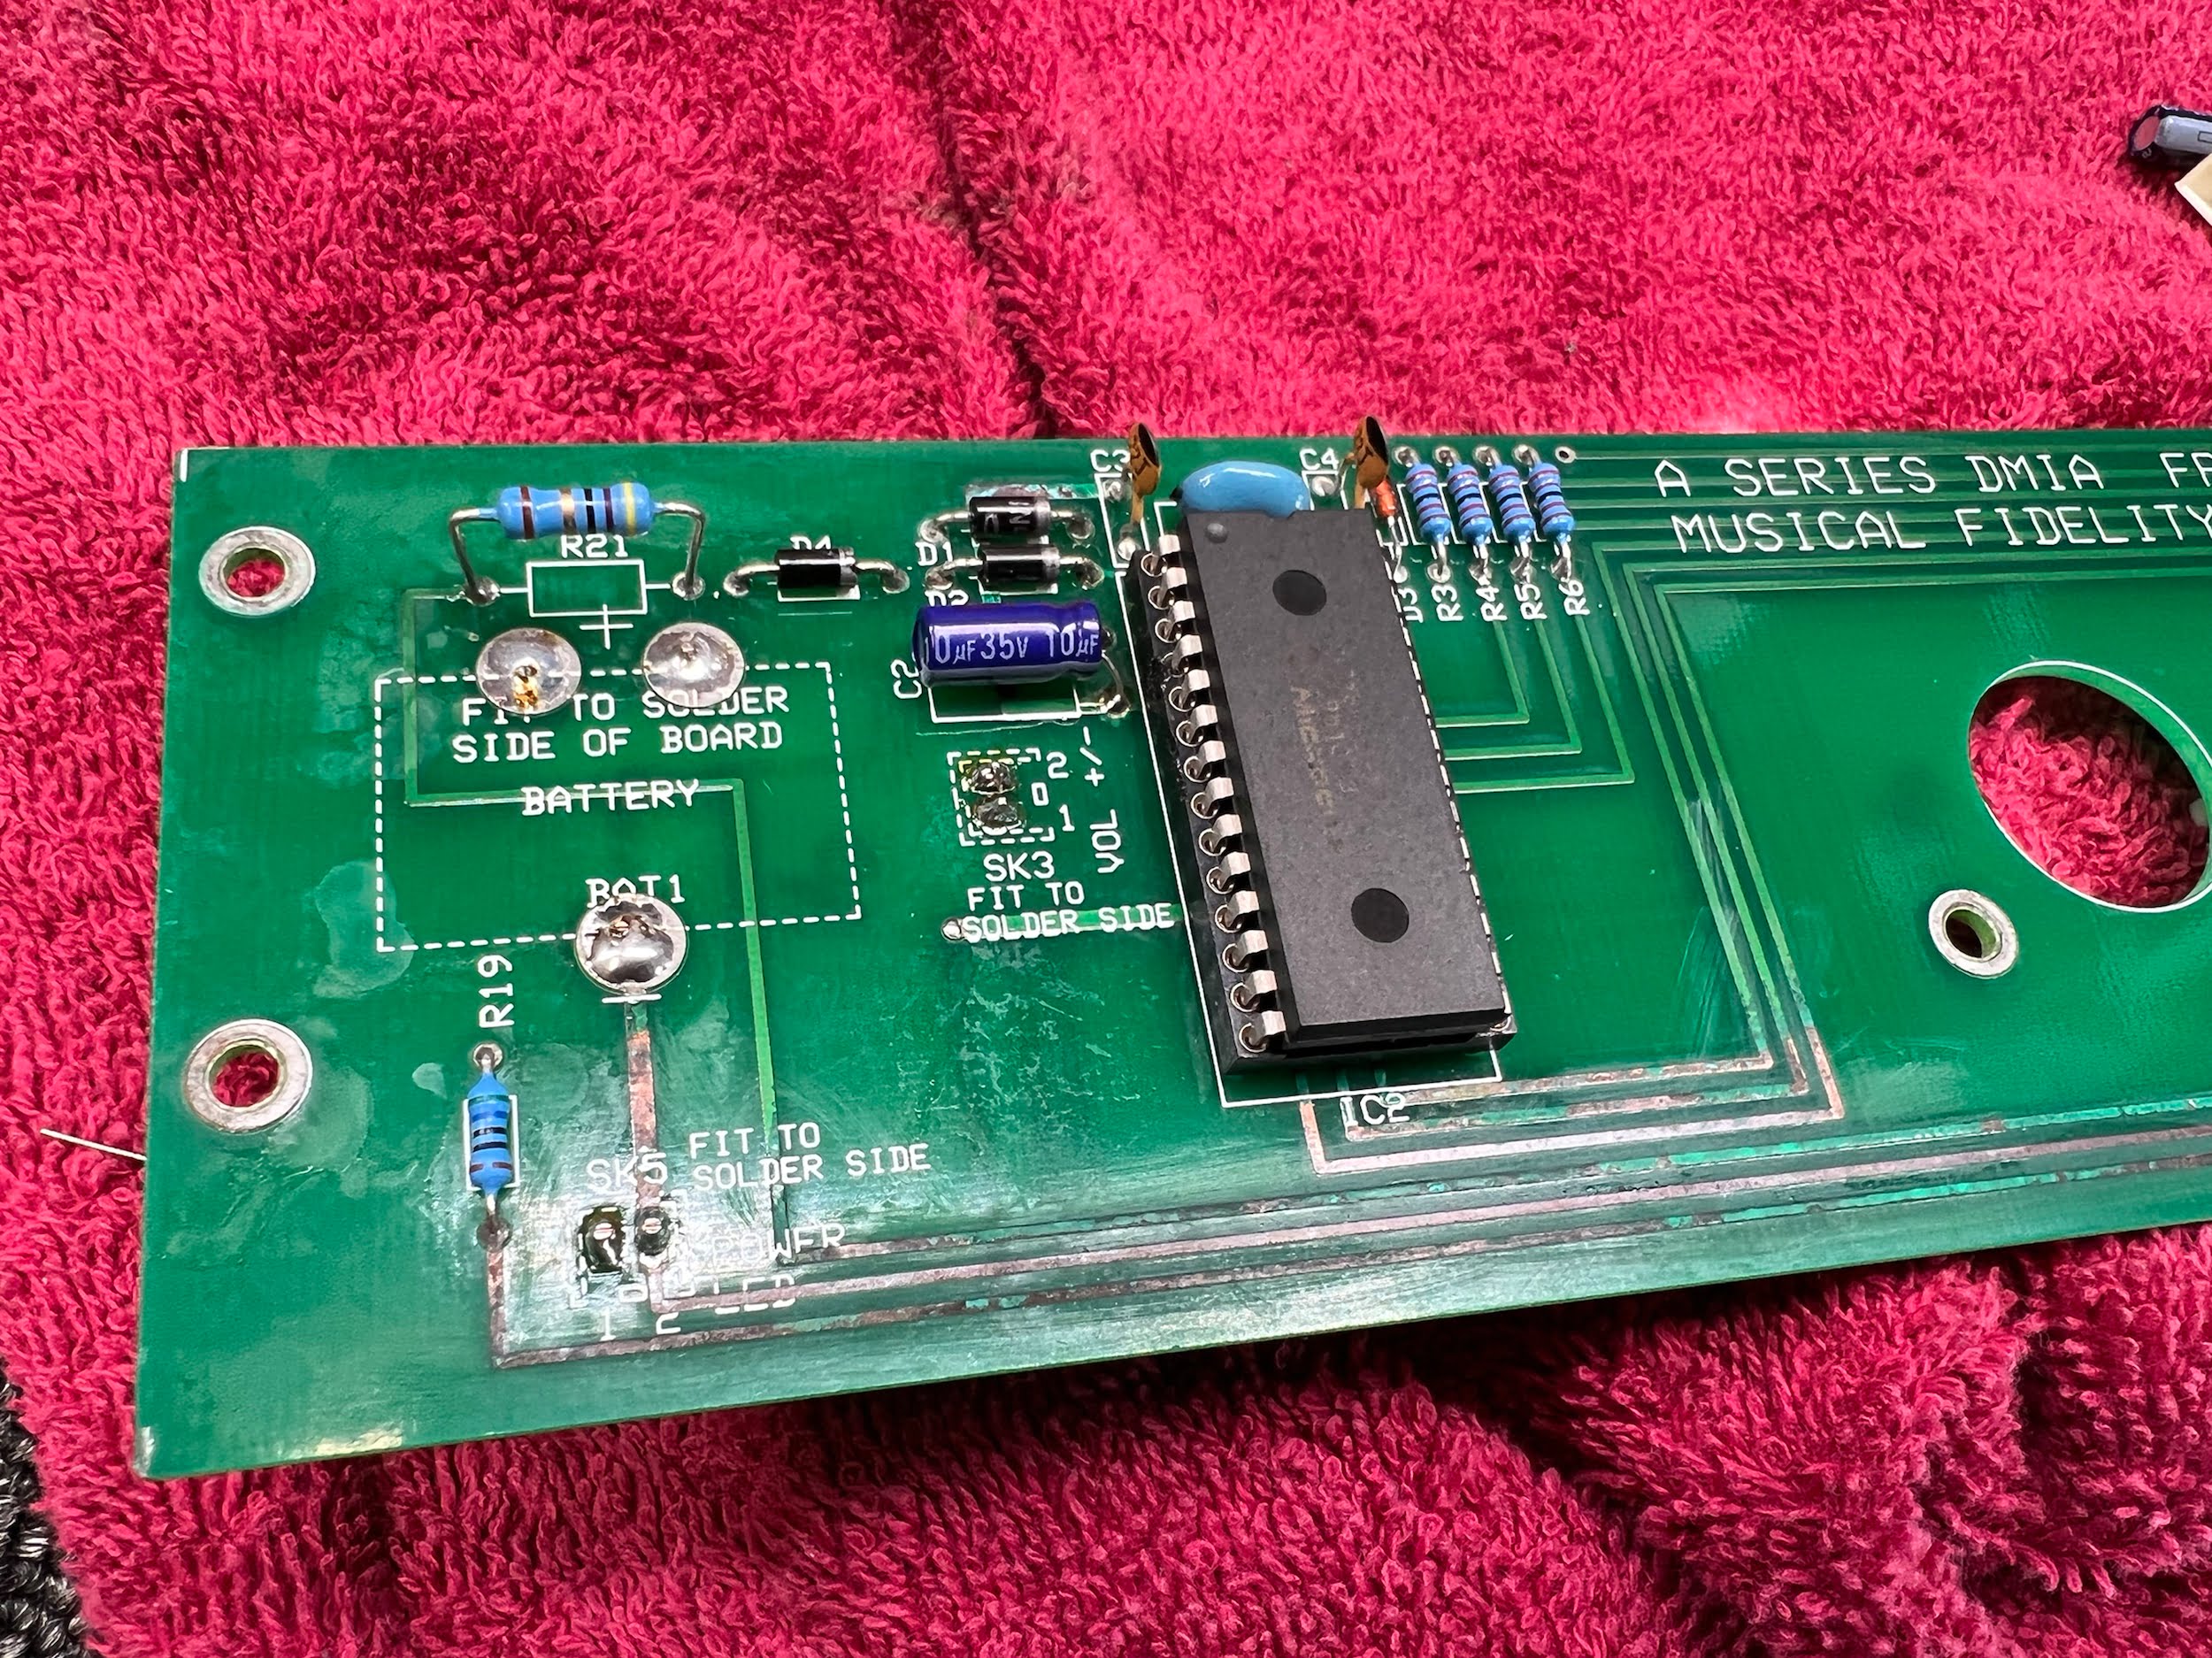
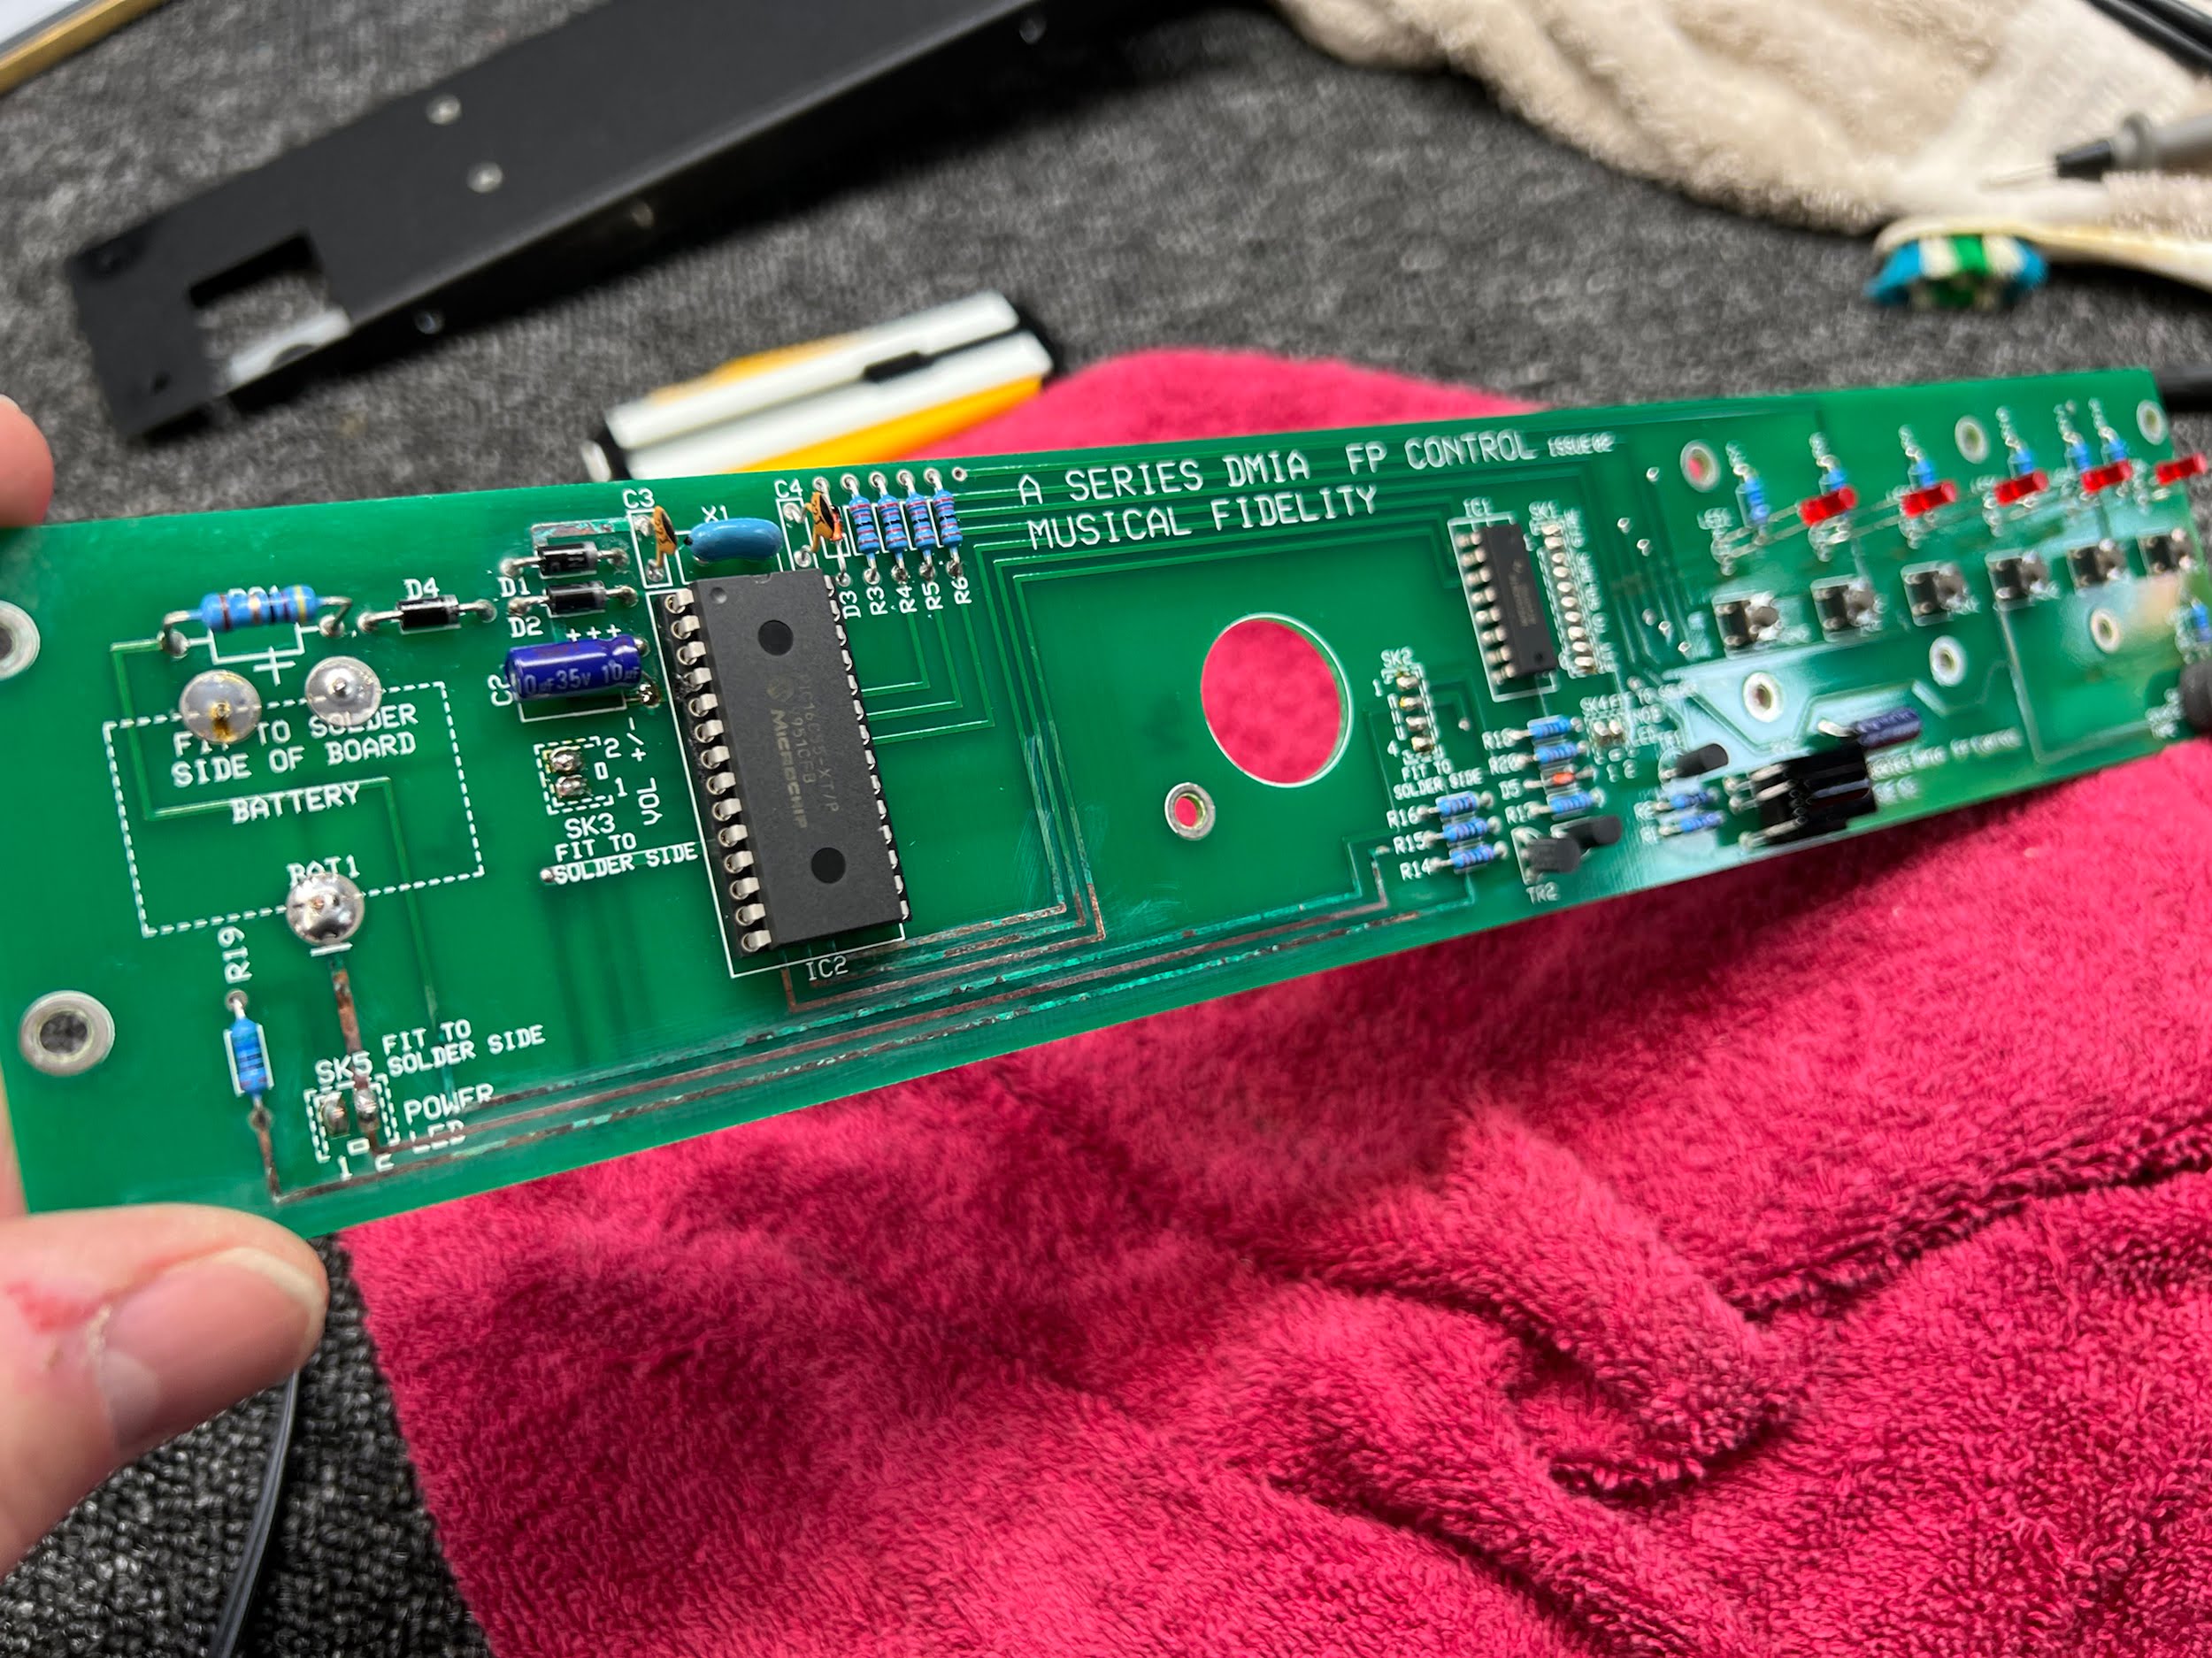
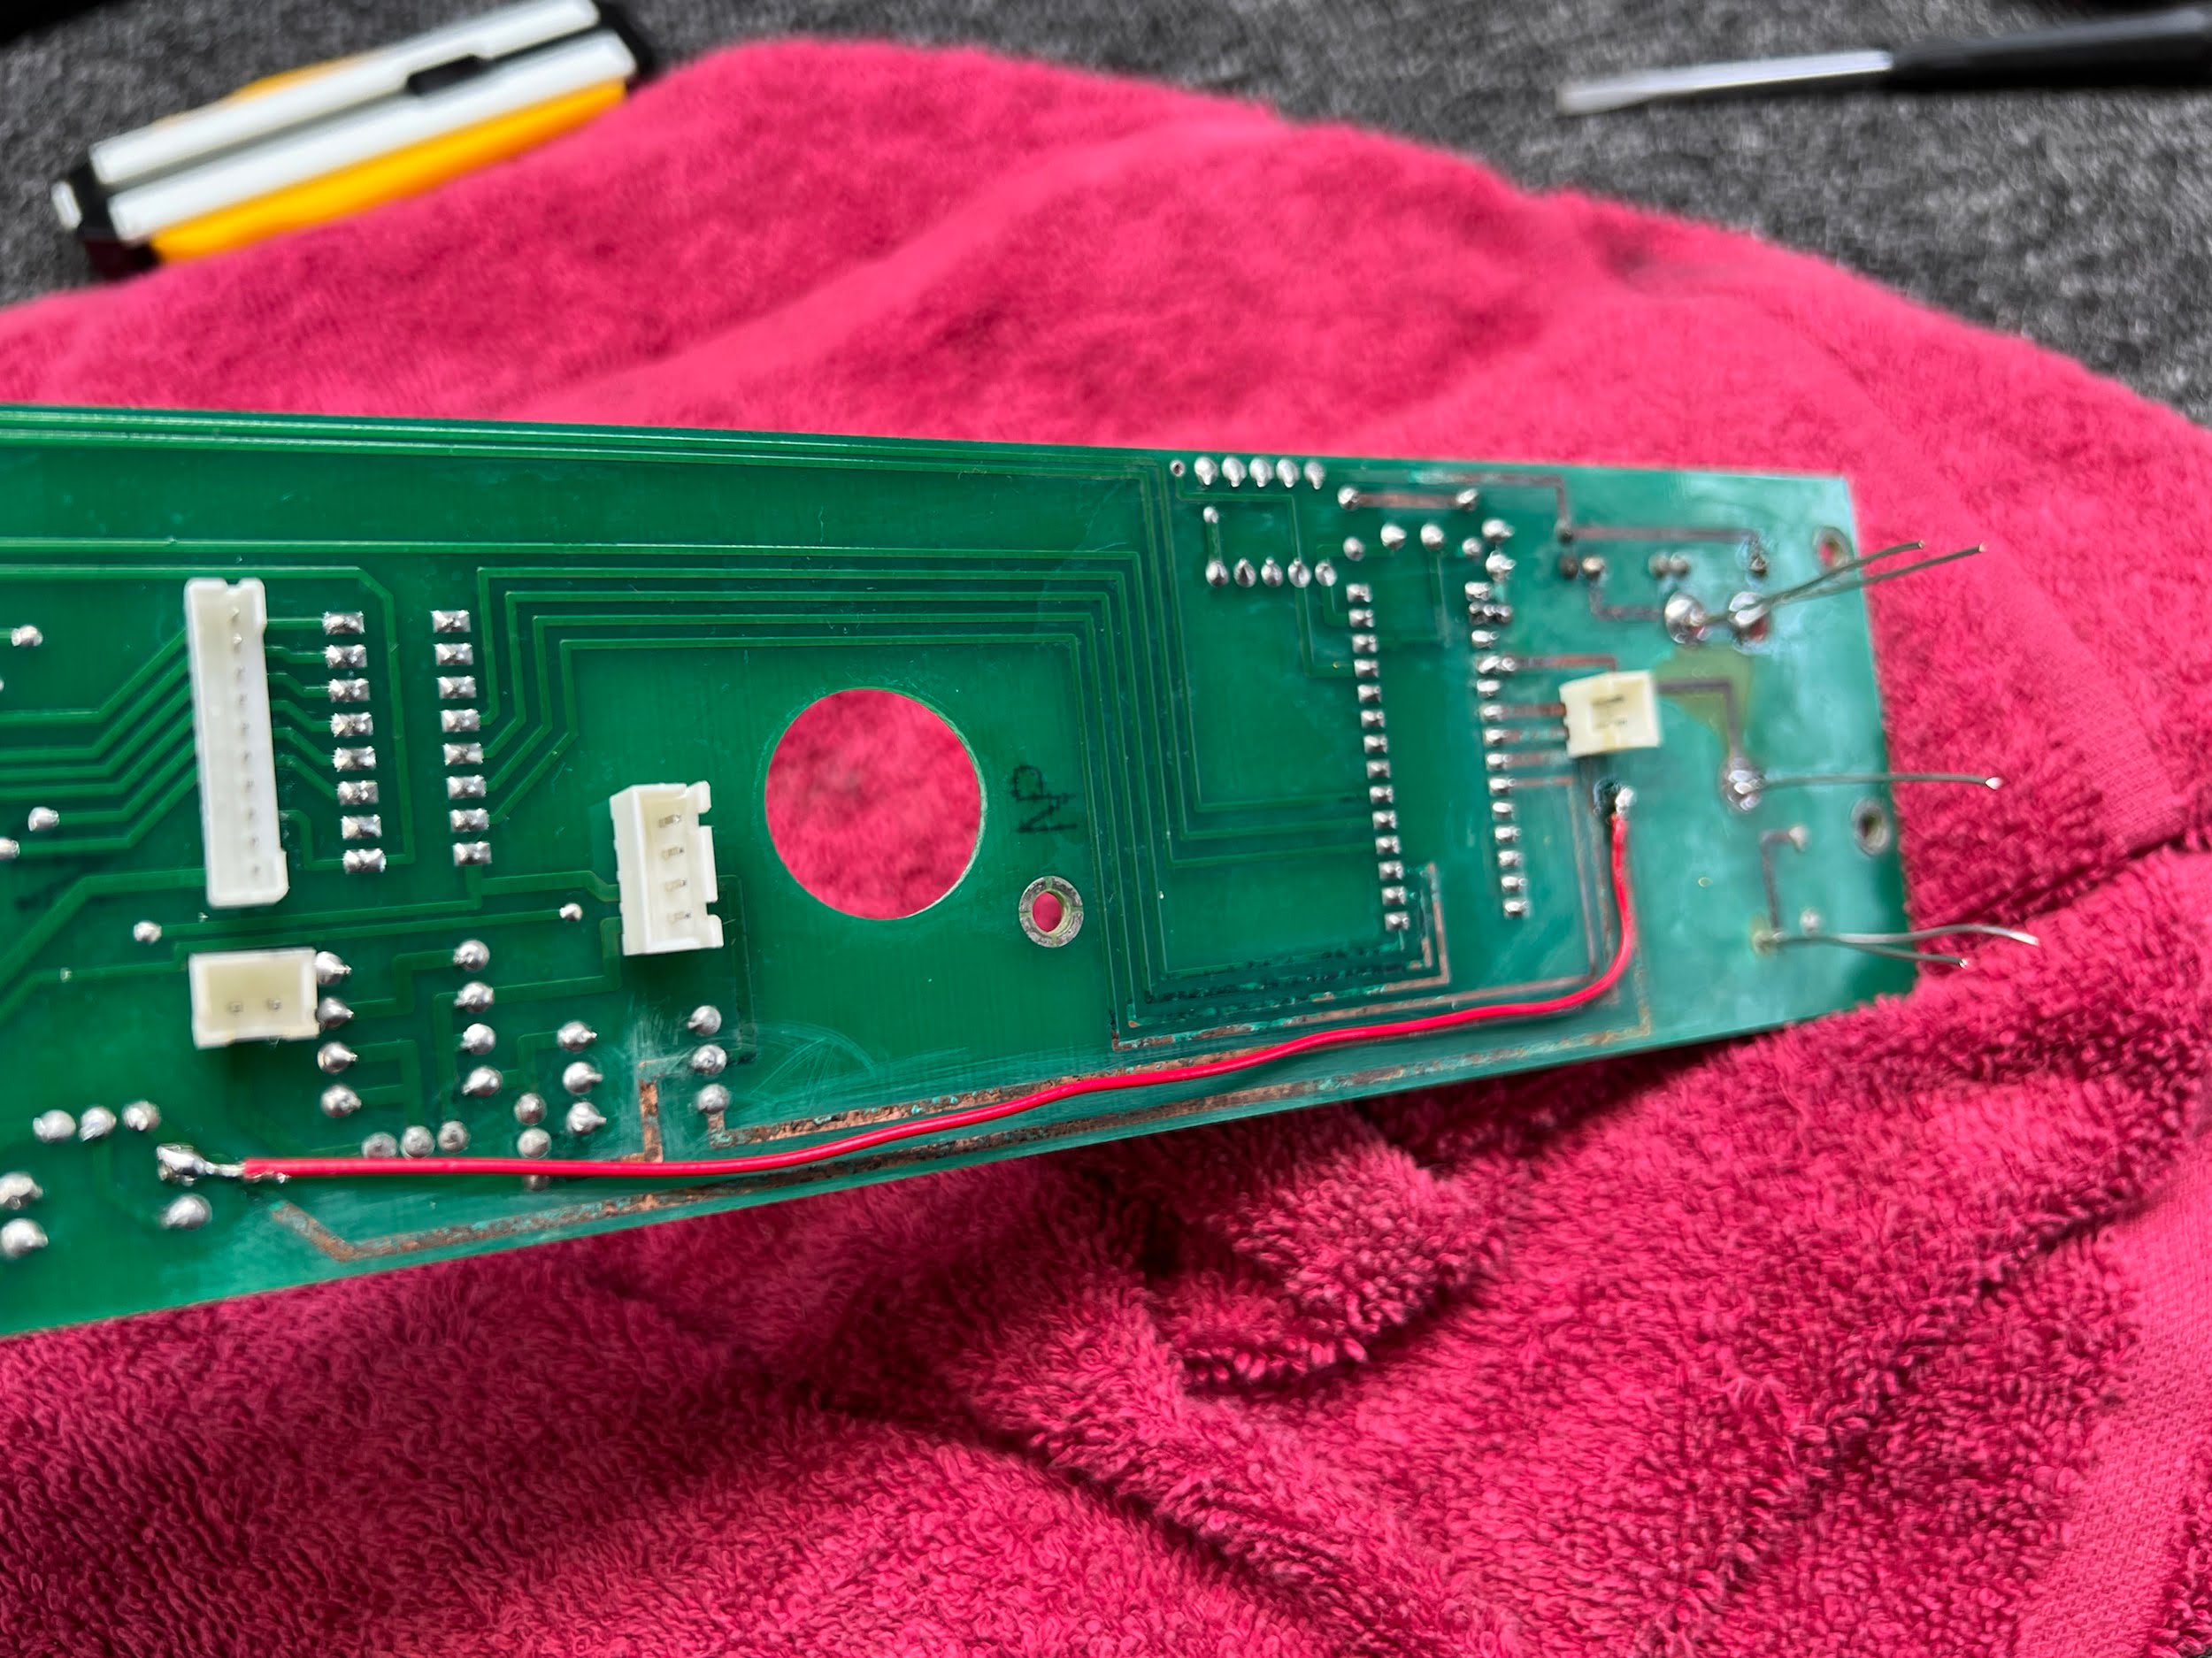
- Obvious and horrendous Varta NiMH battery leakage corrosion, board, connector and LED damage
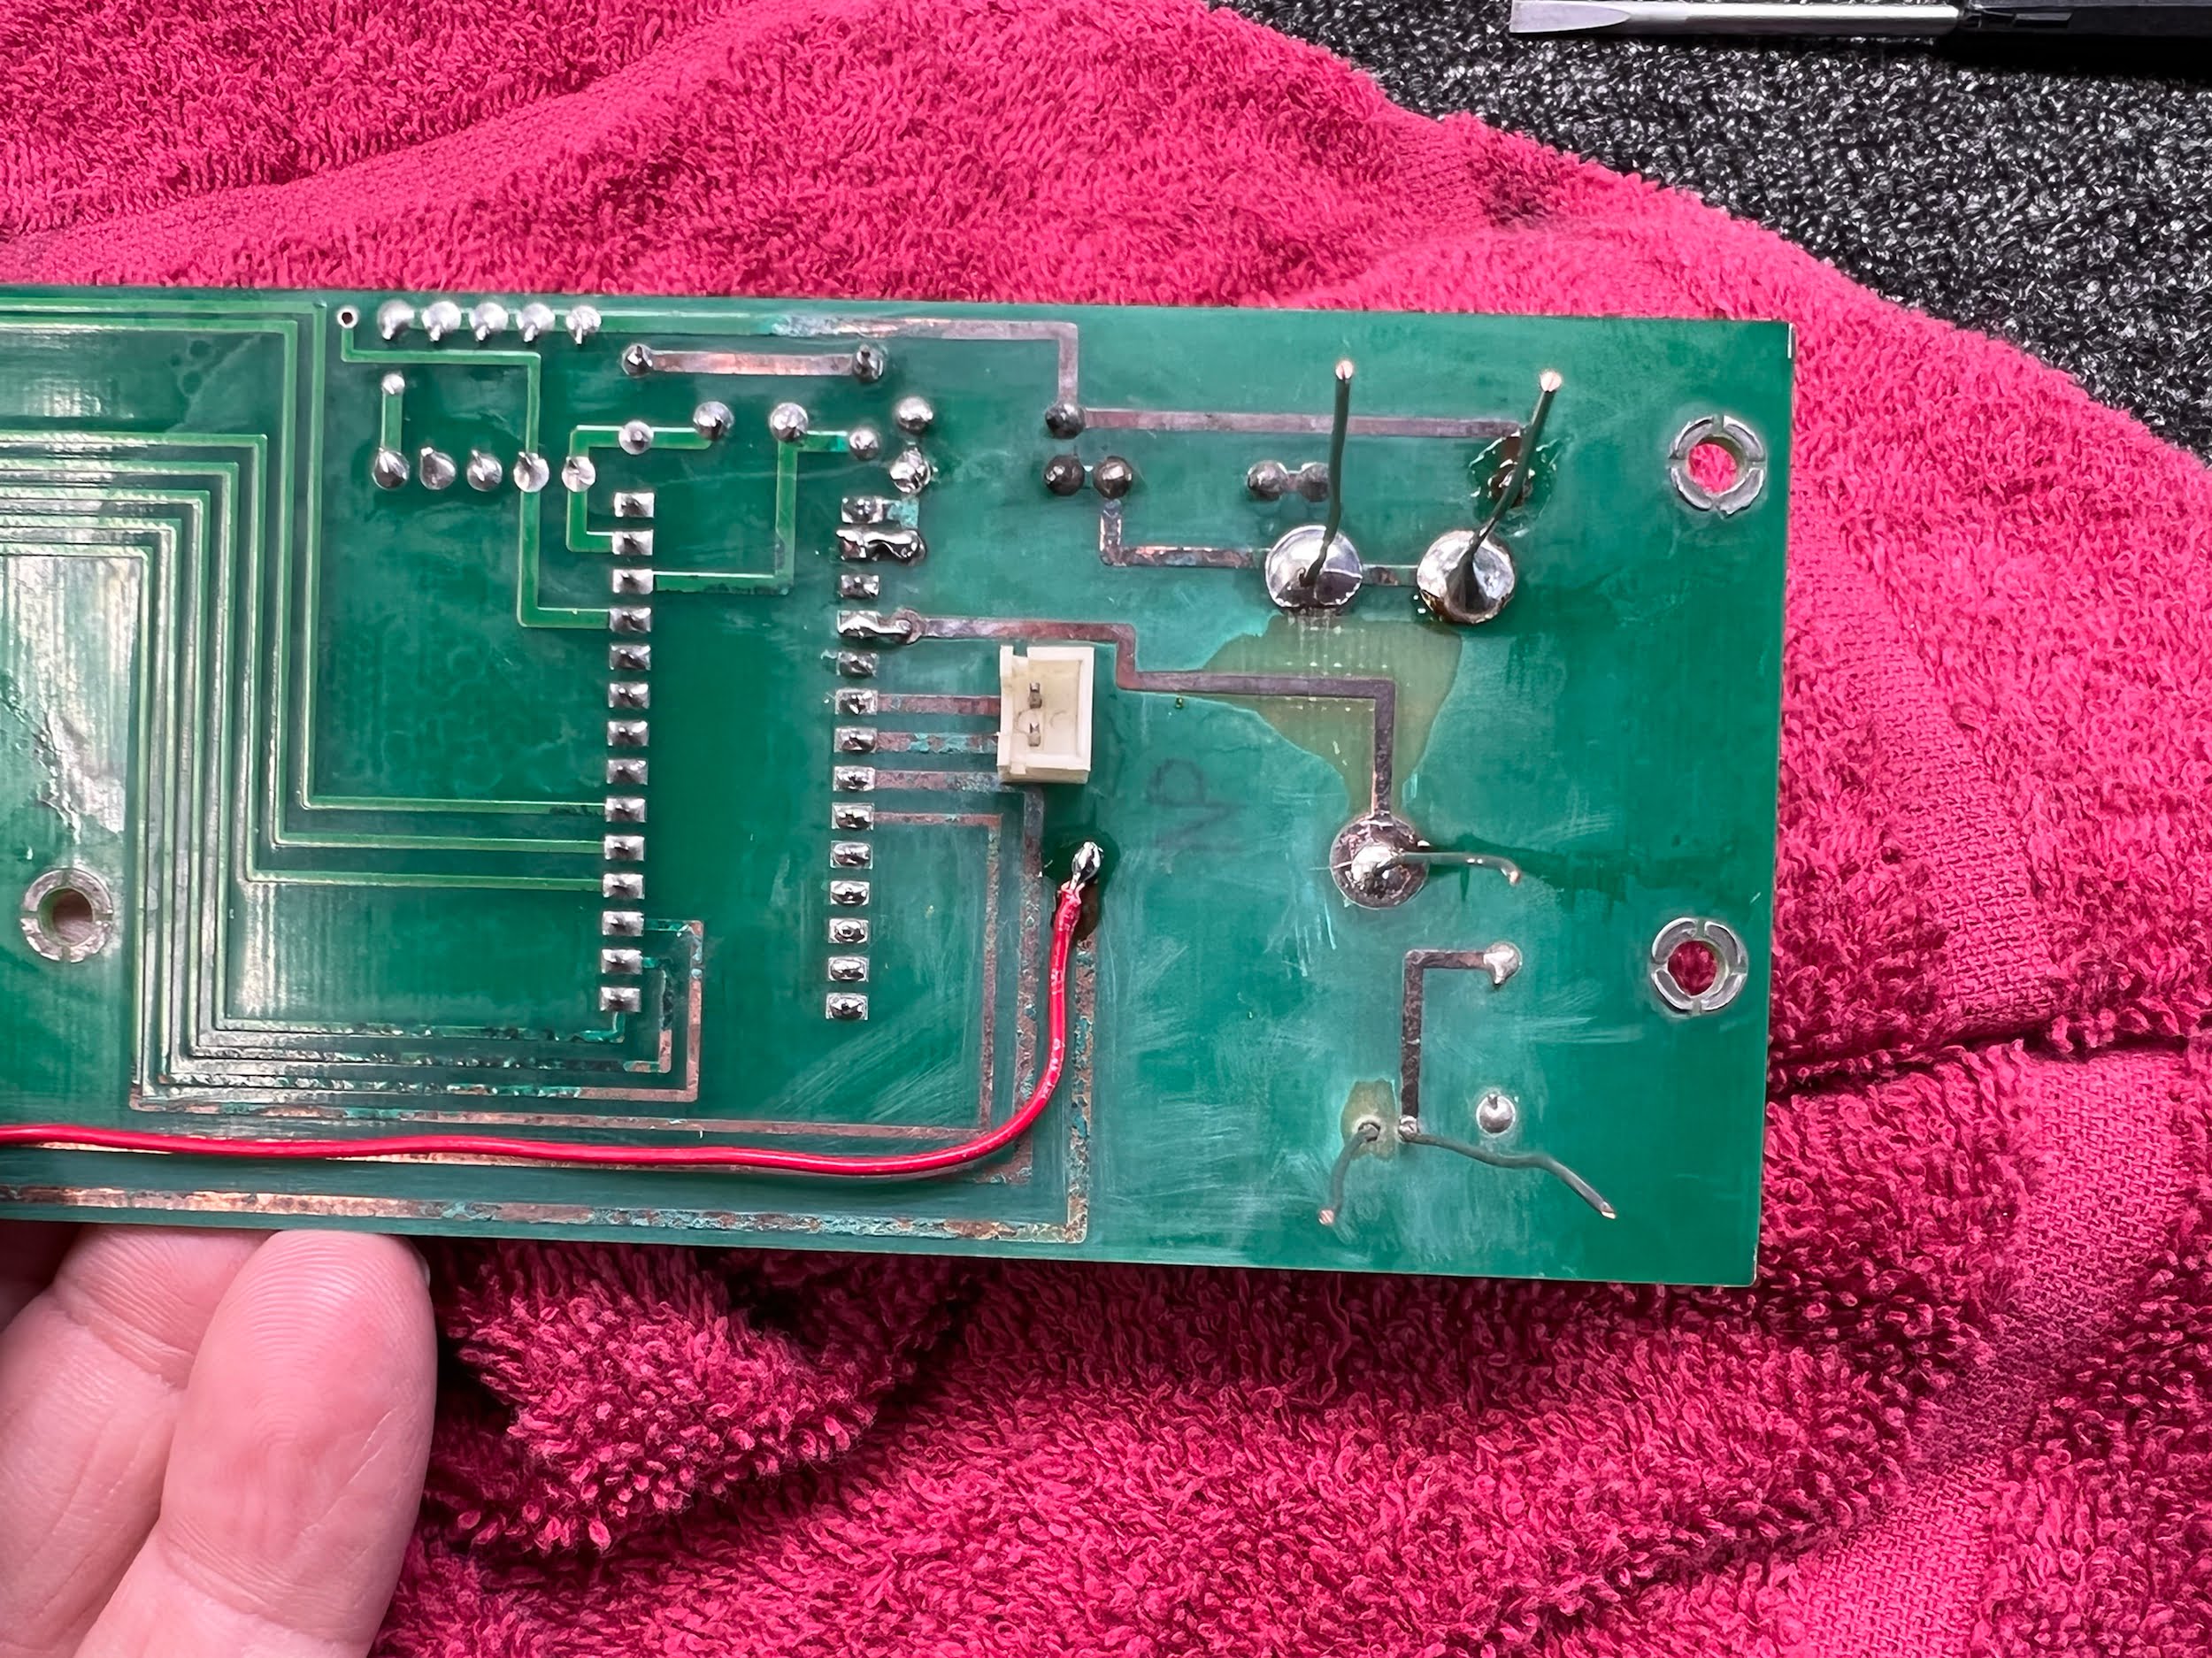
Corrosion and board damage this severe could easily write off an amplifier like this, especially as replacement boards are no longer available. In this case, I suggested to the owner that we have a crack at removing, detoxing and repairing the board. He agreed.
Repair
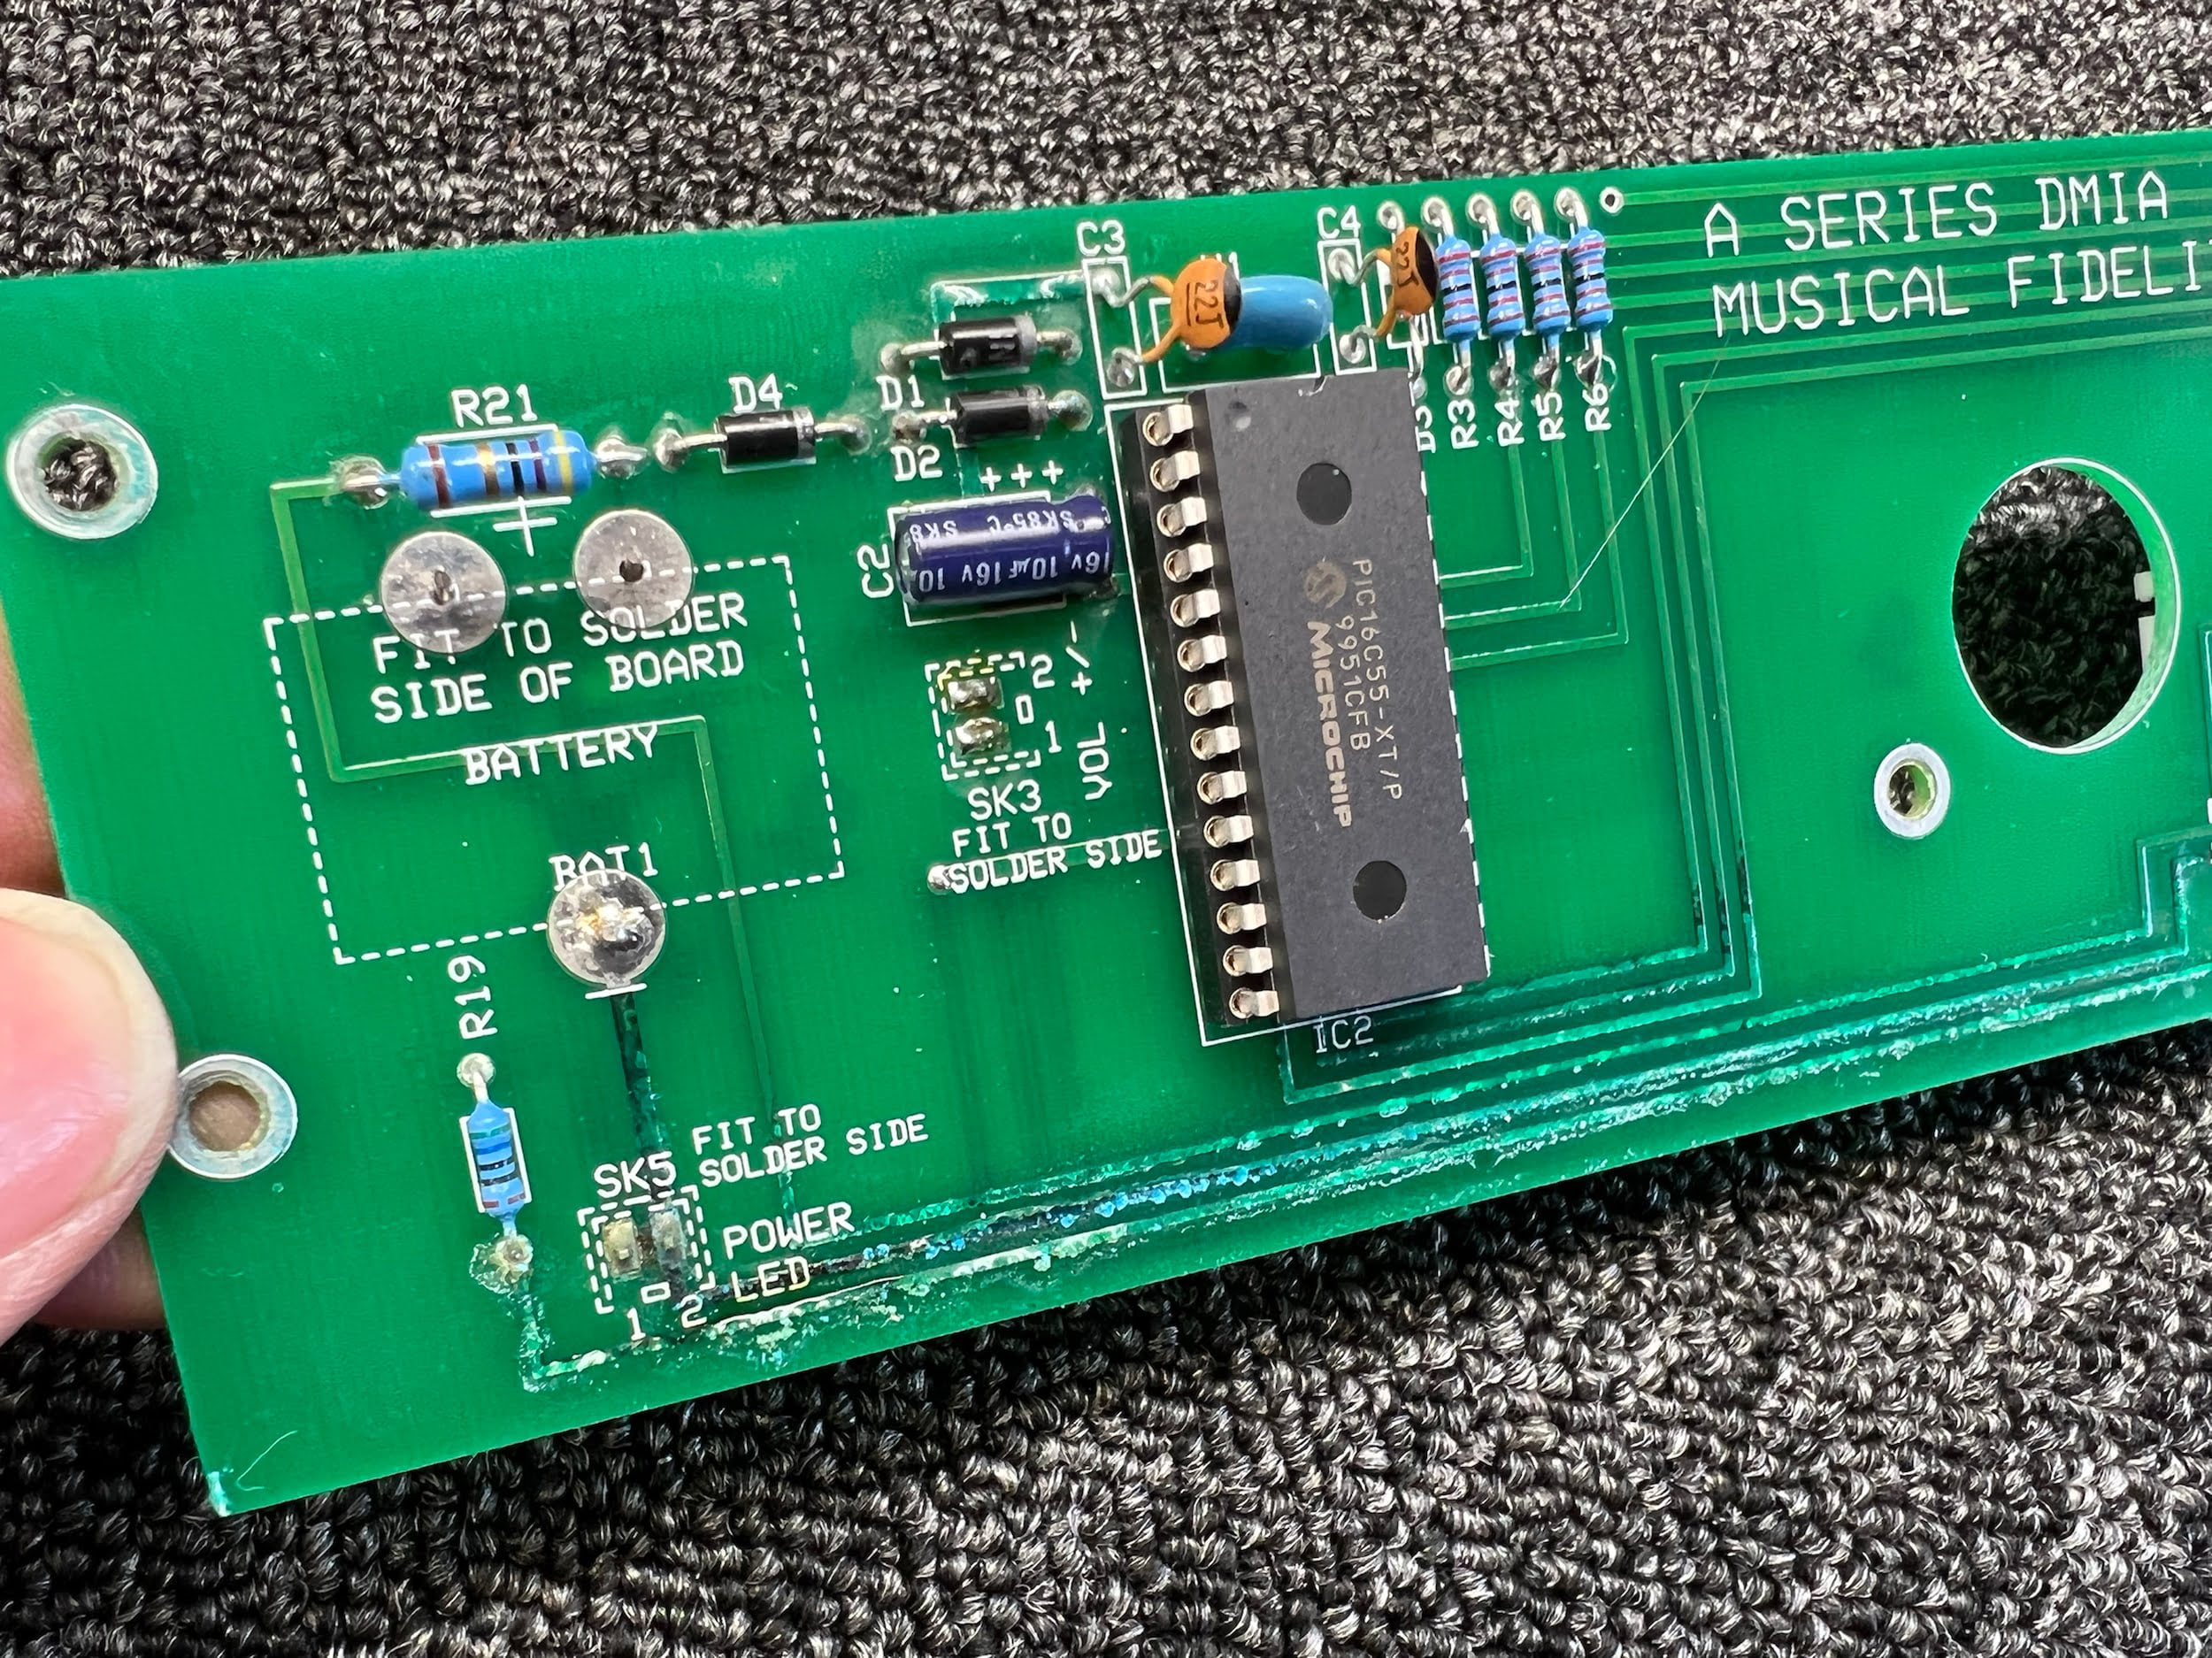
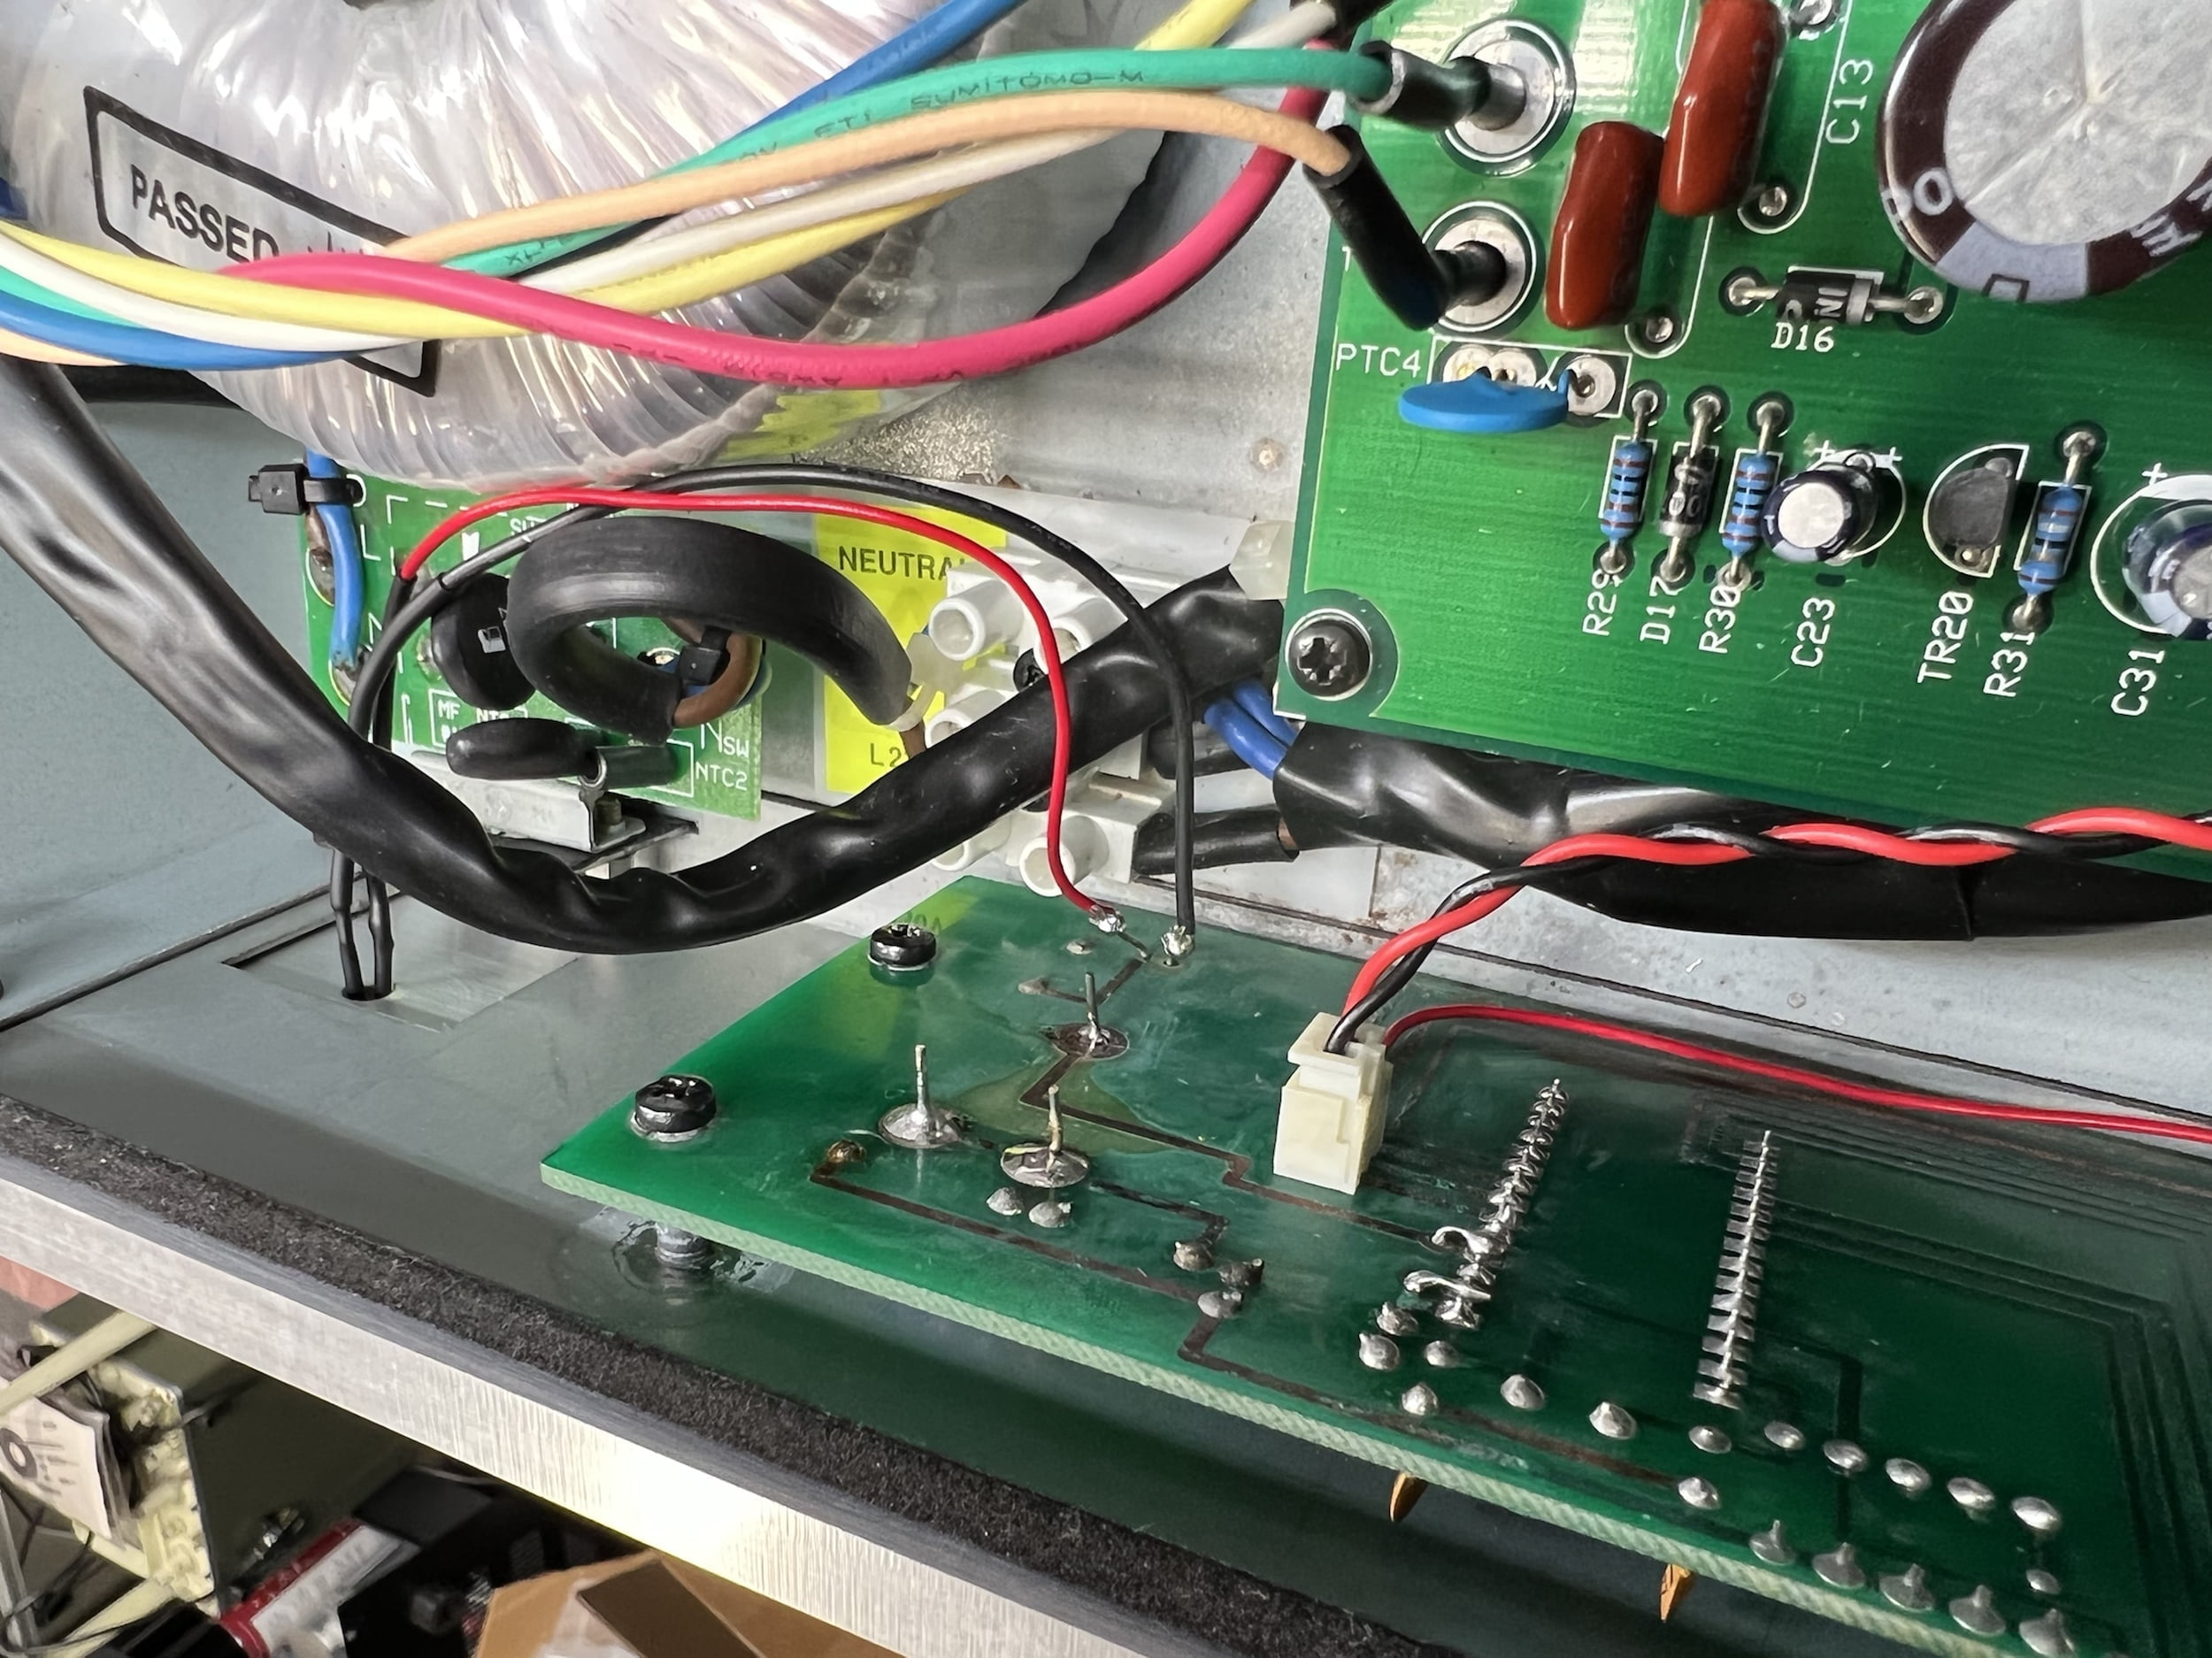
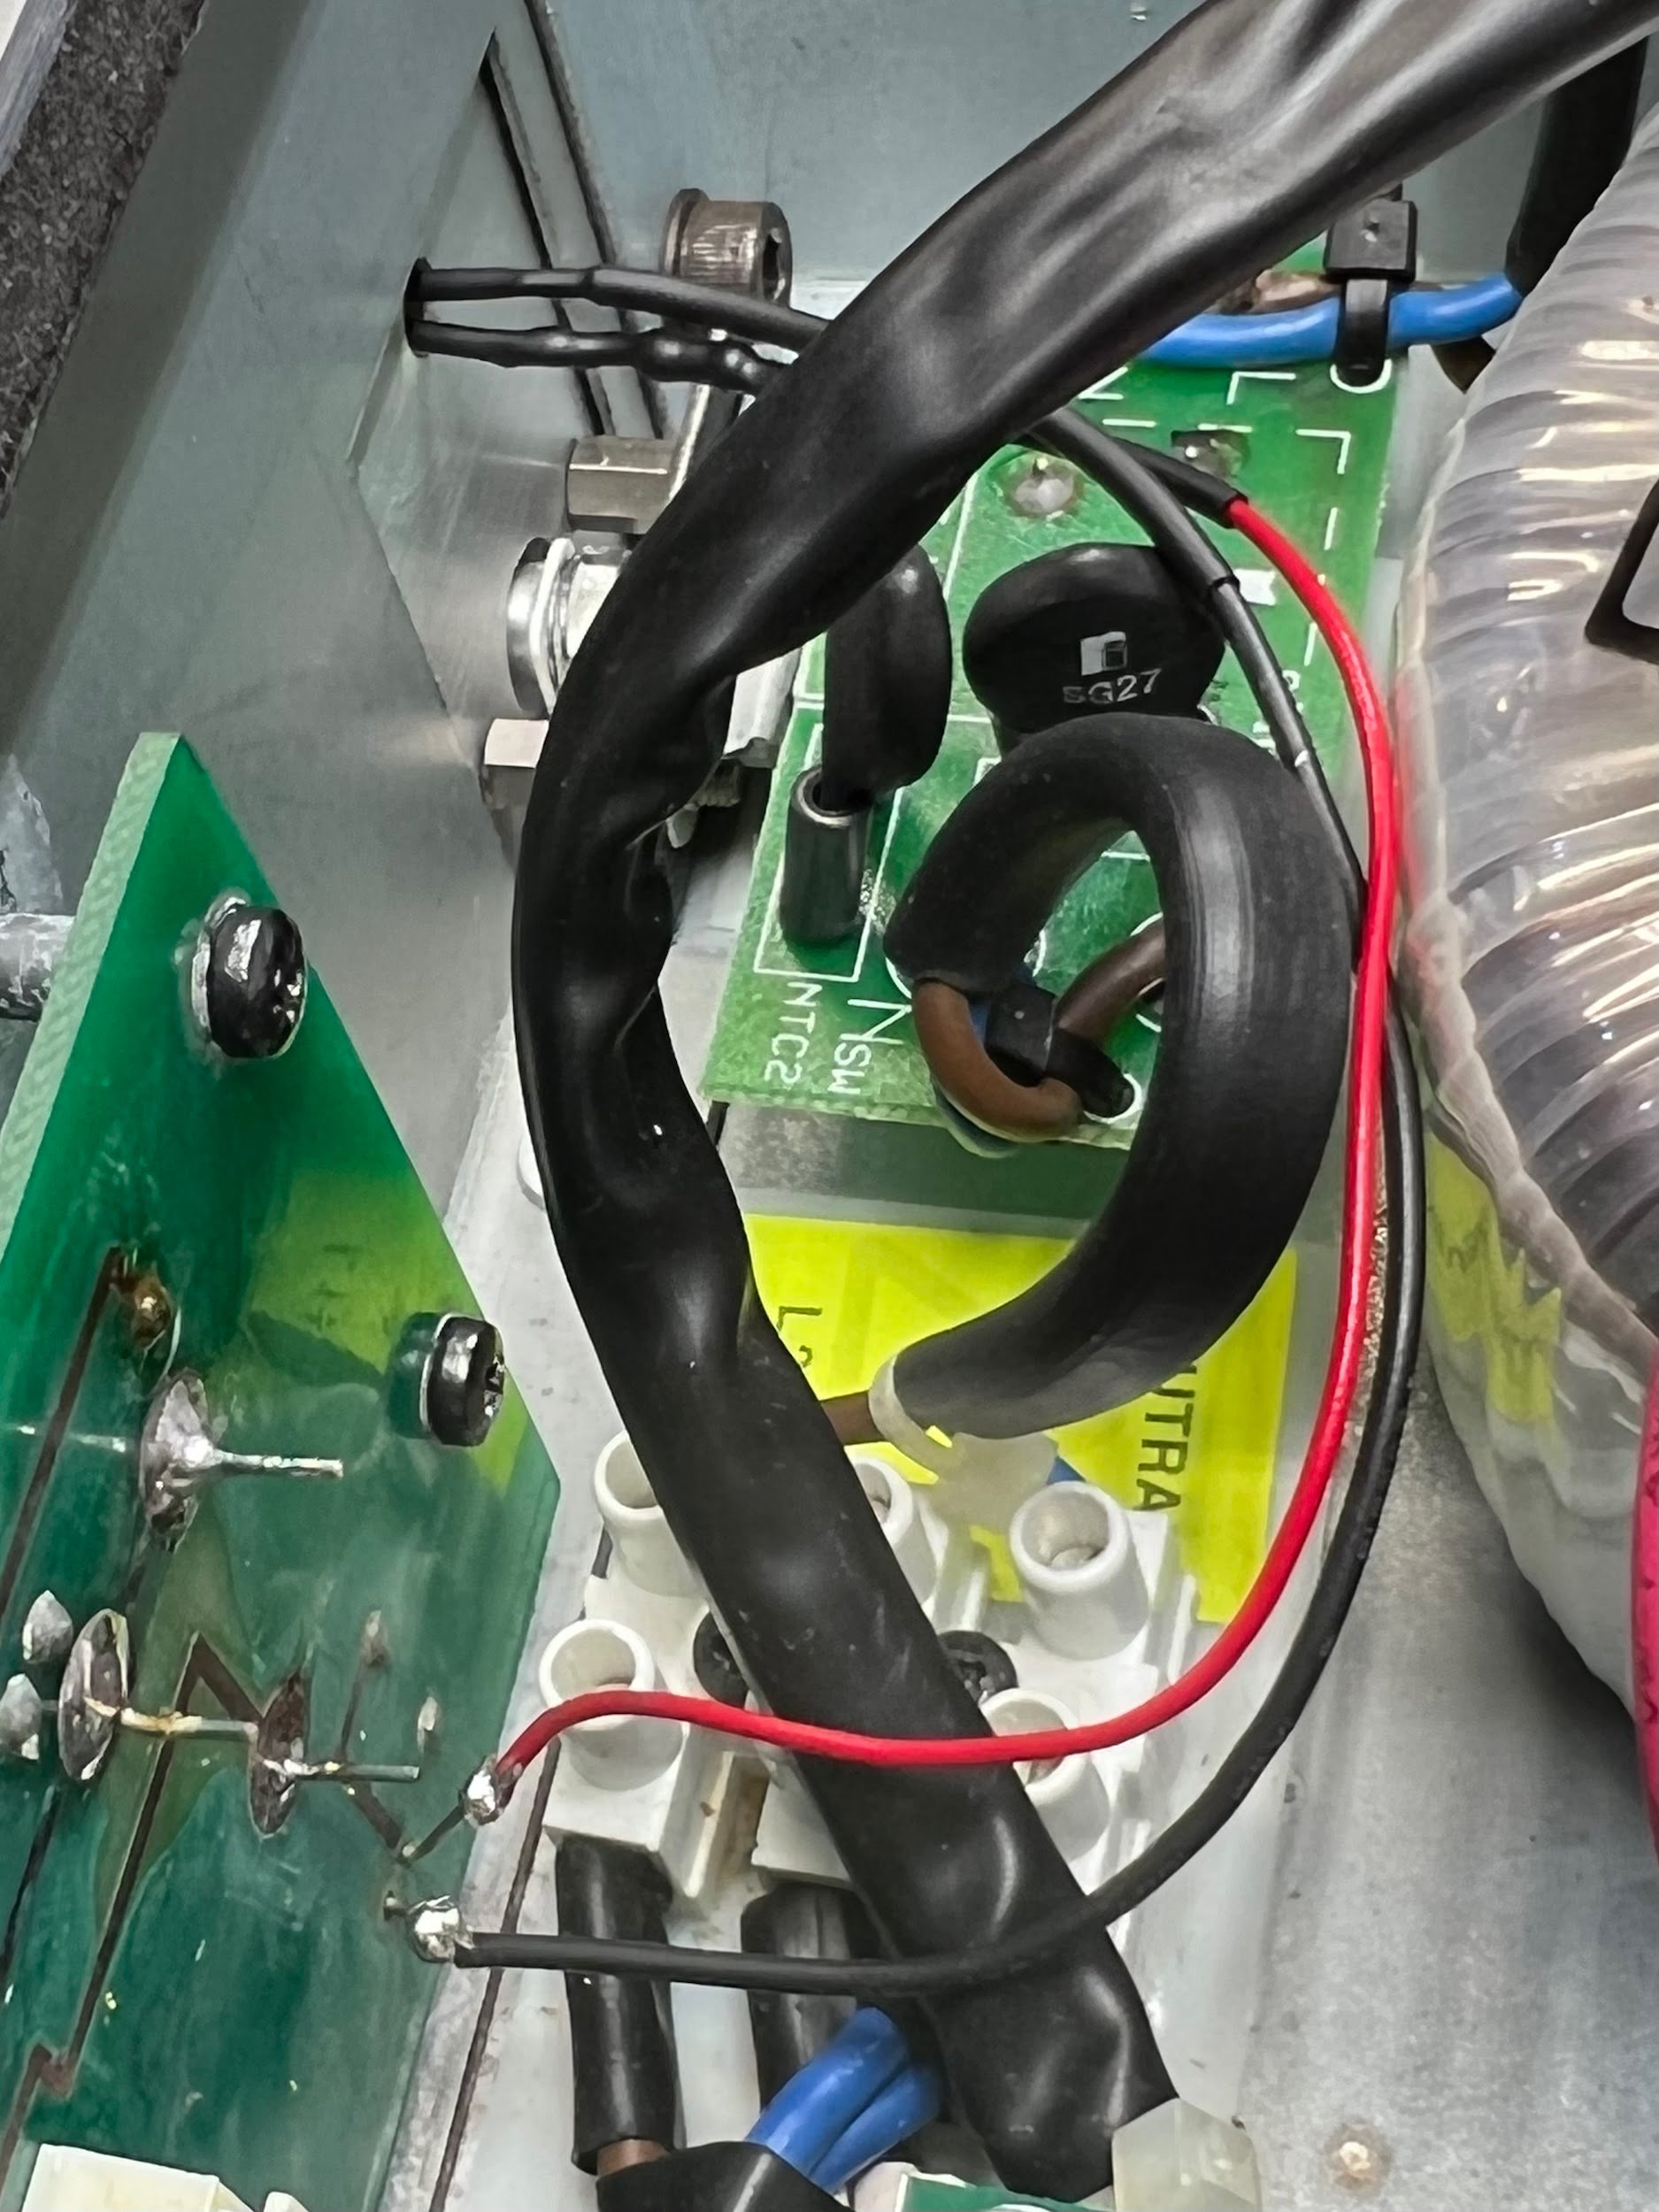
In any case like this, we start with disassembly and cleaning. This necessitated the removal of the volume knob, front panel assembly and control board. Once done, I could focus on cleaning and repairing the control board.
Verdict
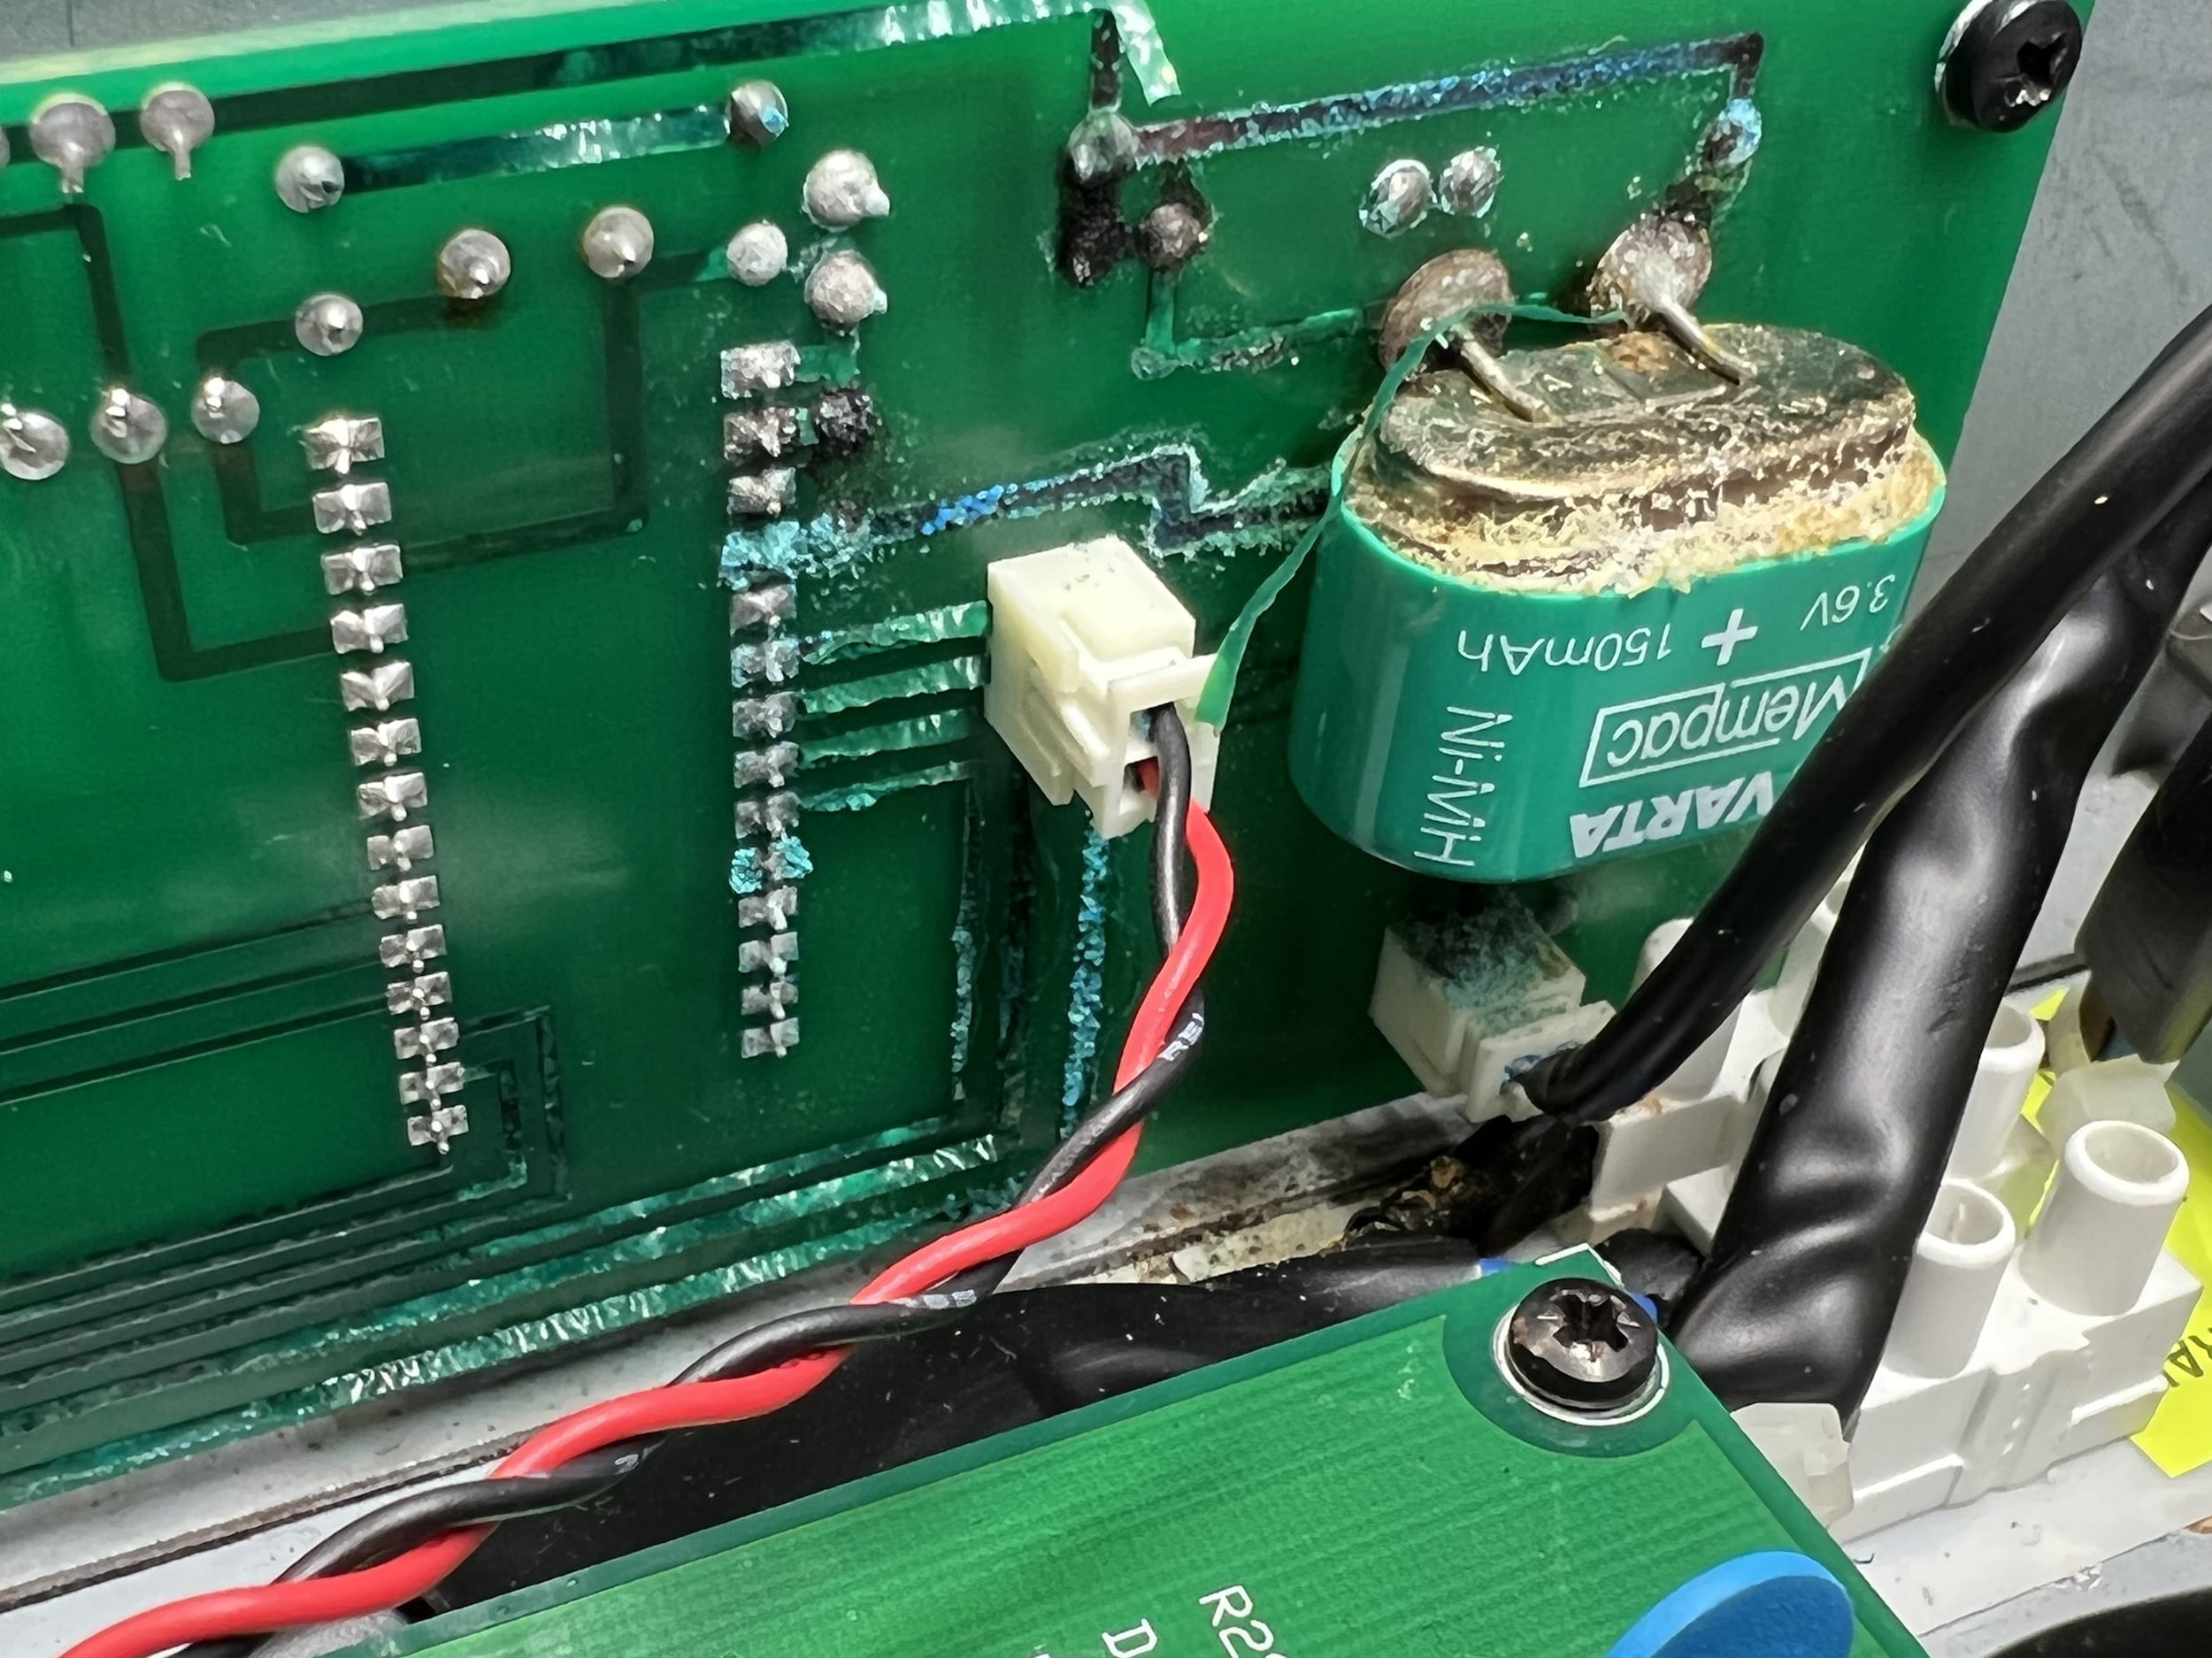
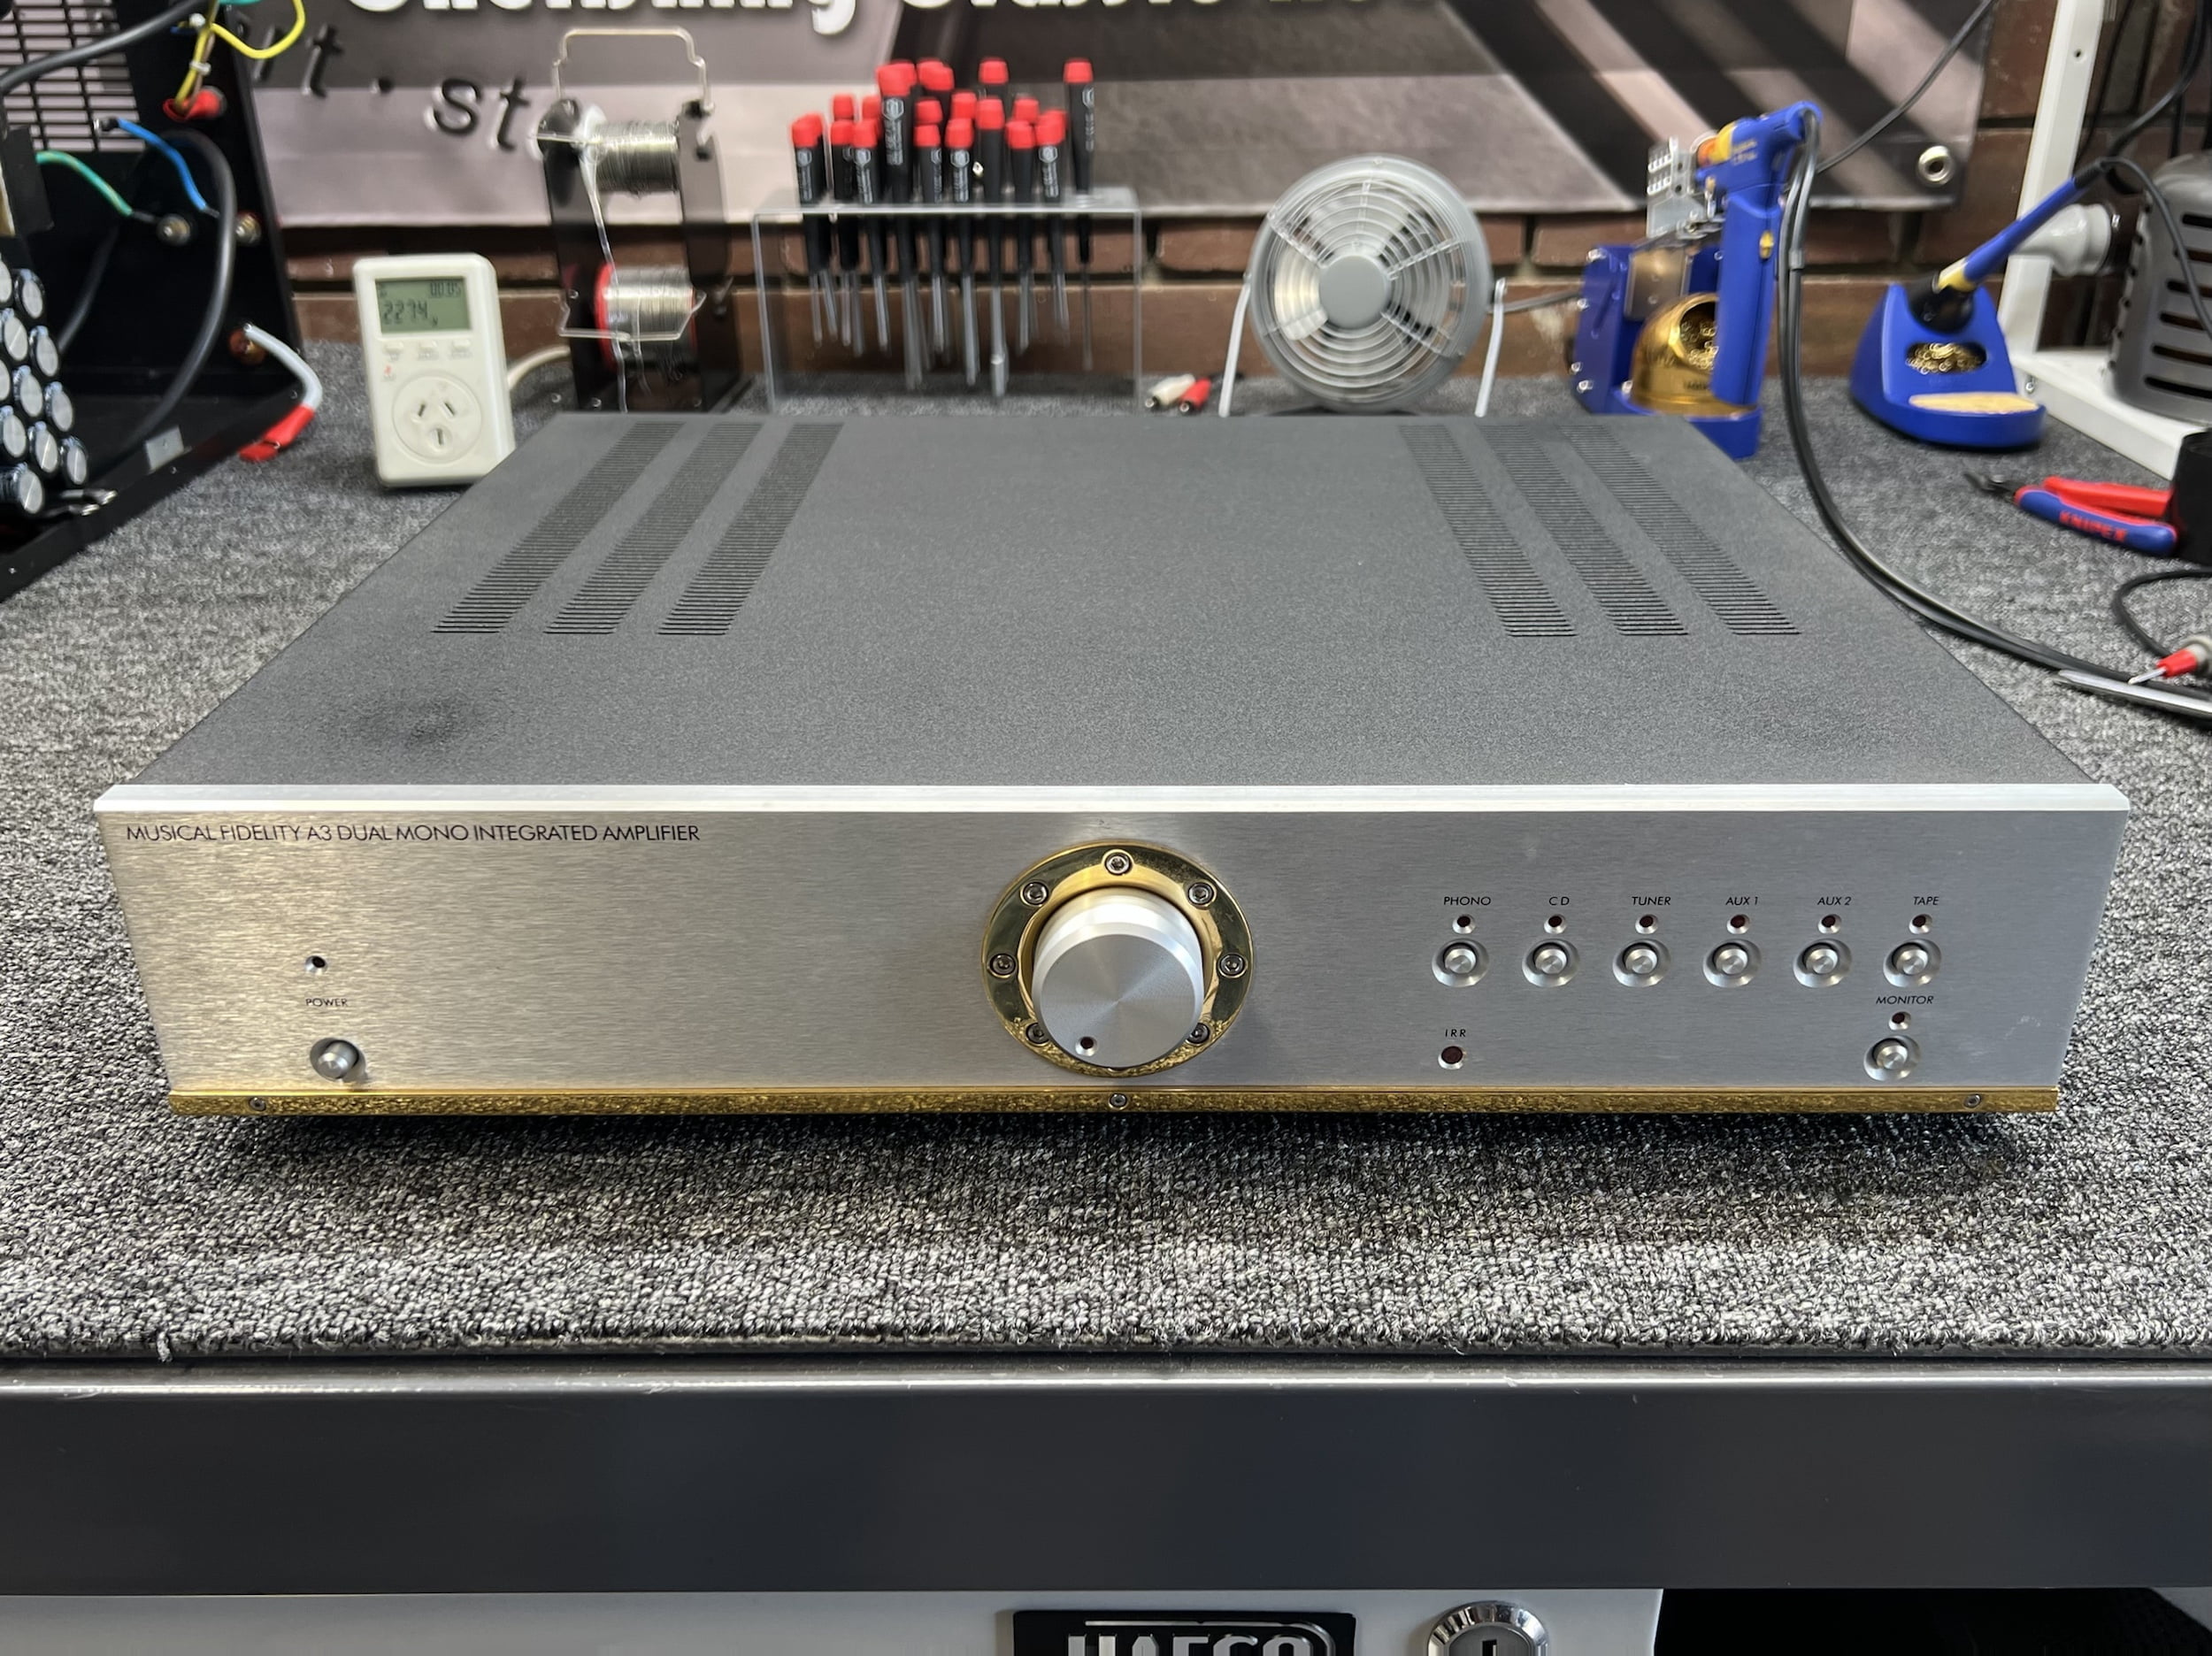
Well, what a great result. Apart from probably not remembering what source was previously selected (and who cares about that anyway), this Musical Fidelity A3 integrated amplifier now works perfectly again, much to the surprise and appreciation of her owner.
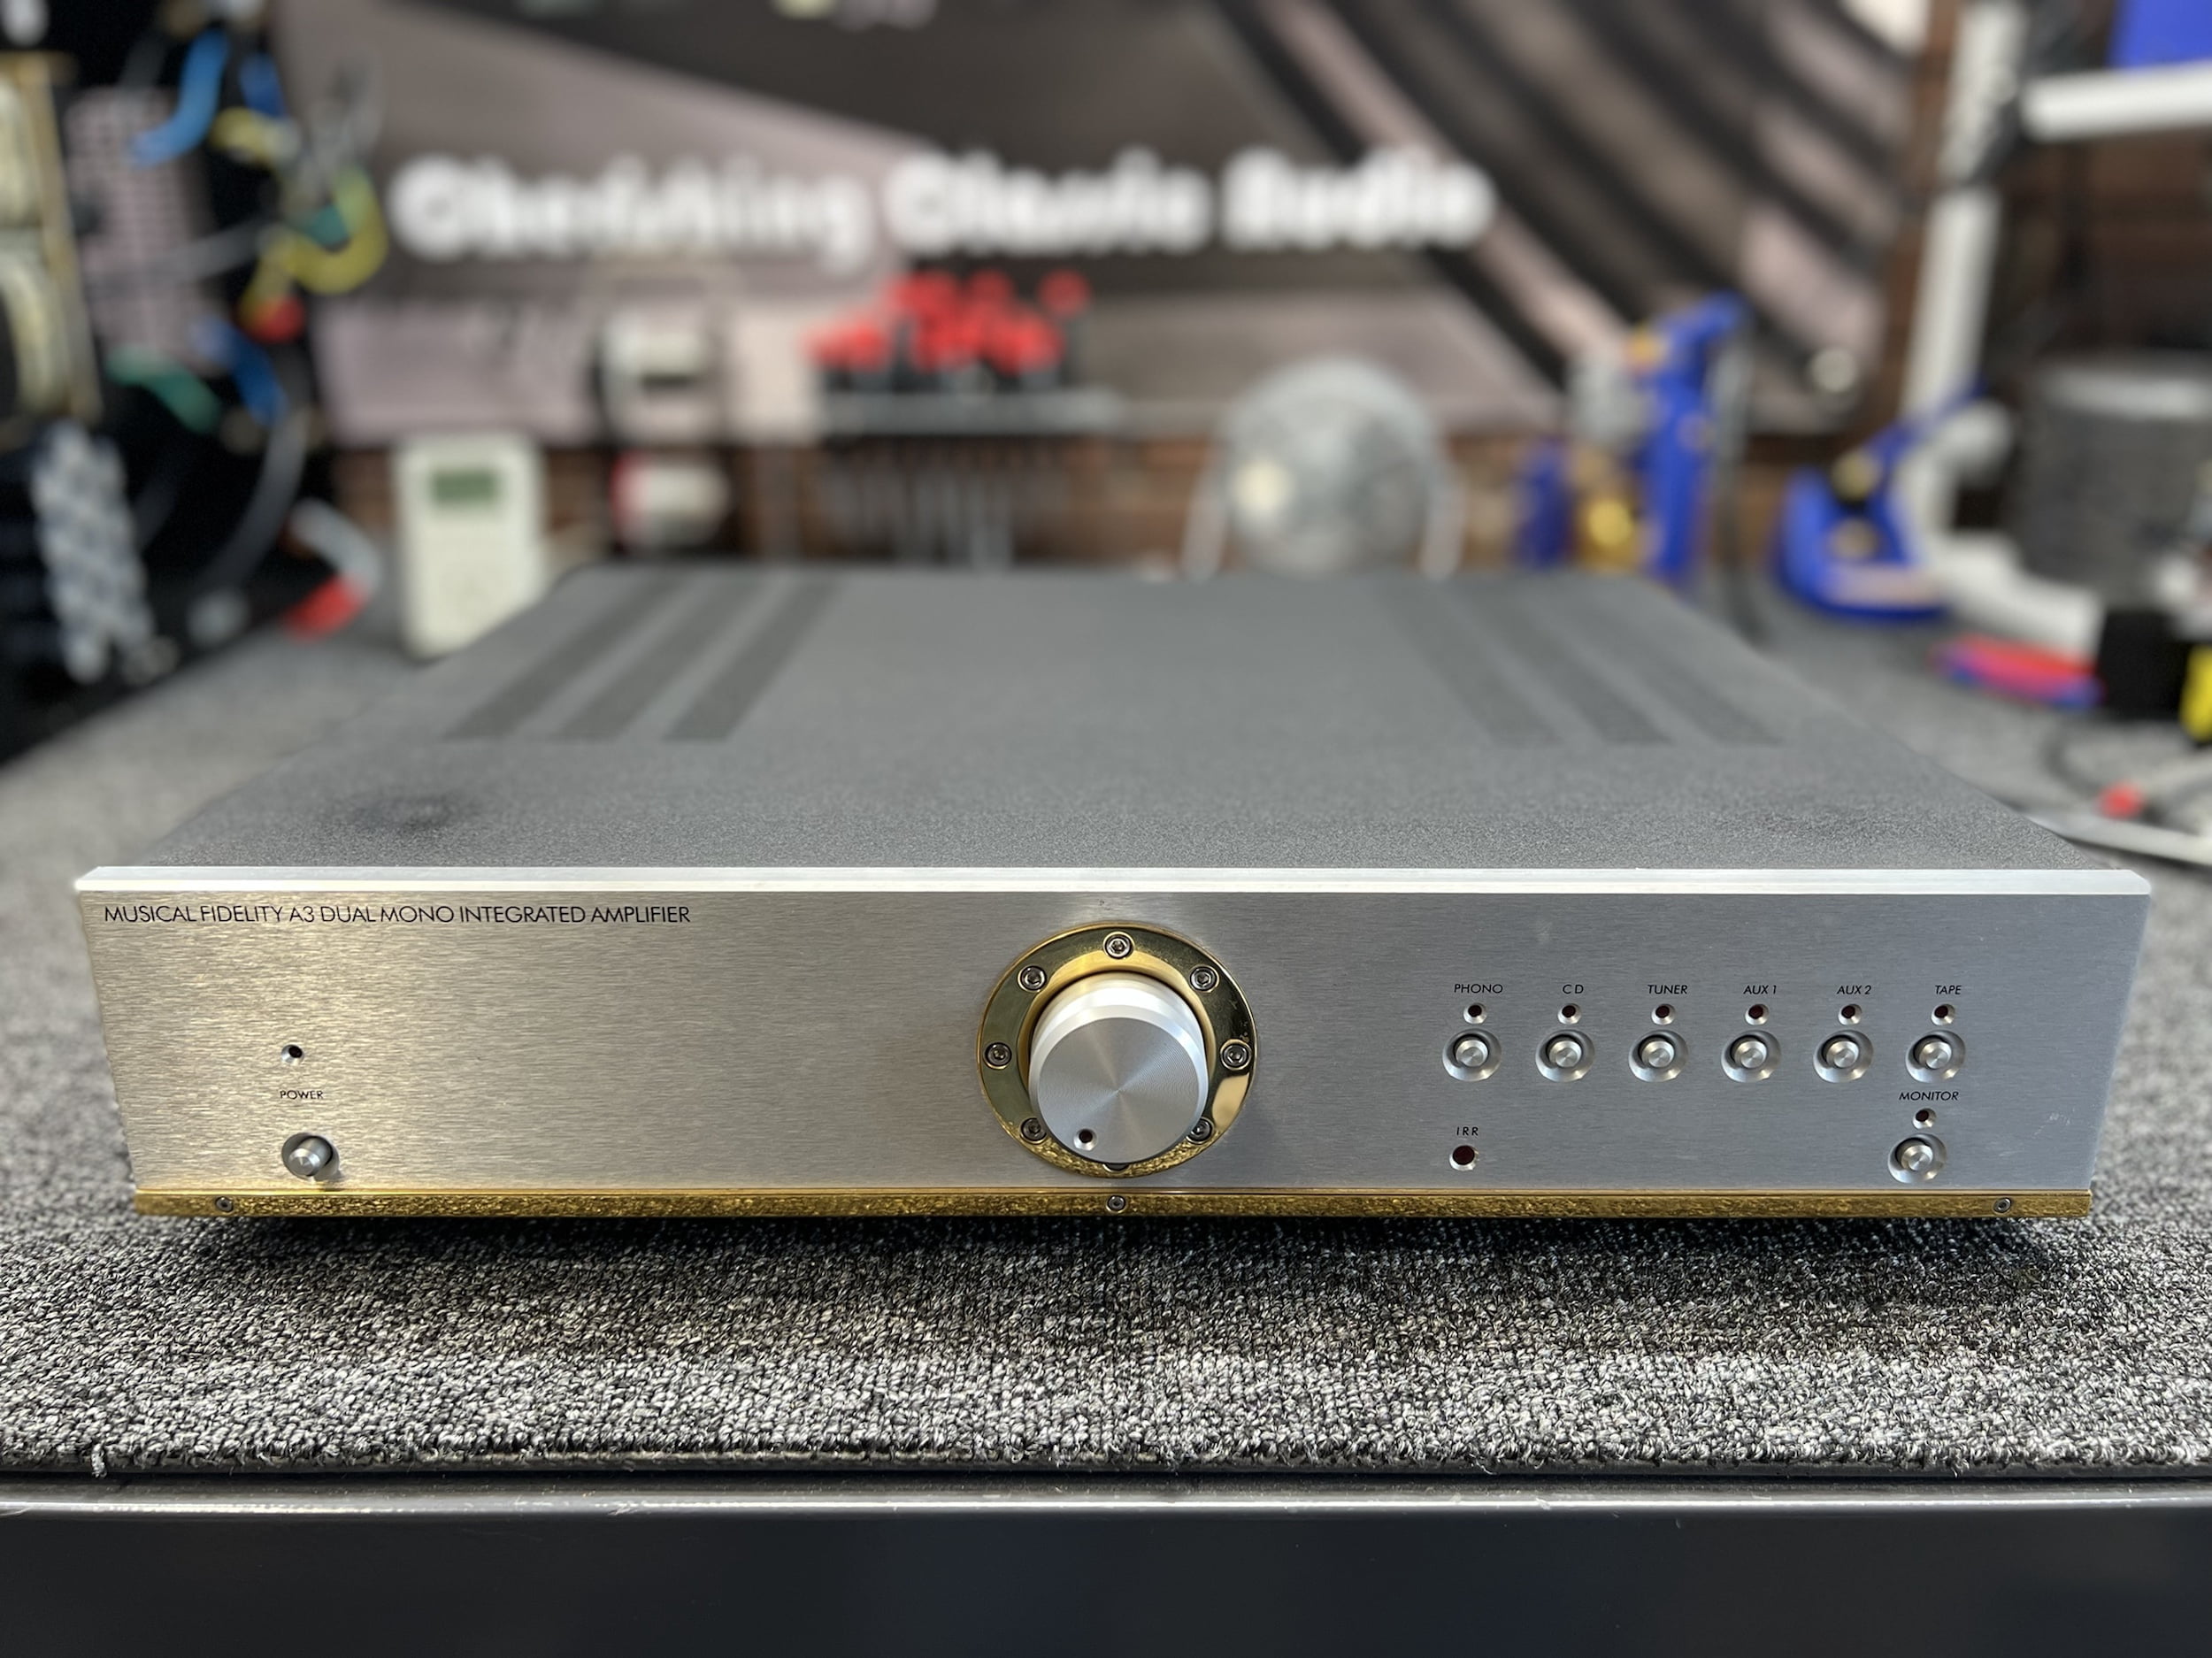
She is now spotlessly clean, all LEDs and switches work and the amp is fully functional. The control board has taken some punishment, but the neutralisation cleaning process I use should mean that the corrosion is halted and that the owner can keep enjoying his amplifier rather than having to buy a new one. That’s a win and a good example of the sort of results we work hard to achieve.
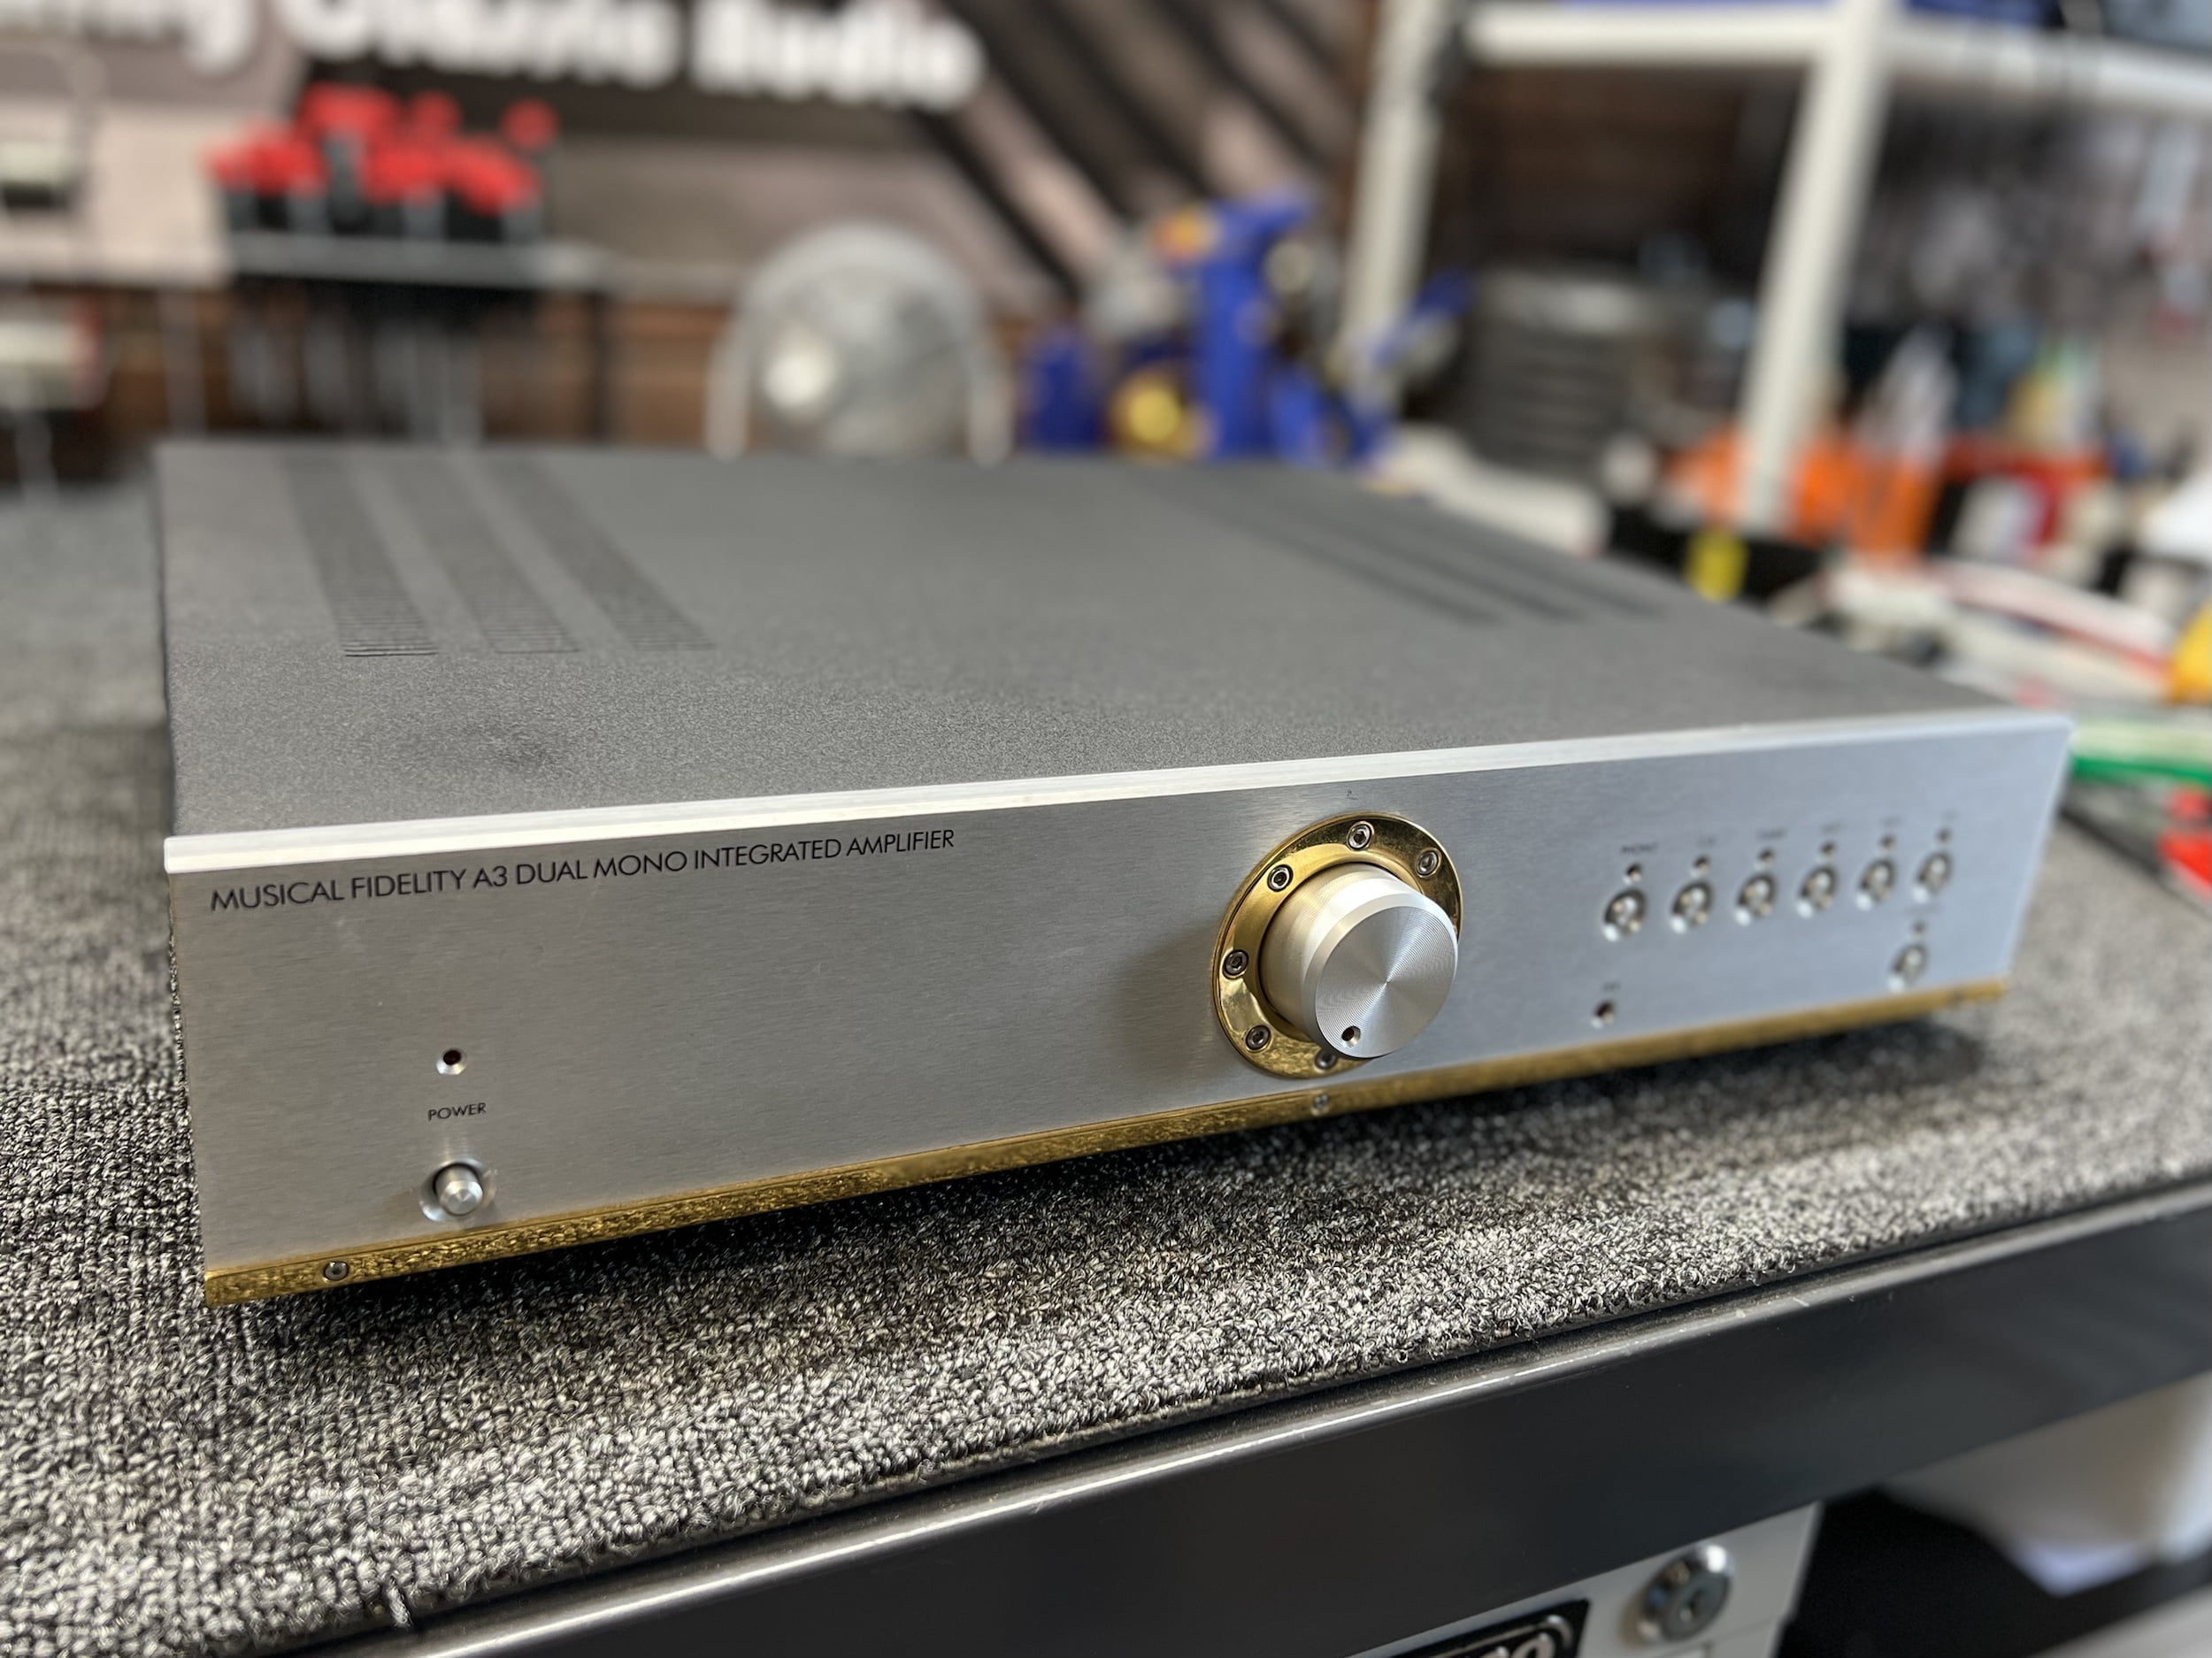
Can you believe this article and the associated video have already saved several people’s amplifiers from certain deaths! If I saved you and your amplifier with this article, you’re welcome, there’s a drink donation button in the footer which helps me continue to create content like this.
As always, thanks for reading, get in touch if you’d like Liquid Audio to care for any of your Musical Fidelity equipment and happy hi-fi-ing!
Discover more from LiQUiD AUDiO
Subscribe to get the latest posts sent to your email.

Awesome article Mike! I’m starting to believe you have taught enough about electronics over the past 5 years via your articles that I may be ready to start learning electronics repair my own self. In keeping with that line of thought I must ask, do you have any reason to believe that my Musical Fidelity A324 D/A processor could suffer from a similar issue? I’ve had it for over a decade & other than the co-ax input no longer locking onto an input signal, it’s been great. I’ve had it hooked to a JVC transport through the optical input for years with no issues. Also, know this, if it weren’t for the huge round trip shipping cost from Nc, USA to Australia & back I would have packed it up years ago & sent it down to Perth for you to service & hopefully correct it’s one minor issue.
Hi Tim, thank you, sounds like a good plan, go for it! I can’t say if the A324 has the battery, but if it does, it has to be removed. These can be greatly improved too, but you’ll find modern DACs perform better in many cases.
Really interesting to read this post and the Sansui article. Thanks for taking the time to document things as you go along. Cheers
Thanks, Matthew, much appreciated!
Hello Mike, thank you for this article. I own an a3.2 and have loved the sound for close to 20 years. Unfortunately the right speaker output connectir broke and I started thinking about having to replace the amp. With your article I am now decided to repair the damage. I need to find the broken piece first he he he.
Hi Imad, thanks for stopping by and I’m glad you’ve decided to repair your amplifier, best of luck getting her back up and running!
Dear Mike
Great article, thank you. I have a chance to buy a MF 3.2 amp. Do you happen to know if they used the same battery type? Any other known issues to look out for? Any advice much appreciated as I’m not a wealthy man and can’t afford to buy a money pit!
Hi Richard, my pleasure, glad you enjoyed it! The A 3.2 is a generally reliable and solidly-built amplifier offering good performance for the money, when sensibly priced. Keep in mind the very basic phono preamp if using vinyl sources, though. My standard advice regarding condition, service history, capacitors and unusual output devices applies here as it does to most MF amplifiers of this era, so an inspection and service by someone familiar with this range of equipment is a great idea. I don’t recall if the same battery is used, it’s been a while since I worked on an A 3.2. Note that we have an advisory service specifically for enquiries like this, accessible via the contact page. This allows me to allocate time to dig out service data and answer these sorts of questions in more detail, if required.
Many thanks, Mike! Very helpful and prompt
No problem!