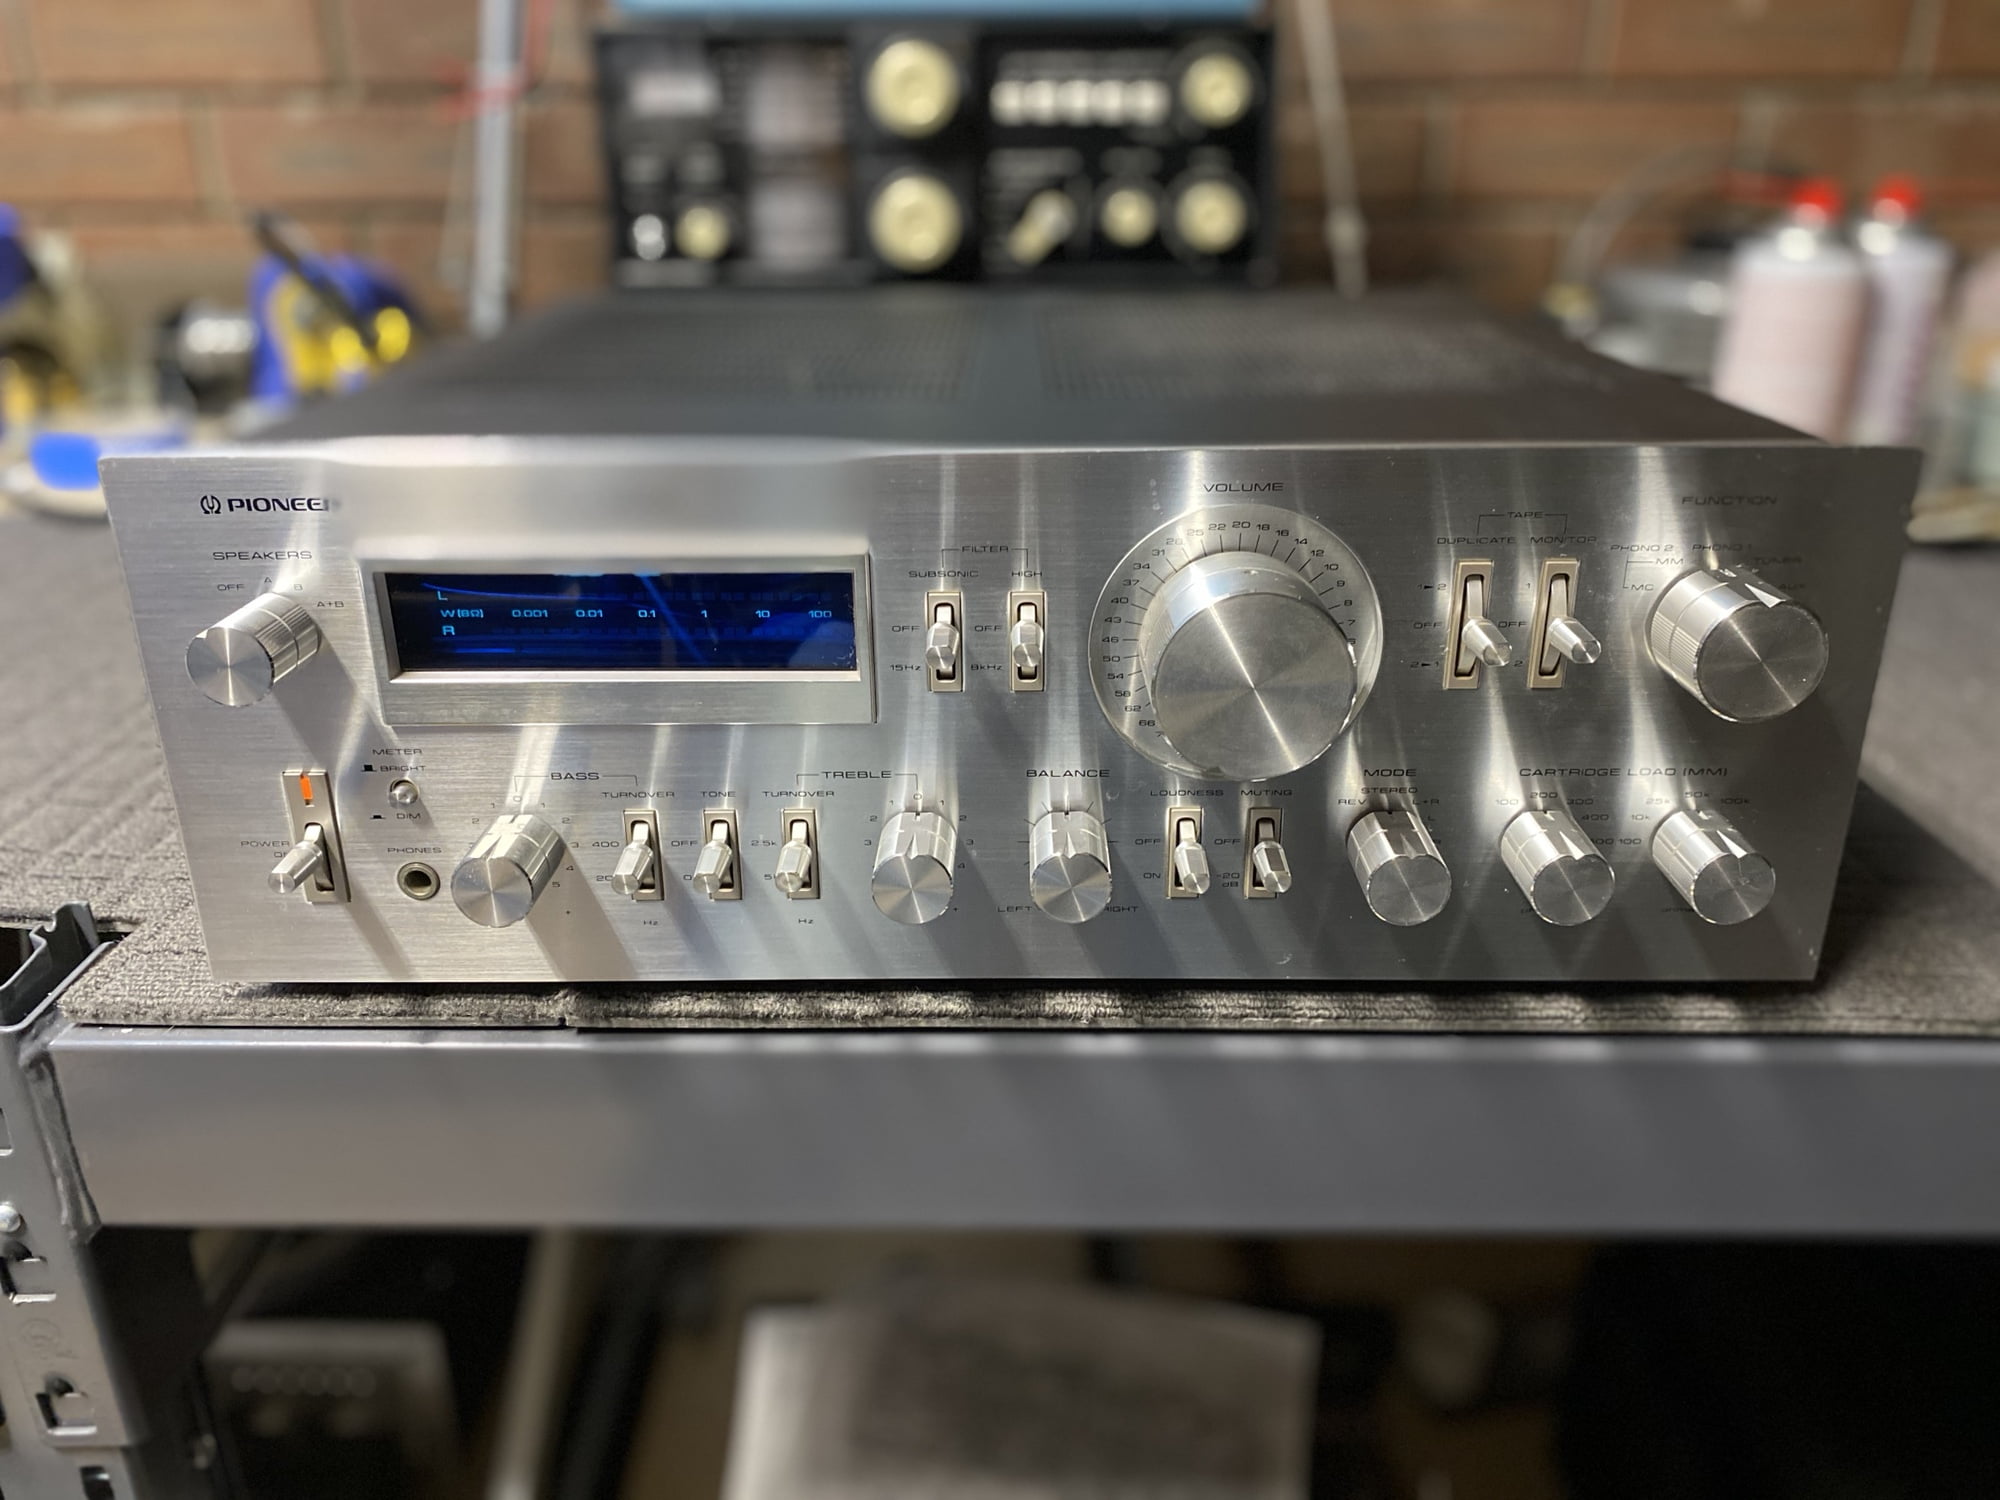
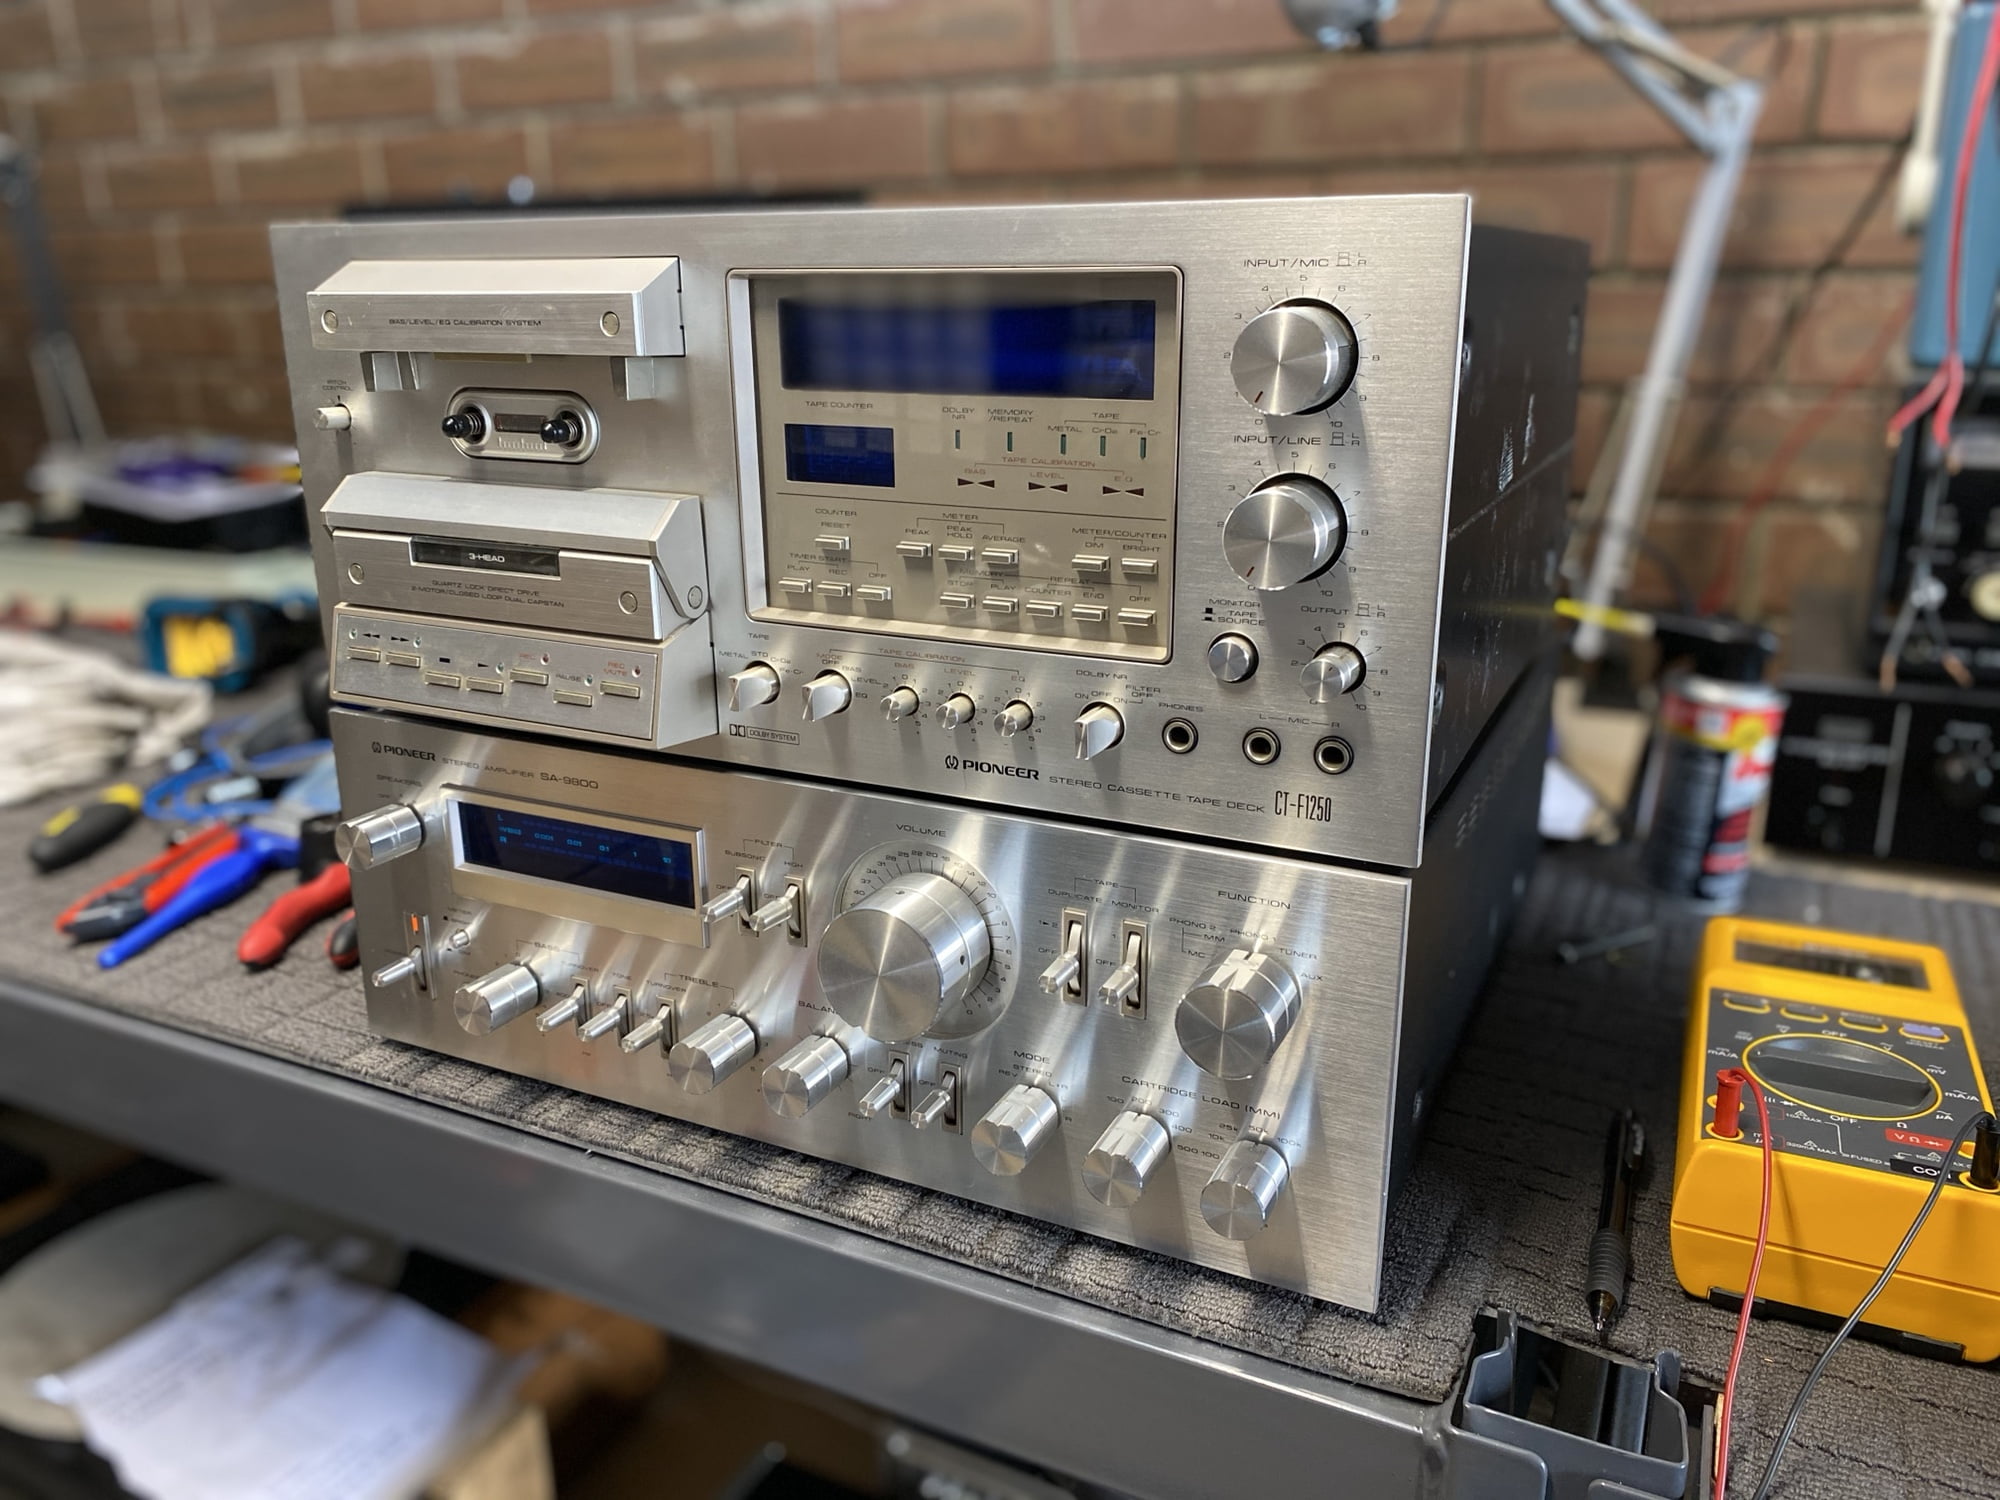
The beautiful Pioneer SA-9800 integrated amplifier is a classic in terms of styling and performance. Come along as I give this one a major service.
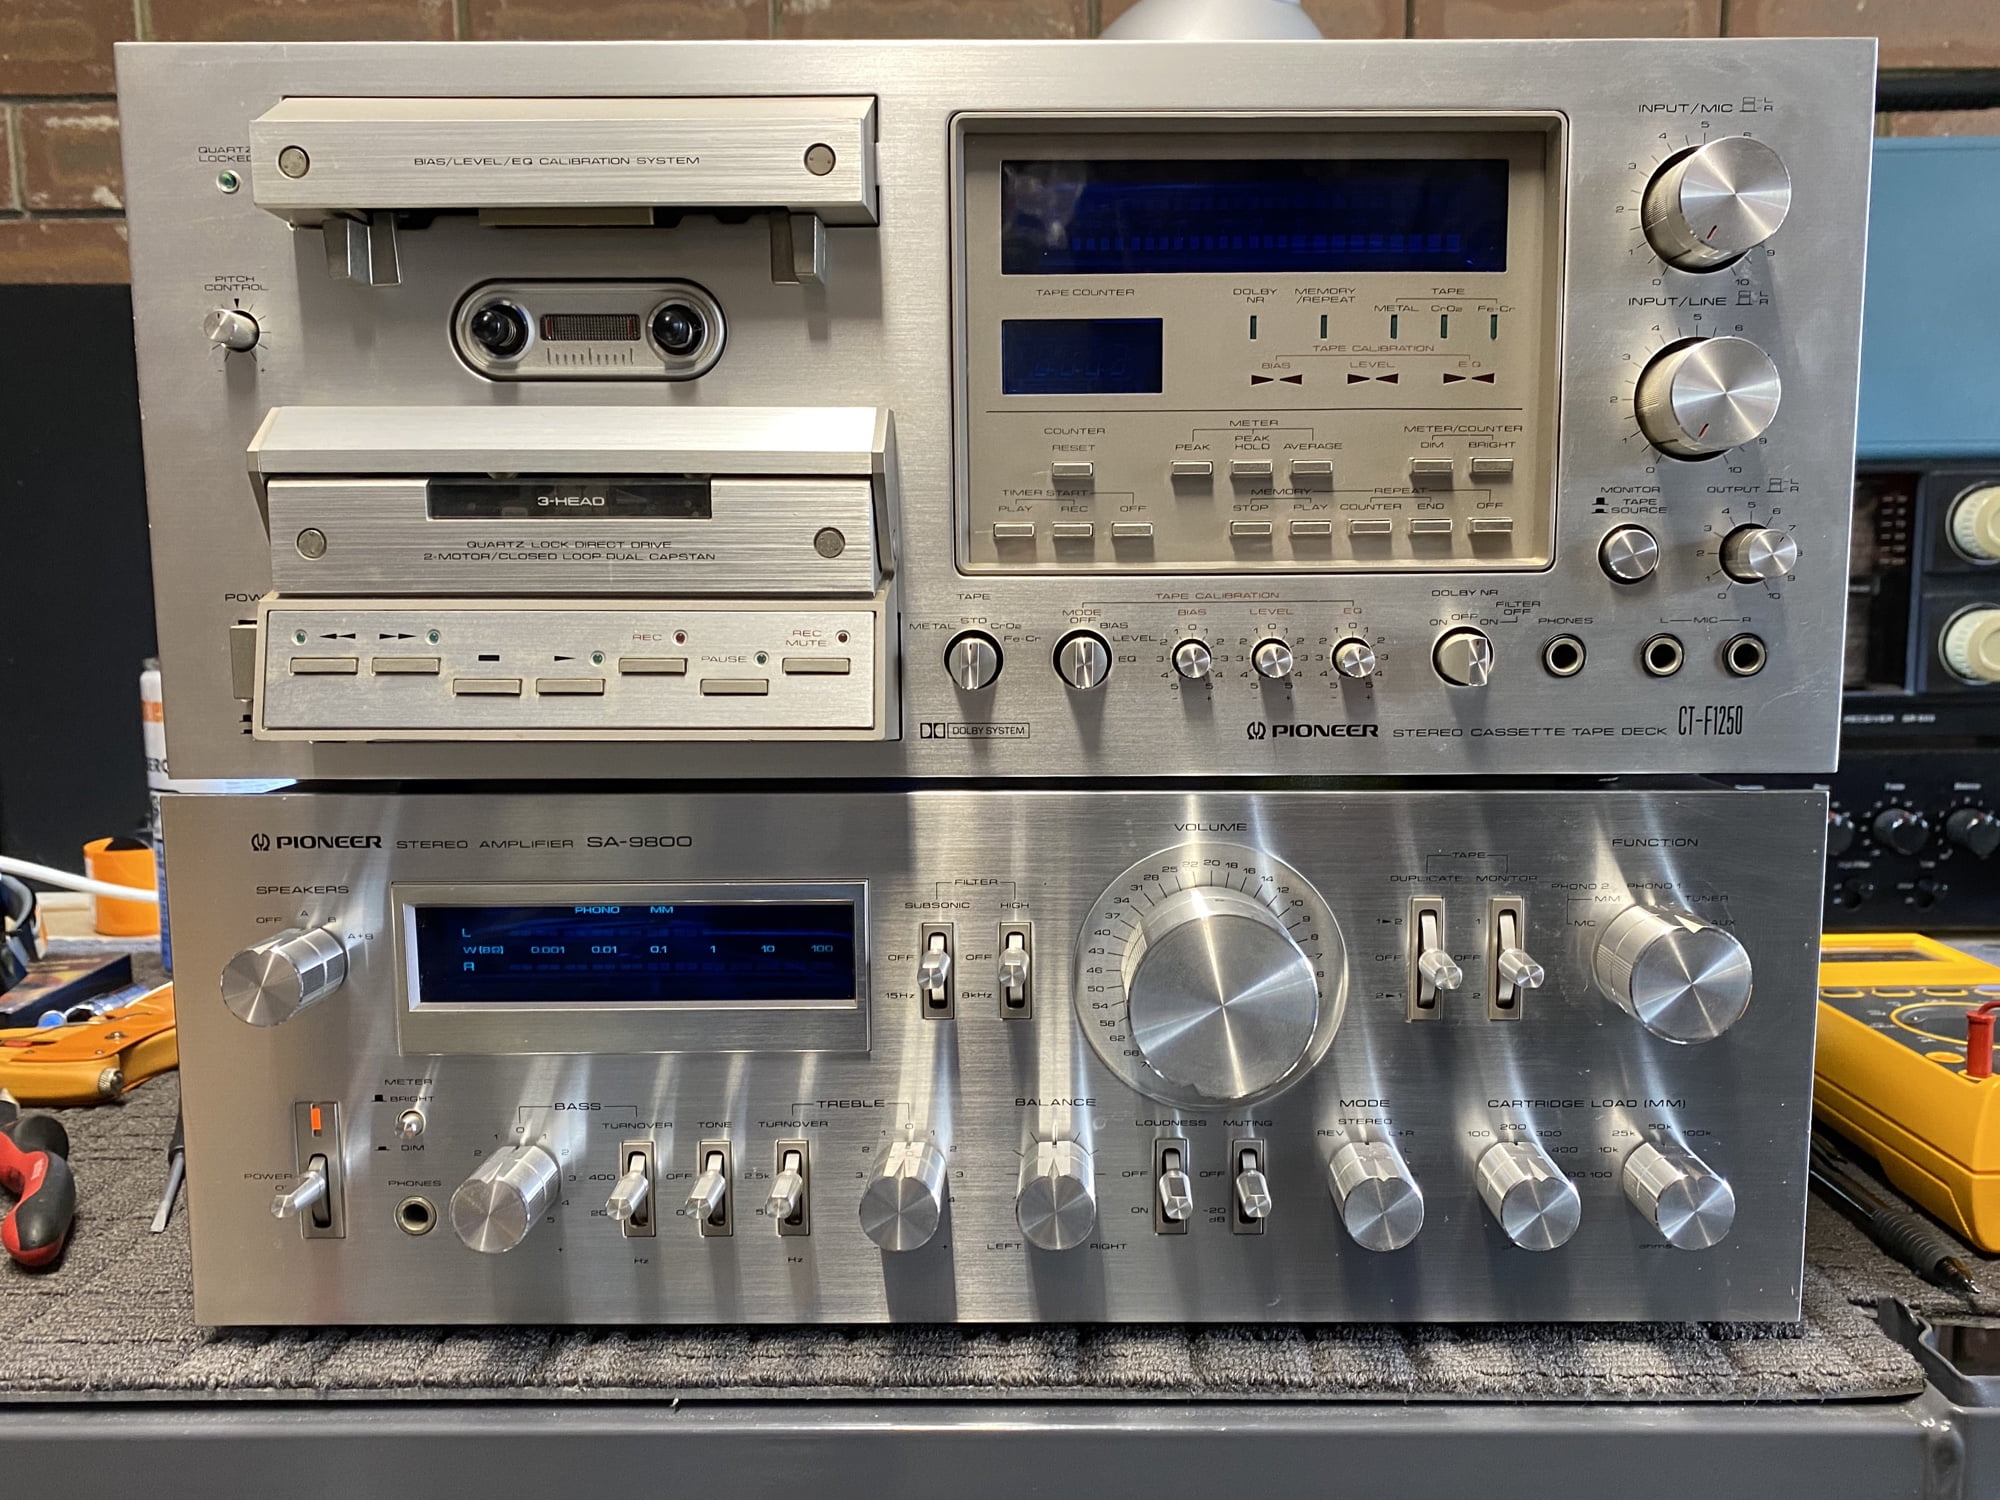
PS: Look out for the legendary CTF-1250 cassette deck I repaired, at the end!
The Pioneer SA-9800 integrated amplifier is, without a doubt, one of Pioneer’s greatest integrated amplifiers and for good reason. It’s a brutish, yet beautiful silver amplifier, it has blue vacuum fluorescent meters, it sounds amazing; it has a great set of features and it’s robust, reliable and well put together.
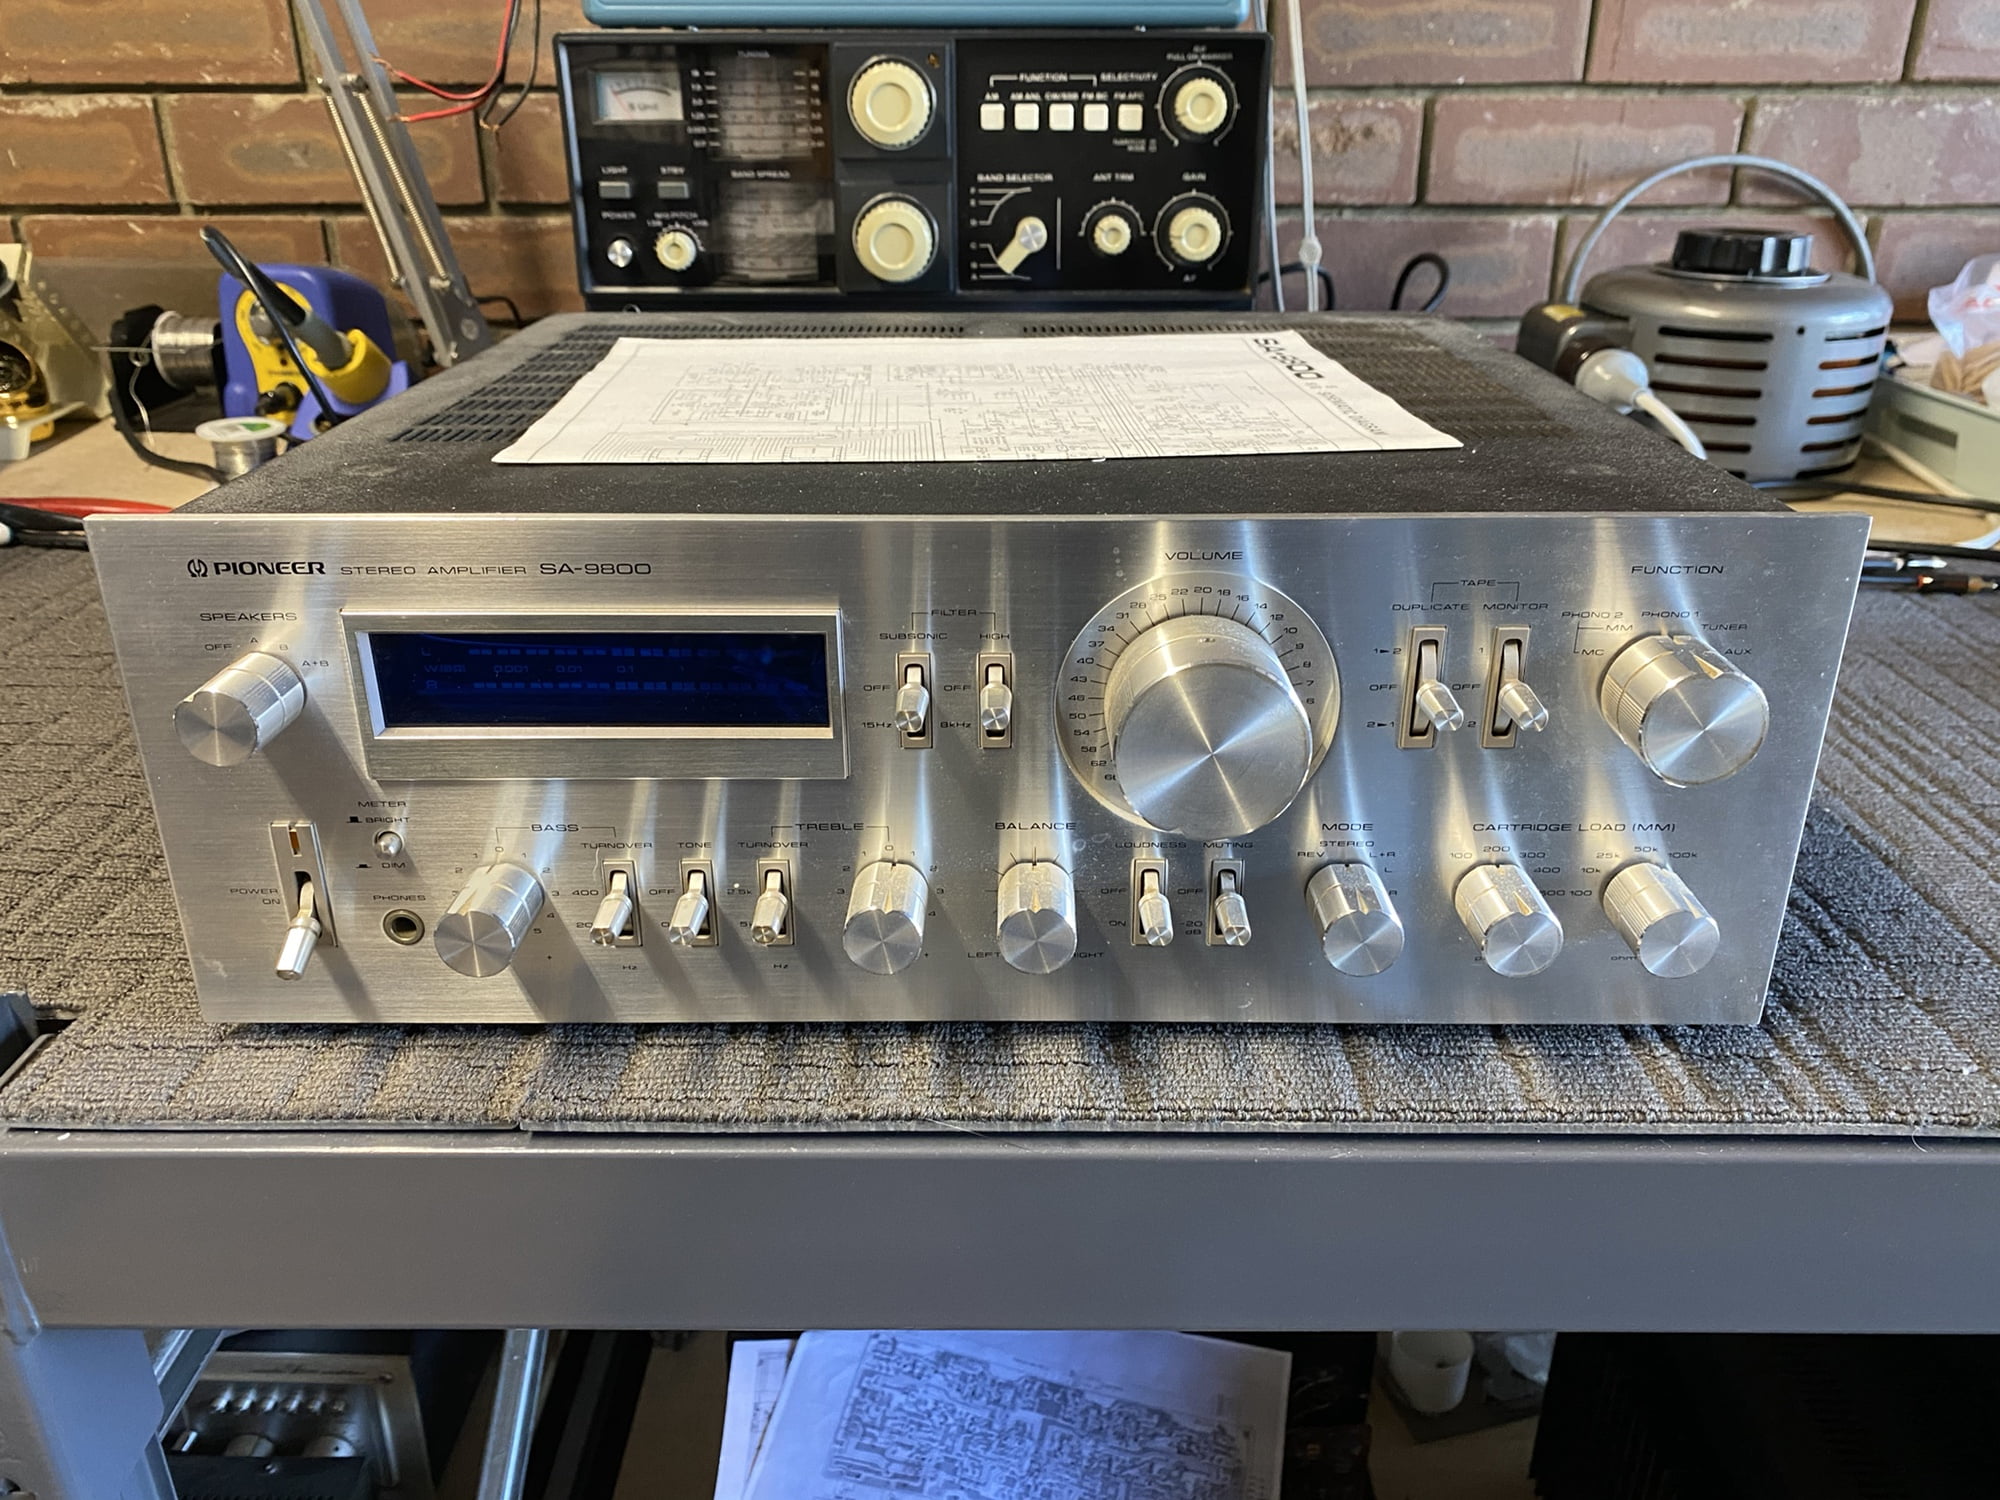
This beautiful example was brought to me in desperate need of service by her original owner and she came with a friend… Let’s take a deeper look and for more service details, why not watch this companion video about the Pioneer SA-9800.
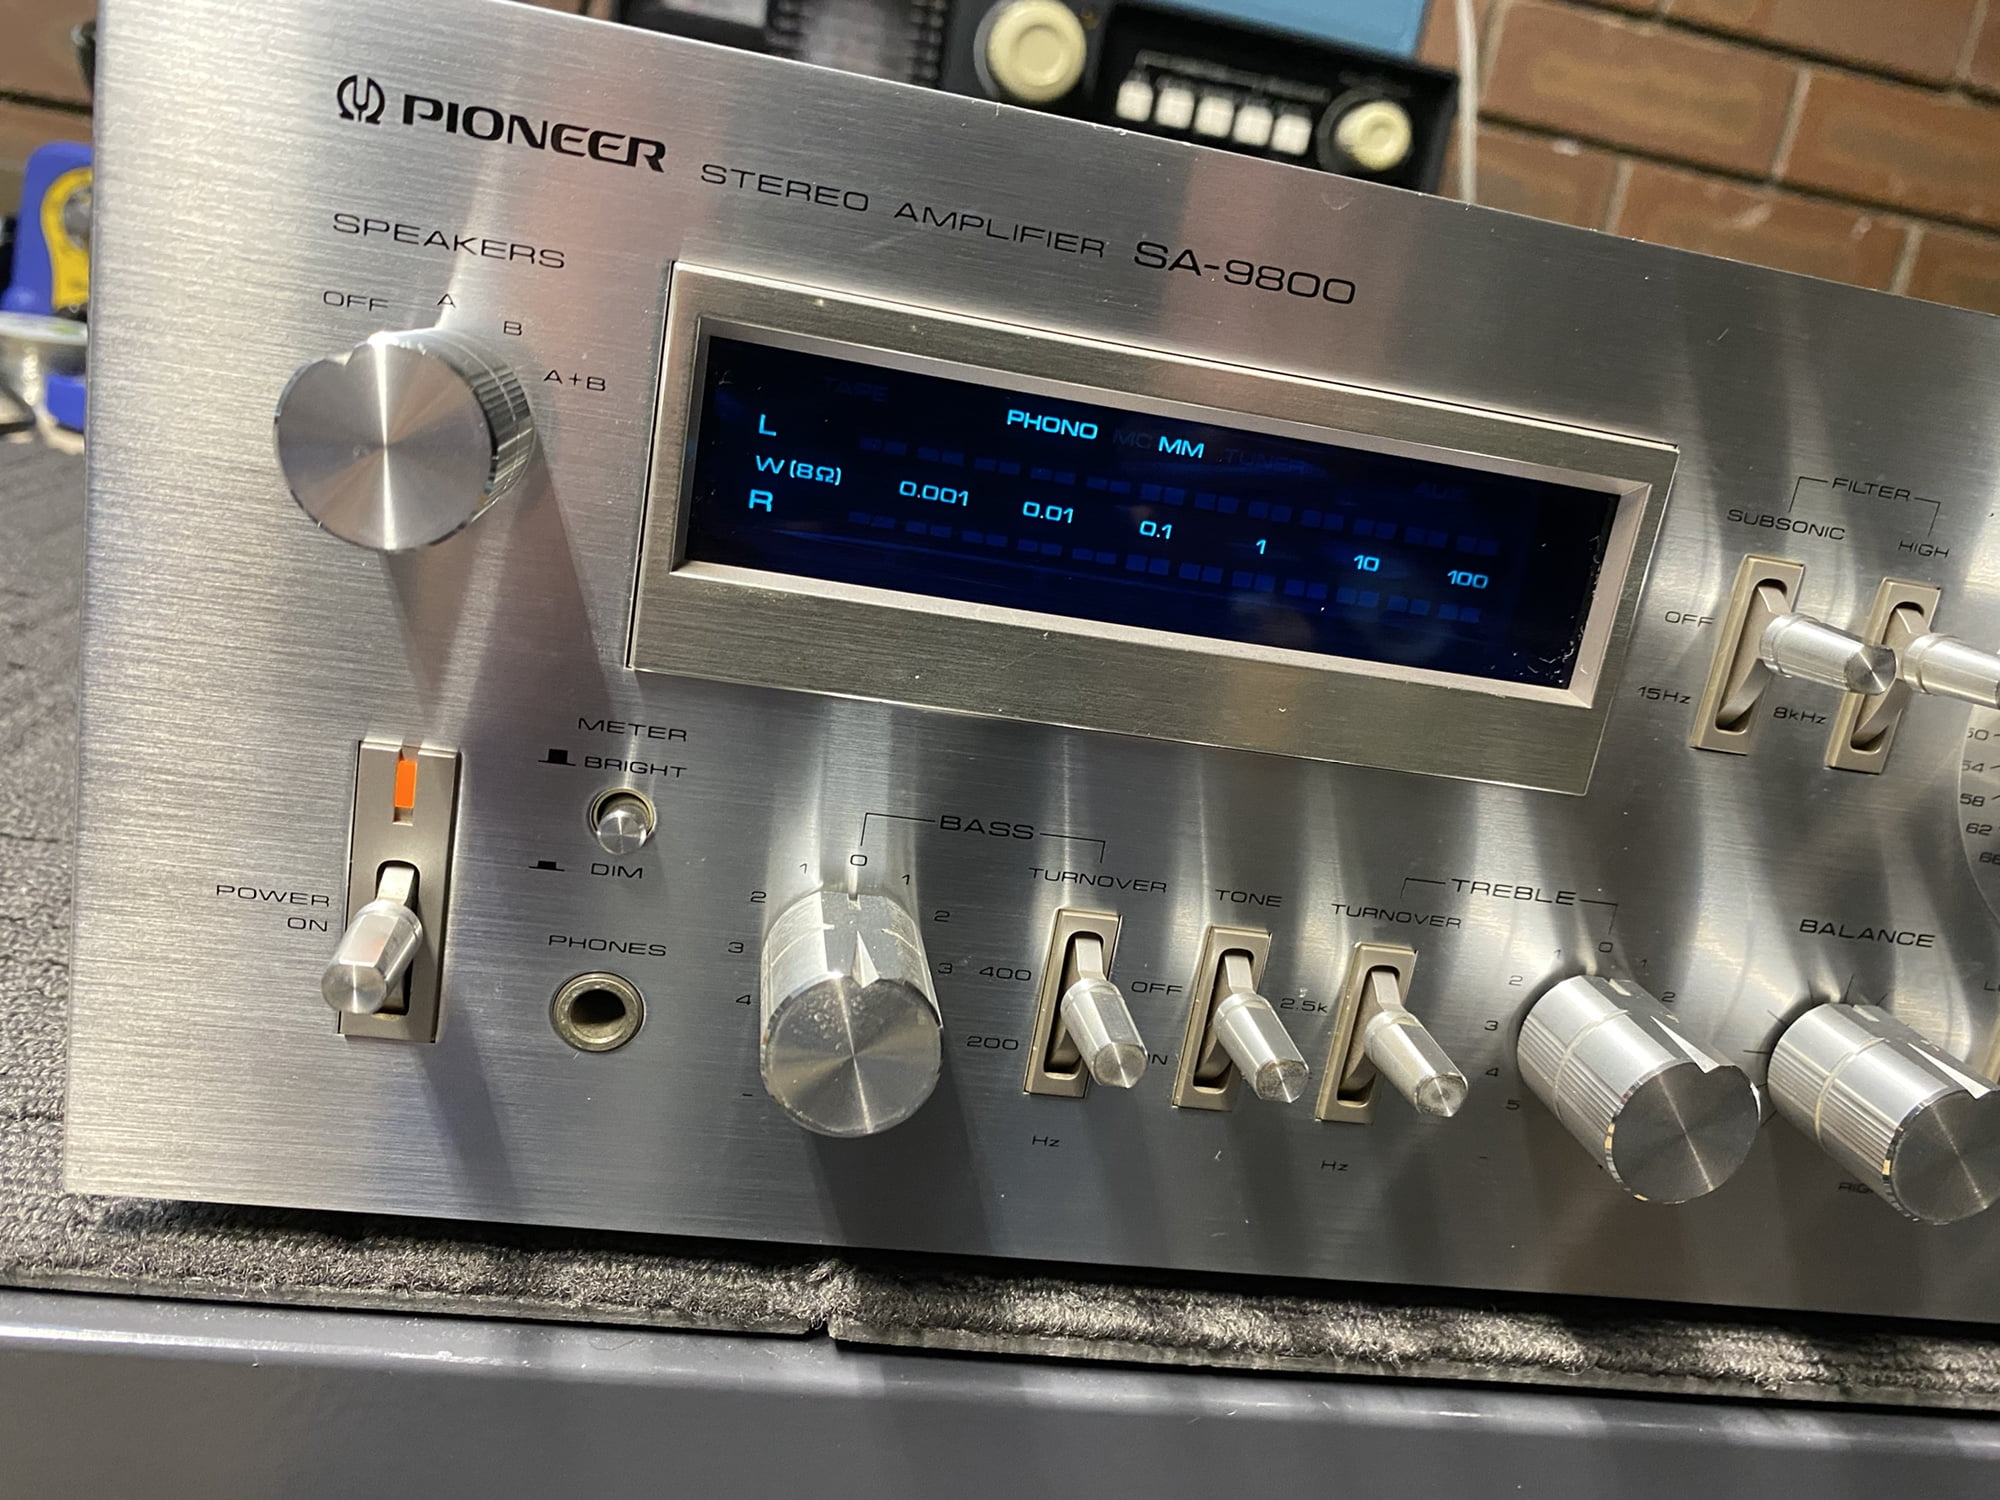
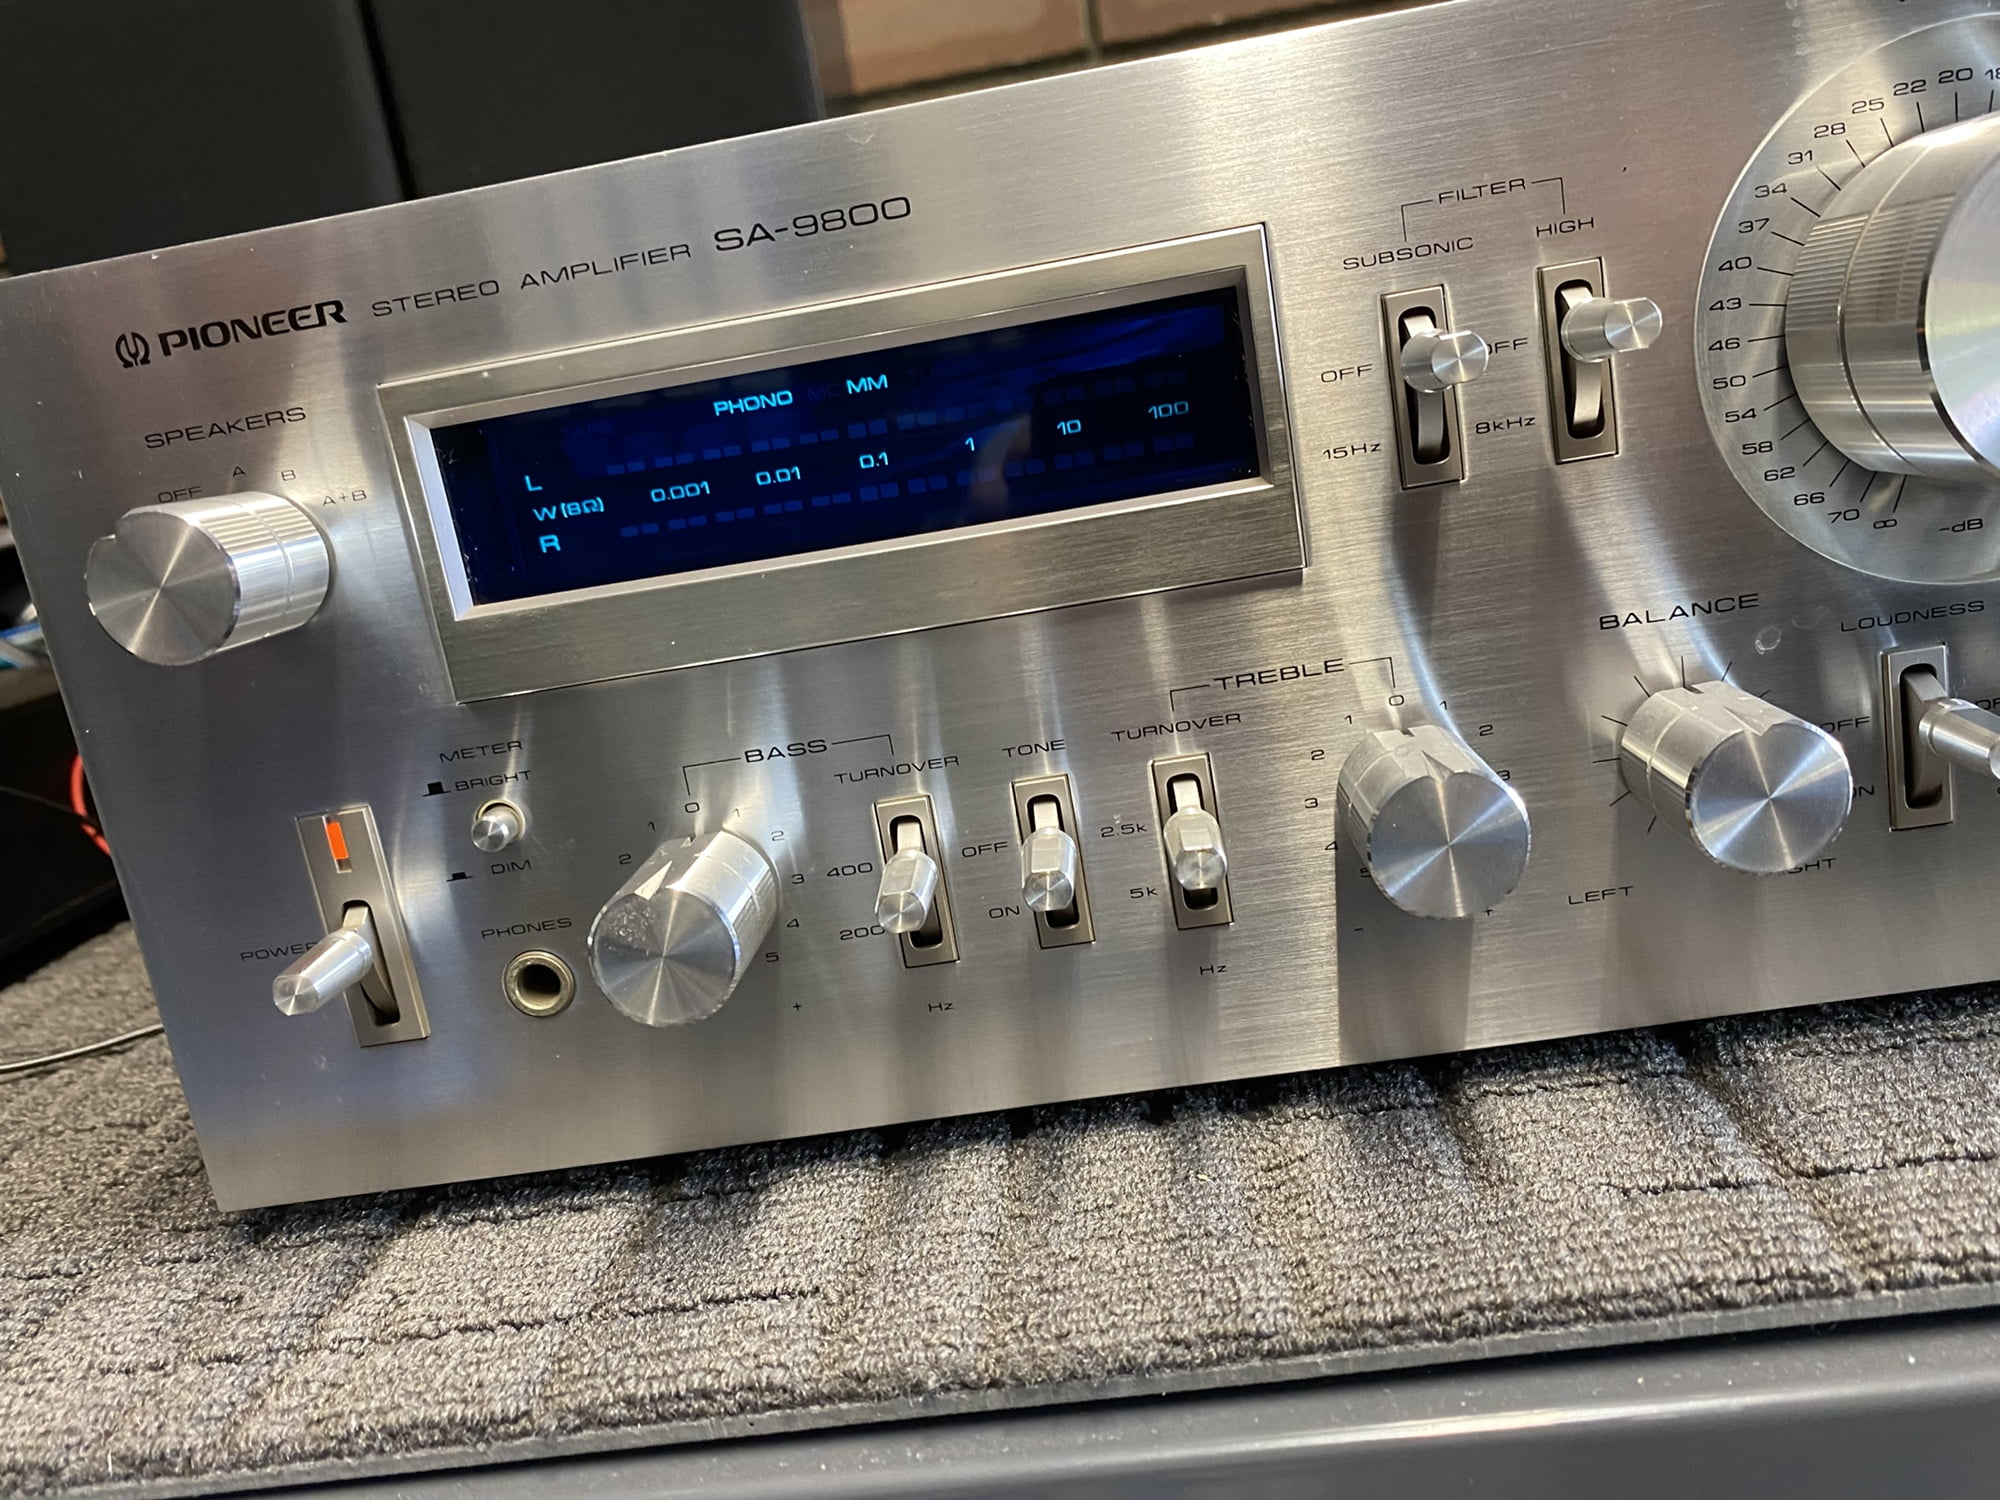
The SA-9800 is yet another amp hailing from the hi-fi golden era, in this case, 1980. With that massive volume knob, sliver front panel and toggle style switches, it looks and feels like it came out of the space age, even now. The blue vacuum fluorescent power meters only add to this futuristic look and contrast sharply with the classic silver Pioneer aesthetic.
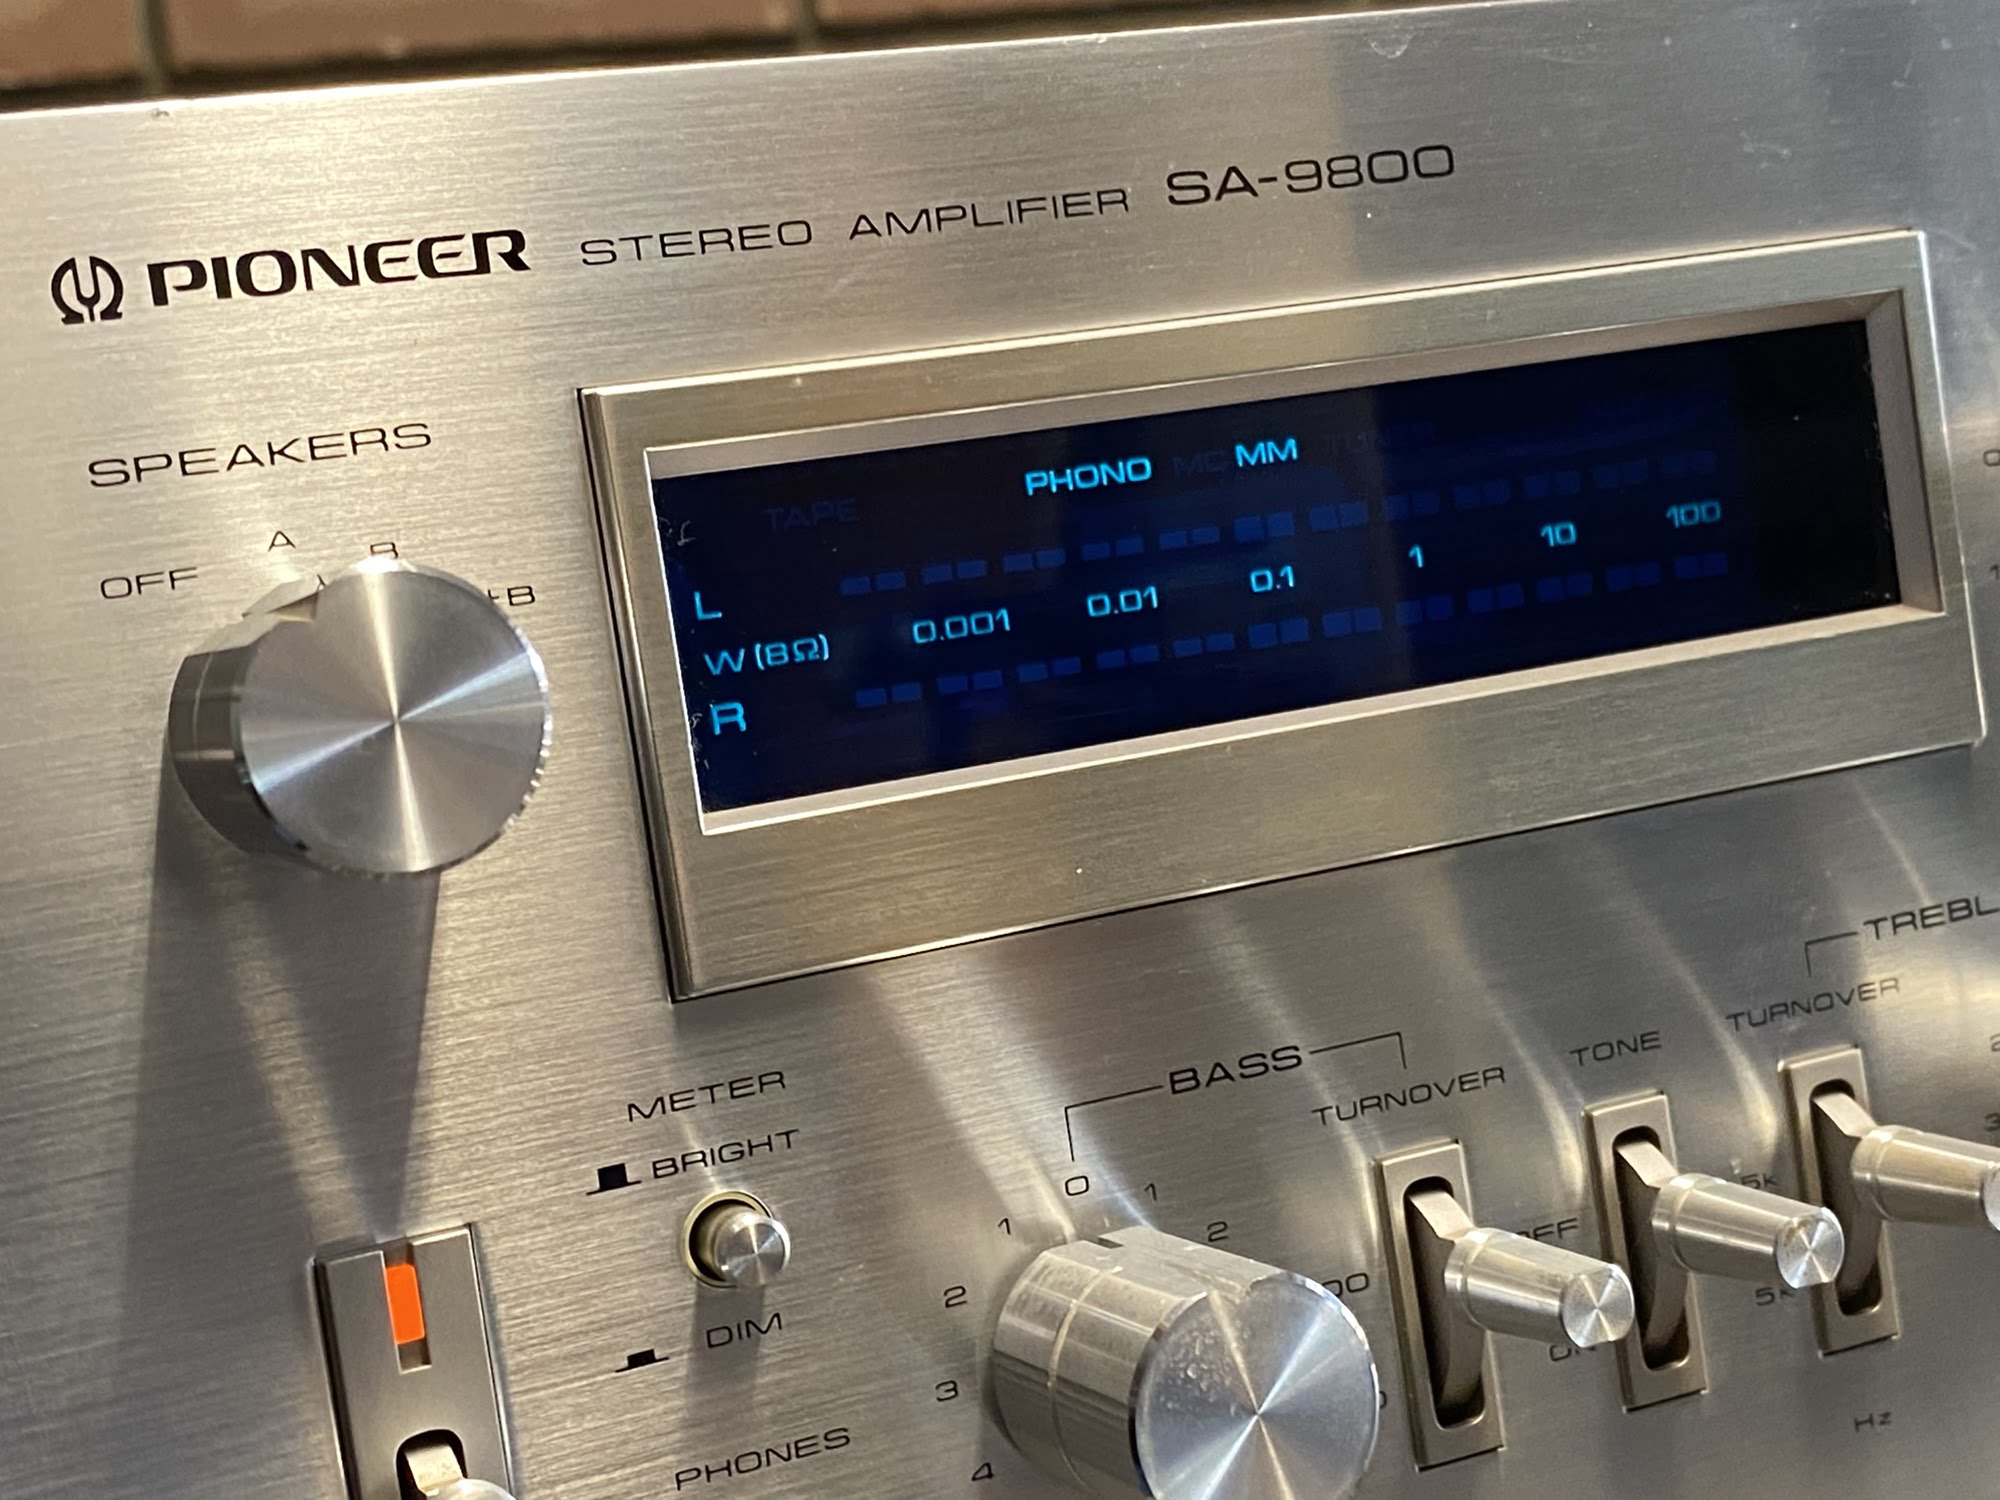
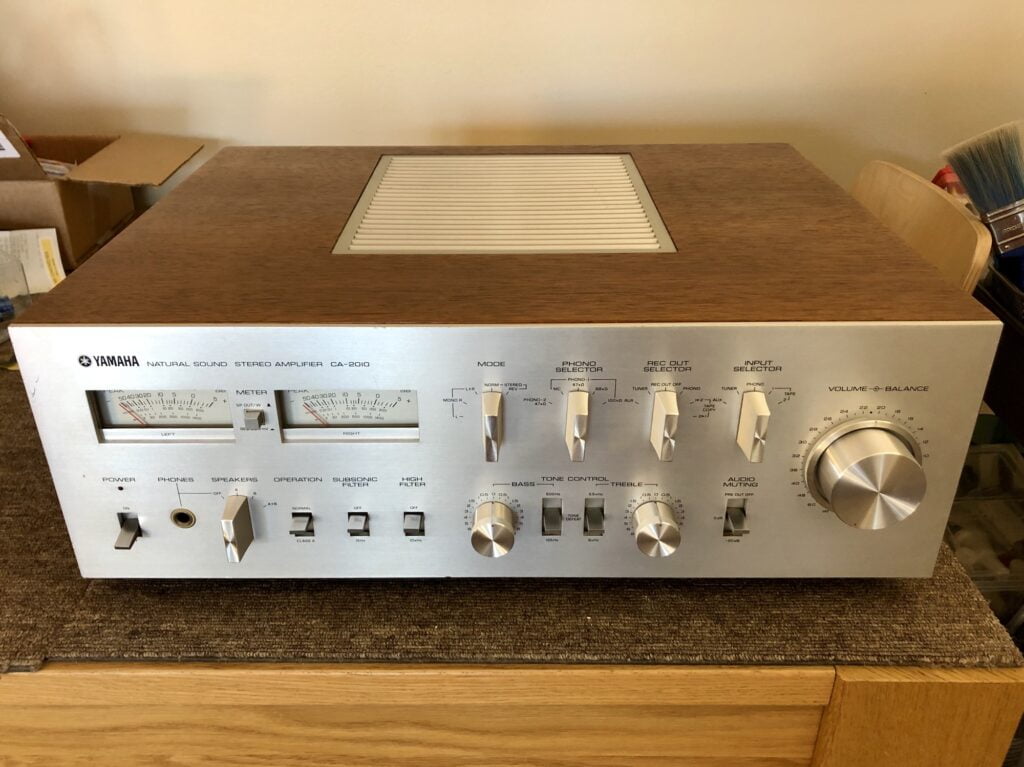
In terms of the competition, the Pioneer SA-9800 went head-to-head with other classic 100 Watt Japanese amplifiers like Sansui’s AU-717 and the Sansui AU-919. The monster Kenwood KA-907 is another competitor and an even better amp. Likewise, the stunning Technics SU-V8 is a worthy competitor and one of the coolest amps from this era, along with the beautiful and timeless Yamaha CA-2010. Which would you choose?
Specifications, thanks to HiFi Engine
Power output: 100 watts per channel into 8Ω (stereo)
Frequency response: 5Hz to 100kHz
Total harmonic distortion: 0.005%
Damping factor: 55
Input sensitivity: 0.1mV (MC), 2.5mV (MM), 150mV (line)
Signal to noise ratio: 72dB (MC), 90dB (MM), 110dB (line)
Output: 150mV (line), 1V (Pre out)
Semiconductors: 3 x IC, 6 x FET, 73 x transistors, 36 x diodes
Dimensions: 453 x 155 x 425mm
Weight: 18.4kg
Year: 1980
Inside Look
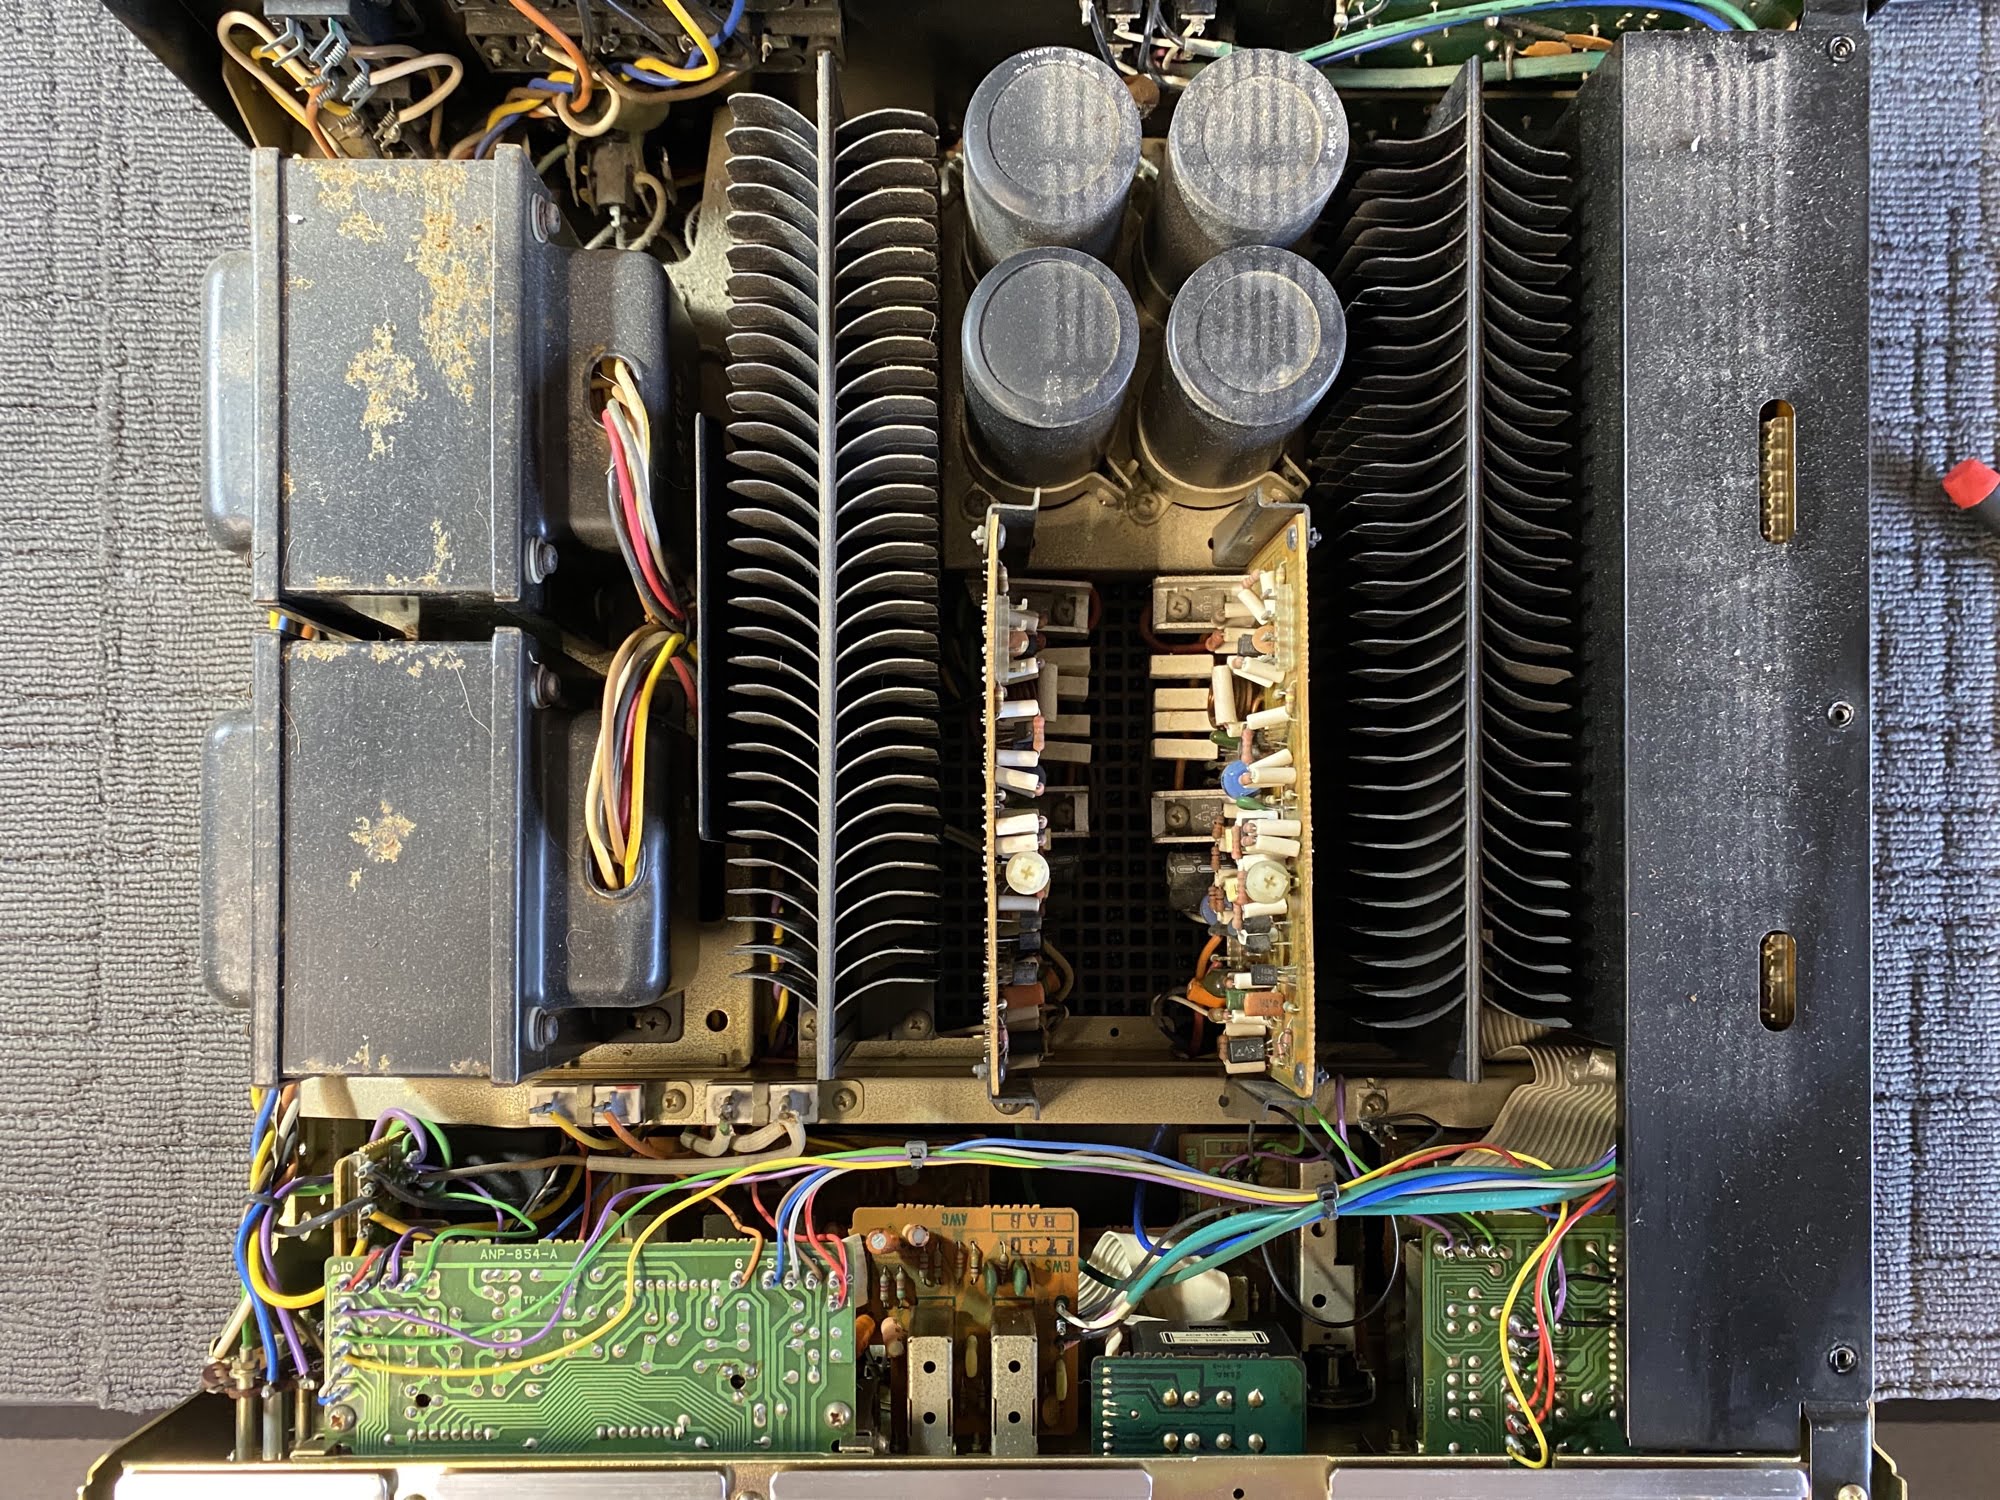
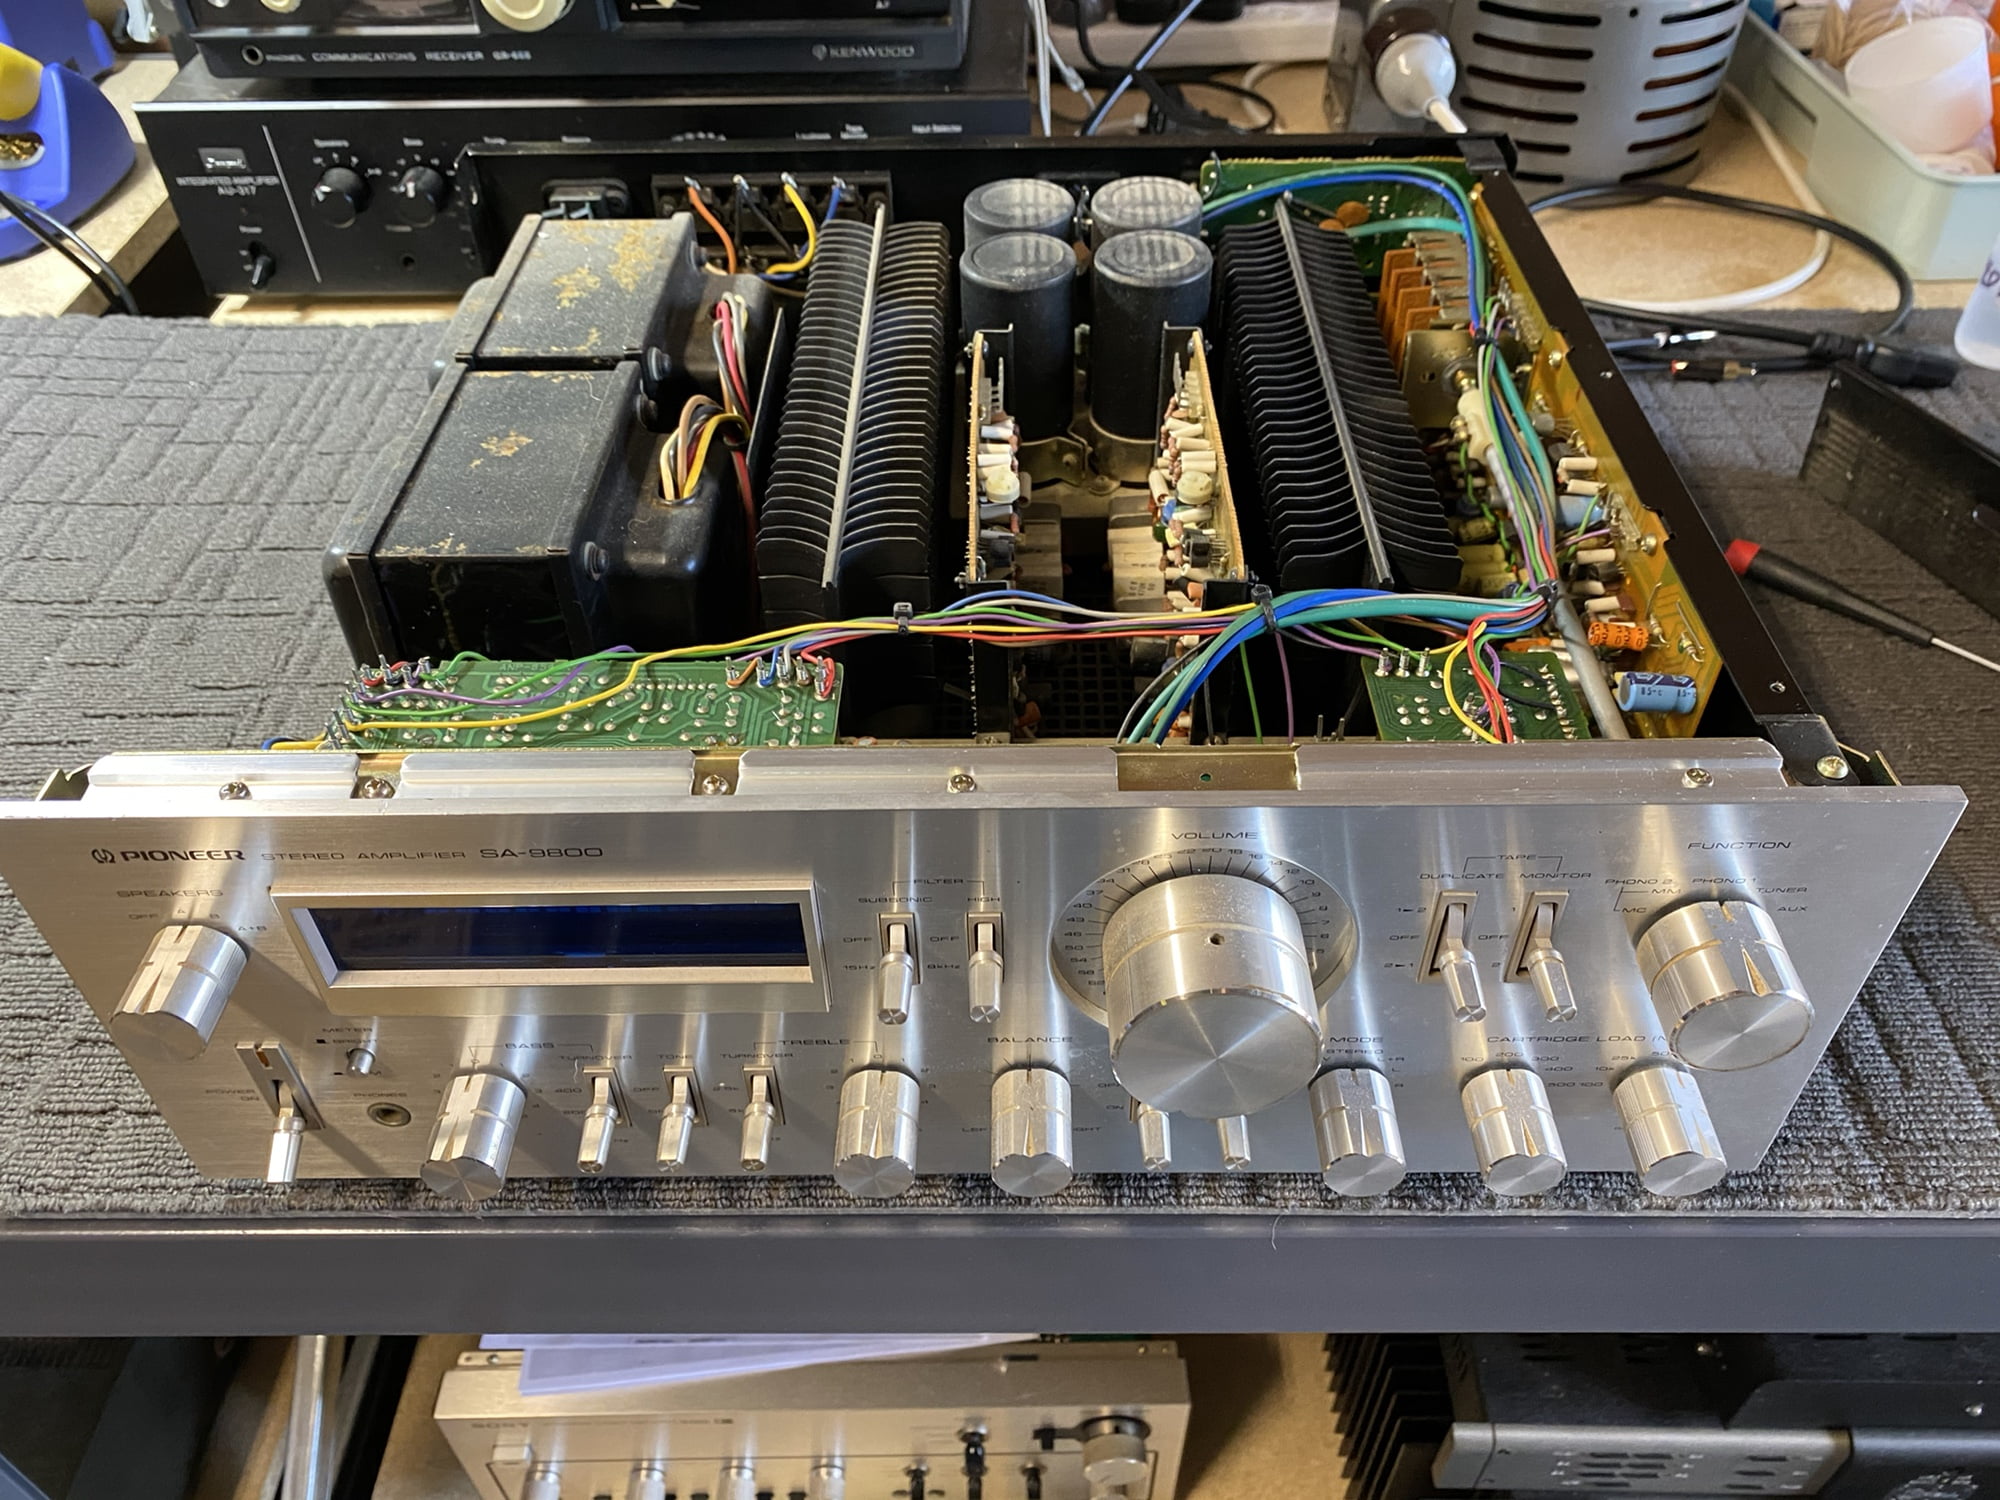
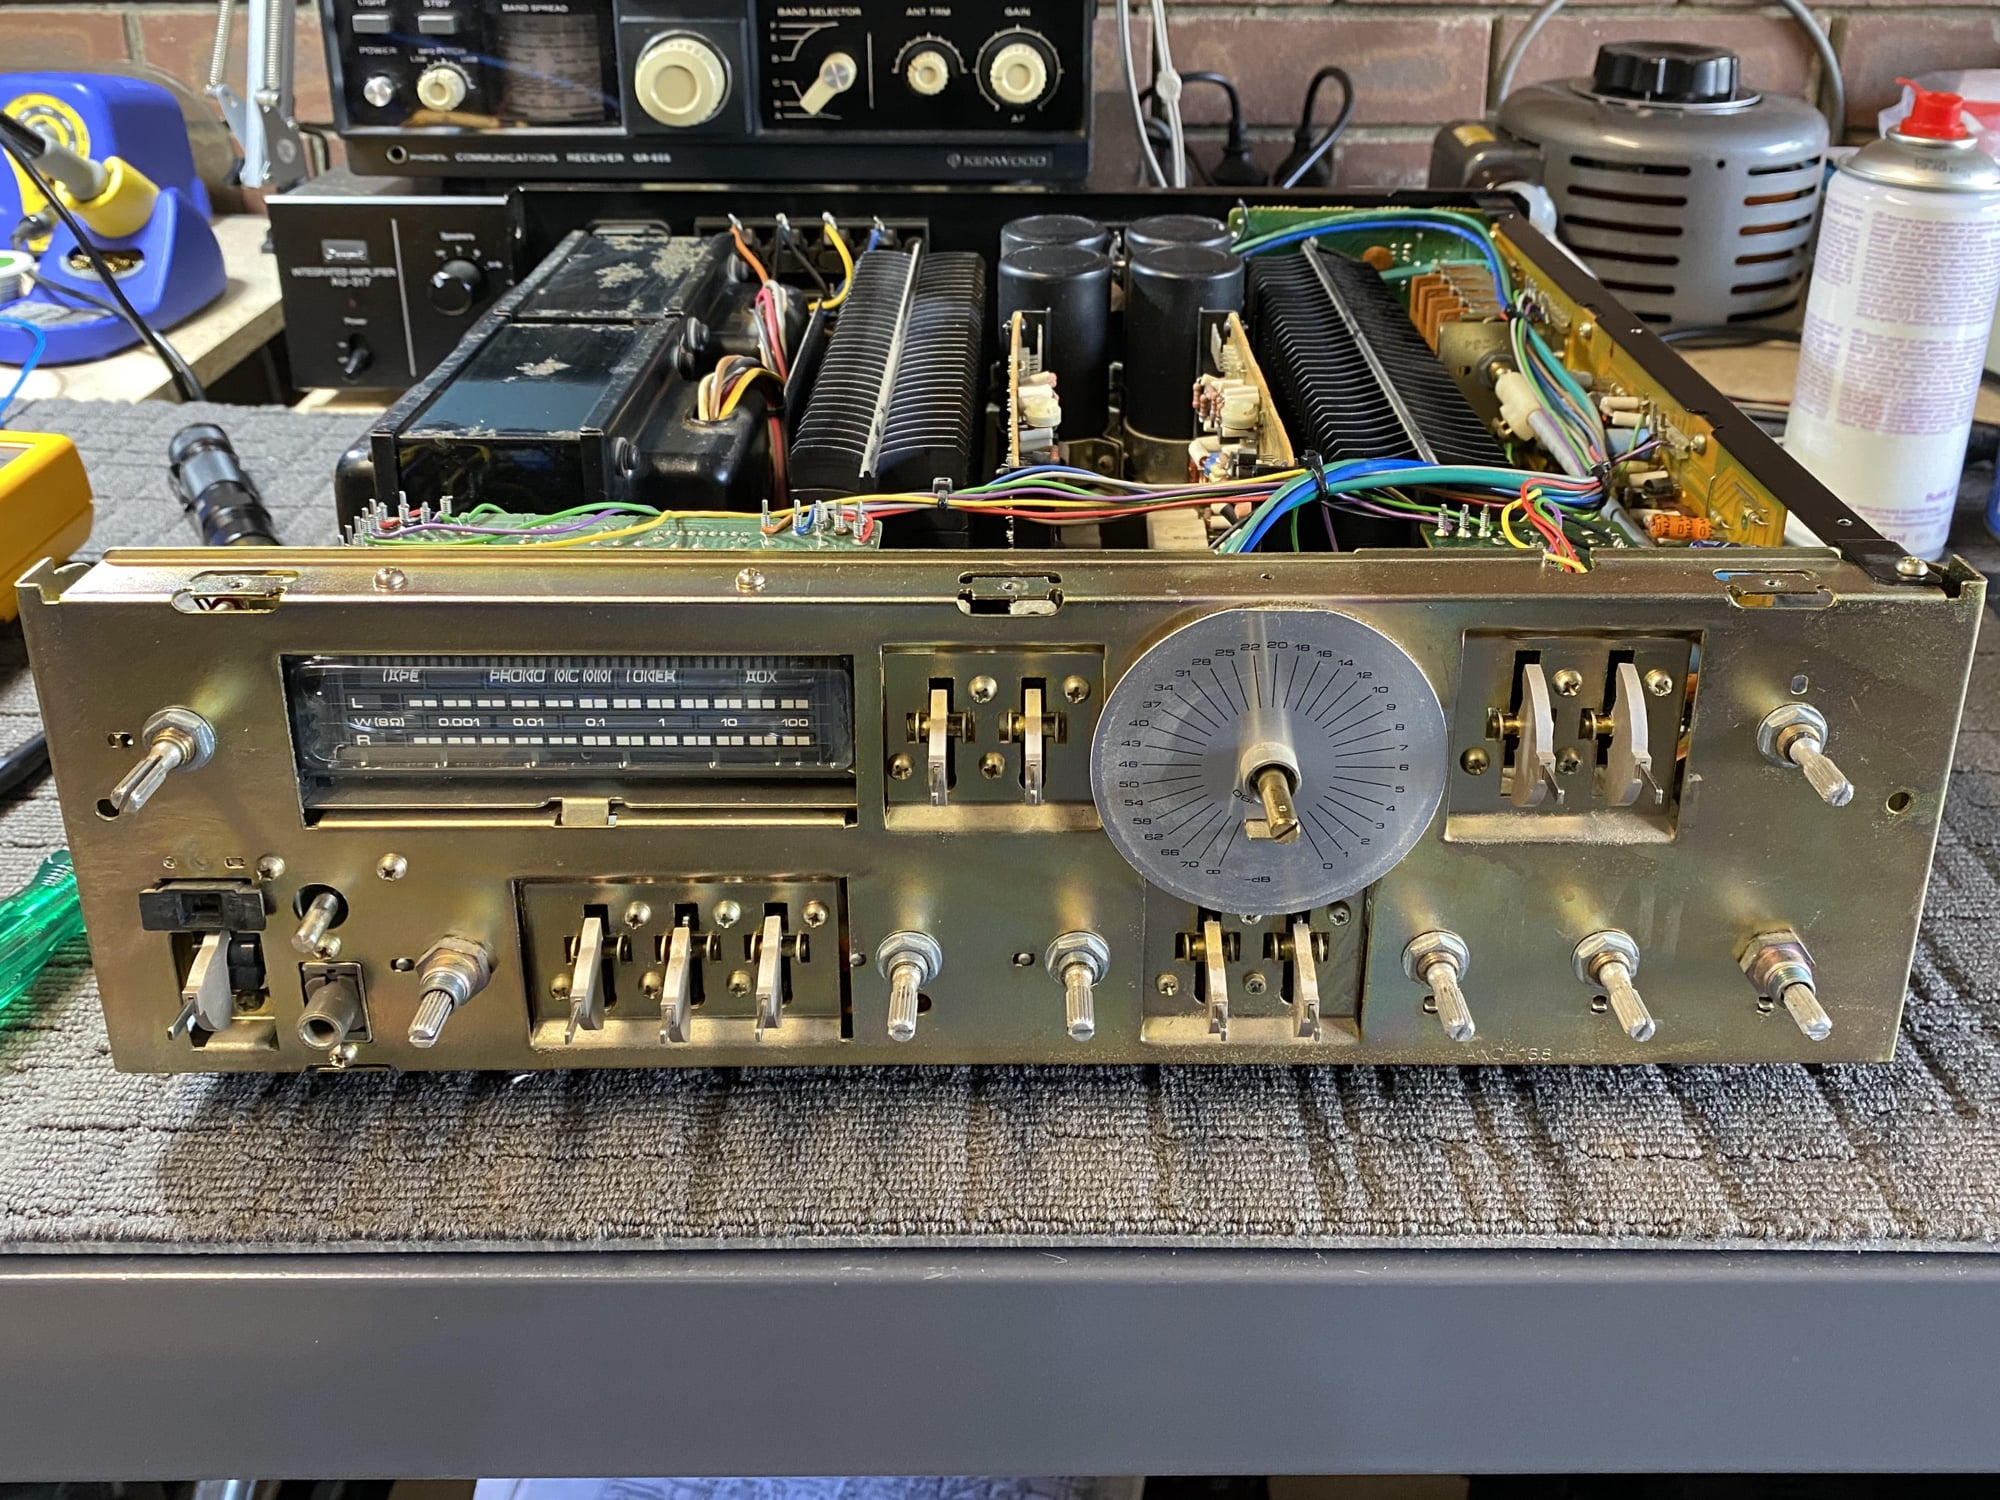
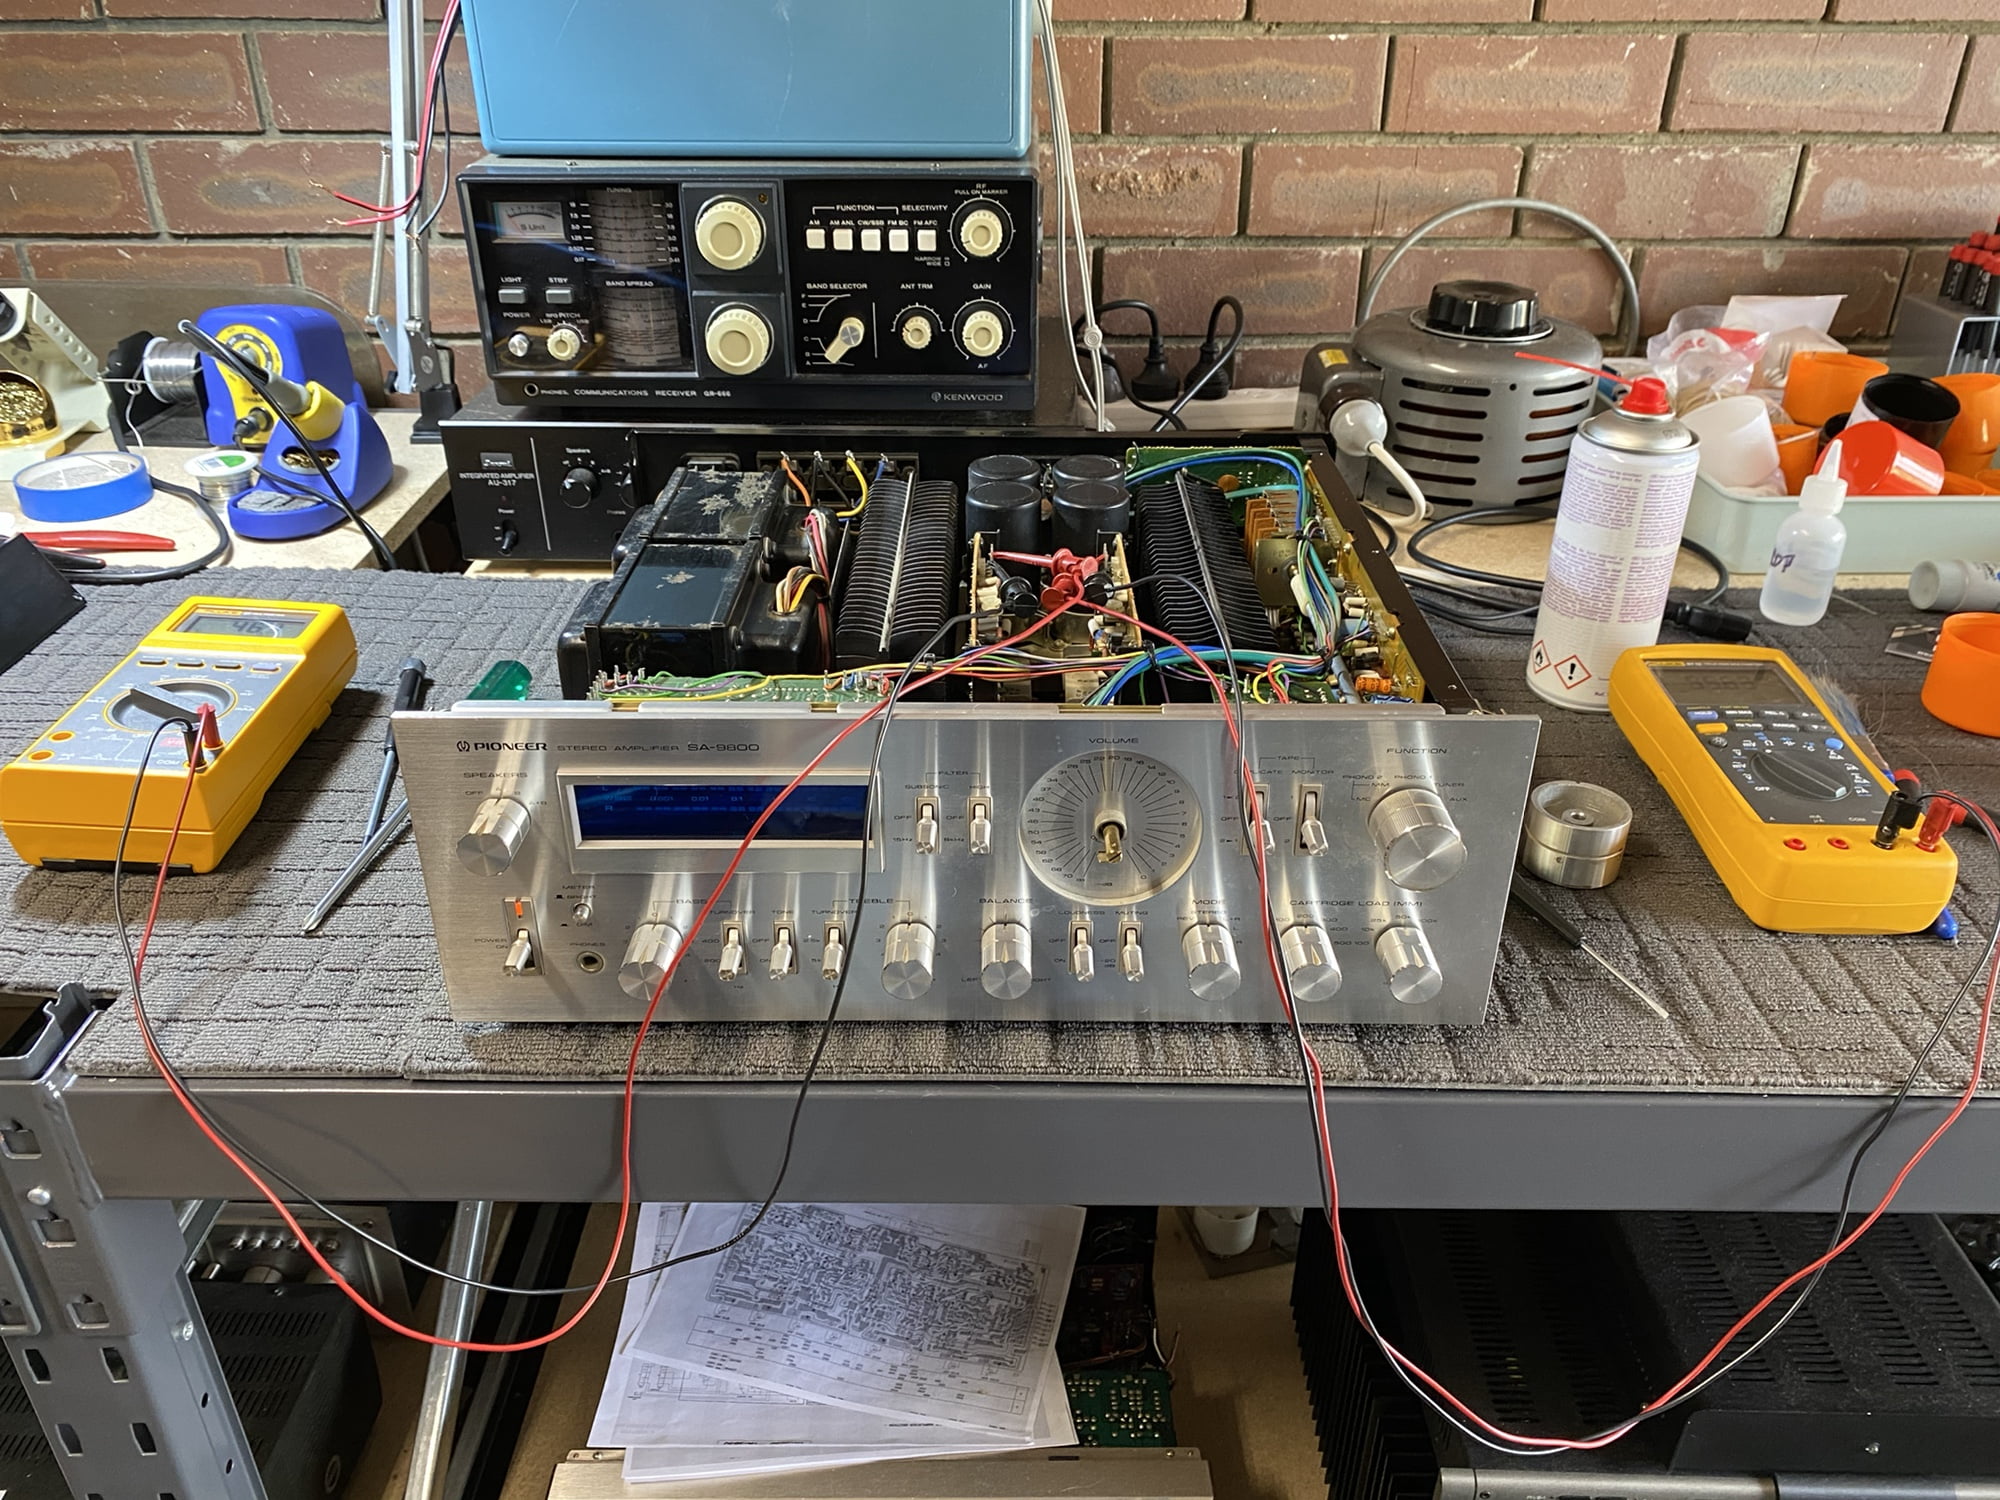
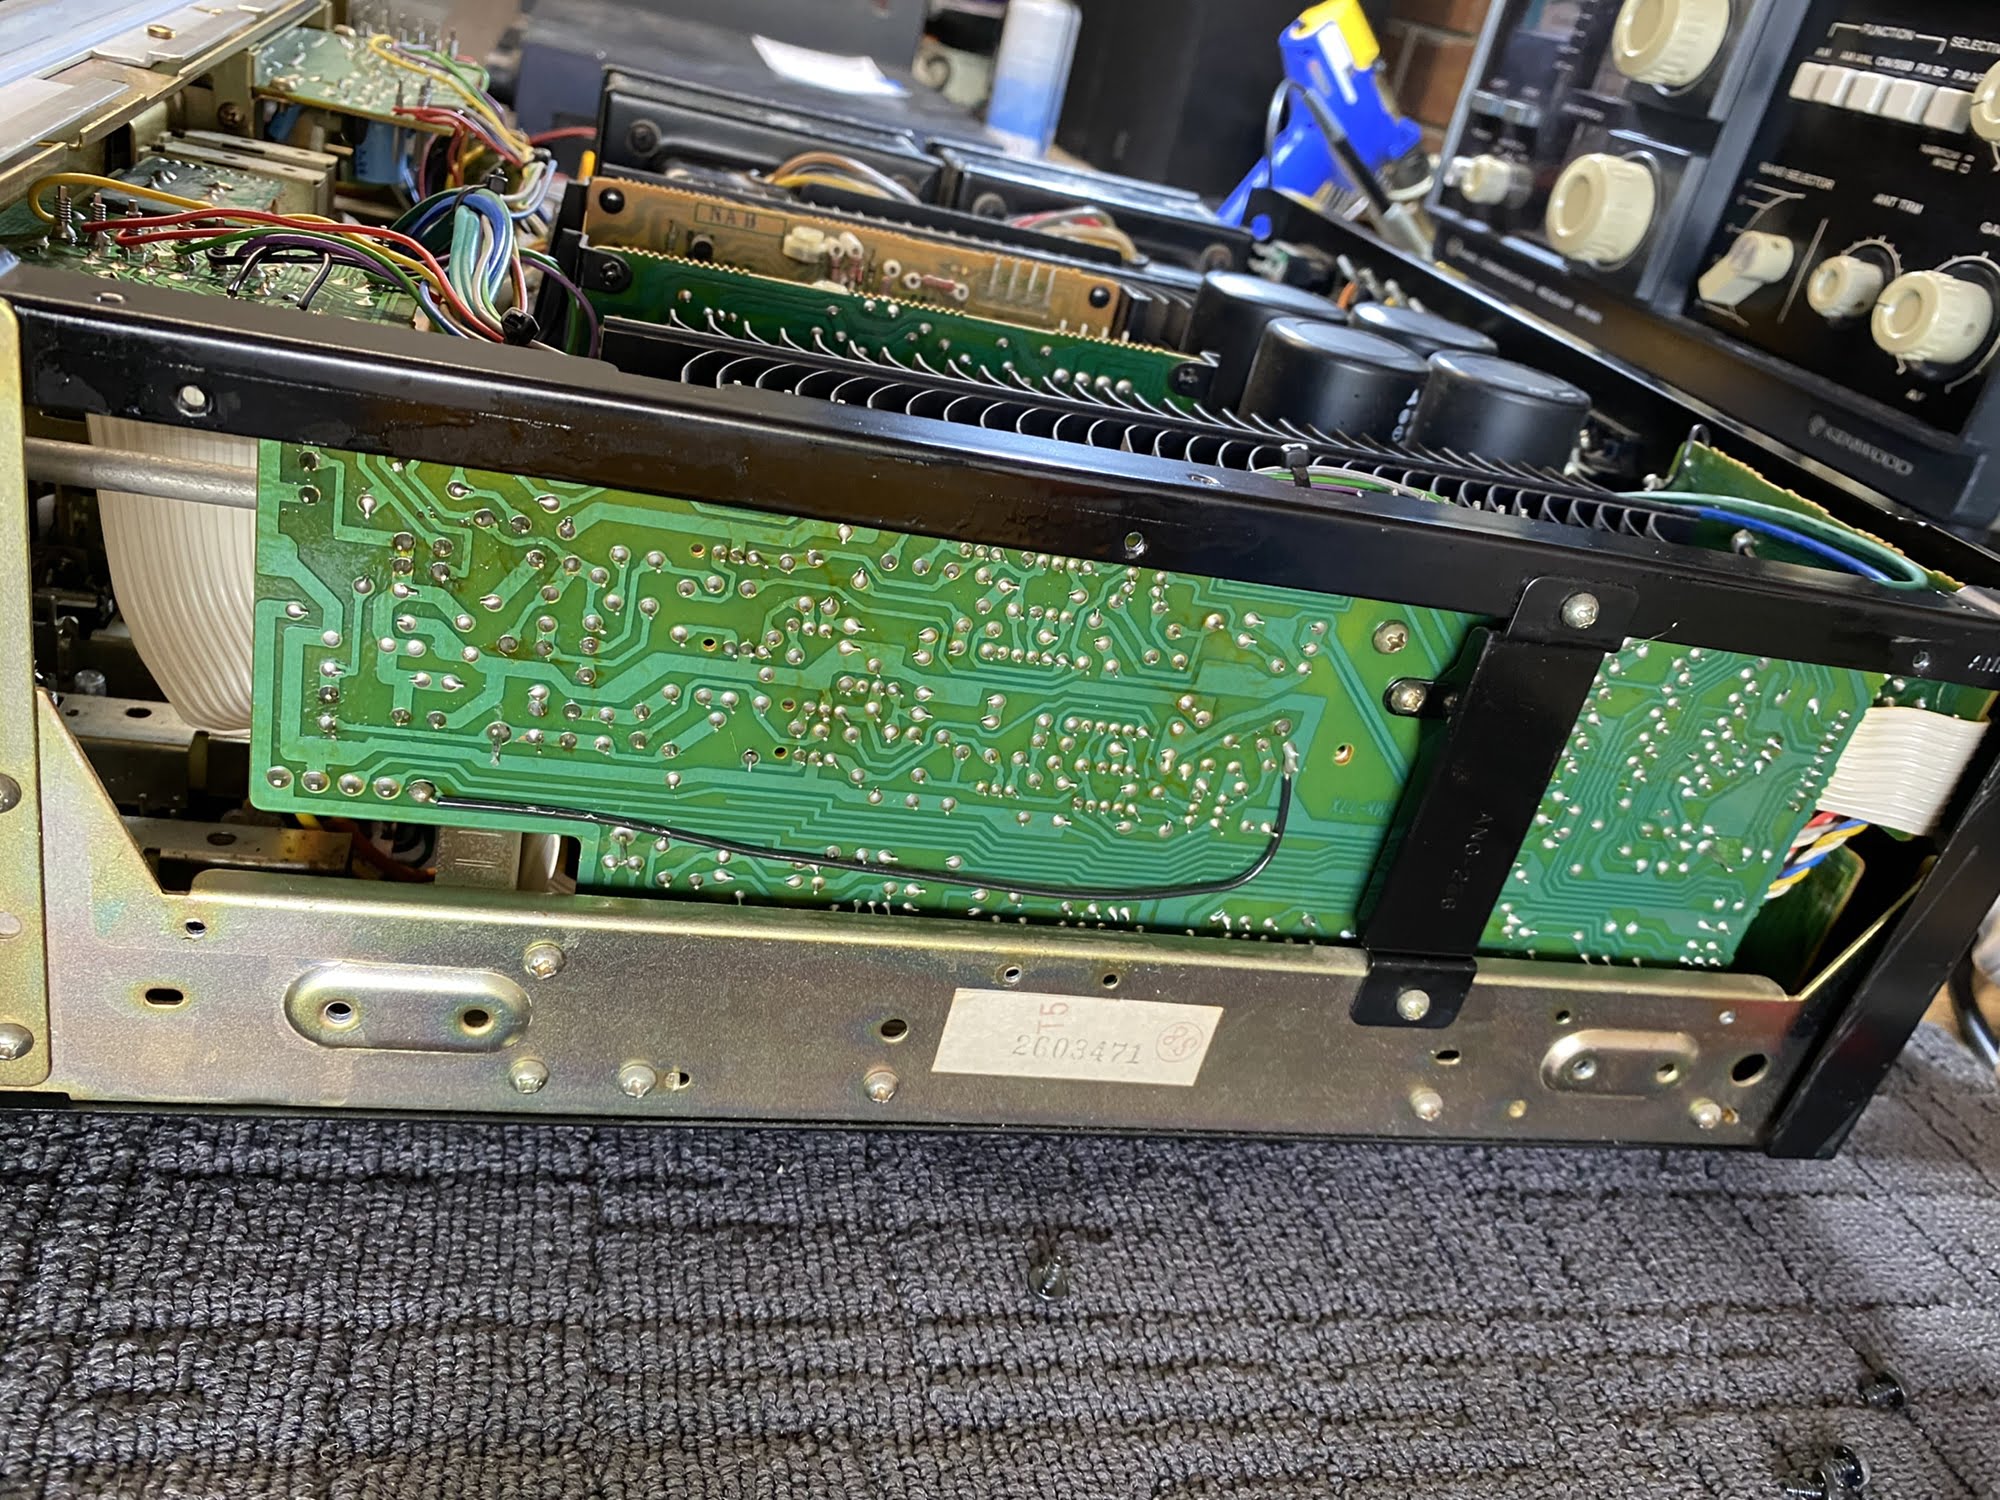
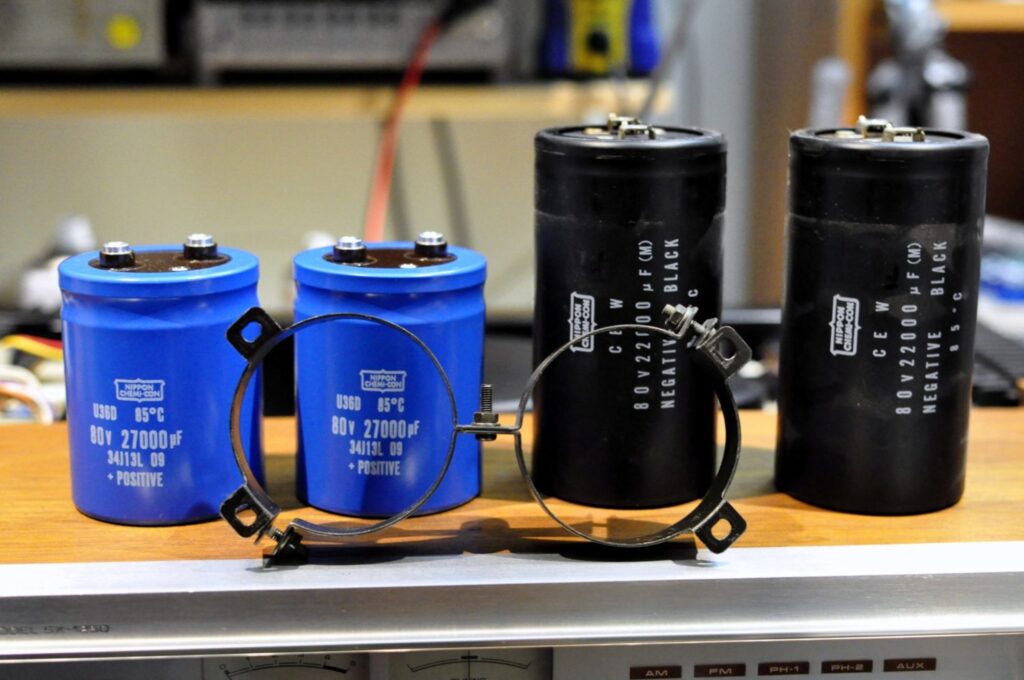
Inside, the Pioneer SA-9800 is a beefy and well laid out integrated amplifier, typical of good gear from the era. Two hefty transformers, two filter capacitors per channel and separate amplifier modules make this a proper dual-mono design. The phono preamp is housed inside a shielded box which helps to reduce noise and improve thermal stability.
Issues
Prior to service, this SA-9800 was badly misbehaving, popping and crackling, humming, buzzing and just generally being obnoxious. Her owner bought her new, in Europe, during his time in the military. He has the rest of the matching Pioneer components as well, including the stunning CTF-1250 cassette deck here for an overhaul that you’ll see at the end.
The owner wasn’t quite sure what to do with his SA-9800 and was in two minds about whether to put her on the verge or have her serviced. Many front panel switches and controls were loose and all of them needed service. Let’s just say he’s happy now that he didn’t put her out on the verge!
Service
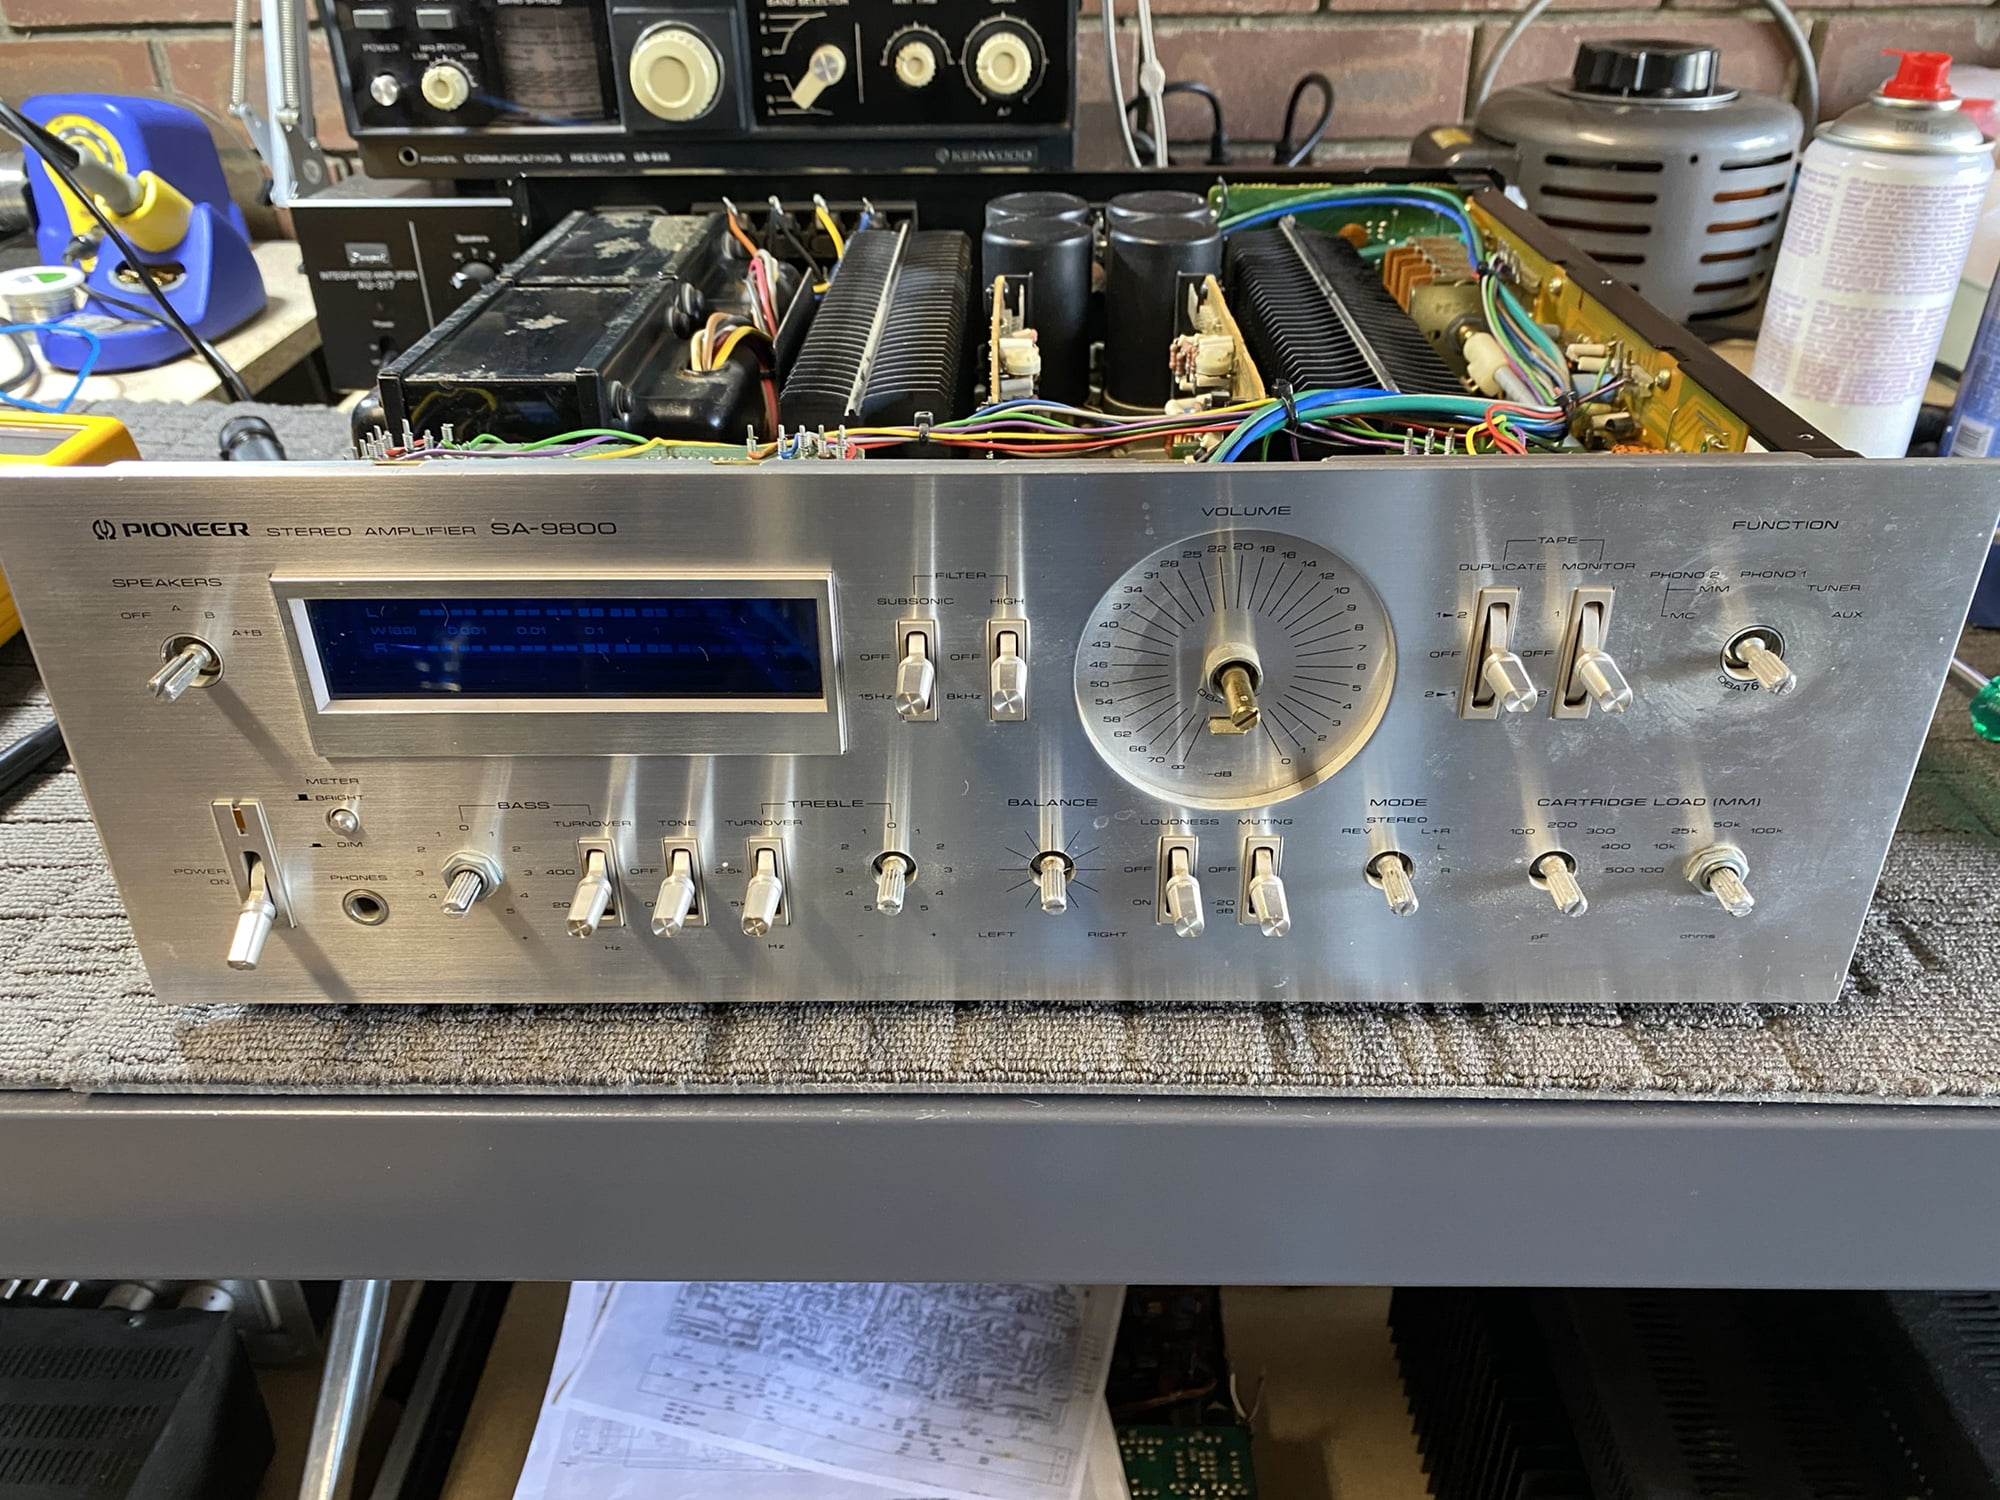
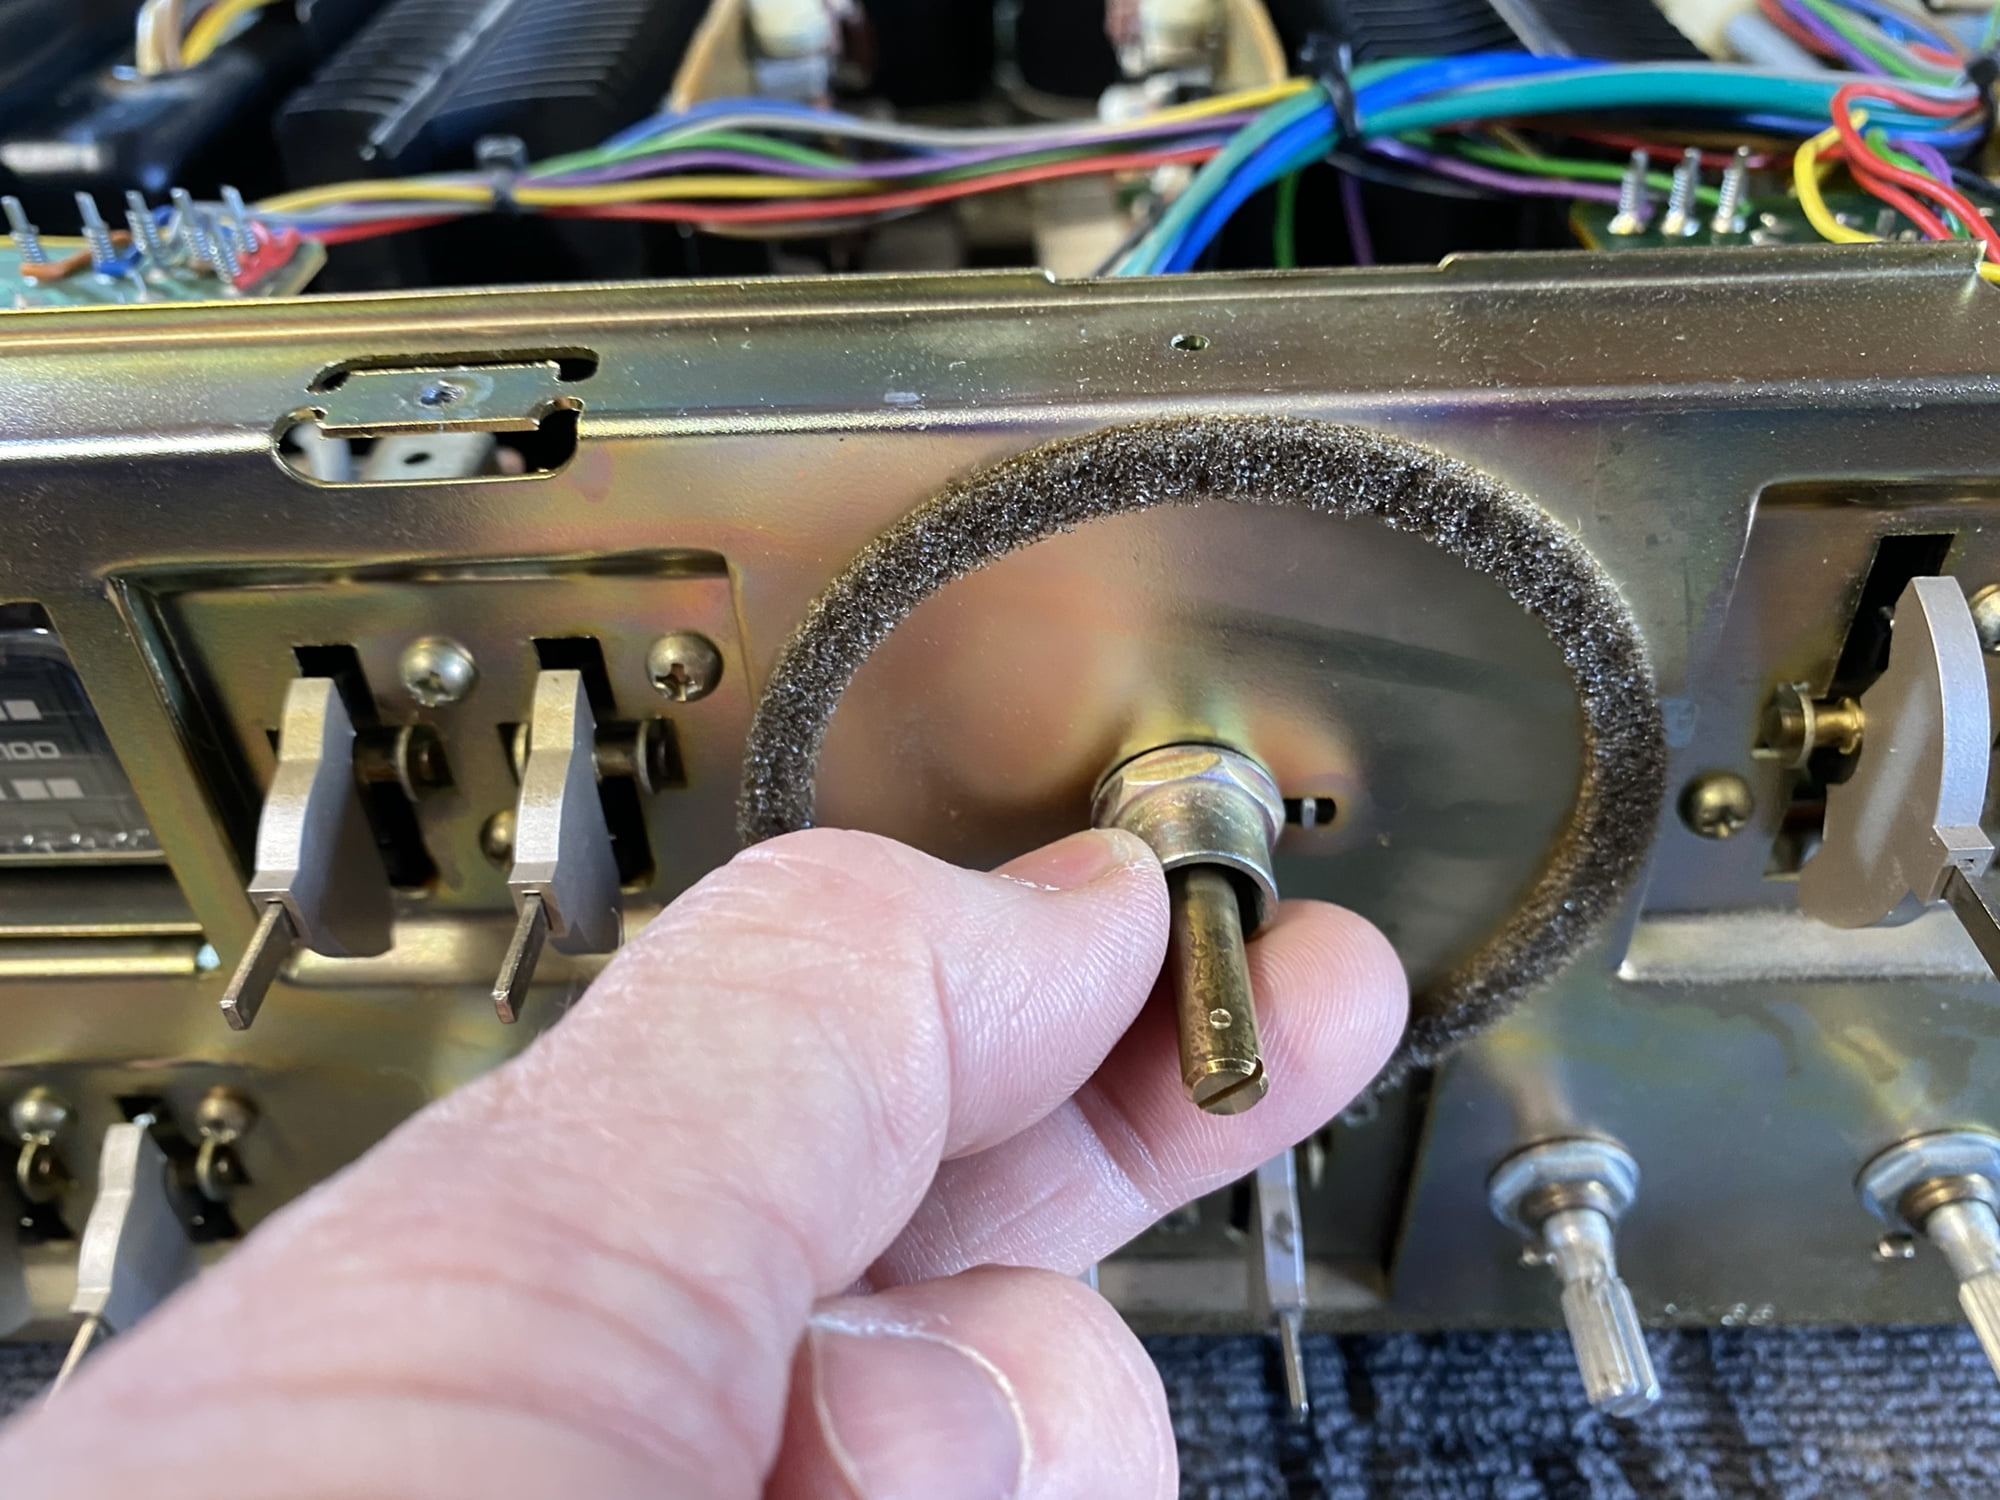
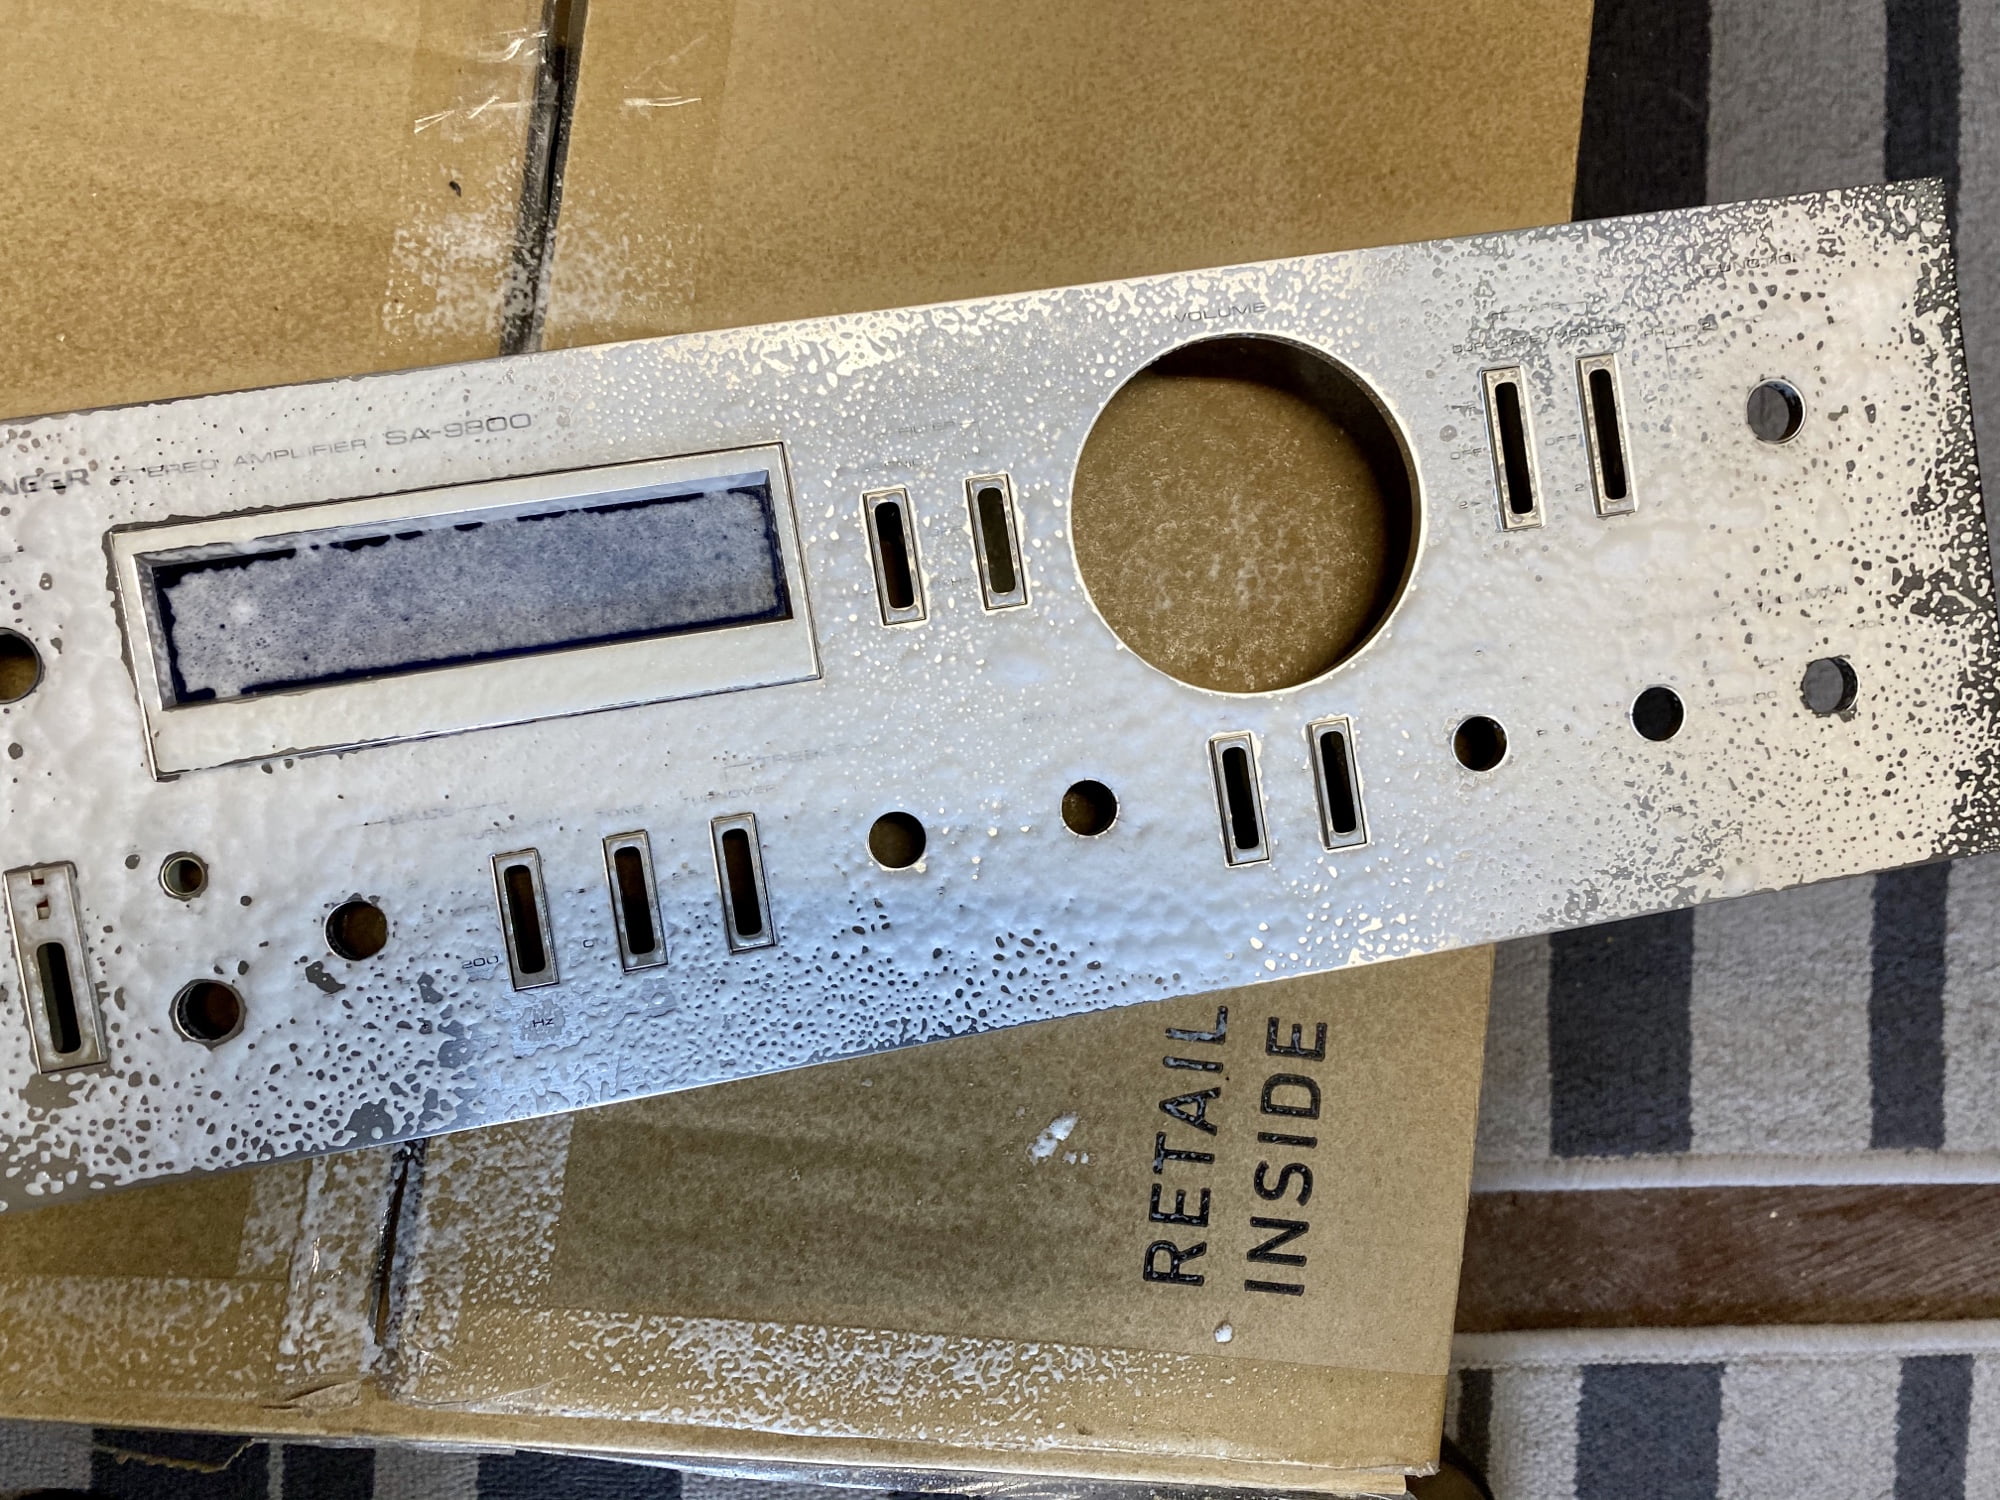
There are two ways I start in cases like these and which way depends on the unit, how dirty it is, the type of dirt, and so on. Evaluating this first part leads me to either high-pressure air or a full chassis wash and dry. In this case, with the problem being mostly dust, high-pressure air was the ideal solution.
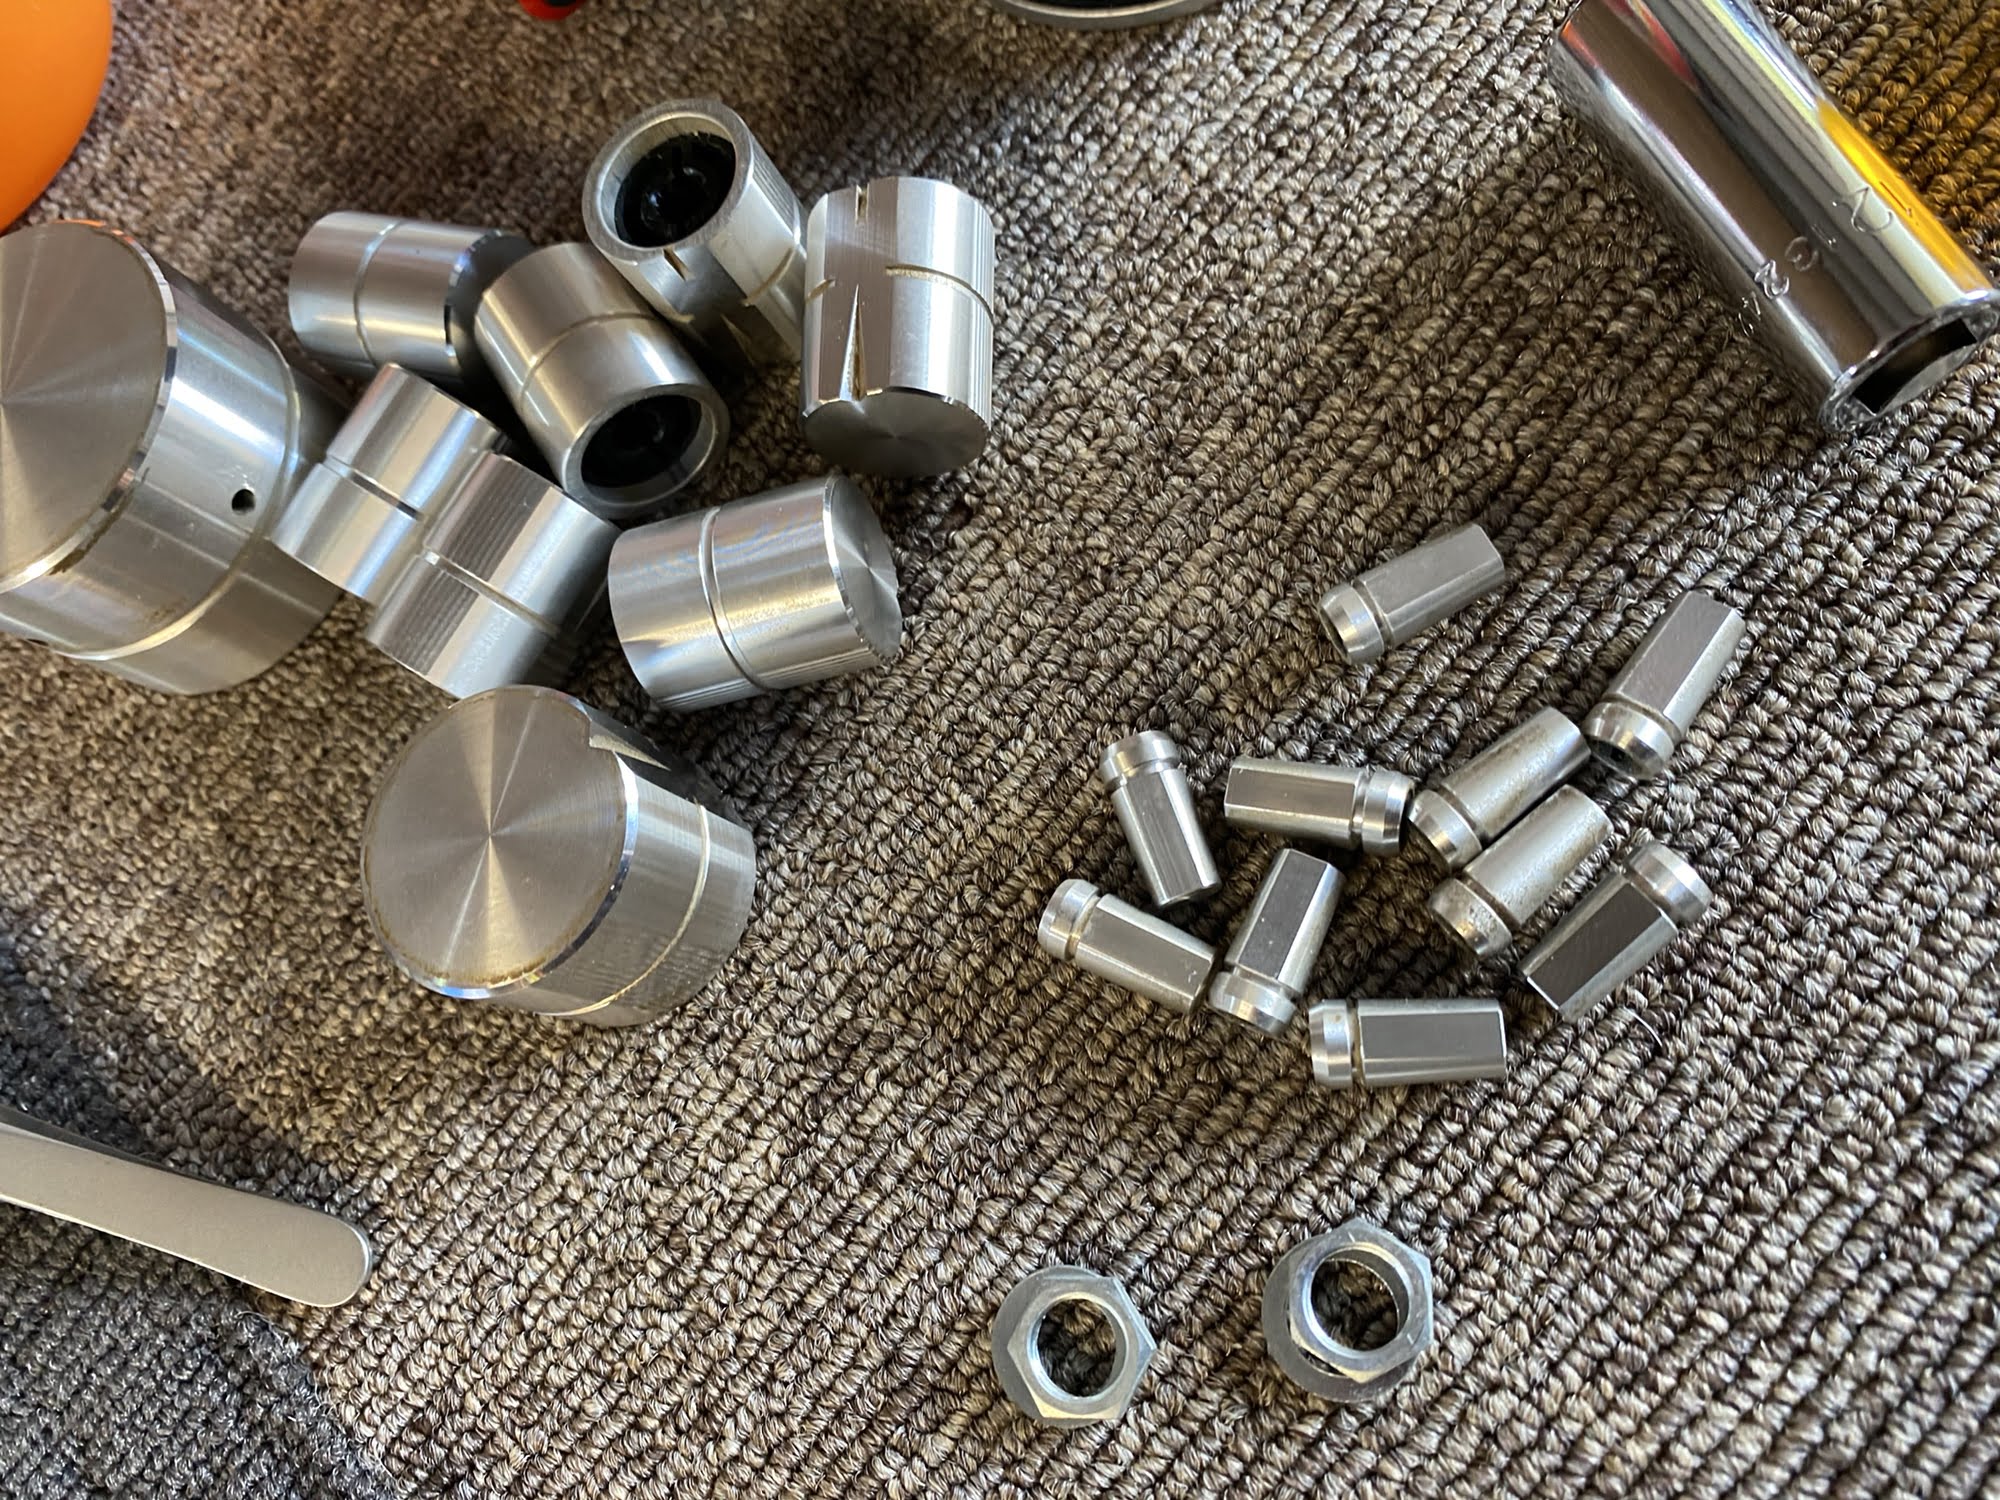
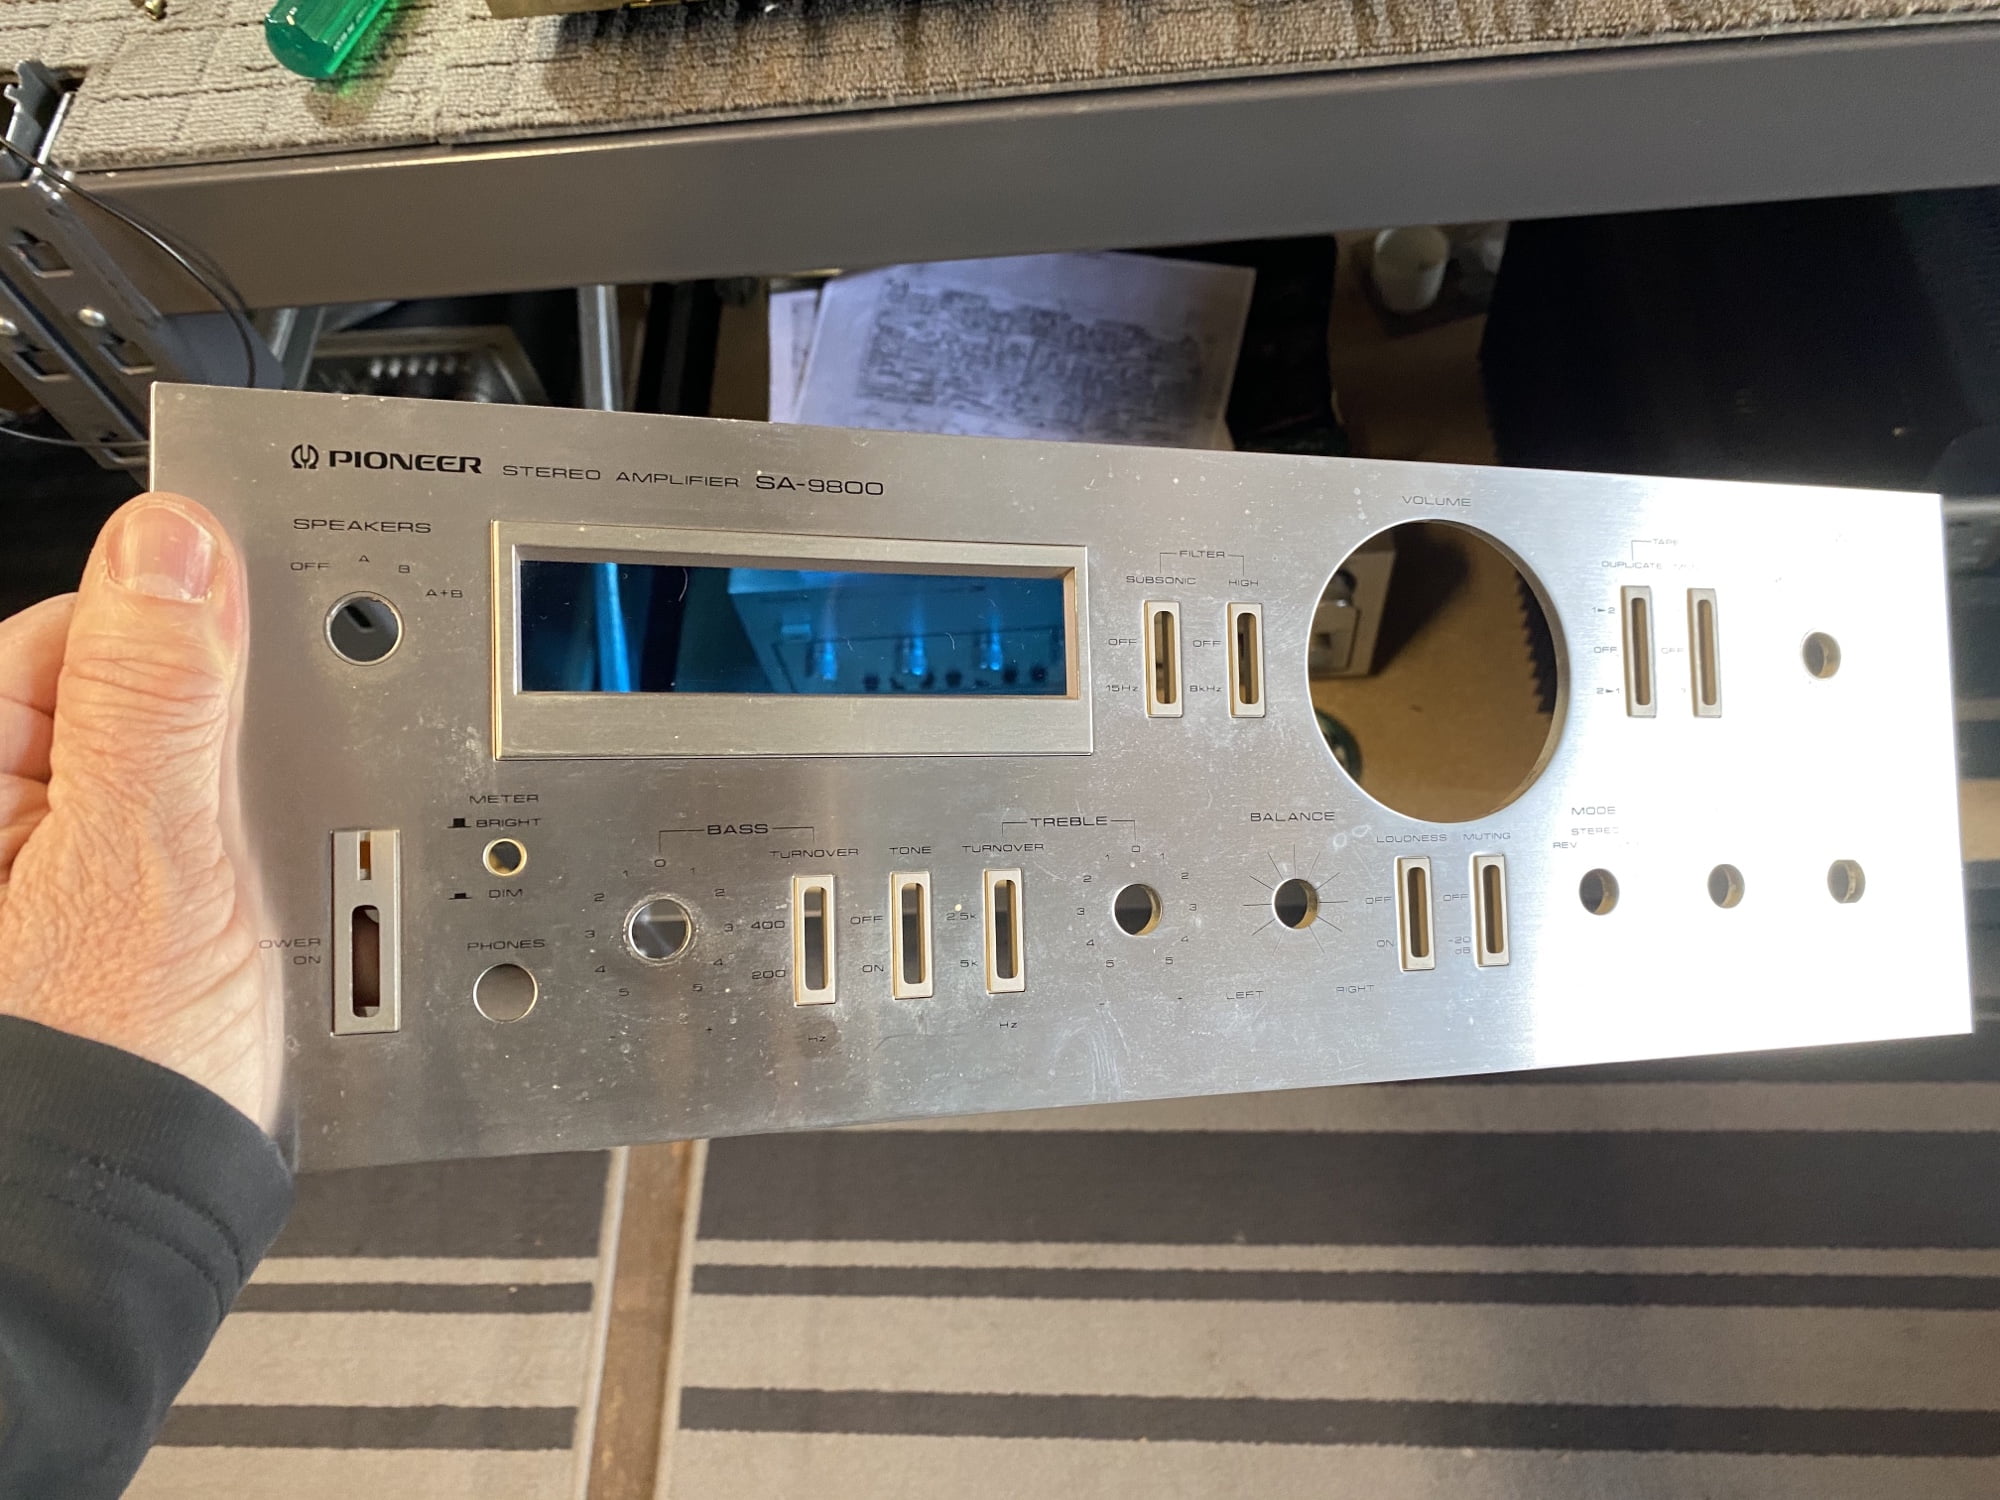
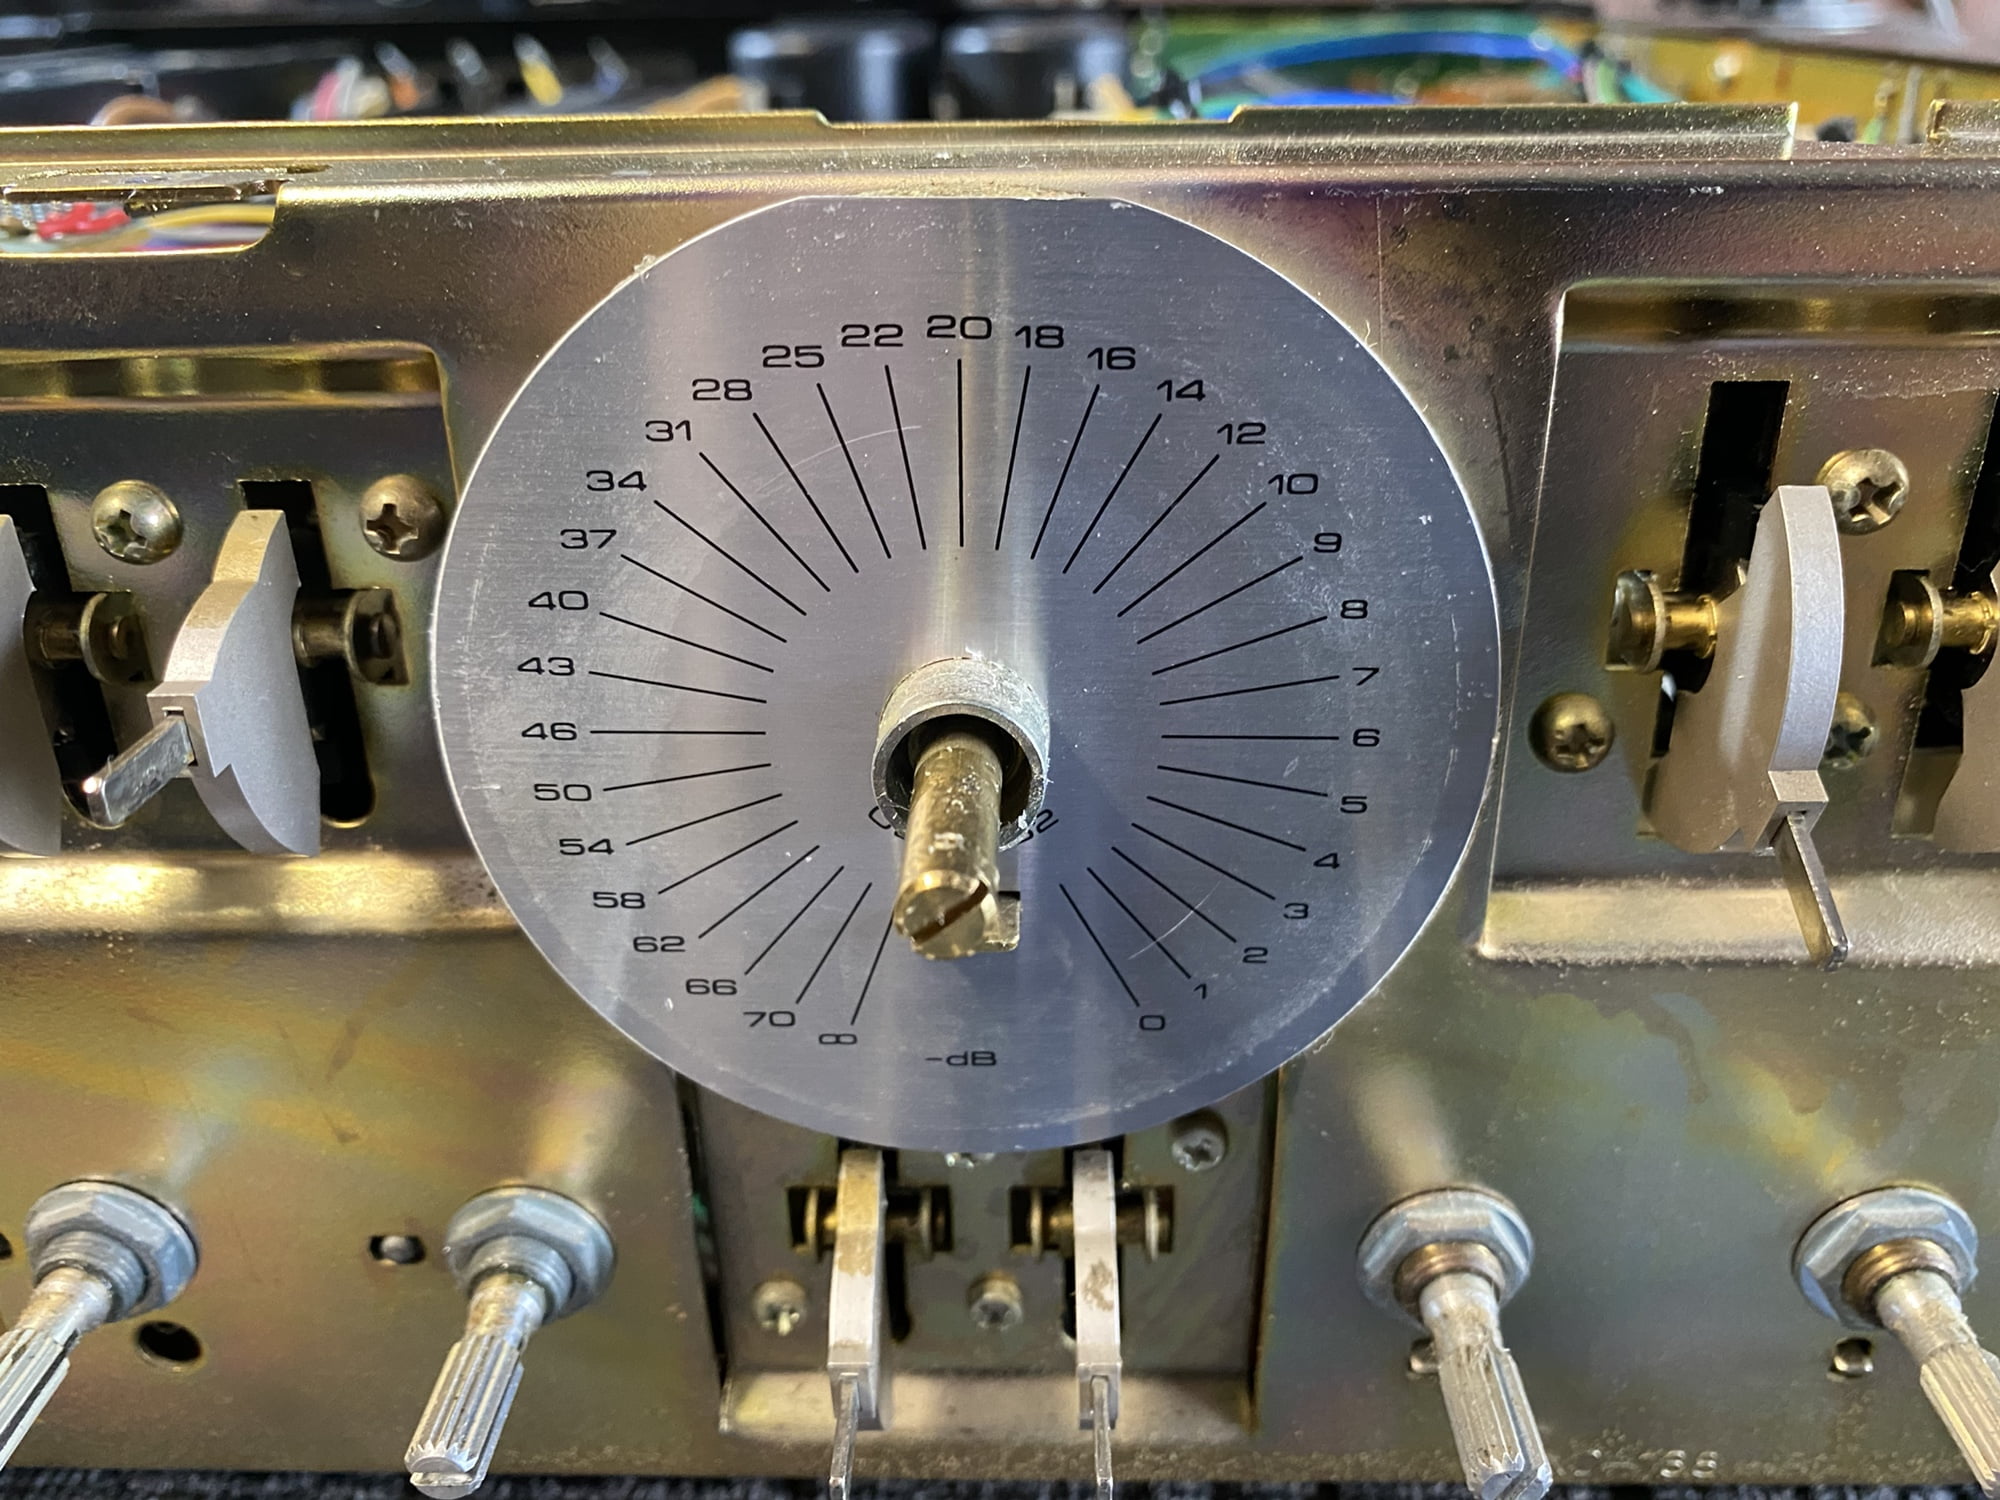
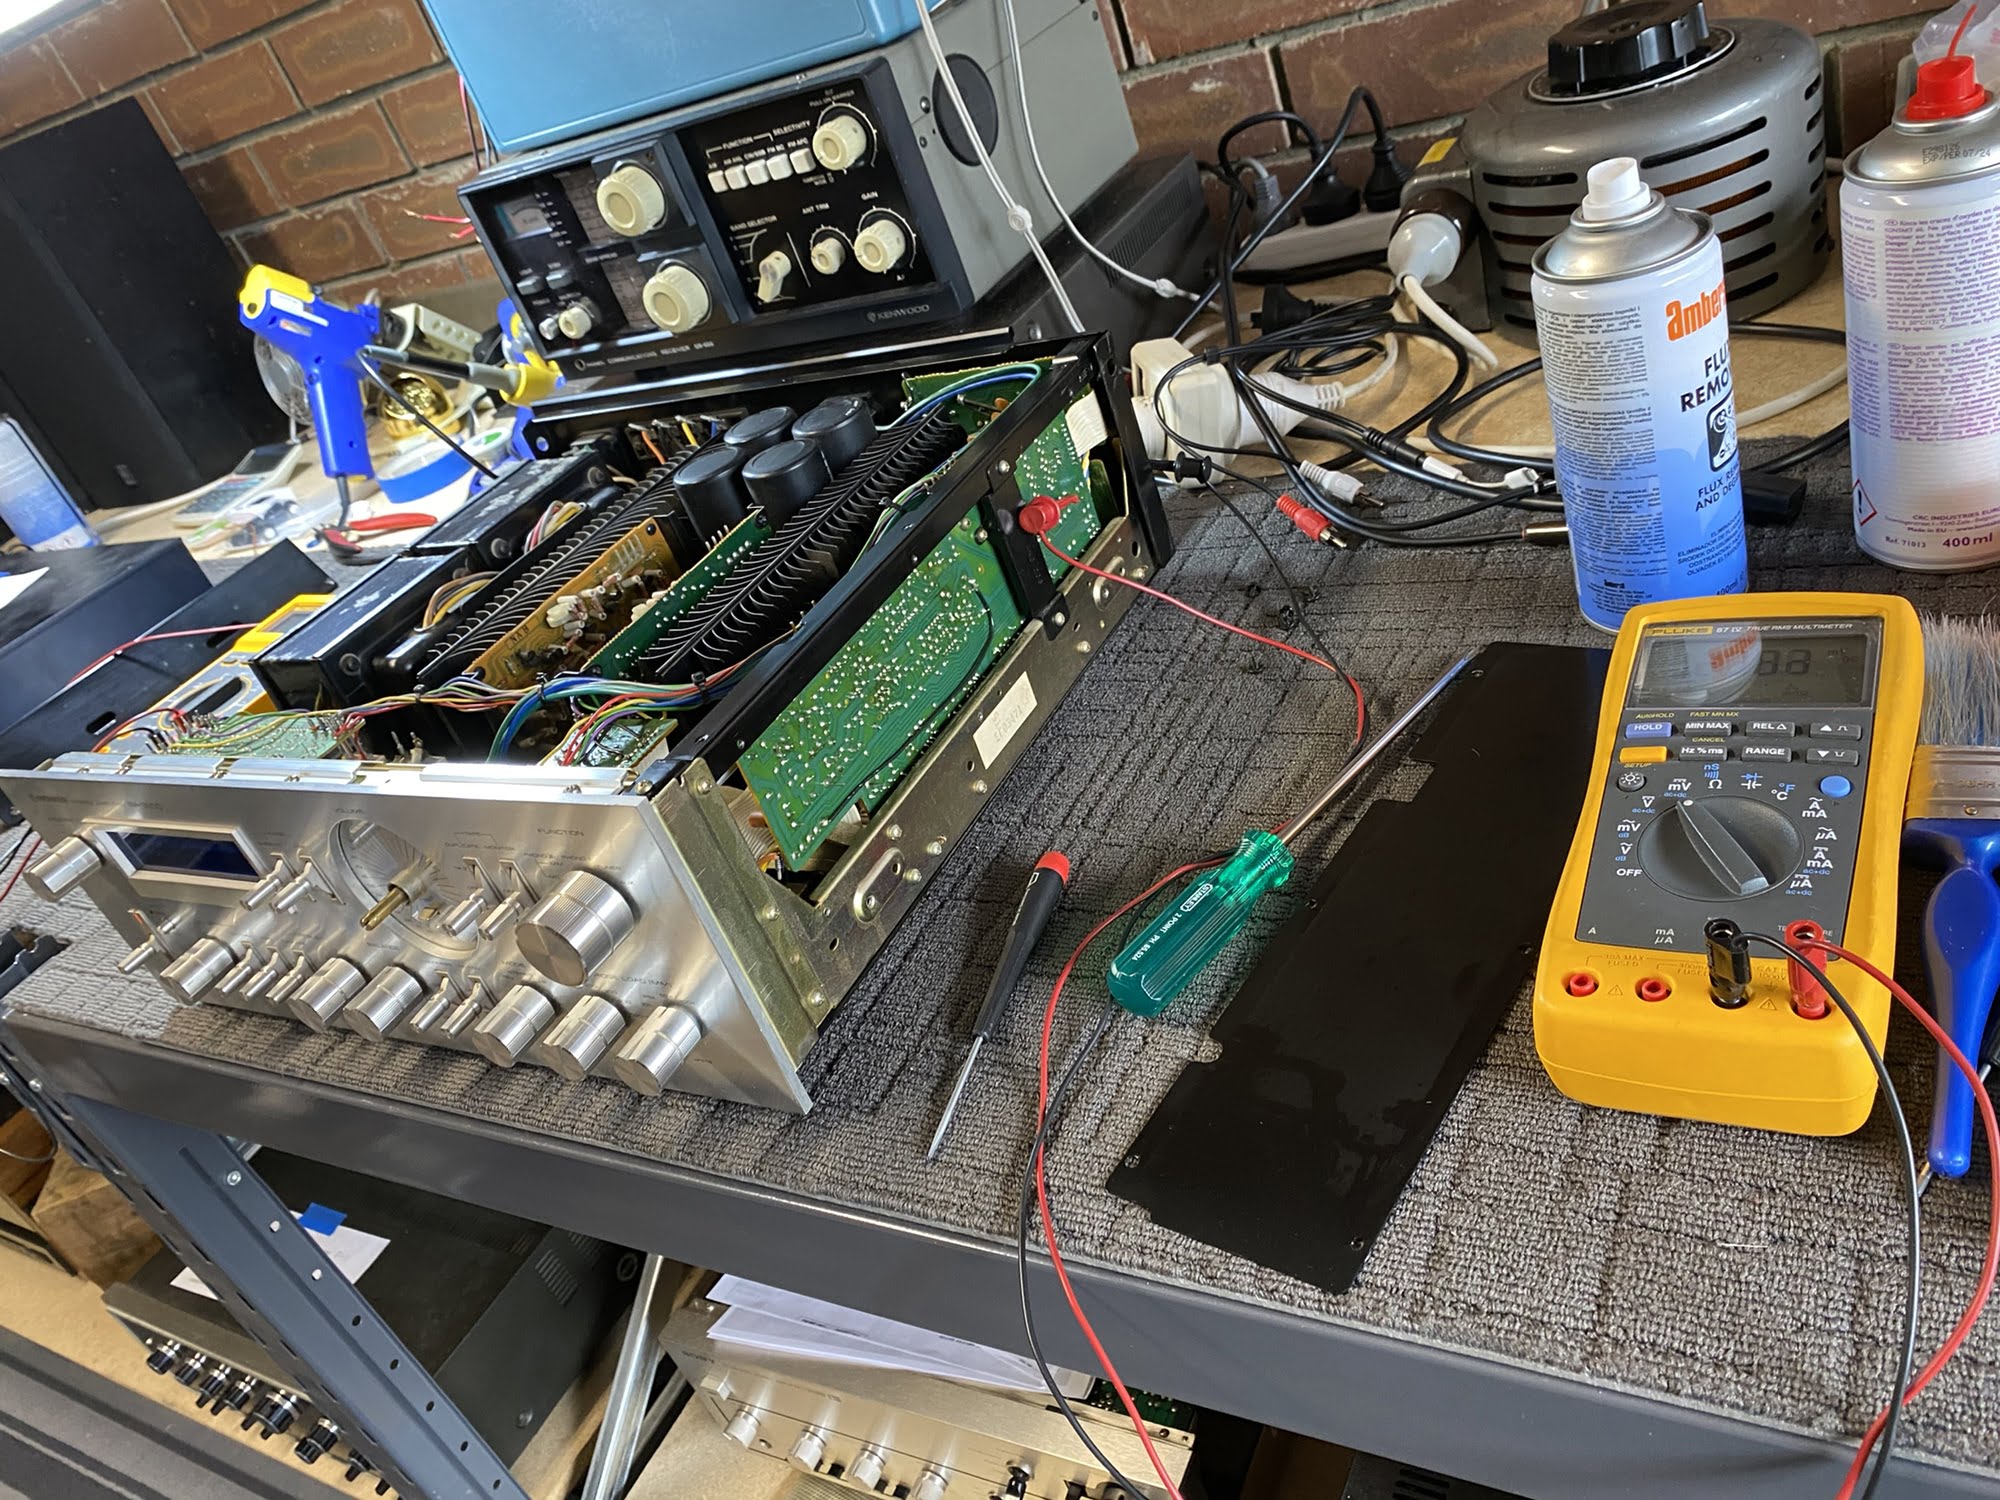
After that, I gave all the switches and controls a deep service, involving three stages of solvents and treatment. I then tightened fasteners, removed and cleaned the front panel and knobs and tightened all the loose controls and switches. Finally, I reassembled everything and made a full set of electronic adjustments, followed by thorough bench-testing.
Cleaning & Mechanical Service
Electronic Service
The electronic service and adjustments are the last stage needed to get an amplifier like this SA-9800 running properly. It goes without saying that, at this age, everything needs adjustment in almost all gear that makes it to my bench.
An overhaul is a next stage, certainly well worth doing and what I advised this owner should be done. This work is obviously fairly involved and there are plenty who attempt it and get it badly wrong, and that’s just the technicians! Owners attempting this sort of work whilst seeking advice on forums is a recipe for disaster in most cases.
That being said, overhaul work should never be done until the more mundane but critically important cleaning and maintenance work I’ve outlined here is thoroughly completed.
Results
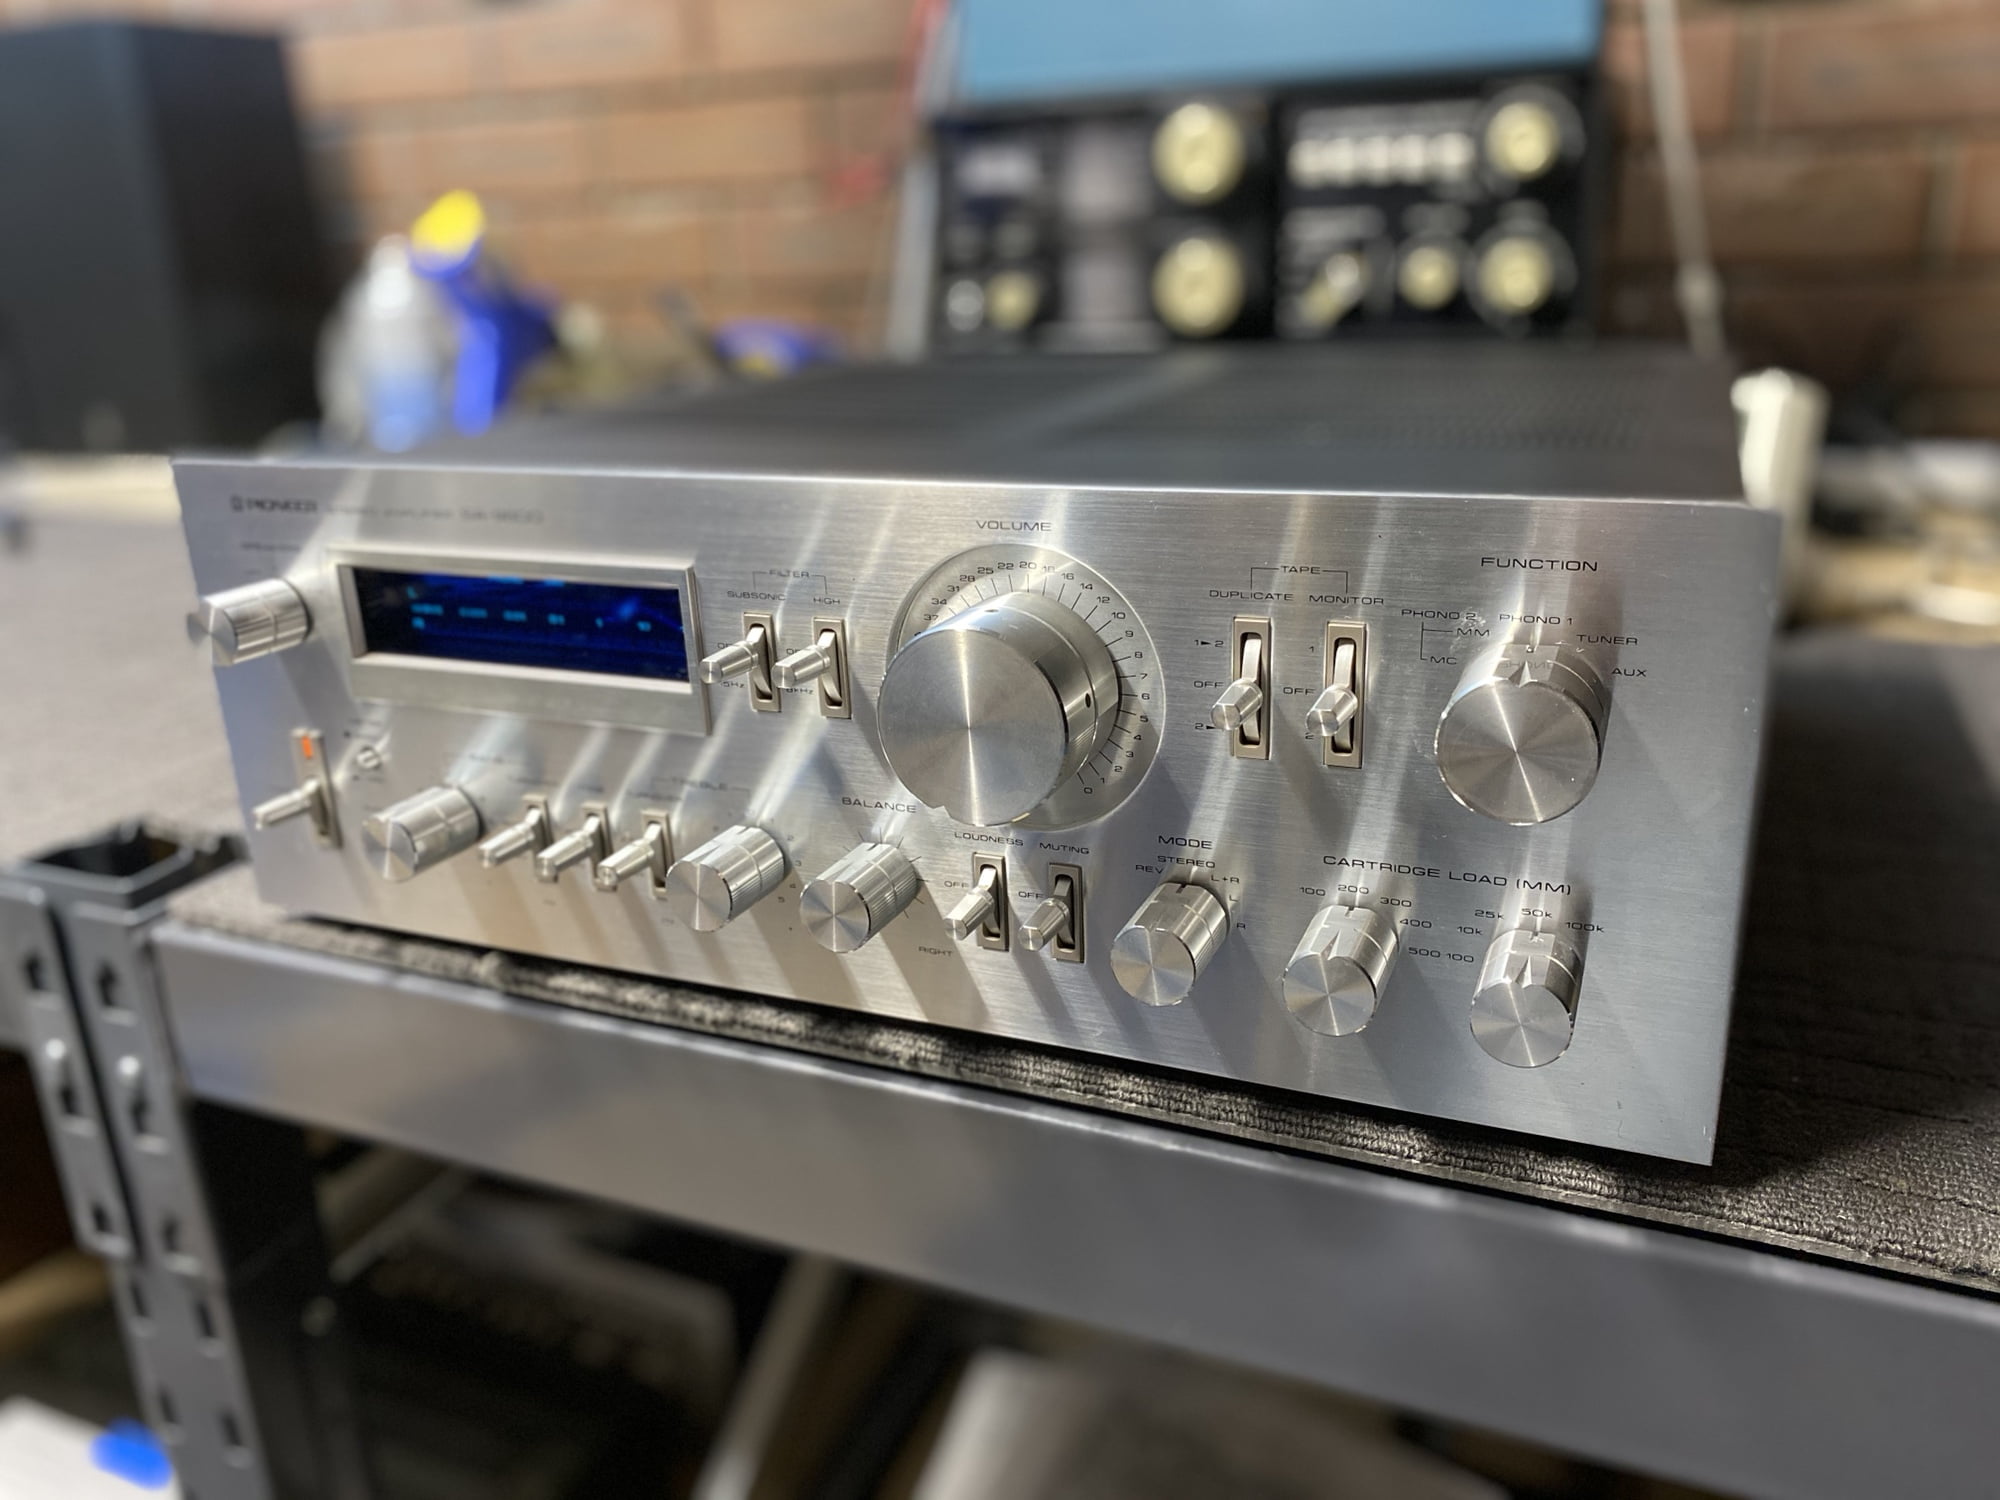
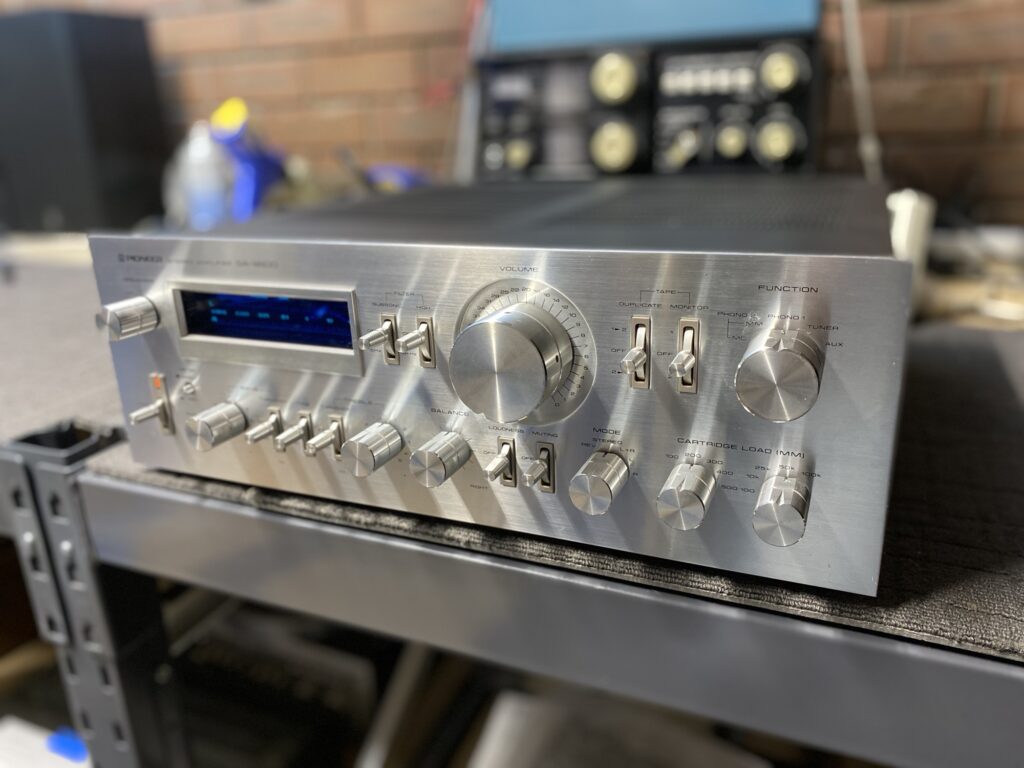
After a full clean service and detail, I think you’ll agree she looks amazing. She runs 100% better, with no more farts, crackles and pops. Her owner rang me shortly after collecting her, absolutely ecstatic with how well she works and sounds, which made my day as this sort of feedback always does!
Keep in mind that this old girl could also use a full overhaul. This was discussed with the owner and is something I’m pretty sure he wants to do, I’m sure he will be back in touch to arrange this additional work.
Just take a look at this beauty…
Don’t hesitate to let me know if you like me to assist with your Pioneer SA-9800 or any other Pioneer amplifier for that matter. As always, thanks for reading and stay tuned for more.
Discover more from LiQUiD AUDiO
Subscribe to get the latest posts sent to your email.



Totally agree.Everyone should lubricate their shaft at least once in a while.
Mike, we are fortunate to have somebody in Perth to keep this great, old gear alive and well. Keep up the passion!
Steve
Hi Steve, very kind of you to say that and thanks for being a great customer over the years!
I am impressed with what you have done to the old sa9800 ,I need to do the same thing to my 9800 system, I acquired the entire 9800 set except for the tape deck, and the turn table was taken apart and in a box, I was even able to find the original boxes that the components were packed in, The system was in an old house that had been abandoned for over 25 years and had been just sitting on presswood shelving for so long that the units had actually sunk into the wood, this system ROCKS, but I don’t want to power it up again until I can do or get a proper cleaning,
Thanks Eric and great work aquiring an entire system. Lots of maintenance needed on that set before putting it to serious use though.
Hello my name is. Lars Vetterlain.
Hi Der overe. I have a number of pioneer sound systems including. SA 9800 Amplifier. RT 909 coil pan. CT – F1250. and graphic EQ. SG-9.
Can you tell me how much it will cost me to update everything I have bought all the renovation parts and will send them with the system the amplifier has worked until I connected a wrongly purchased converter where it destroyed one channel, I also have 2 tweeters for Pioneer CS-903 speakers, which need to be overhauled too. I would like to know how much it will cost me to send them to you and have them made, and return, as good as new, I am from Nuuk in Greenland.
Hi Lars, and thank you for your enquiry. I’d love to assist, but we are not currently accepting international bookings due to the overwhelming volume of local customers and work. Enquiries should come through our contact page and form, where this is covered: https://liquidaudio.com.au/contact/
Note that cost estimates are not possible without inspecting equipment to determine exactly what is needed. All professional technicians work this way, so be cautious of anyone who attempts to quote you for work they have not personally evaluated. When shipping equipment, only the sender has access to critical package dimensions, weights, pickup address, insurance values, shipping companies they prefer, etc. Senders, therefore, need to determine shipping costs in conjunction with their shipper.
Sorry I cannot assist in this case, but best of luck with these!